Today I’m sharing with you my practical tips for photographing cakes plus tips on editing photos without buying a ton of expensive equipment and backdrops.
To me, it’s sometimes hard to find practical tips for photographing cakes. When I first started out, I seemed to find tutorials and tips for photographing food in general (not really for cakes), or the tutorials would suggest all this expensive equipment.
Well, I had spent enough on the camera itself and I didn’t want to drop another couple thousand dollars on more equipment and fancy backdrops. After a lot of research, books that were read, classes taken and some of my own DIY solutions, I thought I’d share with you my Practical Tips for Photographing Cakes.
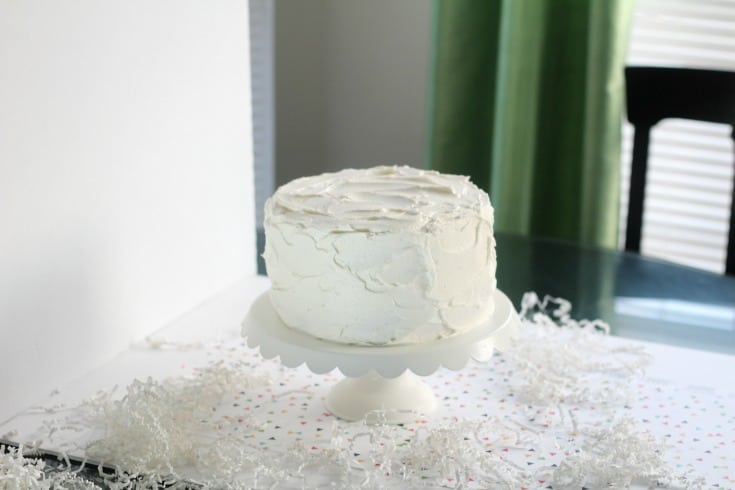
When I first started taking cake orders, I took pictures with my iphone. It works in a pinch, so don’t feel like you HAVE to get an expensive DSLR camera. Some of the tips I’m about to share with you are for DSLR cameras, but a lot of them, specifically the backdrop ideas and editing, can be used with a phone camera as well…so stick with me here.
Here’s what we’ll talk about:
- Cameras and equipment (don’t freak out because it’s fine if you want to use a phone for now).
- Practical backdrop ideas (stuff that’s not gonna break the bank)
- Taking the photos (angles, lighting and some camera settings if you’re using a DSLR – No I won’t get too overly technical on you).
- Other resources that have helped me.
- Lastly, a quick video tutorial on how to edit your pics for free (you don’t HAVE to use fancy and expensive software.
As an Amazon Associate, I earn from qualifying purchases.
Cameras and Equipment:
So, as I said earlier, I used to take all my pictures with my iphone. (Closer to the end of this post, I’ll have a video on how to edit photos, which also applies to phone pics.)
When I started this blog, my husband bought us a DSLR camera. It’s not the most expensive one you can get, but it’s a step up from my iphone for sure. Here’s the camera we purchased:
We bought the bundle, which comes with a bag, a standard lens and a zoom lens. I don’t use the zoom lens for cake photography, but it comes in handy for trips to the zoo 😉
After using the standard lens and doing a little research, I bought the Canon 50mm lens. It’s not terribly expensive, but it really makes a difference. There are other fancier and super expensive lenses, and yeah I really want one of those, but this works for my purposes now.
This little lens is amazing. It allows you to get the f-stop number even lower. I’ll explain what that term means, but for now, I’ll just say it allows the background images to be more blurred and this lens really brings out color and crispness as opposed to the standard lens.
Here’s an example of a picture with this lens:

See how the red rose is super crisp and bright? I didn’t add any color or brightness in the editing phase either.
Ok, I’ll stop bragging on the lens now.
UPDATE:
I’ve recently purchased a new camera and I am totally in love with it.
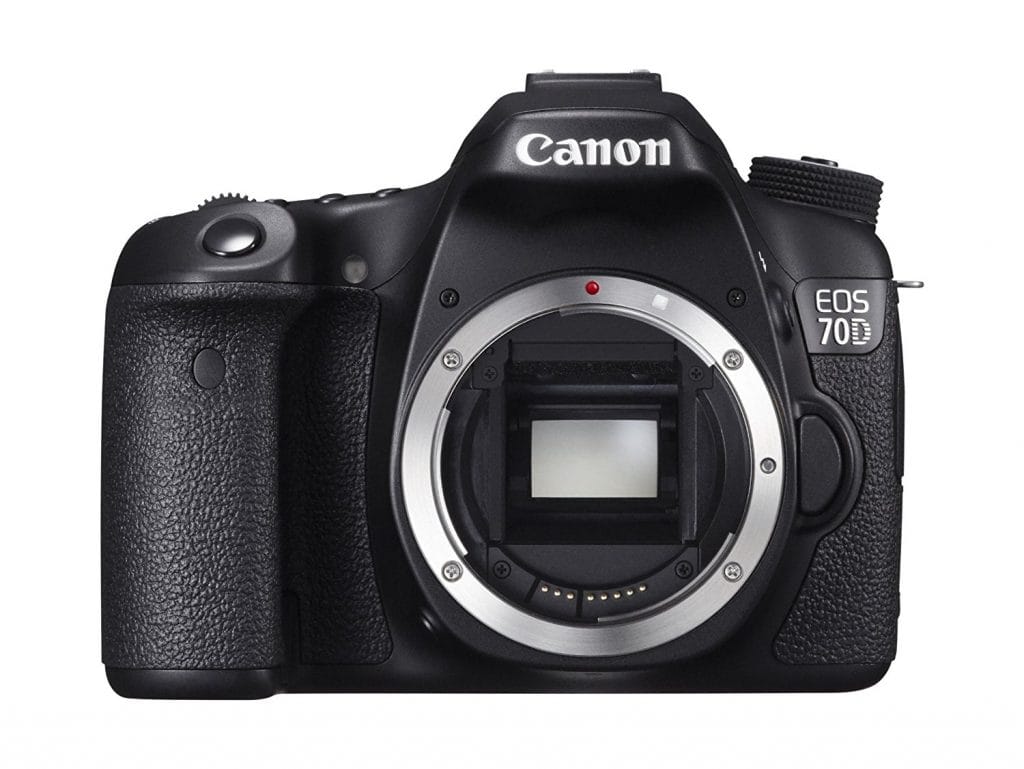
I love the fact that it has a flip out screen, multiple focal points and everything just seems more crisp.
I would’ve loved to have gotten a full frame camera, but that’s for another day…the day I win the lottery.
I’ve also recently purchased a new lens as well. It’s a more wide angle lens and I use this one specifically for my videos.
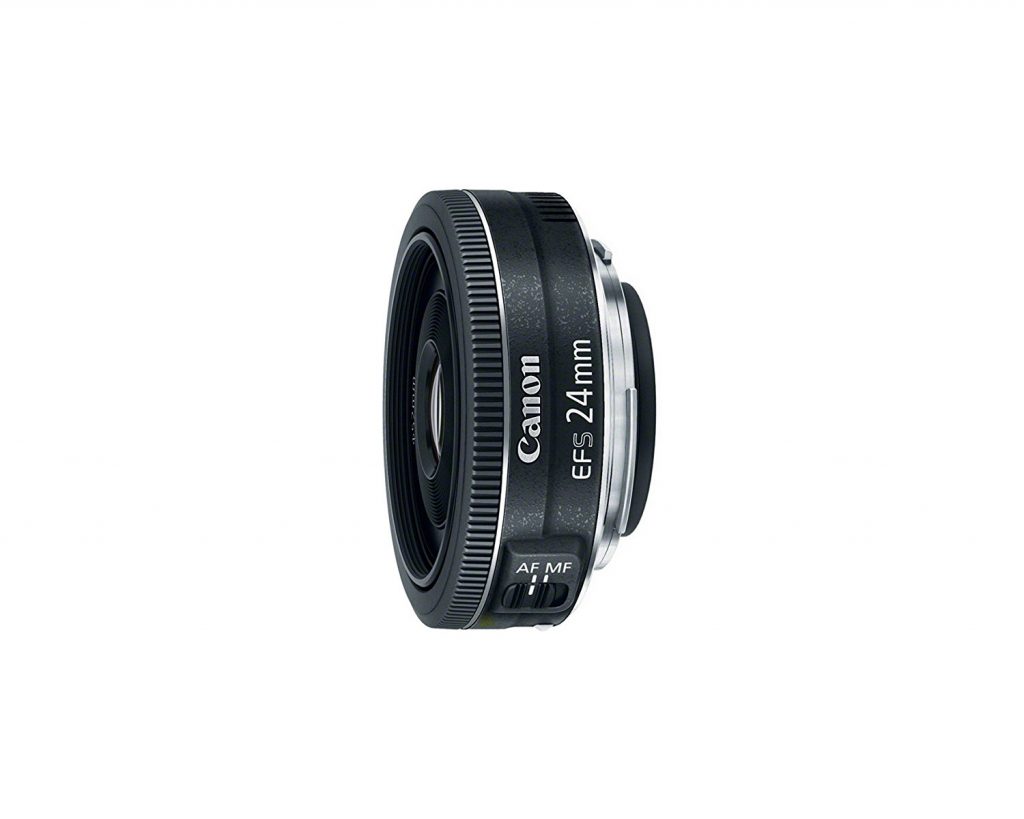
The 50mm and 24mm lenses are ‘fixed’ lenses. That just means that you can zoom in and out, you have to use your body to either move closer or farther away from the subject.
I love using fixed lenses because they seem to get a much crisper, sharper image. The 50mm and the 24 mm lenses are actually quite affordable as well.
Practical Backdrops for Photographing Cakes:
Before we get into some technical stuff about lighting, angles and techniques, let’s talk about backdrops and the backgrounds of pictures.
In a lot of food photography tutorials, most of their examples are pictures taken from a top view. So, they’re standing over the food taking a shot, or they’re perhaps taking a picture very close, but at an angle and only a blurred image of the background shows.
Well if you’re needing to take a photo of a completed cake or perhaps a pic that includes the birthday guy or gal, well you need to get the whole cake in there and usually at a face on view, therefor you really have to think about what’s behind your cake.
There are a lot of places you can buy expensive backdrops. Many of them are vinyl or even wood and most are expensive. By expensive, I mean around $60-200 each, which if you just get one I guess it’s not too bad, but the thing is, you don’t just want one option though.
I’ve got some ideas on some cheap and DIY ways to make backdrops that won’t break the bank. You can always upgrade later, but doing it this way, gives you a lot of options without a lot of money.
I’m going to list some quick ideas and then I’ll show you what I use most often.
As an Amazon Associate, I earn from qualifying purchases.
Ideas for Backdrops:
- Scrapbook paper
- Foam board (You can get these at your local dollar store)
- Tri-fold presentation board
- Poster boards
- Wrapping paper
- Wood Boards or bought wood backdrops – these can get expensive if you buy them premade
- Printed backdrops: Paper backdrops, vinyl backdrops – I’ve recently purchased these that I really love: Vinyl Backdrops on Etsy
- I’ve also made my own backgrounds by painting on foamboards. I then seal it with matte modge podge.
- Another thing I’ve done is to purchase a white table top from Ikea. On one side, I’ve got the the white table as the background and on the other side, I covered it with marble contact paper.
You’ll also want to think about adding elements in your pic like, plates, flatware, napkins, confetti, cake stands etc.
If you’re just getting started and you want a more economical option, you could start with the paper backdrops I’ve linked above.
They aren’t as high quality as the vinyl backdrops, nor are they waterproof, but again, if you want to save money then they’ll work just fine.
So here’s how you can use them:
Purchase a flat foam board plus a tri-fold presentation board for each pattern of paper backdrop you purchased.
Cover one of each with the printed backdrop. Wrap it up like a present and tape it.
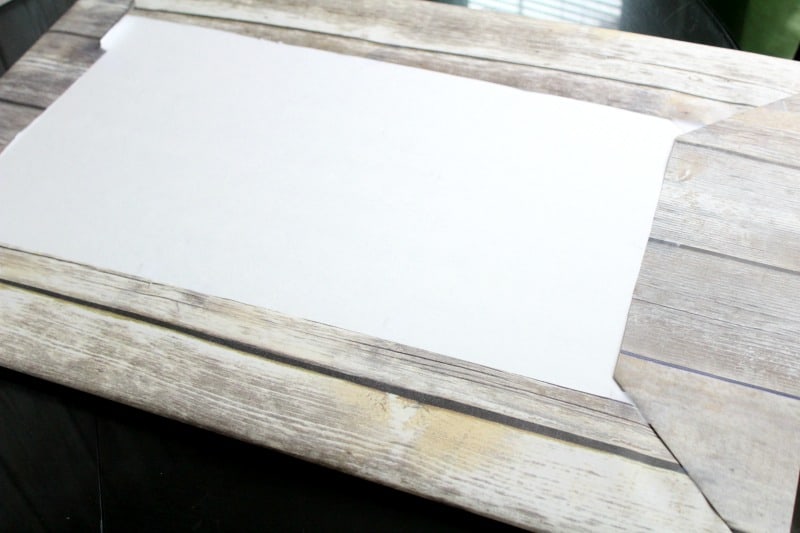
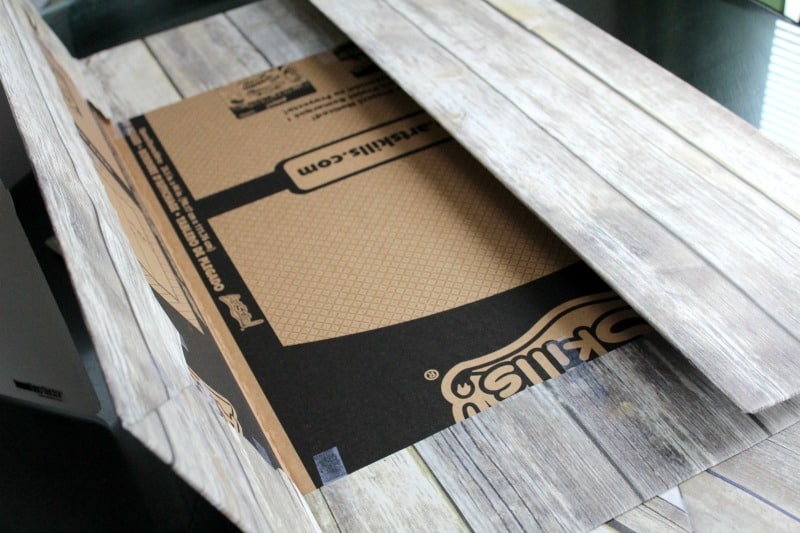
So, at this point, you’ll have the backdrop and a base for your pictures.
Leave some foam boards and presentation boards white in case you needed a pure white background as well.
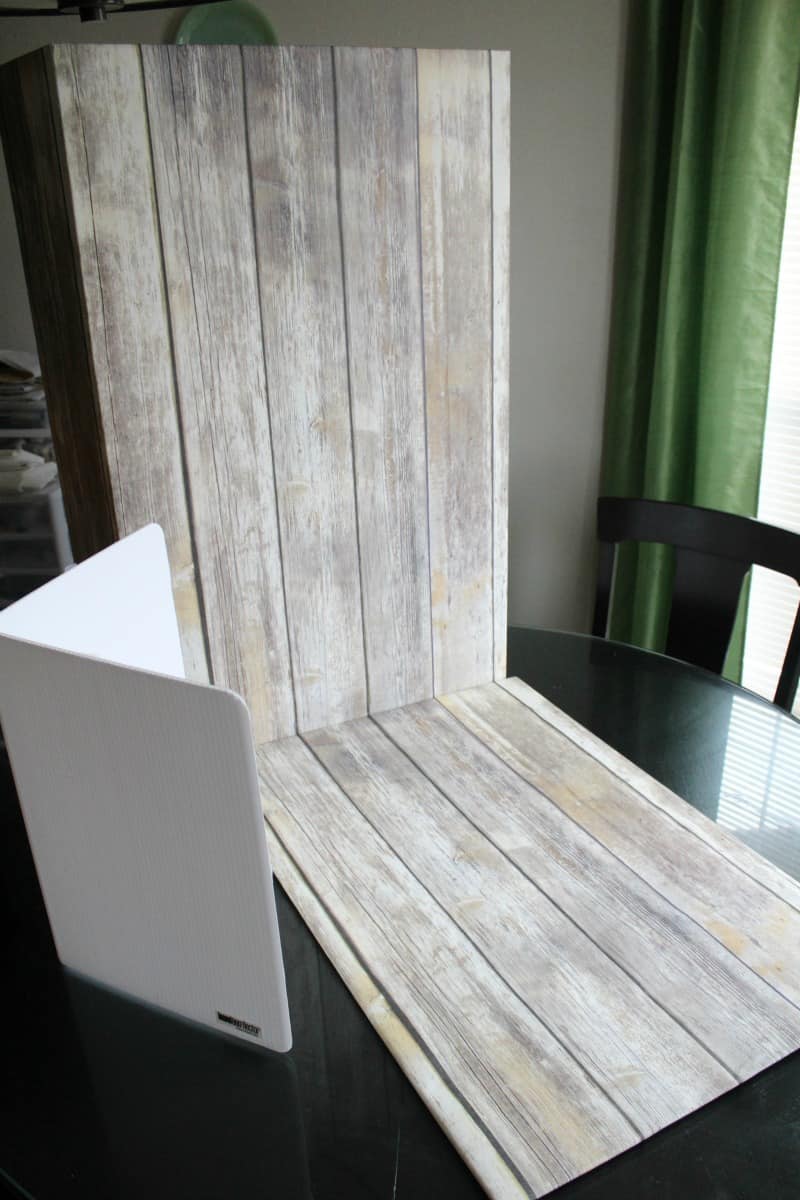
The fun thing about these is that you can mix and match. You can lay a plain white foam board on your table, set your cake on it and then use the rustic wood print as the backdrop.
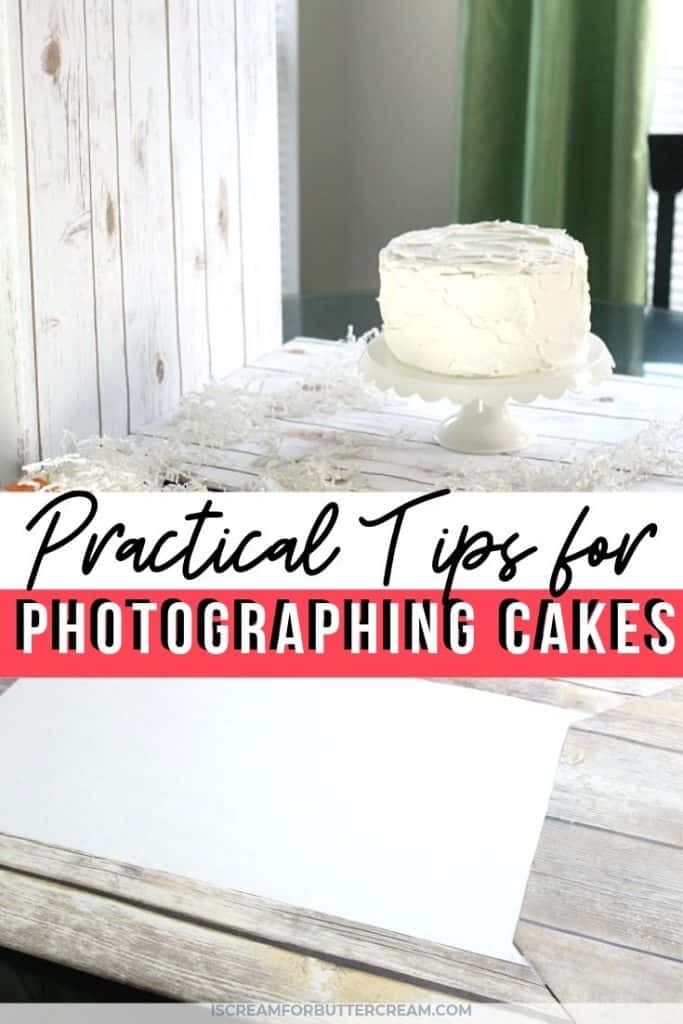
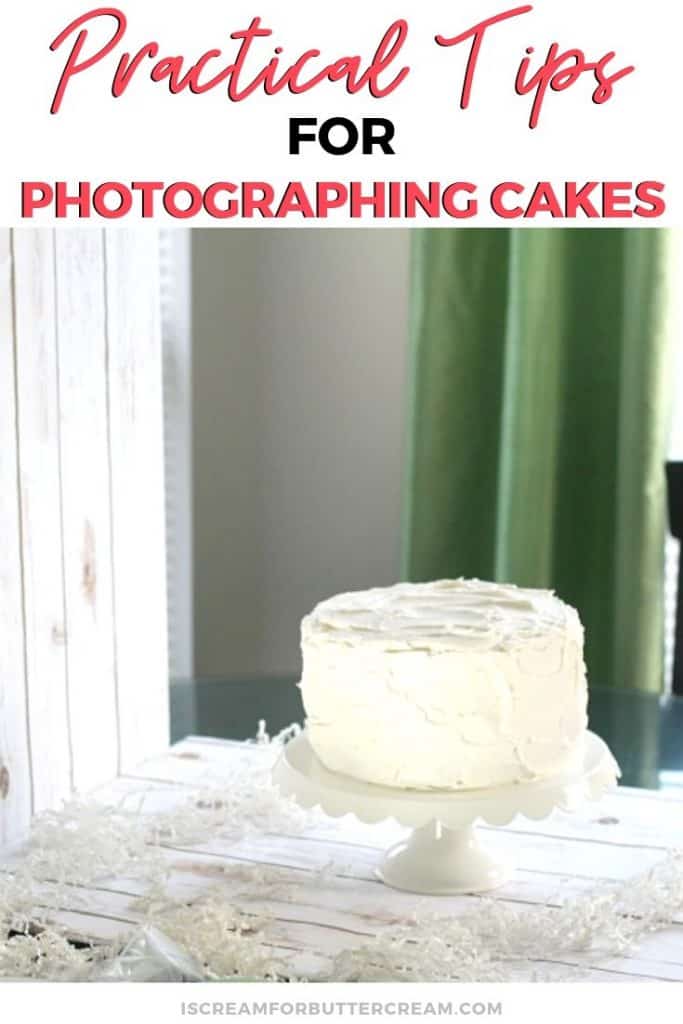
Now let’s get into how I set them up. Here are a few examples of how I like to stage the shoot:
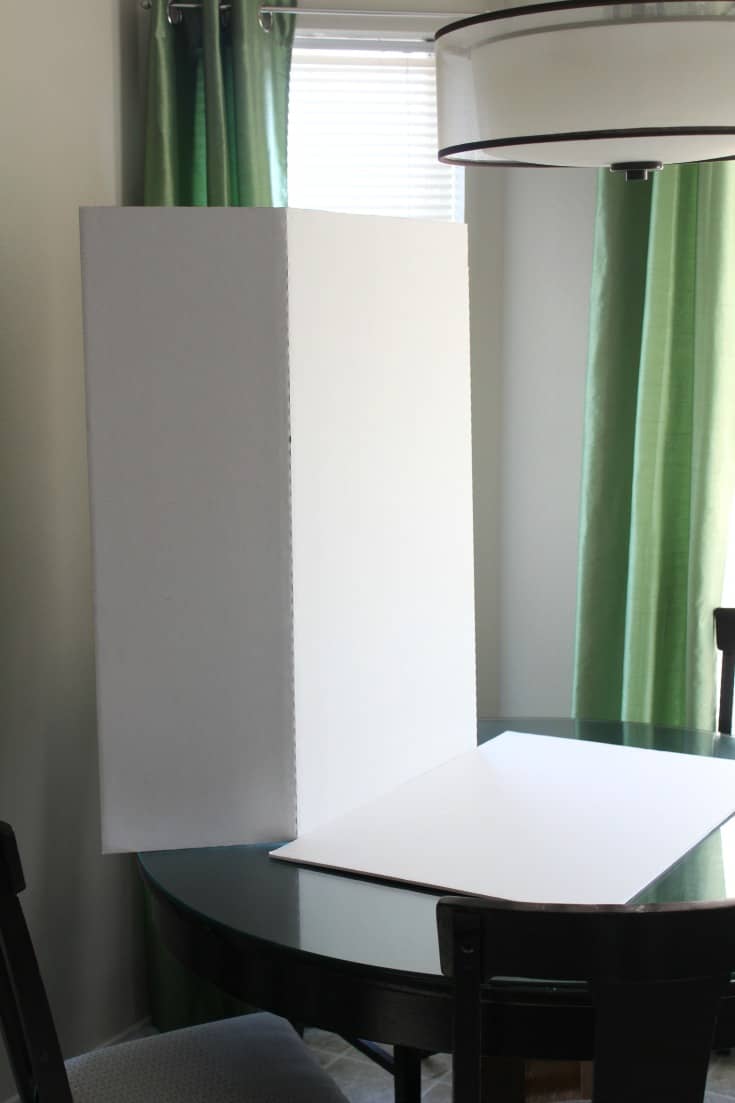
This one I added a reflector to the left, so the light would bounce off the subject.
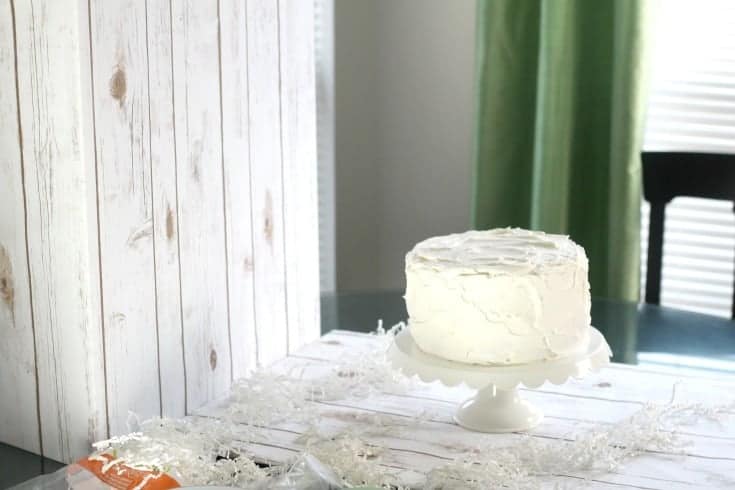
In this one, I added a bit of shredded white gift filler to add to the photo.
Here’s another example where I added in some props, the scrapbook paper under the cake server and the plates.
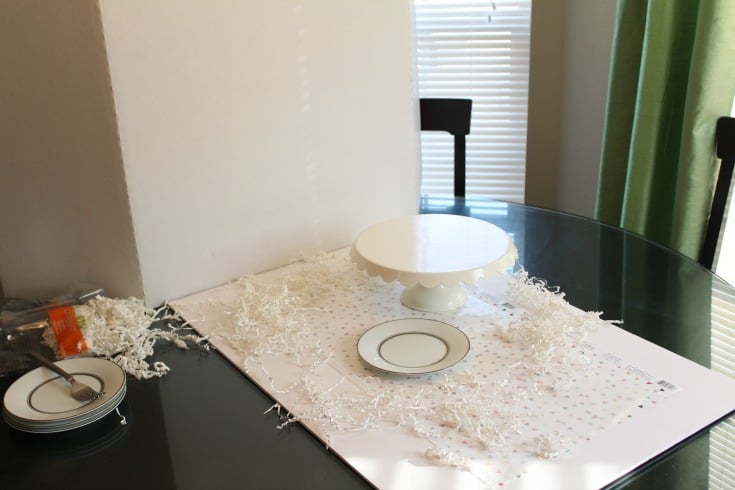
You can change up the style of your photos by changing the backdrops and elements you add. Here are a couple examples of getting a more country look, rather than a light and bright look.
All I did was change the backdrop and added in some placemats and a chicken in the background that I had painted gold. P.S. That’s not a real chicken I painted gold…I don’t want any calls about that. 😉
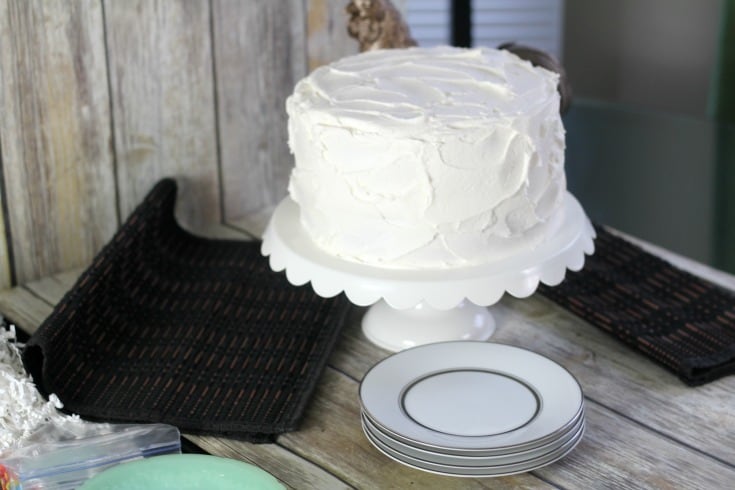
I plan to do a Part 2 of this post at some point as I’ve changed up my method for shooting cakes just a bit as I’ve gotten more equipment as far as backdrops and lighting.
But if you’re just starting out, the above method is a good and inexpensive way to get great pictures.
Taking photos (and some technical stuff-not too much though):
Ok, now we’ll talk a little about the technical stuff.
If you have a DSLR camera, or you’re planning on getting one, I really really urge you to take it off automatic mode and get into manual mode. You can do it, I promise. You just need to set aside some time to practice, but it’s fun!
So there are some elements you need to know about photography. In short, there’s a cool way to look at how the exposure works in your photos.
It’s the exposure triangle and there are three things that make up the triangle. Adjusting all of these things, will get you in the sweet spot.
I’ve designed a quick infographic below that will help explain it.
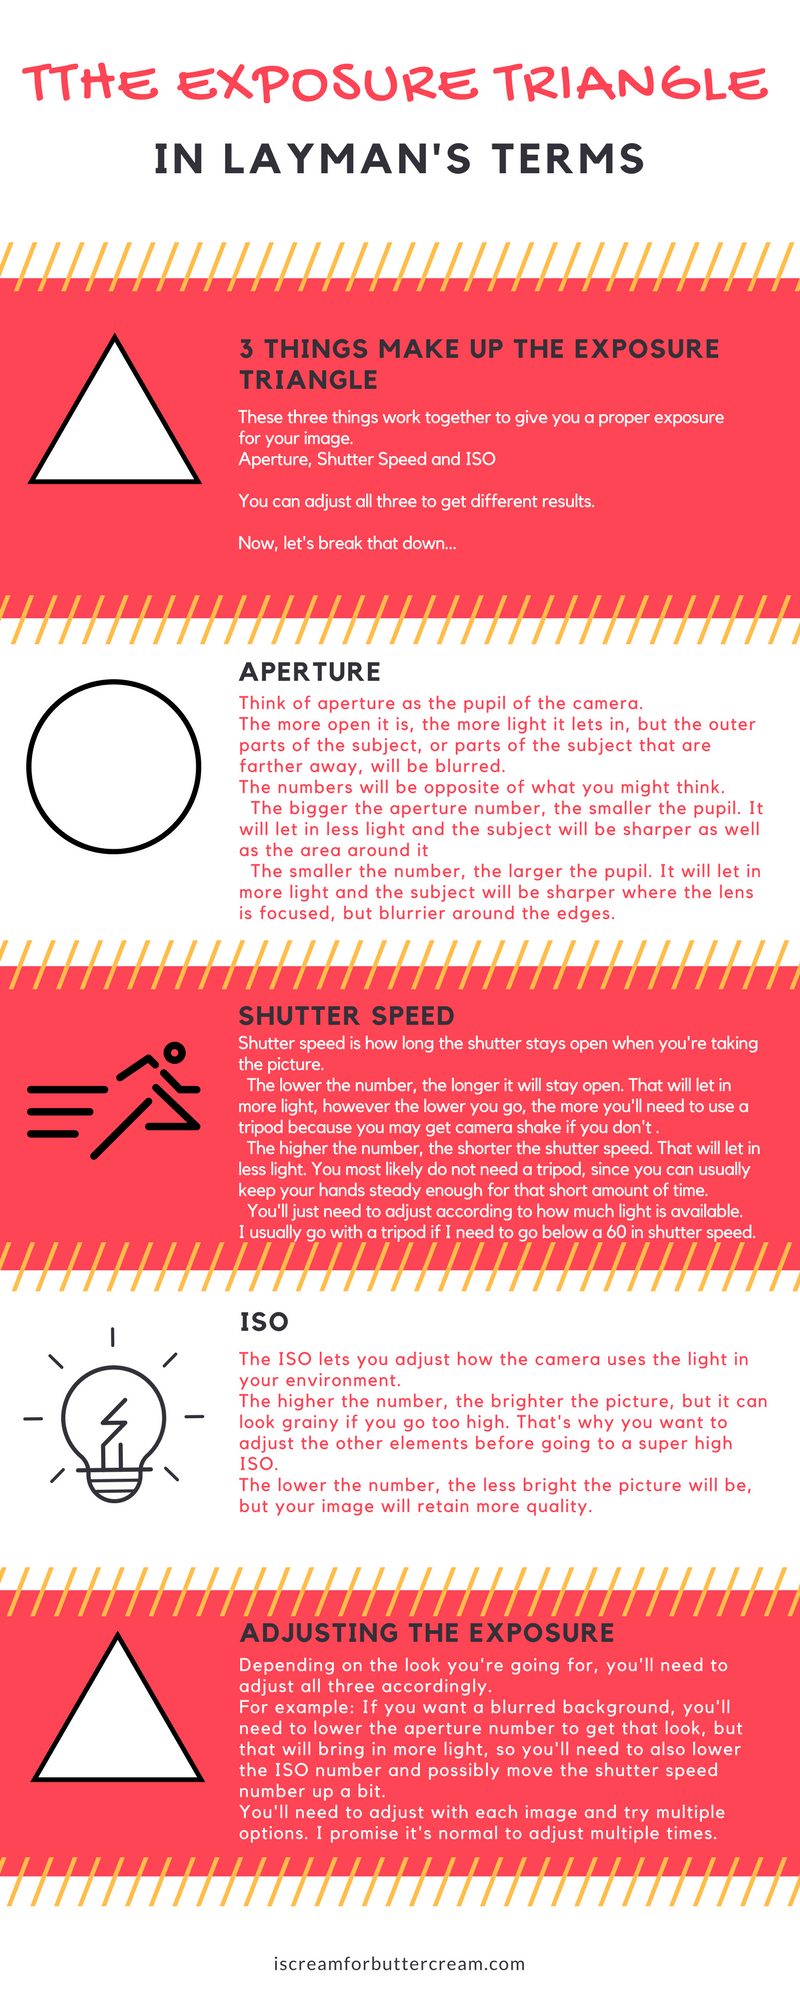
Without getting too technical on you, each time you take a photo, you’ll need to adjust these. That’s normal. You can’t set them up and then expect them to work each time.
Light changes and your environment changes, so you’ll need to adjust. (By the way, if you really want me to get more technical on you, just let me know because I’m happy to do a more in depth post about this.)
The main takeaway from this is that it will take some time to get used to the settings and each camera is set up differently. Just give yourself a challenge and a goal to practice with it even if it’s just ten minutes a day. I promise that each time, you’ll learn something new. I’m continuously learning and trying to improve.
The next thing you want to do is to make sure that you take LOTS of pictures. Take them from all different angles…top down, straight on, side view etc. Make sure to take some that are wide and then flip the camera and take some tall shots.
My best tips are to turn off your lights inside and get near a window or outdoor light source. This is important. If you leave your indoor lights on, it can really mess with the white balance and your photos could have yellow tint to them.
I normally use a pair of umbrella lights when shooting videos and pictures. I like using natural light, but I use the umbrella lights to help me out when it’s cloudy or dark on one side of my kitchen.
Here are some photos with different angles that I took while setting up for this post. You can see how the different backgrounds and props change the feel (or mood) of the picture and taking different shots at different angles makes things interesting.
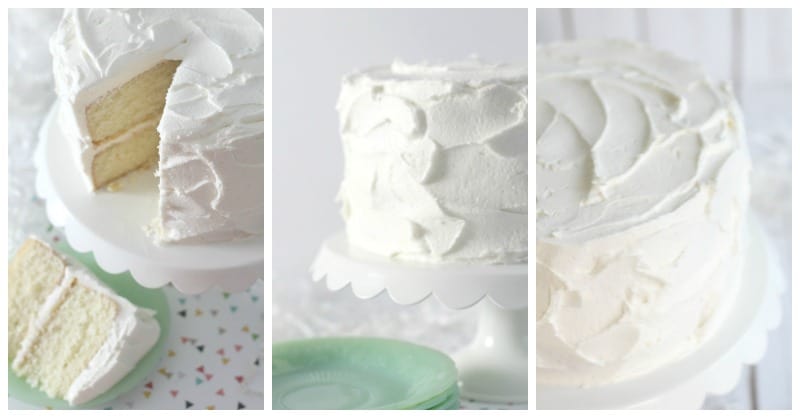
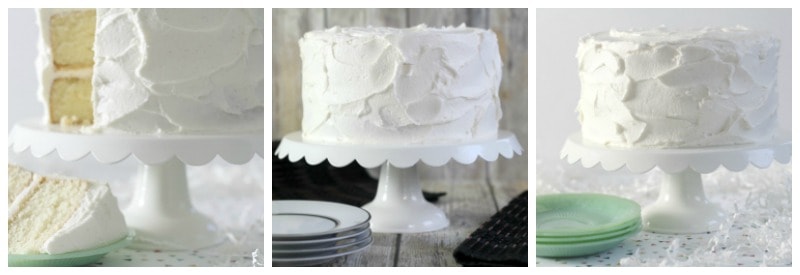
By the way, if that cake is making you hungry, you can find the recipe here: Favorite Vanilla Bean Cake
Other Resources I’ve found helpful:
The most helpful resource I’ve found is a Craftsy class I took on cake photography. I found it super helpful, because it’s specifically for cake. You can find the class here:
Another resource that was extremely helpful was Lindsay with Pinch of Yum’s e-book, Tasty Food Photography. It’s more for general food photography, but I learned so much about using light to your advantage. The neat thing about her book is that you can print it off if you want and then you’ve got it handy while taking photos.
You can check that out here: Tasty Food Photography” target=”_blank” rel=”noopener noreferrer”>Tasty Food Photography E-book
How to Edit Your Photos:
I know use Lightroom to edit my photos now, but when I first started, I edited my photos in Pic Monkey. Yes, there are more advanced ways to do it, but when you don’t have a ton of time and want a simple solution, I found Pic Monkey can do a good job.
You can check it out here: Pic Monkey
I’ve put together a tutorial video to show you my process for editing photos. Each photo doesn’t take long and I’ll go through the order of things I like to do.
PLEASE NOTE: Pic Monkey is no longer free, but it’s still more cost effective than Adobe Lightroom if you’re just starting out.
Check it out here:
There are other apps that you can use to edit photos, especially if you’re taking pics on your phone. Just do a quick search in your app store and make sure to read the reviews.
So there you have it. If you’ve read this entire post and gotten to this point, I wish I could see you in person and give you a piece of cake. Really! You deserve a gold star, at least! That was a lot of information at once and you got through it.
Finally, I want you to know that you don’t need a fancy set up to take good photos. I have a tiny kitchen and I promise, it CAN be done.
Now, your next challenge is to go out there, bake some delicious cakes and take their pictures! It’s a good excuse to just make more cake, right?



Kelly
Thank you so much for this!!! So helpful as I get my cake biz off the ground. I’ve been really bummed lately because my cakes are getting better and better, but my pictures are just sad. Now I want to bake a cake right away!!
Kara Jane
You’re so welcome! I hope it’s really helpful to you. It feels good when you start becoming proud of your photos and it really helps catapult your business 😉
Sarah
Fantastic, helpful post!!! Can you say where you got the small stand reflector? Looks like it’s bent in half? That looks like just what I need, but I can’t find one – help!
Kara Jane
Hi Sarah,
That little reflector actually came with my Lowell EGO light. You might be able to find one similar though at Amazon or B&H Photo. Hope this helps!
Sarah
And thanks – in advance!
Rana
I loved your post.
Thanks alot 🙂
Kara Jane
Oh thanks! I hope it was helpful. 🙂
Jessica
Thank you. This was very helpful and easy to follow. Do you have any alternative suggestions for a tabletop light as it appears the one you liked has been discontinued?
Thanks!
Kara Jane
I need to go back and update this post as I’ve continued to learn even more about cake photography, since I’ve written it. I don’t have another suggestion for the lowel ego light, but I did find this tutorial on how to make your own, which seems interesting: https://www.jennifermeyering.com/diy-lowel-ego-light-box/ Basically just make sure you’re using the daylight light bulbs, because the other ones are too yellow.
I use my window for natural light, but if it’s a little too dark, or too many shadows on the other side, I have some umbrella lights I bought from Amazon. I just did a search for umbrella lights. They aren’t the ones with the soft boxes on them, although those would work as well, but these actually have the white umbrellas that come with them. It wasn’t expensive either…I think I got a set of two for around $25. I’m actually using these more than my lowel ego now because I can easily move them around and lower or raise them. As you saw, I have a tiny space and these lights will fold into themselves and can get really small. I hope this helps!