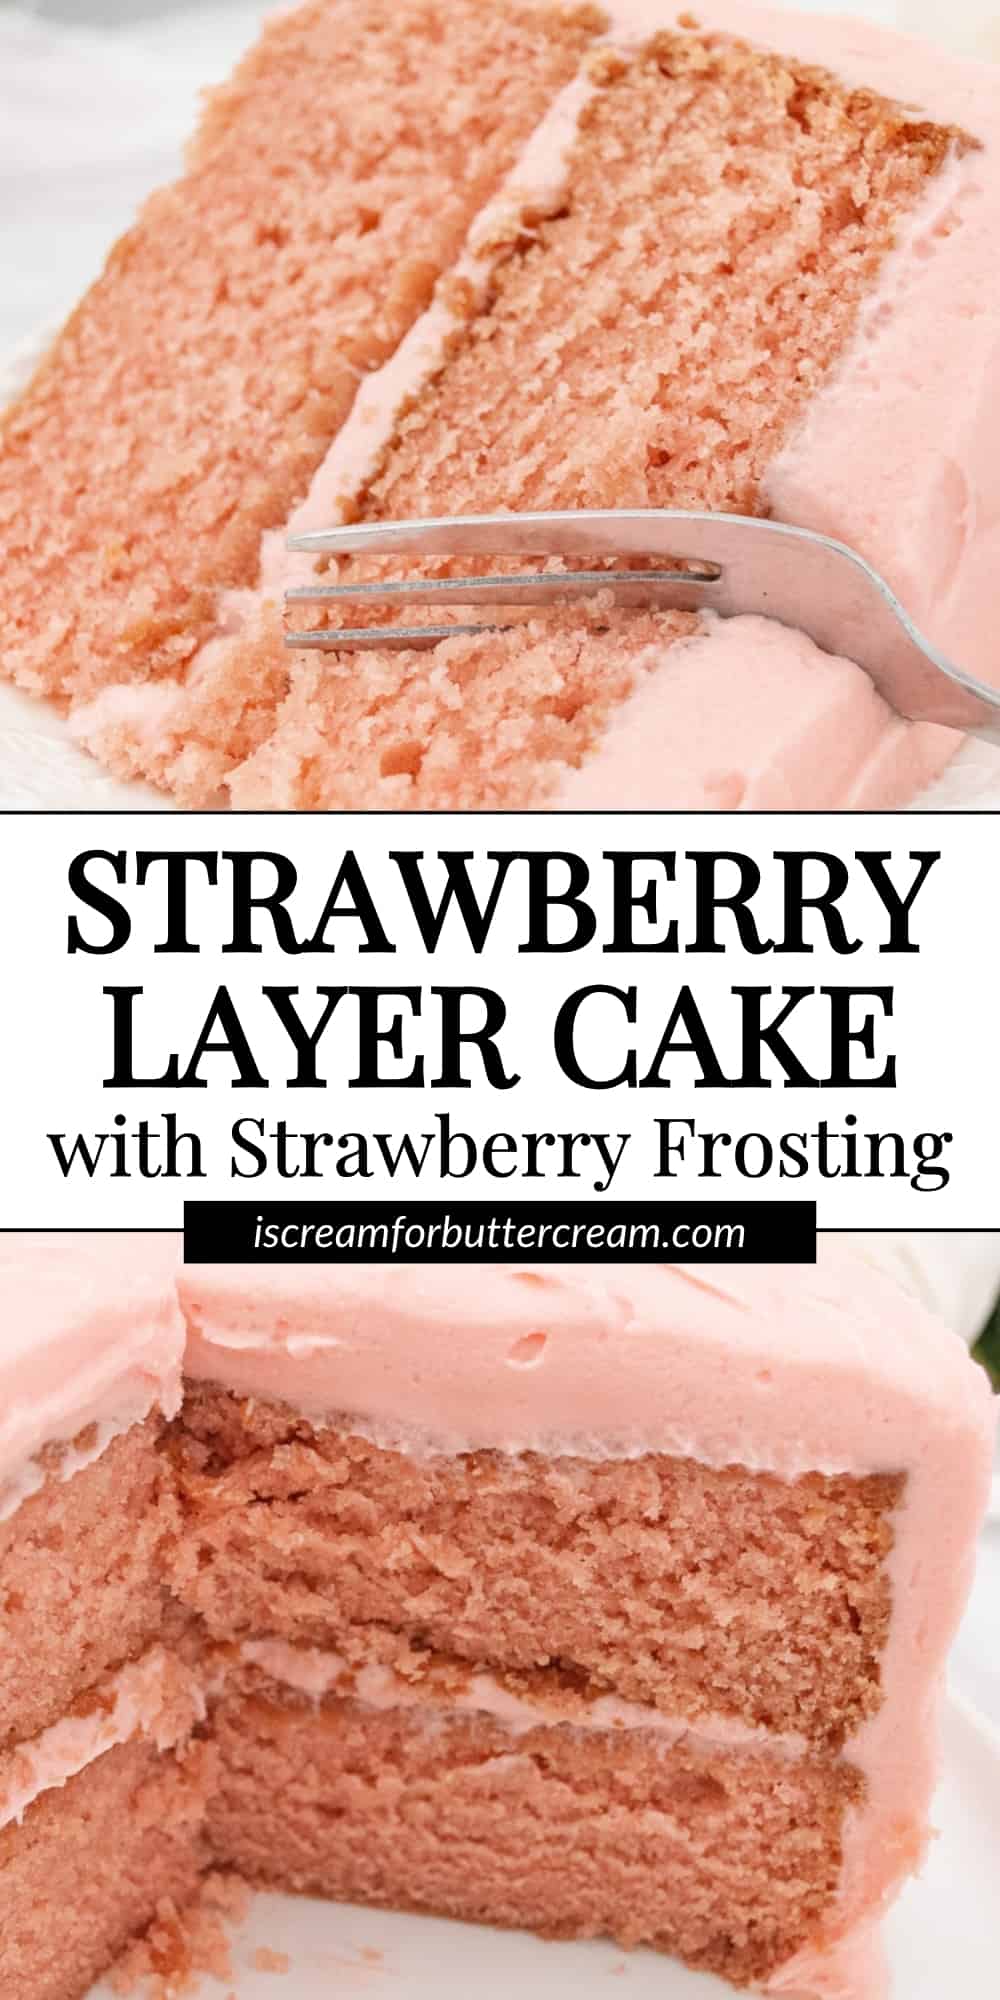
The best moist strawberry layer cake recipe with strawberry frosting that comes together beautifully from scratch without using real strawberries.
Hey there! Before you scroll, there’s lot’s of important stuff in the post!…including the FAQ section, which may answer any questions you might have about this recipe. Enjoy!
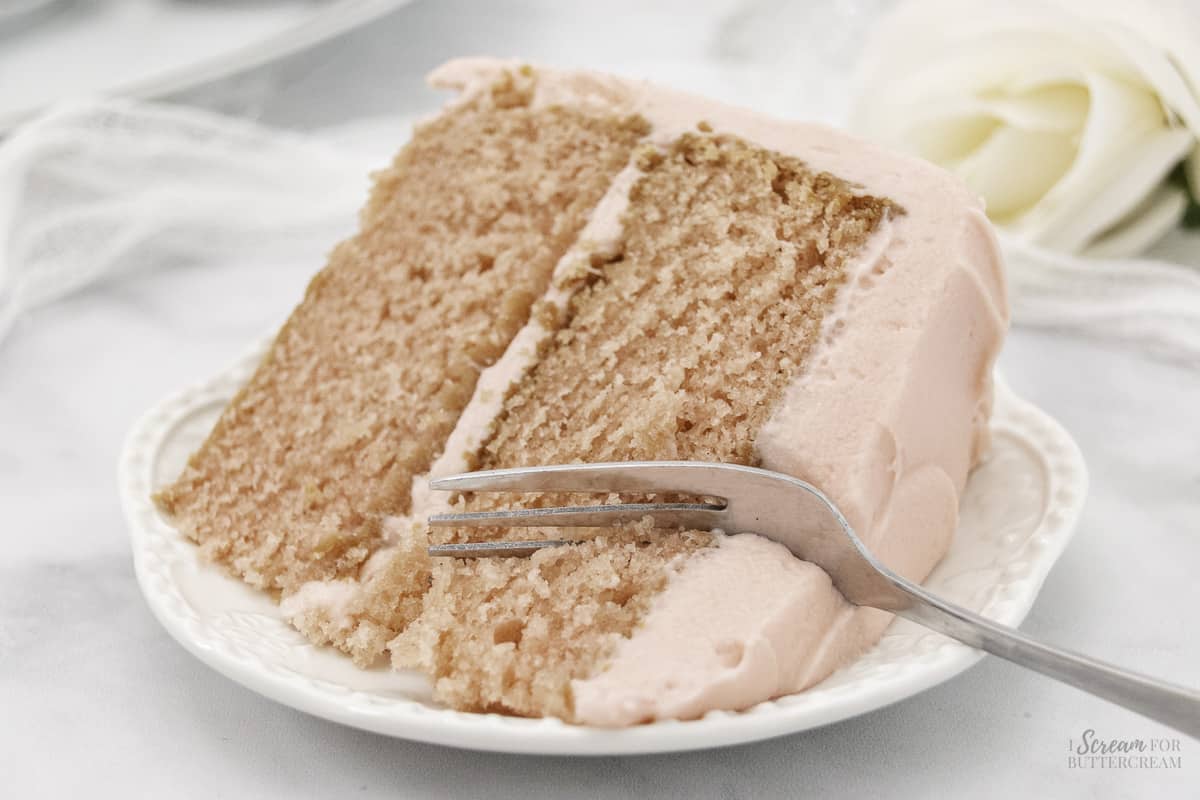
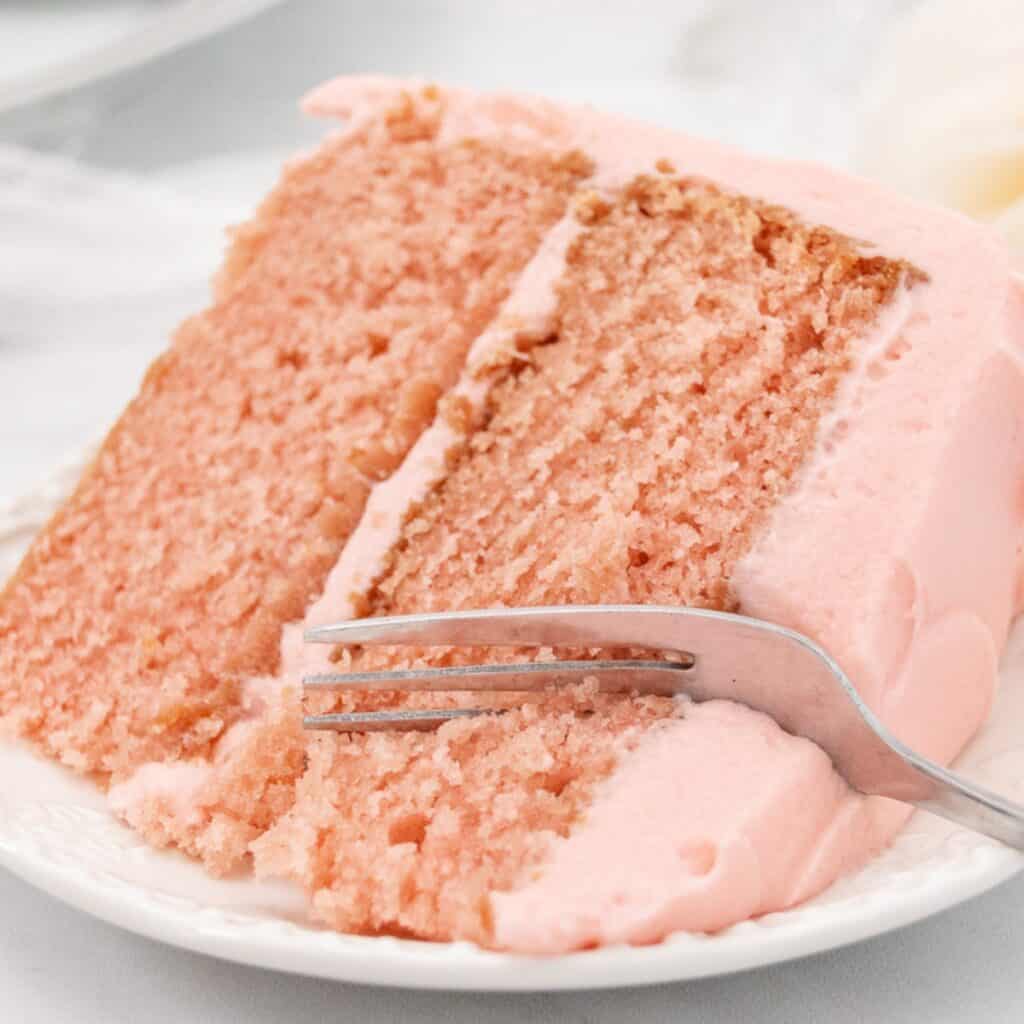
This strawberry layer cake is a game-changer in the world of strawberry cakes. You’ll swear it’s made with the juiciest strawberries, but there’s actually not a single real strawberry in it.
Yes, this cake pulls off a lot of strawberry flavor without using actual strawberries, making it a year-round treat, no matter the season.
One of the best things about this cake is the buttercream frosting. It’s versatile and can be made with cream cheese or without. This frosting on top of the moist strawberry cake layers is perfection.
What’s special about this cake?
- Homemade and from Scratch
- No Need for Fresh Strawberries
- Perfect Frosting & Cake Combo
- Super Moist and Full of Strawberry Flavor
How to make this moist strawberry layer cake:
(The full printable instructions are in the recipe card below.)
Step 1:
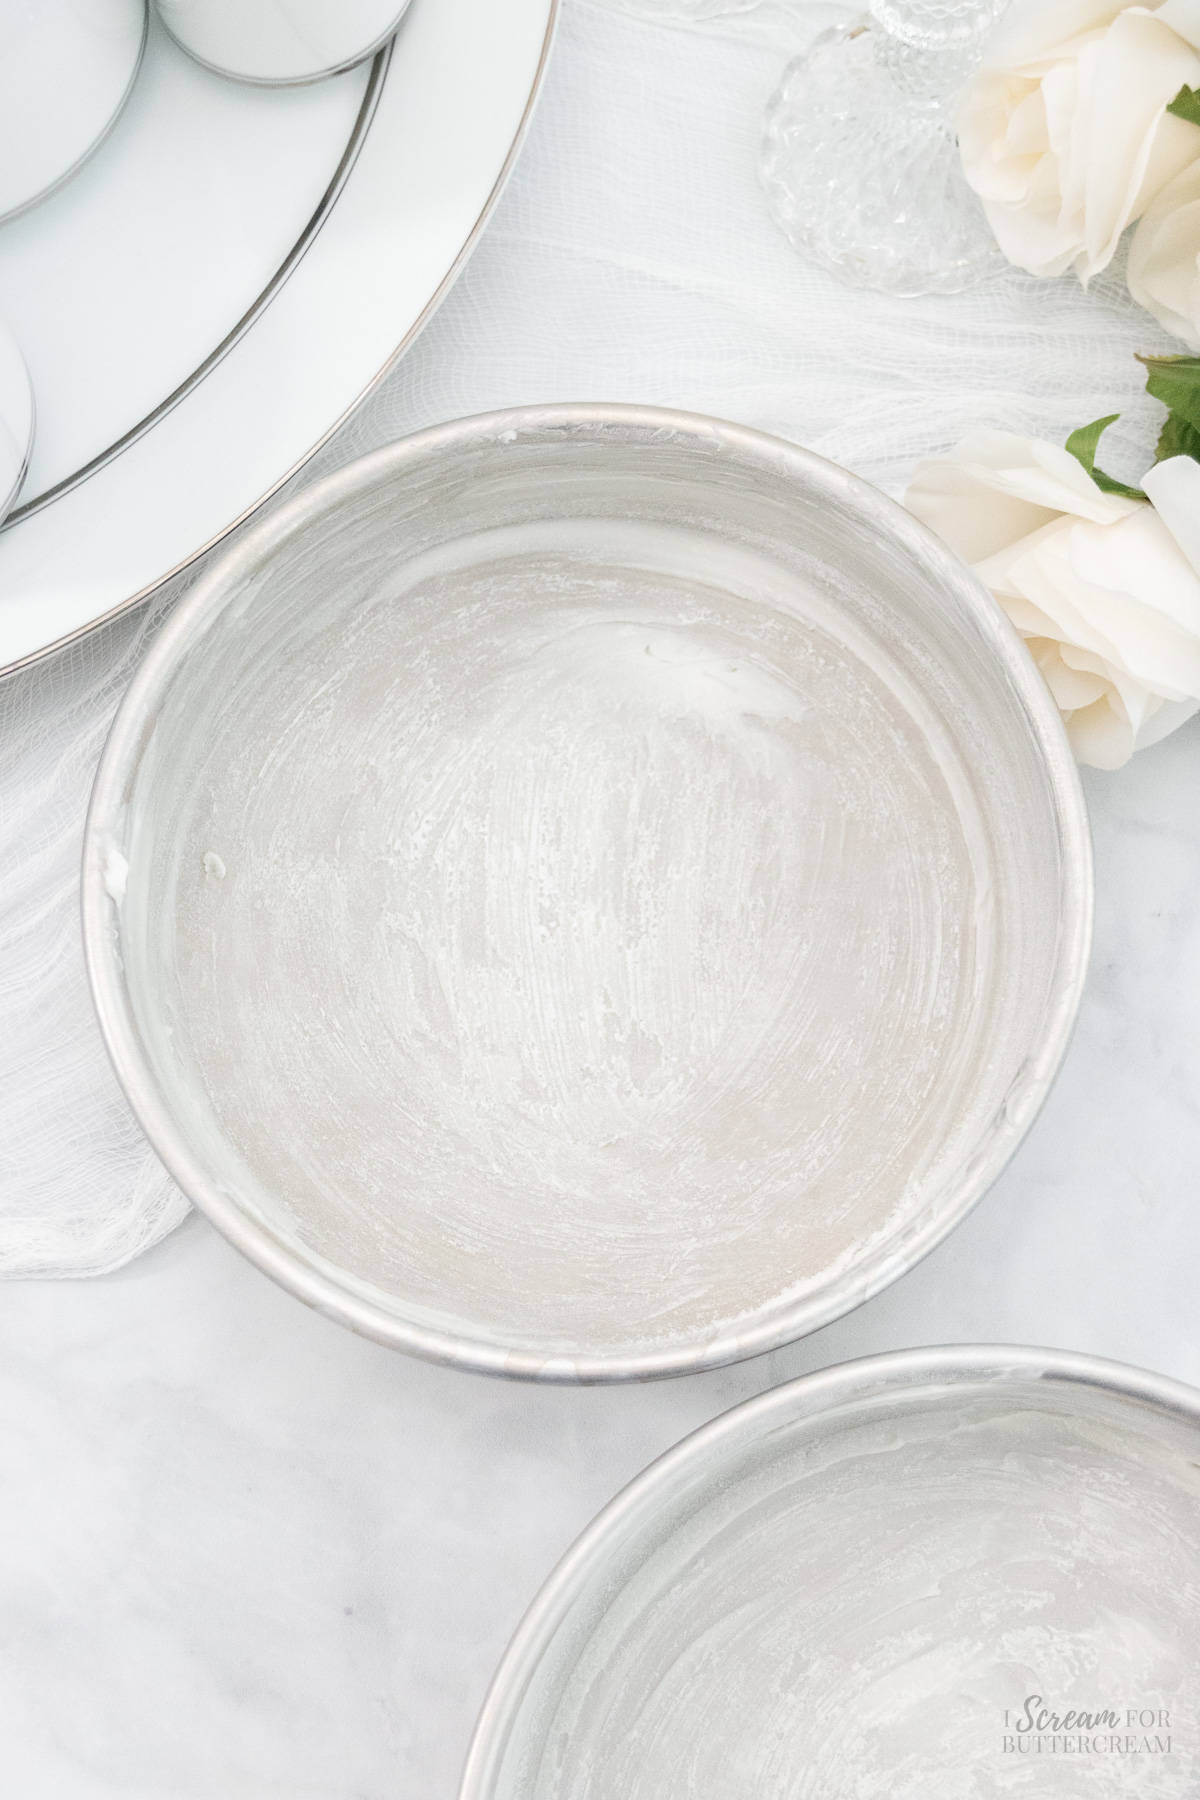
Preheat the oven to 325 degrees F and grease and flour two, 8-inch round cake pans and set aside.
Step 2:
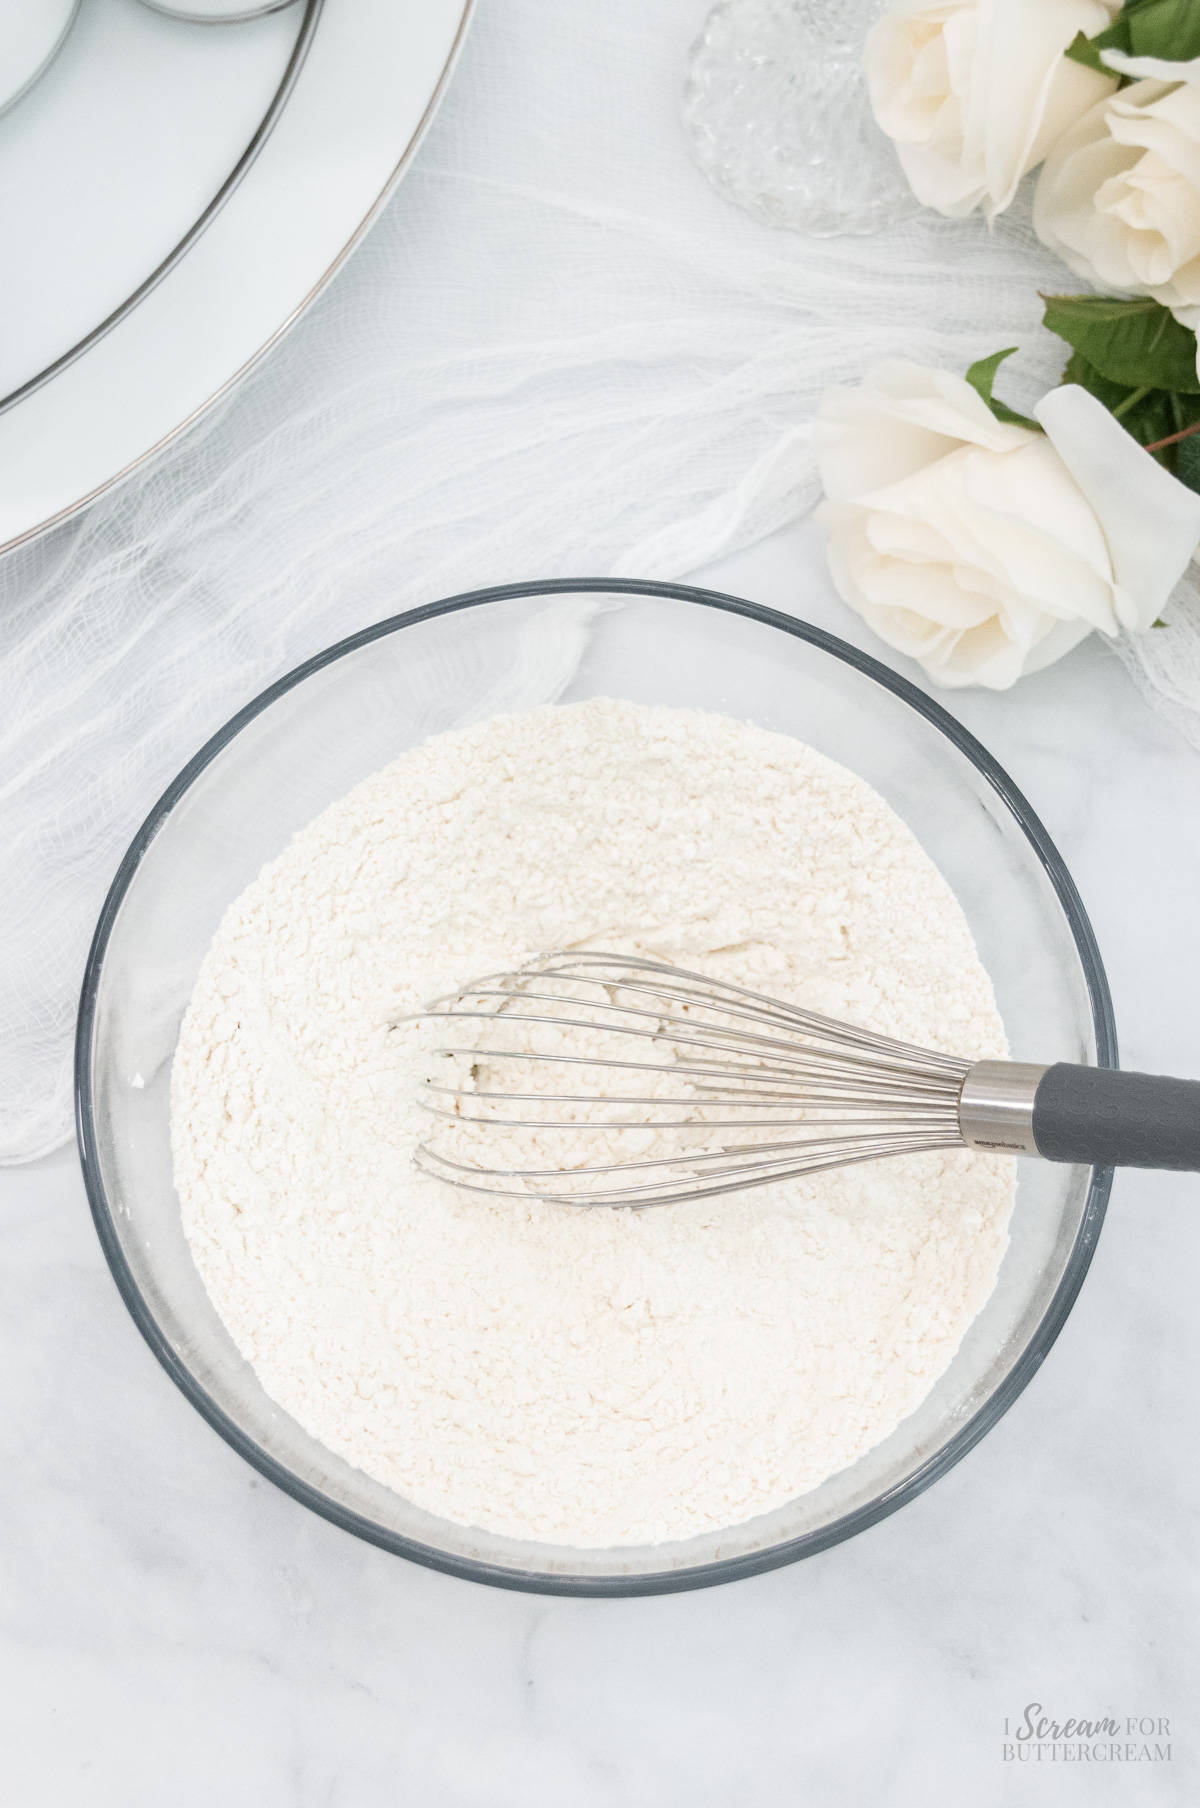
In a medium-sized bowl, combine the flour, baking soda, baking powder and salt. Whisk well and set aside.
Step 3:
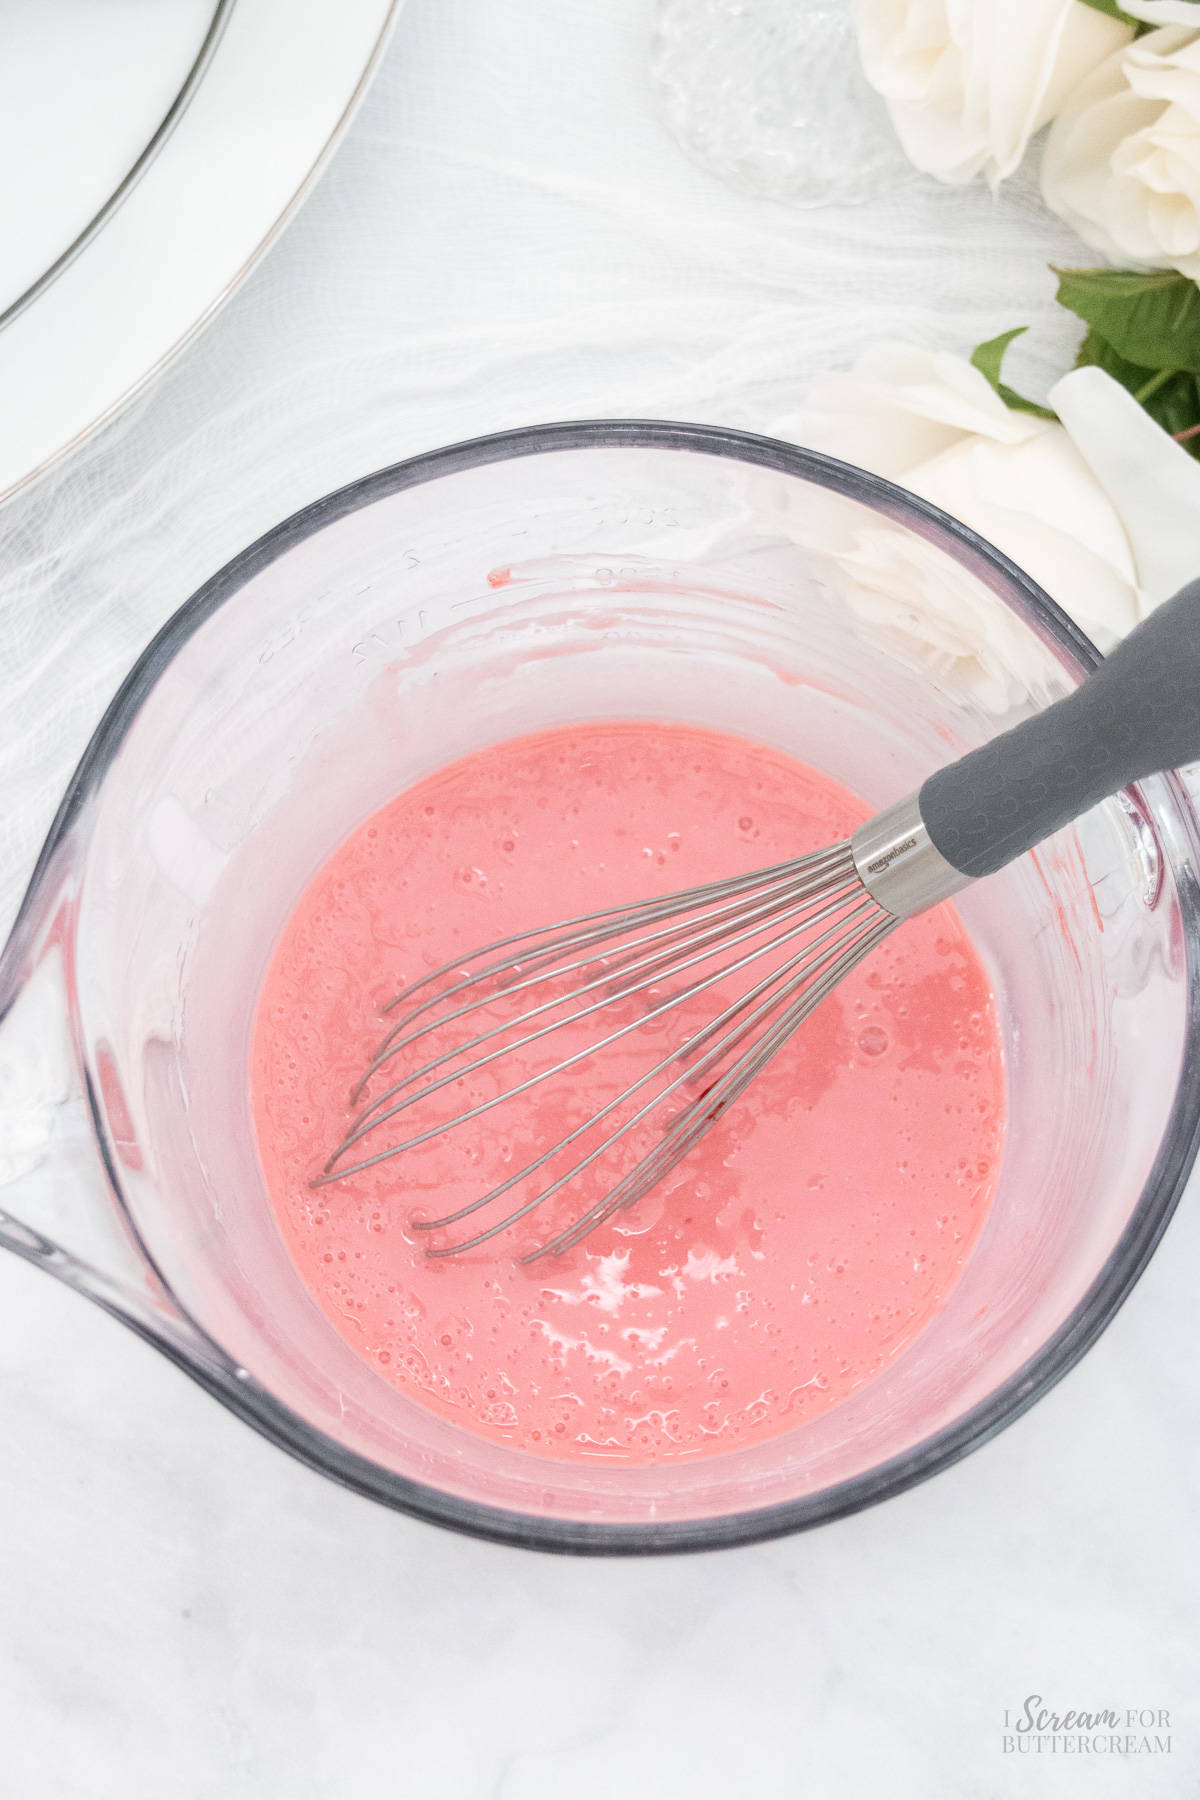
In another bowl, add the oil, yogurt, milk, vanilla extract, strawberry extract, jam and a couple drops of food coloring. Whisk well and set aside.
Step 4:
In a large mixing bowl, add the room-temperature butter and the sugar and mix with an electric mixer on medium-high for several minutes until light and fluffy.
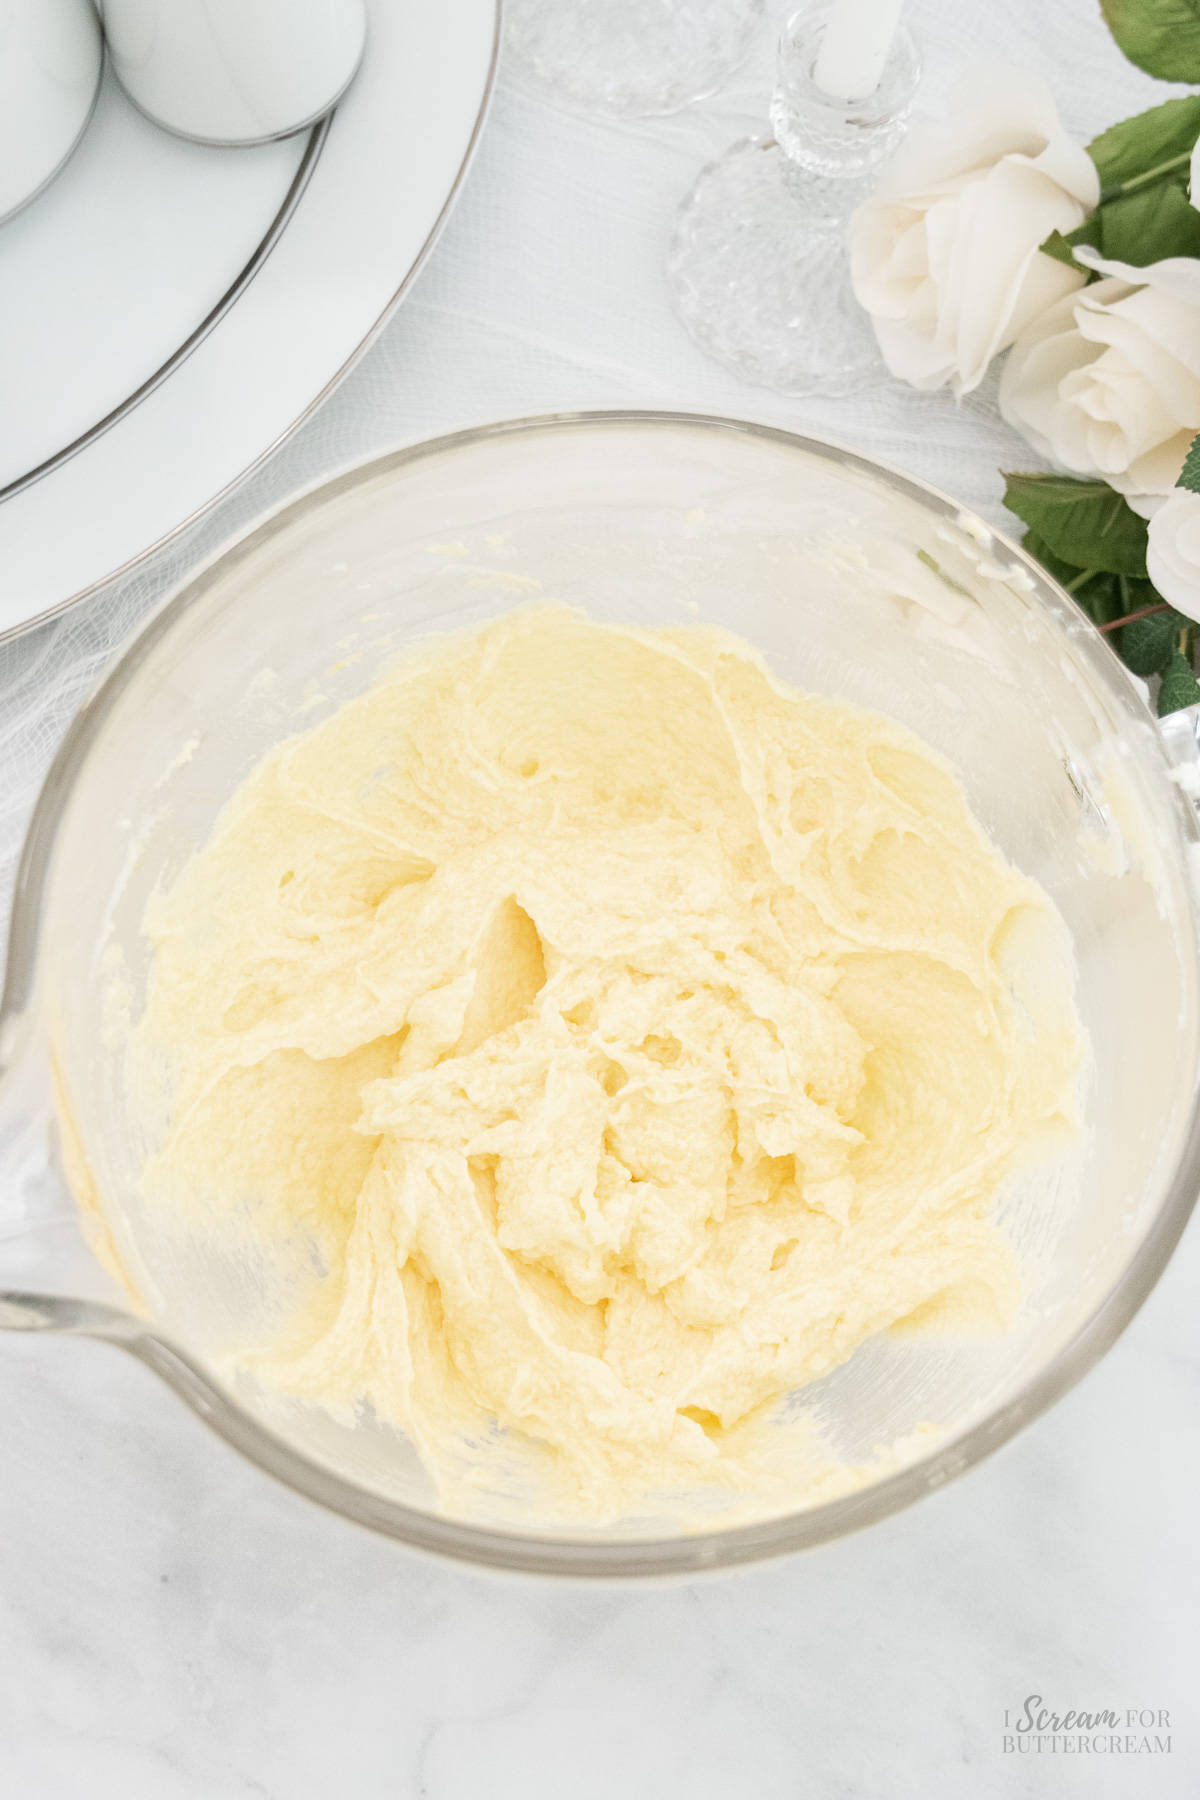
Step 5:
Add the eggs one at a time, mixing on medium for only about 20 seconds after each.
Step 6:
Alternately add in the dry mixture and the liquid mixture to the butter mixture, starting and ending with the dry mixture.
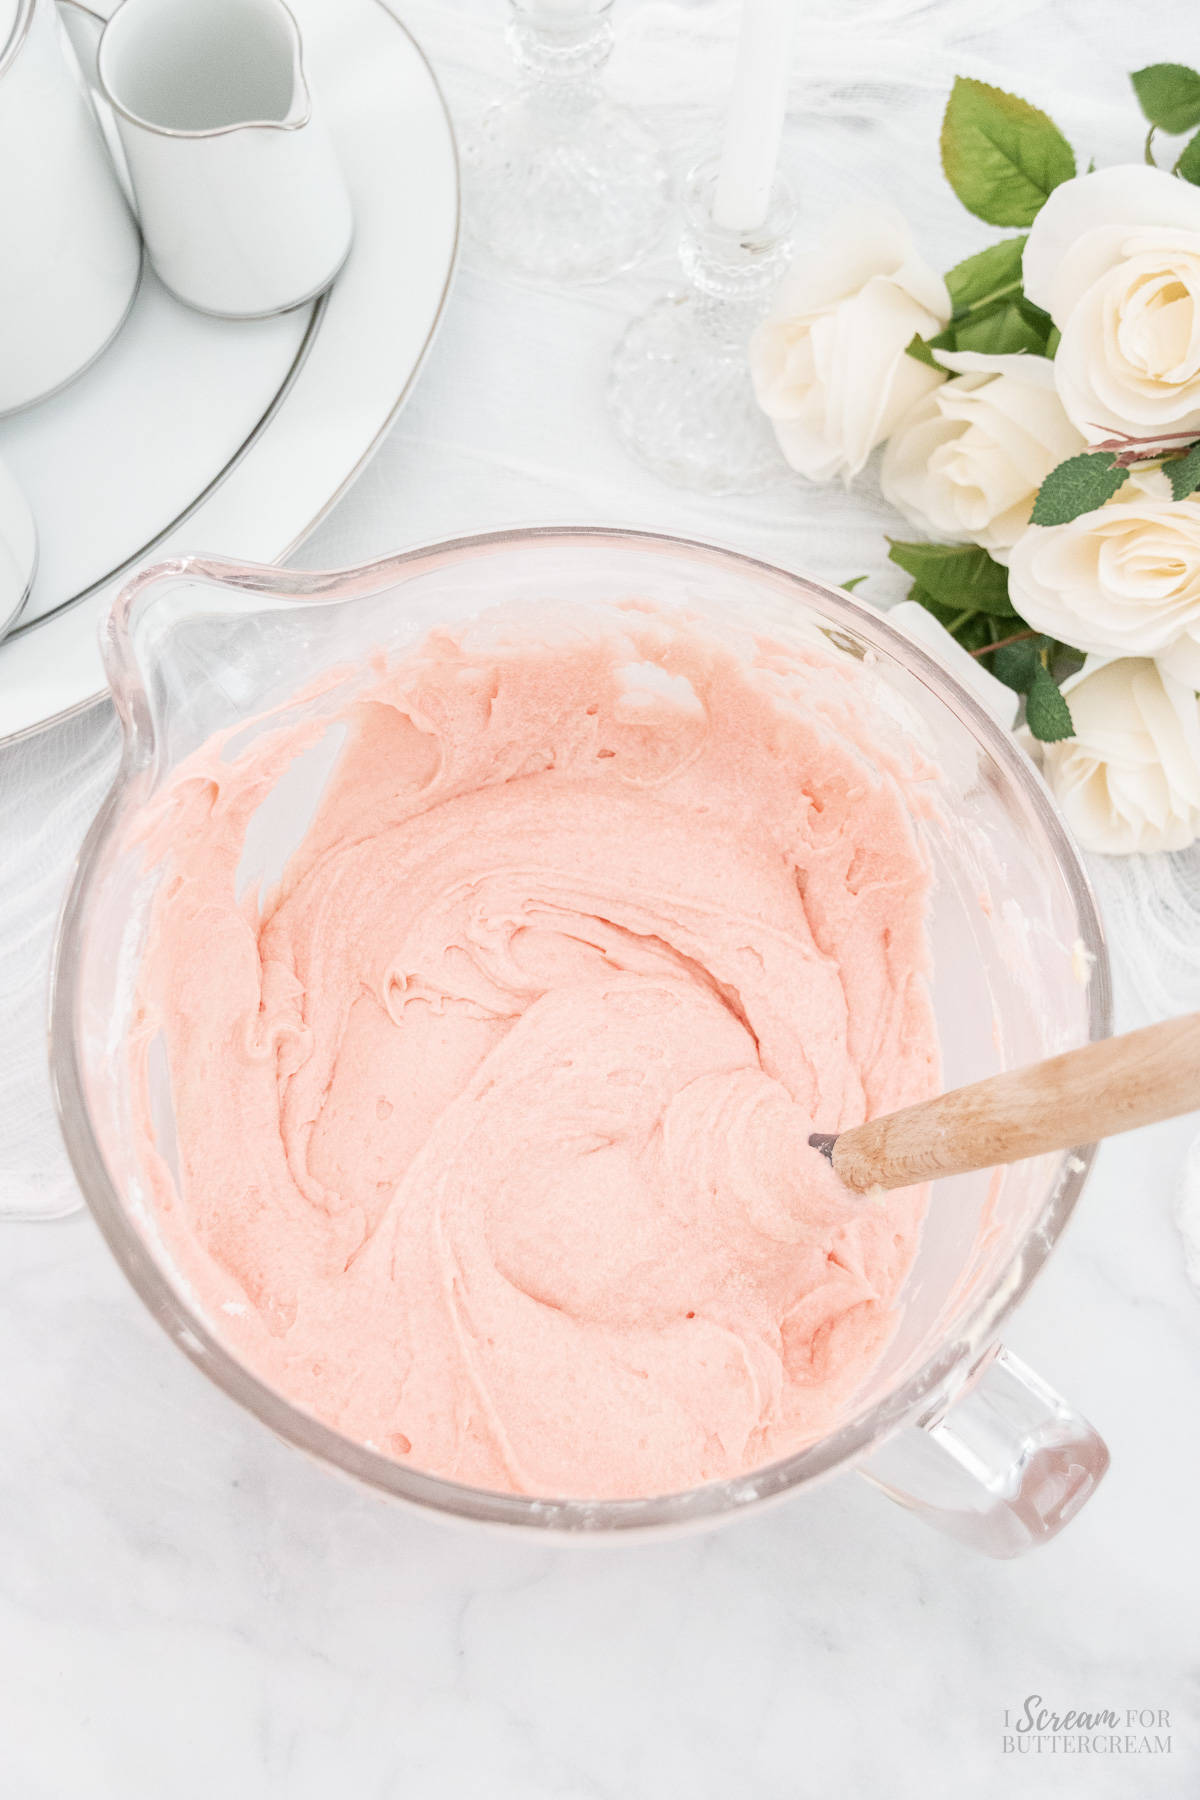
Step 7:
Pour the batter into the two prepared, 8-inch round cake pans, smooth the batter evenly and bake at 325 degrees F on the middle rack for approximately 55-65 minutes.
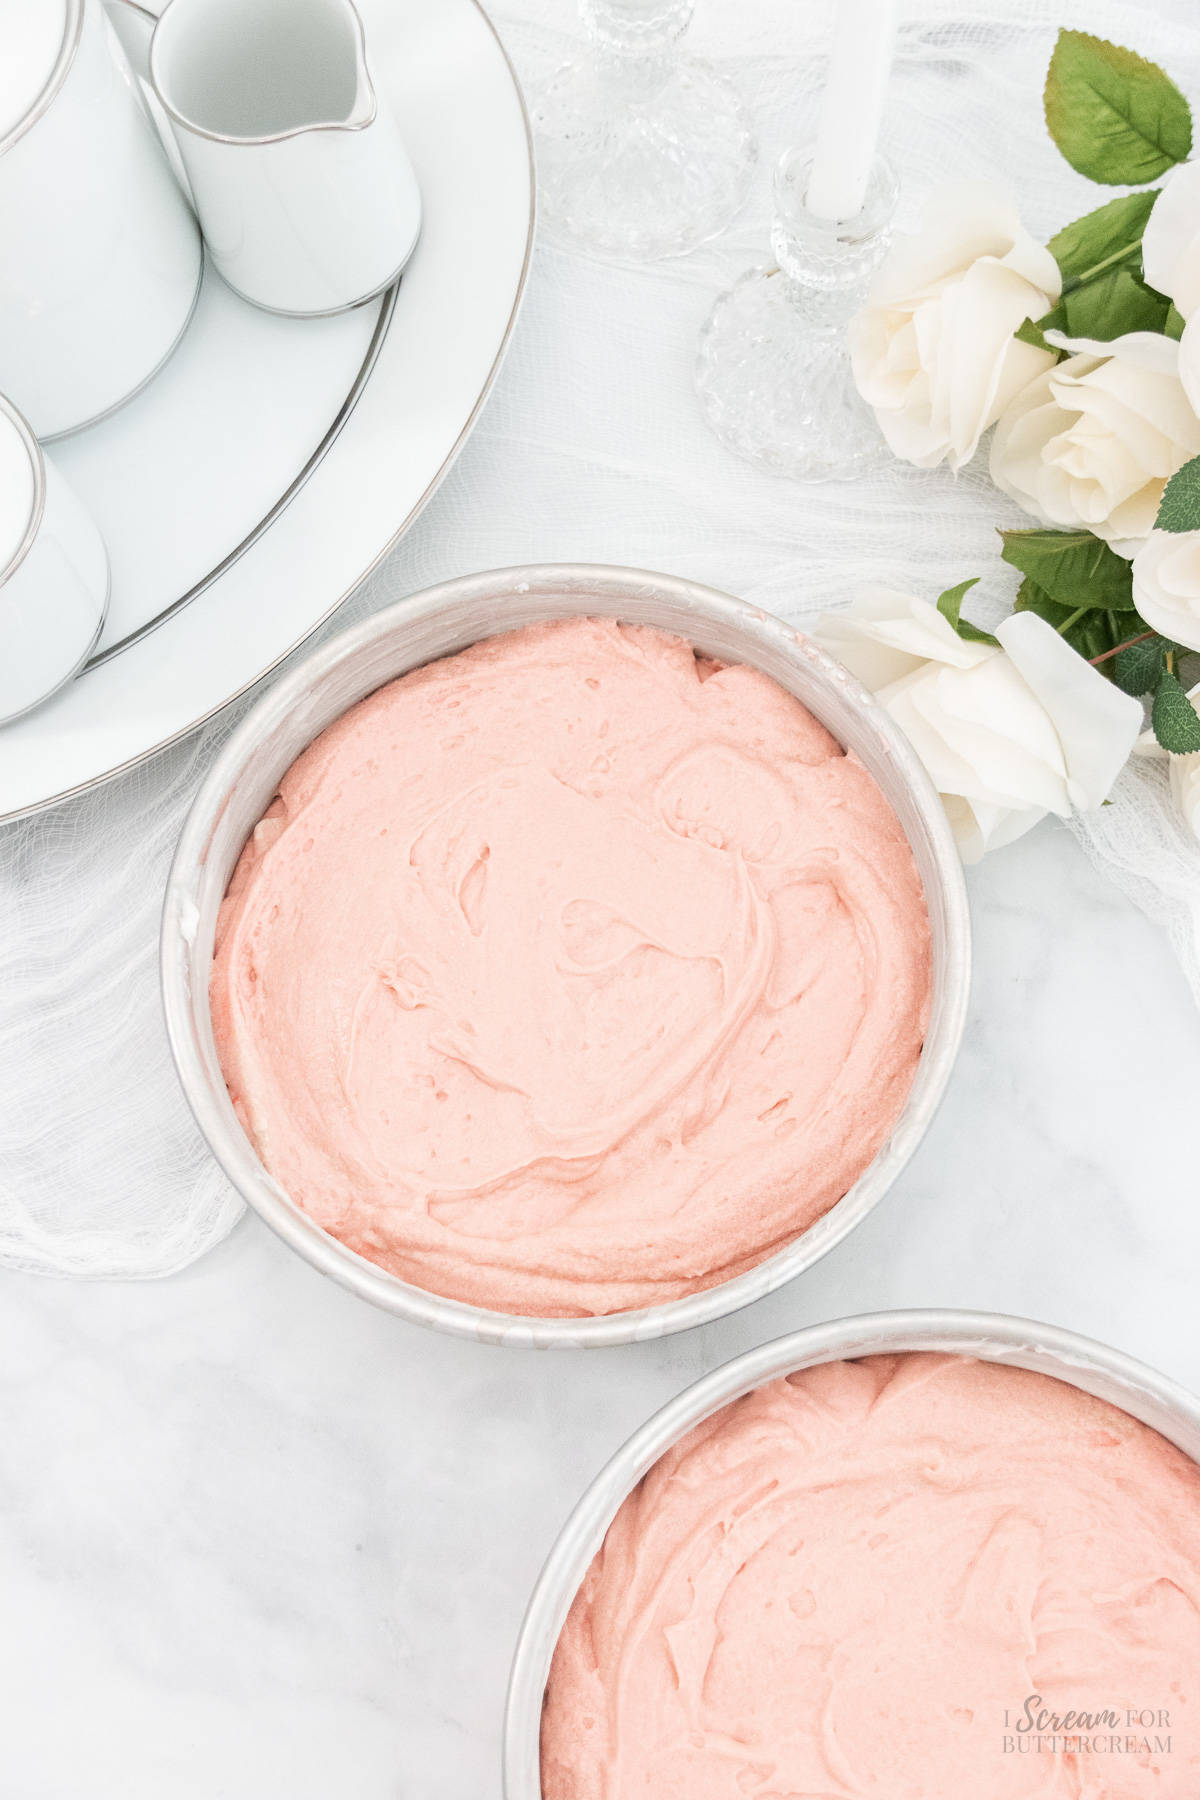
Step 8:
Remove the cake layers from the oven and place them on a wire rack, still inside the pans, for about 20 minutes.
After 15 minutes turn the cake layers out of the pans and set them onto the cooling racks and allow them to cool completely before adding filling and frosting.
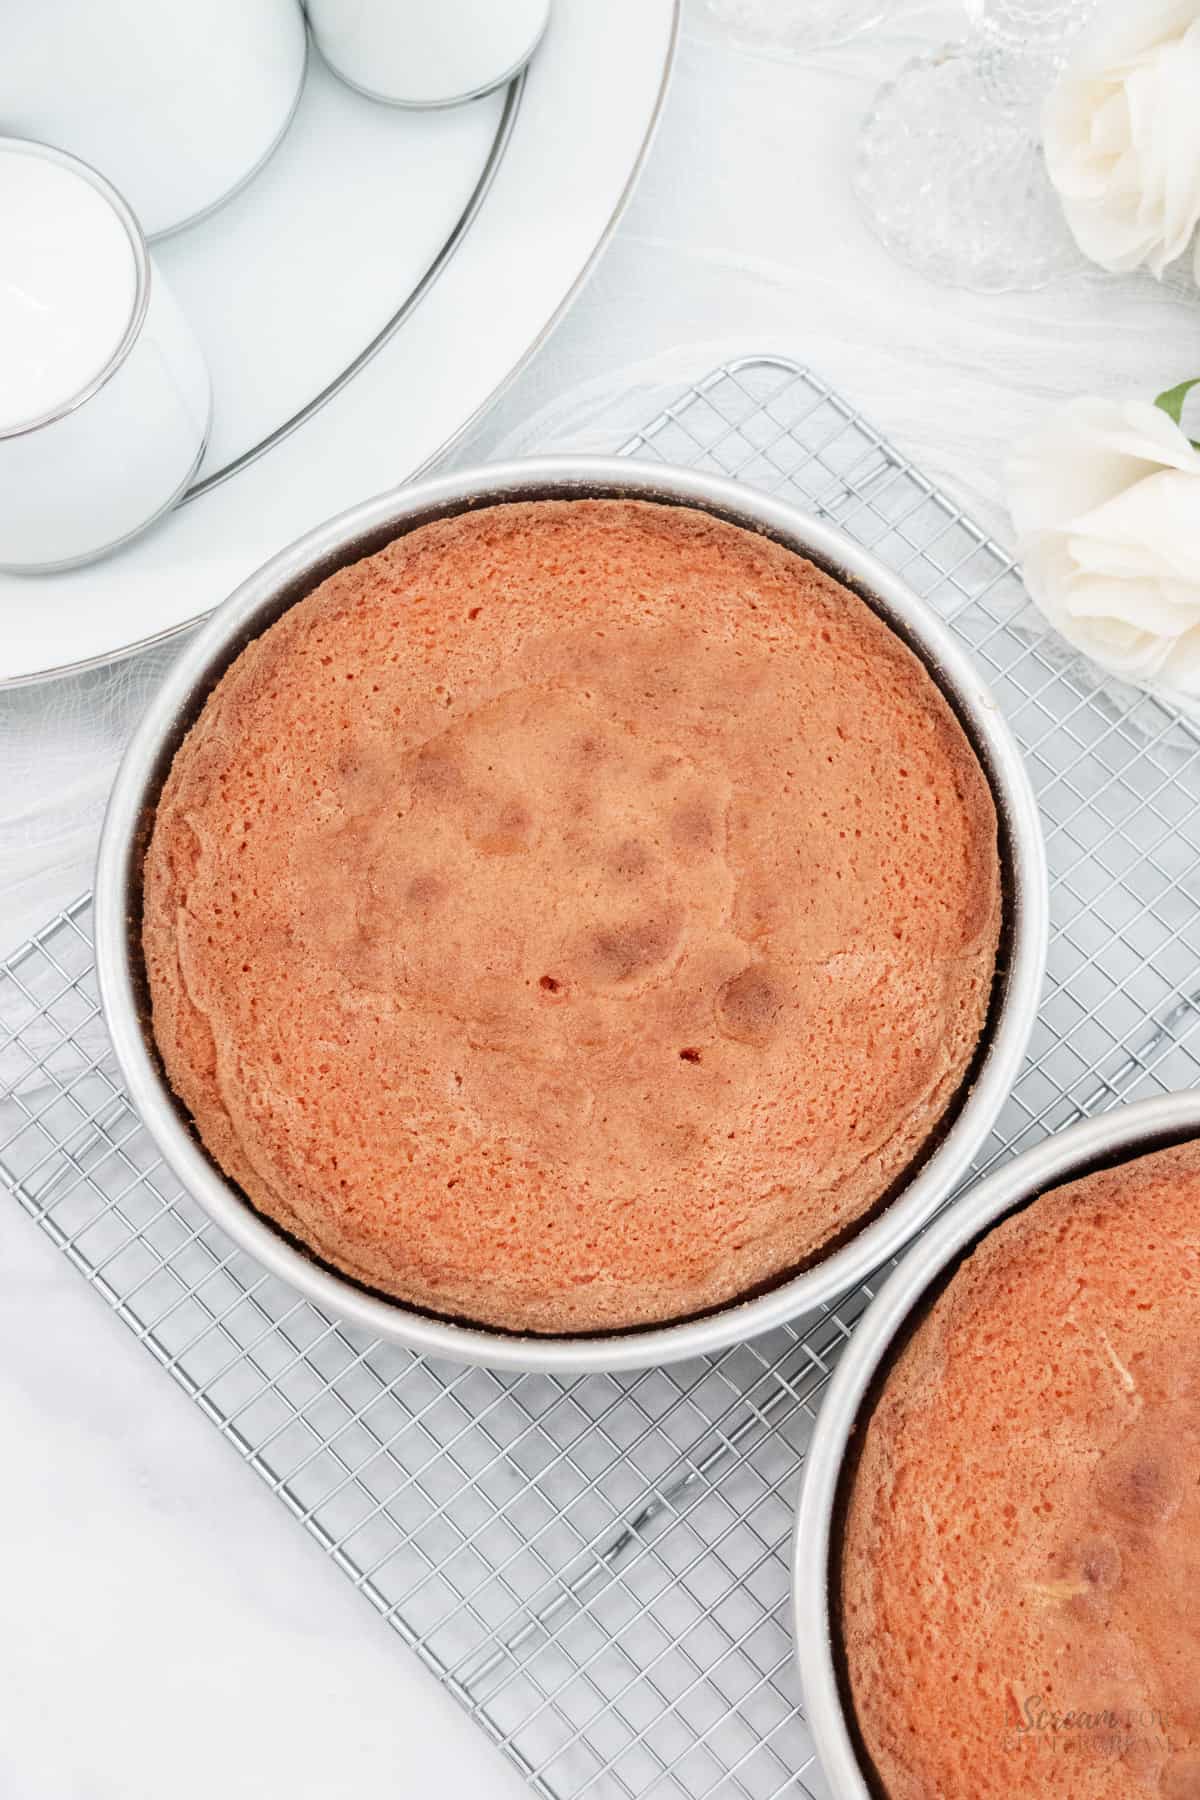
Step 9:
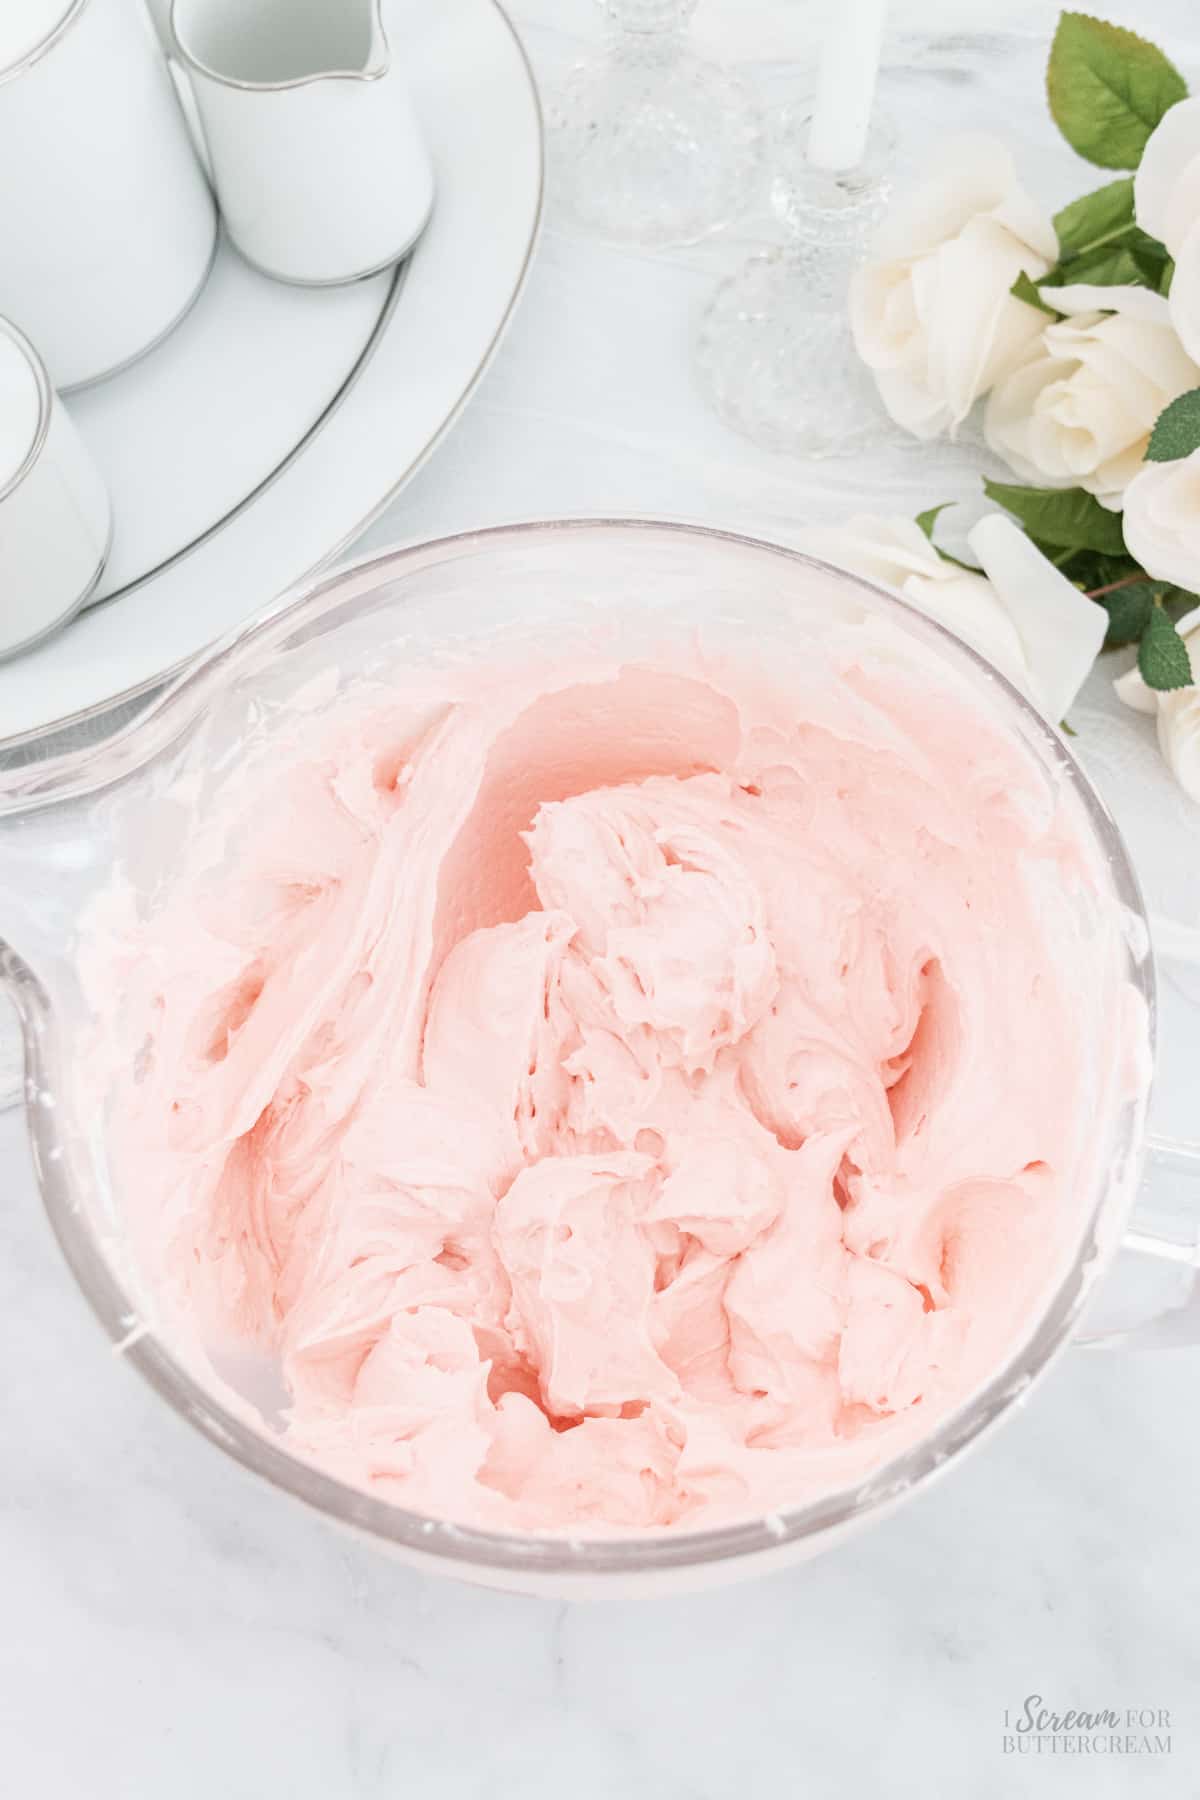
Make the buttercream. In a large mixing bowl, mix the butter and cream cheese with an electric mixer on medium-high speed until smooth.
Add the jam and mix again. Scrape down the sides of the bowl and add the confectioner’s, salt, vanilla extract, strawberry extract and mix on low until combined, then on medium to medium-high until well mixed.
Step 10:
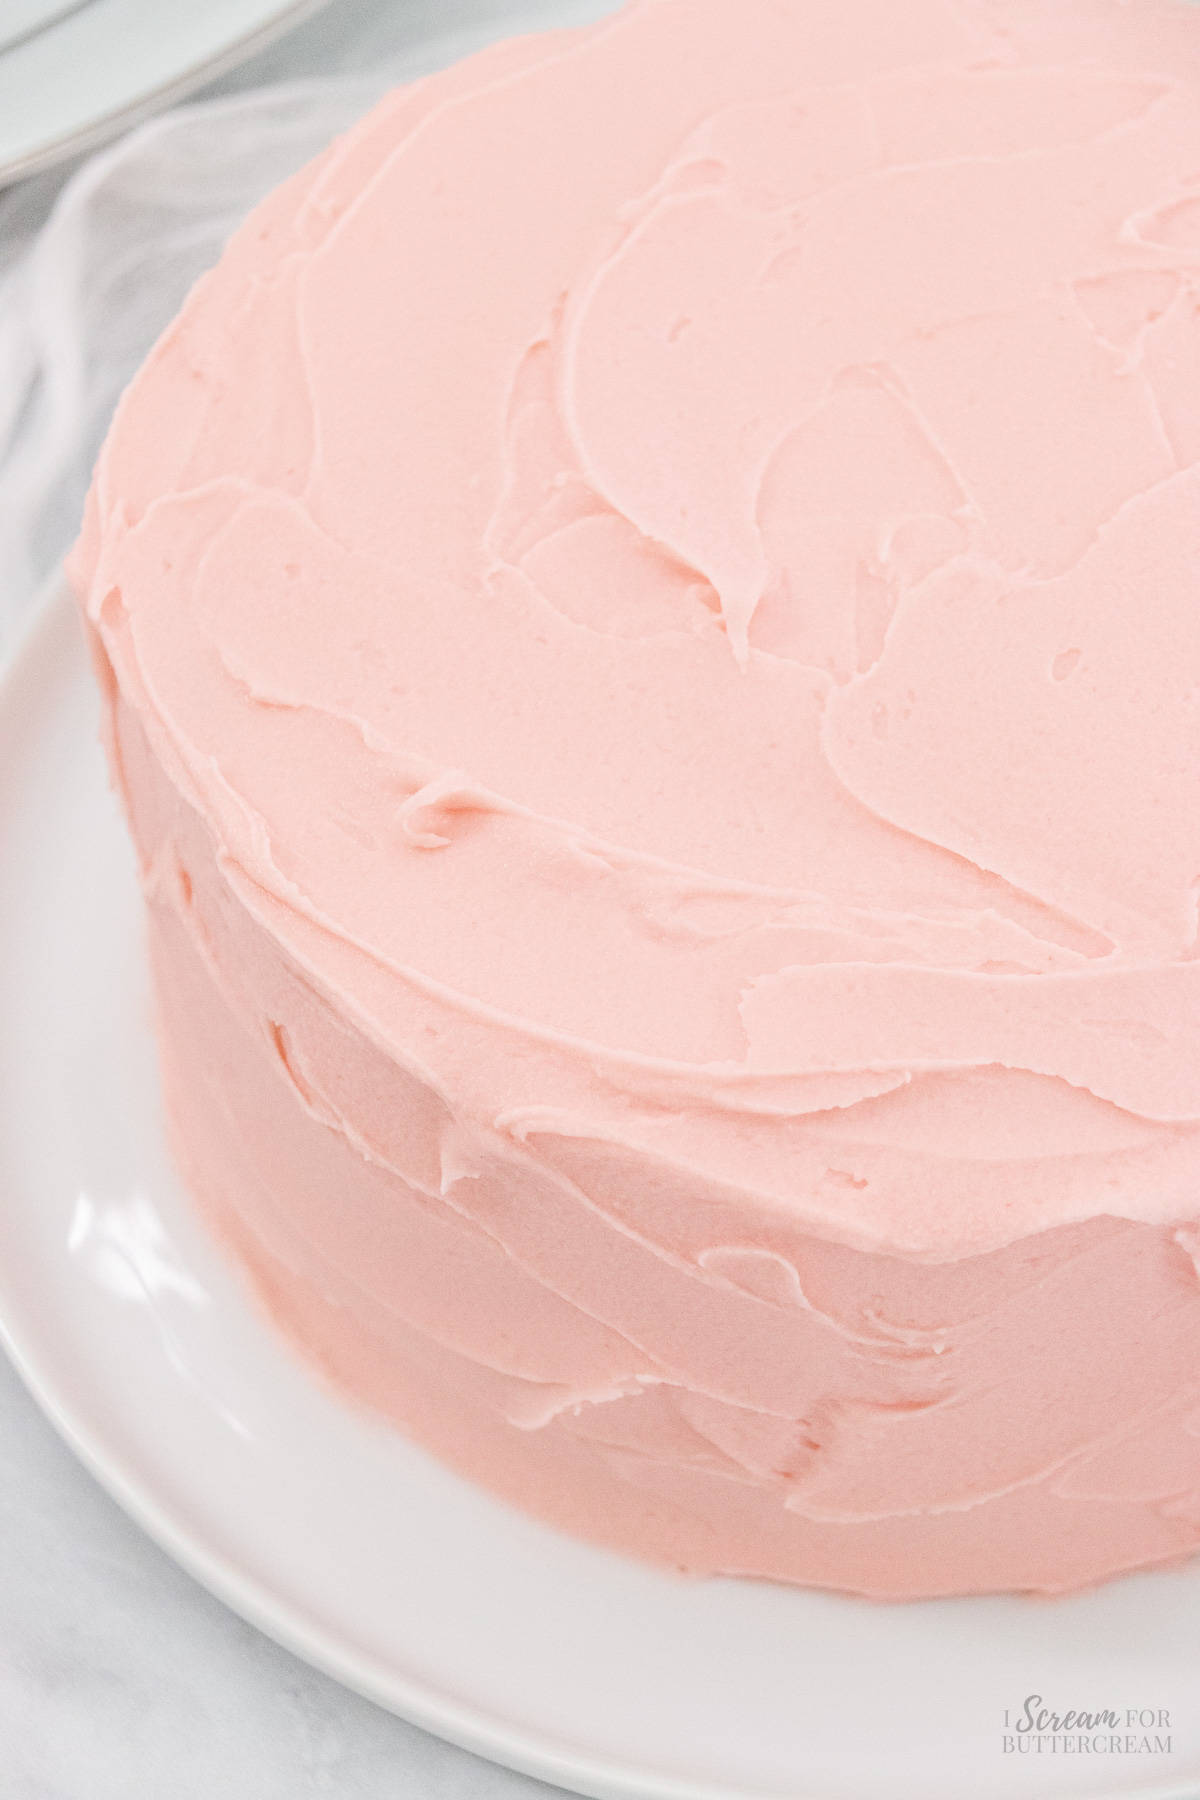
Spread the buttercream onto completely cooled cake and decorate as desired.
Note About Recipe Measurements: I write recipes using volume (cups) measurements because here in the U.S., this is what people are more familiar with and I don’t want anyone to feel intimidated when baking. For metric/weight measurements, click the ‘metric’ button under the ingredients in the recipe card below. The weights are converted by a program, not me, and it’s just a best guess. I can’t guarantee that weighing the ingredients will produce the exact same results, since I test recipes using volume measurements.
Recipe
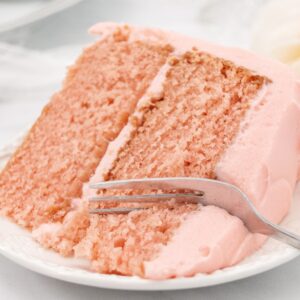
Moist Strawberry Layer Cake with Strawberry Buttercream
Ingredients
For the cake:
- 2 ⅔ cups all-purpose flour (Measured correctly: spooned into the measuring cup and leveled off – don't scoop and pack the flour into the cup)
- ½ teaspoon baking soda
- 1 ½ teaspoons baking powder
- ½ teaspoon salt
- 2 tablespoons vegetable oil
- 1 cup strawberry yogurt, near room temperature
- ½ cup milk, near room temperature
- 1 teaspoon vanilla extract
- 1-2 teaspoons strawberry extract
- ⅔ cup strawberry jam, near room temperature
- Pink gel food coloring as needed
- 1 cup unsalted butter, near room temperature (2 sticks)
- 1 ⅔ cups granulated sugar
- 3 large eggs, near room temperature
For the frosting:
- 1 ½ cups unsalted butter, near room temperature (3 sticks)
- 1 (8-ounce) package cream cheese, room temperature (if you do not want cream cheese frosting, just replace this with 1 more cup of unsalted butter.)
- ⅓ cup strawberry jam
- 6 cups confectioner’s sugar
- 1 teaspoon vanilla extract
- ½ teaspoon strawberry extract
- Pinch of salt
- 1-2 tablespoon milk or cream (if making the non cream cheese version)
- Pink gel food coloring as needed
Instructions
For the cake:
- Preheat the oven to 325 degrees F.
- Grease and flour two, 8-inch round cake pans and set aside.
- Make sure to set the cold ingredients out, so they can come closer to room temperature before making the batter.
- In a medium-sized bowl, combine the flour, baking soda, baking powder and salt. Whisk well and set aside.
- In another bowl, add the oil, yogurt, milk, vanilla extract, strawberry extract, jam and a couple drops of food coloring. Whisk well and set aside.
- In a large mixing bowl, add the room-temperature butter and the sugar and mix with an electric mixer on medium-high for several minutes until light and fluffy.
- Add the eggs one at a time, mixing on medium for only about 20 seconds after each.
- Scrape down the sides and bottom of the bowl and mix again on medium, only until everything is well incorporated.
- Alternately add in the dry mixture and the liquid mixture to the butter mixture, starting and ending with the dry mixture.
- Scrape down the sides of the bowl and mix again only for 7-10 seconds or so. The cake batter should be thick and fluffy at this point.
- Pour the batter into the two prepared, 8-inch round cake pans, smooth the batter evenly and bake at 325 degrees F on the middle rack for approximately 55-65 minutes. Ovens vary, so start checking at about 50 minutes. A toothpick inserted into the center of each layer will come out with a few moist crumbs on it or clean, but no raw batter. Also note that because they’re baked at 325 degrees F, they will bake up with flat tops.
- Remove the cake layers from the oven and place them on a wire rack, still inside the pans, for about 20 minutes. If you try to flip out the cakes earlier, they might stick or fall apart as this cake is very delicate.
- After 15 minutes turn the cake layers out of the pans and set them onto the cooling racks and allow them to cool completely before adding filling and frosting.
For the buttercream:
- In a large mixing bowl, mix the butter and cream cheese with an electric mixer on medium-high speed until smooth.
- Add the jam and mix again.
- Scrape down the sides of the bowl and add the confectioner's, salt, vanilla extract, strawberry extract and mix on low until combined, then on medium to medium-high until well mixed.
- Scrape down the sides of the bowl and mix again.
- Check the consistency. If it's too thick add a tablespoon of milk and mix well. Repeat until the desired consistency is reached. (It probably will not need any milk at all if making the cream cheese version.)
- Check if it needs salt and add if needed.
- Add food coloring as needed.
- Spread buttercream onto completely cooled cake and decorate as desired.
- See the notes section for best ways to store this cake, serve it and for more FAQs.
Notes
Nutrition
How to Share
I’d love for you to share this recipe link or tag it, but please do not share screenshots or copy/paste the recipe to social media as the content and photographs are copyright protected and we (bloggers) work really hard on our content. Sharing the link, tagging us on socials and pinning it is super appreciated though!
Video:
Tips & FAQS:
Yes, you can use plain yogurt, but using strawberry yogurt adds extra strawberry flavor.
The strawberry extract gives this cake a lot of strawberry flavor. You can omit it and the cake will still bake up wonderfully, however, it just might not have as much strawberry flavor in it.
If you want the cake to have a nice strawberry flavor, then you’ll want to add the jam.
If you’re looking for a cake using real strawberries, you might look at other recipe options as that would not lend enough strawberry flavor to this cake and the recipe would have to be reworked as real strawberries would add a lot more water content to the batter. Not adjusting the other ingredients could cause all kinds of problems.
No, you can omit that if you don’t want your cake to have a pink color.
Unsalted is always best because you can estimate the proper amount of salt that will be added plus salted has a different water content than unsalted. However, if you’re unable to get unsalted butter, you can use salted in the cake and the buttercream, but omit the additional salt that each recipe calls for.
The butter needs to be at room temperature so that it will emulsify (mix) better with the sugar.
In my non-scientific explanation, basically, all the molecules need to really get in there and intermingle.
The other ingredients are best used at the same temperature because adding cold milk and eggs to the warmer butter and sugar mixture, can sometimes make the butter cold again and cause it to clump up.
It’s not the end of the world if this happens, but it’s better if you can prevent it.
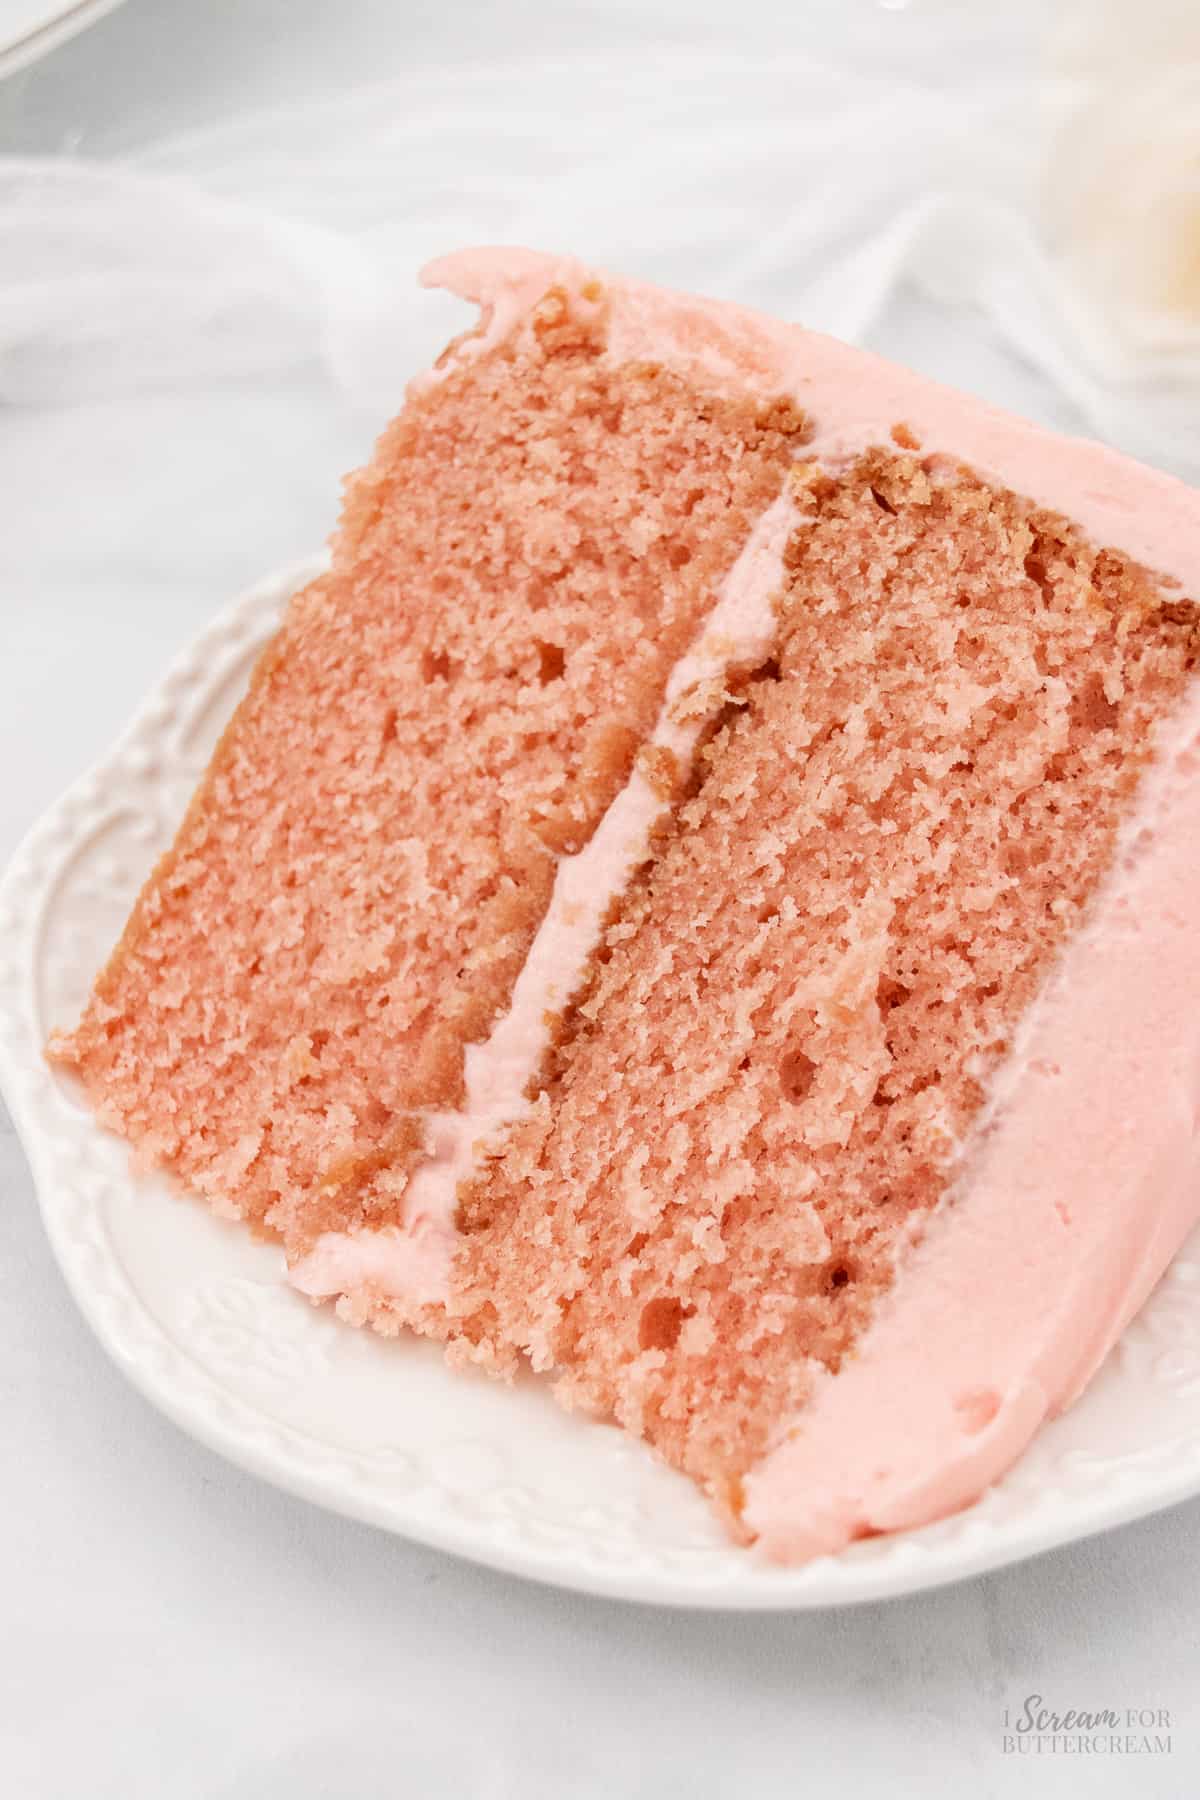
This cake is done baking when a toothpick inserted into the center of each layer comes out with a few moist crumbs on it or clean, but no raw batter.
This cake can be made ahead of time and frozen if desired. Let the baked cake layers cool completely, then wrap in plastic wrap and foil and place in the freezer for up to two months.
To thaw, place the wrapped cake layers on the counter at room temperature and let thaw completely, then remove the wrapping. Once defrosted, fill and frost.
This cake should be stored in an airtight container in the refrigerator and can last up to 5 days.
Most cakes are best served close to room temperature, especially when made with butter like this one as they can firm up quite a bit in the fridge. If the cake is cold, set it out to come closer to room temperature for about 15-20 minutes before serving.
I have not tested this recipe out as cupcakes, but it may work just fine. Fill 2 cupcake pans (24 cupcakes) with cupcake liners and fill with batter about ⅔ of the way full. Bake at 350 degrees F (instead of 325 degrees F) and start checking for doneness at around 20-25 minutes.
Probably although I haven’t tried it out. If you do try it, make sure to grease and flour the bundt pan very well so that it doesn’t stick. Bake at 325 degrees F for about the same amount of time although it will likely take longer to bake since a bundt pan is deeper.
Do not pull it out until the cake is fully baked. The cake will be firmer to the touch and not jiggly and a toothpick inserted into the cake will come out either with a few moist crumbs on it or clean.
Yes, however, if you want to bake this recipe in two, 6-inch pans, you won’t want to use all the batter as it might overflow the pans since you’ll be using smaller pans.
Pour the batter about ⅔ of the way up each 6-inch pan and use any leftover batter to make a couple of cupcakes. Make sure to start checking for doneness about 15-20 minutes earlier, since the pans are smaller. It may not be done that early, but that’s when you want to start keeping an eye on it.
If you have three, 6-inch pans, then just divide all the batter between the three 6-inch pans. The layers will be a bit thinner than usual, so you will want to start checking for doneness about 20 minutes earlier, just in case.
Yes, however, you will need more batter as this recipe only makes enough batter to fill two, 8-round pans. To get enough batter for the two, 10-inch round pans, just mix up a recipe and a half and then divide between the two 10-inch pans. The cake may need to bake up a bit longer, but just keep an eye on it.
Yes, however the layers might be a little thinner than if you’d baked the batter in two, 8-inch round pans. Bake at the same temperature and start checking the cake for doneness about 10-15 minutes earlier or so, since the batter won’t be as deep in the pans and will bake faster.
Probably although I haven’t tried it out. If you do try it, make sure to grease and flour or spray the pan, then bake at 325 degrees F for about 40 minutes although that time may need to be adjusted slightly, give or take. Keep an eye on it a little earlier and know that it may need to bake a little longer. The cake is done baking when a toothpick inserted into the cake comes out either with a few moist crumbs on it or clean.
This is a fairly delicate cake. It can be used for stacking, however you’ll need to make sure you use a proper support system (dowels whether wood or plastic and cake boards between tiers).
As an Amazon Associate, I earn from qualifying purchases.


Robin
Can’t wait to try this one. Looks incredibly moist & delicious.
Kara
Awesome! I hope you love it!
Robin
I’m sure I will. I love all of your recipes and they are all keepers in my Recipe Book!
Kara
I’m so glad!!!
Robin
I finally got to make this cake today!!! It’s killer! So much better than the recipe I’ve been using. The recipe I’ve been using was just a bit dense but this one wasn’t. I didn’t have jam on hand so I used preserves but it was great. I’m going to try jam the next time. It was so moist and very fluffy! I used parchment circles with cake goop and they fell right out of the pans Thank you again for another #1 recipe!
Kara
Awesome! So glad you loved it and thanks for the amazing review!
Regina
Cake is very moist and delicious. Next time I will line the bottom of the pans with parchment circles. The jam caused my cakes to stick to the bottom a little bit.
Kara
Thanks so much for the great review and I’m so glad you liked it! Good idea about using parchment circles. I’ve found that this cake does tend to stick a little more than other cakes.
Summer Richards
Super excited about this one! I’ve been stalking the page for a strawberry cake and buttercream for awhile now! Yay!!
Kara
Oh yay! Glad the stalking has paid off! 🤣 I hope you love it!
Sybil Hood
Cake tasted wonderful and all my family loved it. I did refrigerate it on Saturday night because it was made for Easter Sunday. I took it out about 45 minutes before serving. My question is the cake part got really dense. It was completely cool before frosting and refrigerating. I’m just wonder what may have happened. Like I said it was delicious.
Kara
Hi Sybil, So glad you liked it! So to answer your question, I can’t really be 100% sure what happened, but I will say that in general, scratch cakes are a little more dense than like a cake mix cake. Some are used to that type of texture and when they try a scratch cake, they notice a difference. If you’re already aware of that and it was even more dense than expected, it could be caused by mixing a little too much. Scratch cakes are very easy to over mix and this one uses the creaming method (to make the texture lighter), so it can happen easily. The trick is to only mix until the batter is just combined. It’s okay to mix the butter and sugar together for several minutes. That is what you want to do to incorporate the air into to make the cake rise and give it a nice texture. But, once the dry ingredients touch the liquid ingredients, it starts to develop the gluten. That’s when you really want to be careful. If it’s mixed too long (which doesn’t take much), or if it’s mixed at too high of a speed, then that gluten becomes over-developed and can get a little gummy. When it’s baked, that causes a dense cake. If you do try to make it again, just try and mix it a little less. Mixing for a couple minutes is way too long. You just want to watch it closely and stop just as soon as the ingredients look well incorporated. It’s okay if there are little lumps in there, you just don’t want large flour clumps. I hope that makes sense!
Sybil H Taylor Hood
Thank you so much. Yes, I make scratch cakes. I believe after reading your response I did activate the gluten. I realize I used the No. 8 setting on my Kitchen Aid mixer because it said medium high. After googling I realize I should have stayed where I normally set it at the No. 6 setting. Lesson earned. I’m all geared up to try it again this weekend. I think I’m going to try it with the French Vanilla Frosting.
Kara
I hope it works better this time! And I feel your pain…those stand mixers make it so easy to over mix!
Robin
Can I substitute the jam for Preserves? Is there anything that would change the recipe in the Preserves. I know you don’t like the seeds is the reason you don’t use them. I have lots of Preserves in stock. lol Thanks!
Kara
Hey Robin, it’s not so much the seeds, but mainly that preserves can have large clumps of fruit. It would probably work, but I’d run it through a processor or something if there are large chunks of fruit in it. It will disperse throughout the cake better than leaving the large chunks in.
Robin
Ok. My preserves that I use don’t have large chunks of fruit. If so, I mash them up with a fork. Thanks!
Debra Sue Akers
I made this cake to enter in our local fair and got 1st place with it! I made it a few days ahead and froze the layers. I could not find full fat strawberry yogurt. I used yoplait and picked out the big chunks of strawberries. Do you have a source for the yogurt you used? Thanks!!
Kara
Hi Debra, that’s awesome you won 1st place!!! For the yogurt, I actually found it at Walmart. The other yogurt works just fine from what it sounds like – I mean it won 1st prize! Yay! Oh and also you could probably even run it through a blender to break up the strawberry chunks if you wanted to.