
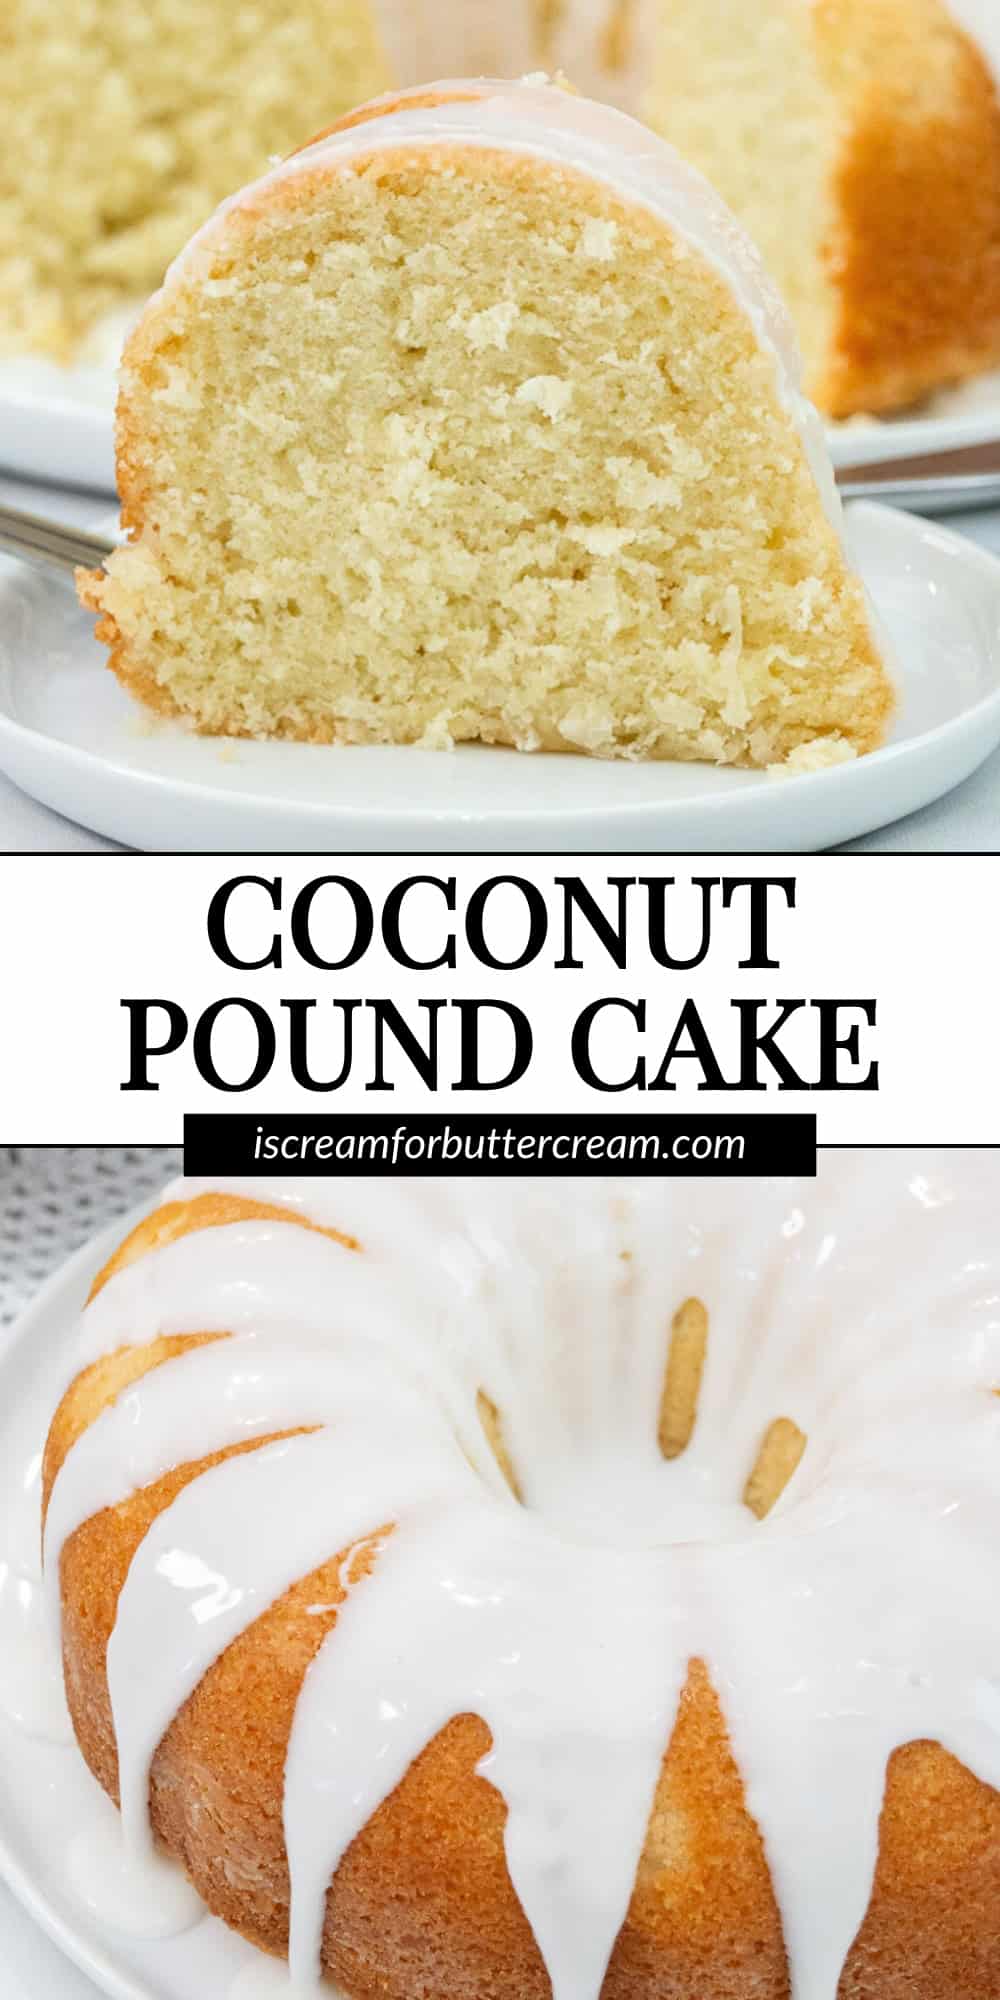
This moist coconut pound cake is packed with full coconut flavor and topped with a creamy glaze, it's perfect for Easter or any spring celebration.
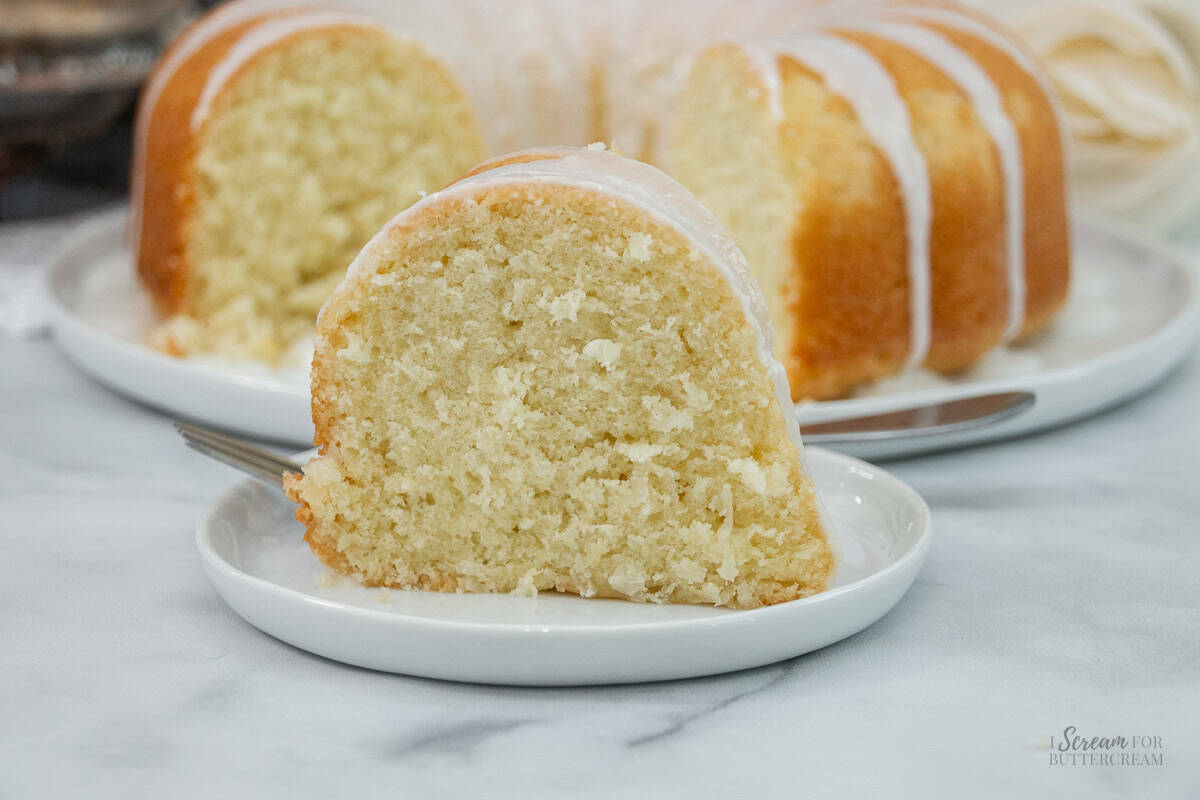
This cake comes together easily. It's really the perfect cake to take to get-togethers. You don't have to decorate it and you literally just spoon on the glaze and go.
The flavor is light, sweet, and just right for springtime or an Easter table.
Why You’ll Love This Cake!
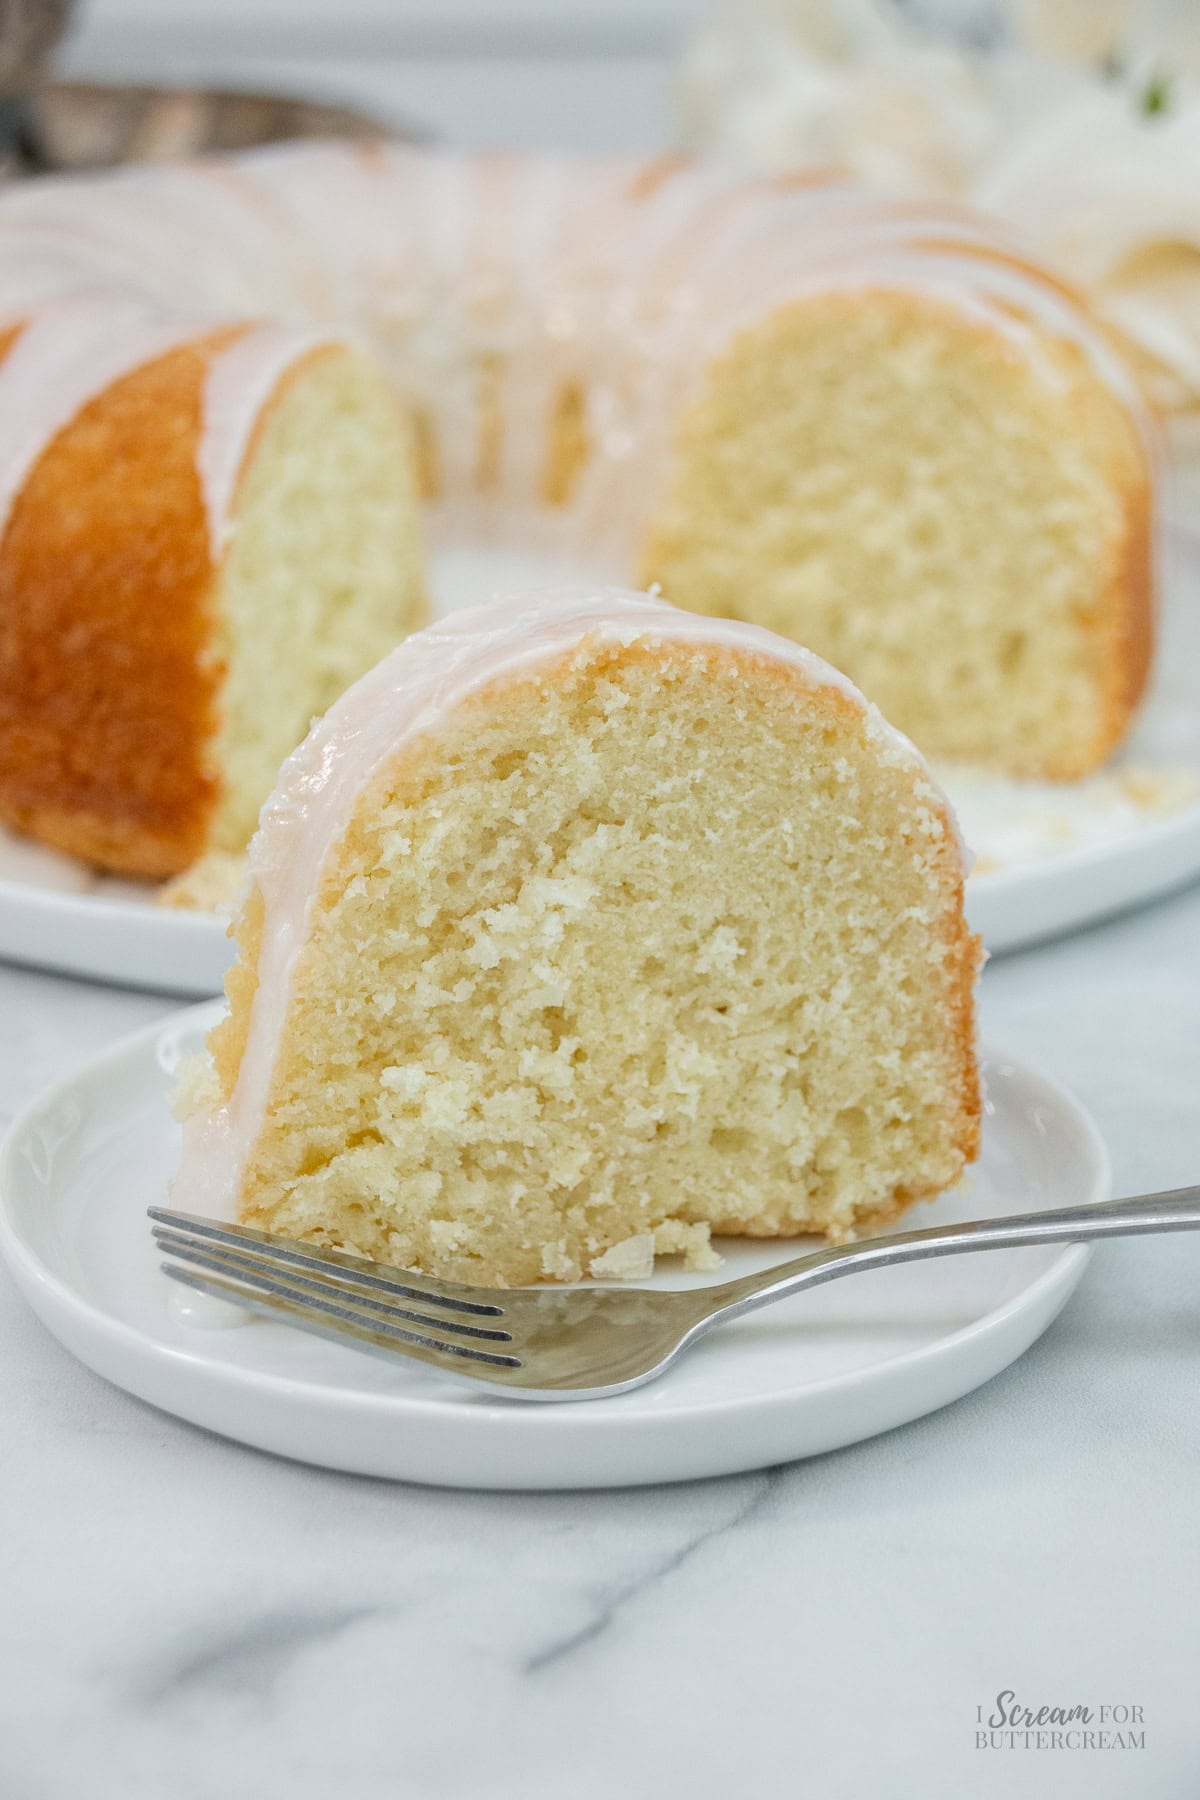
- Rich, moist texture thanks to full-fat coconut milk
- Bursting with coconut flavor
- Easy to make ahead for spring get-togethers and Easter
Pro Tip
Don't skip the fat in the canned coconut milk - it’s key for the moist, tender crumb! Make sure to stir the can and then measure out the coconut milk.
Recipe
Moist Coconut Pound Cake
Ingredients
For the cake:
- 1 cup unsalted butter, room temperature
- 2 cups granulated sugar
- 4 large eggs, room temperature
- 2 teaspoons coconut extract or emulsion (I like LorAnn Oils coconut emulsion, but use the brand you can find)
- 1 teaspoon vanilla extract
- 2 ⅔ cups all-purpose flour (Measured correctly: Spooned into the measuring cup and leveled off - don't scoop and pack the flour into the cup, that will add too much flour.)
- 1 ½ teaspoons baking powder
- ½ teaspoon salt
- 1 cup canned coconut milk, shake the can and mix it well first before measuring – see notes (I used Thai Kitchen Organic Coconut Milk. Do not discard the solid milk fat on the top of the can. Mix it in with the coconut milk, then measure out. Reserve the rest for the glaze.)
- 1 ½ cups sweetened shredded coconut
For the glaze:
- 2 cups confectioner's sugar, sifted is best-sift after measuring
- ¼ teaspoon coconut extract
- ¼ cup coconut milk (can add more teaspoons as needed)
Instructions
For the cake:
- Preheat the oven to 325 degrees F and grease and flour a 12-cup bundt pan and set aside.
- In a medium-sized bowl, add the flour, baking powder and salt. Whisk well and set aside.
- To a large mixing bowl, add the room temperature butter and the sugar and mix with an electric mixer on medium-high for about two minutes until the mixture is light and fluffy.
- Add the room temperature eggs, coconut extract and vanilla extract to the butter/sugar mixture and mix on medium speed until well combined. Scrape down the sides of the bowl and mix again for about 10 seconds.
- Add half the dry mixture to the butter/sugar mixture and mix on medium speed only until just combined. (Only about 20 seconds.)
- Take the can of coconut milk and shake it well, then open it. Do not discard the layer of fat at the top of the can when it's opened. This is what makes this cake moist and delicious. Mix that in with the liquid in the can and then measure out one cup and add to the batter. (Reserve the rest of the coconut milk for the glaze.) Mix on medium speed only until well combined. (About 15 seconds.)
- Add the other half of the dry ingredients and mix on medium speed until well combined. (About 15 seconds.) Be very careful not to mix too long. Mixing for a minute or longer is way too long. This will over-develop the flour and can cause a dense and gummy cake.
- Scrape down the sides of the bowl and mix again on medium speed for only about 10 seconds.
- Add the shredded coconut and mix in by hand with a large spoon or silicone spatula.
- Add the batter to the prepared pan and bake at 325 degrees F on the middle rack for approximately 60-65 minutes. Ovens vary, so it may take a bit longer or maybe a bit shorter for you. A toothpick inserted into the center of the cake will come out with a few moist crumbs on it or clean, but no raw batter.
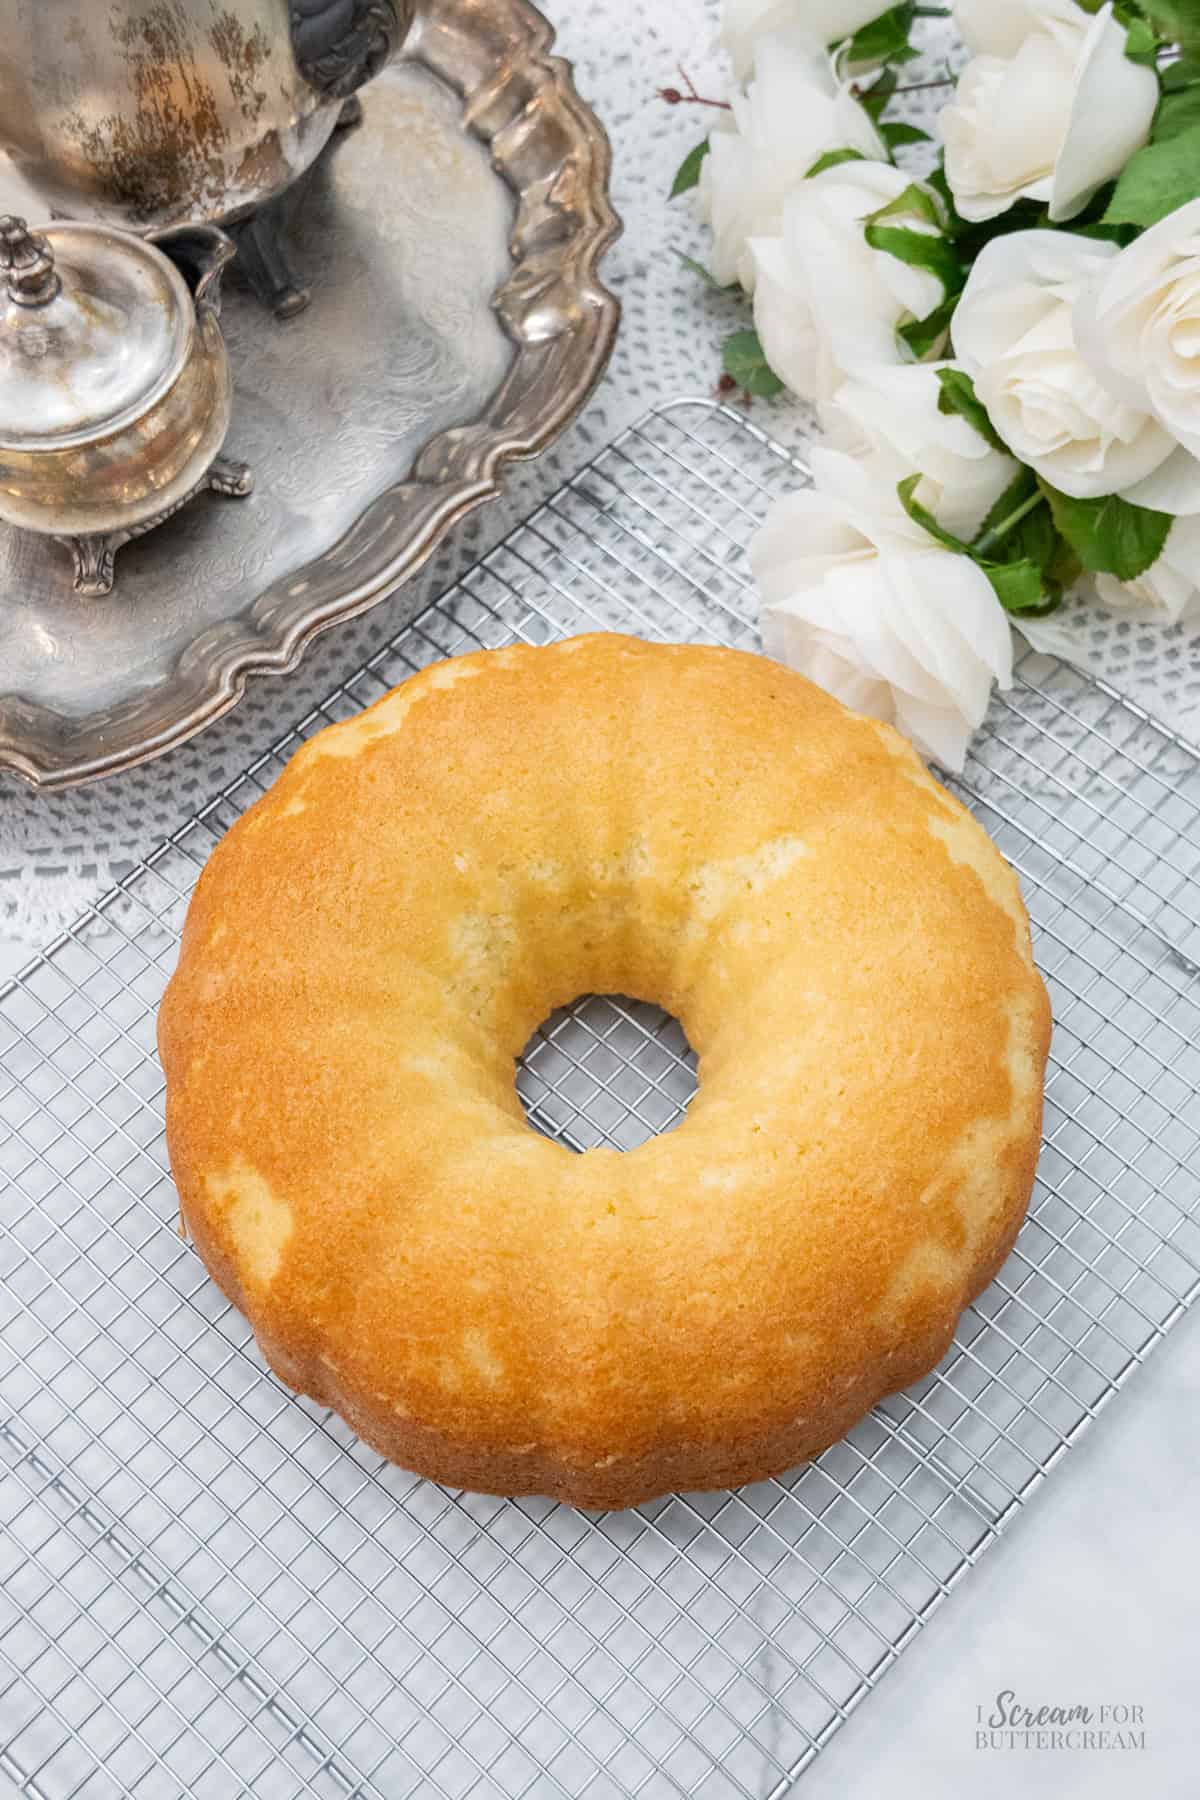
- Remove the cake from the oven and set on a cooling rack to cool for about 15 minutes, then turn the cake out of the pan and set directly onto the rack to let it cool completely before adding the glaze.
For the glaze:
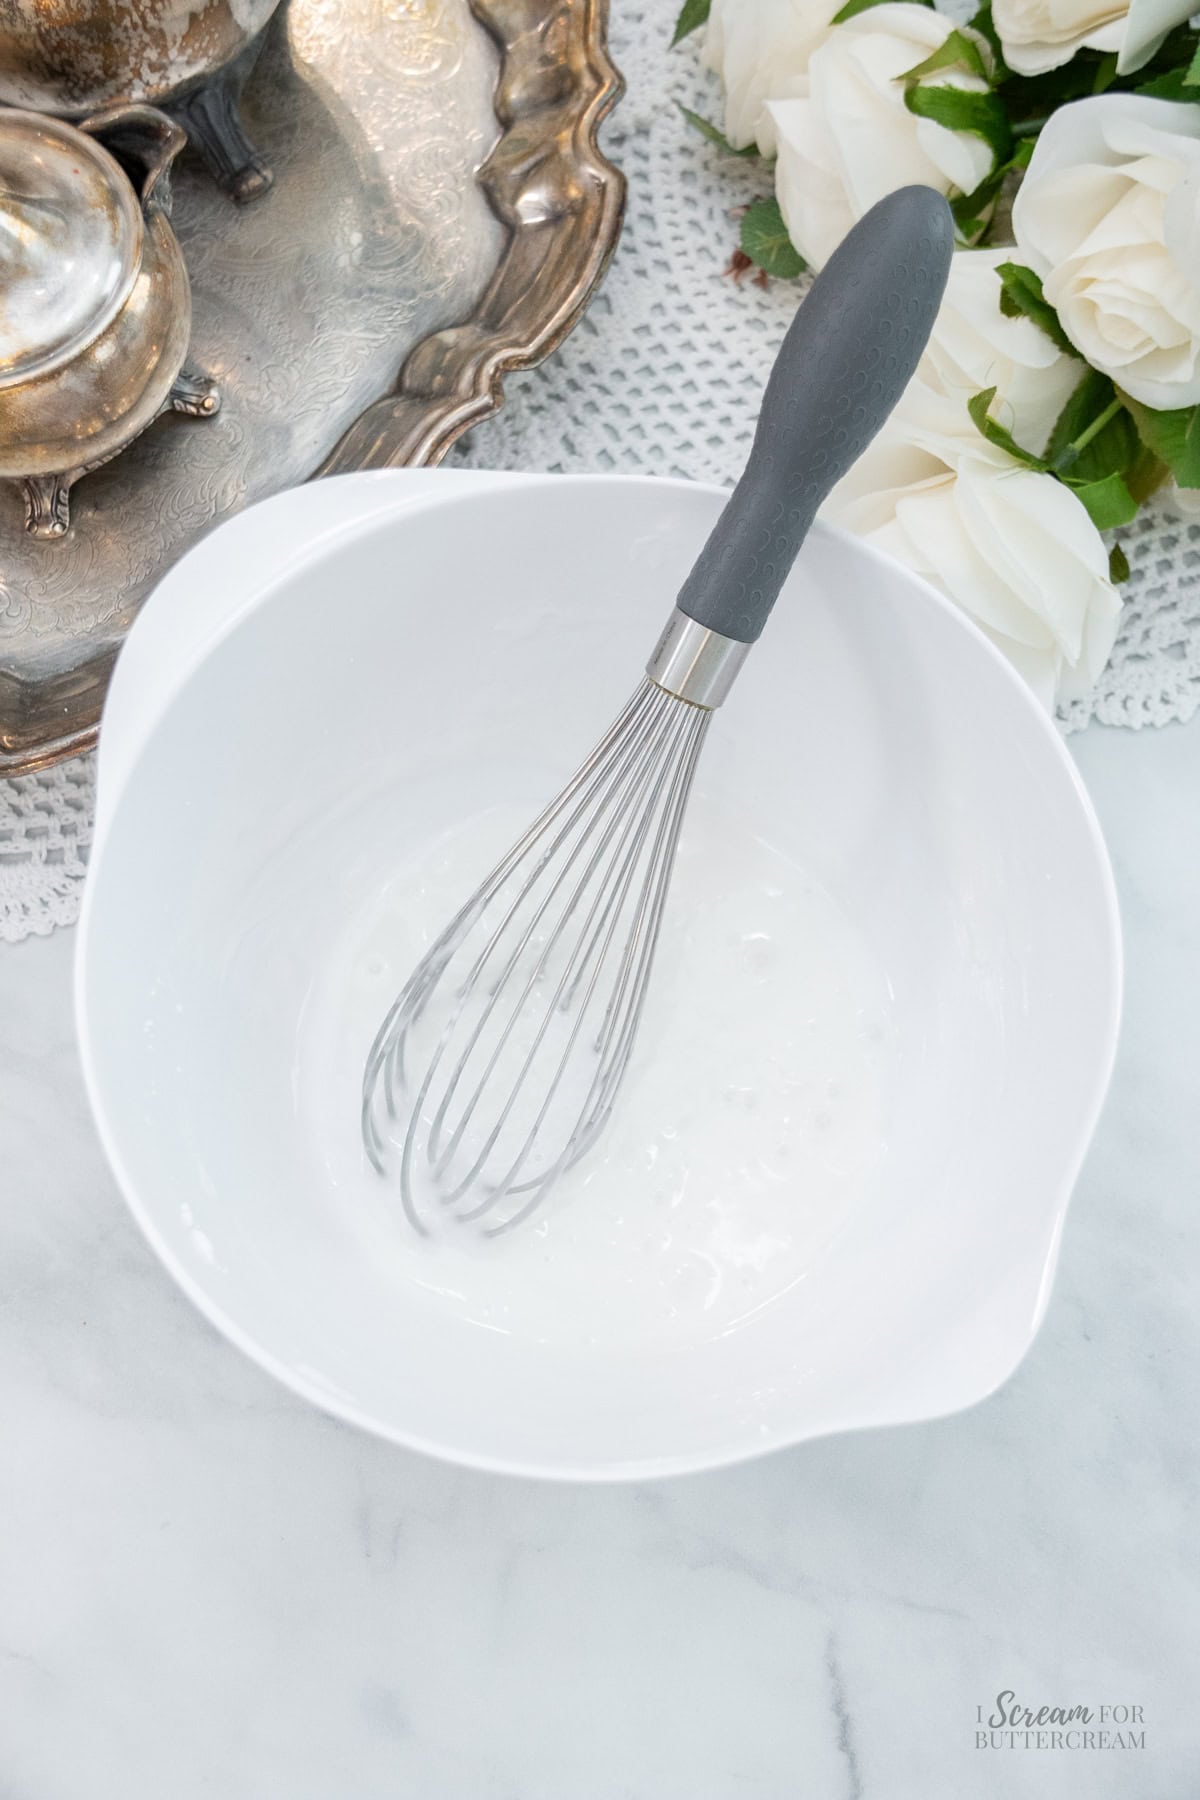
- Add all of the glaze ingredients to a medium-sized mixing bowl and mix with a fork or a whisk until smooth.
- Check the consistency. If too thin, add confectioner's sugar by the tablespoon, mixing after each addition and check the consistency again. If too thick, add milk by the teaspoon, mixing after each addition and check the consistency again.
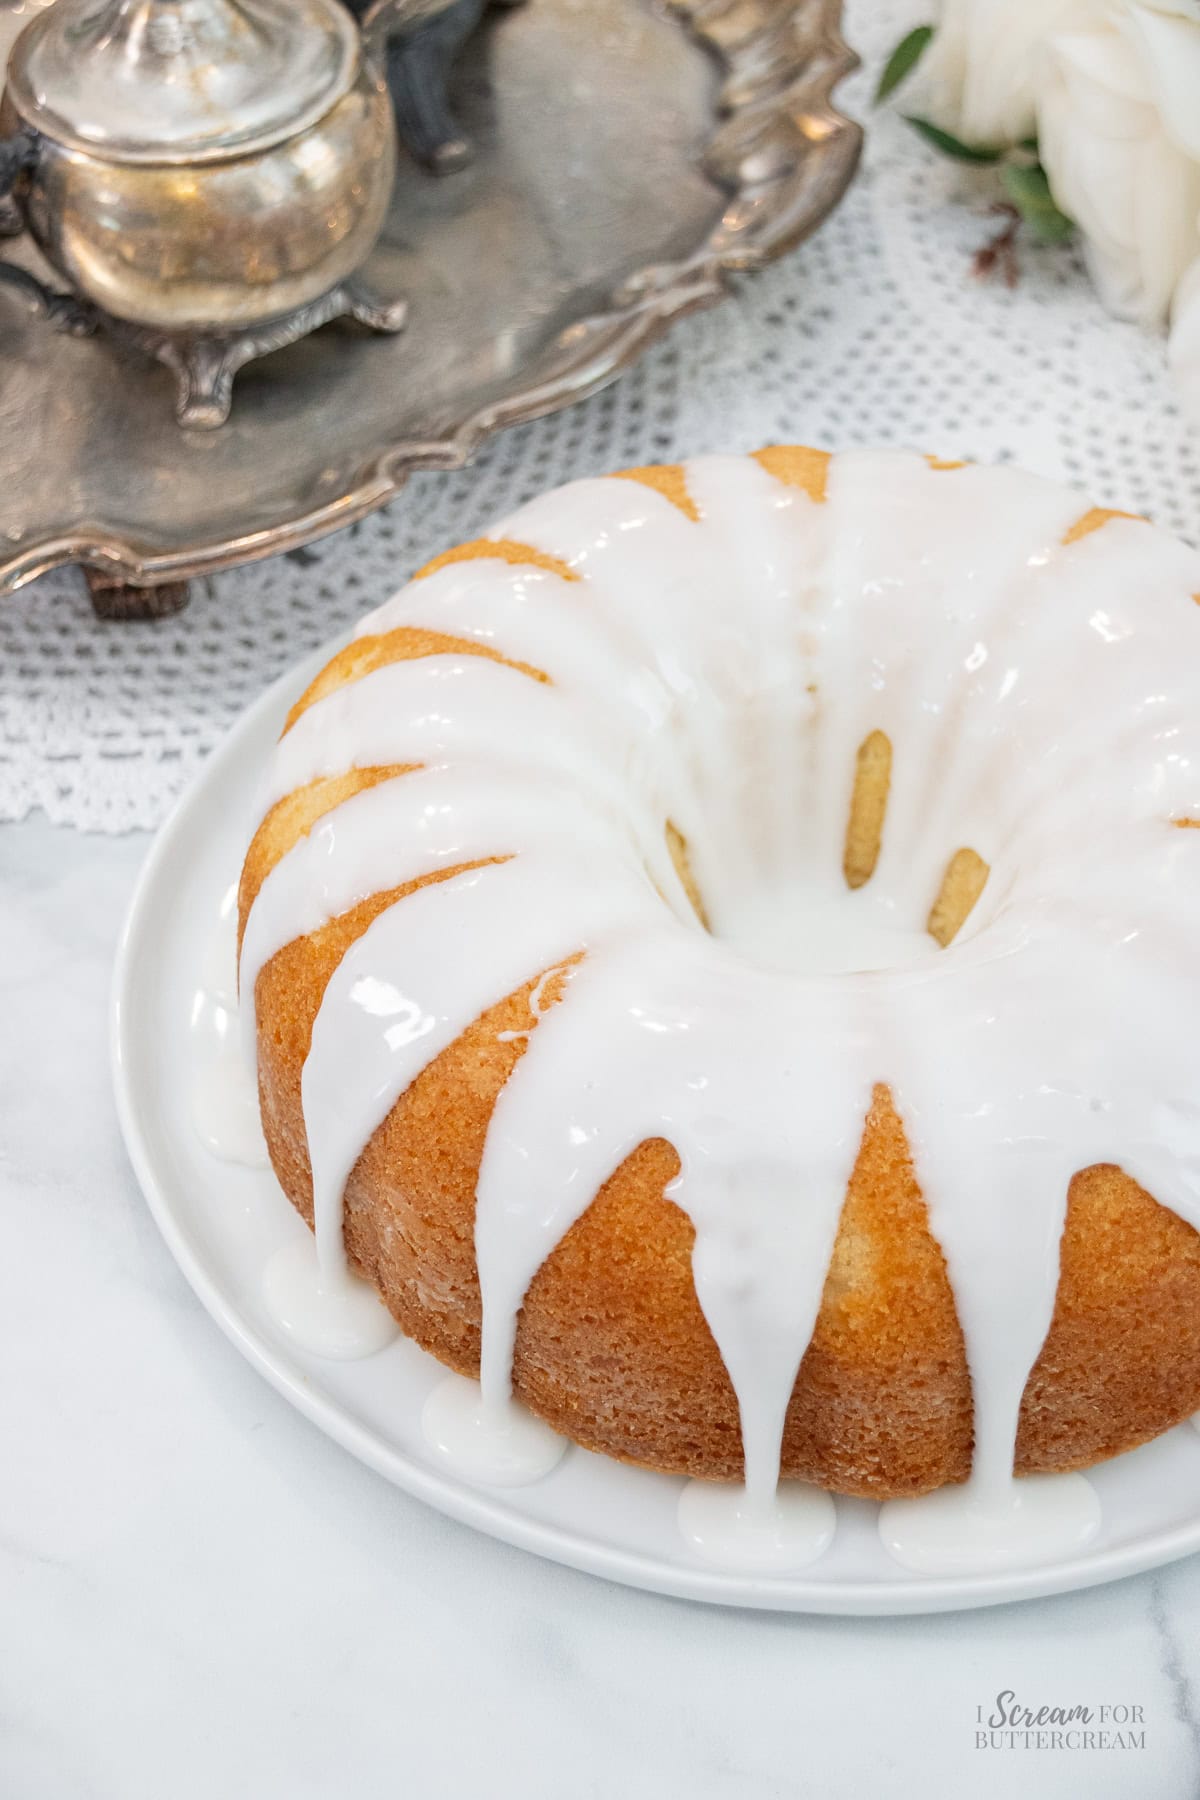
- Spoon the glaze onto the cooled cake.
- Sprinkle with additional shredded coconut if desired.
Notes
Nutrition
How to Share
I’d love for you to share this recipe link or tag it, but please do not share screenshots or copy/paste the recipe to social media as the content and photographs are copyright protected and we (bloggers) work really hard on our content. Sharing the link, tagging us on socials and pinning it is super appreciated though!
Additional Tips
Tips for freezing this cake – Wrap the entire cooled (unglazed or unfrosted) bundt cake in plastic wrap, then in foil and freeze for up to 3 months. Thaw out at room temperature. You can also freeze slices by tightly wrapping them in plastic wrap and freeze for up to 3 months.
Tips for serving this cake – Serve this cake with a scoop of vanilla ice cream or fresh berries.
Video
Video coming soon!
How to make this cake with process images
(The full printable instructions are in the recipe card above.)
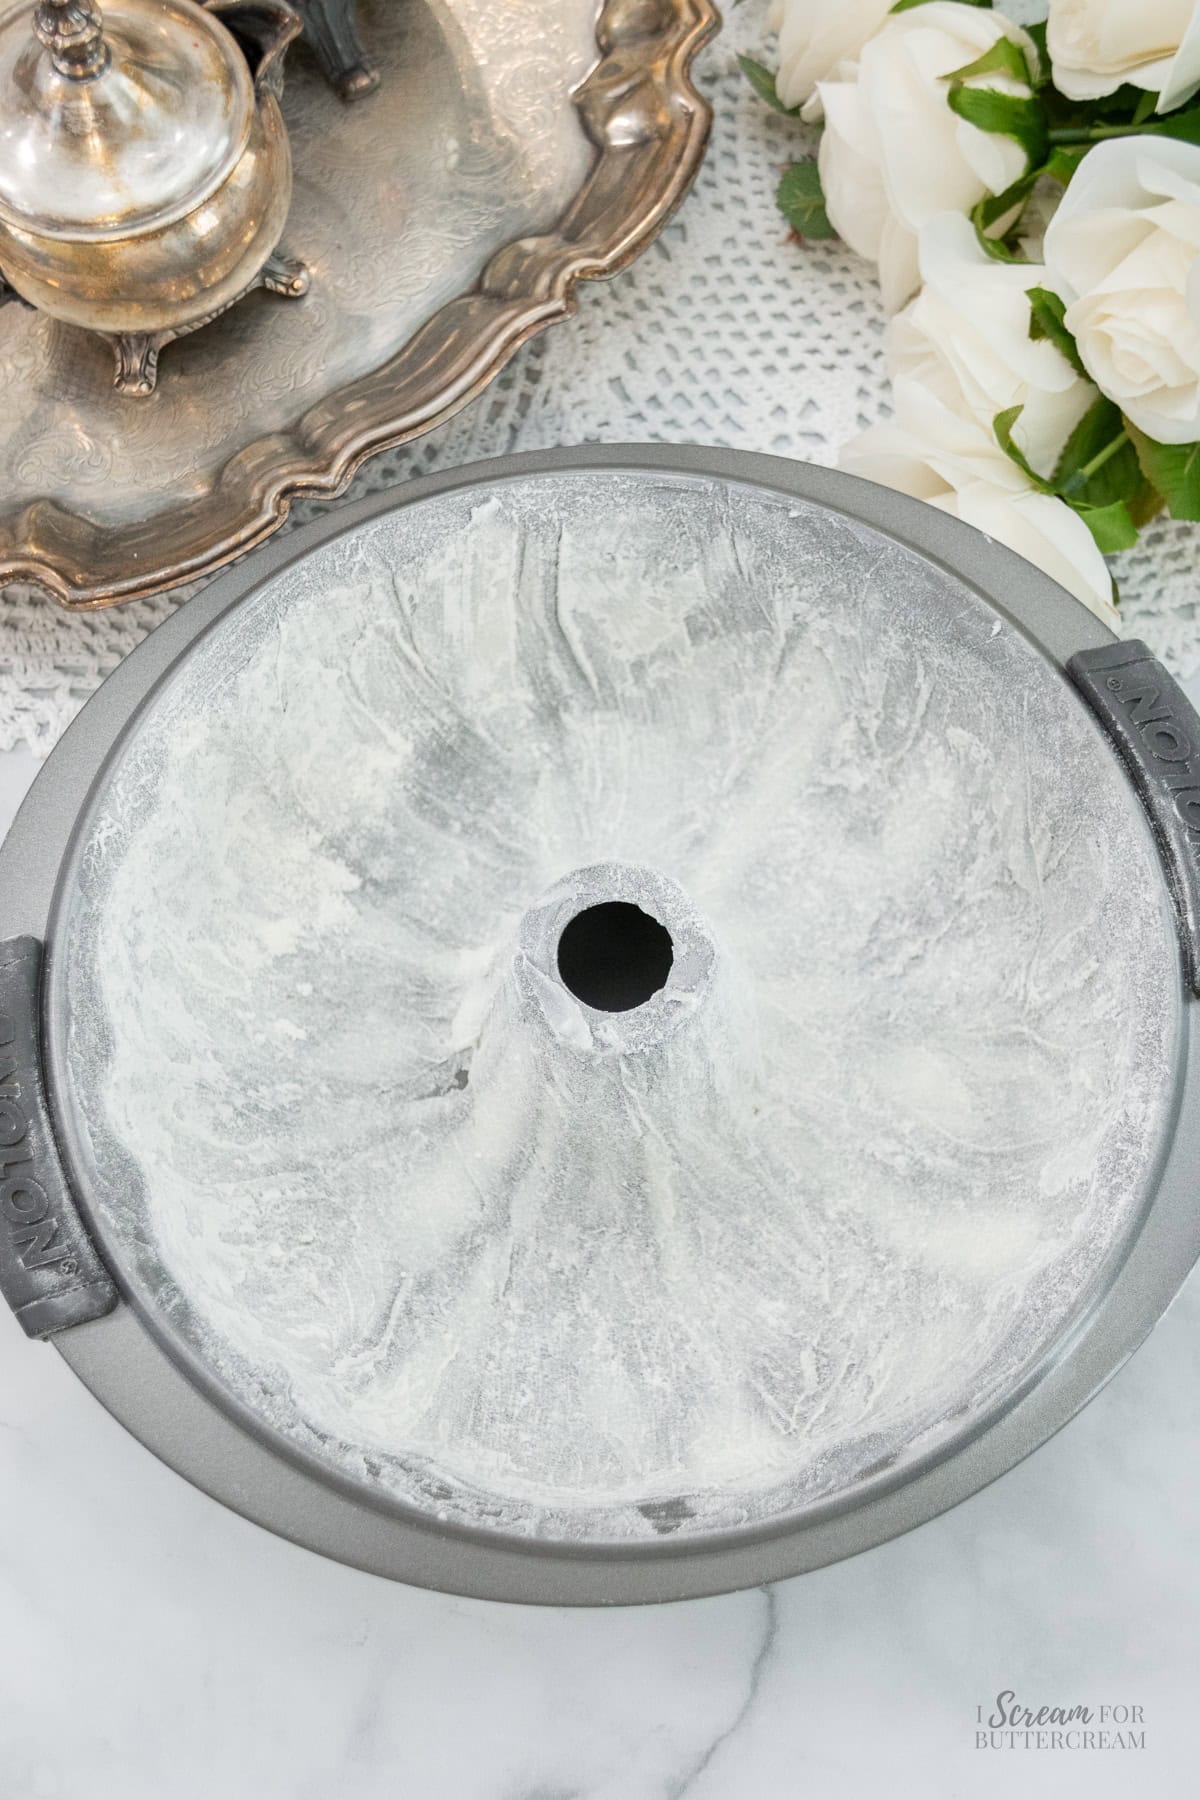
Step 1
Preheat the oven to 325 degrees F and grease and flour a 12-cup bundt pan and set aside.
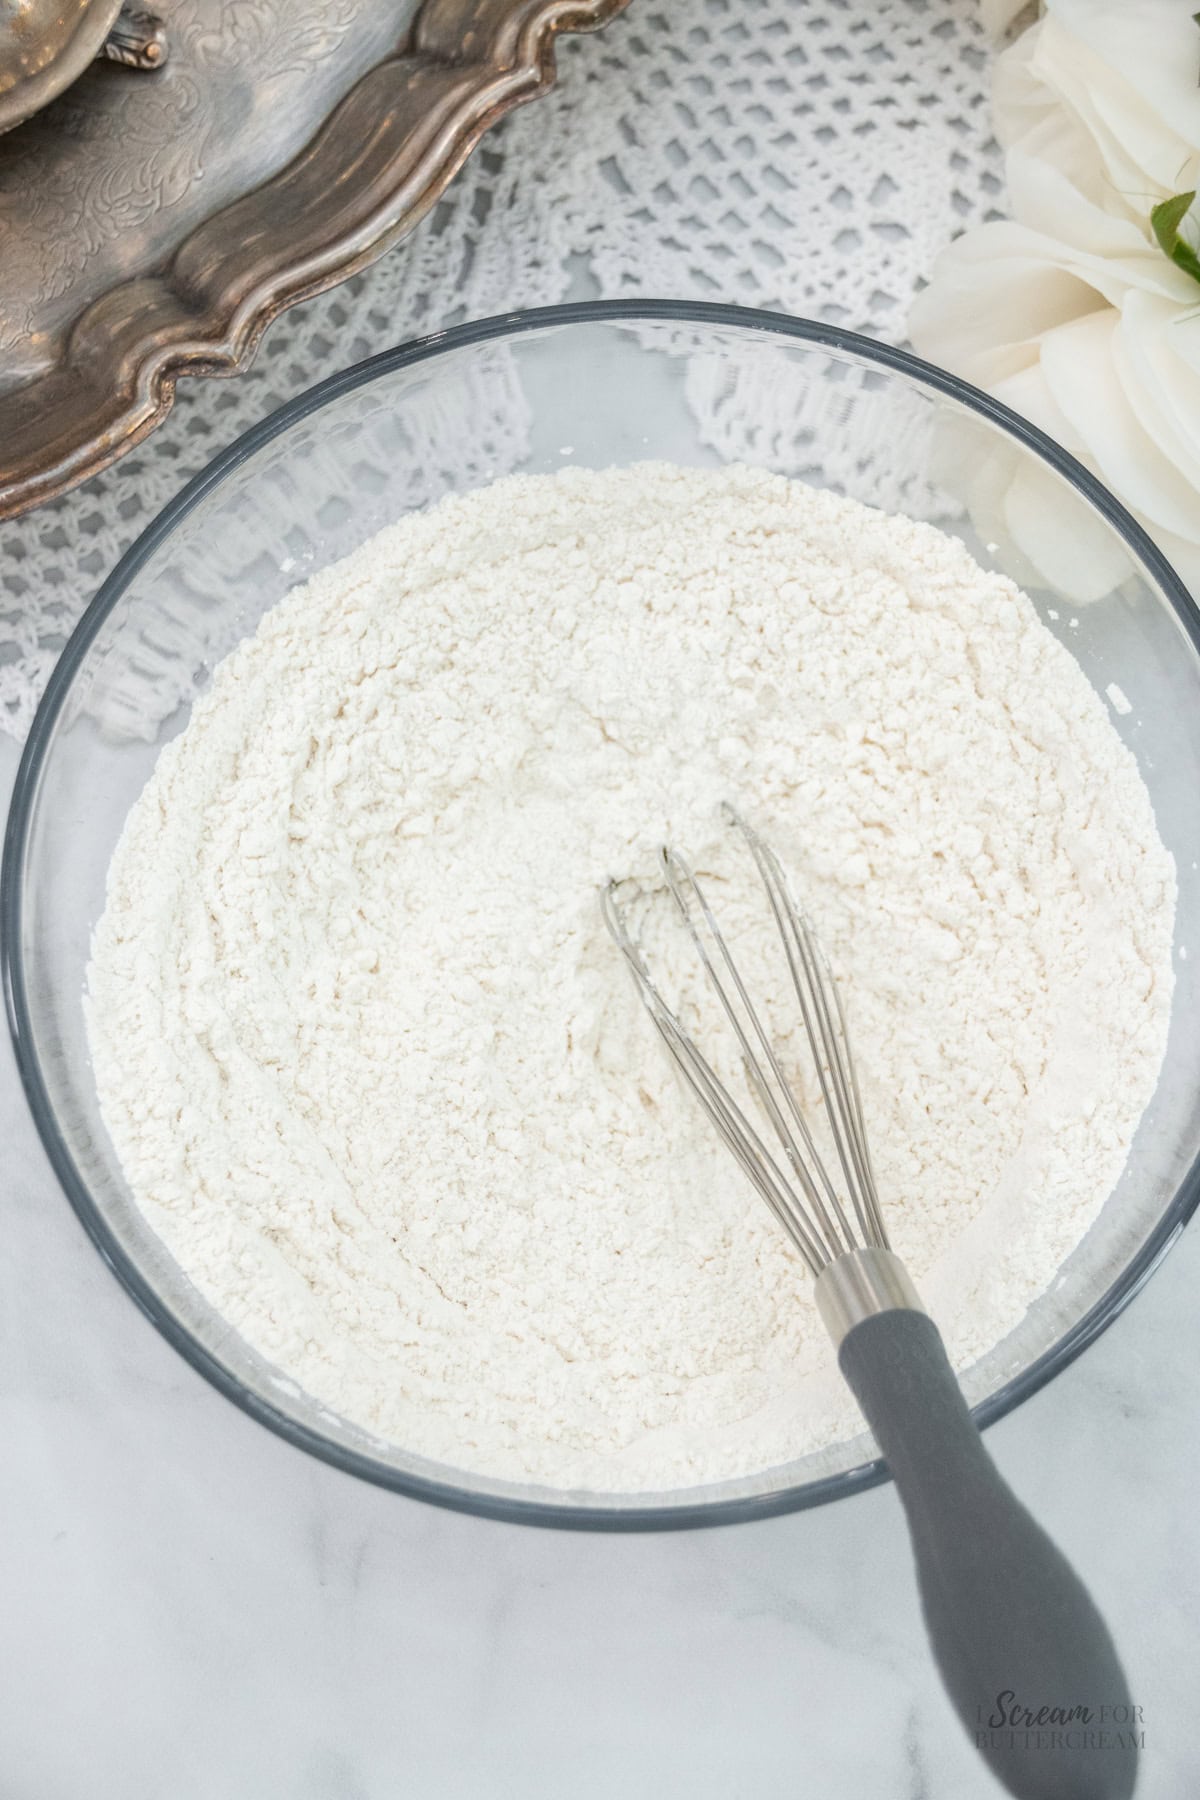
Step 2
In a medium-sized bowl, add the flour, baking powder and salt. Whisk well and set aside.
Step 3
To a large mixing bowl, add the room temperature butter and the sugar and mix with an electric mixer on medium-high for about two minutes until the mixture is light and fluffy.
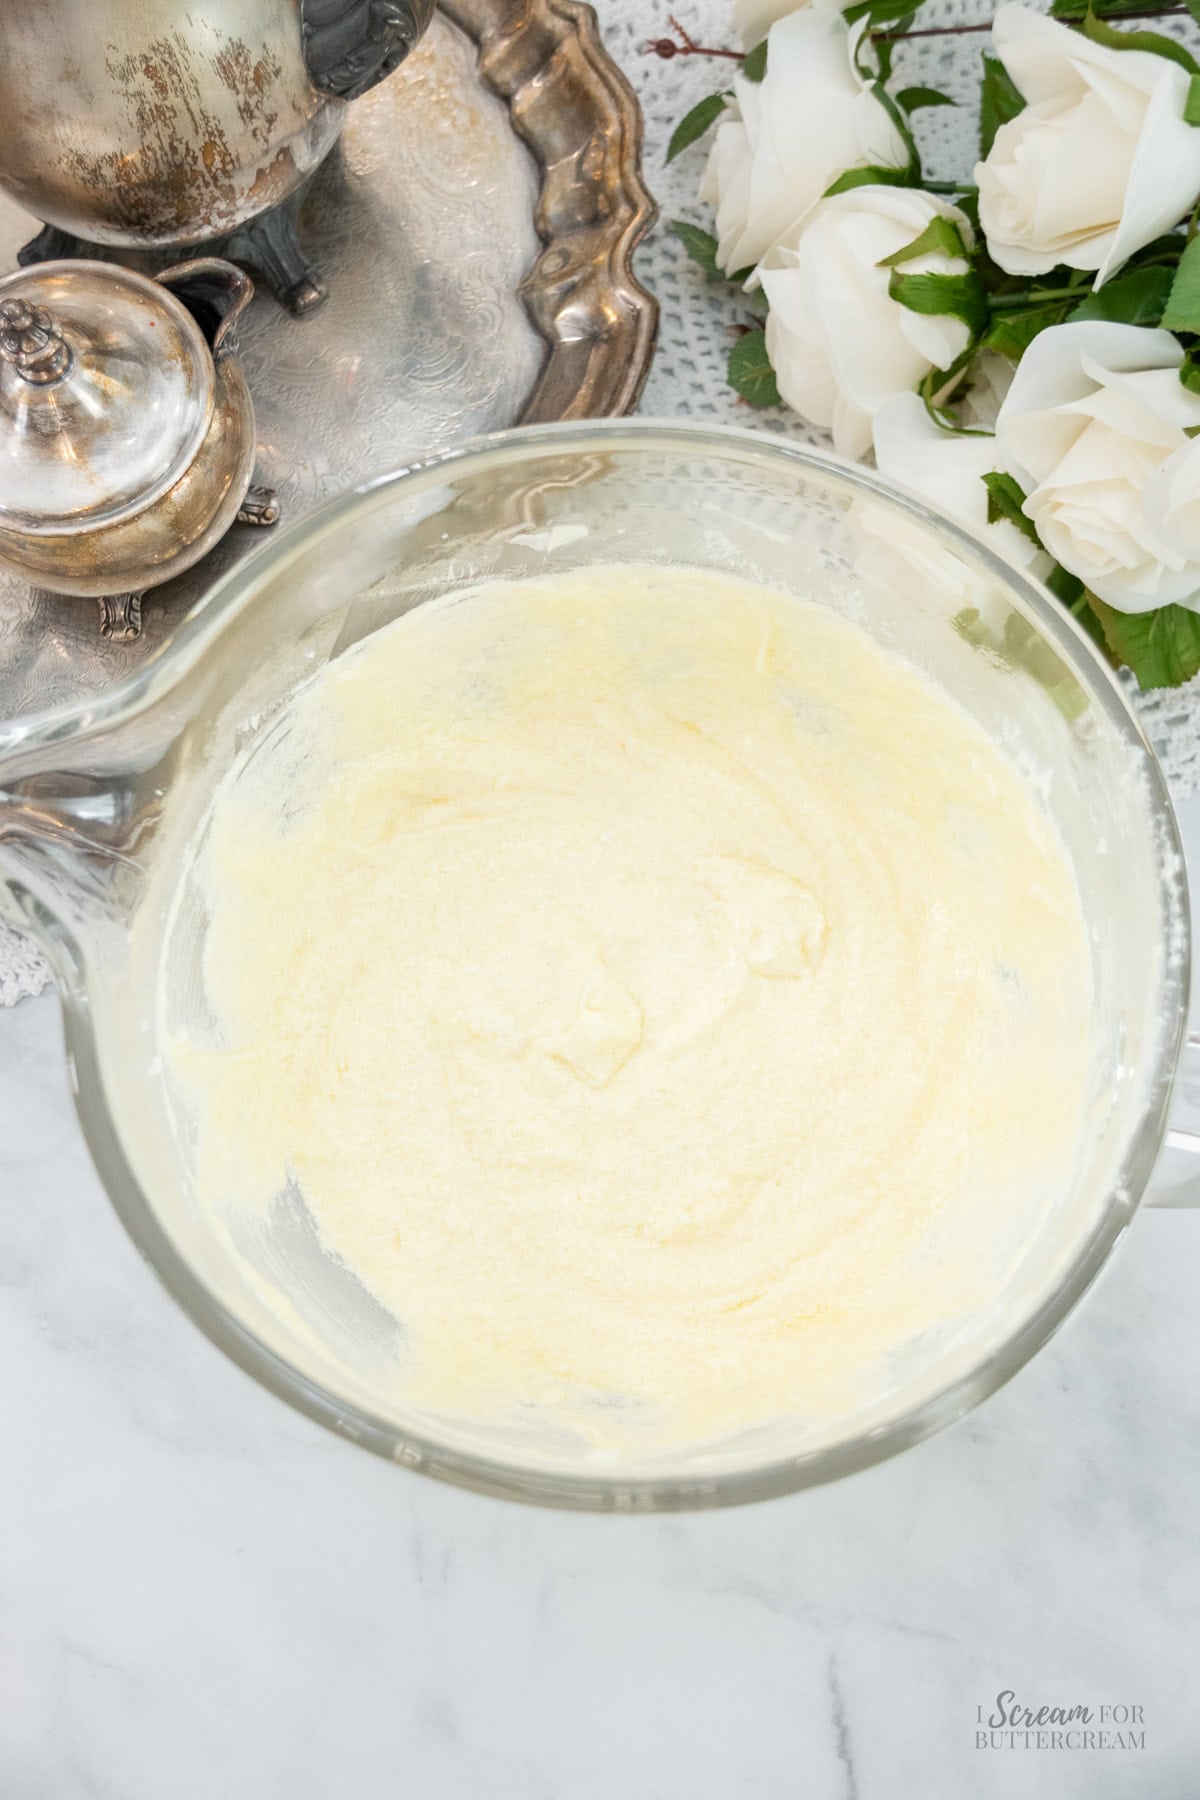
Step 4
Add the room temperature eggs, coconut extract and vanilla extract to the butter/sugar mixture and mix on medium speed until well combined. Scrape down the sides of the bowl and mix again for about 10 seconds.
Step 5
Add half the dry mixture to the butter/sugar mixture and mix on medium speed only until just combined. (Only about 20 seconds.)
Step 6
Take the can of coconut milk and shake it well, then open it. Do not discard the layer of fat at the top of the can when it's opened. This is what makes this cake moist and delicious. Mix that in with the liquid in the can and then measure out one cup and add to the batter. (Reserve the rest of the coconut milk for the glaze.) Mix on medium speed only until well combined. (About 15 seconds.)
Add the other half of the dry ingredients and mix on medium speed until well combined. (About 15 seconds.) Be very careful not to mix too long. Mixing for a minute or longer is way too long. This will over-develop the flour and can cause a dense and gummy cake.
Scrape down the sides of the bowl and mix again on medium speed for only about 10 seconds.
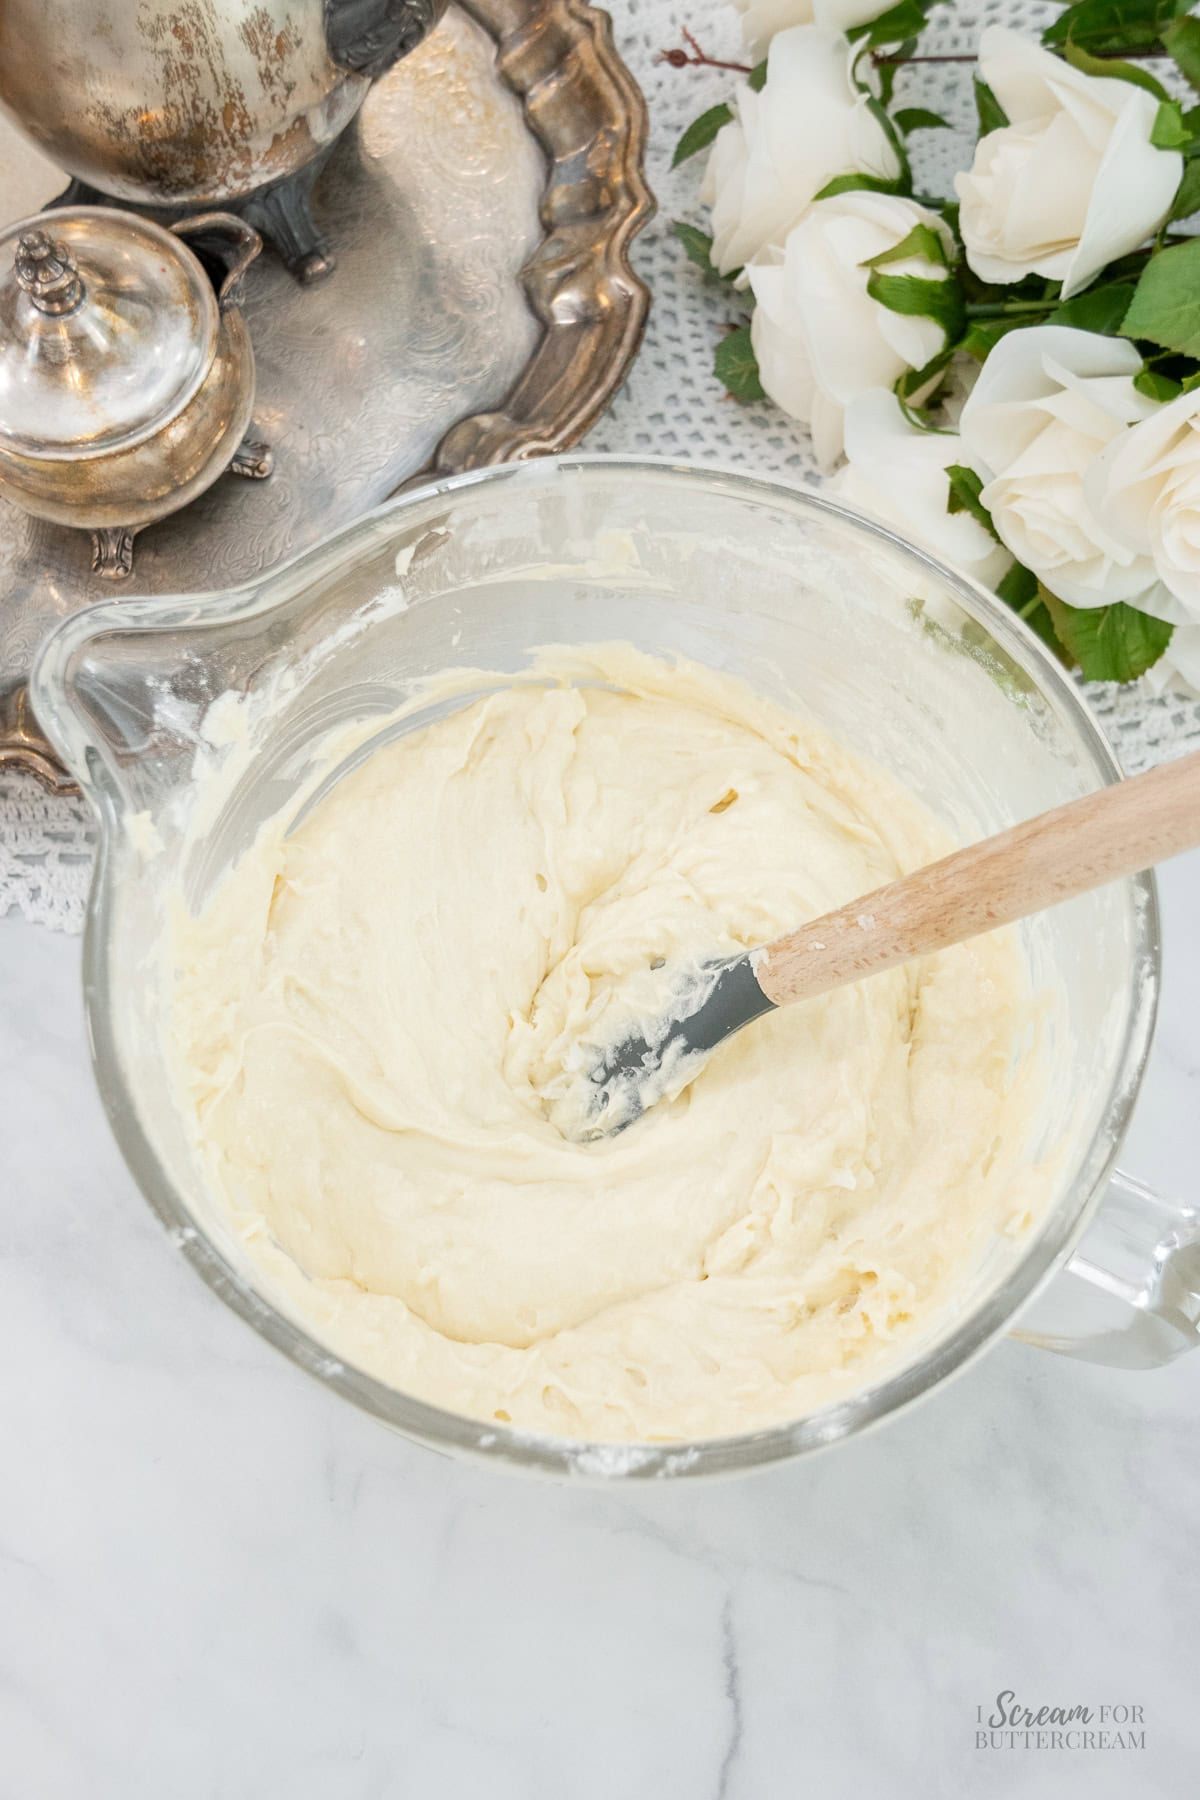
Step 7
Add the shredded coconut and mix in by hand with a large spoon or silicone spatula.
Add the batter to the prepared pan and bake at 325 degrees F on the middle rack for approximately 60-65 minutes. Ovens vary, so it may take a bit longer or maybe a bit shorter for you. A toothpick inserted into the center of the cake will come out with a few moist crumbs on it or clean, but no raw batter.
Step 8
Remove the cake from the oven and set on a cooling rack to cool for about 15 minutes, then turn the cake out of the pan and set directly onto the rack to let it cool completely before adding the glaze.
Step 9
Add all of the glaze ingredients to a medium-sized mixing bowl and mix with a fork or a whisk until smooth.
Step 10
Spoon the glaze onto the cooled cake.
Sprinkle with additional shredded coconut if desired.
FAQs
Unsalted is always best because you can estimate the proper amount of salt that will be added plus salted has a different water content than unsalted. However, if you’re unable to get unsalted butter, you can use salted butter in the cake, but omit the additional salt that each recipe calls for.
You really want to use the coconut extract to give this cake more coconut flavor as the coconut milk and shredded coconut are just not enough to give it a full coconut flavor. You can generally find coconut extract at grocery stores. I prefer LorAnn Oils coconut emulsion, but I've also used the regular grocery store brand and it still turned out good.
It does add some coconut flavor and texture, but if you don't like that, you can just omit it.
This recipe was written using the canned coconut milk (not coconut cream). I have not tested this recipe using any other type of coconut milk or coconut cream. I prefer using the can because it seems to have more fat in it and that makes a very moist cake. When you open the can, there may be a layer of fat at the top of it even if you shake it up well. Do not discard that. Mix that in with the liquid inside the can. That coconut fat is what makes the cake moist and delicious.
This cake should be stored in an airtight container in the refrigerator and can last up to 4-5 days.
Most cakes are best served close to room temperature, especially when made with butter like this one. If the cake is cold, set it out to come closer to room temperature for about 20-30 minutes before serving.
You can also pop a slice in the microwave to warm up a bit.
This cake is finished baking when a toothpick inserted into the center comes out with a few moist crumbs on it or clean, but no raw batter.
This cake can be made ahead of time and frozen if desired. Let the baked cake cool completely, then wrap in plastic wrap and foil and place in the freezer for up to a month.
To thaw, place the wrapped cake on the counter at room temperature and let thaw completely, then remove the wrapping. Once defrosted, add the glaze.
I have not tested this recipe out in layer cake pans. If you are looking for a coconut layer cake you don’t want to see this post. Southern Coconut Cake
Feel free to add white chocolate chips to the batter. That would be delicious!
As an Amazon Associate, I earn from qualifying purchases.
Tried This?
If you give this recipe a try, I'd love to know what you think! Your feedback makes my day, so don't be shy-leave a comment if you bake this!
Leave a Reply