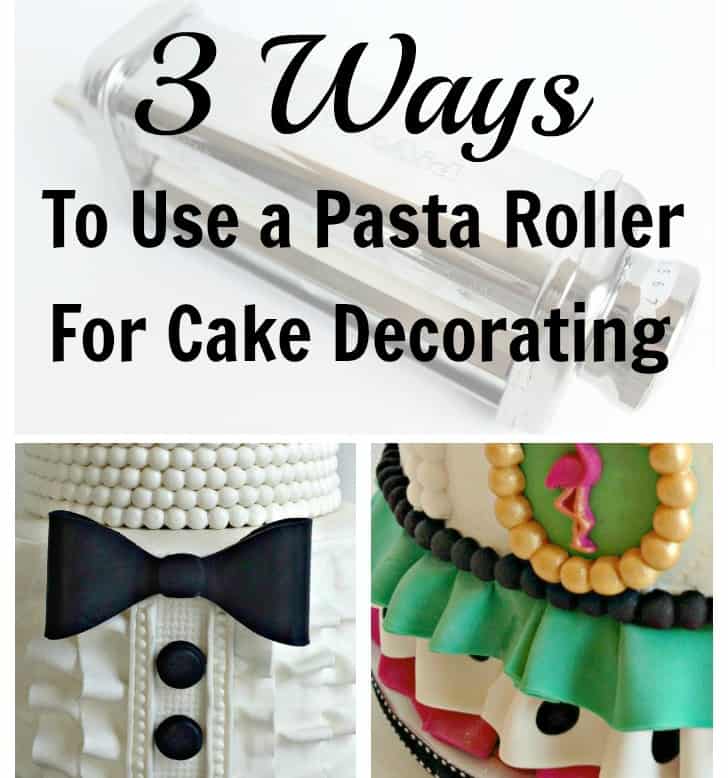
If you asked me what my favorite caking tool is, I’d have to say it’s the KitchenAid pasta roller attachment. Aside from the KitchenAid mixer itself, the pasta roller attachment has by far given me the most for my money.
This post contains affiliate links. As an Amazon Associate, I earn from qualifying purchases. You can see my policies linked in the website footer.
Ah, the virtues of the KitchenAid pasta roller attachment. I LOVE mine. It’s actually my favorite caking tool EVER! It’s saved my sanity many times.
I basically use it for almost everything except rolling out large pieces of fondant to cover entire cake tiers. I thought I would share with you 3 ways I like to use my pasta roller for cake decorating.
1. Flower Petals
I love to use my pasta roller for rolling out petals for my sugar flowers. I can get my petals so much thinner than I could ever do by hand. The thinner you can get your petals, the more life-like they’ll look.
You can see my large gumpaste rose tutorial here: How to Make a Large Gumpaste Rose
2. Cupcake Toppers
The pasta roller attachment is also great for rolling out cupcake toppers. When you’re rolling out fondant for multiple cupcake toppers, you want to keep them all the same thickness. When you use the pasta roller attachment, you just set it to the number of thickness you want and that’s it!
3. Ruffles
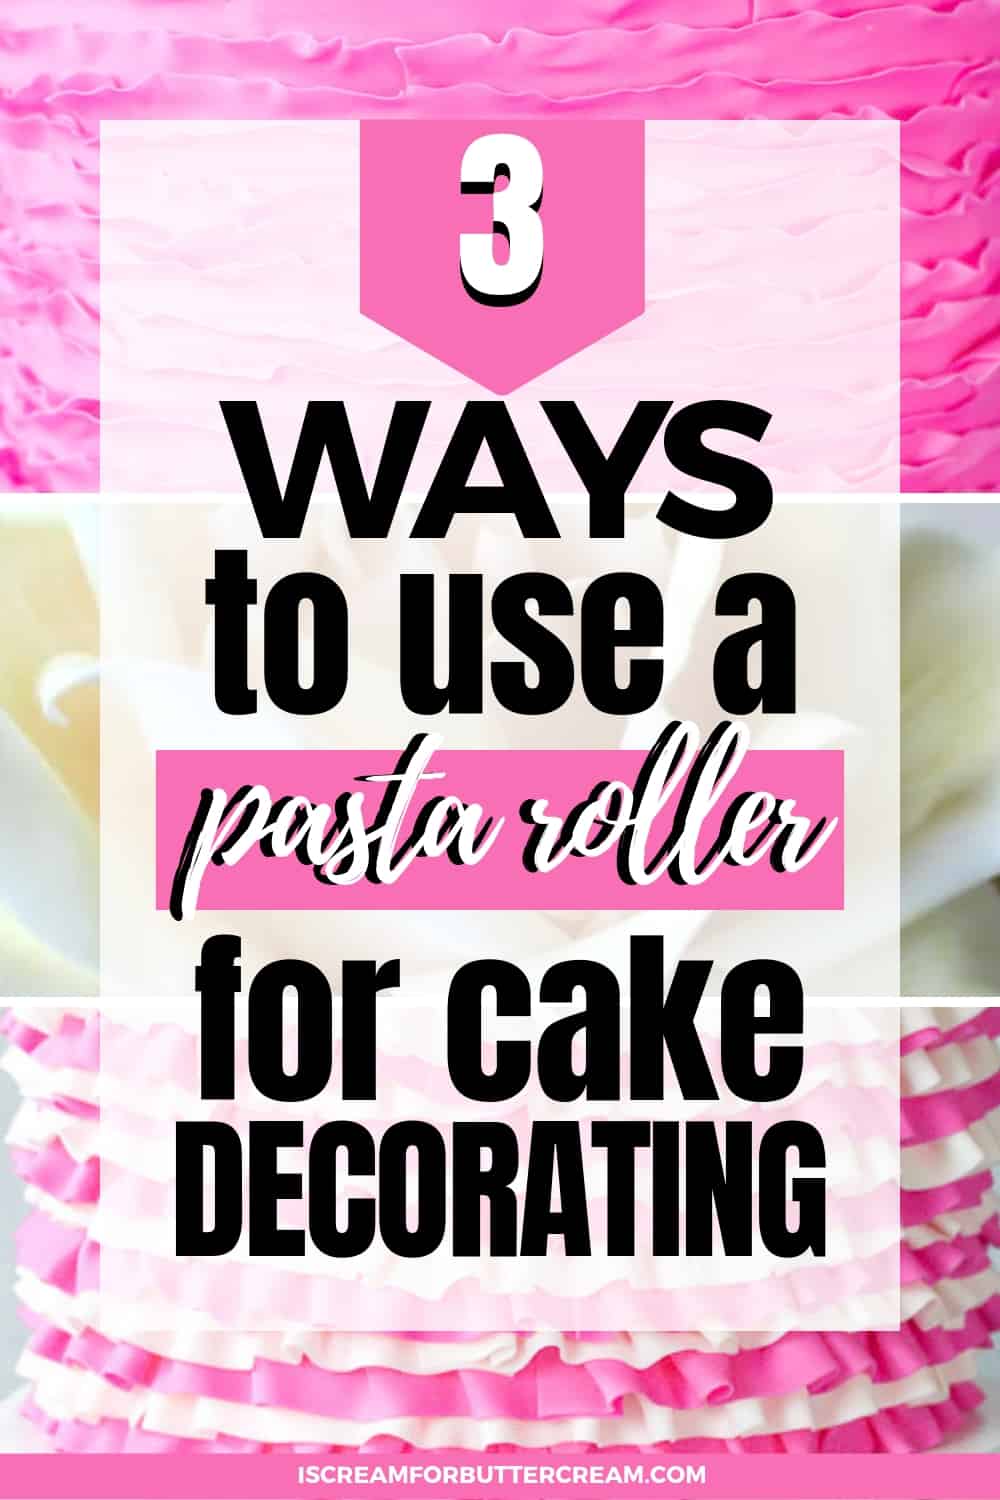
I also use my pasta roller for my ruffles. When I’m asked to make a ruffle cake, it’s my best friend. If you’ve ever had to roll out tons of fondant for ruffles, you know what I mean. It’s the same theory we used for the cupcake toppers.
You want all your ruffles to have the same thickness. Using your pasta roller is just going to save you tons of time and a bonus…it’ll save you tons of neck and back pain 😉 If something ever happened to my pasta roller and I had to make a ruffle cake without it, I would literally just sit down and cry.
Tips for Using the Pasta Roller:
So here’s how to use it: Take your small rolling pin and roll out the amount of fondant or gumpaste you need. You don’t have to roll it very thin. Just thin enough to get it to pass through the first setting on your attachment.
The trick is to use a sprinkling of cornstarch/powdered sugar mixture on both sides before putting it through your pasta roller so it doesn’t stick. Start on the setting below the ‘1’ which I guess would be zero. Depending on how thin you need it, just move up the numbers as needed.
It’s by far the most used caking tool I have and well worth the money.
So, if you have a KitchenAid mixer, you need this pasta roller in your life. 😉
There are hand-cranked pasta rollers (like this one), but I have not used one of those, so I can’t promise it will be as easy. I HAVE seen other cakers use them before and it doesn’t really look any more difficult than the KitchenAid attachment.
So, if you have a pasta roller, let me know if you are as obsessed with it as I am 🙂
P.S. Want other cool fondant tips? Click here to go to my post on How to Keep Fondant Decorations Soft (so you can use them at a later date). You can also find my tips for coloring large amounts of fondant here.
Don’t Forget to Pin it for Later!


Chineme
This is a wonderful idea..I have the hand cranked one,it’s really helpful but I get tiny spots in the fondant, it is never really smooth, do you have any idea why this is happening?
Kara Jane
Hmmm that’s interesting. I don’t have much experience with the hand cranked ones, but I wouldn’t think it would be that much different than the electric ones. Do you sprinkle your fondant with cornstarch or powdered sugar before running it through? I’m wondering if that’s clumping up in it and then forming little spots in the fondant. I’m also wondering if there’s maybe a tiny imperfection in the rollers that’s causing it as well. I’m not sure what else it could be though. That’s a real mystery.