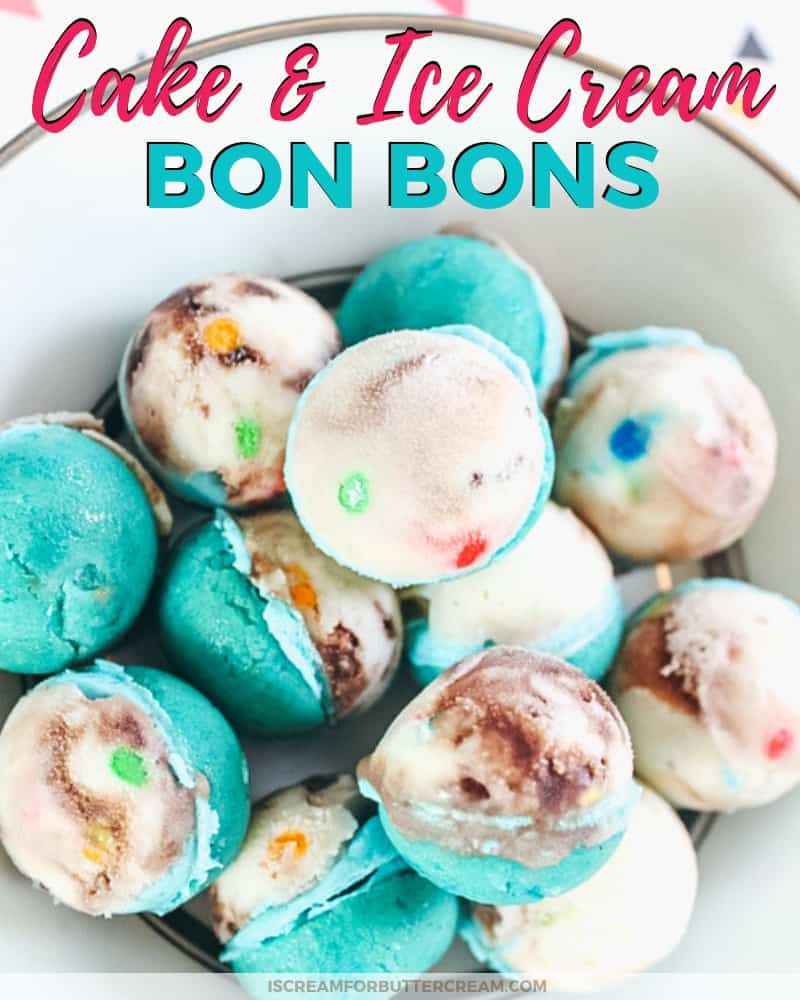
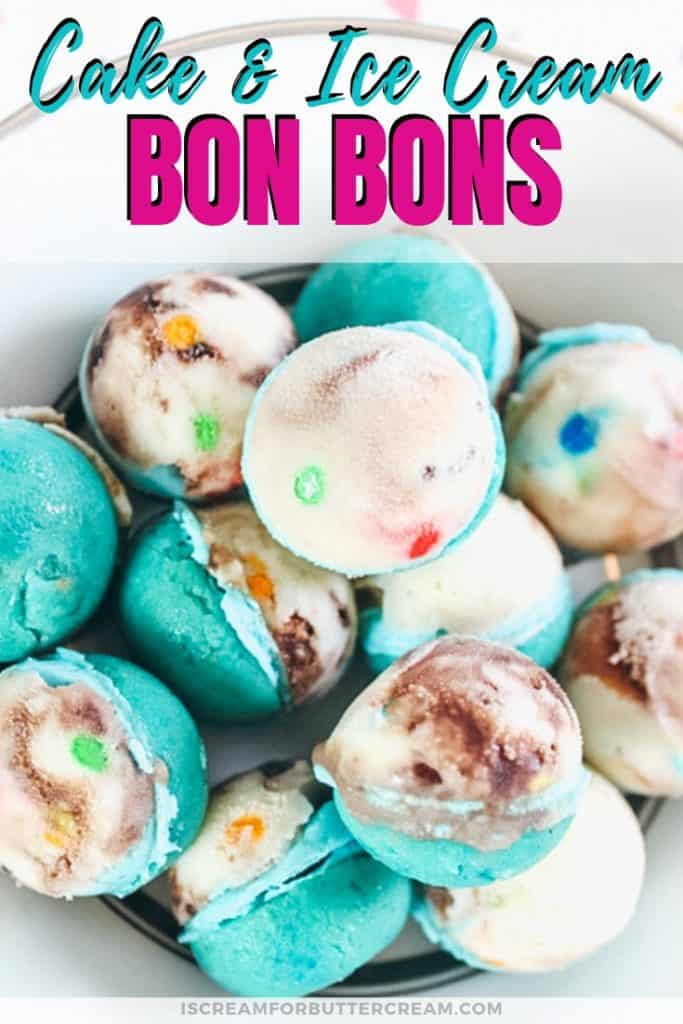
With cake on one side, ice cream on the other and buttercream in the middle, these cake and ice cream bon bons are the perfect cool summer treat.
I love cake and ice cream just as much as the next person. Ok, let me clarify that. I like cake probably more than the average person. But cake and ice cream together? Well, that’s just a match made in heaven.
I couldn’t just make your average ice cream cake though. No, I had to go all crazy on ya, so I came up with these cake and ice cream bon bons. It’s the perfect combination of cake, ice cream and even buttercream.
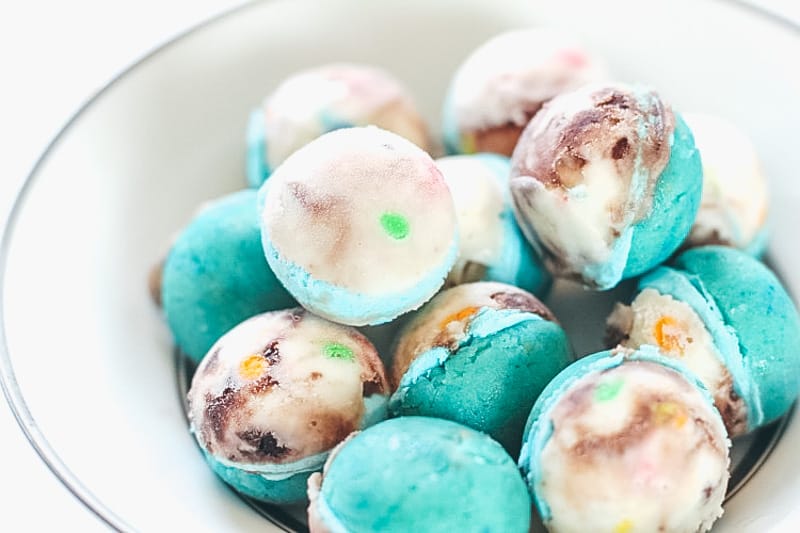
What’s so special about them? Well they’re bite-sized and anything bite-sized is cute, right? One side is ice cream and the other side is cake (actually a cake pop mixture) and they’re attached to each other with a bit of buttercream. Sounds good, right?
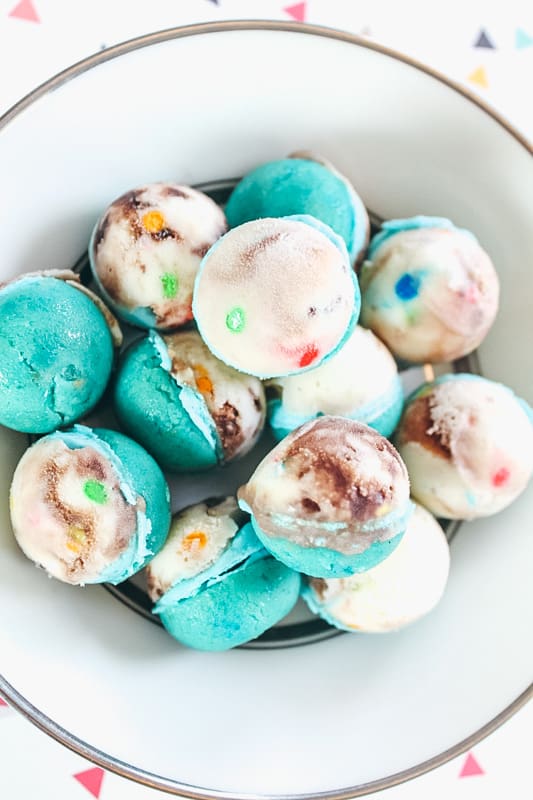
These take a bit of time to put together, I won’t lie, but they are such a cute treat to serve. You’re getting cake AND ice cream AND frosting in one bite! The cool thing is that you can make these any color you’d like, or you can just as they are. I wanted a sort of teal look to mine, so I added blue coloring to my cake ball mixture and buttercream. I think it worked out well with the birthday cake ice cream I used that already had sprinkles in it.
These are such a refreshing treat for summer. Go work in the yard for a couple hours in the 100 degree heat, come in and grab one (or five) of these little babies and you’ll forget all about how hot and tired you were.
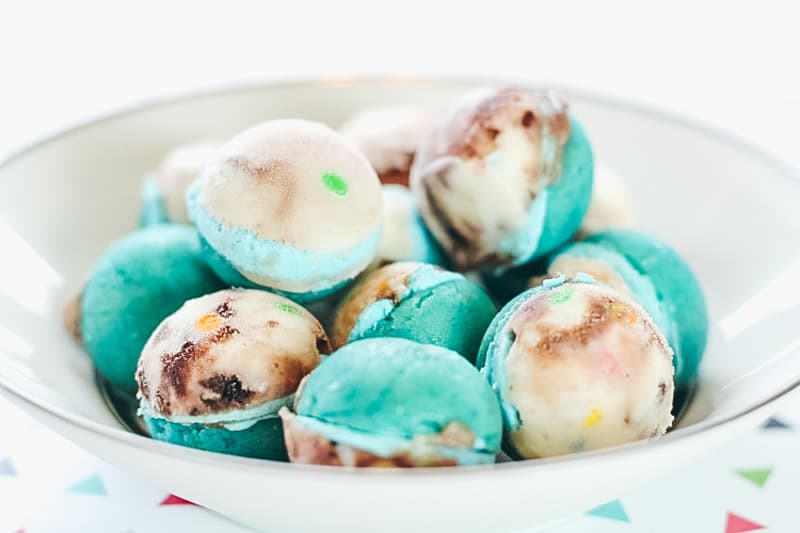
I think these would be great at a pool party. No bowls for people to mess up. They can just grab one and go. Now I need to just find someone who has a pool that I can borrow.
Ok, onto the recipe and how to put these puppies together:
As an Amazon Associate, I earn from qualifying purchases.
Supplies you’ll need to make the cake and ice cream bon bons:
Crumbled cake (you can choose any flavor and you can make it easy on yourself by using a box mix, or if you want to go all out, here’s my best scratch vanilla cake recipe: Vanilla Bean Cake)
Ice cream (I used Blue Bell Birthday Cake ice cream…cuz we love our Blue Bell down here in Texas.)
Buttercream (You won’t need a lot of buttercream, so don’t go making yourself two batches unless you just want an excuse to eat the leftovers. You do however need to use all butter instead of shortening when you make it, because shortening will not firm up enough in the freezer.) Here’s my favorite: Vanilla Bean Buttercream
Silicon small sphere mold – These are fairly inexpensive, so if you grab two of them, you can make a bunch of bon bons at the same time.
Making the cake and ice cream bon bons:
(There’s a video close to the end of the post that will show all the steps on how to put these together.)
Work on the cake side first. You’ll just grab some cake crumbles and add a bit of buttercream to them. It doesn’t take much buttercream.
A good measurement to use is about two cups of crumbled cake to a couple tablespoons of buttercream. I used blue tinted buttercream and then added a bit more color. You don’t HAVE to tint your buttercream.
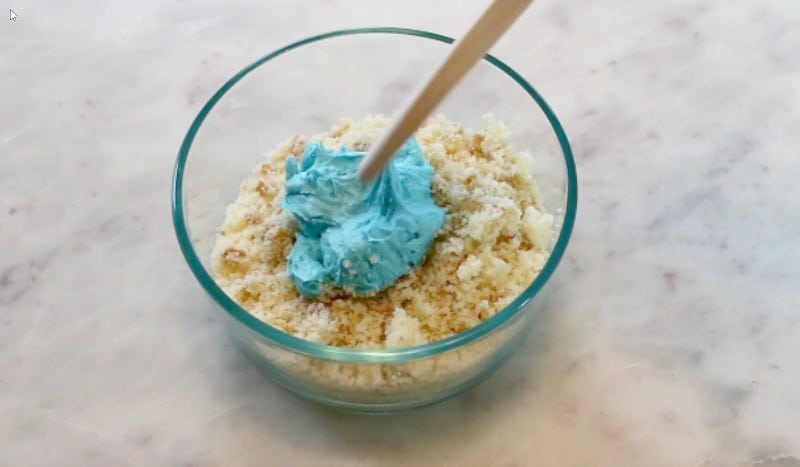
Mix up your cake pop mixture well and then add that mixture to one side of your silicone mold. Chill it in the freezer for about twenty minutes or so.
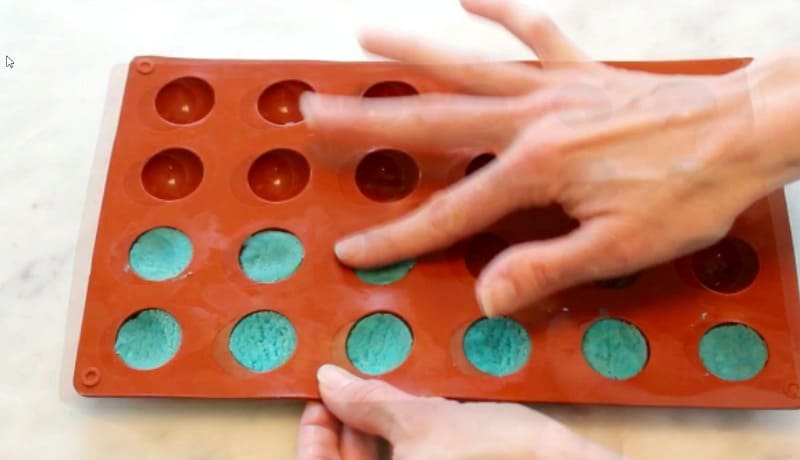
Pop out of the freezer and now add ice cream to the other side of the mold. Work fast and try not to lick your fingers. You’re gonna have to clean it up a bit before you get it into the freezer…things get messy.
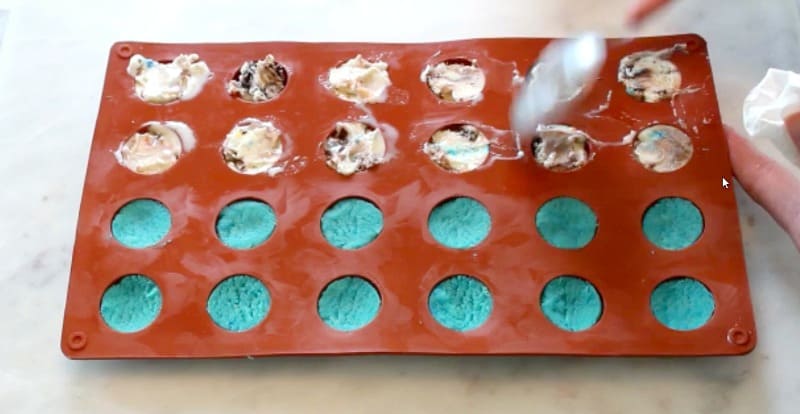
Chill for just about 15 – 20 minutes, then pop out of the freezer. Spread on a little buttercream over the ice cream portions.
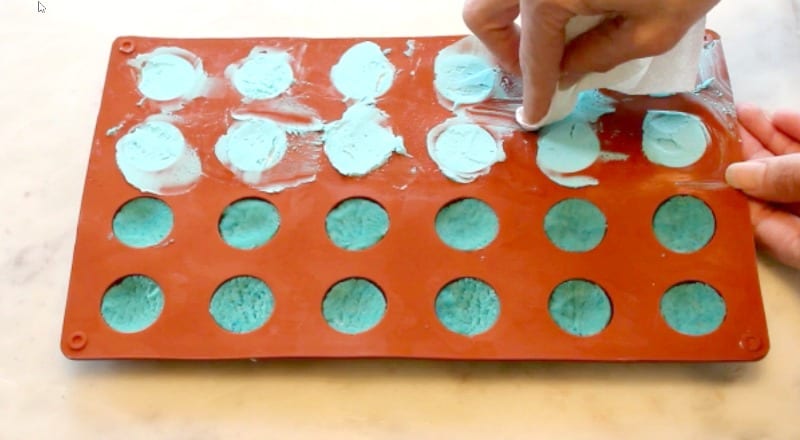
Now pop out the cake pop side, add a tad of buttercream and the attach them onto the ice cream side.
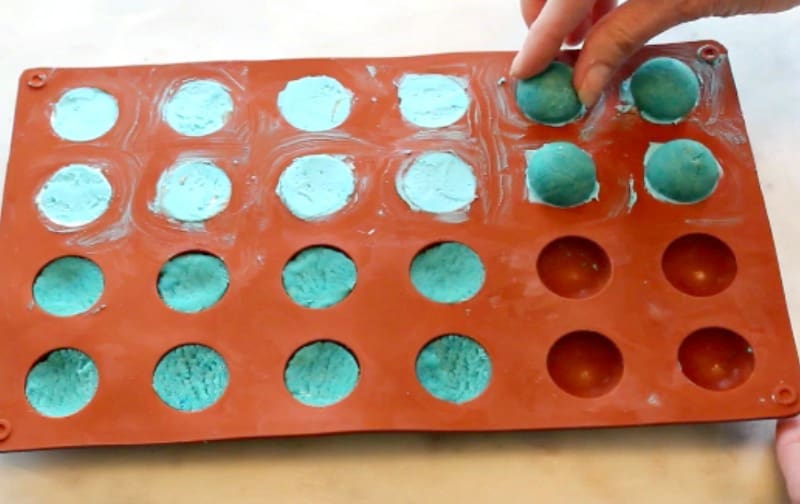
Pop back into the freezer for at least an hour. Seriously, if you don’t wait about an hour, they won’t come out in one piece.
After an hour, just pop them out of the freezer and pop out of the molds. There you have it! Aren’t they cute!
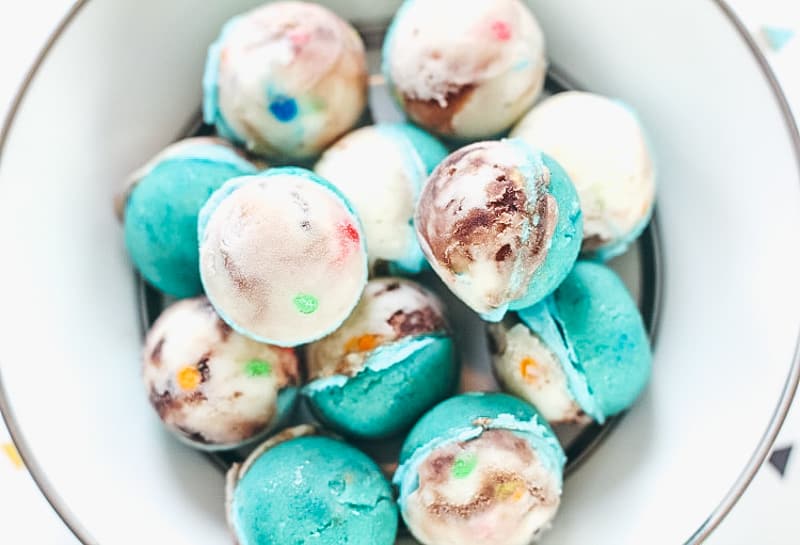
Serve them immediately, or cover and store in the freezer. You can even pop them into a zip lock bag and store that way.
And here’s the video to show you all the steps:
Don’t Forget to Pin it for Later!

Leave a Reply