
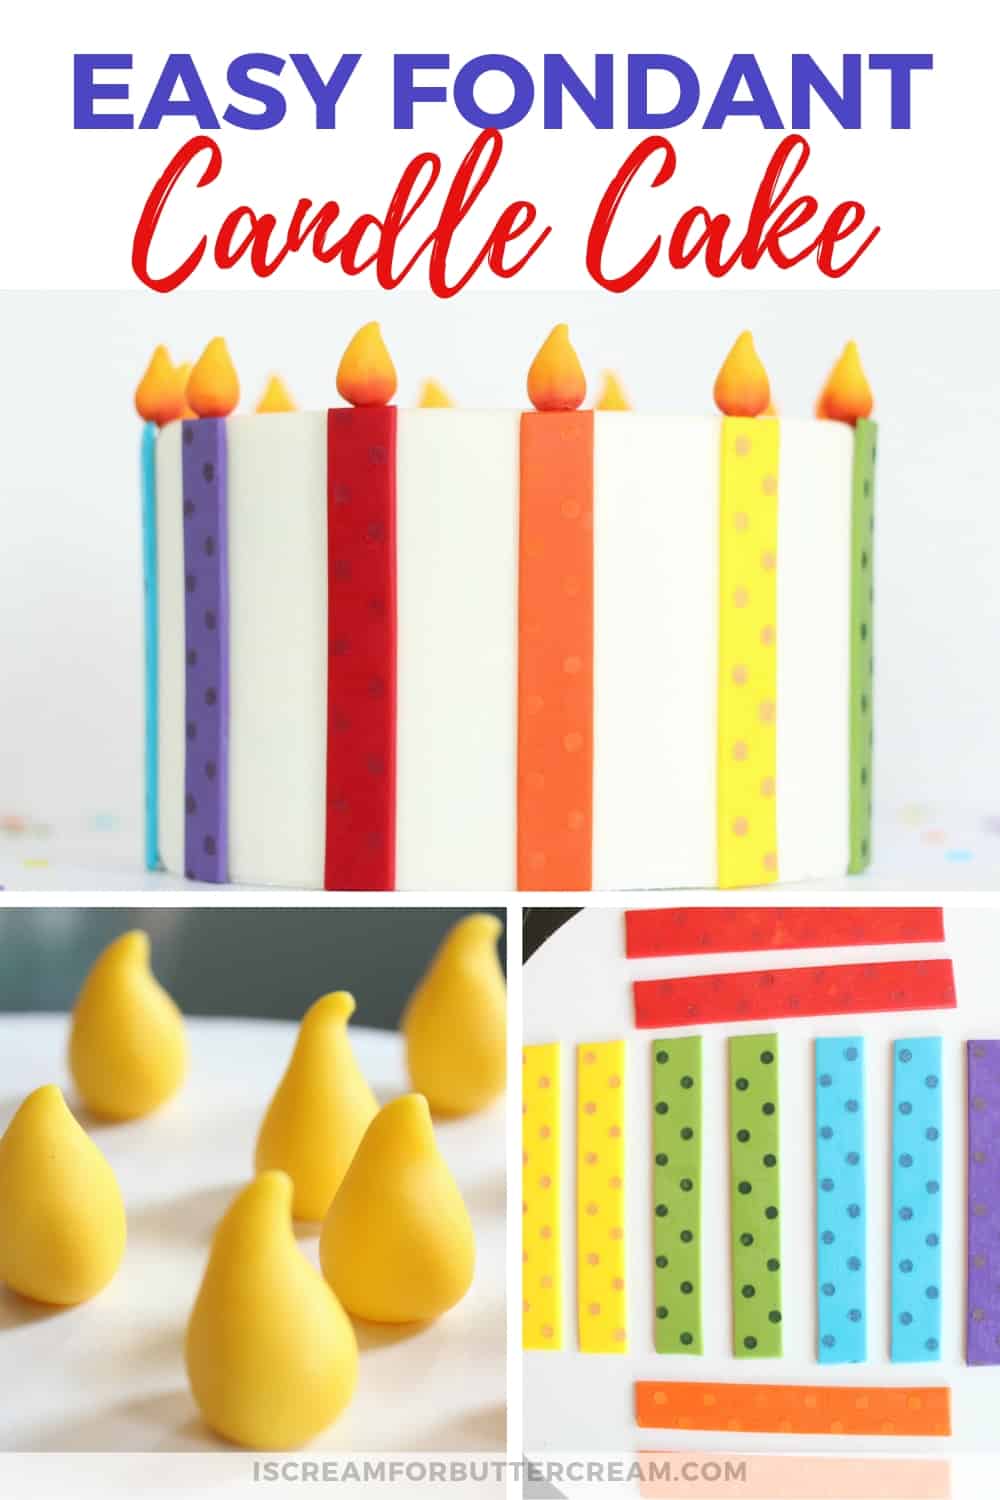
If you are just getting started working with fondant, this easy fondant birthday cake is the perfect cake to get your feet wet. It’s so colorful and fun. Who wouldn’t LOVE getting this cutie on their birthday!

I know I have said this before, but I LOVE making fondant accents for cakes ahead of time. It takes all the stress out of trying to set the cake up all in one setting. This cake is great for that. You can pre-make the candle sticks and flames, tuck them away in a container, and they’ll be ready for you when you need them.
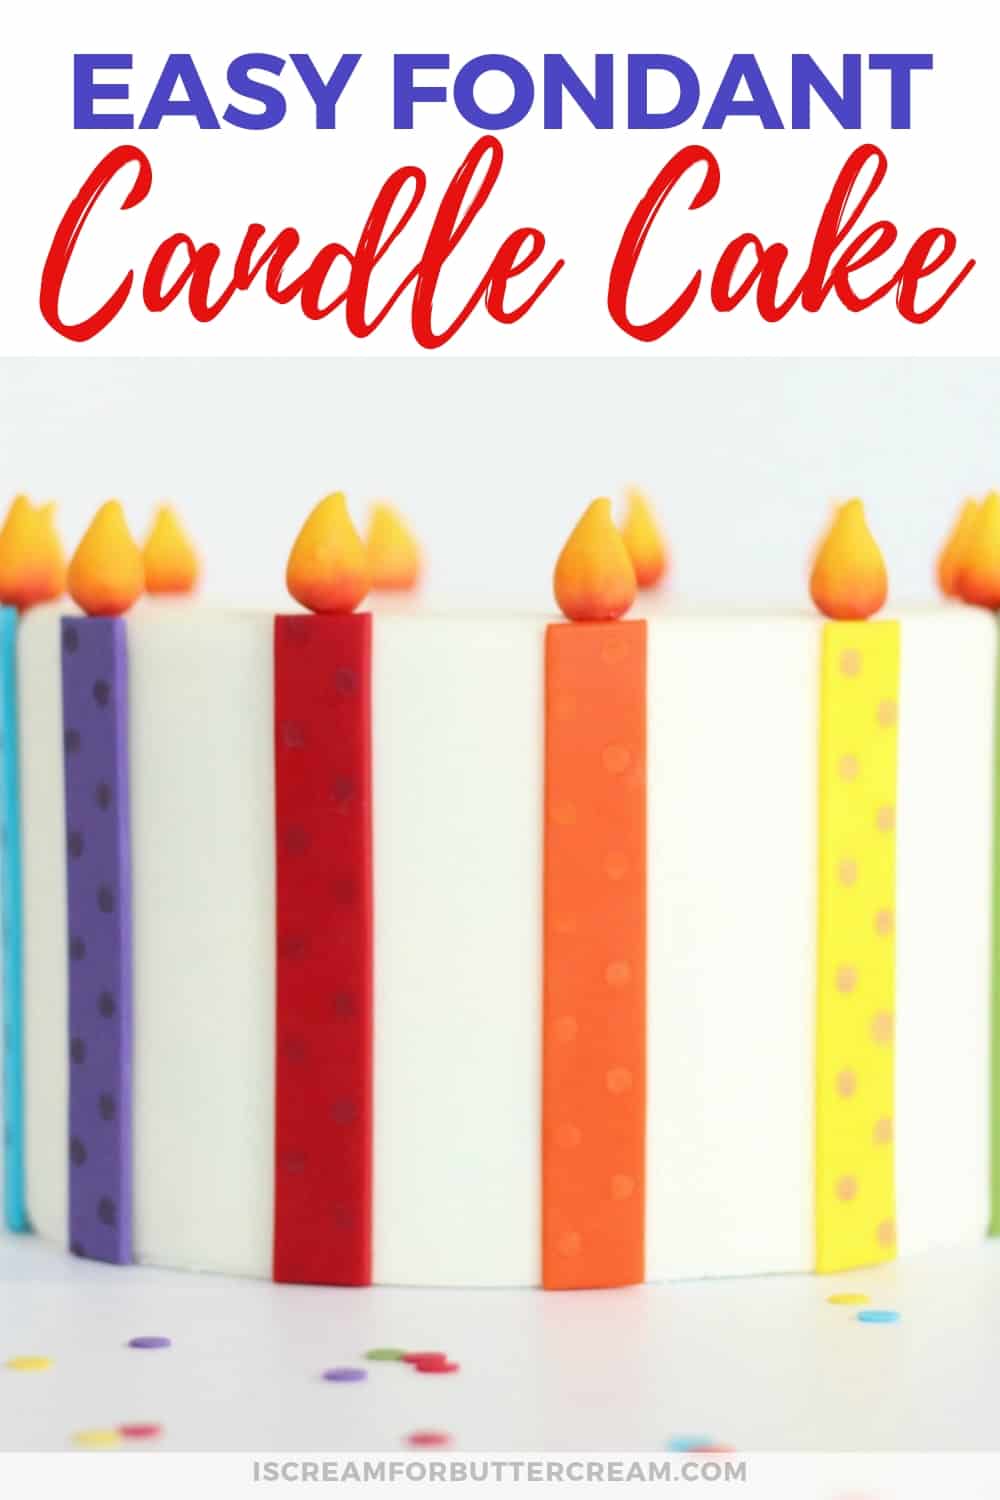
This cake is also great because it can work for anyone. It’s so colorful and fun that kids and adults alike will love it. I coordinated the colors of the polka-dots with the color of the actual candlesticks, but you can customize this any way you like. You could do all the candlesticks in the same color, or just a couple colors, and do the polka-dots in a totally different accent color. The combinations are endless.

You can also add edible fondant confetti around your cake board or on the top of the cake. (I’ve got a short little bonus tutorial for that at the end of this tutorial.) You can even get some cute little number candles to stick in the top of the cake.
So, let’s get started making this cutie!
As an Amazon Associate, I earn from qualifying purchases.
Here are the supplies you’ll need for the easy fondant birthday cake:
- Baked cake (Mine was an 8″ cake and about 5″ high) You can find my favorite vanilla bean cake recipe here: Vanilla Bean Cake Recipe
- White fondant
- Fondant in Blue, Purple, Red, Orange, Yellow and Green. You can buy fondant pre-colored in small packages. I usually tint my own fondant, but I almost always buy red fondant. It’s hard to get it to a bright red without it affecting the texture.
- Polka-dot stencil
- Petal dusts in blue, purple, red, orange, bronze, yellow, burgundy and green (or any other color of petal dust you want to use.)
- Toothpicks
- Ruler or straight-edge
- Shortening
Making the fondant candlesticks part 1:
To make the candlesticks, you want to roll out each color you have. I rolled them on my pasta roller at about a 2, which is thin, but not super thin. You don’t want them too delicate.

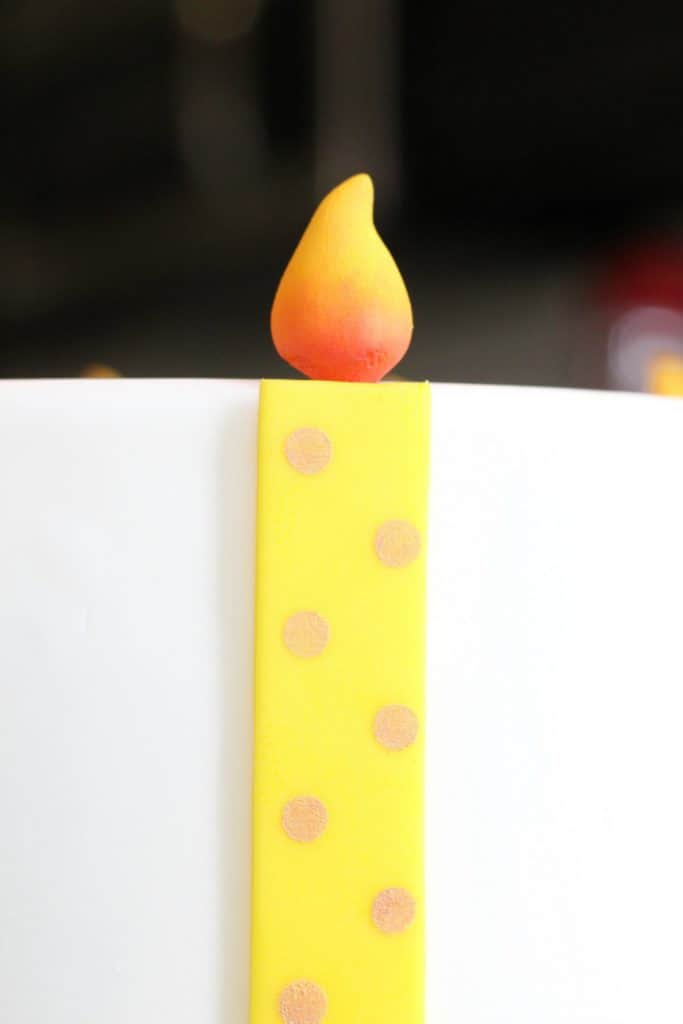
Now take your ruler or straight-edge and cut out your candlesticks. I cut mine ¾″ wide and 5″ tall.
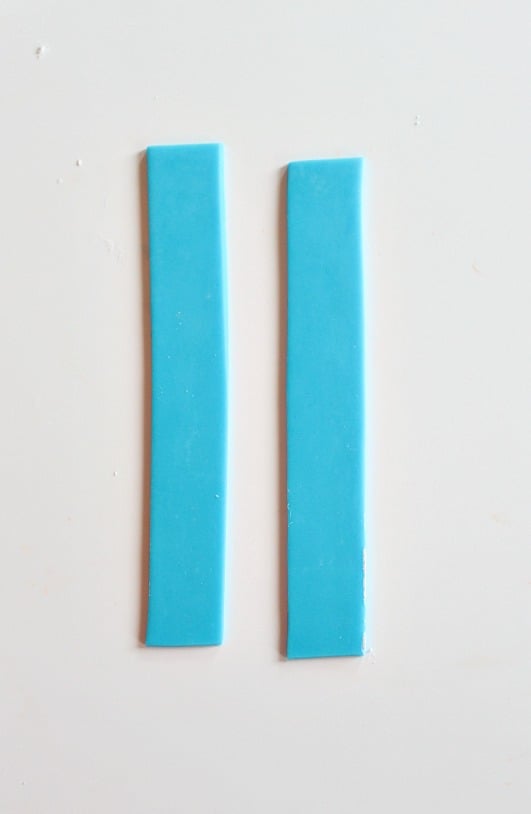
Set them to the side to firm up. Here’s a trick if your candlesticks get misshapen when you move them: When you lay them down on a board to dry, take two rulers or two objects with a straight edge and set one on each side of the fondant strip. Tap them (or slightly push them together) against the sides of the fondant strip and that will straighten the edges.
Cut out at least two fondant strips of each color and set all on a cake board sprinkled with cornstarch to dry. I left mine out to dry overnight.

Making the fondant flames part 1:
While you’re waiting for your fondant candlesticks to dry, you can work on the flames that go on the top of the cake. Take your yellow fondant and roll it out thick. Take a small circle cutter, or the back of a piping tip and cut out a circle for each flame you’ll need. I do it this way, instead of just grabbing chunks of fondant to roll into balls, because this will allow you to use the same amount of fondant for each flame.

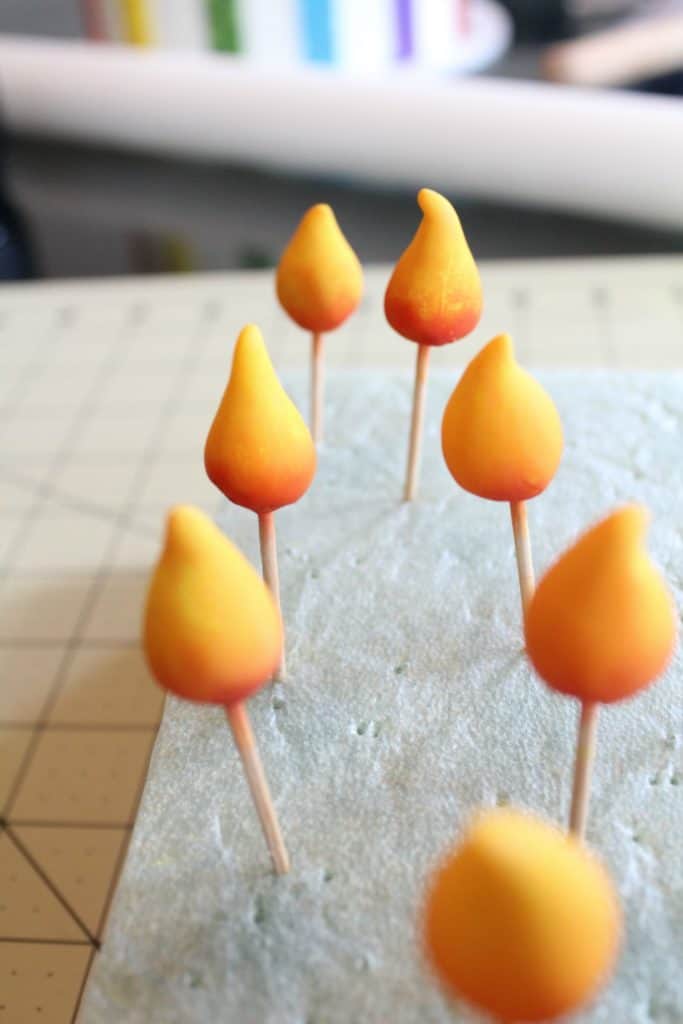
Take your circles and just roll them into a ball in the palm of your hands. You’ll need to use a little pressure.

Then take one end and roll it a little tighter, into a cone shape. Just lay the ball in your palm and use a finger on your other hand to roll one end. I then pushed the tips over to one side a bit.

Next, take a toothpick and dip it in a bit of water, tap the excess off and insert into the base of the flame. Pinch the bottom of the flame around the toothpick. You want to make the fondant seal around the toothpick. Then just stick the flames in some foam to dry. I let mine dry overnight.

Making the fondant candlesticks part 2:
Now that your fondant strips have dried, we can add the polka-dots. There are several different ways you can do this and here are the pros and cons for each method:
- You can rub a very thin layer of shortening over your fondant strips, lay the polka-dot stencil on top and pounce the dry petal dust into the dots with a brush. (You get good color coverage this way, but you have to be really careful when handling the fondant strips because the polka-dots can easily smear.)
- You can put a thin layer of shortening only on the back of the stencil and then set it on your fondant strip. Mix the petal dust with a bit of lemon extract and pounce the mixture into the dots with a brush. (You will get good color coverage with this method, but there’s a chance the color could seep under the stencil easier than the other methods. The shortening on the back of the stencil helps with this, but not completely.)
- You can put a thin layer of shortening on the back of the stencil and set it on your fondant strip and pounce on your dry petal dust into the dots with a brush. (With this method, the color of the dots will not be as bright as if you had rubbed a thin layer over your entire fondant strip, but the dust won’t smear as easily.)
I used the first method. I used just a very thin layer of shortening over the fondant strip, placed the stencil on top and pounced on the dry petal dust.

I used the coordinating color of dust for each strip, except the yellow strip, for which I used the bronze colored petal dust.

You can use a brush and CAREFULLY brush off any shortening streaks you see. Just be careful not to get too close to the polka-dots. Set them aside to dry a bit.
Making the fondant flames part 2:
Now we’ll finish up our flames. They should be dry now. I used yellow, orange and burgundy petal dust to add some dimension to these little flames. I added yellow at the top of the flame and a bit of orange from the bottom and fanned the color up to the middle. Then I added a touch of burgundy at the bottom of the flame and blended it up just a tiny bit.
Putting the Easy Fondant Birthday Cake together:
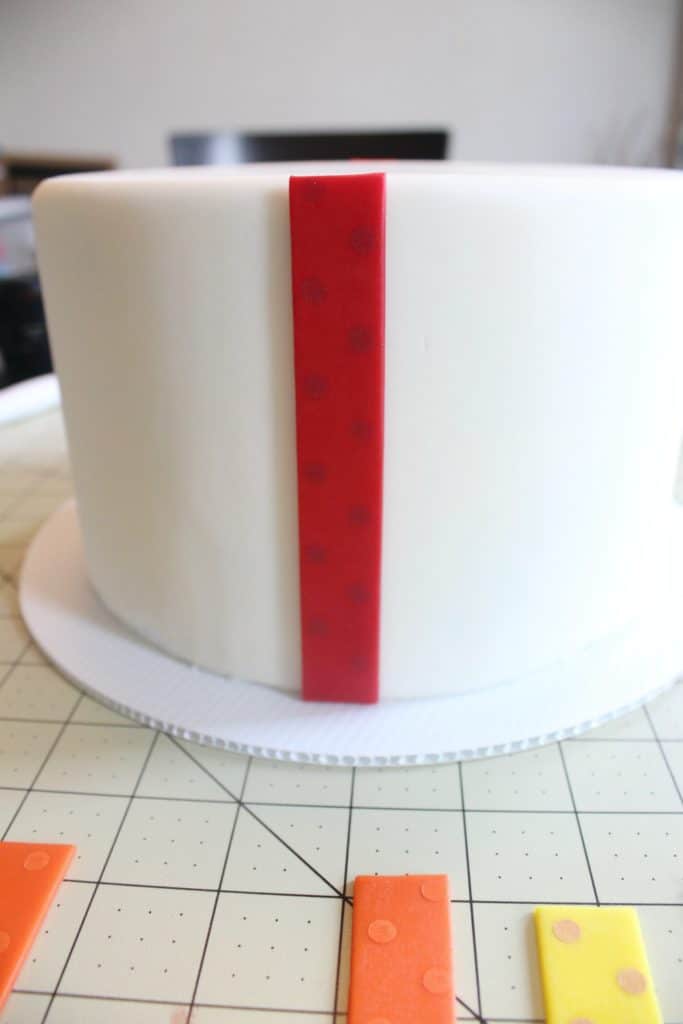
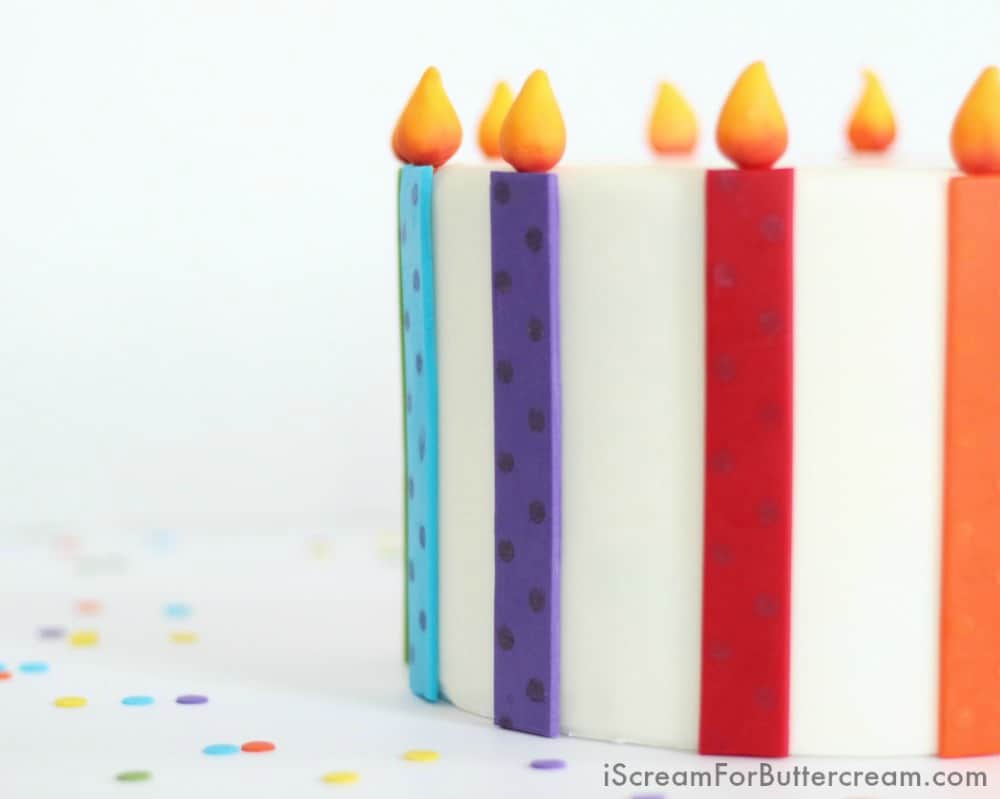
First, you want to cover your cake with white fondant and set it on the finished cake board. I laid out all my fondant strips in front of my cake in the order I wanted them around the cake.

To keep the fondant strips evenly spaced, you want to add them to your cake in small sections. Take the color that will be on the front and back of the cake (the red strip), add a bit of water or piping gel to the back of it, and add one to the front and one to the back of the cake.
Now take your two green strips and place them right between the red strips on each side.

Now look at the strips you have left laying out in front of you. Two strips are going to go between each section of the red and green strips.


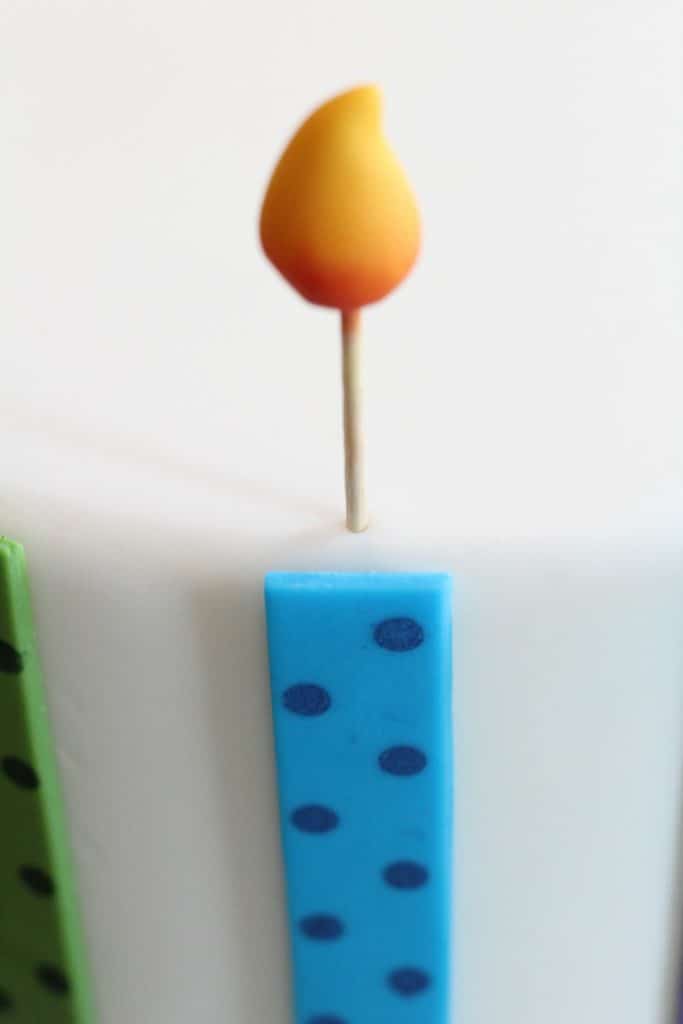
If any of your strips are too tall, just cut them level with the top of the cake. Use a sharp xacto knife, or just use scissors.
Next, add your flames. You want to insert them as close to the edge as you can.
And that’s it! After you’ve attached all your flames, you’re finished! Stand back and take a look at what you’ve created! Remember, you can add some cute little number candles to the top, or some homemade edible confetti. Keep reading for the bonus tutorial on how to make the fondant confetti!
How to Make Fondant Confetti:
It’s super simple to make fondant confetti. Take your leftover colored fondant and roll it out super thin. Use a piping tip and cut out small circles of fondant.

Lay them on a piece of foam or a cake board to dry completely.
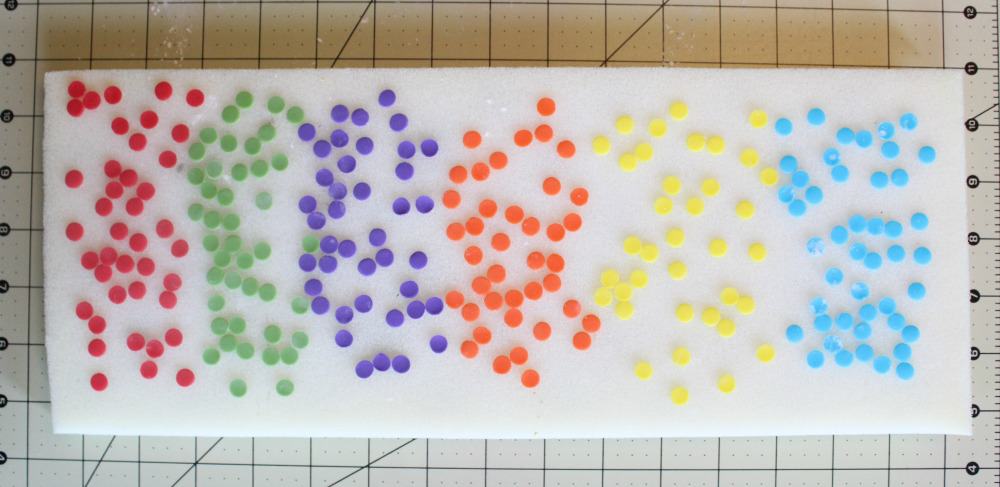
When they’re completely dry, you can sprinkle them around the board your cake is sitting on, or on top of the cake. So cute and festive!

There you have it! Now, you’ve made a cute birthday cake and your family will be so impressed 😉
I hope you’ve enjoyed this tutorial and remember, you can always ask me questions…just shoot me an email!

Don’t Forget to Pin it for Later!
Leave a Reply