
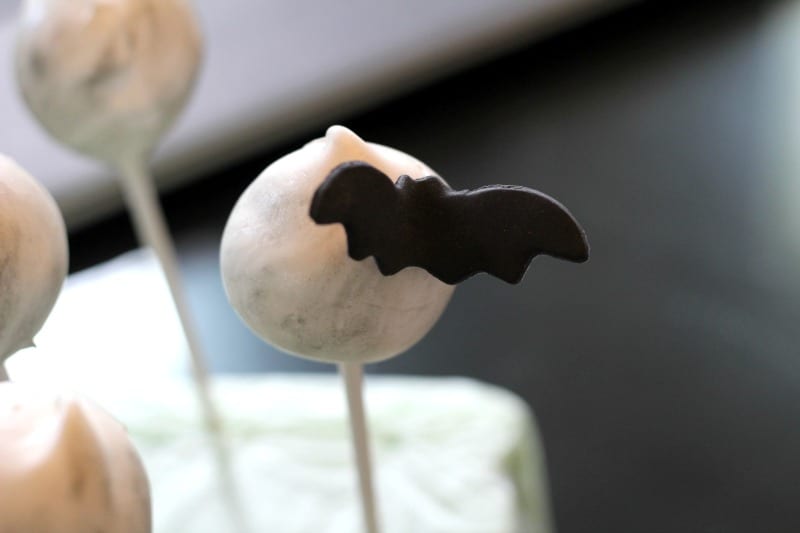
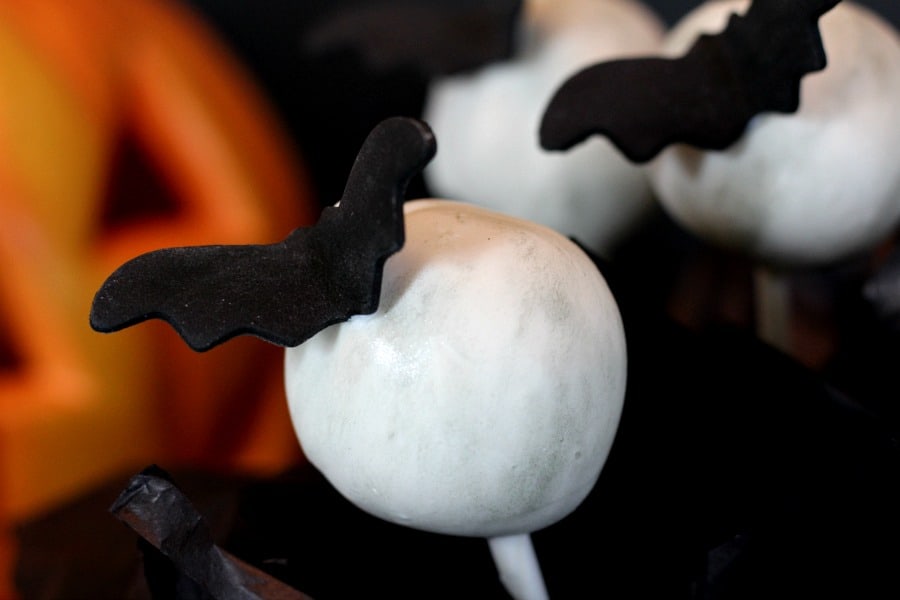
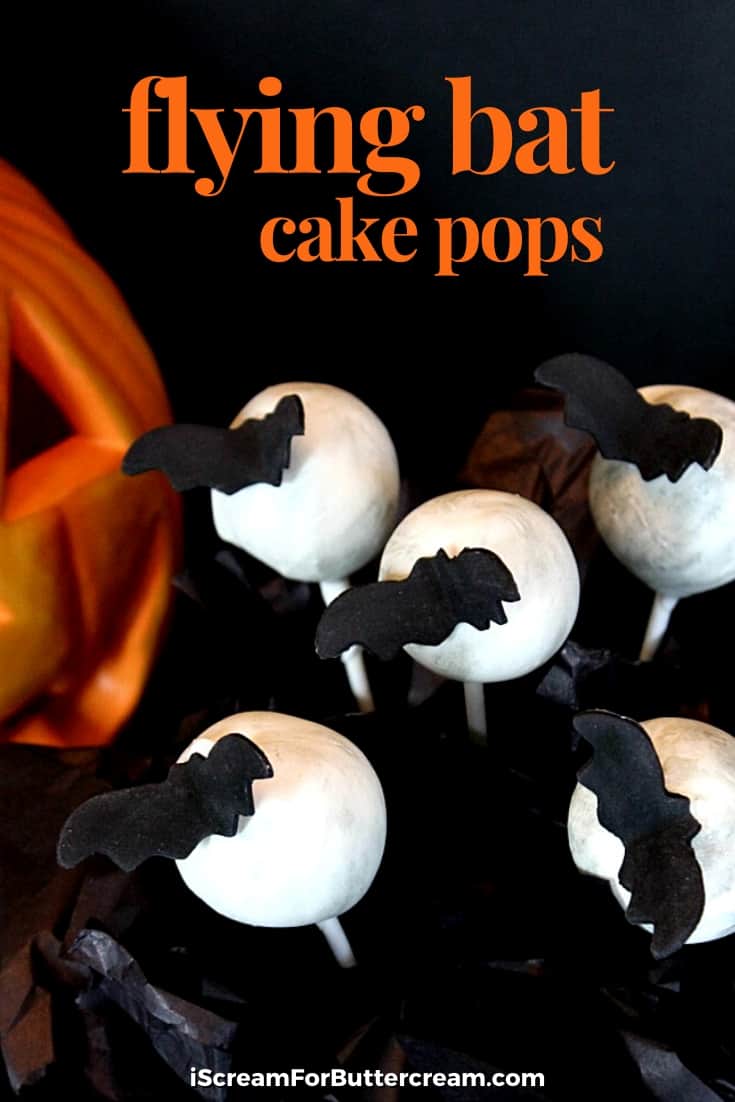
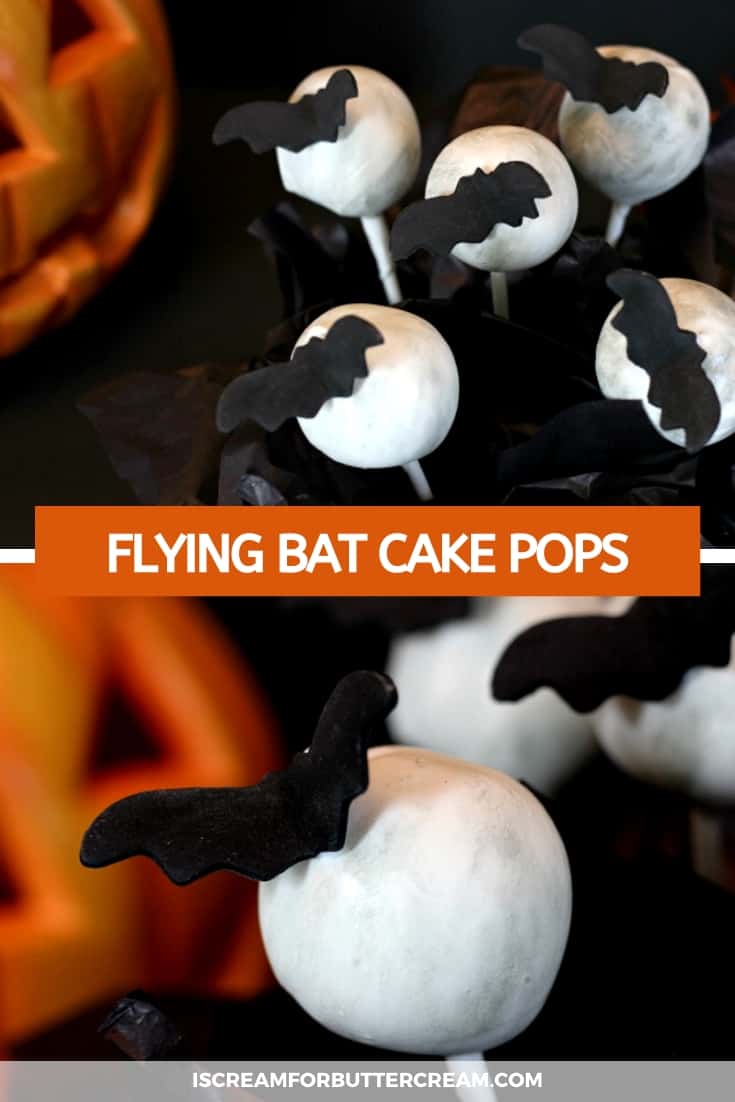
These Flying Bat Cake Pops will be a hit at your next Halloween party. The cake pops are dusted to look like moons and then there’s the flying fondant bats…Such a fun treat for Halloween!
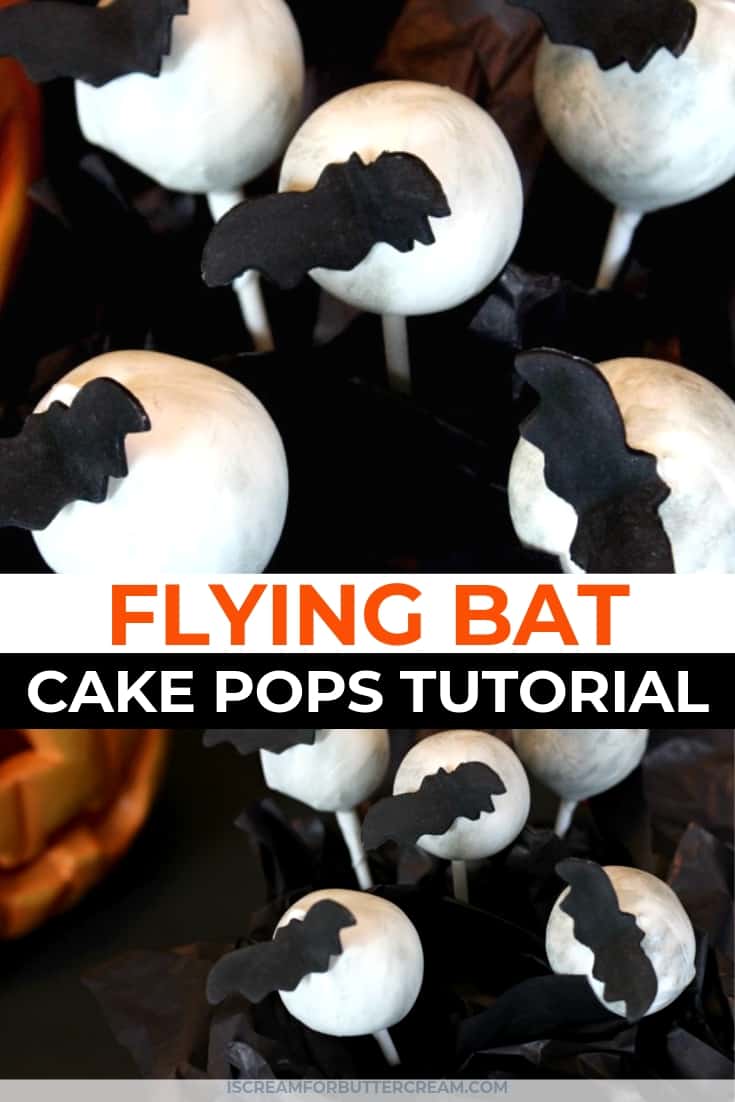
These cute little flying bat cake pops are nothin’ to be afraid of. They are super cute and delicious, but they make a super fun Halloween treat.
These take a bit of time to make, but they’re not hard to do. And you don’t even need to know anything about working with fondant.
As an Amazon Associate, I earn from qualifying purchases.
Ok let’s get right to the tutorial…
Supplies You’ll Need for the Flying Bat Cake Pops:
- Pre-made cake, crumbled
- Buttercream
- White candy melts
- Black fondant
- Black edible petal dust
- Mini Halloween cutters
- Mini fondant roller
- Popsicle sticks
- Paint brushes used only for caking
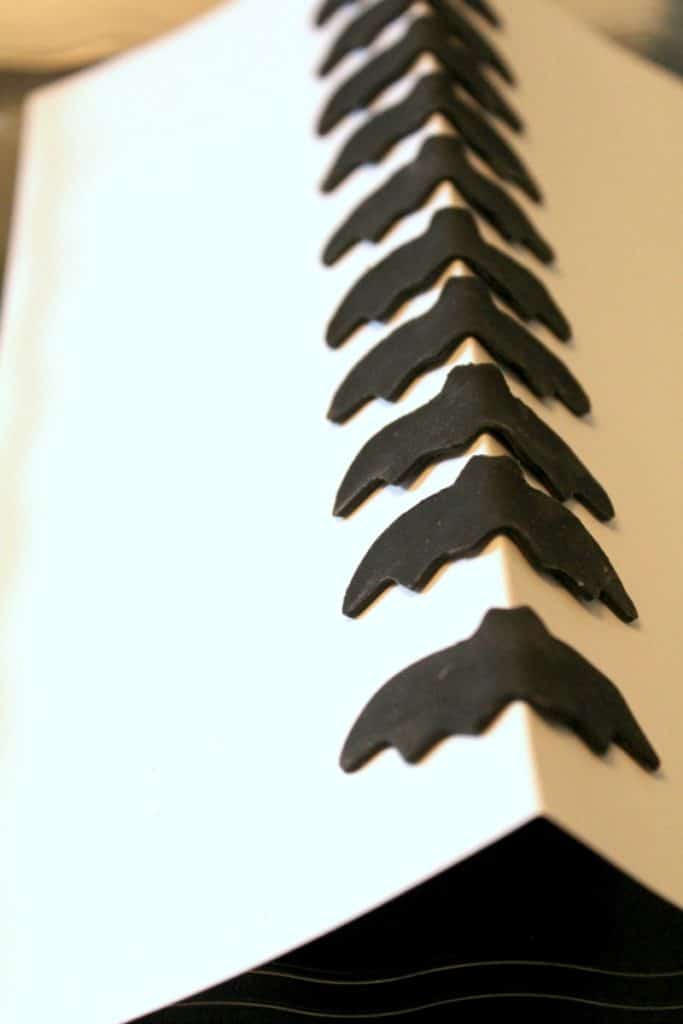
Making the flying bats:
You want to make the bats at least several days ahead of time, preferably about a week before you’ll use them. They need to be completely dry.
Take your black fondant and roll out a piece. I used a two on my pasta roller. You don’t want them thick, but you don’t want them paper thin either.

Take your mini bat cutter and cut out as many bats as you’ll need for your cake pops. You can either attach these to all your cake pops, or just some of them. You’ll need to make a few extra though in case some break.
Once you get them cut out, place them (good side down) on a folded piece of cardstock. Leave them this way until they are fully dry.
Making the cake ball mixture:
My basic recipe for cake balls is super simple. It’s basically about 4 cups of crumbled cake to a half a cup buttercream. You can choose any flavor combination you like. For this project, I went with all vanilla, because that’s my favorite. You can find my cookies and cream cake pop recipe here and my favorite vanilla bean buttercream recipe here.
Just mix your cake crumbles with your buttercream and chill for an hour or so, then roll them into balls. I rolled my cake balls a bit bigger, so they would look like moons. If you roll them too big, they have a tendency to fall off the popsicle sticks when you dip them, so keep that in mind.
After you roll them, melt your white candy melts, dip one end of the popsicle stick into the melted candy and then insert into the cake ball. Chill for about 15 minutes or so.
Once they’re good and chilled, heat up your candy melts again and start dipping away. If your candy melts are too thick, you can add a tablespoon of melted shortening and it’ll thin it a bit. Don’t add too much, or it’ll give the candy a weird crackled look.
Place your dipped cake pops into a block of styrofoam and place into the fridge to firm up.
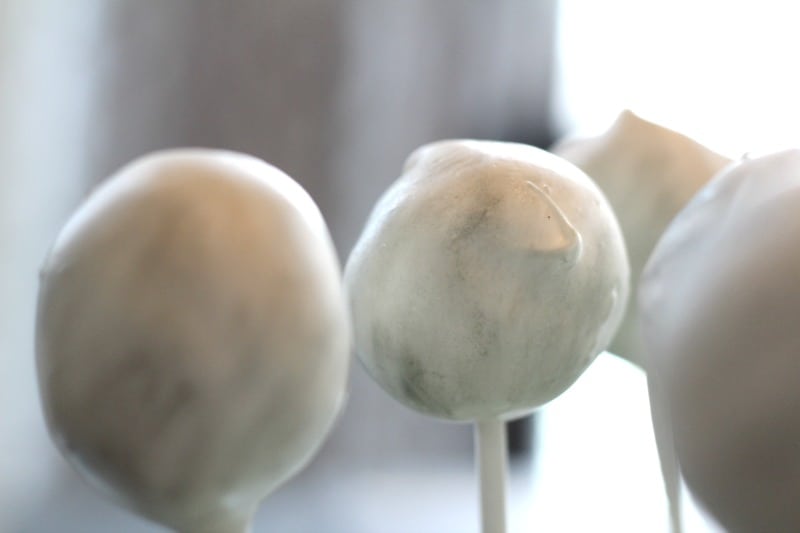
Coloring the cake pops:
Once the cake pops are firm, take them out of the fridge. Let them sit on your counter for at least 20 minutes. You don’t want any condensation on them when you go to add your petal dust.
Sprinkle some of your black petal dust on a paper plate or paper towel. Take your paint brush and dip it in the dust. Brush most of the dust off your brush onto a paper towel. You don’t want much at all on your brush. Now, brush onto the cake pop in random areas. You can also go over those spots with the silver petal dust the same way. We’re trying to get them to look like little moons.
Attaching the bats:
Re-melt your leftover candy melts. Take your bats, dip the body part into the melted candy and then attach to the top edge of the cake pop. You’ll have to hold them there for a minute or so until it firms up enough for them to stay put. Set them back into your fridge to firm up.
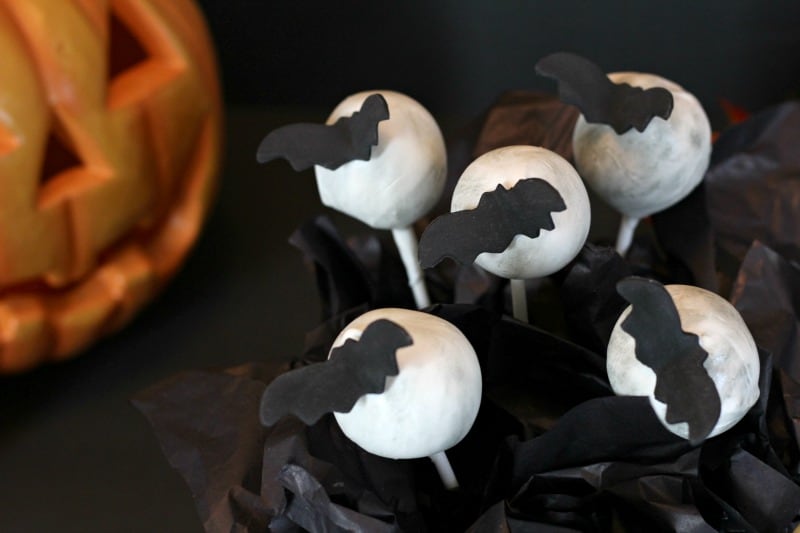
There you have it! Super cute flying bat cake pops!
These would be great at a Halloween party. It would even be a great project to do with the kids!
Don’t forget to pin it below!
Leave a Reply