
Making a his and hers wedding shower cake? Combine elements of a wedding dress with a few masculine touches to make something they’ll remember forever.
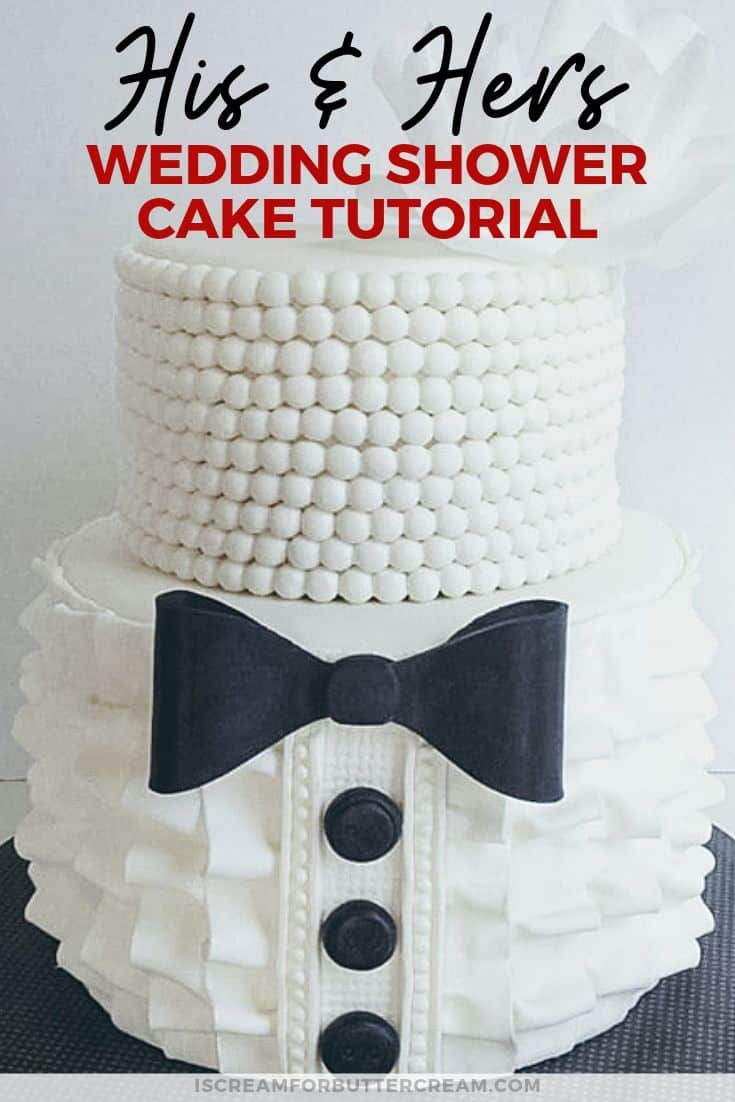
What do you do when you’re asked to make a cake for a his and hers wedding shower? Well…you combine the tux and the wedding dress!

I did this cake awhile back, but since it’s one of my favorites, I wanted to share with you how I did it.
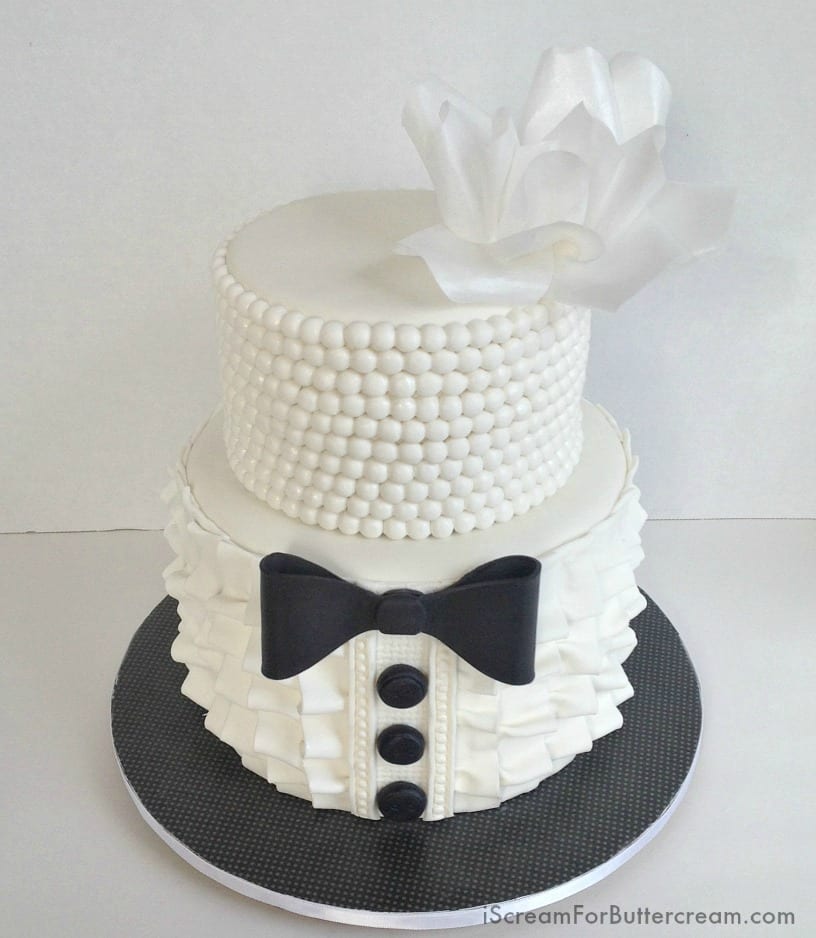
My idea was to make sure the cake was feminine and pretty, but I also wanted to add a couple of masculine touches. I like a challenge. I came up with this design and as always, when I start putting the cake together, it sort of took on a life of its own, but I was really happy with the way it turned out.
If you’re like me, you can plan and plan, but when you start working on a cake, it just kind of has its own mind. The trick is to just go with it.
I knew I wanted ruffles, but I didn’t want to just go with the same ol’ horizontal ruffles. I wanted something that would be feminine, but also resemble the old style tuxedos with their ruffled shirts. Remember those? Hello 1980, right? Well, this is the ‘refined’ version of that, with an added bow tie for personality 😉
This post contains affiliate links. As an Amazon Associate, I earn from qualifying purchases. You can see my policies linked in the website footer.
Here are the supplies I used:
- White and black fondant
- Wafer Paper
- Piping Gel
- Wilton Baroque Mold (this has the pearl mold plus the mold I used for the borders at each side of the buttons)
- Circle cutters
- Large Fondant Roller
- Small Fondant Roller or (which is what I used)
- Makins Clay Texture Sheets (this is the one with the fabric texture included)
- Powdered Sugar and Cornstarch mixture (to keep the fondant from sticking to the pasta roller or your mat
- Paint brushes (used only for caking)
- Clay Color Shapers (used for tucking in the ruffles at the bottom of the cake)
The first thing you need to do is to cover your cake in buttercream or ganache, then cover in fondant. I’m in love with this fondant recipe: LMF (Liz Marek Fondant)
The Bottom Tier:
The Ruffles:
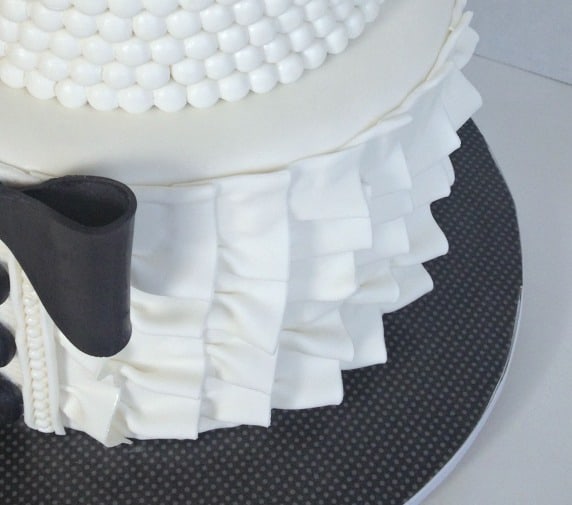
The bottom tier was a 10″ cake that I covered in white fondant. I just rolled out some white fondant using my KitchenAid pasta roller attachment on about a level 2 or 3. I didn’t want thick, chunky ruffles.
I then cut out strips longer than the height of the cake.
I started in the back of the cake because the ruffles overlap each other and they go in opposite direction of each other in the front of the cake. So at the very back of the cake, the ruffle sides will meet up. I also, made sure to leave about an inch to an inch and a half empty space in the very front of the cake, so I could add my ‘shirt’ and buttons.
I brushed on a vertical line of water on the cake and started at the top of the tier. I made sure the top of the ruffle was level with the top of the cake and then scrunched up the fondant a bit as I attached the strip. If there was any extra when I got to the bottom of the cake, I just trimmed it off with an exacto knife, then used my small flat color shaper to tuck the fondant in at the bottom.
I then smoothed the line where it was attached up the tier. I used my large flat color shaper to smooth that line.
I just continued adding the ruffles overlapping the last one. Once I got to the front of the cake, and left the space for the buttons, I started at the back again to add ruffles to the other side that were facing the other direction.
By the way, I’ve got a free mini course coming up on making fondant ruffles that’ll show you three different kinds of ruffle styles. Be on the look out for that and be sure to subscribe to the blog, and you’ll be the first to know when it goes live.
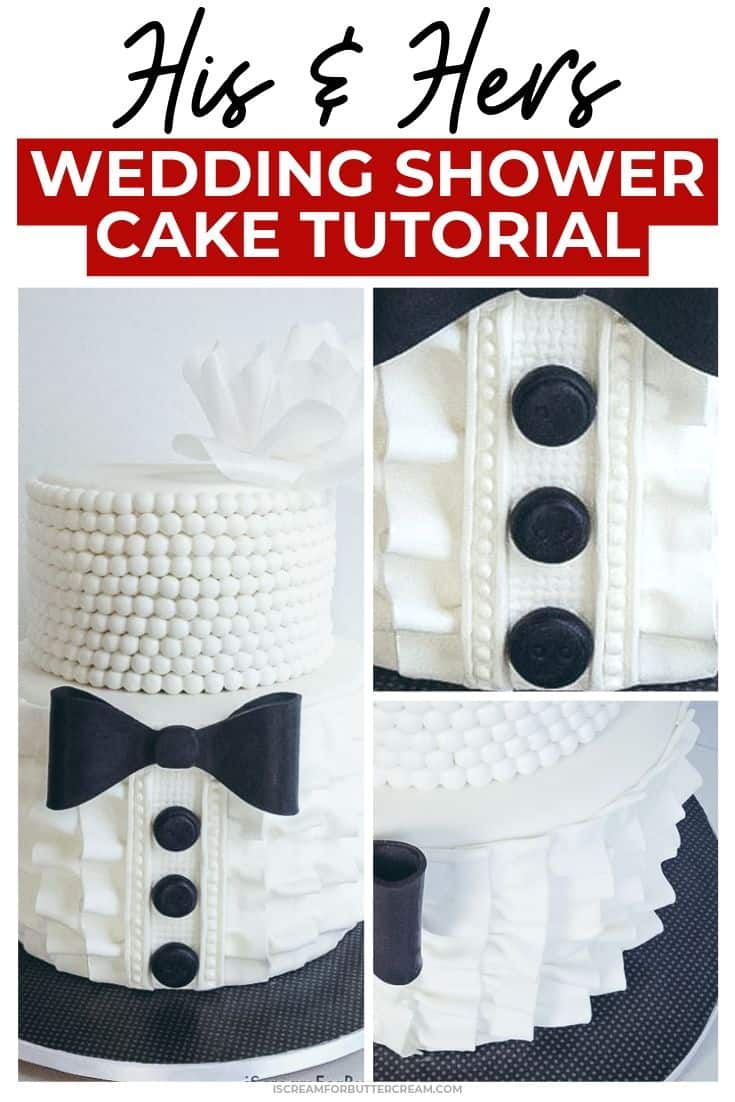
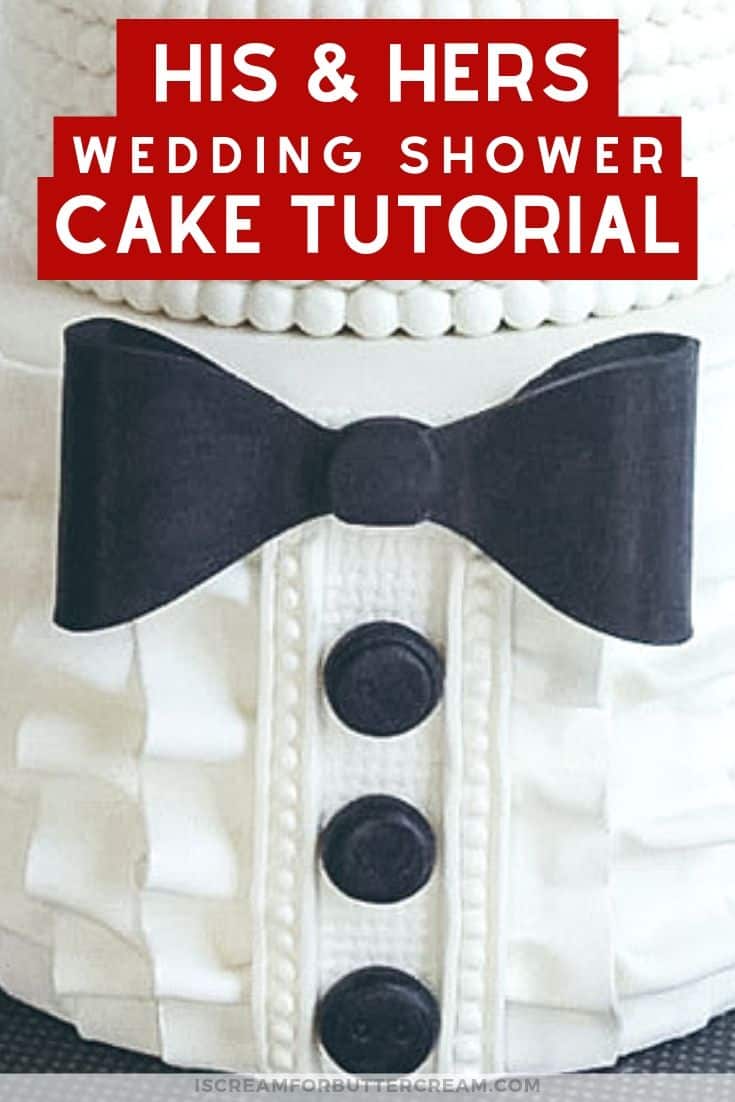
The Shirt and Buttons:
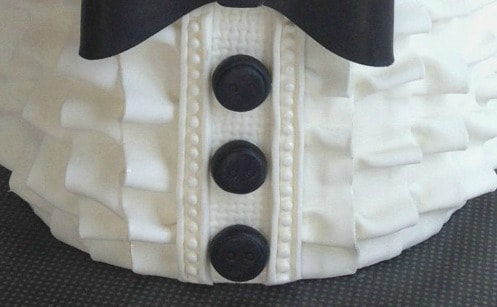
Once I got my ruffles done, I started on the shirt and buttons. I just rolled out a strip of white fondant about an inch and a half and used my Makins texture mat to add some fabric texture to it.
Just put the mat over your fondant strip and roll your small fondant roller over it to emboss the texture. I added it to the middle front of the cake and cut the top and bottom with my exacto knife even with the cake.
I used my Wilton baroque mold, the strip with the beads inside, and attached one to each side of the strip I just added for the ‘shirt’.
For the buttons, I just rolled out thick black fondant and used a small circle cutter to cut them out. I then used the back end of one of my icing tips to make a ring just inside the button. I just pushed hard enough to make an indention. Then I attached to the shirt part of the cake.
The bow tie:
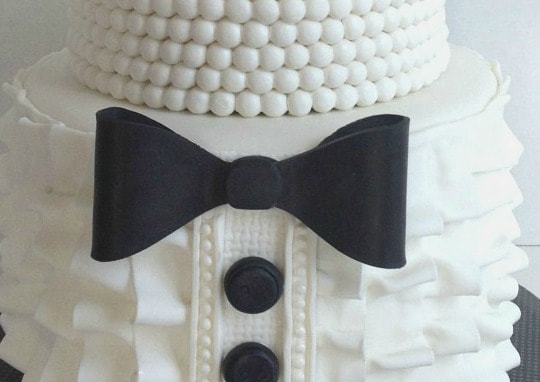
For the bow tie, I just rolled out black fondant and ran it through my pasta roller at about a level 2 or 3. I then used my exacto knife to cut out a shape of a bow tie. You can look online to get an idea of what they look like untied.
I just eyeballed it. I brushed water in the middle and attached the two ends to it. I used some rolled up paper towels to help it keep its shape until it dried. Once dried, I added it to the cake with melted white candy melts and added a small ball of black fondant to the middle.
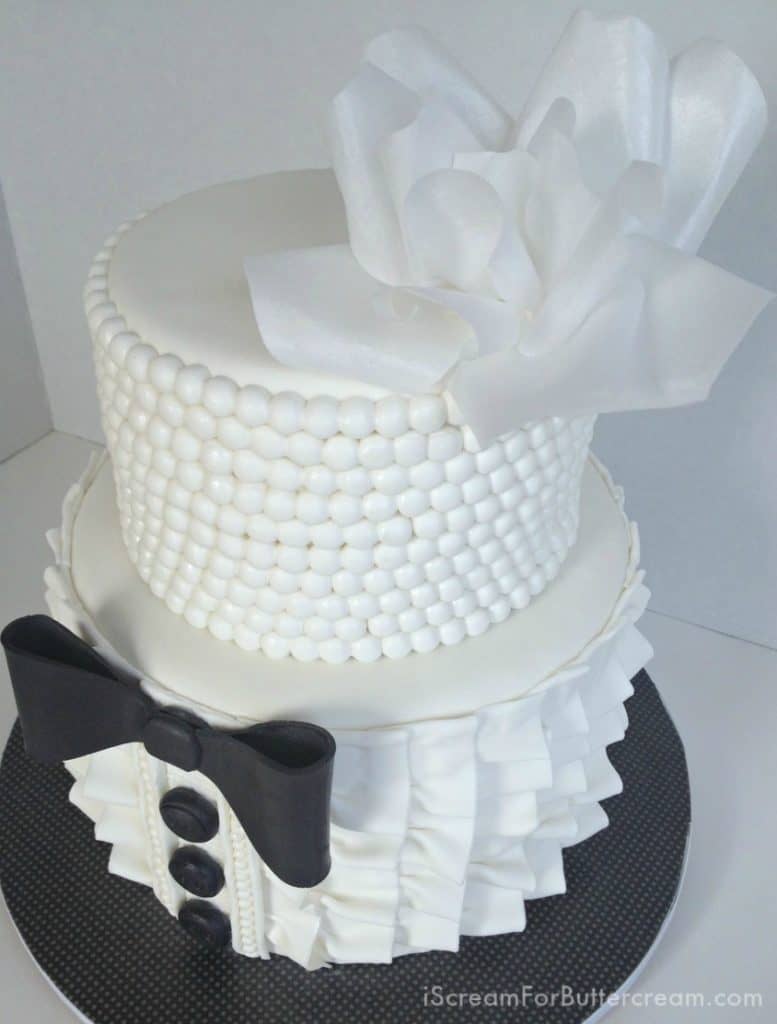
The Top Tier:
The top tier was easy, but a bit time consuming. I used my Wilton baroque mold again and made a huge amount of pearl strands. I just attached them to the cake with water, starting from the bottom of the tier on up.
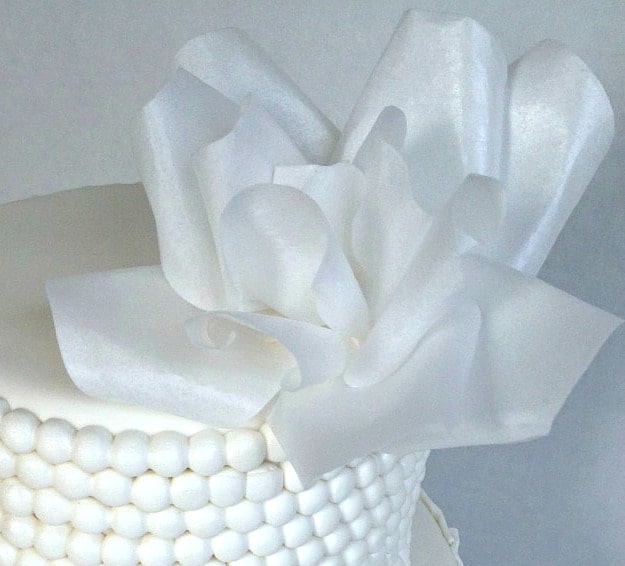
The Wafer Paper Flower:

I LOVE working with wafer paper. It can get a little sticky using piping gel, but it’s worth it. The look is so different and people really seem to love the sort of see-through, light as air look of it. The great thing about working with wafer paper is that you don’t have to make it days ahead of time because there’s not much drying time to it. The other great thing about it is that you don’t have to stress out about wafer paper flowers breaking so easily.
To learn how to make the wafer paper flower, I took Stevi Auble’s wafer paper class on Craftsy. You can go here to get the class: Delicate Wafer-Paper Cakes, with Stevi Auble It’s a great class and she shows you multiple ways to use wafer paper.
There you have it! How I made the His and Hers Wedding Shower Cake. I hope this inspires your creativity and gives you some ideas. As always, if you have questions about this tutorial or have any other caking questions, I’d love to hear from you!
Don’t Forget to Pin it for Later!
FREE: 7 Quick & Easy Tips to Make Your Cakes Look Professional

Ready to start making cakes that look amazing?
Grab this FREE guide with quick and easy tips to make your cakes actually look like a professional made them, so you can start showing them off!
See our privacy policy here.
Leave a Reply