
This is the year I turn 40! Well, in September I do. It just doesn’t feel right though. I don’t FEEL 40 (well except for the occasional back pain). Anyway, I’ve been feeling kinda down about this ‘mega birthday,’ so I decided I’d make my own birthday cake.
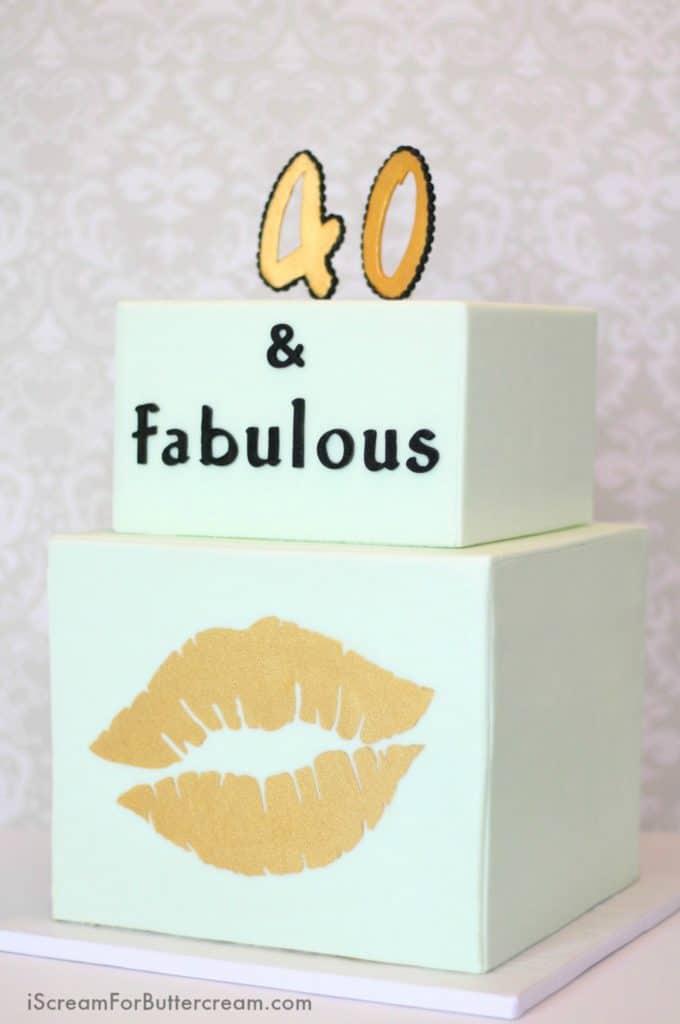
Yep, that’s right, I made my own birthday cake. I wanted to really glam it up and what is more glamorous than gold sparkly lips? Uh, not much. I figured a glamorous cake might cheer me up…well, it couldn’t hurt, right? So, I came up with this 40 and Fabulous Mint and Gold Cake and I wanted to show you how you can make it too.

This post contains affiliate links. As an Amazon Associate, I earn from qualifying purchases. You can see my policies linked in the website footer.
The techniques used in this cake can be used for basically any cake. If you have a friend or you’re asked to make a cake for someone turning forty, great, but if not, there are many different ways you can use these techniques.
Here are the supplies you’ll need:
-
- Baked cake layers (The bottom tier is a 10″ wide by 10″ tall – if you don’t need that much cake, you can always use a dummy for the bottom tier) (The top tier is 8″ by 5″ tall) If you use cake for the bottom tier, it’s so tall that you will need to treat it like two tiers. That means you’ll have to put a cake board in the middle and add support dowels below it. You can find my favorite cake recipes here: Favorite Vanilla Bean Cake & Easy Double Chocolate Cake Recipe
-
- Mint colored fondant (Check out this post: How to Color Large Amounts of Fondant)
-
- Number templates (Just make your own in Word)
-
- Lip stencil similar to this one. I found mine at Hobby Lobby and the open part of the stencil was about 8″ wide and 5″ tall. If you’re making a smaller cake, you’ll just want to make sure your stencil is smaller.
-
- Letter mold
-
- Small pearl mold similar to this one.
-
- Xacto knife
-
- Shortening
-
- Food brushes
-
- Edible Hybrid Sparkle Dust in Old Gold and Metallic Gold Glitter Dust
-
- Edible Black Glitter Dust
- Lemon Extract or Vodka (If you are turning 40 this year like me, maybe the vodka is the better choice 😉 Just sayin’)
Now let’s get started!
Making the Numbers:
The first thing you’ll want to do is create the numbers on top because these will need to dry before you can attach them to your cake. Make these at least several days before you need the cake.
I made myself a number template in Word. I just found a font I liked and printed it out on cardstock, then cut around the number. I placed the template over my rolled out fondant (on the thicker side) and cut around the numbers.
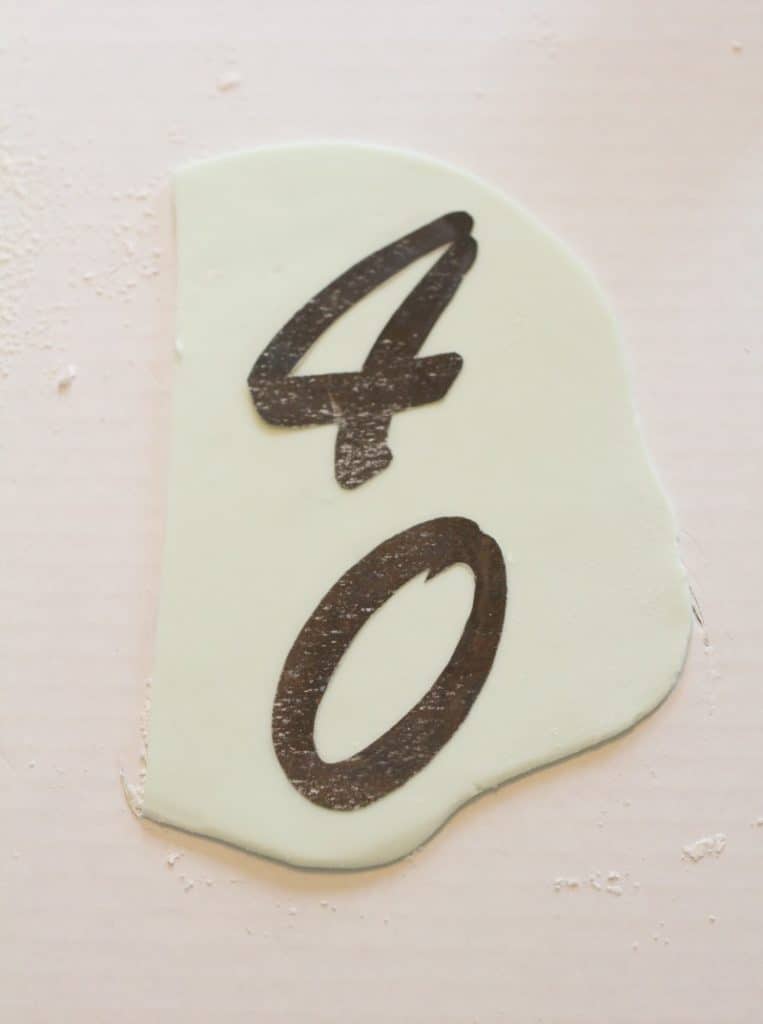

Set these aside to dry for at least a day.
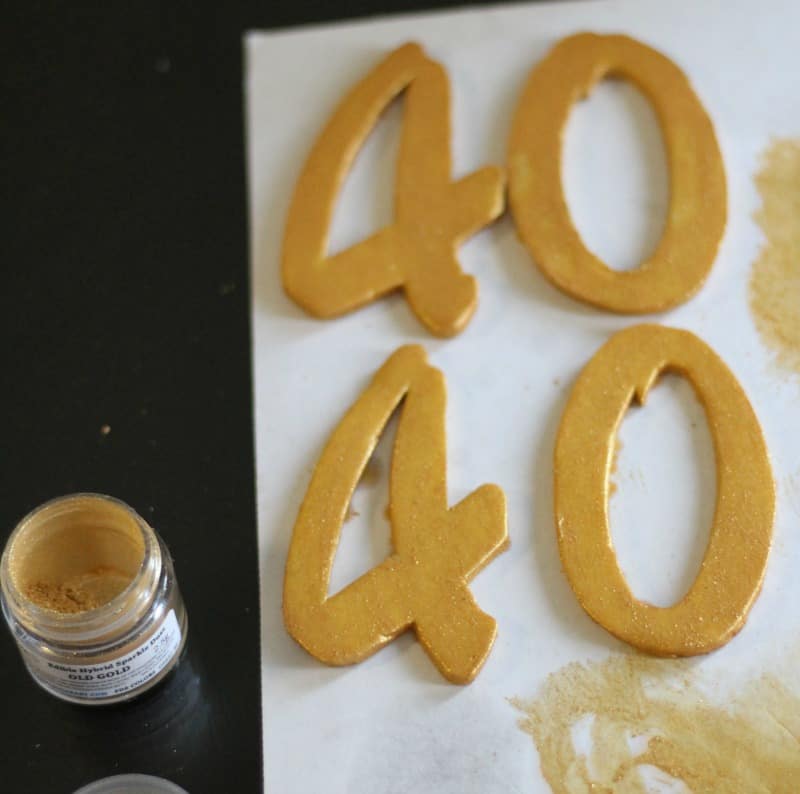
When they’re dried, you’ll want to color them. I mixed both of my gold luster dusts together and added a little lemon extract and then painted the numbers. I painted the back first, let it dry and then flipped the numbers over and painted the front.
Once they are dry, you can add the pearls around the number. I used my Wilton mold that has a tiny pearl mold included. Roll black fondant into a long strand and push into the mold. Take a knife and cut off the excess. You can put your mold into the freezer to firm up the fondant. Once it’s really cold, you can unmold it. The pearls are so small that it’s still going to come out in pieces, but that’s ok. Once they’re attached to the numbers, you won’t be able to tell.

Now paint a tiny amount of water around your numbers and attach the pearls.
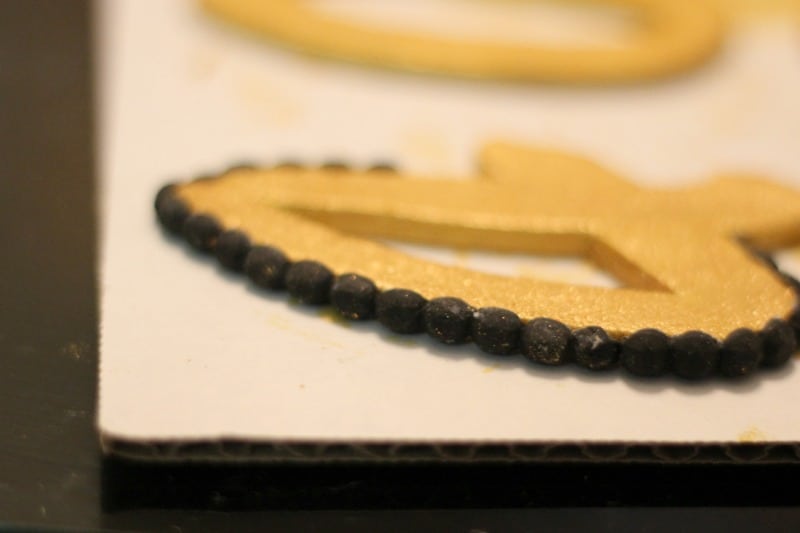
I then took my black luster dust, added some lemon extract, and painted the pearls to give them some sparkle.

Once these are completely firm, you can flip them over and attach popsicle sticks to the backs. I used melted white chocolate to attach the sticks. Let that firm up before you insert into the cake.
Making the Letters:
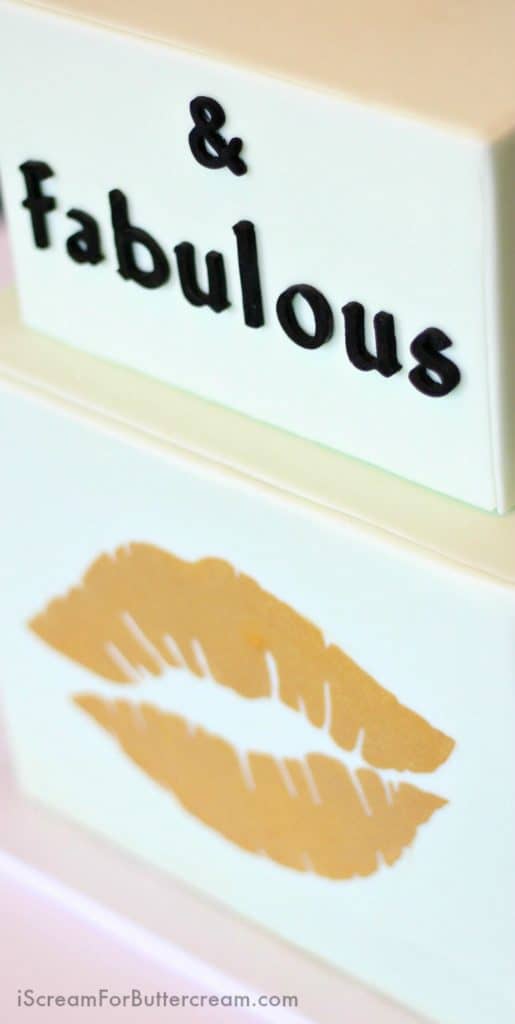
Now we’ll work on making the letters. Use your letter mold and black fondant. Don’t forget, you can put your mold into the freezer to harden up the fondant so they’ll unmold easier. I let my letters dry overnight, then I painted them with the black luster dust mixed with lemon extract.
Using the stencil for the gold lips:
Now, you’ll want to cover your cakes in fondant. I chose mint colored fondant. I like the combination of the mint and gold together. (Oh, and I’m working on a blog post to show how you can color large amounts of fondant the easy way…you know, without giving yourself a sore neck and arms.) Since the bottom tier was a 10″ x 10″ square, I chose to panel it with fondant instead of using the draping method. It’s just too tall for me to drape. I paneled the top tier as well, so the entire cake would be uniform.
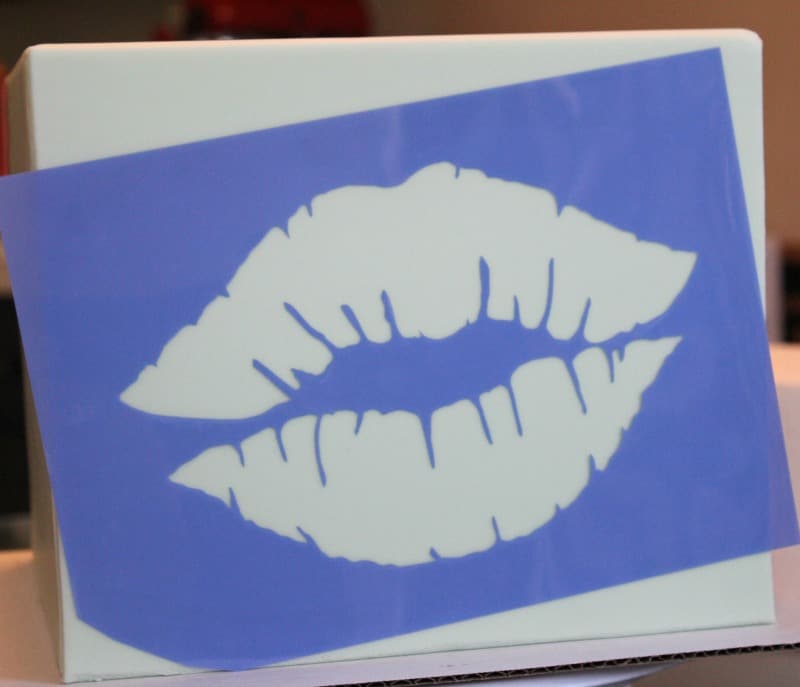
First you’ll want to brush shortening on the front side of the bottom tier. You want just a thin layer over the whole side. Take your stencil and stick it to the front side of your cake. I wanted the lips a little off-set, so I cut the bottom corner of the stencil off, so it was flush with the cake board. Make sure all parts of the stencil are stuck to the cake. The shortening is going to help with this, it’s also what is going to allow our luster dust to stick to the fondant.
Take some wax paper and cover the bottom part of the cake, so it will protect it from the petal dust you’re about to add.
Now mix your two gold petal dusts together. We’re using them dry, so don’t add lemon extract.

Take a large brush (only used for caking) and dip it into the dry powder. Now pounce the powder onto the open space of the stencil. Don’t brush it…you want to ‘pounce’ it. Don’t you love that word? I keep thinking of a cat pouncing all over my cake. Back to the subject now…You really want to load up your brush. This is the first coat:
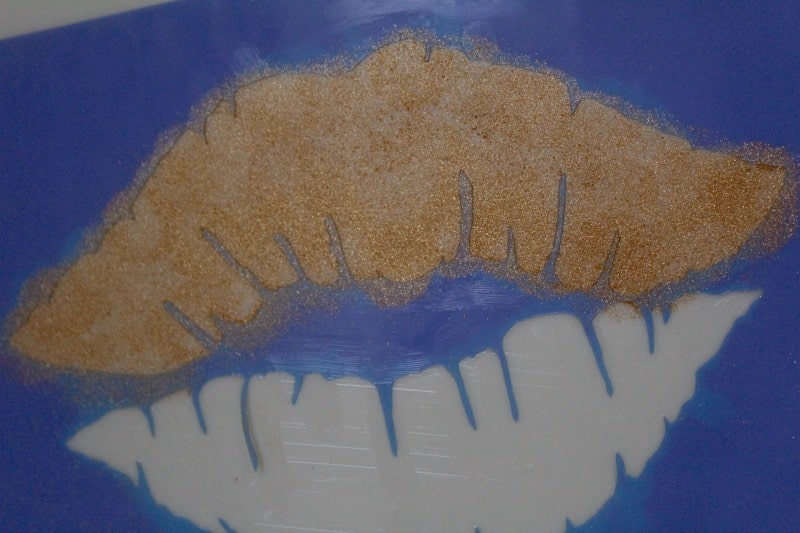
Once you get one coat on, then start another one. You’ll need to do about two or three coats. Once you’ve got it like you want it, remove the stencil and wax paper. Now, don’t go touching the lips, they’ll smear because of the shortening. If you have any places where the powder seeped under the stencil, just take a dry brush and wipe those sections.
Putting the 40 and Fabulous Mint and Gold Cake together:
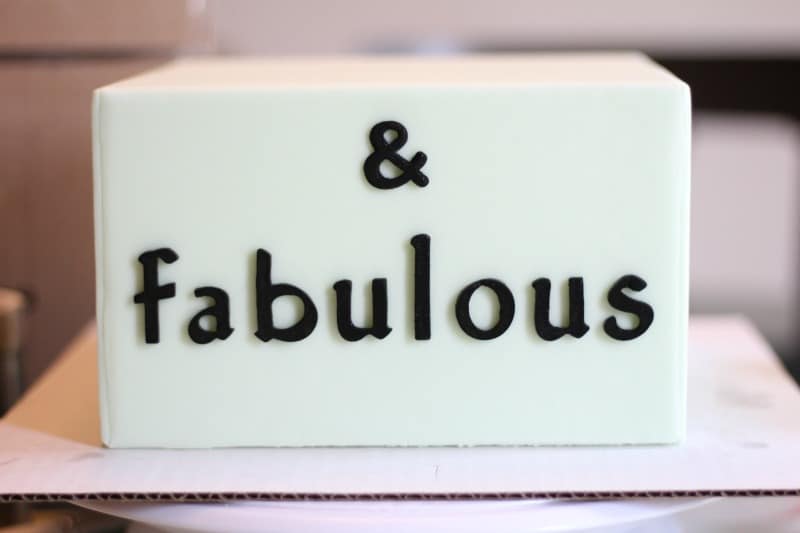
Set your bottom tier on the final cake board and add your dowels. Next stack your top tier. To add the letters to the top tier, I just stuck them on by using a brush to apply shortening to the back of the letters. This will allow you to move the letters around if you need to without totally messing up your cake. Yes, the shortening is enough to get the letters to stick. I moved my cake all around and they didn’t come off.
I stuck my ‘and’ symbol on first to get the center point and then started putting on my letters from the middle out, so I could make sure it was all centered.
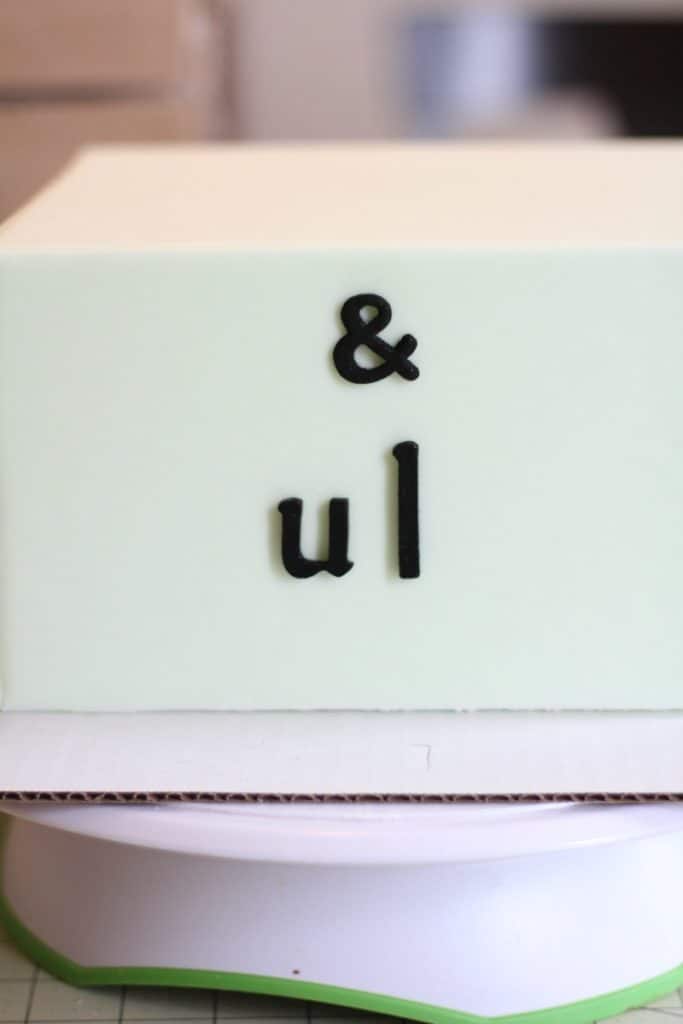
Then I added my other letters.
Now you just need to add the number toppers and that’s it!
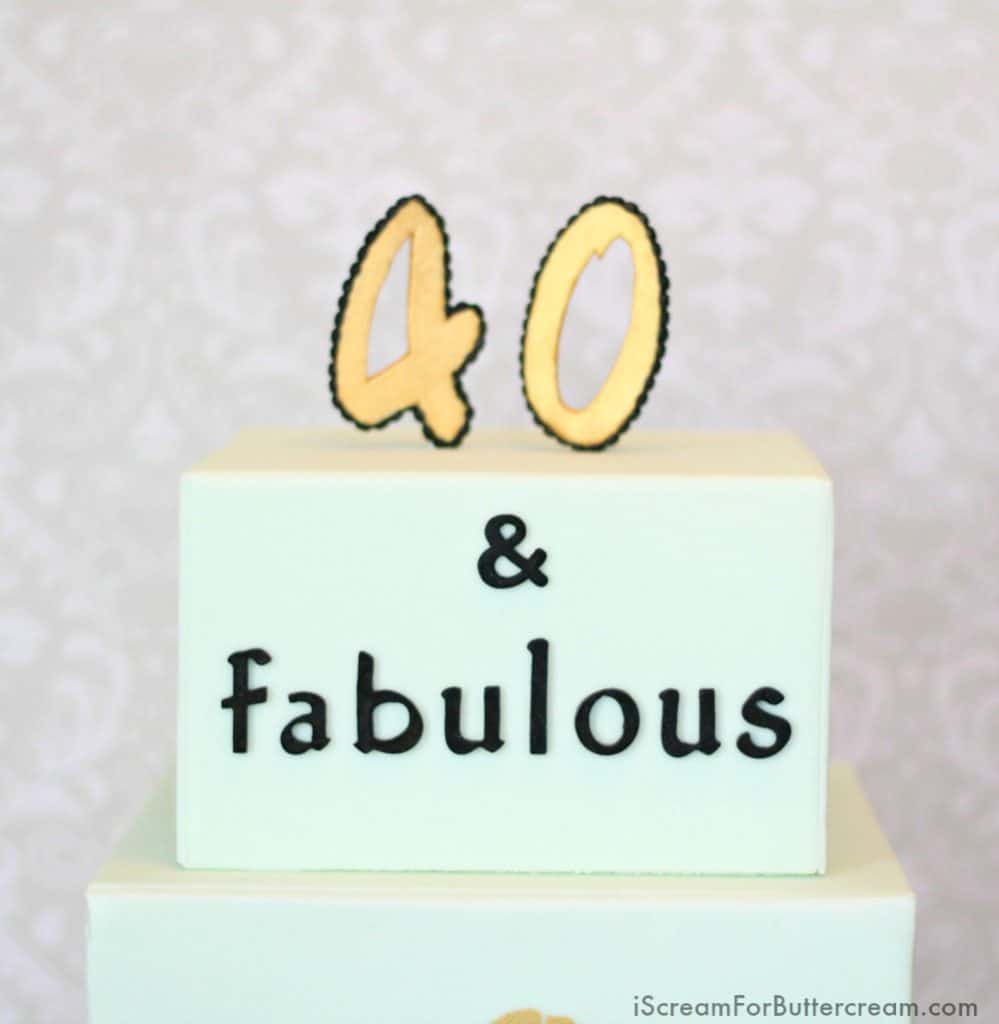
Congrats! You’ve now made a glamorous birthday cake that even the most depressed forty year old would love to get!
I have to admit, this cake really DOES make me feel a little better 😉 Maybe next year, I’ll just turn 40 again!
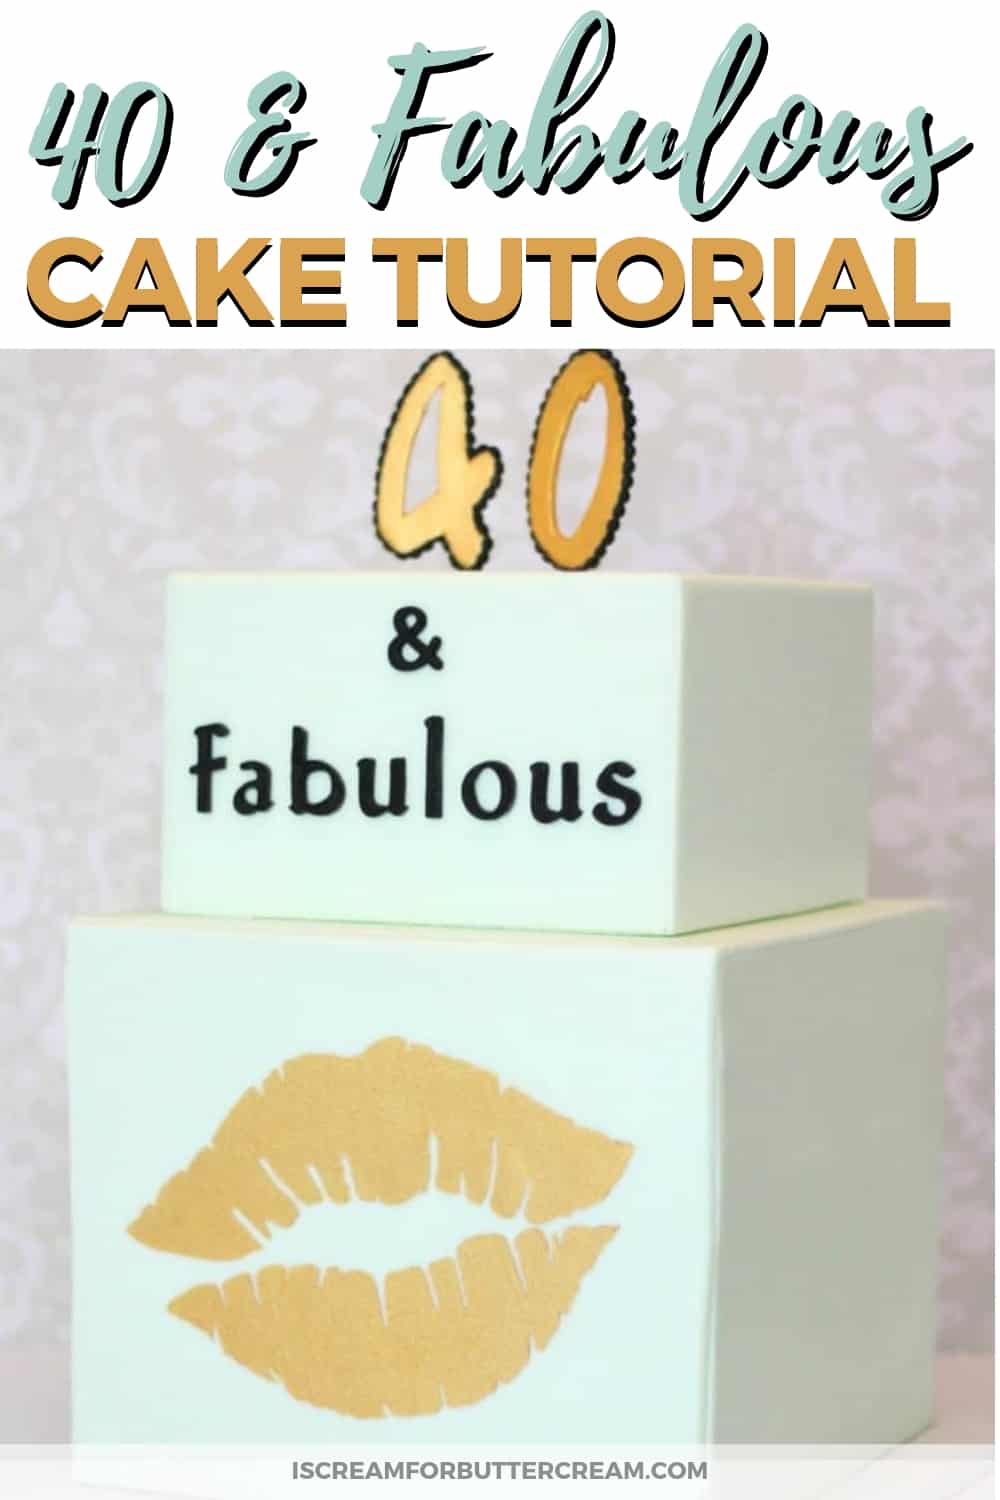
DON’T FORGET TO PIN IT BELOW!
katrina
Very nice!
Kara Jane
Thanks so much!