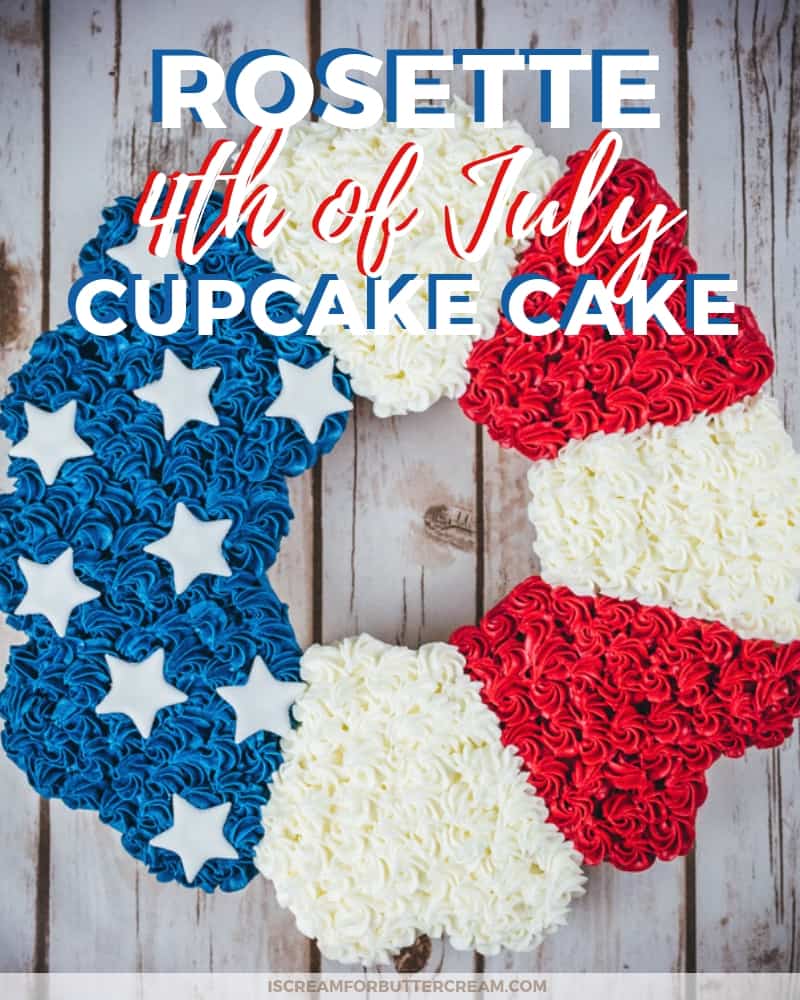
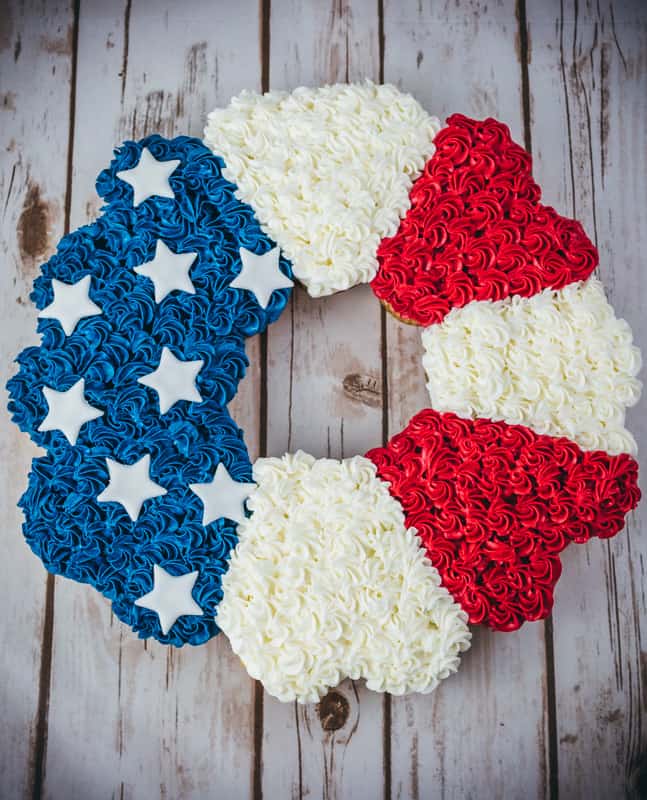
This beautiful rosette 4th of July Cupcake Cake is a pull-apart cake and is the perfect patriotic party dessert for your Independence Day party. With a simple piping technique, you’ll finish this cupcake cake in no time at all and the kids and adults will love it.
This cupcake cake is so fun and even if you don’t celebrate the 4th, you can do this with any color and fondant shapes that you like.
Side note: Do you like to call these cupcake cakes, or pull-apart cakes? I can’t make up my mind what I want to call them.
Anyway, I love how the tiny little rosettes look on this. It’s not your normal rosette cake and it’s something that’s a bit out of the ordinary.
The fondant white stars are really easy to do as well…even if you’ve never worked with fondant. I promise.
The best part is that it’s so handy to just set this on your serving table and then everyone can just grab a cupcake…no cutting a cake or plates needed.
Alright, let’s just get right to the tutorial. Also don’t forget to check out the video close to the end of the post that will show each step.
As an Amazon Associate, I earn from qualifying purchases.
SUPPLIES FOR THE ROSETTE 4TH OF JULY CUPCAKE CAKE:
- White fondant (you won’t need much)
- Small fondant roller
- Plastic wrap
- Small star cutter
- Baked cupcakes (about 23-24) One recipe of my Vanilla Bean Cake should get you that amount.
- Buttercream in blue, red and white (if you want super white buttercream, you can check out my bright white buttercream recipe here)
- Navy Blue gel food coloring
- Super Red gel food coloring
- Small Icing Spatula
- Wilton tip #35 (or any small star tip)
- Piping bags
STEPS TO MAKE THE ROSETTE 4TH OF JULY CUPCAKE CAKE:
The first thing you want to do is to make the fondant stars.
Now, here’s the thing…if you absolutely do not want to mess with fondant (although you’re not covering a cake in it here, you’re just cutting out shapes), but if you still hate the thought of it, you can do it with buttercream.
Yep, you can, but you need to use all butter buttercream to do it and it will take a bit longer, but it’s do-able. Here’s a tutorial on that method: Geometric Buttercream Cake
You’ll just want to do all white buttercream instead of the marbled look.
Ok, back to the tutorial now. You’ll just want to roll out your white fondant. You don’t need to roll it super thin here, but not super thick either.
It’s helpful to use a shaker with a cornstarch and powdered sugar mixture to keep it from sticking to your mat or board.
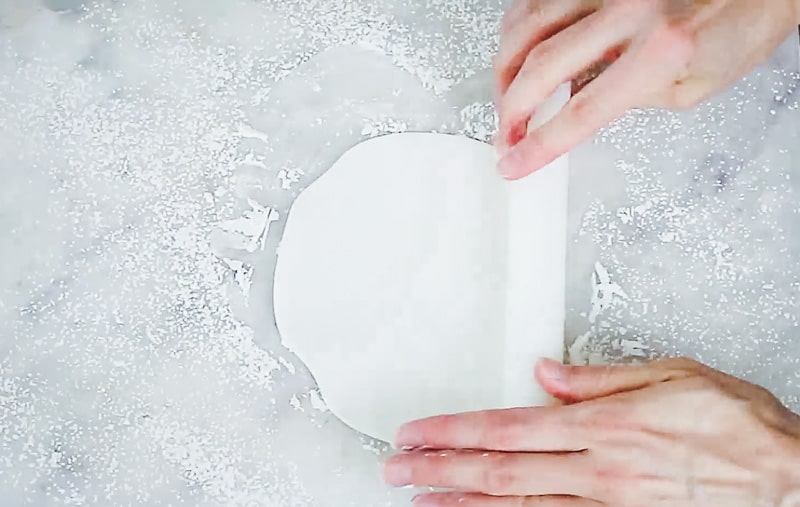
Now set a piece of plastic wrap on top of the rolled out fondant. You’re doing this because it will give a little curve to your stars and the sides won’t be so sharp.
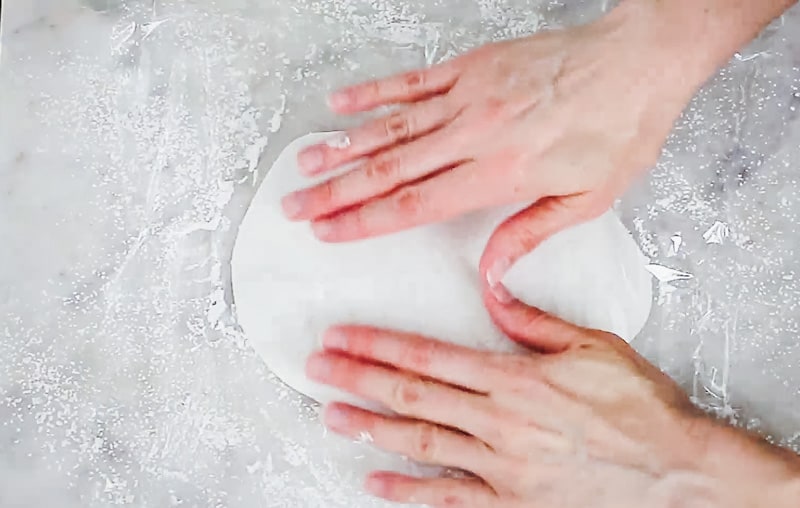
Now take your small star cutter and cut out some stars. Just mash it down over the plastic wrap and twist it a bit. You don’t need to cut a ton of them…only about 9-10.
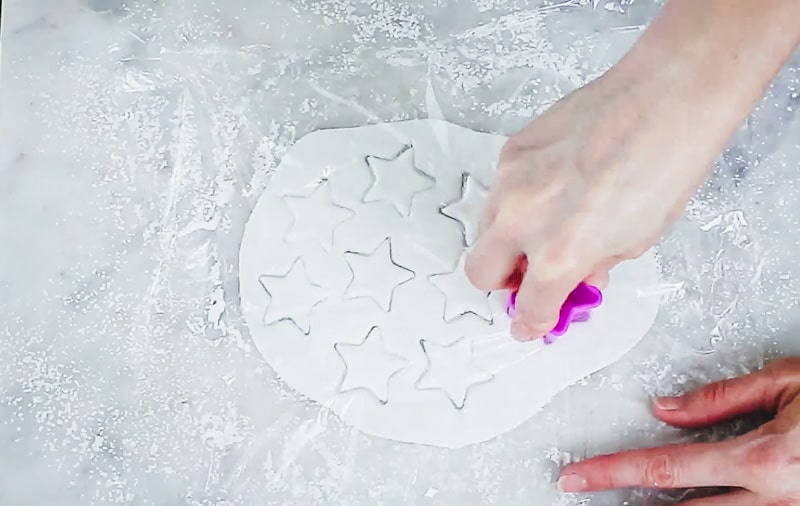
Take the plastic wrap off and then tap down any jagged edges on the stars.
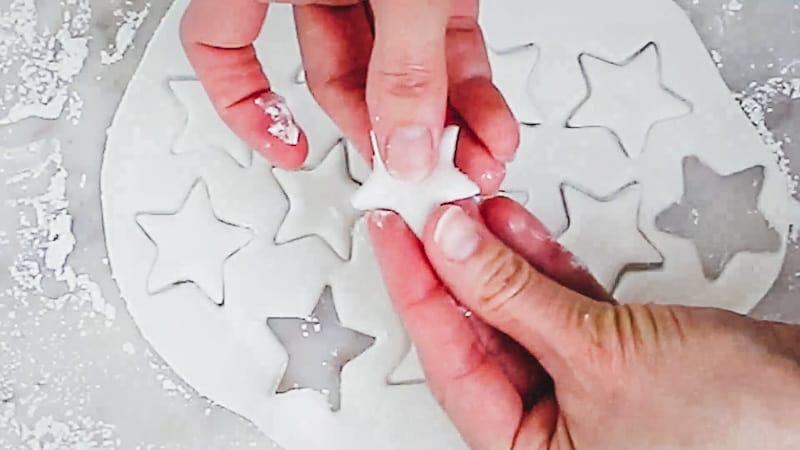
Set the stars aside on a flat board until your cupcake cake is finished. You don’t have to cover them up. It’s okay if they firm up a bit. (They’ll soften back up once they get added on top of the buttercream later.)
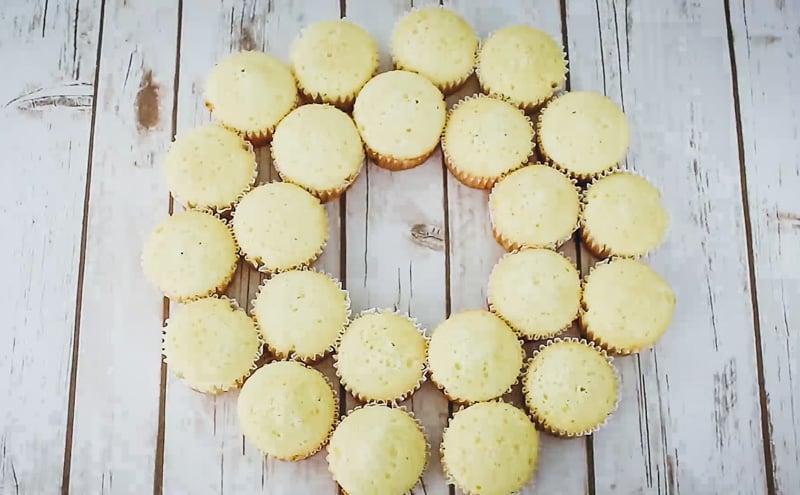
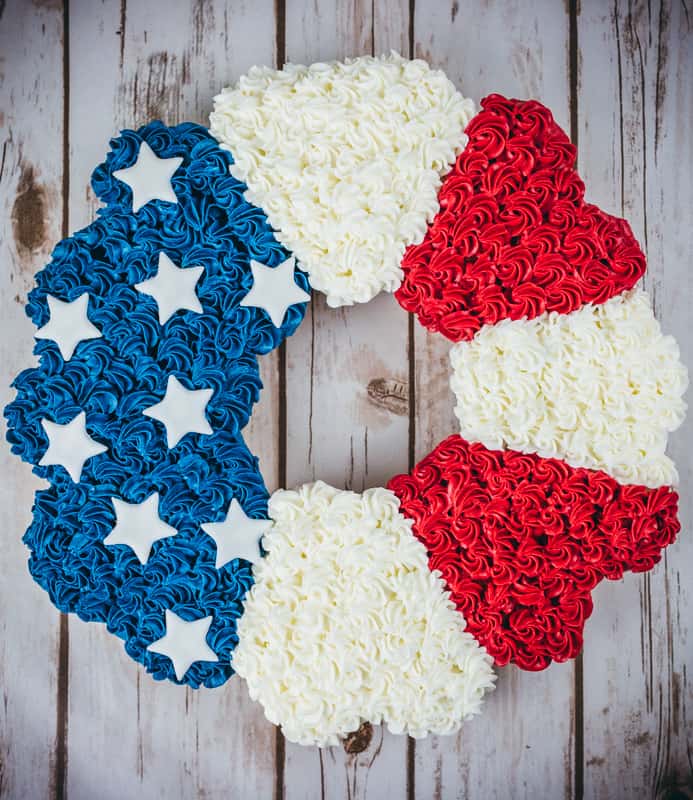
Ok, now take your cupcakes and set them on a large board into the shape of a wreath.
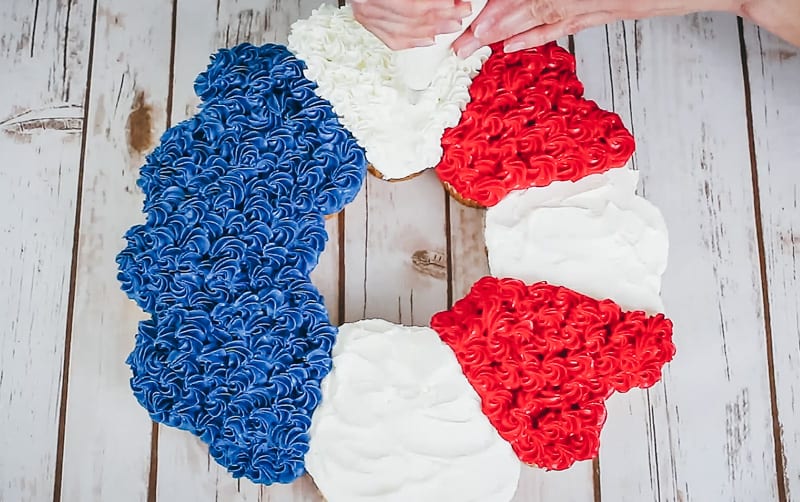
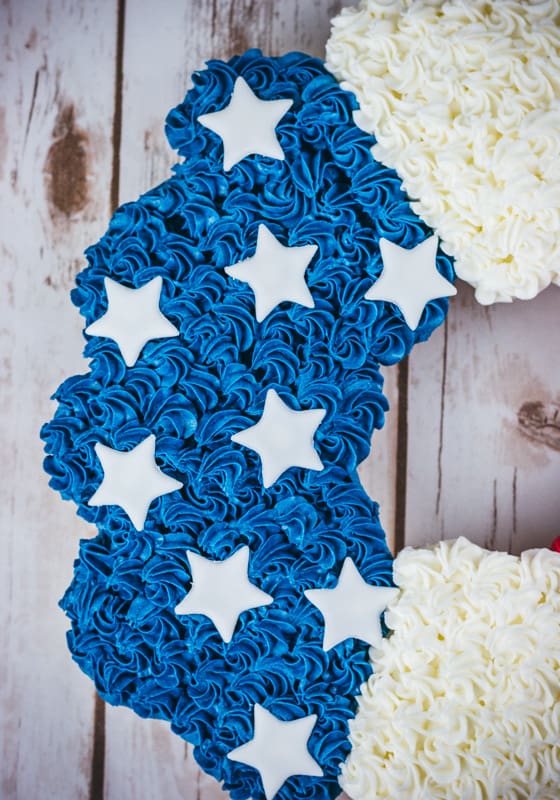
Take your blue buttercream and add to the left third of the wreath. Just add the buttercream with a spoon first.
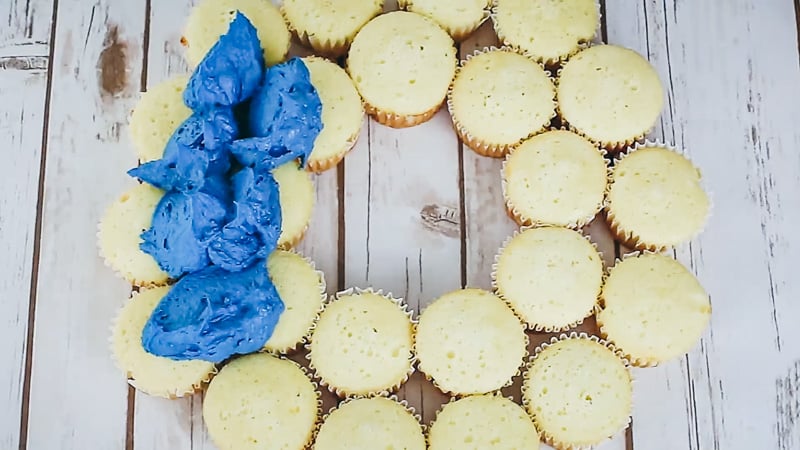
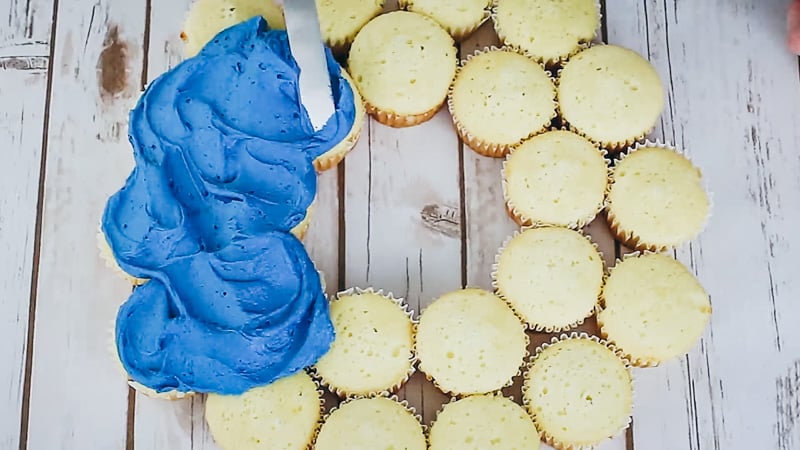
Then you can smooth it a bit with your small icing spatula.
Now add white buttercream to three sections of the cupcake cake and smooth.
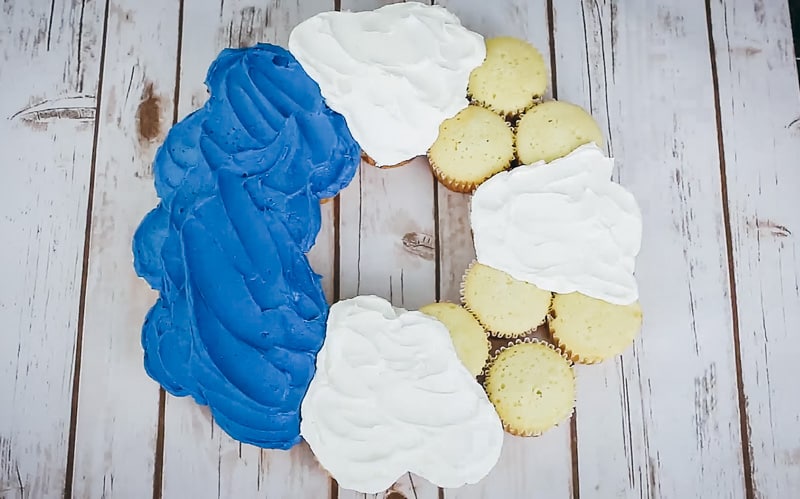
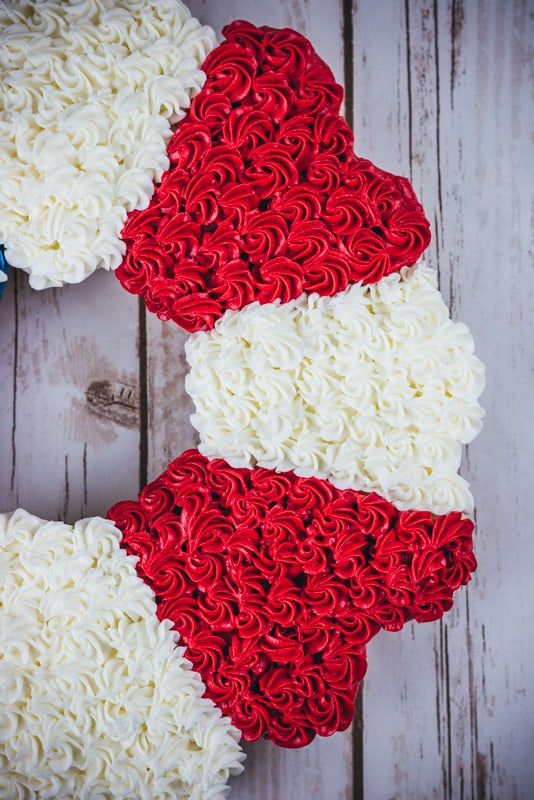
Add the red buttercream to the spaces remaining and smooth.
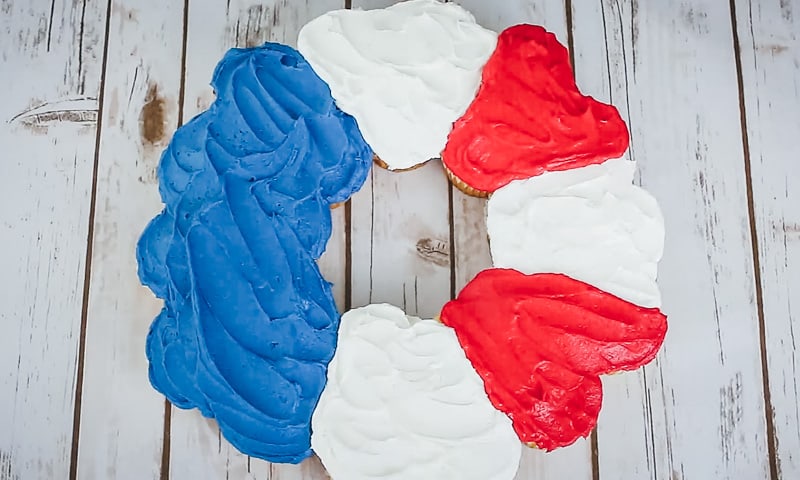
Now it’s time to pipe on the tiny rosettes.
I used a tip #35, which is a closed star tip. I LOVE this tip, but if you don’t have it or you can’t get access to it, you can just use a small star tip.
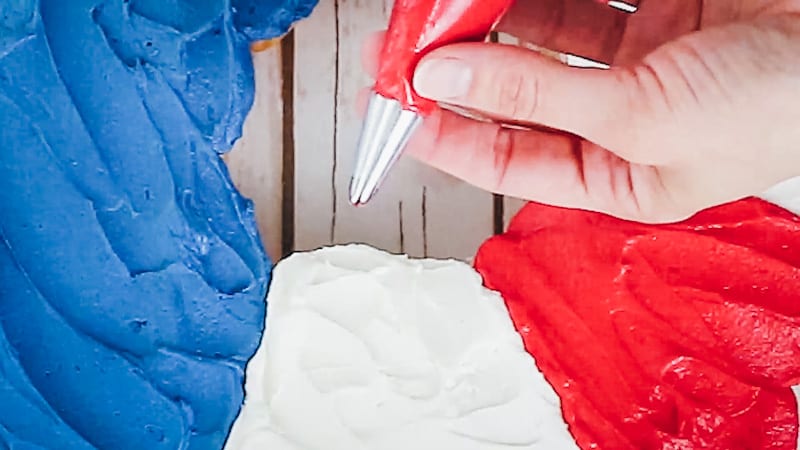
To pipe the rosettes, just swirl the buttercream in an outward motion. So, start in the middle of your rosette and swirl, working your way outward. (You’ll see it better in the video below.)
If you need extra help on make rosettes, you’ll want to check out this post.
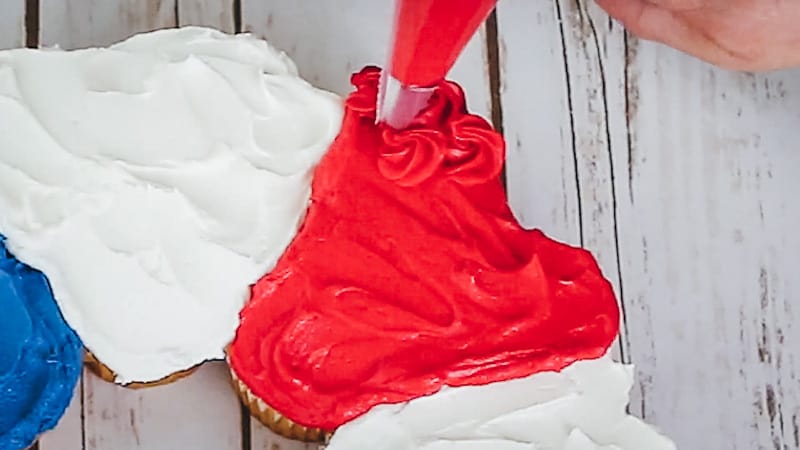
Pipe the tiny rosettes on each color. Try to pipe them in a random pattern.
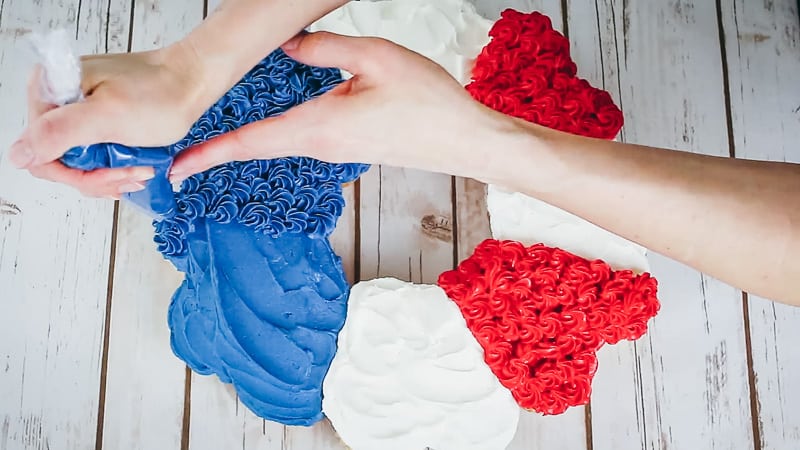
I piped the white rosettes last.
Now add a bit of buttercream onto the back of each fondant star and attach to the cupcake cake.
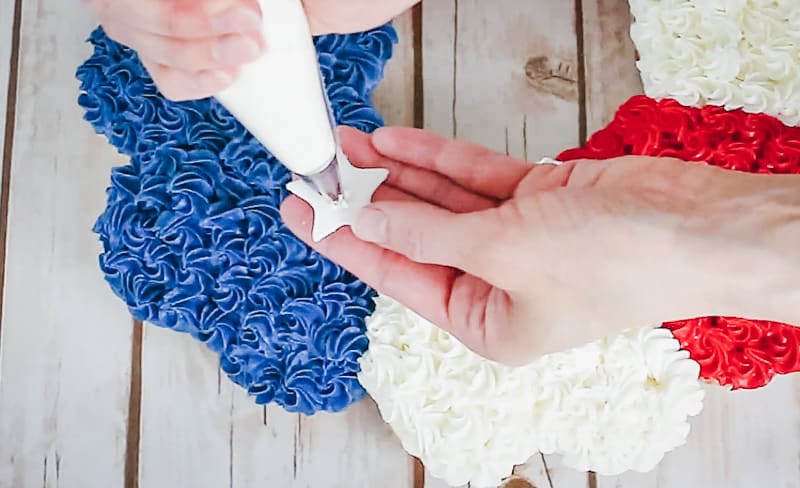
Just set them onto your cake…you don’t need to push them down much.
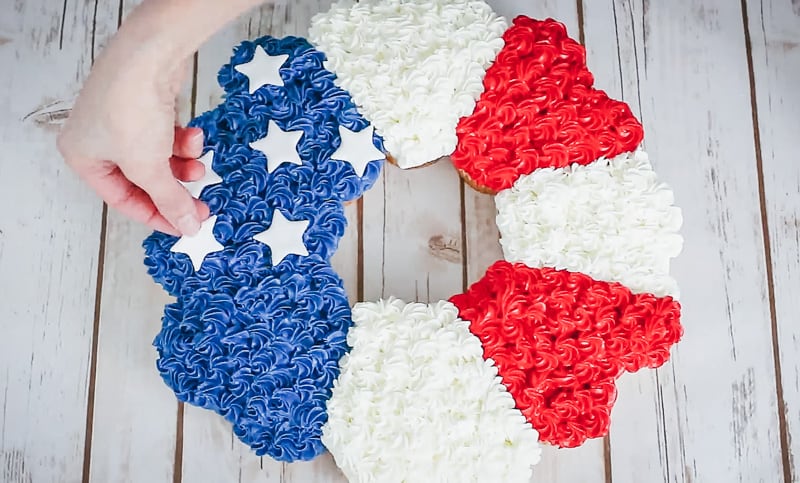
You’ll end up with a final product like this:
To serve this cupcake cake…just set it on your serving table and people can pull off the cupcake that they want. And yes, they will get lots of icing, but I’ve never thought of that as a problem. 😉
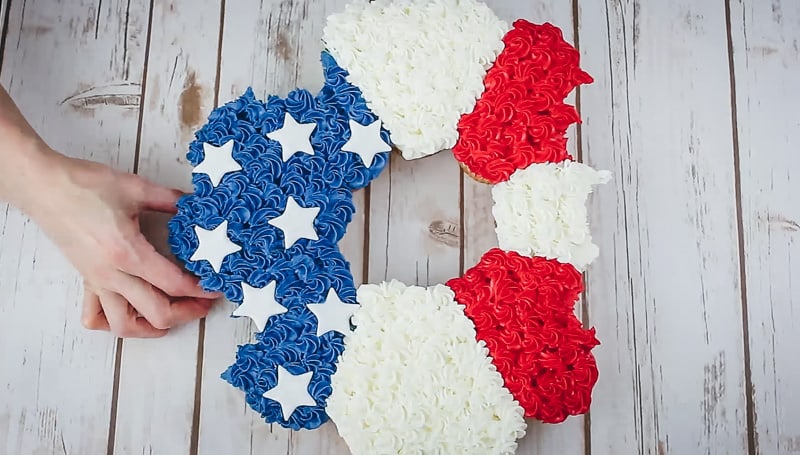
I hope you have fun with this one!
OTHER POSTS YOU MIGHT LIKE:
Don’t Forget to Pin it for Later!

Joan - My Cookie Clinic
Sara Jane, This is beautiful and so creative. I’ve love a blue cupcake!
Joan - My Cookie Clinic
Oooops! Kara Jane …
Kara Jane
No worries!
Kara Jane
Thanks Joan! Yeah I did have to partake in a nice blue cupcake…I got the blue mouth and all. ?