
Use petal dust to add color to your gumpaste roses. It’s a great way to make them pop and using two different colors is a good method for getting a realist look on your sugar flowers.
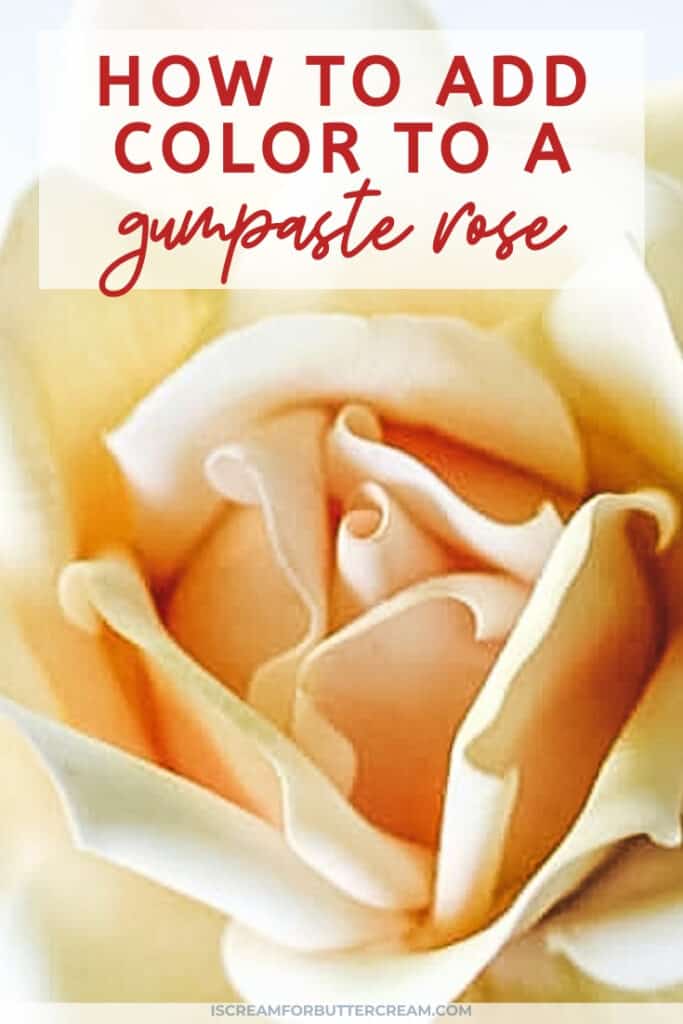
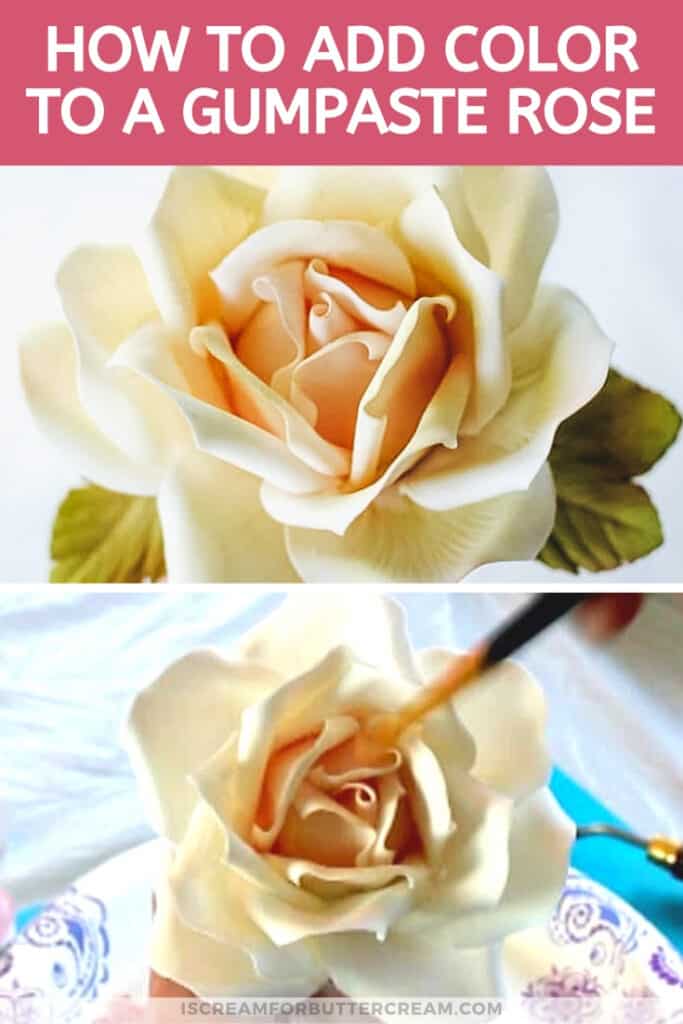
Now that you’ve made your large gumpaste rose, it’s time to make it pretty by adding a little color. In this post, I’m going to show you how to add color to a large gumpaste rose by using petal dusts.
If you haven’t read the previous post, you can check it out here: How to Make a Large Gumpaste Rose. Plus there’s a video there of the whole process.
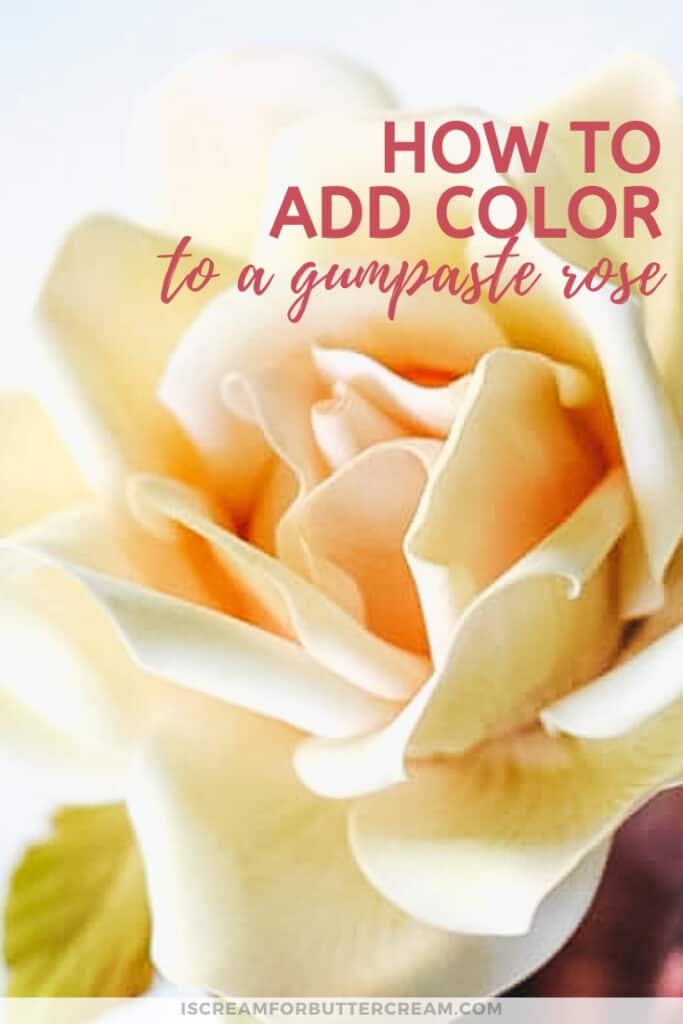
I like my roses to have subtle color, so I decided to go with a soft peachy-pink hue with some light moss green around the outside of the rose. I tend to tone my petal dust colors down with cornstarch. (A little more about that later.)
Oh, and if you prefer your roses to be a brighter color, you can always do that.
This post is the first of a three part series. Here are the links to each post in the series:
- How to Make a Large Gumpaste Rose
- How to Add Color to a Large Gumpaste Rose (you’re here now)
- How to Make and Color Gumpaste Rose Leaves
In this post, I’ve included some screen shots and detailed instructions. The good news is that there’s also a video later in the post that will show you all the steps as well. Let’s get to it!
As an Amazon Associate, I earn from qualifying purchases.
Supplies You’ll Need to Color a Gumpaste Rose:
- Petal dust in your choice of colors (I used flesh petal dust, soft pink and a kiwi green (or moss green) mixed with cornstarch for the outer petals.) (If you decide you want a pure white rose, I’ve got some tips below for that as well. I use white luster dust to give it some sheen.)
- For the white rose, I use satin white luster dust (similar) or super pearl dust
- Small paint brushes used only for caking
- Cornstarch to tone down your color
First off, if you don’t want a white or a very light colored rose, you’ll need to color your gumpaste before you make the rose. Once it’s dried, you can then add some petal dust to deepen the color.
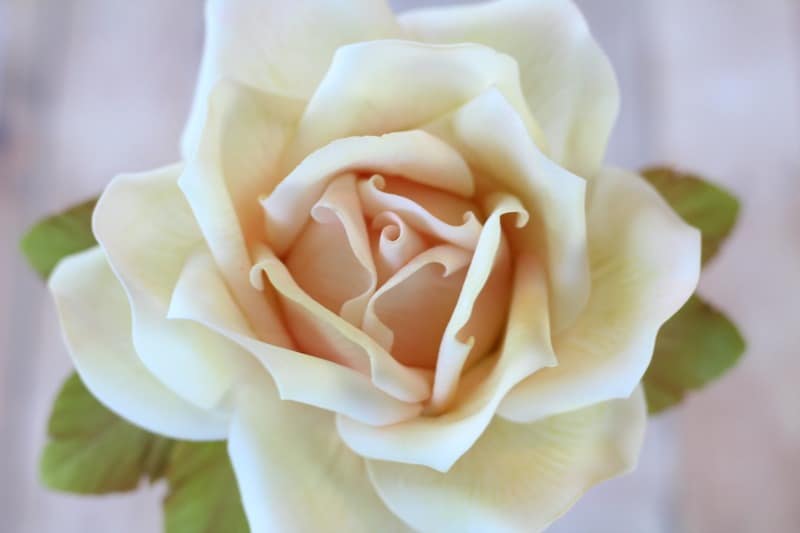
For this tutorial, I’m going to show you two different dusting variations. Tips for white roses and then a more vintage, soft look using two colors (as pictured above.)
Dusting the White Rose:
As you may think, this one is the easiest to color. Technically, you could leave the rose as is after you’ve made it and it’s dried, but I like to add just a bit extra to it to give it a little sheen.
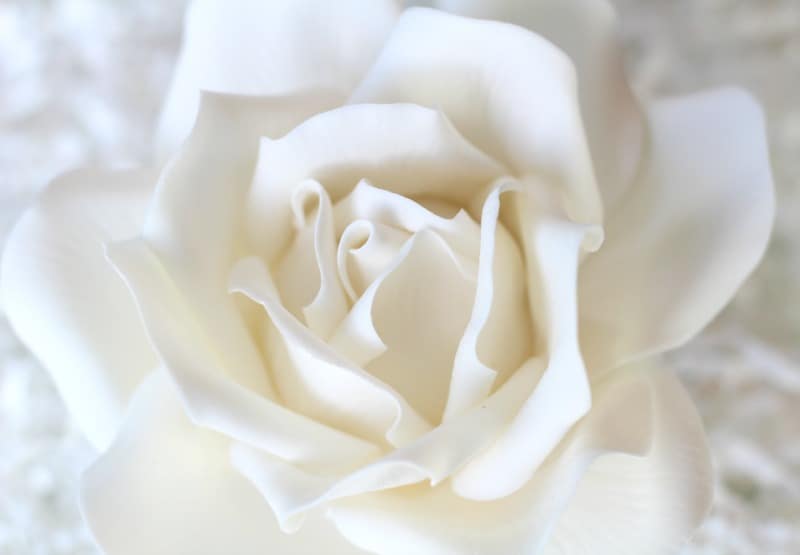
My favorite way to do that is with satin white petal dust (linked above in the ingredient list.)
It has just a small amount of luster in it, not really enough to make the rose look pearlized.
You could also use super pearl dust, but add a bit of cornstarch to tone it down…unless you want a really pearlized look to your rose.
Really all you’re doing is dusting on a light color of the satin white luster dust and that’s it. It’s demonstrated in the video below.
Dusting the Rose with a bit of Color:
For this color variation, I wanted to go with a more vintage rose look. You can see that there’s a bit of pinkish-coral in the middle and it greenish-yellow on the outside petals.
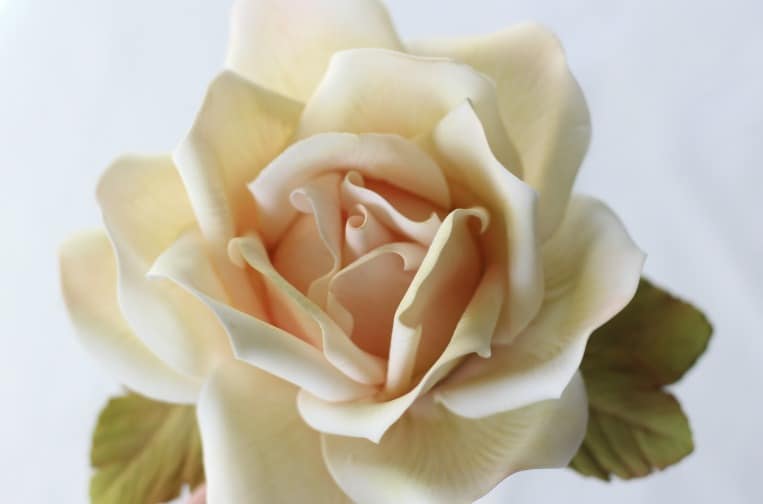
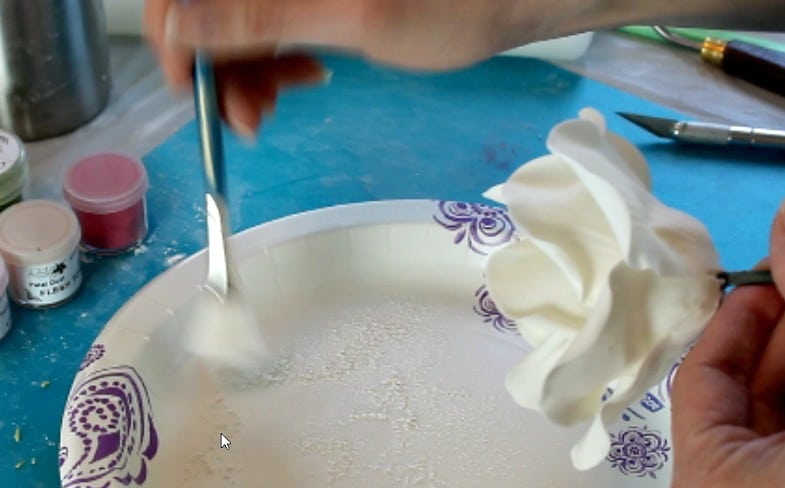
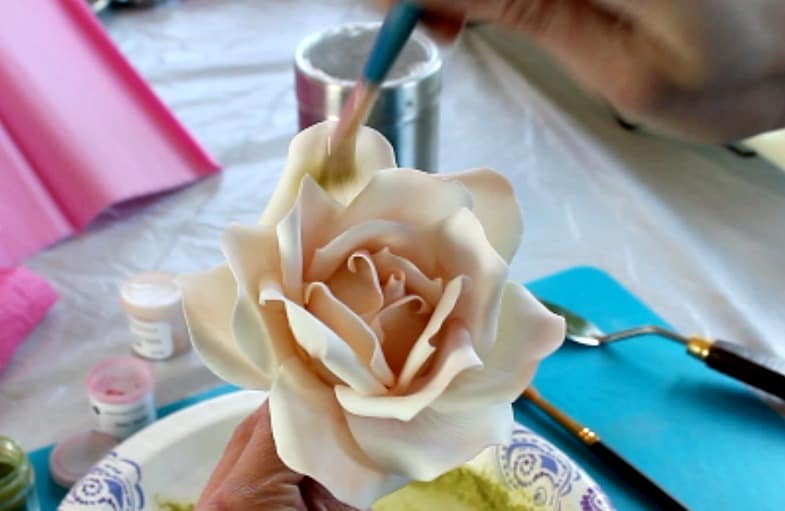
Just mix your flesh colored petal dust with the light pink dust to give you the soft coral (blush colored) look. You’ll want to add that mixture to the middle of your rose.
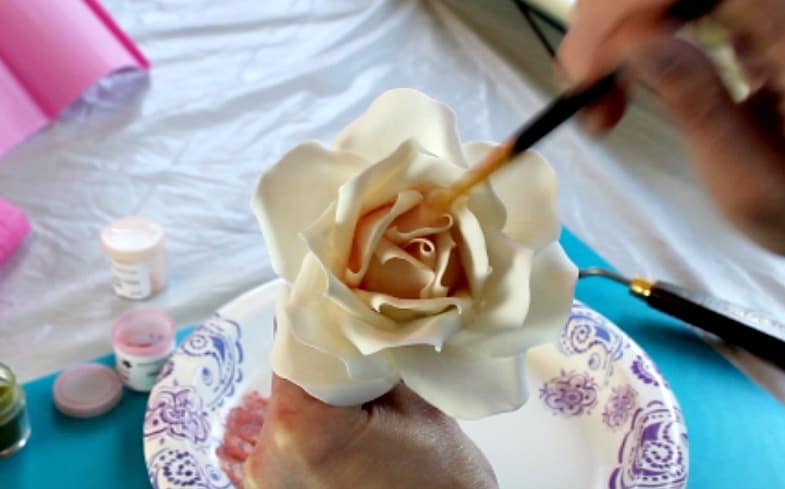
Dust the bud, the first row and the second row liberally. Then you’ll add just a bit of that color where each petal meets the base. Do this for the inside and the outside of the petals.
I also like to add just a bit on the outside of the petals, just in the middle of the tip of each petal.
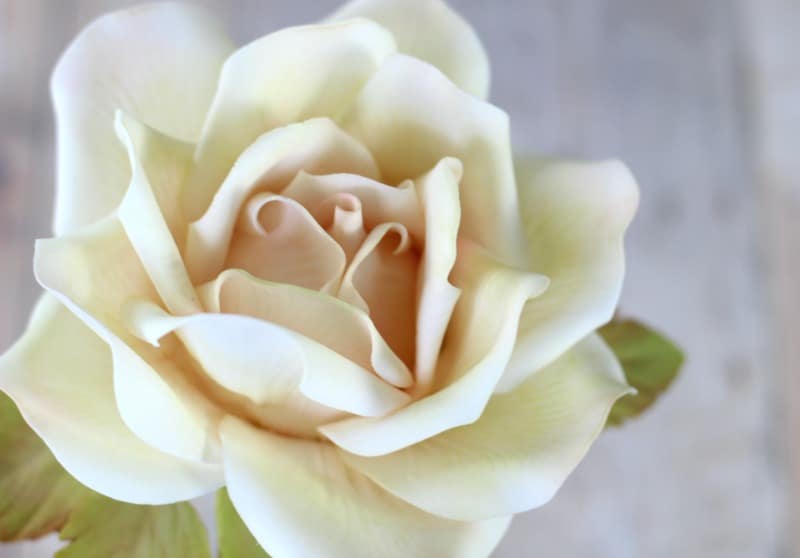
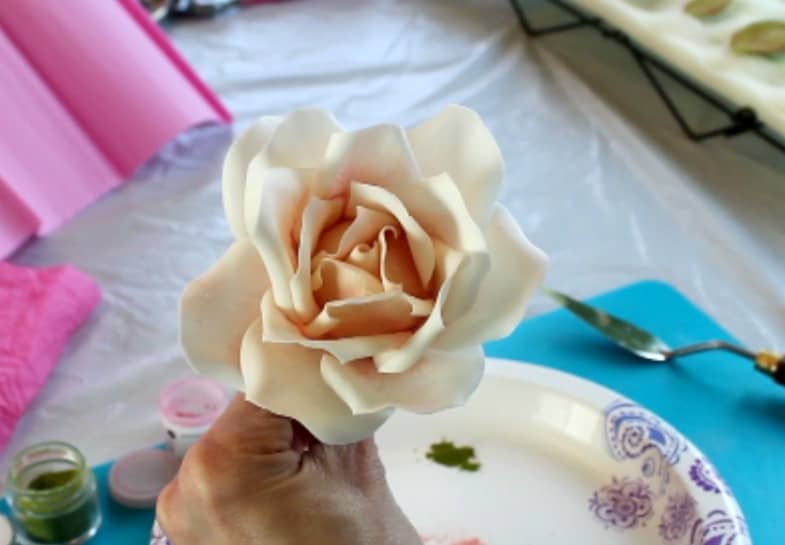
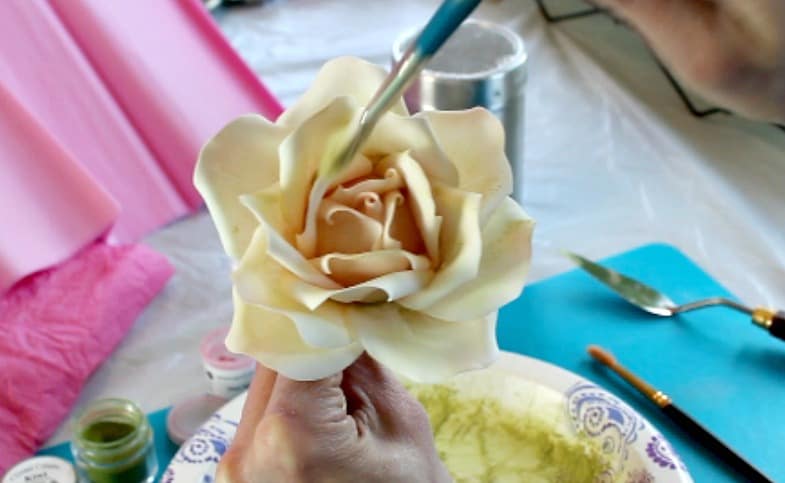
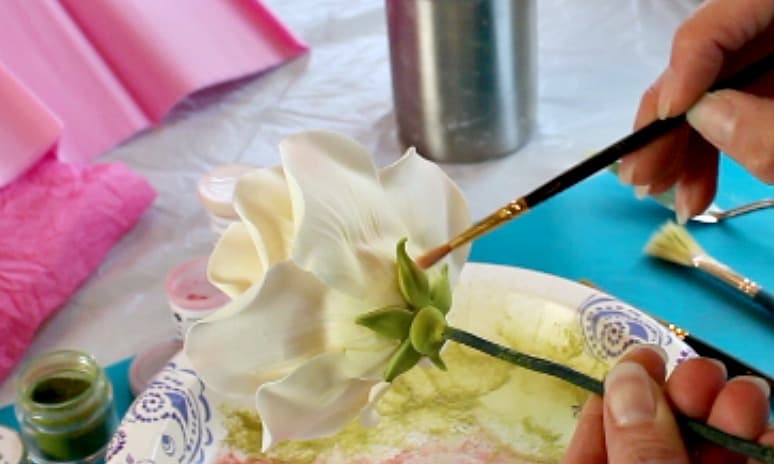
Next, mix the kiwi or moss green with a bit of cornstarch. This lightens the color a bit. You’ll dust this on your outer petals. Do the inside and the outside of each petal (but just the outer petals.)
Once the outside petals are dusted with the green, dust just a small bit closer to the inside of the flower, but not much at all on the bud area. You want that area to remain mostly the coral color.
Once that’s done, turn your rose upside down and dust the outside petals.
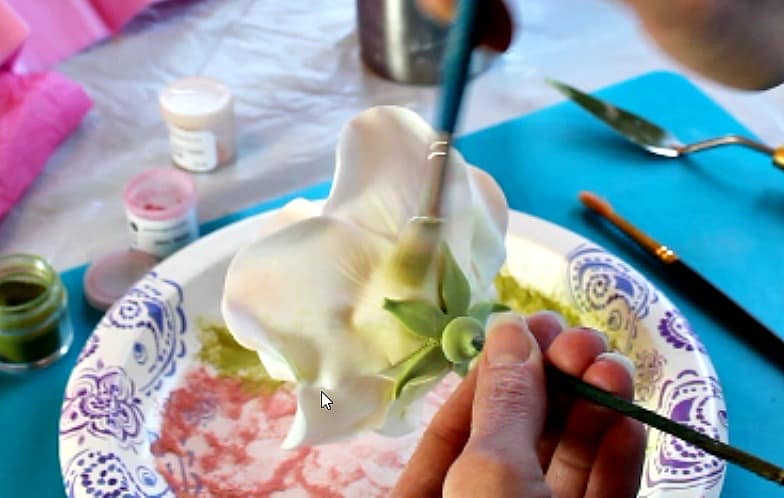
Dust the green a little heavier around the base of the rose.
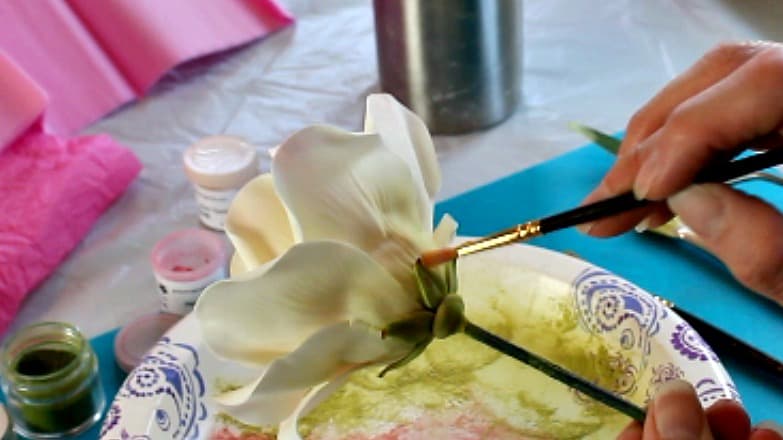
Don’t forget to dust the calyx. (I talk more about that in the last video of the series.)
Once your rose is dusted, use an empty squirt bottle to blow some air on it to get any of the loose dust off. You can also twirl it under a steamer to add some shine to it. If you do that, don’t get too close to the steamer and it only takes a few seconds…any longer than that and you’ll melt it.
I chose not to steam mine, because I sort of like the matte look.
You can watch the video of the process here:
That’s it! Now you’ve got yourself a gorgeous rose! Don’t forget to check out the other posts and videos in this series. You can find them here:
- How to Make a Large Gumpaste Rose (there’s also a free printable quick reference guide!)
- How to Add Color to a Large Gumpaste Rose (you’re here now)
- How to Make and Color Gumpaste Rose Leaves
Ok, now I want to see your beautiful dusted roses. If you’d like to try a different color combination, but you’re stumped, just ask me for ideas. I’ve got thousand (we’ll maybe just a hundred) ideas of color combos I think would look awesome.
Don’t forget to pin it below!
Shirley
I just discovered your you tube tutorials and your blog…..You make the most beautiful Roses I have ever seen!!!!! Heard of Ron Ben Israel? I do believe you have him beat and I absolutely love his work!! Just Beautiful and your instructions are so detailed!!
Kara Jane
Hi Shirley, That is the best compliment ever! Thank you so much! I love Ron Ben Israel’s work, he’s amazing…and your comment just made my day. 😉
Geetha Fernando
I’ve seen many videos about making sugar flowers, but you’re one is definitely the best. I still need some practice but your tutorials are making it so much easier! Thanks so much for all the help 🙂
Kara Jane
Oh thank you so much! That is the best comment I could get. I’m so glad it’s making it easier and that it’s been helpful. Thank you so much for letting me know!
Dan
What is the best way to store your amazing beautiful gum-paste roses!!! I made one for the first time and it turned out splendid. I am putting them on a wedding cake for my sister.
Kara Jane
Hi Dan, I’m so glad the tutorial helped and that your roses turned out well! I actually just stick mine in some styrofoam and hide them away in a dark closet in the house. Keeping it dark helps the color not to fade and I find that hiding them away in the closet keeps people from not accidentally bumping them and breaking them. You could put the smaller ones in plastic containers if you want but I like to keep them stuck in the styrofoam. They stay upright and I feel like there’s less chance of breakage that way. I hope everything goes well with your sister’s cake!
Dive
Muchísimas gracias, la verdad me fascinó tu rosa… Súper hermosa y eres súper esplicita en tu manera de explicar. Gracias!!!
Kara Jane
I’m so glad you like the tutorial and that it was helpful! ❤️
Myra Aviles
hi! I am making Belle’s red rose from Beauty and the Beast for a cake motif. I have already made the 1st part of the rose and it is out here hanging to dry 🙂 thank you very much for the detailed instructions.
Now, I would like to know how to add colors to my red flower. I was thinking of using brown food color powders or maybe you can suggest something else. Be mindful that I might not have the same resources that you have. Stores are quite limited in my area. But I will try.
While waiting for your ideas, I will continue to work on the calyx and the leaves. Again, your work is much appreciated.
Kara Jane
Hi Myra, I’m so glad the tutorial has helped. If your fondant is already red, you don’t have to add more color to it if it already looks good. Now, if you want to add more color, you could always just get some edible deep red petal dust and add that to the deeper parts of the rose. Hope this helps!