
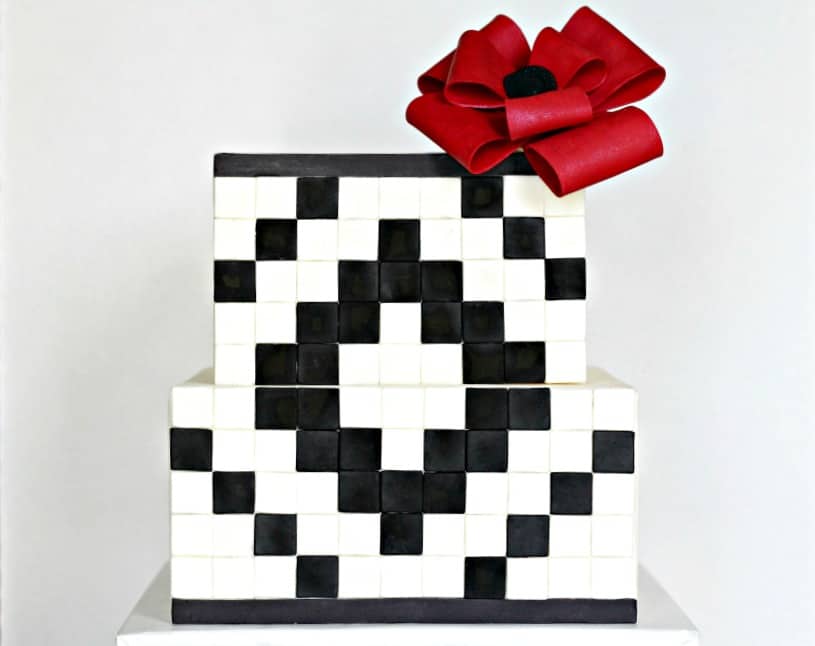
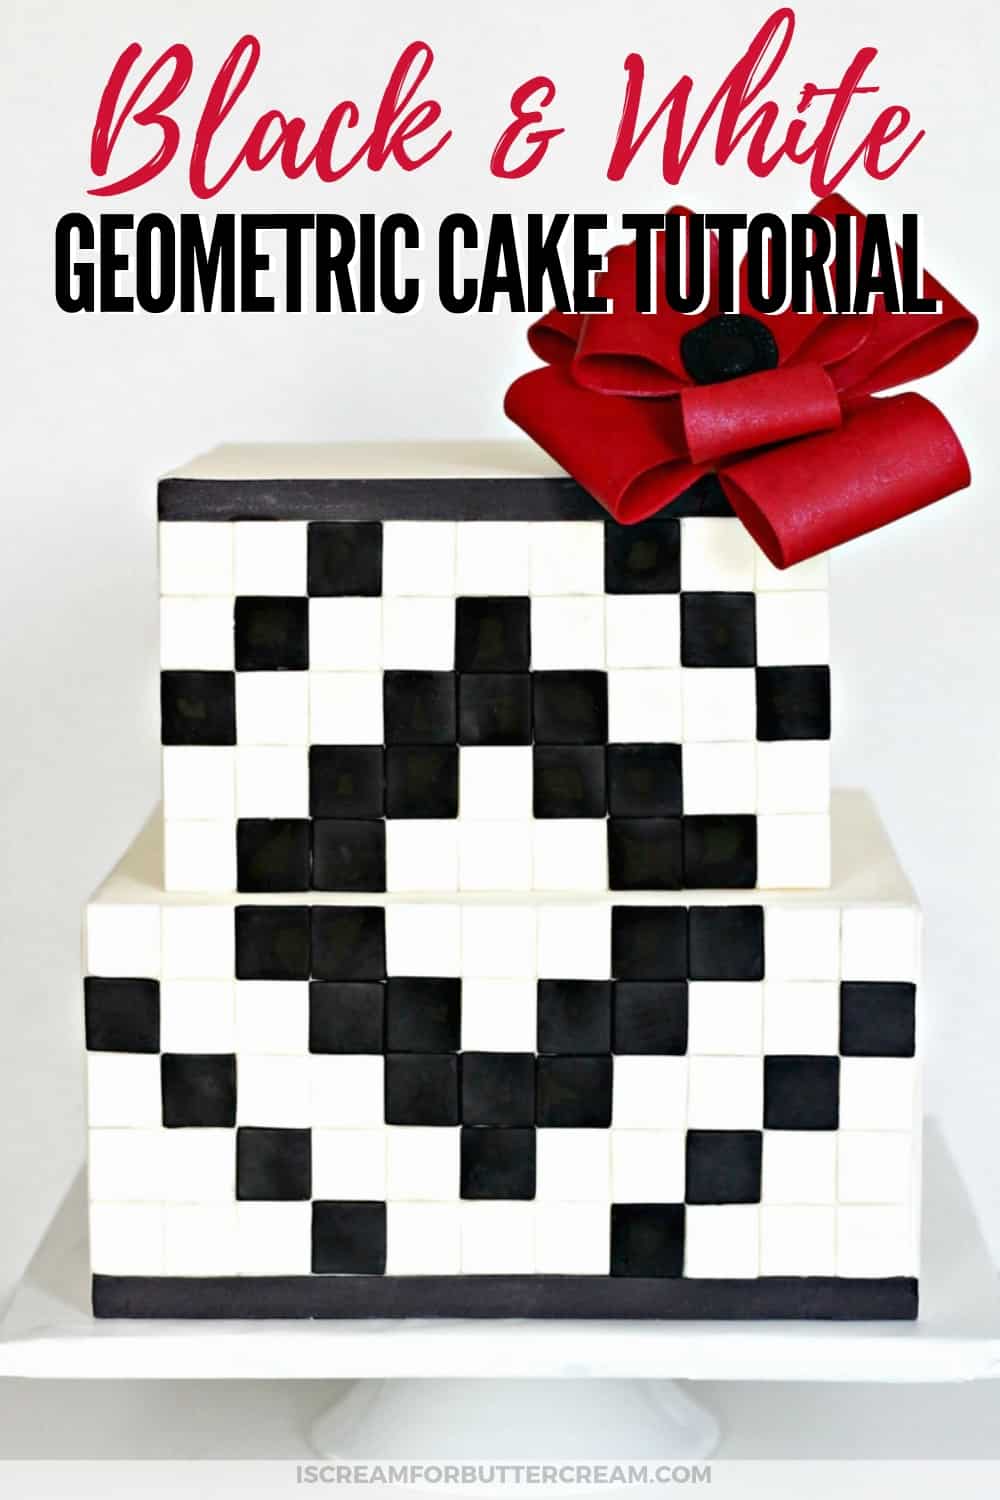
I love geometric patterns and I’m especially enamored with the black and white color scheme. I’d seen this pattern online before, mostly in home decorating, like on rugs and even on stairs, but I haven’t seen it on a cake. Challenge accepted!
My preferences are all over the map…I love the feminine delicate cake designs, but I’m also a sucker for a striking geometric print. When I saw this pattern I knew I’d have to make it into cake and I’m excited to share my Black and White Geometric Cake tutorial with you.
The black and white color scheme just feels classic to me. I don’t like clutter and I like the clean contemporary look (but not necessarily modern look). It just makes me feel calm.
And, okay if I want to be honest, I tend to be just a bit OCD about things. I’m not too bad about things like making sure all the heads on paper money are all facing the same direction and I don’t care about how organized my silverware drawer is, but I am a little picky about lining things up and making sure there aren’t weird angles. I guess that’s why I like geometric patterns so much.
This cake is a combination of my OCD, my love of geometric patters and the black and white color scheme.
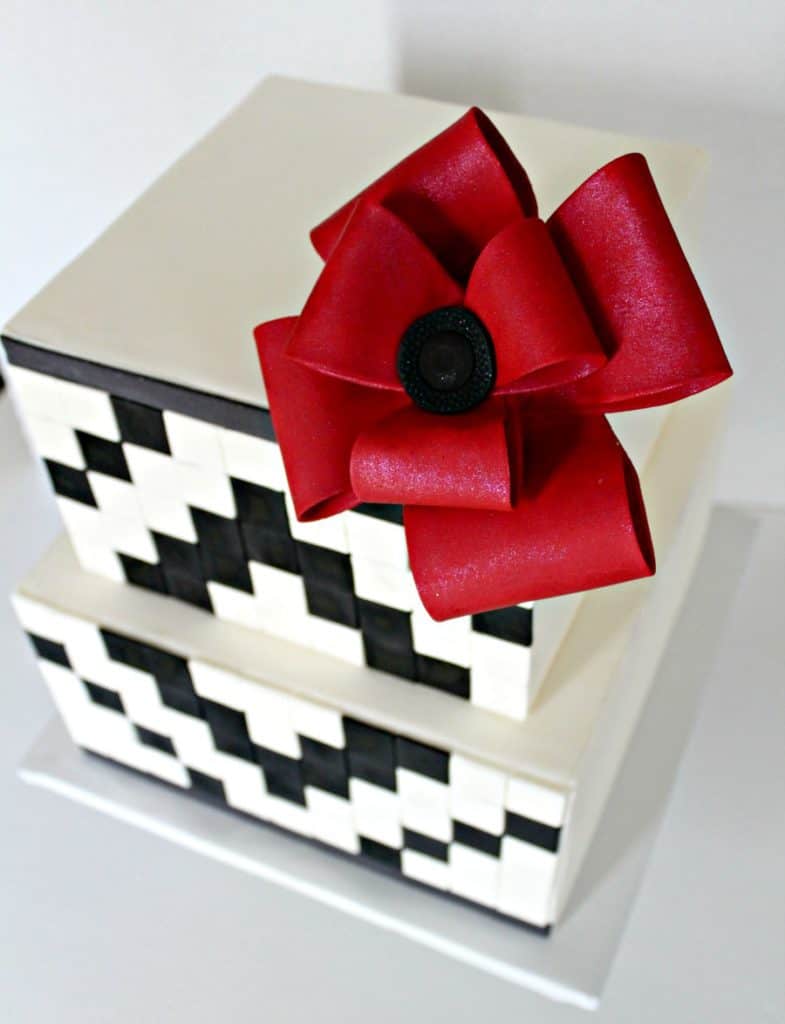
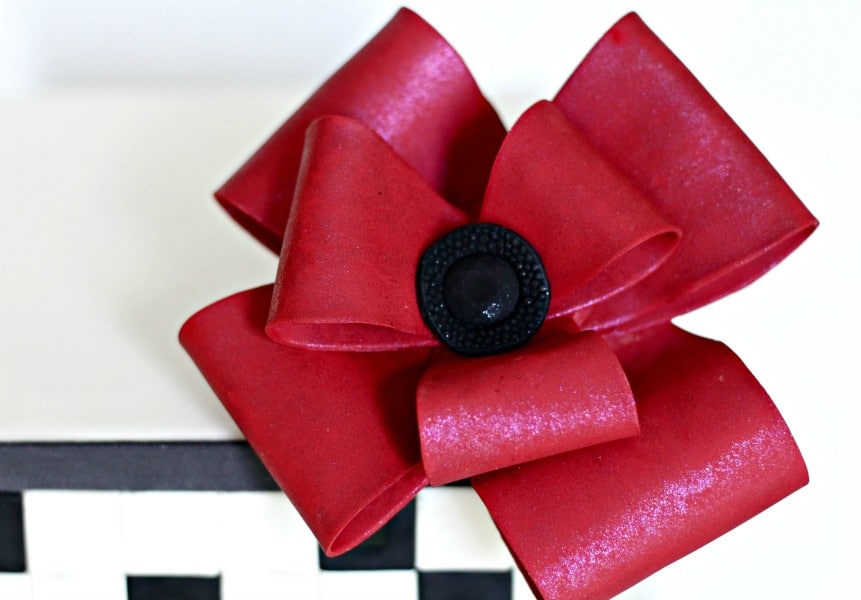
So let’s get started with the tutorial so you can make one for yourself. (Oh, and I’ve posted the tutorial on how to make the glittery red fondant looped bow here: Fondant Looped Bow Tutorial
This post contains affiliate links. As an Amazon Associate, I earn from qualifying purchases. You can see my policies linked in the website footer.
Supplies You’ll Need:
- Two cake tiers (I used a 10″ square for the bottom and an 8″ square for the top) (Both were 5″ tall) Try my Favorite Vanilla Bean Cake!
- Black and White fondant
- Square cutters (I used the 1″ size)
- Mini pizza cutter (for cutting the fondant strips on the top and bottom)
- Mini fondant roller or pasta roller attachment for your mixer
- Large fondant roller
- 12″ square cake base
- Black petal dust
Preparing the squares:
The first thing you want to do is cut out all your squares. You want them to be dried and firm when you attach them to your cake, so they won’t get misshapen.
I just used my pasta roller attachment on my KitchenAid mixer, but you can use a fondant roller as well.
Roll both your black and white fondant pieces out at around a level 1 or a 2 on your roller attachment. You don’t want these too thick, but you also don’t want these paper thin.
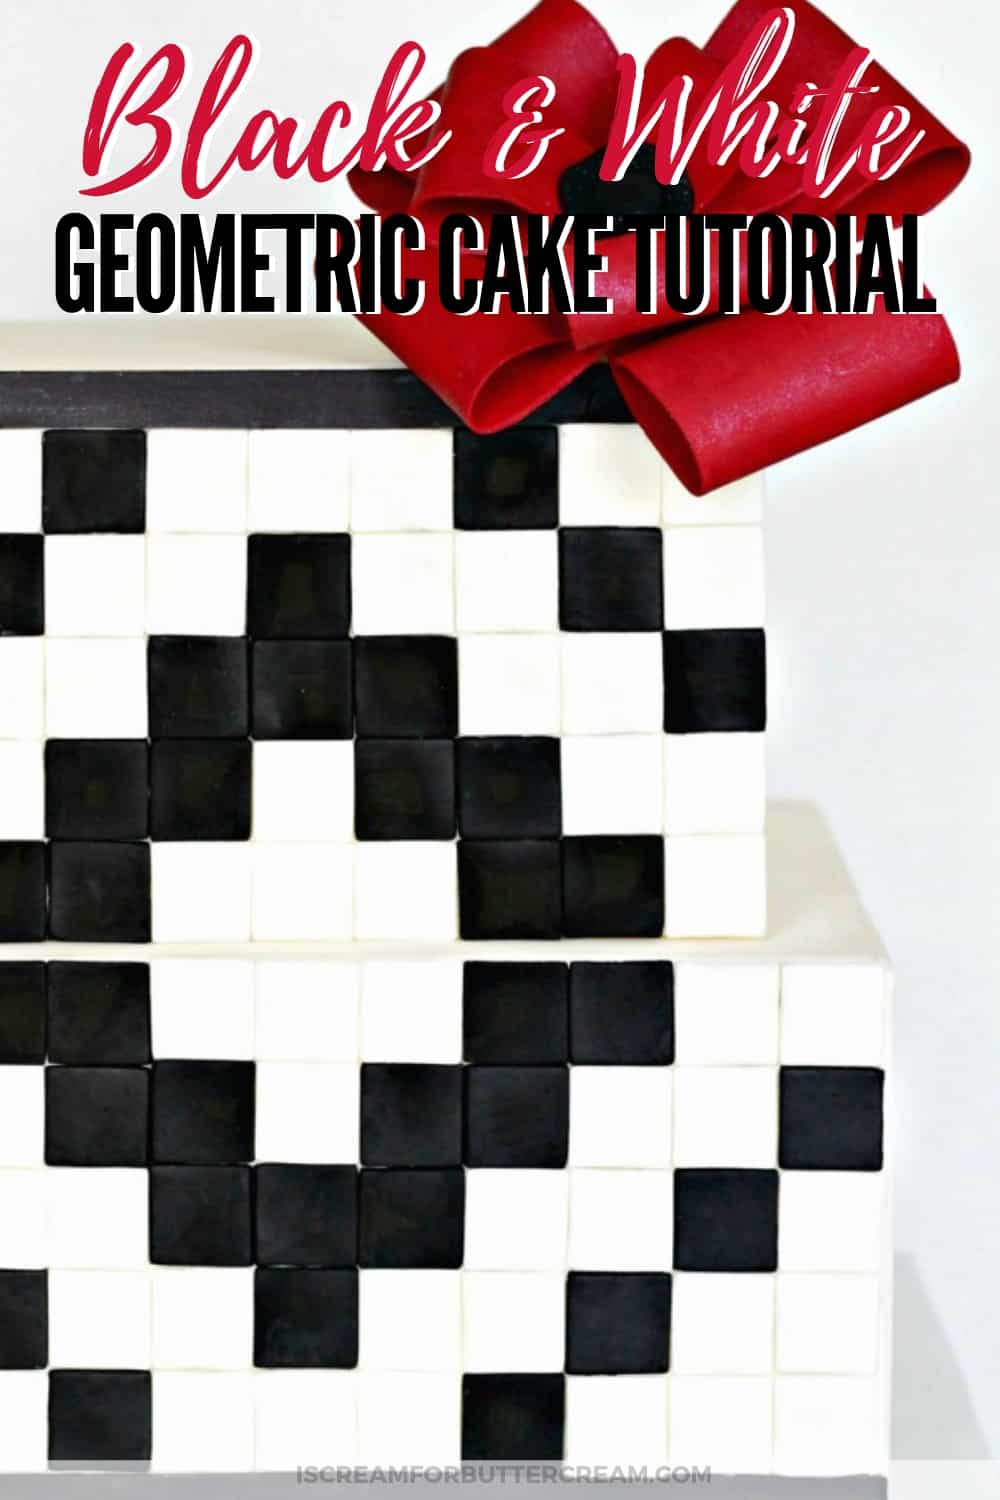
Roll out your fondant and then cut out squares in both colors. Cut out more than you think you’ll need…some of them will get misshapen and you want choices. I actually ended up using 45 total (18 black and 27 white) on the top tier and 55 total (20 black and 35 white) on the bottom tier. There will be a band of black fondant on the top of the top tier and the bottom of the bottom tier to make up the empty space.

Set your cut-out squares on cake boards sprinkled with cornstarch to dry them out. I let mine sit like this for a couple days.
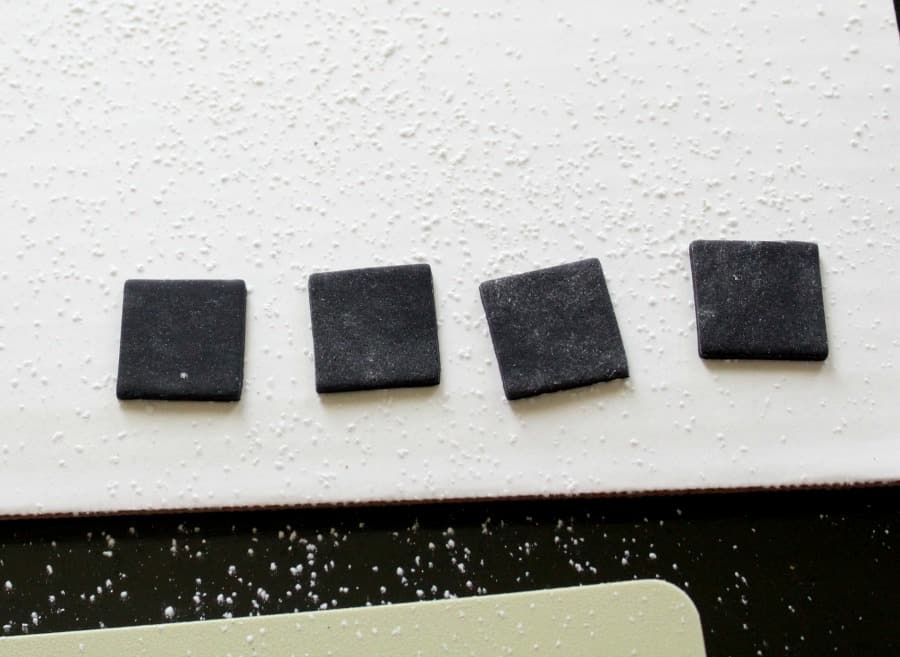
When they’re dry, you can dust off the cornstarch. You can also add some black petal dust to the black squares to make them a deeper black. If you do this, just know you have to be super careful when attaching them to the cake because you can transfer some of the black dust to the white squares. (Believe me on that one.)
Putting the Cake Together:
Now cover your cakes in fondant. (You’ll need to use square cake tiers for this project.) I chose white, but you could go with all black if you wanted. I used the paneling method to cover my cakes because I wanted very straight edges and sharp corners (I love the paneling method for square cakes.) I then let my fondant firm up a bit once I got it on the cake…an hour or so will do.
While you’re waiting for the fondant to firm up, take your squares and lay them out in a pattern.

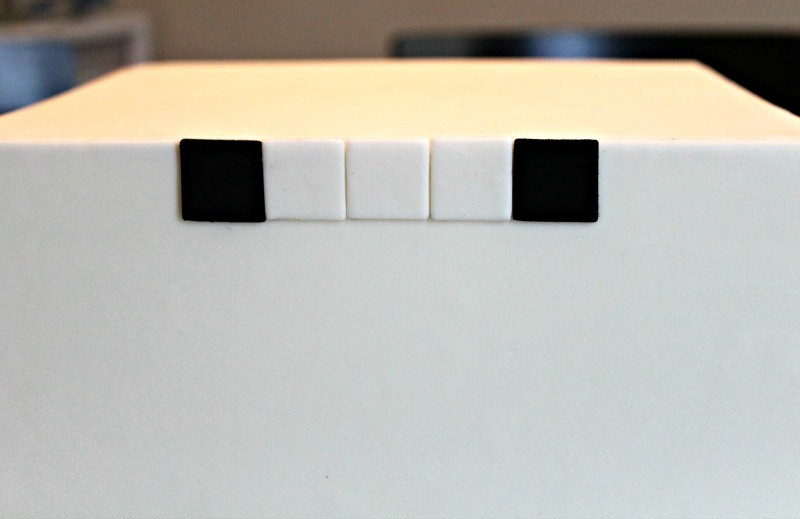
I knew, by measuring, that I would have an empty space about a half an inch on each tier, so I decided to add a black band.
Since I would be adding the black band on the top of the top tier, I started attaching my squares from the bottom up on the top tier. I used shortening to attach the squares. Believe me, using water is not a good idea. I can almost guarantee you’ll have to move these squares around a bit and if you’ve stuck them on with water…that ain’t happenin’. I used a brush and brushed on a little shortening to the back of each square. They’ll stick just fine.
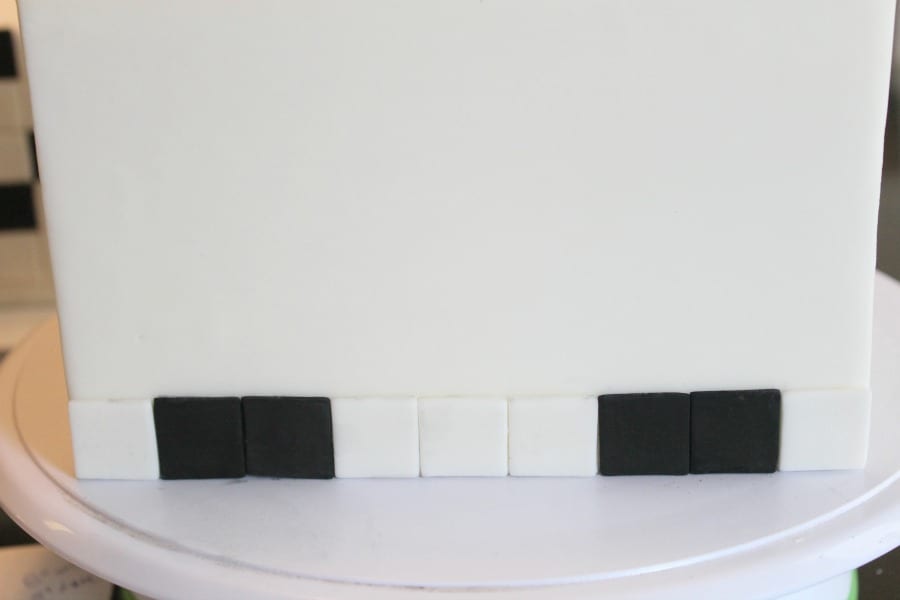
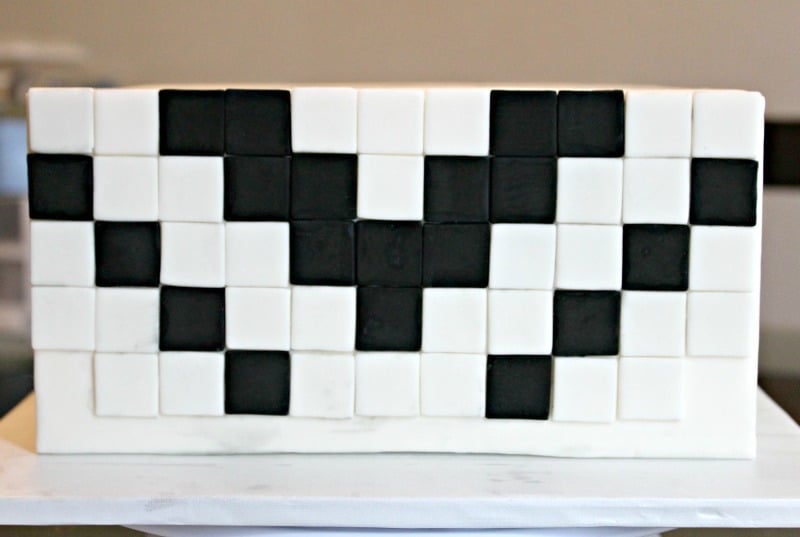
Keep moving up the pattern you laid out and keep attaching the squares to your cake. You’ll have to do adjusting now and again, but that’s why you used the shortening to attach the squares.

Once you’ve got all your squares on the top tier, you can start on the bottom tier. Remember…when you put the squares on the bottom tier, we are starting from the top down (the opposite of what we did for the top tier, because there will be a band of black fondant along the bottom.) You don’t want a break in the pattern where the two tiers meet in the middle.
Just keep attaching them…I’ll wait. Yeah it takes awhile.
Once you get all your squares on, you may have to do a little adjusting. Good news is you’ve used the shortening to attach the squares, so you can move them around! If you got a little black petal dust on some of your white squares, just pull that square off and use one of the extras you made to replace it. (I had to do that several times.)
Finishing the Black and White Geometric Cake:
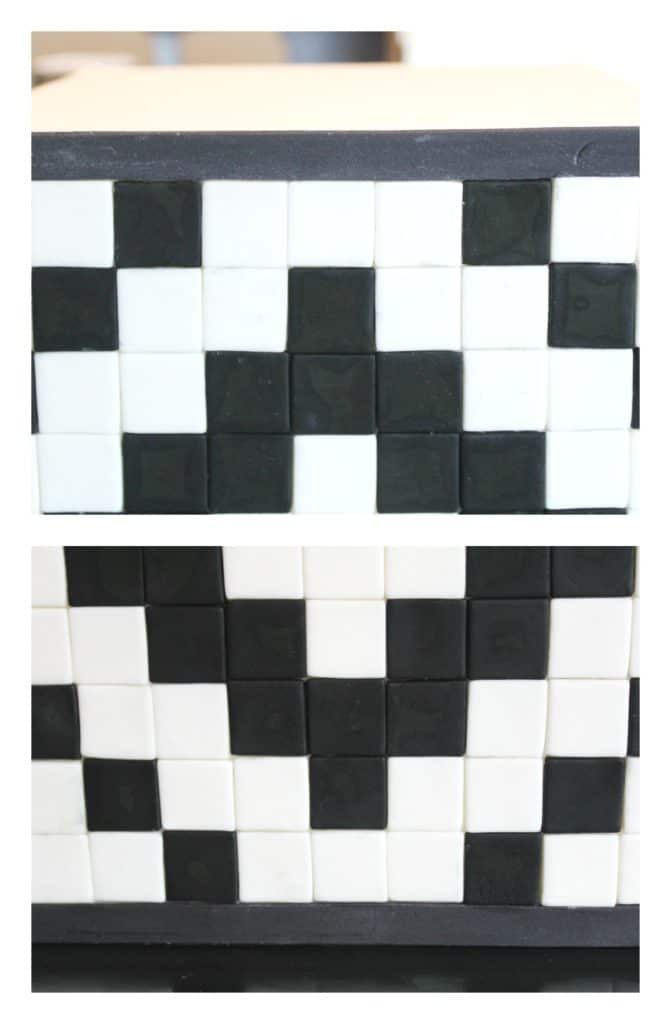
Once you’ve the squares how you want them, go ahead and stack your top tier onto the bottom tier. Don’t forget to add supports into the bottom tier and make sure that top tier is on a cake board of its own.
Once you’ve got them stacked, roll out some black fondant and cut a strip for the top and one for the bottom for the size of the space you have left on your cake. You can use shortening to attach these, or just use water or piping gel.
That’s it! You can add some flowers, or a loopy bow or you can just leave it as is. Now you’ve got a super-cool Black and White Geometric cake that will definitely impress.

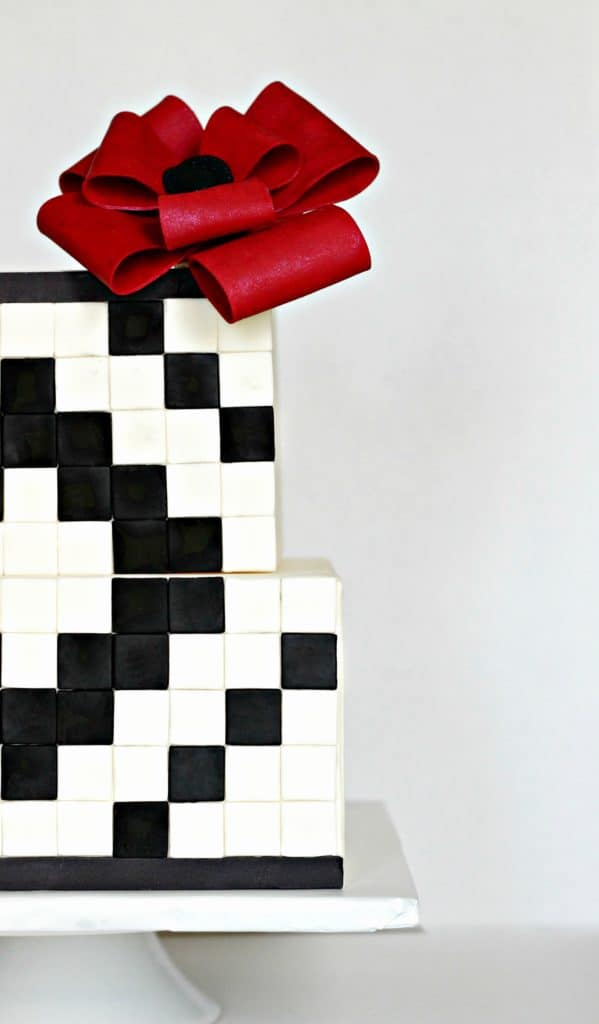
I think this cake would be a great birthday cake for someone who is modern and stylish, but I also think it would look great as a wedding cake for that couple who wants something a little different than the norm.
So let me know what you think!
Don’t forget to check out the glittery looped bow tutorial here!
DON’T FORGET TO PIN IT BELOW!
FREE: 7 Quick & Easy Tips to Make Your Cakes Look Professional

Ready to start making cakes that look amazing?
Grab this FREE guide with quick and easy tips to make your cakes actually look like a professional made them, so you can start showing them off!
See our privacy policy here.
Leave a Reply