Want a show stopper on Christmas day? This Cake Pop Christmas Tree will do just that. It can be your table centerpiece AND it can be eaten. Pretty to look at and yummy to eat. We’ll just call it your edible Christmas centerpiece!
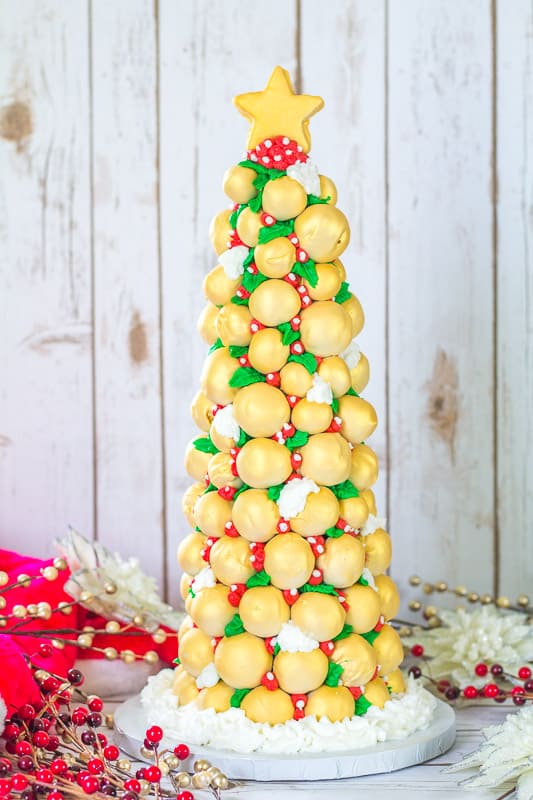
Now, you’re going to want to set yourself aside some time on this one. If you’ve ever made cake pops before, you know they take some time to make and set up. I’d make the cake pops a day or two ahead of time, so you’ll have plenty of time to assemble the tree.
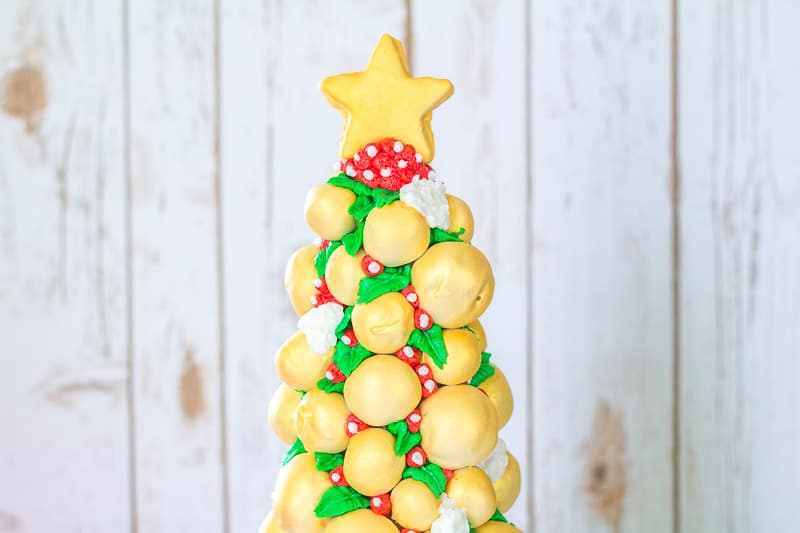
Once you get all your cake pops done, everything else goes pretty quickly. You’ll use a styrofoam base and attach your cake pops to that with toothpicks. Then you’ll spray it with gold edible spray and just pipe some buttercream here and there to really bring it to life.
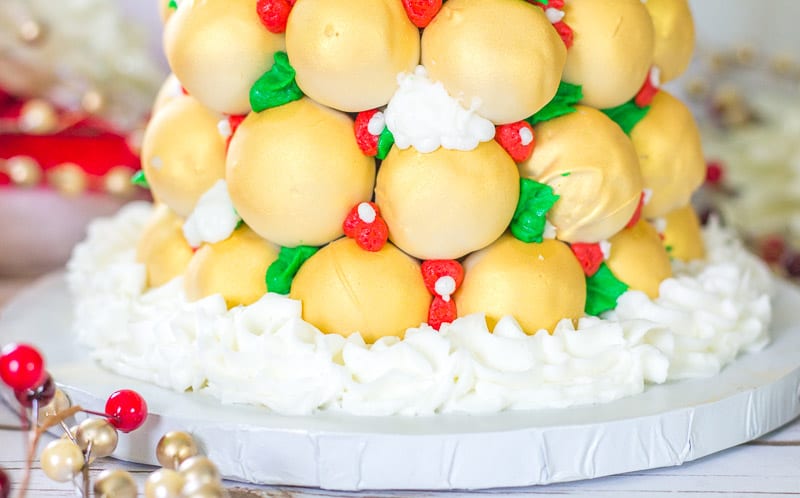
Alright, let’s get to the tutorial. (Oh and don’t forget to check out the video toward the end of this post to see it made in action.)
As an Amazon Associate, I earn from qualifying purchases.
Supplies You’ll Need for the Cake Pop Christmas Tree:
- A baked cake (You’ll likely use the entire baked cake because you’ll need a bunch of cake pops). You can use any cake mix or scratch recipe you like. Here’s my favorite recipe: Favorite Vanilla Bean Cake
- Buttercream (You’ll want to make an entire batch. You’ll use some for the cake pops, you’ll leave some white, then tint some red and green.) Here’s my buttercream recipe: Vanilla Buttercream Recipe You’ll want to replace half or all the butter with shortening in order to get bright white buttercream. You can also use clear vanilla extract.
- Wilton #67 leaf tip
- Wilton #4 round tip (for the berries)
- Wilton 2D tip (for the snow around the base of the tree)
- 2 cans of Wilton edible gold spray (You can use any edible spray you like, or just coat the cake pops in any color candy melts you like.)
- Star cutter
- 8 inch or larger foam core cake board
- Fanci Foil (for covering the board)
- Wooden dowel
- Hot glue
- Candy melts or white almond bark
- Toothpicks
- 15 inch Styrofoam Cone
- Glad Press-n-Seal wrap or plain saran wrap
Making the Cake Pops for the Tree:
First you’ll want to get all of the cake pops made and out of the way. There’s not really a set recipe for cake pops. You’ll just need to do it by feel, but generally, I crumble up the entire cake and add in several tablespoons of buttercream.
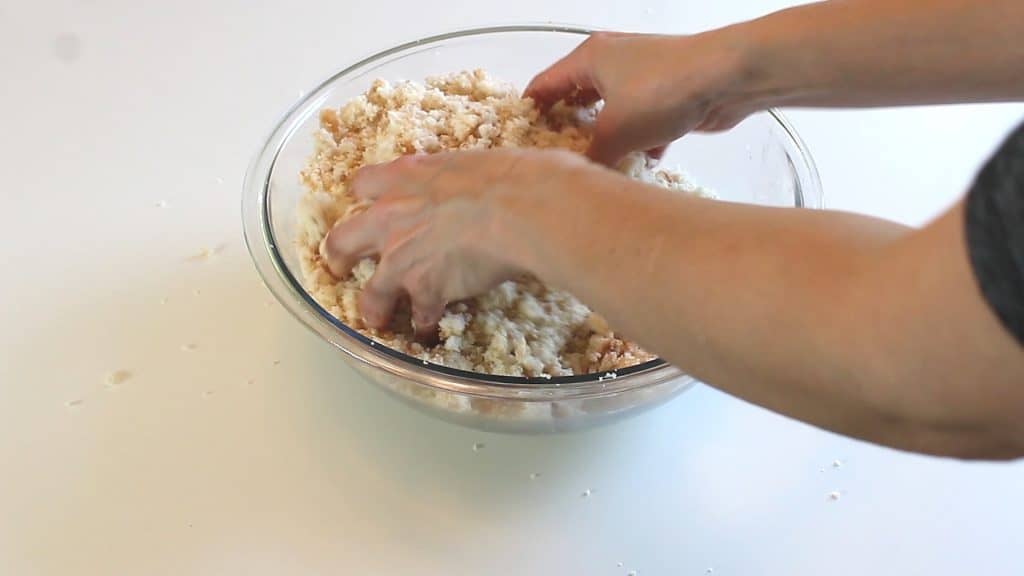
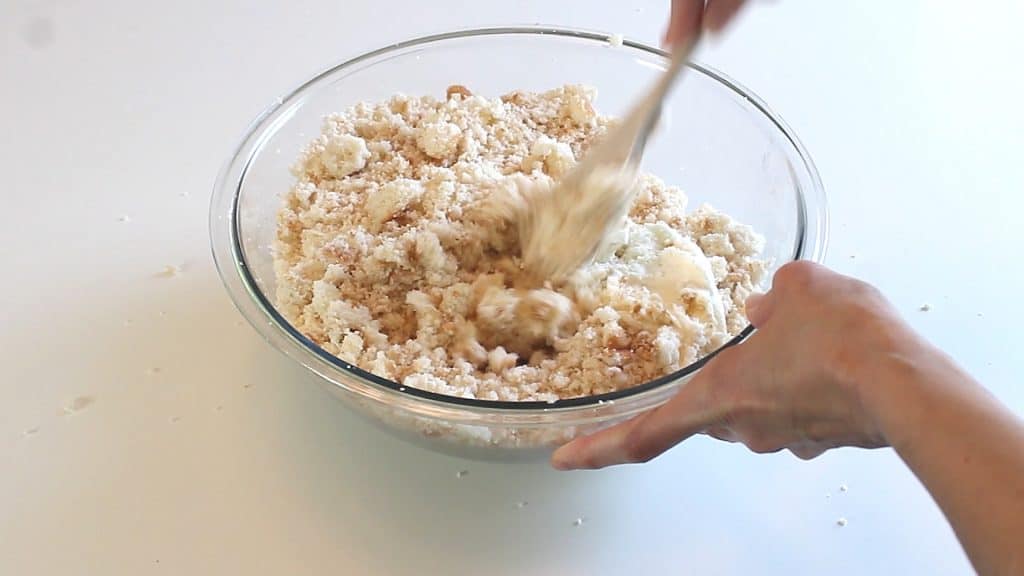
Mix it first with a spoon, but then you’ll need to get your hands in there and mix it well.
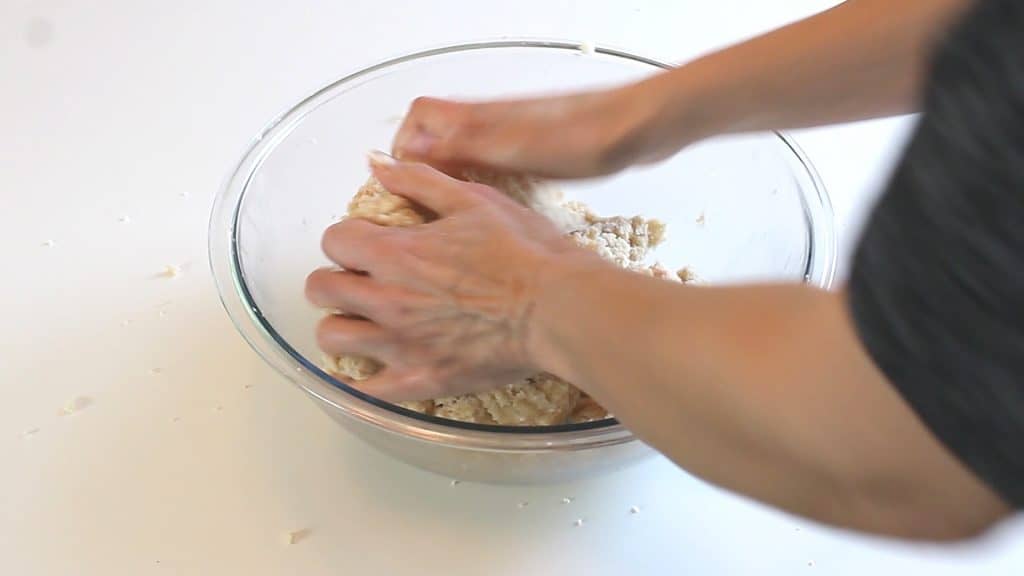
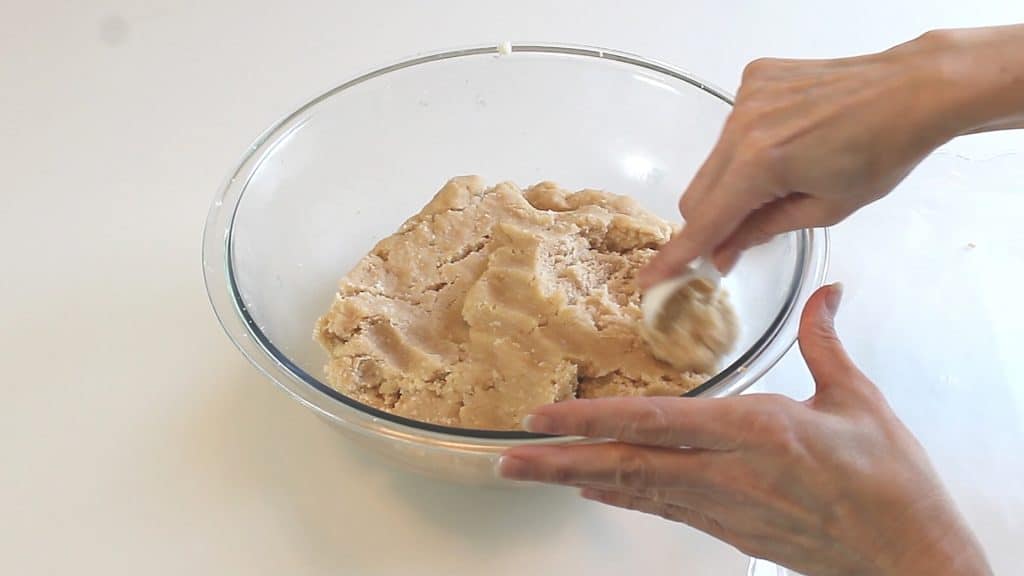
You’ll want to check the consistency by rolling up a ball of the mixture. If it’s too dry, just add in a bit more buttercream. Don’t add too much though or they won’t be firm enough.
Once you’ve got the consistency just right, you can start rolling your cake pops. Make two sizes…large and small. You’ll need some small ones to fill in the spaces.
I just used a tablespoon for the large ones and a teaspoon for the small ones. (Make sure to set aside a small amount of the mixture to make the star for the top of the tree.)
Once you rolled all your cake pops, dip them in melted white almond bark or white candy melts. I tend to go with the melted white almond bark because it’s not quite as thick as the candy melts and it just seems to work better for me.
Instead of using white candy melts, you could go with green if you wanted to.
So here’s a trick for dipping your cake balls: For the large ones, take a plastic fork and break off the two inside spokes.
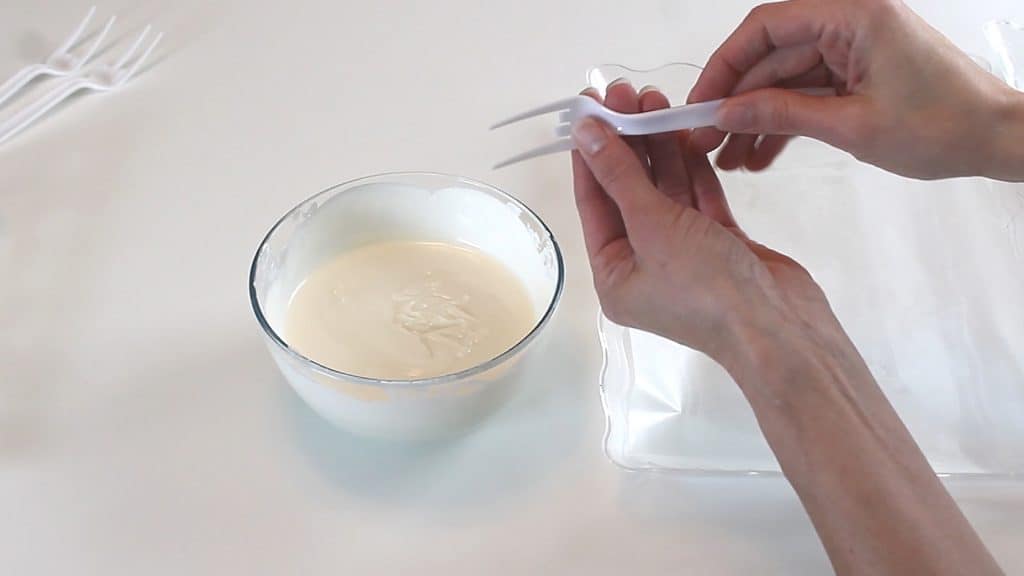
When you dunk the cake pop into the chocolate, just lift it up with the fork and the open area will allow the excess chocolate to drip through.
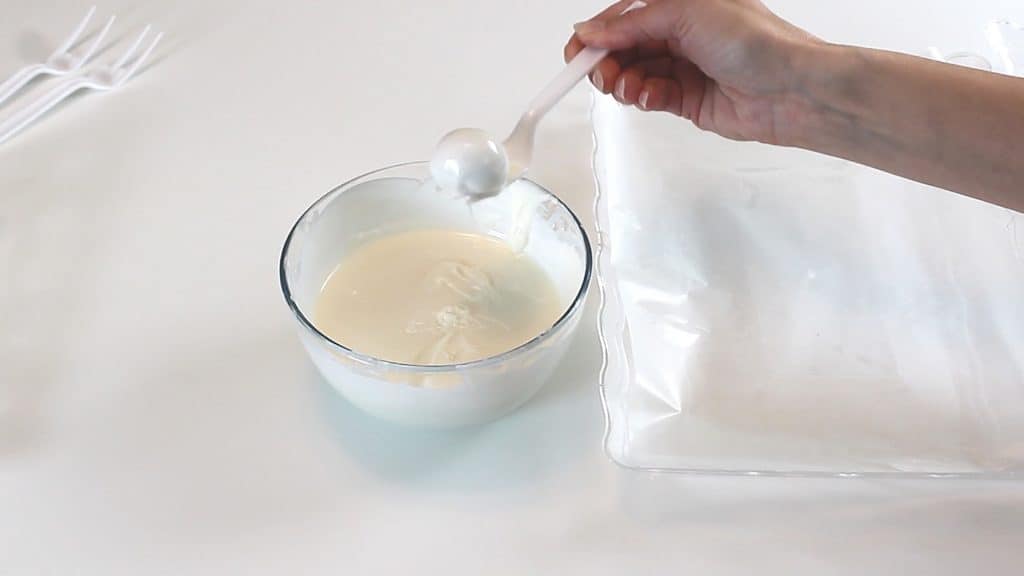
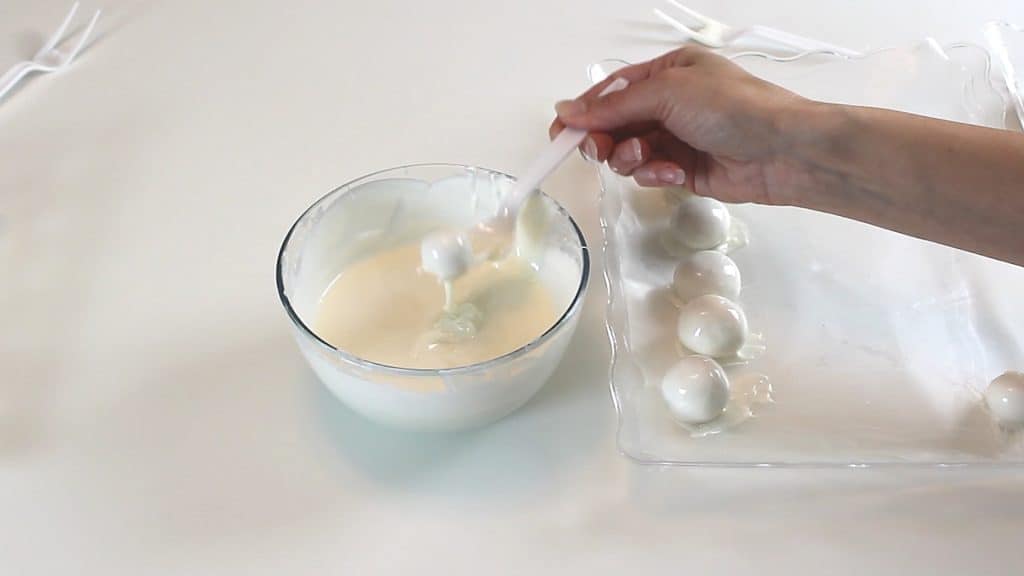
Once you dip them, just set them aside on some wax paper to firm up.
For the smaller cake pops, just take a plastic fork and then break off every other spoke. Dip them just like the larger ones and set aside.
Take the small amount you set aside and smash it flat. Use your star cutter to cut it out.
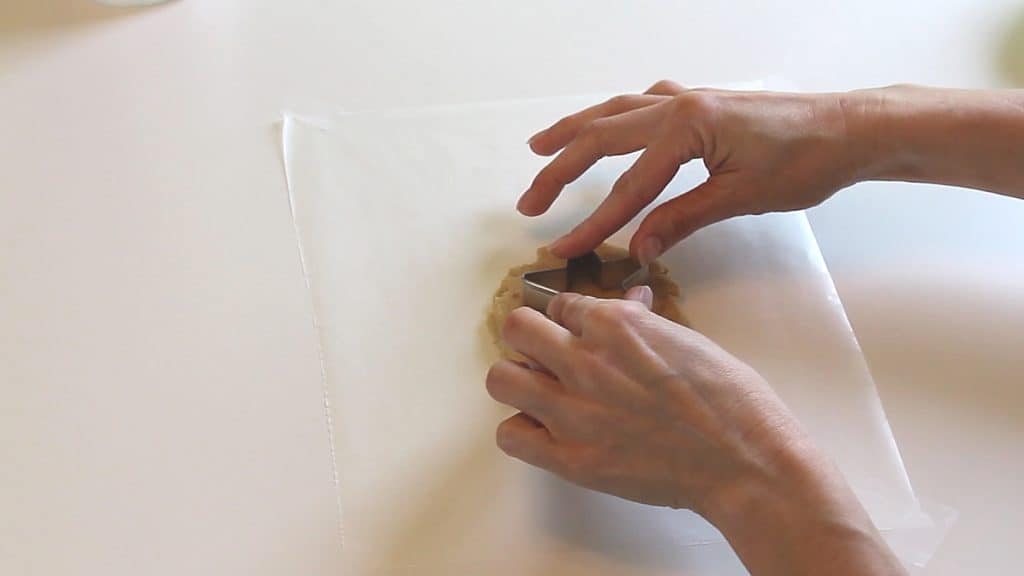
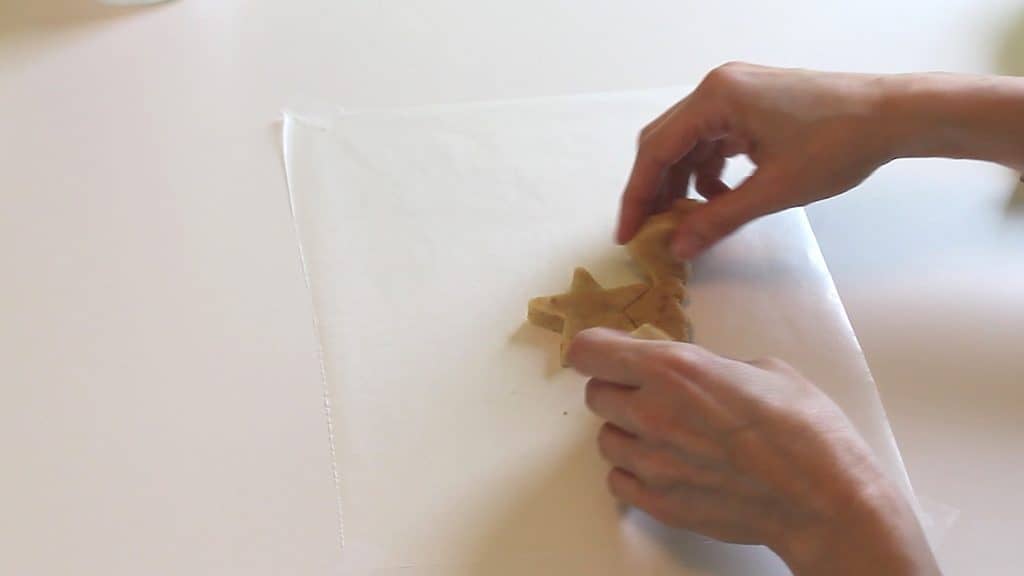
You can set this in the fridge to firm up a bit before you dip it into the chocolate. It’s helpful to make two of these just in case one crumbles when you’re dipping them in chocolate.
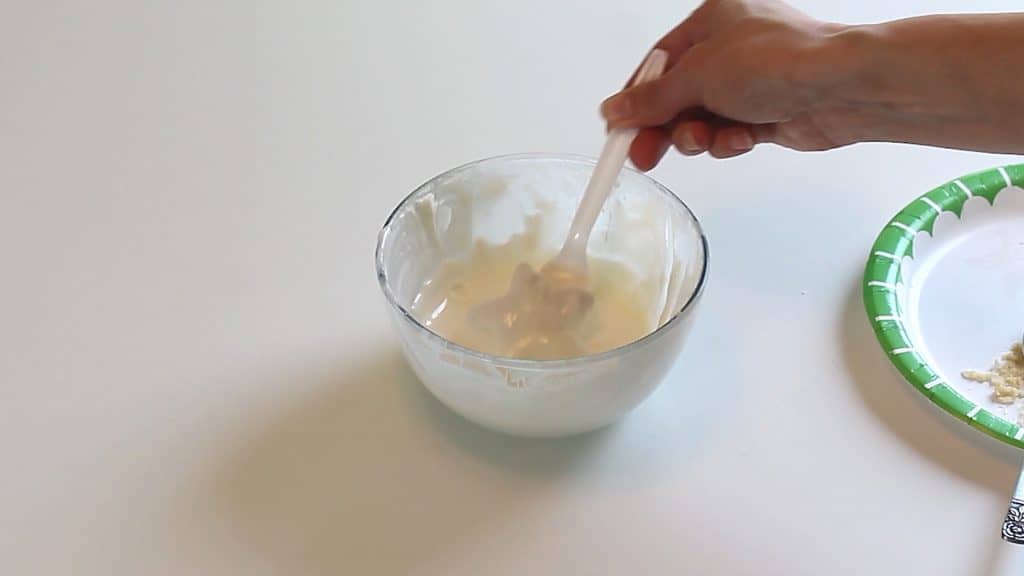
After you get everything dipped, you can set them all in the fridge to firm up if you like until you’re ready to assemble them.
Preparing the Base for the Tree:
Alright, now you’ll want to prepare your base.
You’ll want to make sure and do this part properly because the tree will be heavy with all the cake pops on it and it could easily tip over if it’s not secured.
You’ll want to take your 8 inch foam core cake board and cover it with some Wilton fanci foil. If you decide to use cardboard cake rounds for the base instead of the foam board, just make sure and attach several together to make the base very thick. It needs to be able to take the weight of the tree.
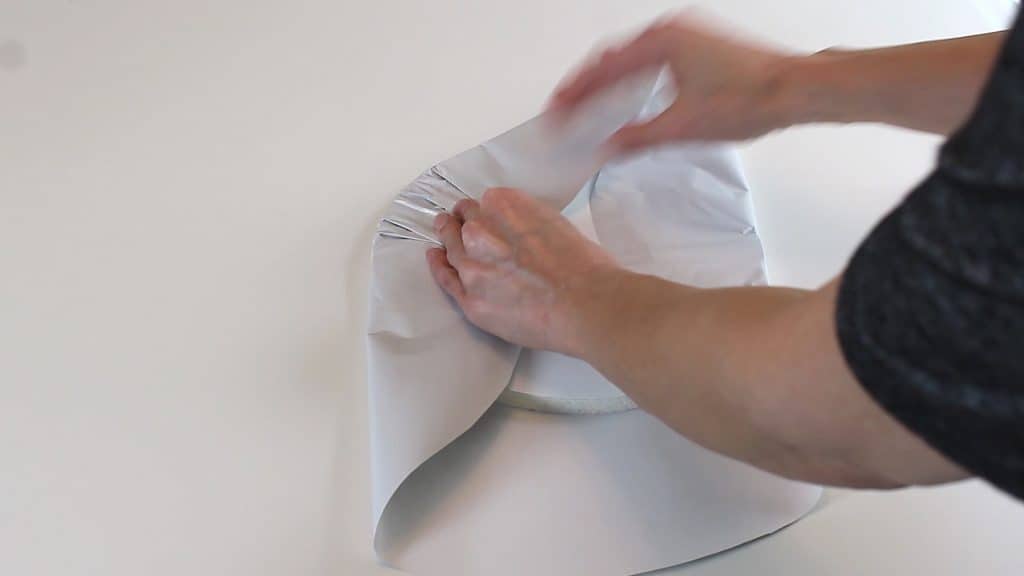
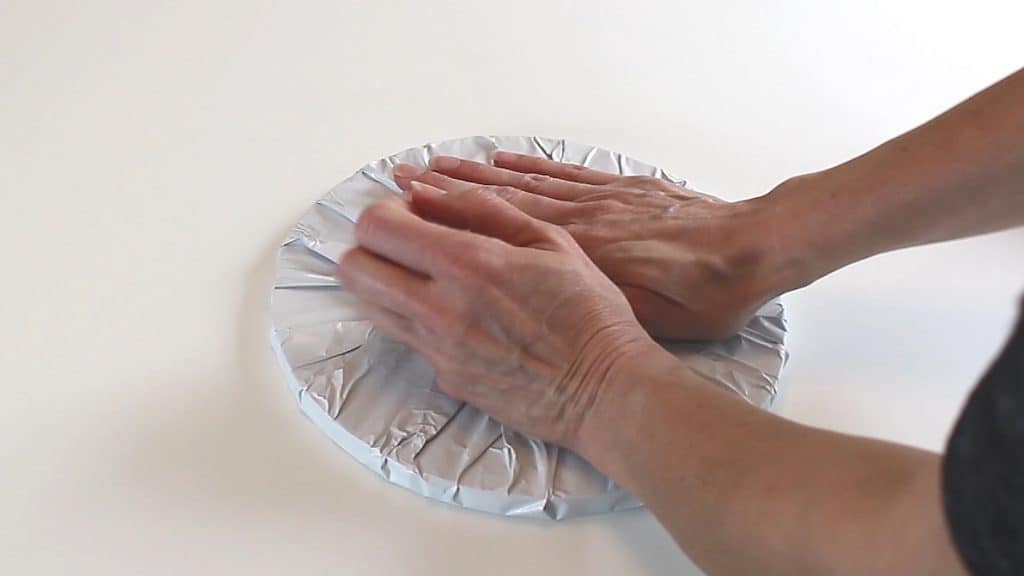
Once your cake base is covered, cut out a little circle of the fanci foil in the middle of the top of the cake board. You’ll be adding some melted candy melts there and you don’t want everything just stuck to the fanci foil. You want it stuck to the actual board.
Alright, now take your wooden dowel and cut it down a bit. It just needs to be tall enough to go into the entire cake base and then go into the foam cone at least several inches.
Now sharpen both ends of the dowel.
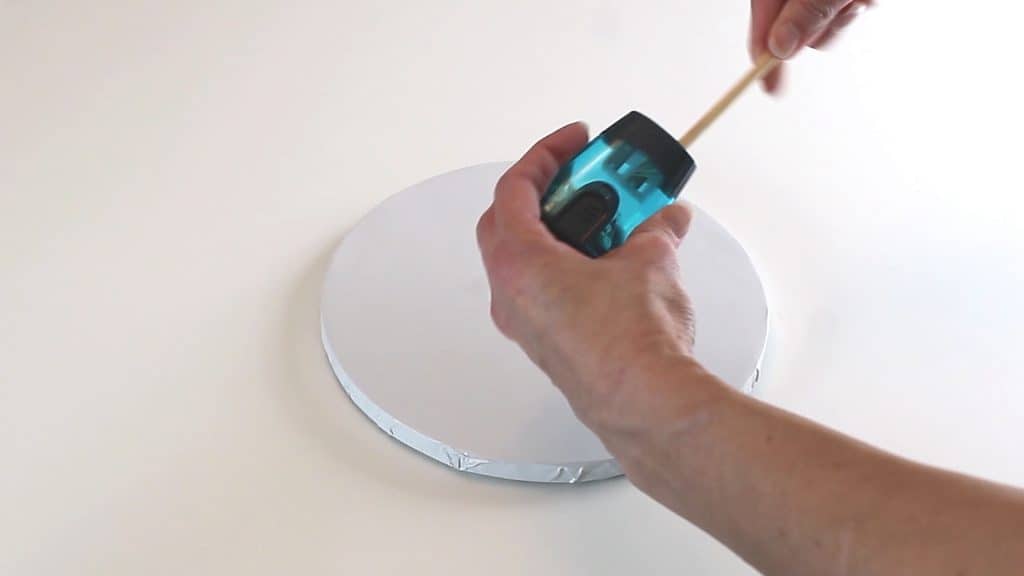
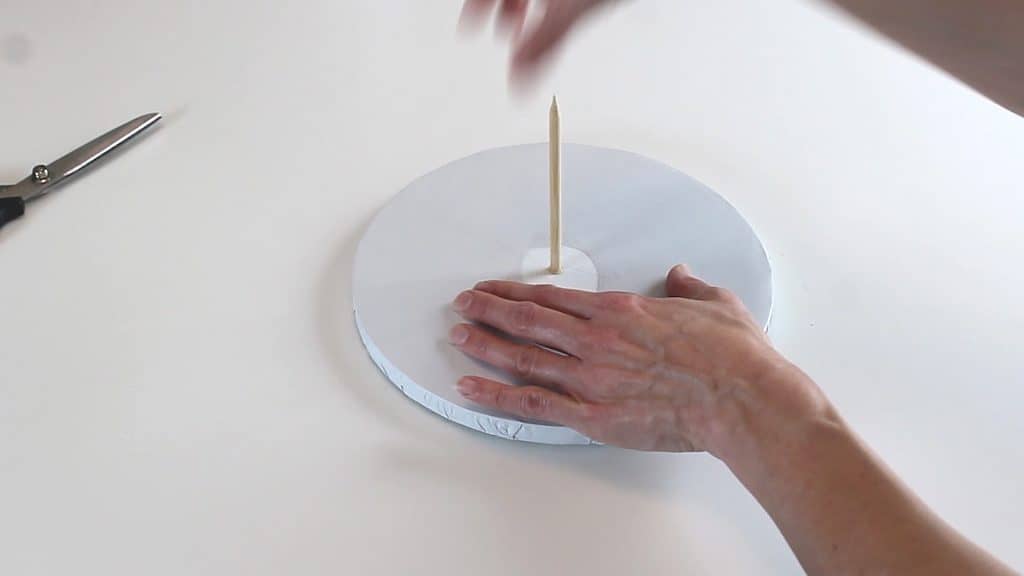
Now insert one end of the dowel into the middle of the cake base.
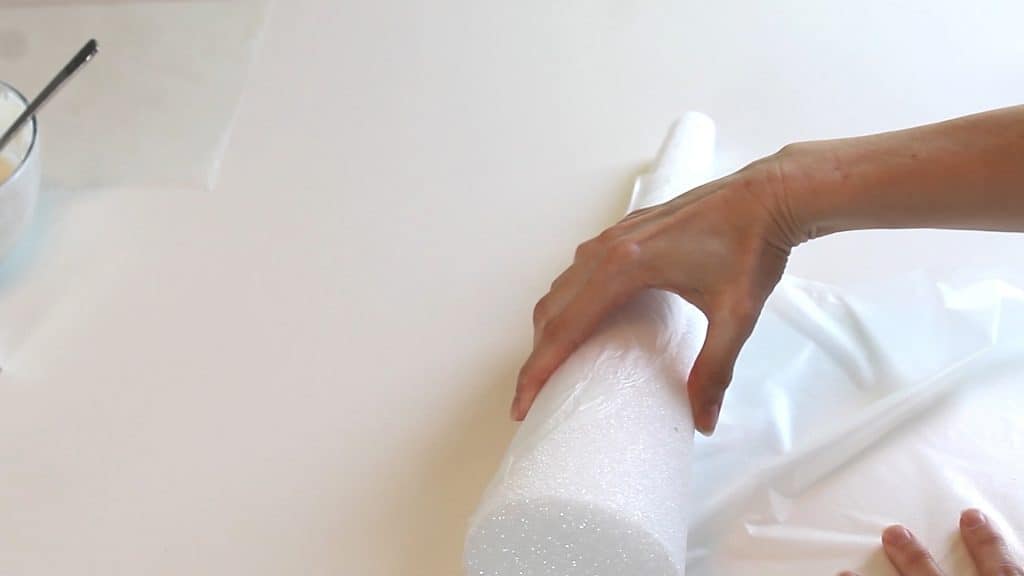
Now, take your styrofoam cone and wrap it in press-n-seal wrap. You can wrap it in regular plastic wrap, but press-n-seal just works better if you have it available.
Add a bit of melted candy melts or melted almond bark and then push the styrofoam cone down onto the dowel and cake base.
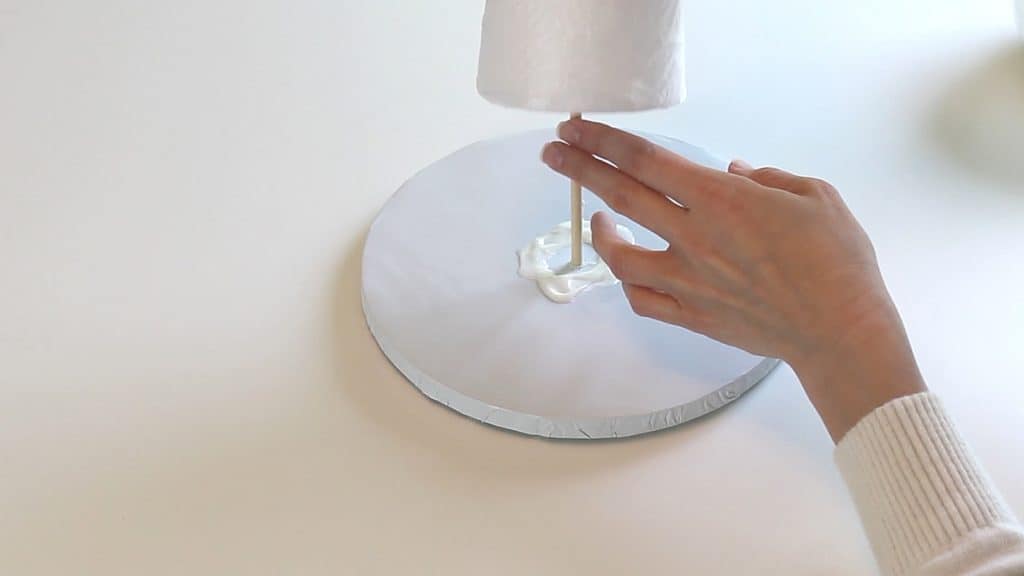
Let it set up before adding your cake balls.
Attaching the cake pops to the tree:
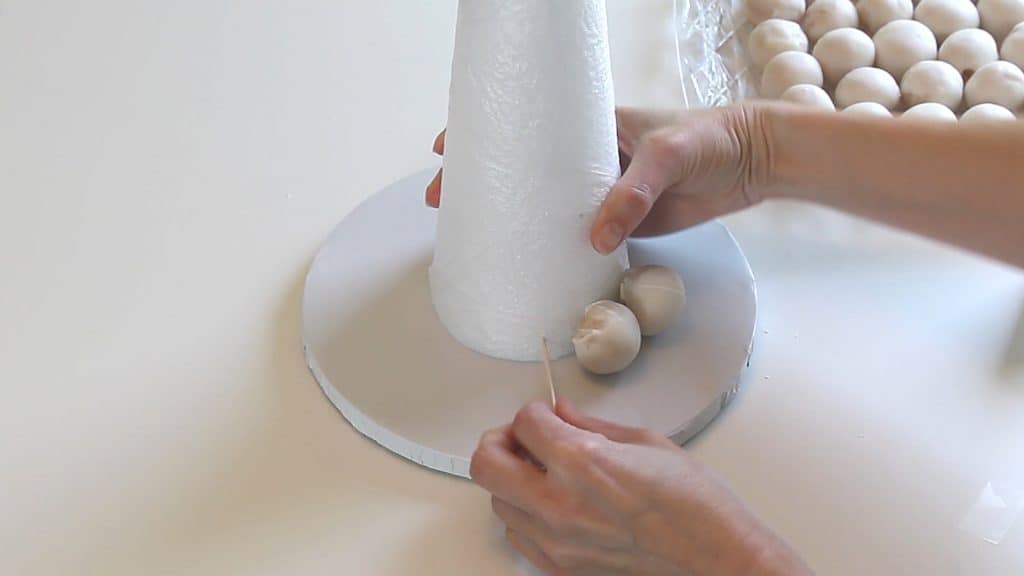
Start at the bottom of the cone, insert a toothpick and pop on a cake ball. Continue adding toothpicks and cake balls. I used the large ones all around the base.
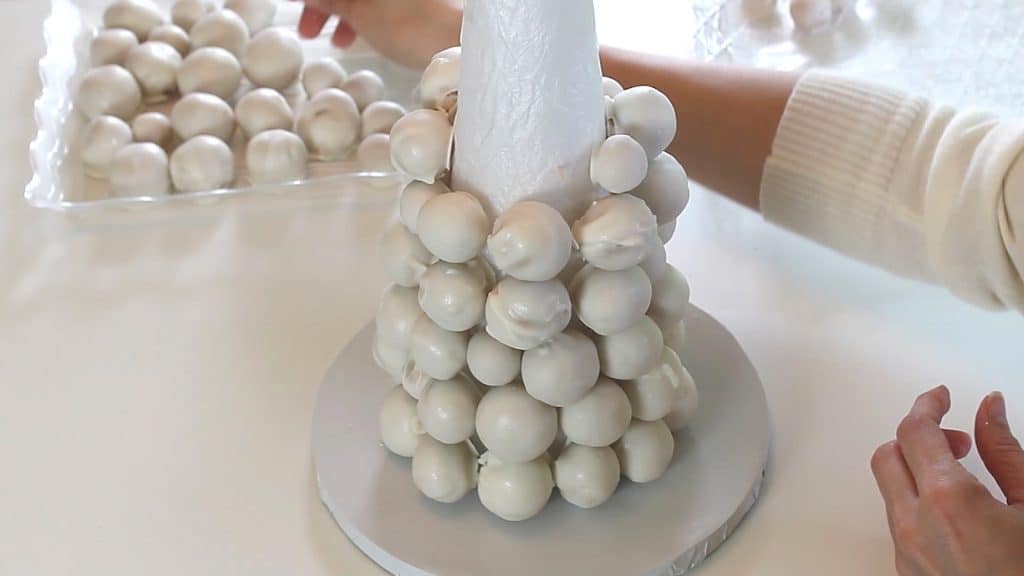
Continue all the way up the cone. You’ll need to add in some small cake balls here and there.
Once you get all the cake balls attached, you’ll want to spray it with edible gold spray. Make sure to cover your surroundings with paper towels or something that will keep the spray from getting on everything. I used a tri-fold board behind it.
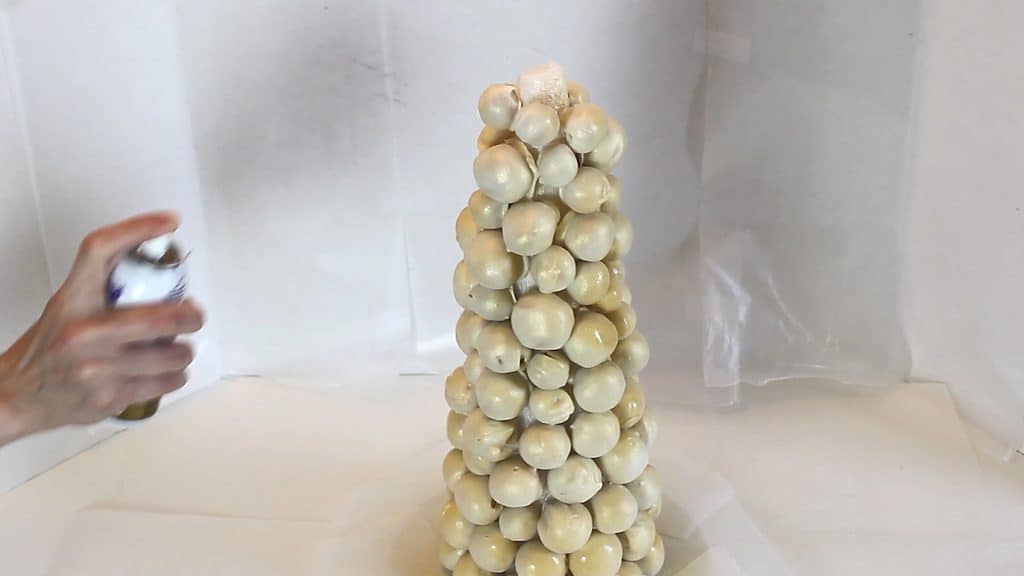
Spray the entire tree, then pop in the star at the top and spray it as well.
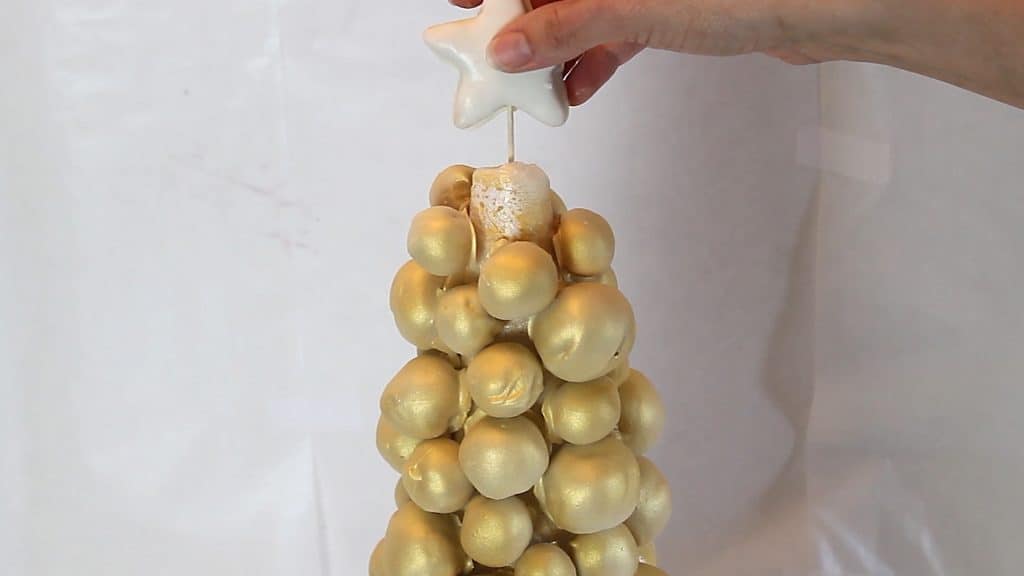
Let it dry a bit and then spray it all again. I actually used two cans to get a really good coating on everything.
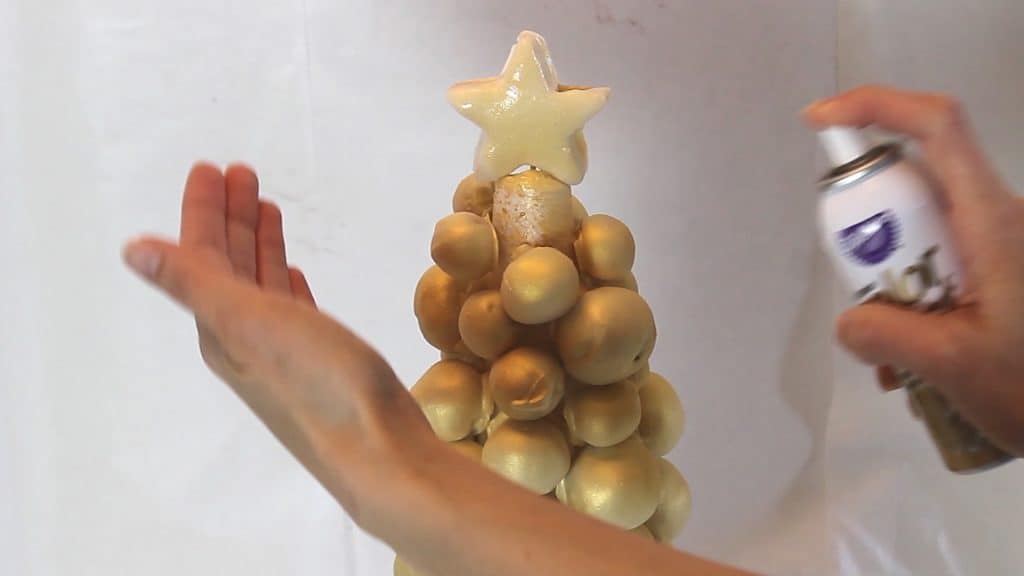
Now let everything dry. I just let it set up for about 20 minutes or so. You still don’t want to touch anything, or move things around because the gold spray can still rub off a bit.
Piping onto the tree:
Ok, you’re almost done! Now for the fun part…the buttercream piping.
Fill your bag with green buttercream and fit it with the Wilton leaf tip. You’ll just want to pipe in leaves here and there in the spaces that are showing. (You can see in the video how to pipe the leaves.) You don’t need to fill every single space…you’ll still be piping in berries.
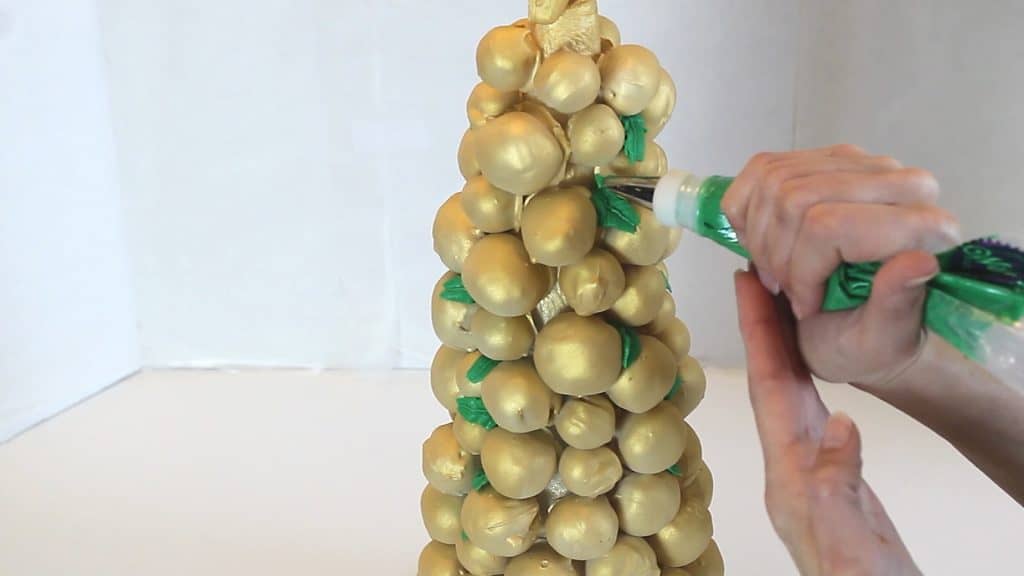
Now fill a bag with the red buttercream and fit it with the Wilton round tip.
Pipe in berries in the remaining spaces.
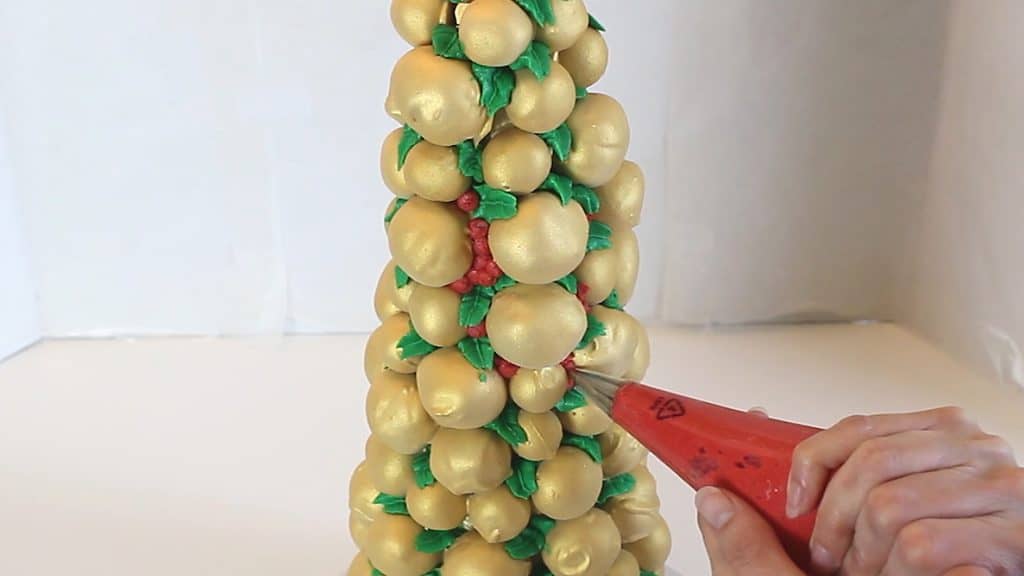
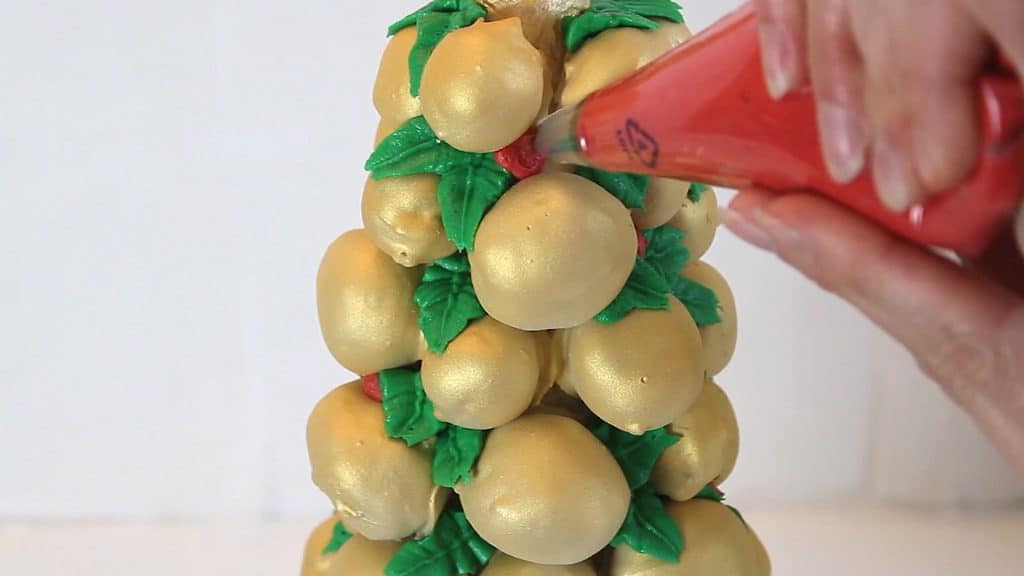
Make sure to get any empty spaces around the top of the tree.
Okay, now take some white buttercream and add the Wilton round tip. Pipe some small white dots on top of the red berries.
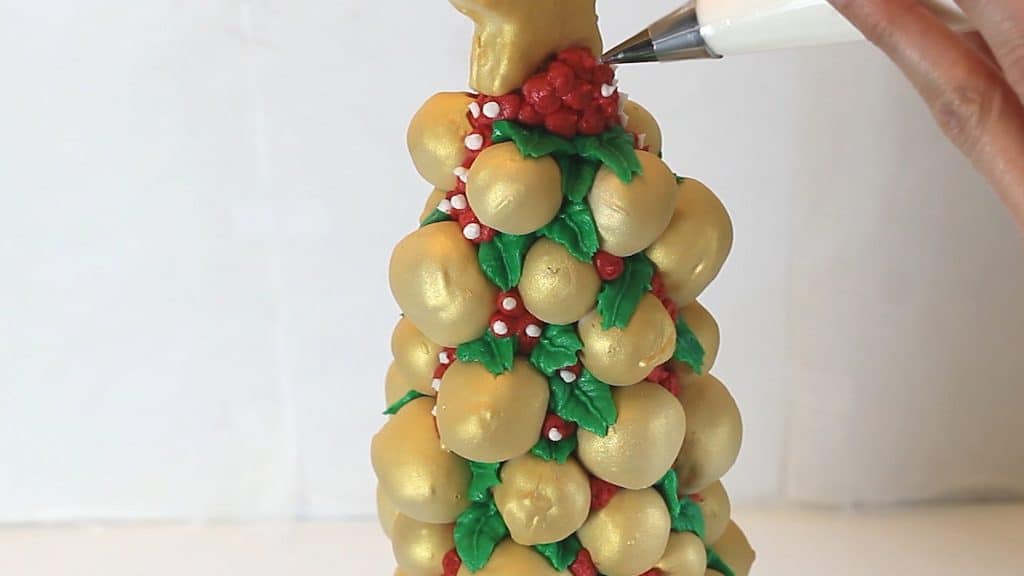
You can then add in some ‘snow’ in various places with the same tip.
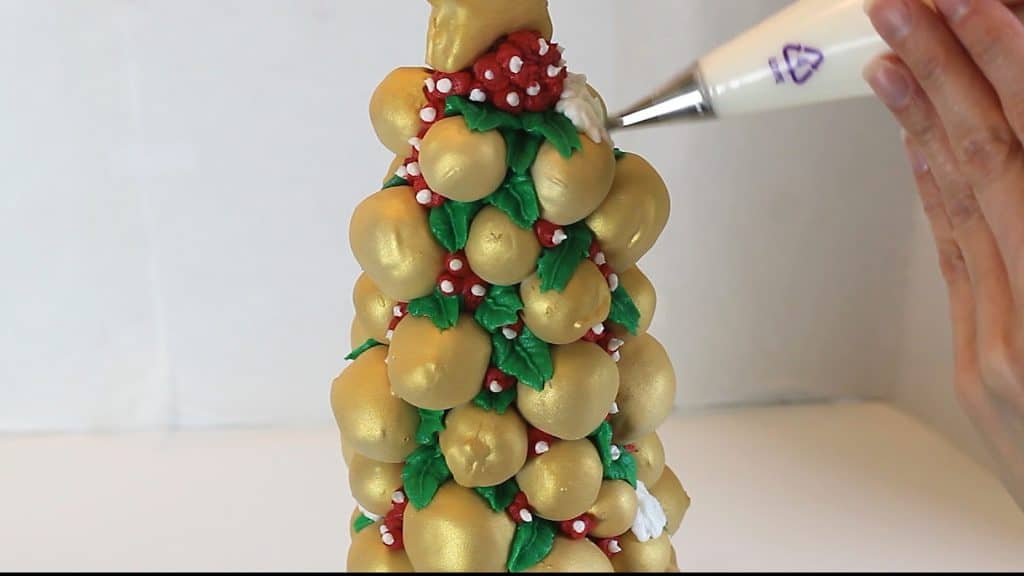
Use the large Wilton tip to pipe a ‘snow’ border around the base of the tree. Just make swirling motions as you pipe.
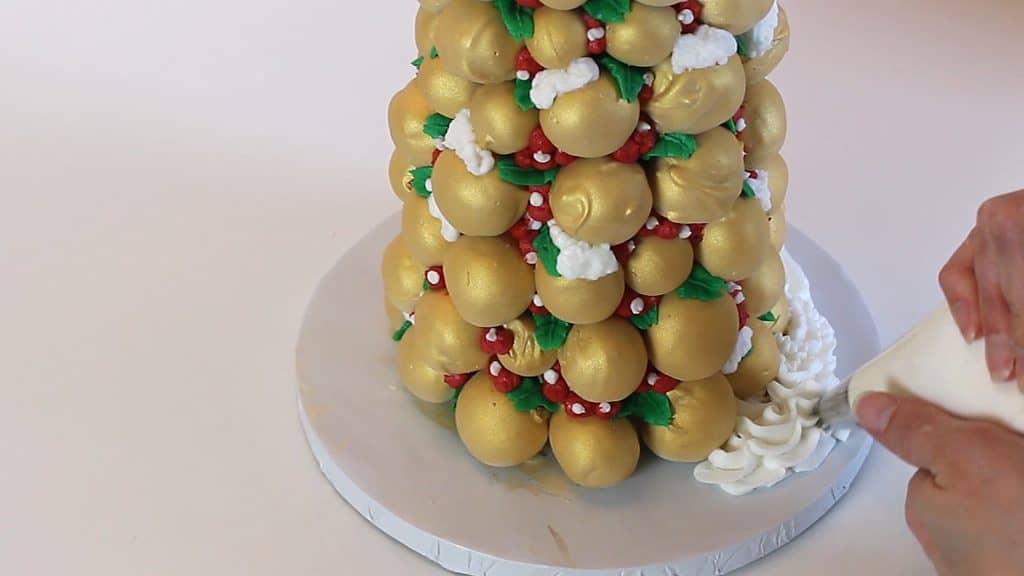
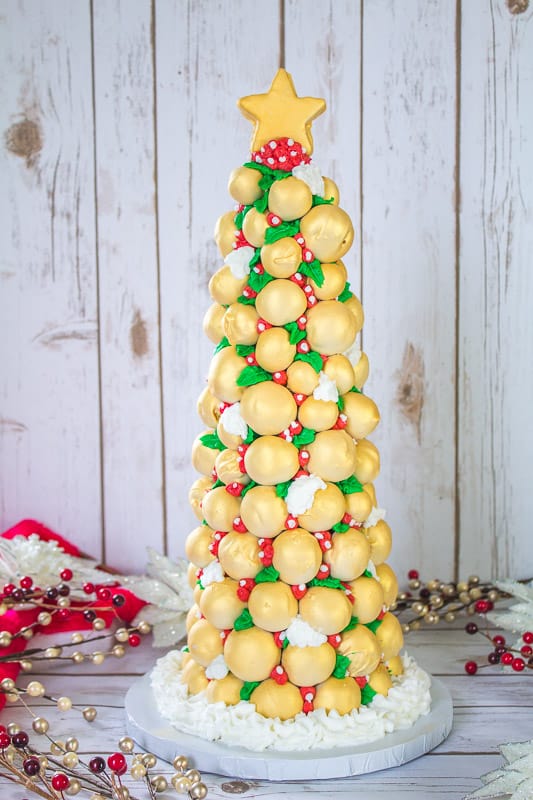
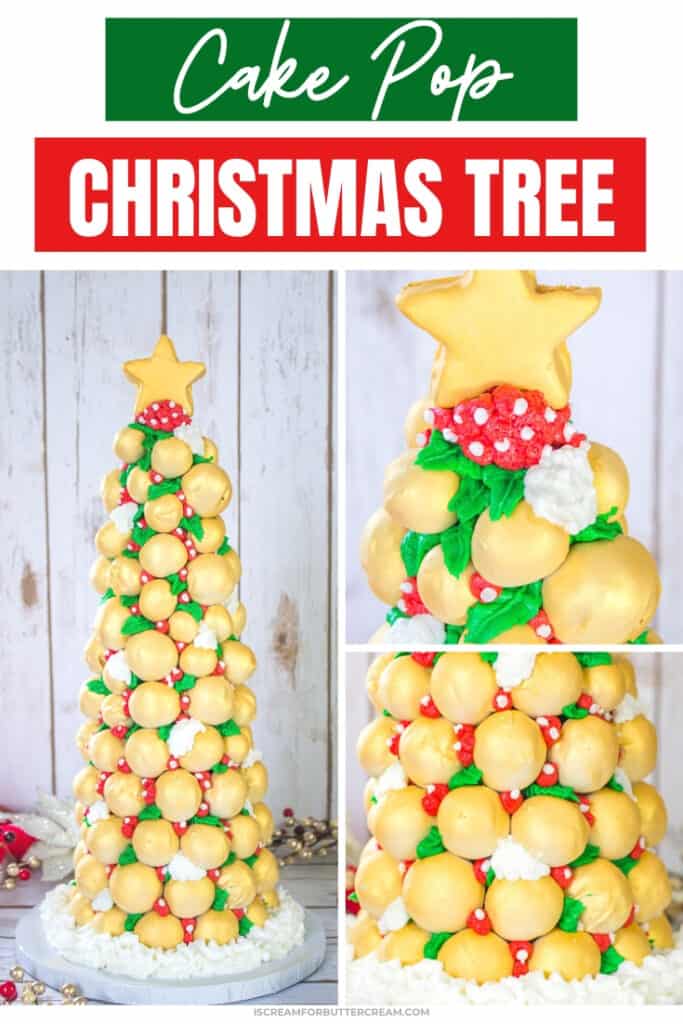
You’ve done it! Aren’t you proud! Now you’ll have a beautiful AND edible centerpiece at your Christmas party that everyone will love!
Oh and here’s the video:

Remember to have fun! It’s the best time of the year, right?!
Don’t Forget to Pin it for Later!


Rhianna
Hello,
If you were to sell this, how much you charge?
Kara Jane
Hi Rhianna, oh that’s a good question. I really have no idea. I will say that cake pops are time consuming, so I would probably charge quite a bit for it. Make sure to factor in the amount of time it will take and the supplies you have to purchase (like the all the ingredients plus the cake board and Styrofoam cone). I haven’t sold cakes in a long while, but personally I wouldn’t do it for less than $60 maybe $75. It’s a lot of work.
Anika
Beautiful! I’m making one next week for my cousins wedding for about 90 servings. I’ve been doing tons of research prior to ensure everything goes well. Three questions if you could answer ASAP since I’ve already made the truffles and will assemble next week:
1) can I spread candy melt directly onto the cone or should I put it on the plastic over it? I heard that putting melted candy melts to harden on the cone prior to assembling is a good way for the truffles to remain sturdy on the tower.
2) I currently have the truffles in the fridge. Is it best to put them on with a toothpick while they are cold (and right out of the fridge) or somewhat at room temperature? I have decorated mine with a white candy meat coating and sprinkles/nuts to add variety, so I don’t know if the temperature of the truffles will affect any cracking once I insert a toothpick in. Ah, I’m nervous how sturdy it will be after being left at room temperature at the venue!
3) I heard putting double-sided carpet tape on the cake board to stick onto the cone very sturdy should help immensely. I’m hoping the styrofoam doesn’t break apart from the weight!
Your prompt response would greatly be appreciated!
Kara
For this one, I don’t remember if I covered the cone or the wrap in melted candy melts. I think I just covered the cone in press-n-seal wrap really well, then used toothpicks to attach the cake balls to it. If it were me though, I would be afraid of attaching the cake balls directly to the cone without anything food-safe covering it. I suppose that covering it in candy melts might add a little weight to it, but I’m not sure.
So I attached the cake balls cold. I popped a toothpick into the cone and then attached a cake ball to the toothpick. I did it one at a time like that. The toothpick only goes in about half of the way into the cake ball, so I didn’t have any issues with it cracking. You could try one though at first and see how it goes.
Yes, them being at room temperature for a long period of time would make me a little nervous too, but maybe try to keep it chilled up until the last minute…hopefully that will keep things stable enough.
Yes, you could do the double-sided carpet tape for the base. I’ve heard that works well. You could sharpen a shorter dowel, hammer it into the cake base then sharpen the top and pop the cone down onto it and that would help as well.
I used the compacted styrofoam and it seemed to hold all the cake pops just fine. I had it on my kitchen table for days and it held up. Granted…I didn’t travel with it but it did seem quite sturdy.
Anika
Thank you!! Do you think freezing the decorated balls and assembling them on the cone with the toothpick while they are frozen would be ideal? I think once it is assembled, I would most likely keep it in the fridge since I won’t be able to fit the assembled cone into the freezer. It will need to sit out at room temperature for at least a few hours at the venue so I’m hoping thawing out won’t cause too much condensation. Hope that’s ok…
Kara
I’m not sure that freezing the cake balls vs just chilling them in the refrigerator would make a huge difference really. You could freeze one and see if it’s easier to work with though and kind of go from there. I think as long as the cake balls aren’t made to be too mushy (like too much buttercream in them), then I think everything should stay in place for hours.
Serena Greene
How difficult would this be to transport? I’m thinking about doing this for work (30 minutes from home) will it survive the trip on my suv?
Kara Jane
I think if you made sure that the cake balls weren’t really large and that the toothpicks stick into each cake ball really well and not just slightly, then I think it could be okay. I’d chill it really well too. I can’t promise anything of course, but when I made it, it felt pretty steady. Also make sure that you glue the styrofoam base to the cake base really really well, so the whole thing doesn’t tip over. And drive slow and careful and take turns really slow. Best of luck!
Maria
This tree is beautiful! Is it possible to adhere the cake balls to the cone in another way, like maybe with a small bit of the chocolate? Or would they be too hard to pull off? The sharp toothpicks make me kind of nervous. Thanks!
Kara
Hi Maria, I can understand that. I haven’t tried another method, but it’s possible they will stick with candy melts. The only thing is you do need to cover the cone in some sort of food-safe wrapping like plastic wrap and I don’t know how well the melted candy coating will stick to that and/or easily be pulled off. It’s worth experimenting with though.