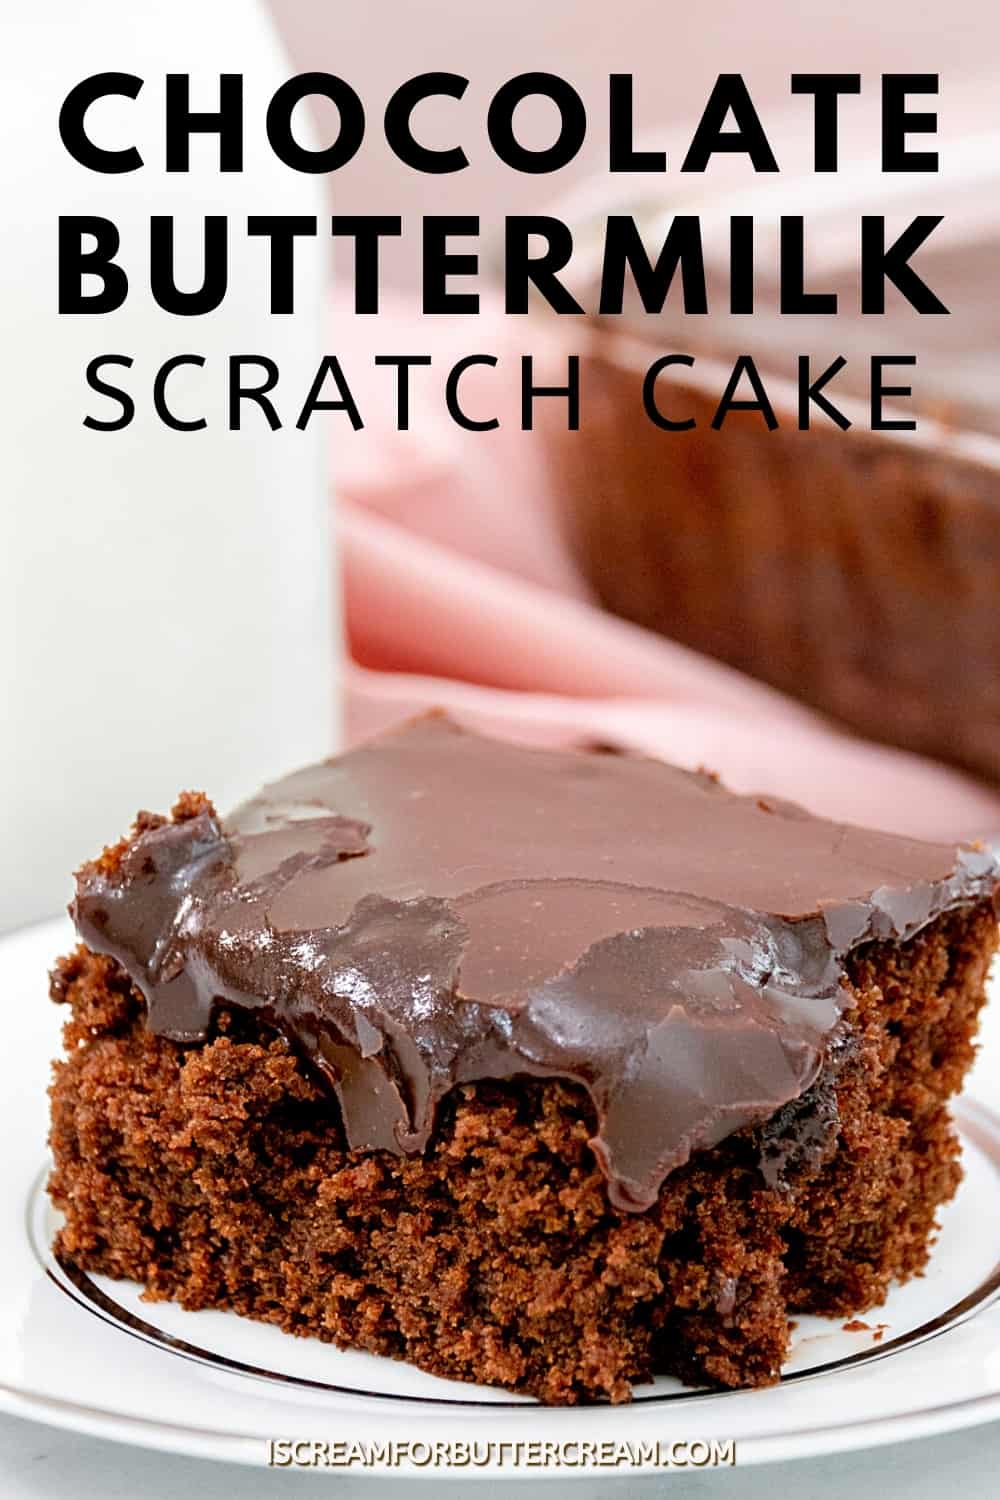
This chocolate buttermilk cake is one of my favorite chocolate cakes. It bakes in a 13×9 inch pan and then it’s topped with a yummy buttermilk glaze that soaks into the cake making it super moist and tasty. You just won’t believe how good this one is.
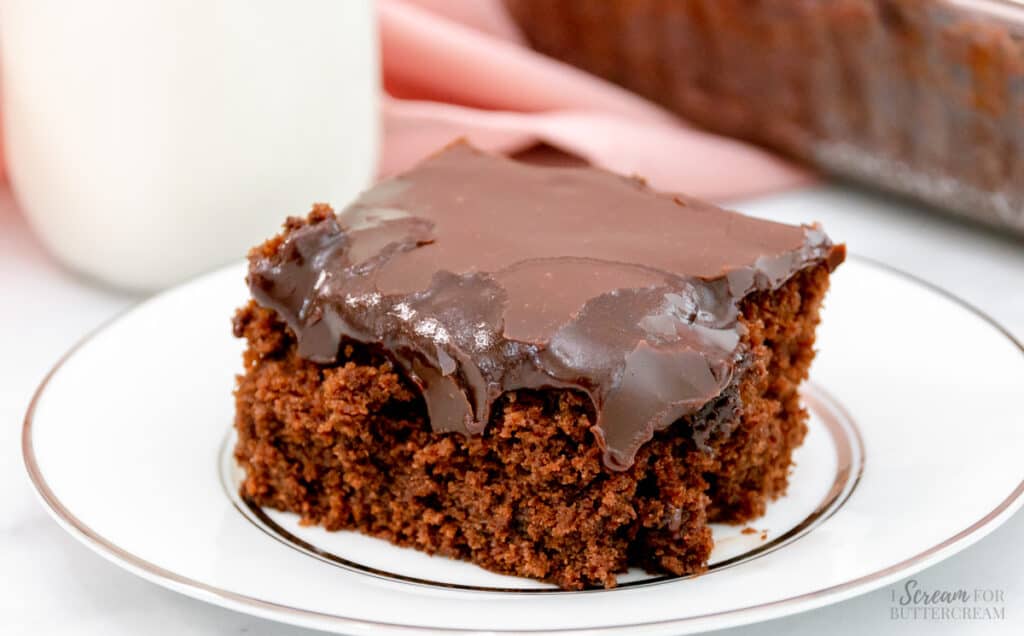
Previously, I posted a recipe for a moist vanilla buttermilk cake and it became quite popular and for good reason. It’s so good…even if you don’t like buttermilk.
So I thought it would be a good idea to do a chocolate version of this cake and it DOES NOT disappoint.
Hey there! Before you scroll, there’s lot’s of important stuff in the post!…including the FAQ section, which may answer any questions you might have about this recipe. Enjoy!
Ingredient Notes
Let’s go through just a few of the important ingredients in this cake and glaze.
All-purpose flour: You’ll just use regular all-purpose flour here. No fancy flour for this one.
Unsweetened natural cocoa powder (not dutch cocoa powder): You want to use the natural unsweetened and not dutch cocoa powder as this recipe uses both baking soda and baking powder and dutch cocoa powder is not acidic. For more info on why you use one over the other, see this post: Which Cocoa Powder do I Use?
Buttermilk: Buttermilk is the MVP of this cake. Now, if you don’t like buttermilk, don’t panic. I don’t like buttermilk either and I definitely won’t drink it, but when it’s used to make a cake, well the cake will NOT come out tasting like buttermilk.
What buttermilk does is it gives this cake moisture and a really great taste. If you’re hesitant about trying it in a cake, don’t be. It’s SO good.
The glaze uses buttermilk as well, but don’t be scared off by that because it’s just a small amount and you WILL NOT taste the buttermilk…it just ads to the flavor.
Unsalted butter: You’ll use this for both the cake and the glaze and you’ll want to make sure it’s at room temperature to make the cake. Make sure to read the Tips and FAQ section in this post to answer questions about substituting it.
Brown sugar: This gives the cake a deeper flavor than just using all granulated sugar. Either type of brown sugar is fine, but I like to use light brown sugar.
Mixing Method
For this cake, you’ll use the reverse creaming method. It’s not hard and I go through all the steps in the recipe card below.
This type of creaming method just means that you’ll mix up all the dry ingredients in one bowl, the liquid in another bowl, then you cut in the room temperature butter into the dry mixture and mix until it’s crumbly.
At that point, you’ll add in the liquid in two parts and mix. In my opinion, it’s really easier than the regular creaming method where you’re alternating ingredients.
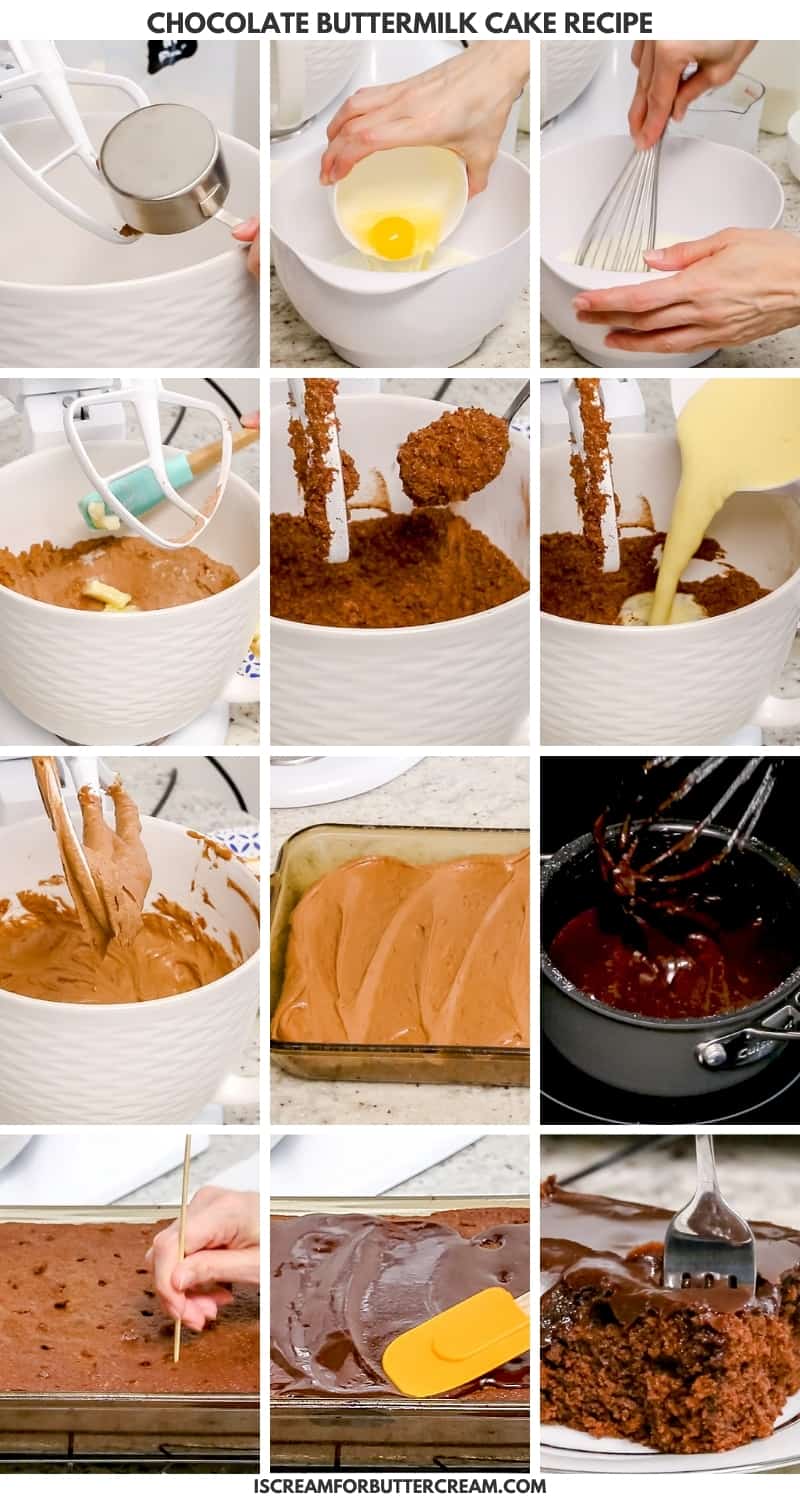
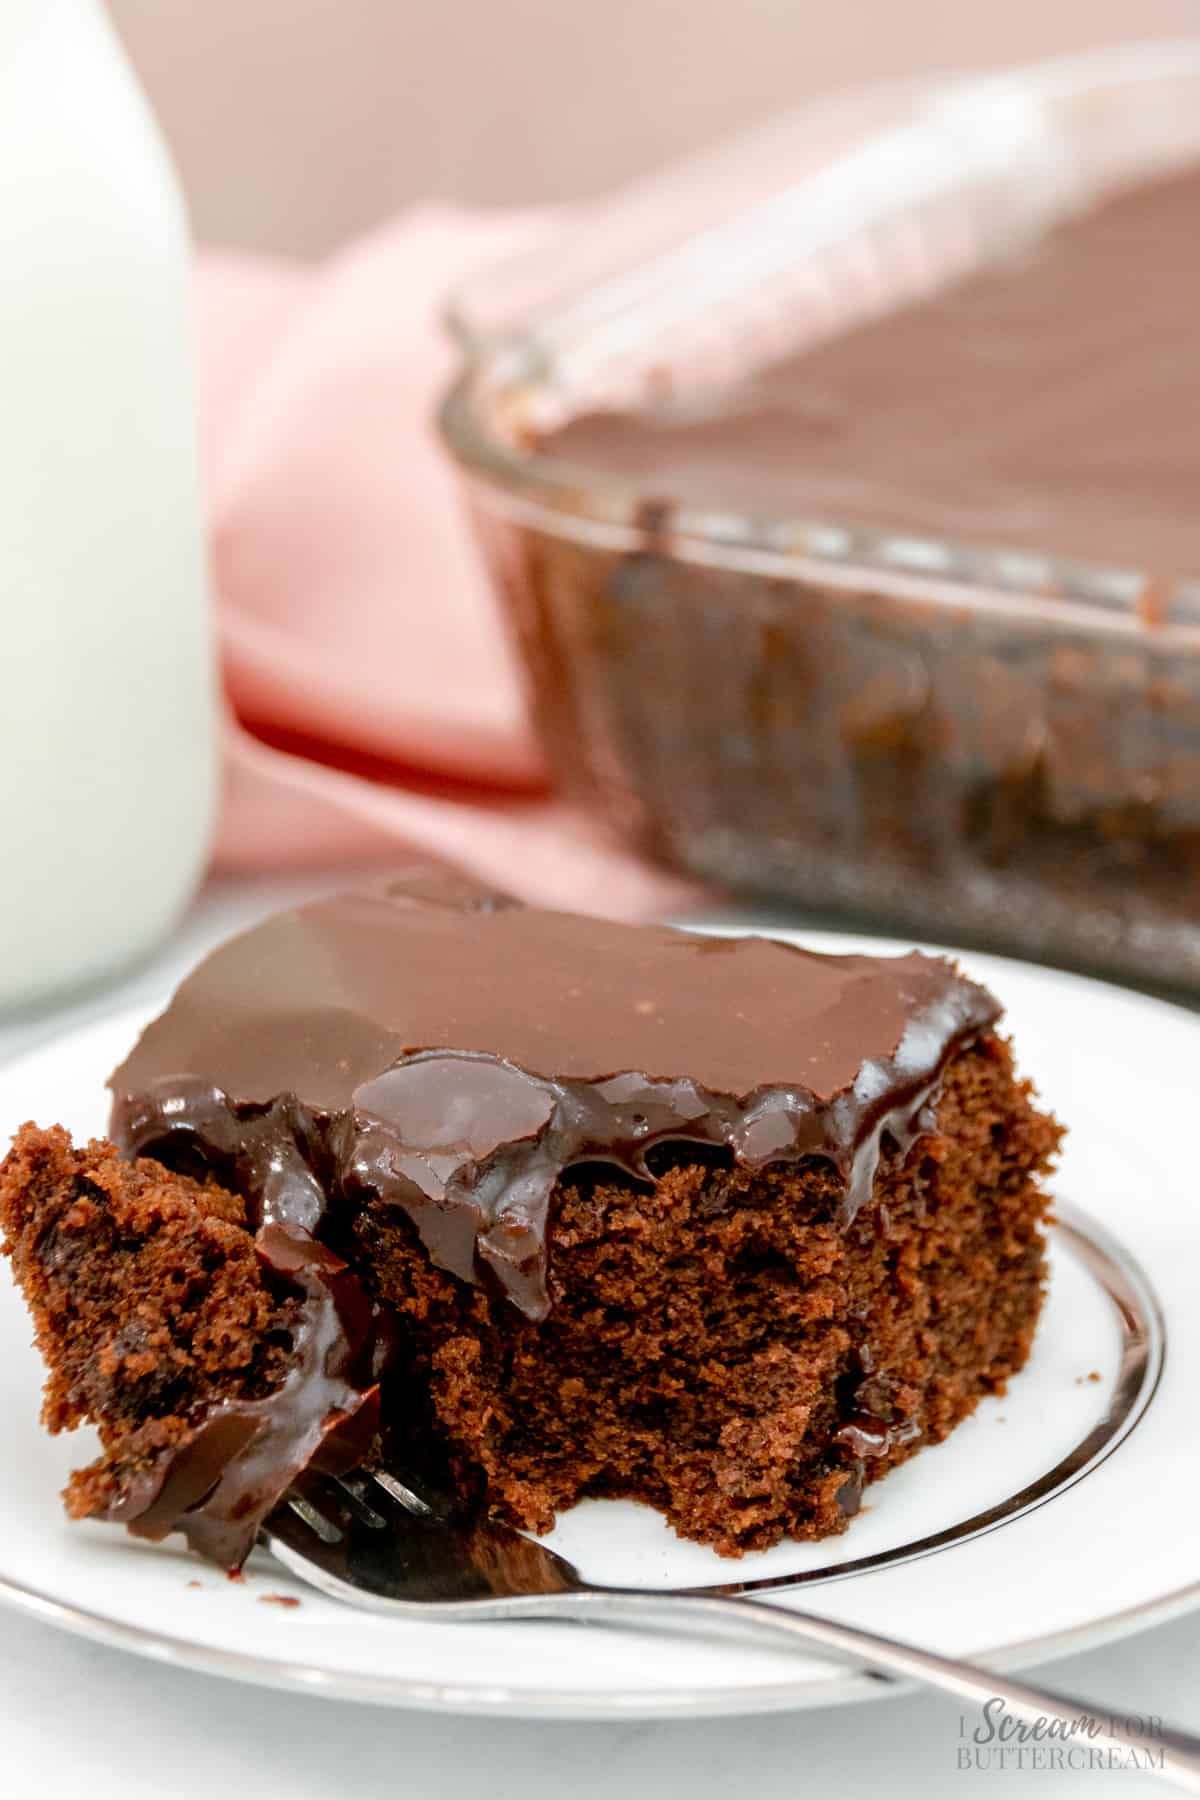
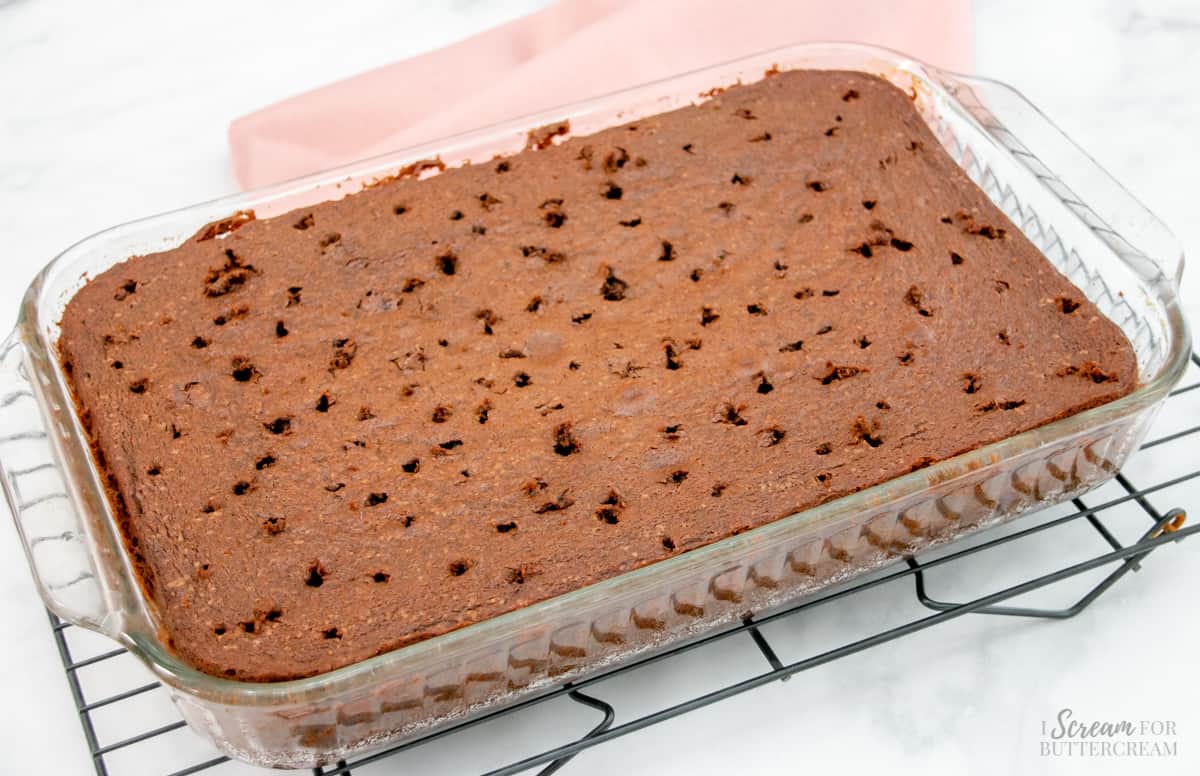
The glaze is cooked on the stove and then it’s poured over the warm cake (that you’ve poked holes in) and allowed to soak in. Don’t skip that part as that’s what really sets this cake apart.
Before you add the glaze, make sure to poke holes in the warm cake with a skewer (I just used wooden ones) and poke holes all in your cake.
Tips and FAQs
It’s really best to use unsalted butter. With salted butter, you just don’t know how much salt you’ll be adding. If you do decide to use salted butter, then you’ll need to omit the salt that the recipe calls for.
You don’t want to do that as it won’t heat it evenly. If the butter is too warm, it will form a paste when mixed with the dry ingredients and that’s not what you want.
Just set the butter out to come to almost room temperature on it’s own.
You can use either, but I normally use light brown sugar.
Buttermilk is what makes this cake and I really wouldn’t recommend substituting it. There is a substitute for sour milk, but it’s not going to lend the exact same qualities to the cake as real buttermilk would.
This cake will NOT taste like buttermilk though. It just makes the cake more moist and it brings out all the other flavors.
I’m sure that would work just fine although you may want to frost it with something other than the glaze as that would probably be to thin for a layer cake.
You can store this cake covered well in the fridge after it’s been served. It’s best served warm though, so make sure to heat up any leftover slices when you go to eat it.
As an Amazon Associate, I earn from qualifying purchases.
Supplies Used for this Cake:
- KitchenAid Artisan mixer or handheld mixer
- Flat Beater Attachment if using a stand mixer
- Stainless steel measuring set
- Glass batter bowl
- Whisk set
- Glass 13×9 inch pan
- Rubber spatulas here or here
- Cooling racks
- Liquid measuring cups
- Wooden skewers (You can sometimes find these in smaller quantities at the dollar store or at your local Walmart or grocery store.)
Ok, let’s get to the recipe!
Note About Recipe Measurements: I write recipes using volume (cups) measurements because here in the U.S., this is what people are more familiar with and I don’t want anyone to feel intimidated when baking. For metric/weight measurements, click the ‘metric’ button under the ingredients in the recipe card below. The weights are converted by a program, not me, and it’s just a best guess. I can’t guarantee that weighing the ingredients will produce the exact same results, since I test recipes using volume measurements.
Recipe
Chocolate Buttermilk Cake
Ingredients
For the cake:
- 2 cups all-purpose flour
- ¾ cup unsweetened natural cocoa powder (not dutch cocoa powder, see FAQ section)
- 1 cup granulated sugar
- 1 cup packed, light brown sugar
- 1 teaspoon salt
- 1 teaspoons baking powder
- 1 teaspoon baking soda
- 1 ½ cups buttermilk (full fat is best, but low fat will work as well)
- 3 large whole eggs
- 1 egg yolk
- 1 teaspoons vanilla extract
- 2 tablespoons vegetable oil
- 1 cup unsalted butter (2 sticks) (slightly cooler than room temperature)
For the glaze:
- ½ cup unsalted butter (1 stick)
- 5 tablespoon unsweetened natural cocoa powder
- ¼ cup packed light brown sugar
- 1 teaspoon vanilla
- ¼ cup buttermilk
- 1 ½ cups confectioner’s sugar
Instructions
For the cake:
- Preheat the oven to 325 degrees Fahrenheit. Spray or grease a 13×9 inch glass pan.
- In a large mixing bowl, add the flour, cocoa powder, sugar, salt, baking powder and baking soda. Whisk well and set aside.
- In another bowl, add the buttermilk, whole eggs, egg yolk, vanilla extract and vegetable oil. Whisk well and set aside.
- Cut the room temperature butter up into pieces (if not already done). Turn the mixer on and add in the butter pieces slowly to the dry mixture while you mix on medium speed. (You can use a hand mixer or a stand mixer.) Once all the butter is added, mix until the flour mixture becomes crumbly and resembles sand.
- Add in half the liquid mixture and mix on medium speed, for a full minute.
- Add in the last half of the liquid mixture and mix only until incorporated. Scrape down the sides of the bowl and mix again just until all the ingredients are mixed well. Only mix for about 10 seconds or so at this point. Mixing for a minute or more is too long and can cause a dense or tough cake.
- Pour batter into prepared pan and bake at 325 degrees for approximately 50-55 minutes.
- Cake is done when a toothpick inserted into the middle of the cake, comes out with a few moist crumbs or clean. (You do not have to wait until the toothpick comes out clean as that can over-bake your cake. Just make sure there is no raw batter on the toothpick and a few moist crumbs are fine.)
- Once the cake is baked, set on a wire rack to cool for about 15 minutes while you make the glaze. The cake may flatten out a bit on the top, which is fine.
For the glaze:
- Once the cake is out of the oven, make the glaze. (You want the cake to still be warm when you pour the glaze on it, so don't let the cake cool completely.)
- Melt the butter with the cocoa in a saucepan over low/medium heat. When the butter is completely melted and mixed well with the cocoa, turn off the heat and immediately add in the brown sugar, vanilla and buttermilk. Stir until the sugar is completely dissolved. Add in the confectioner's sugar and stir well. If it's clumpy, just keep stirring until most of the clumps are dissolved. The rest will dissolve as it sits for a bit.
- Keep the glaze warm (on very low heat) until the cake has cooled for about 15 minutes, then poke holes in the warm cake with a skewer and pour the warm glaze over the warm cake. Let it soak in.
- Make sure that the glaze is still warm, but not hot when you pour it over the cake.
- Let set up for about 30 minutes before cutting and serving. This will give the glaze enough time to soak into the cake well. If the cake isn't allowed to sit for at least 30 minutes before serving, it may fall apart while trying to cut slices as it will still be very warm.
Notes
Nutrition
How to Share
I’d love for you to share this recipe link or tag it, but please do not share screenshots or copy/paste the recipe to social media as the content and photographs are copyright protected and we (bloggers) work really hard on our content. Sharing the link, tagging us on socials and pinning it is super appreciated though!
Video:
Other posts you might like
Don’t forget to pin it below!

Tiffany
Love your work, Kara. Thanks as always!
Kara Jane
Thanks so much, Tiffany!
STB Mrs. platt
Thank you Kara for the delicious cake recipes. My fiancé surprised me with lol very deserts for over a year now an he serves them with a I love you forever. Which makes the cake taste so much sweeter.😍❤️ So thank you.
Kara Jane
Awe this is so sweet! What an amazing fiance you have! And I’m so glad you like the recipes 🙂
Tiffany
Your cake looks moist and delicious, I look forward to making it ♥
Tiffany
Phlanx’s Marketing Specialist
Kara Jane
I hope you love it!
Jeannine
I’ve got this cake in the oven right now . I’m making it for work . I do a quit smoking group on Sunday . I’ve made this before , the clients fall on it like a pack of wolves !!! It’s delicious !
Kara
Hey Jeannine, that’s awesome! I love that and am so glad they love it too. 🙂 What a great thing you do…the quit smoking group. A LONG time ago I quit and it was really one of the hardest things I’ve ever had to do and let me just say that food was my friend during that time. lol. I’m glad they enjoy it and I am rooting for them!