
Have Questions or Need More Details?
Don't forget to check out the Tips & FAQ section in the post!
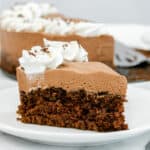
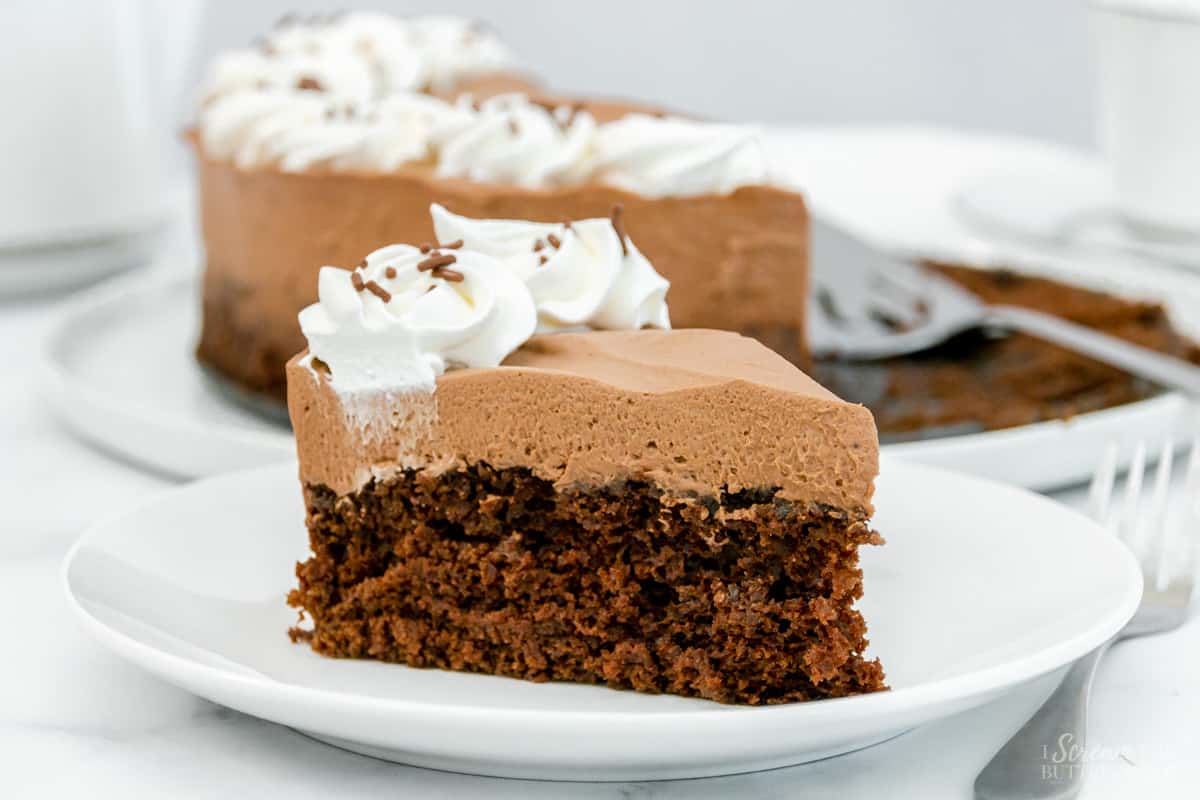
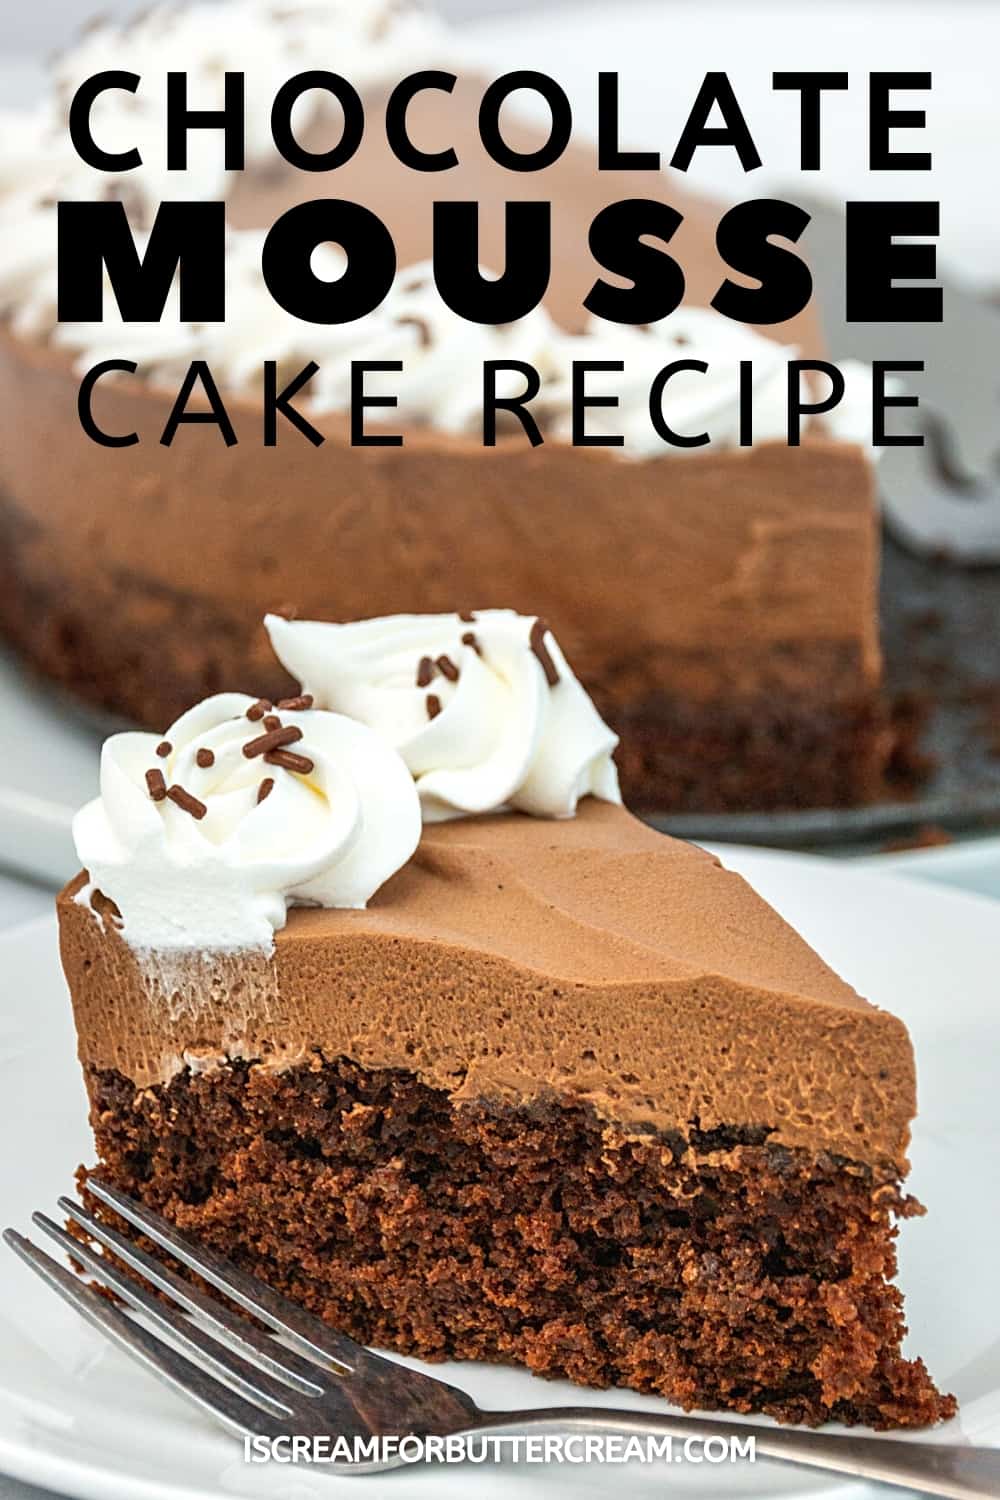
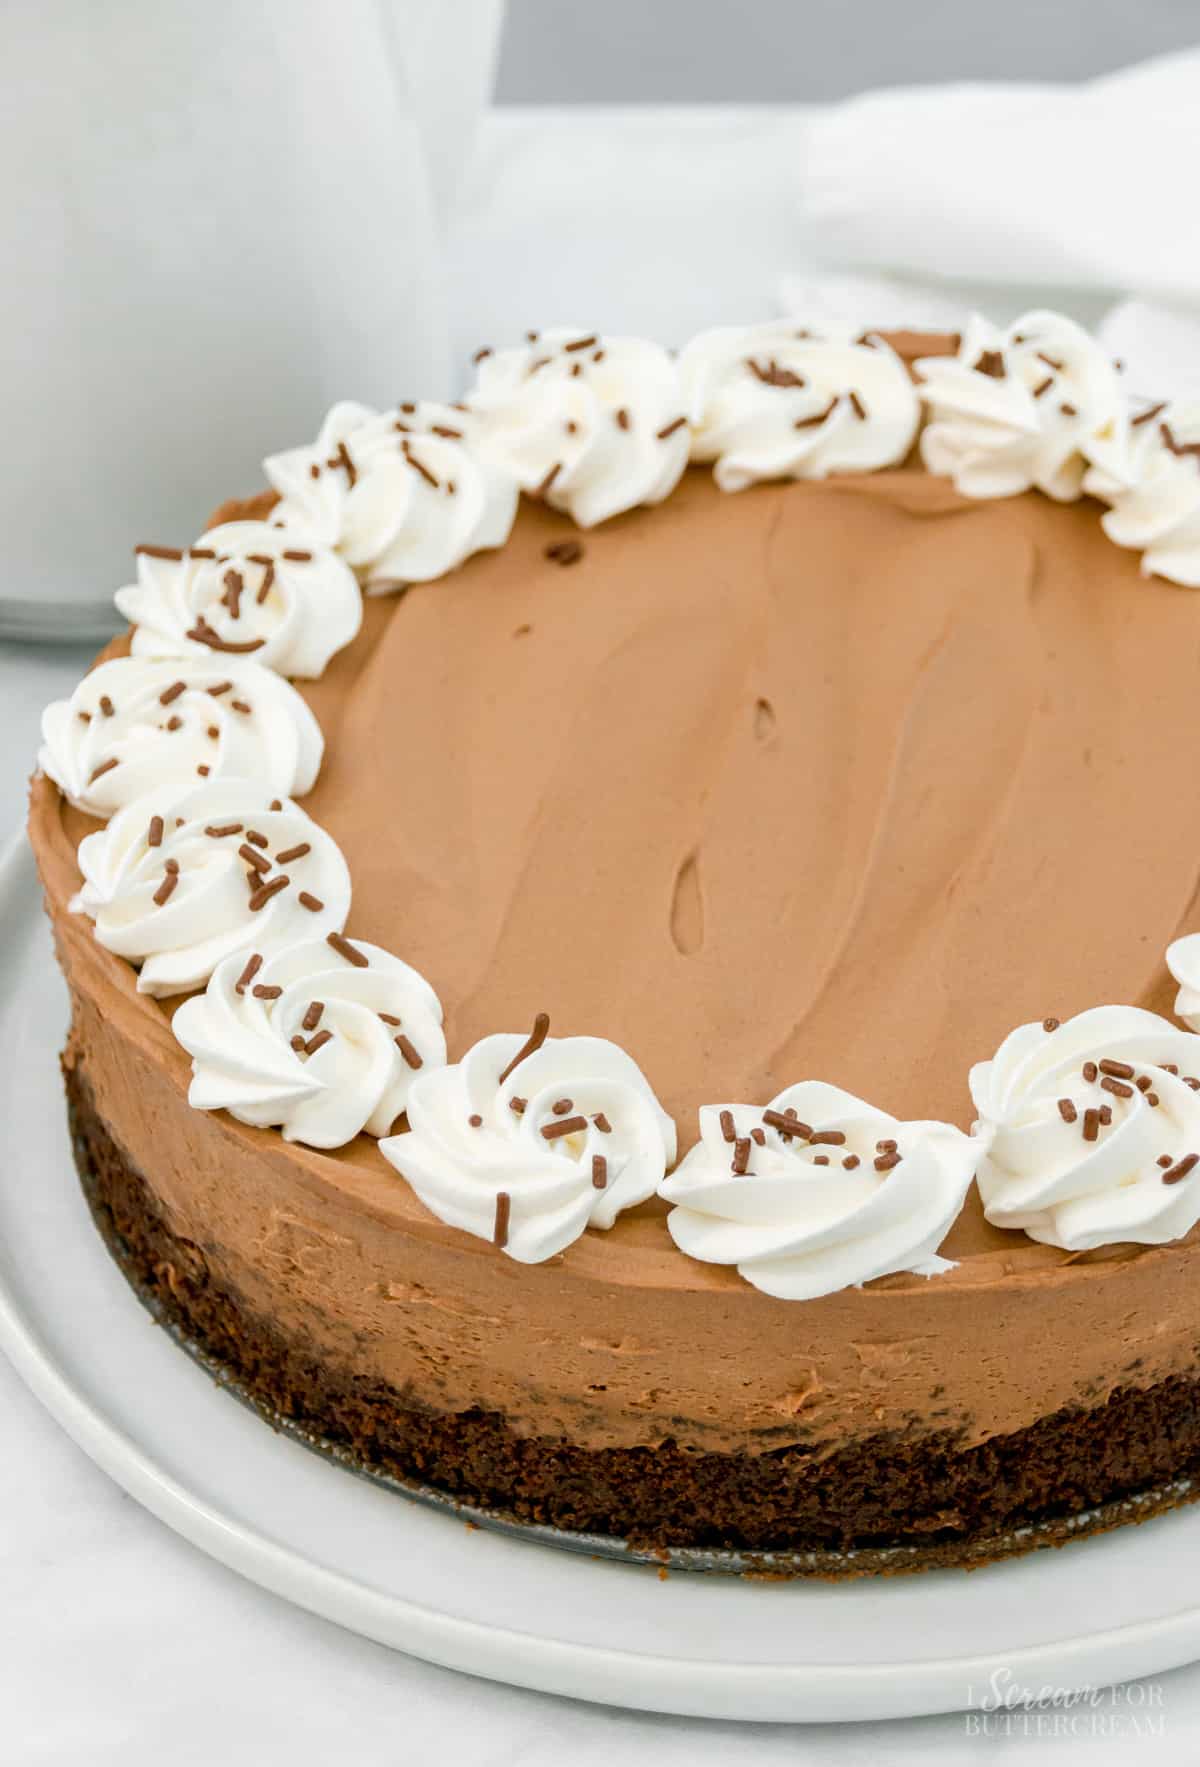
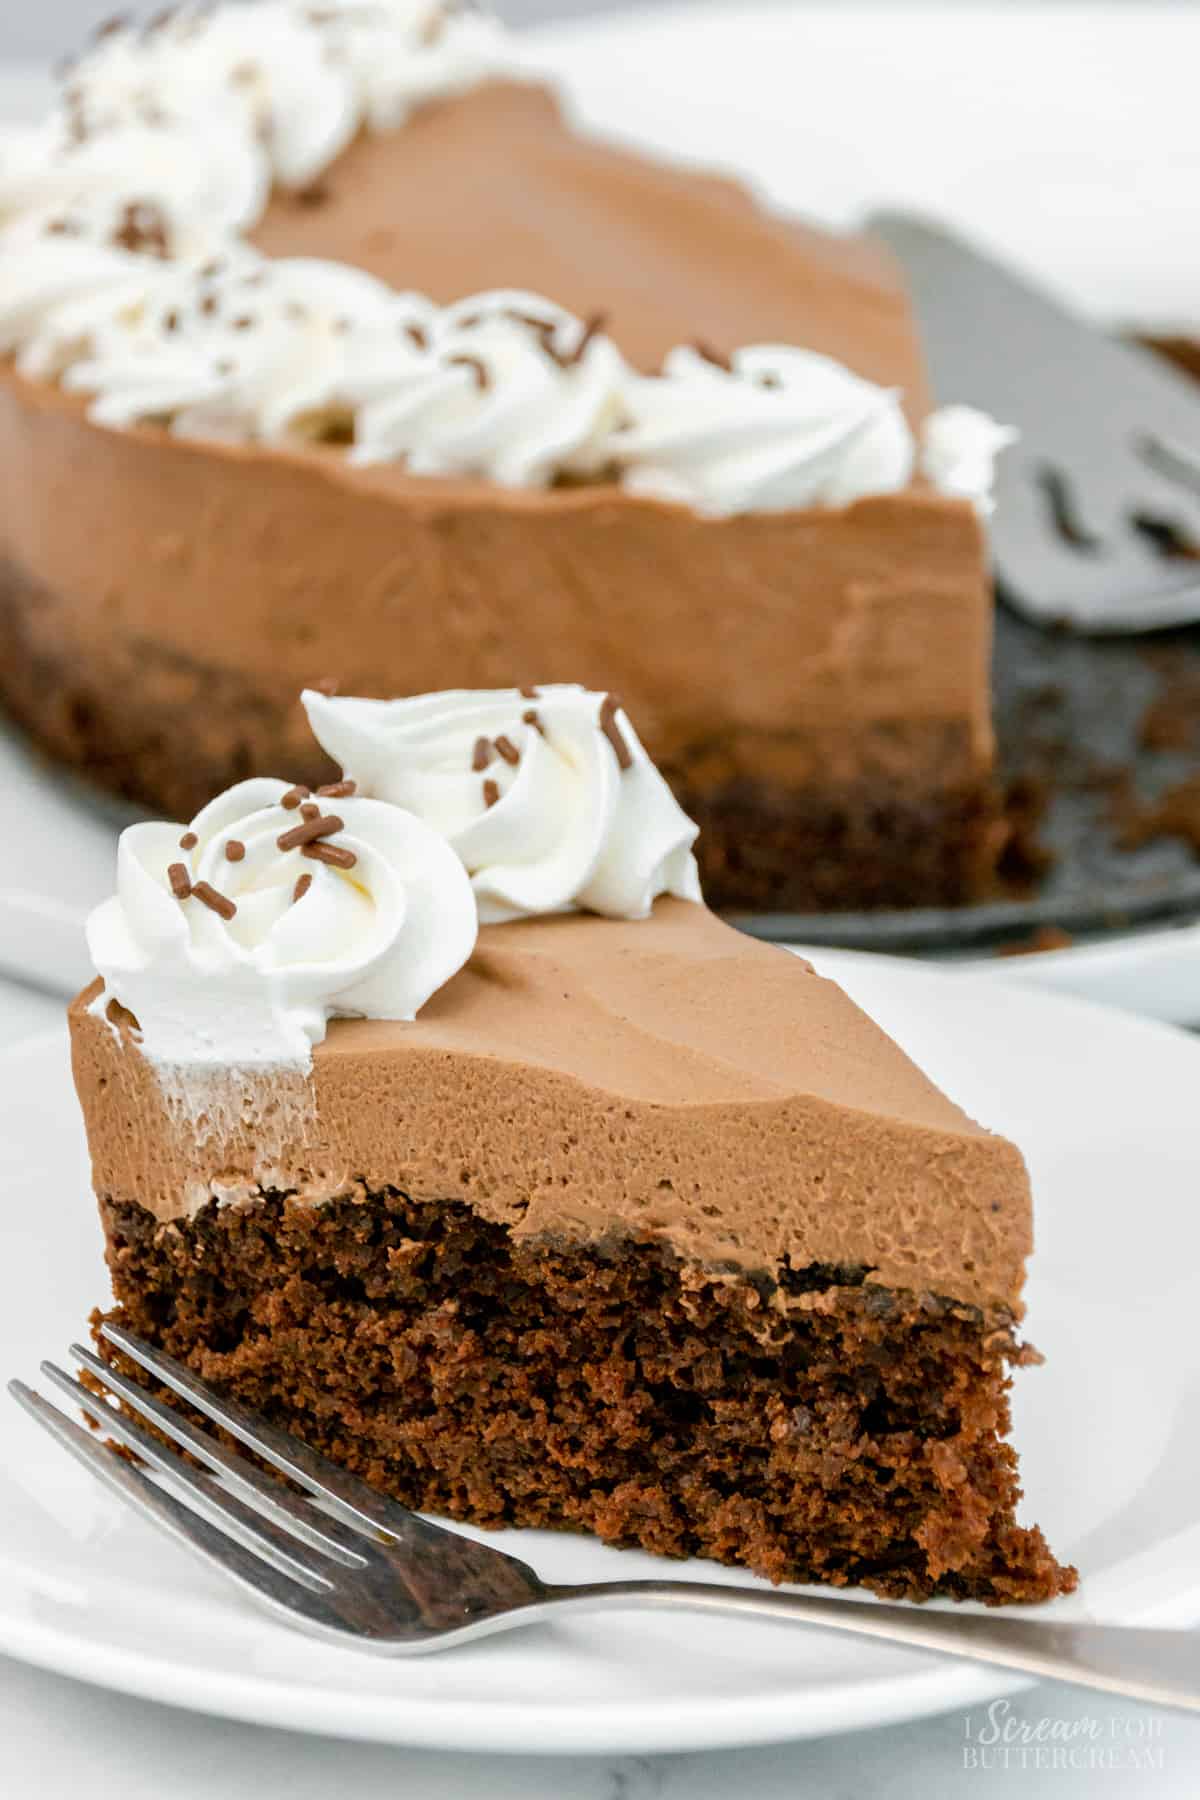
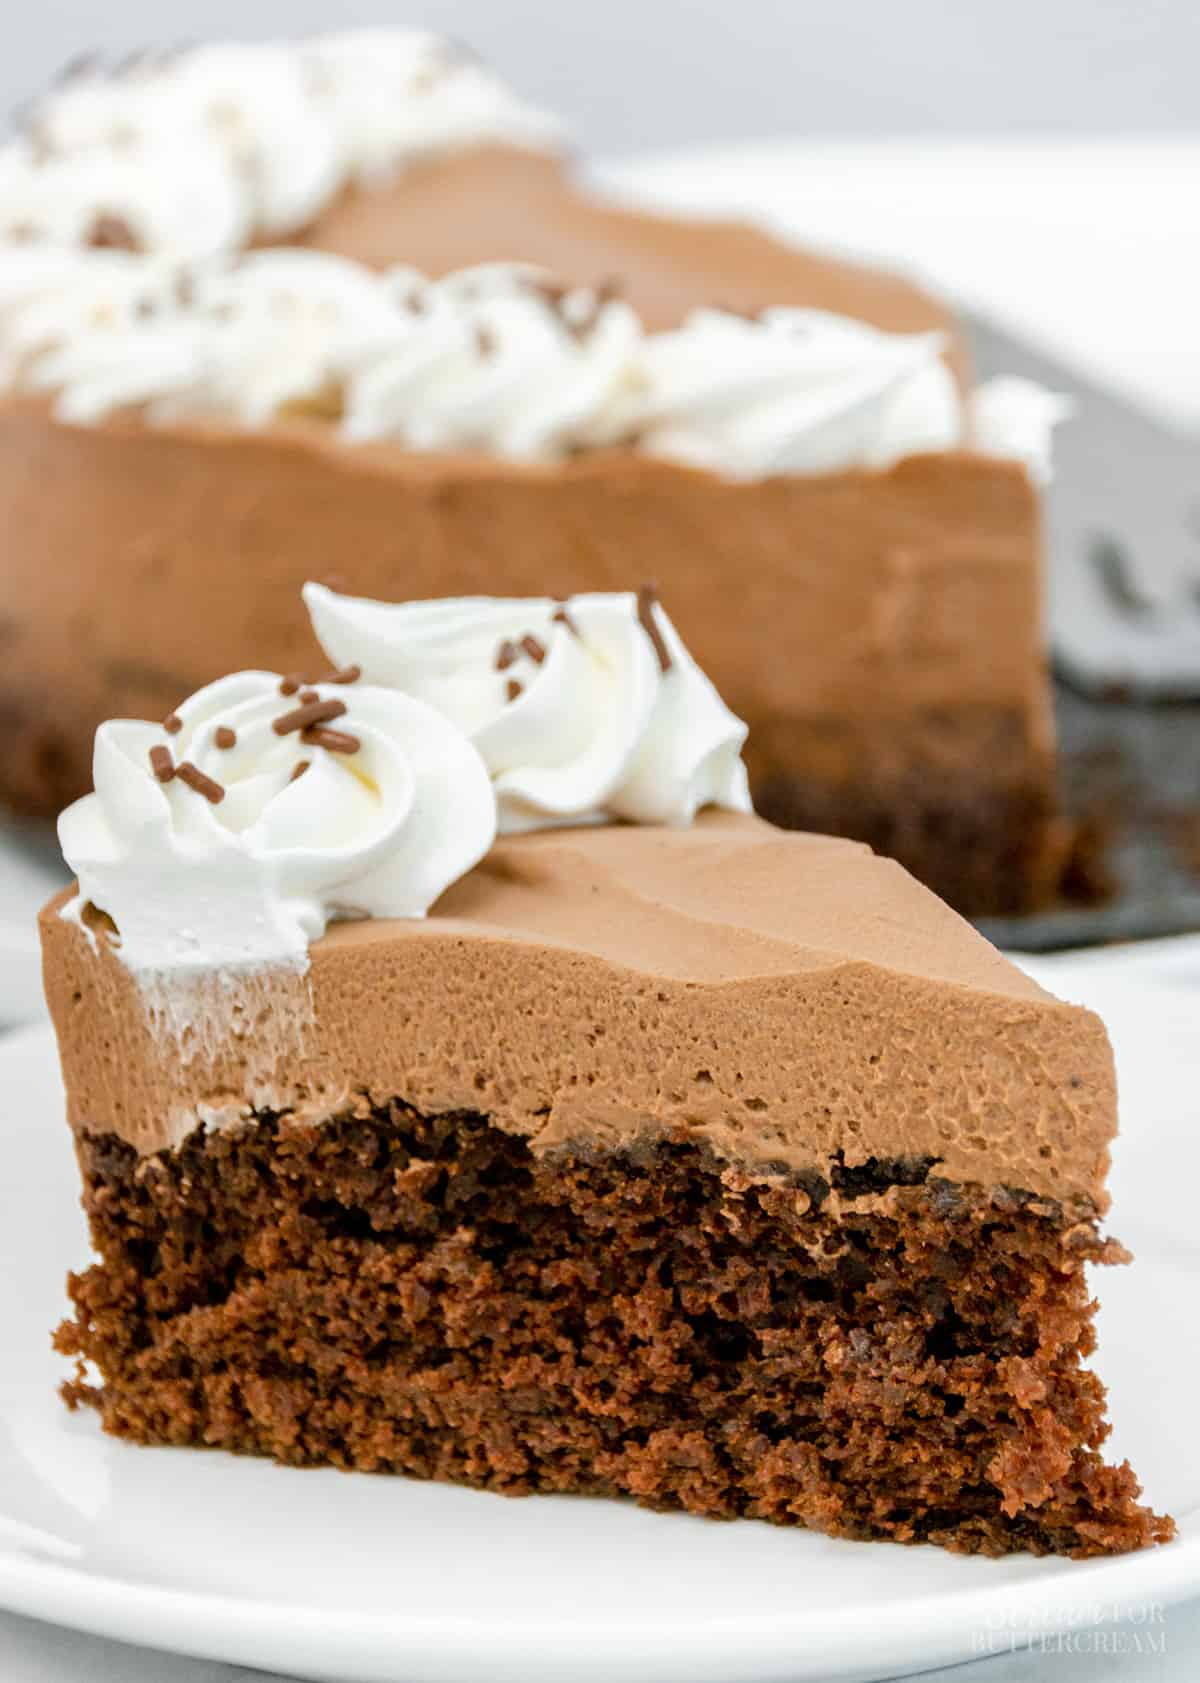
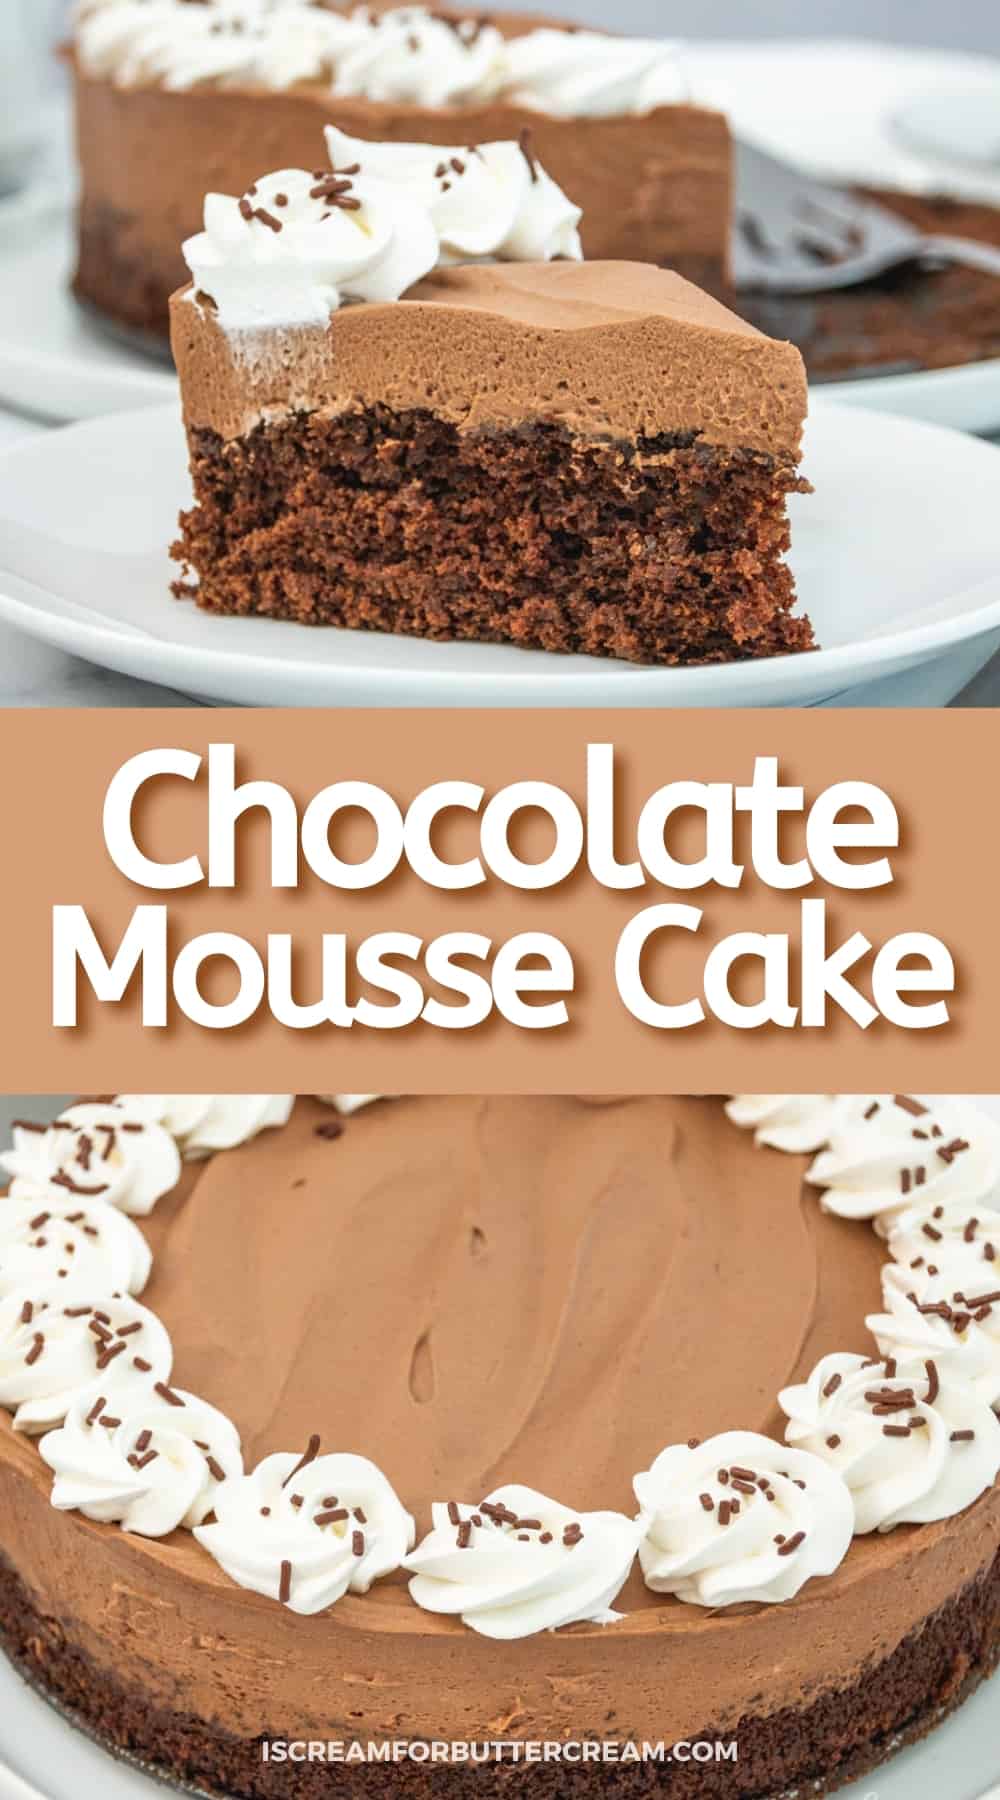
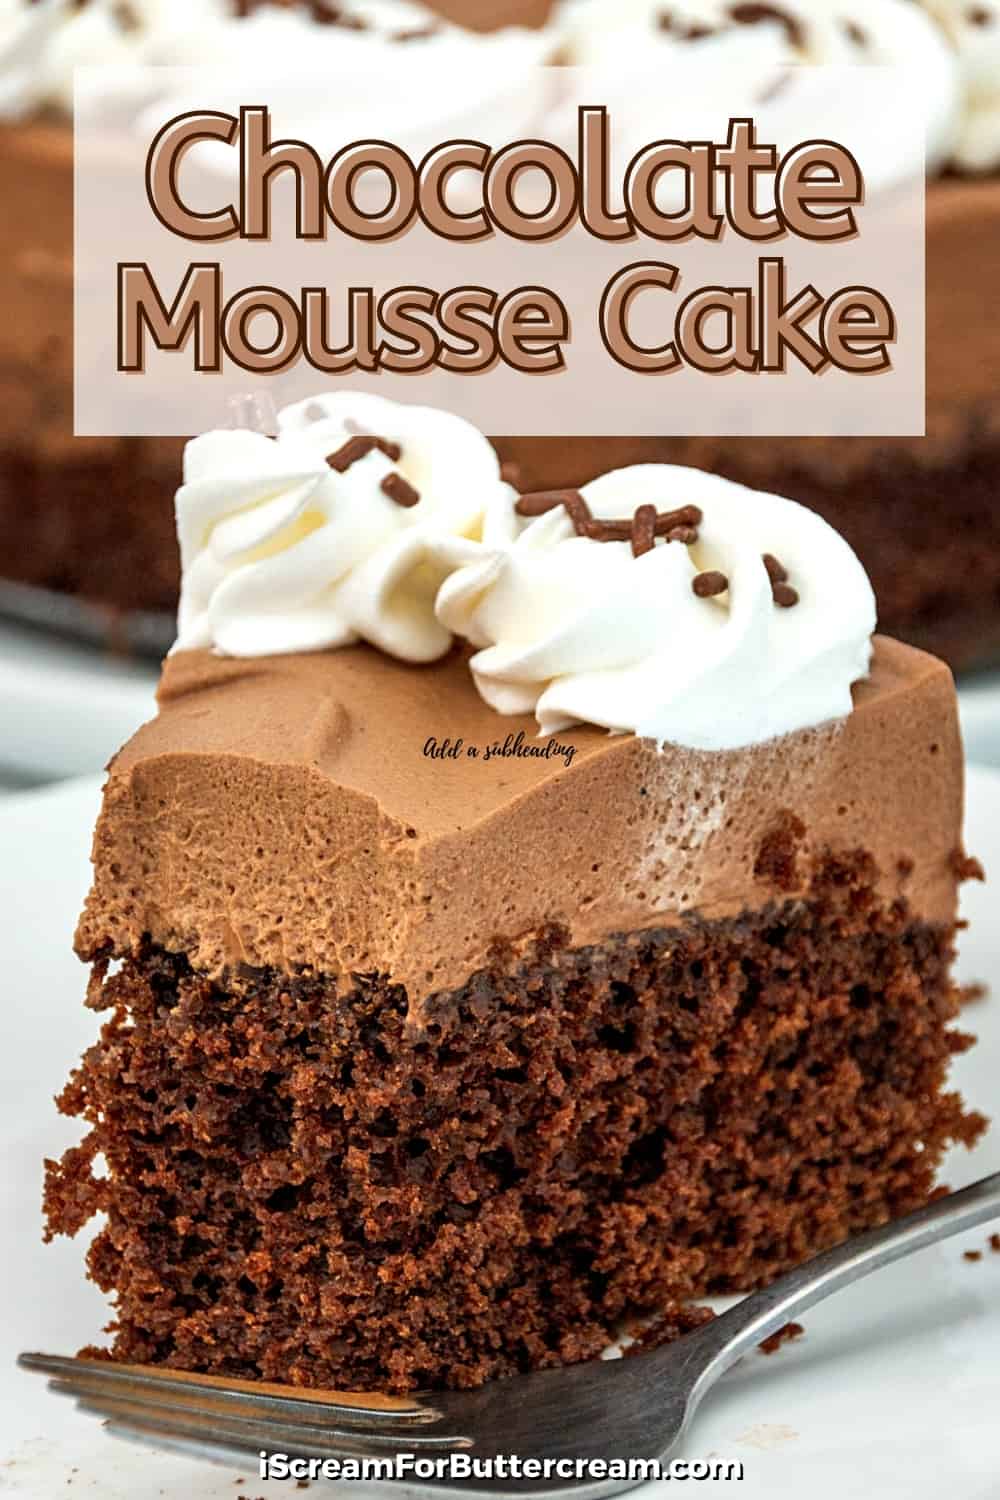
Chocolate mousse cake is the best of both worlds. This decadent dessert has a layer of chocolate cake on the bottom and a layer of chocolate mousse on the top.
Add whipped cream on top and sprinkles for fun. I think this will be your new favorite chocolate cake and the whole family will love it.
I’m all for being efficient and this cake is exactly that. You can eat cake and mousse at the same time. That’s hard to beat.
This one takes a little forethought to make as you need to bake the cake first and let that chill before starting on the mousse. It’s all worth it in the end though.
Hey there! Before you scroll, there’s lot’s of important stuff in the post!…including the FAQ section, which may answer any questions you might have about this recipe. Enjoy!
Jump to:
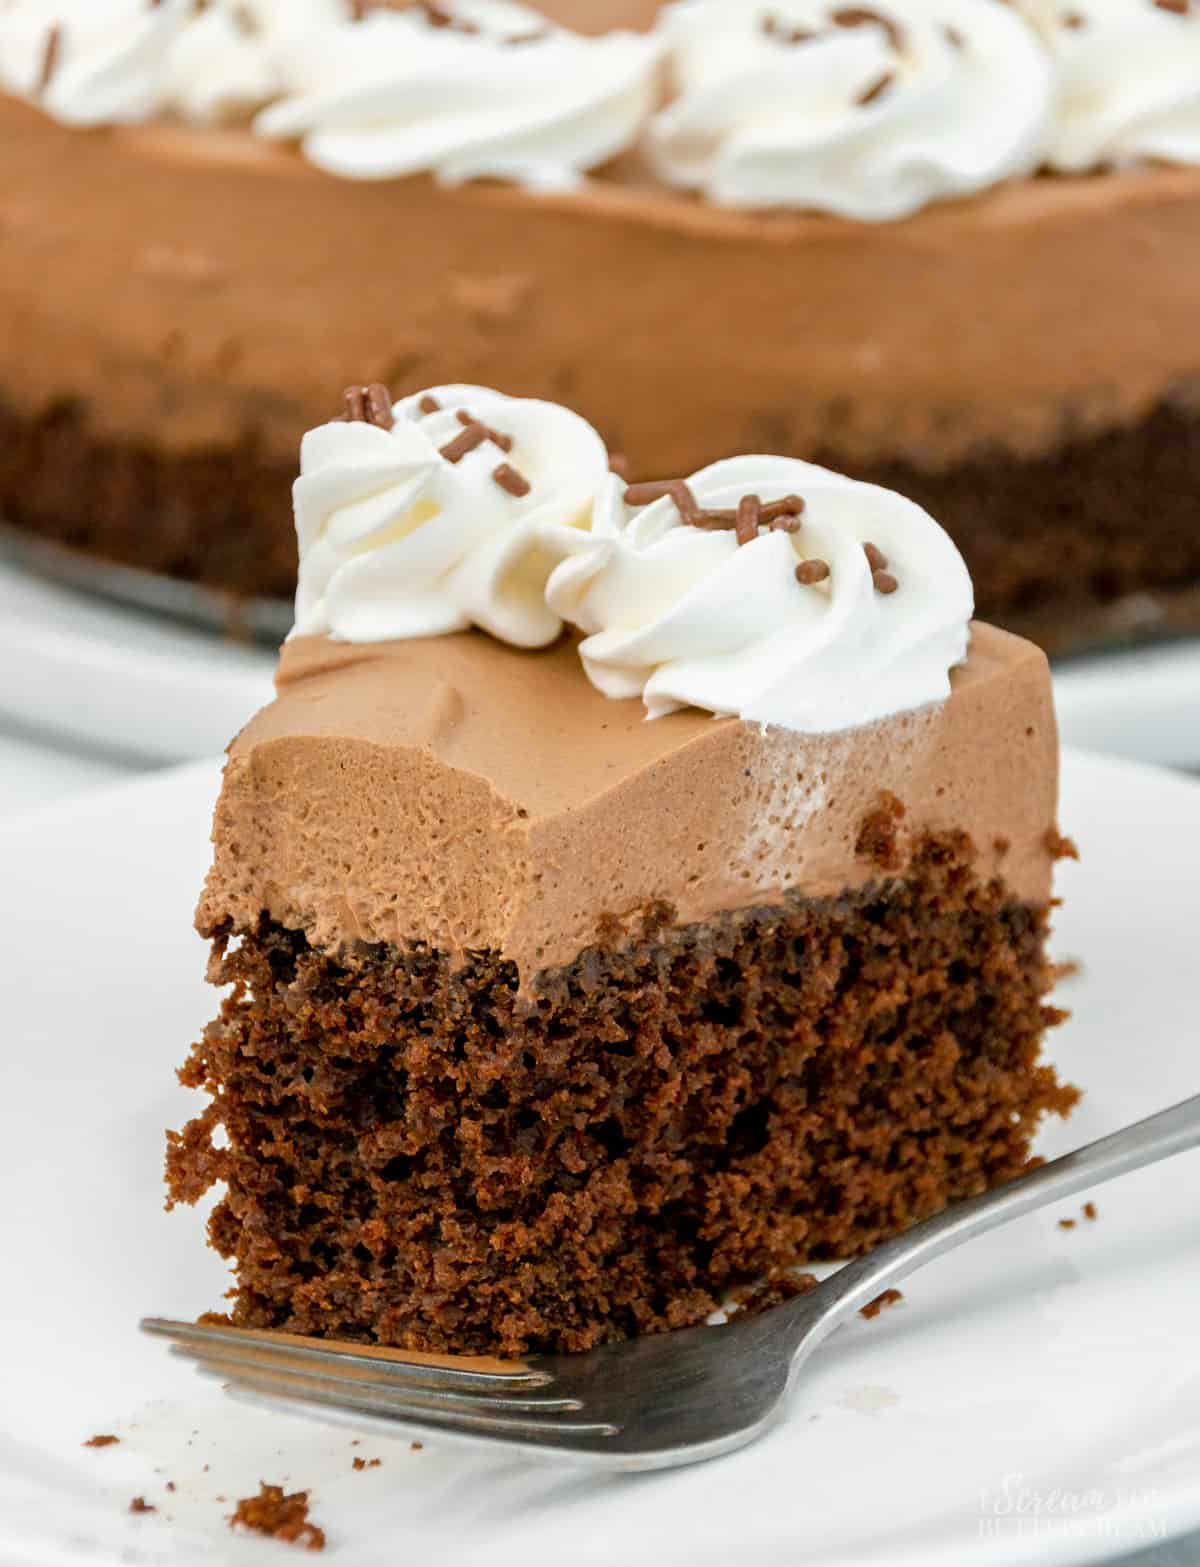
One thing I love about this cake, other than it tastes amazing, is that it looks really impressive as well.
It’s actually not hard to do, but you definitely need to use a springform pan (which I talk about in the video in the recipe card below.)
Now, let’s talk a little bit about just some of the ingredients for this recipe. (The entire ingredient list is in the recipe card lower in this post.)
Ingredient Notes:
Unsweetened Cocoa Powder: Make sure to use unsweetened natural cocoa powder and not Dutch-processed. To get more details on why, check out this post.
Buttermilk: Real buttermilk is the best for this recipe, but if you don’t have it or can’t get it, you can substitute it using the method in the FAQ section of this post.
Hot coffee: This really helps the flavor of the chocolate come through. If you hate the idea of coffee, you can sub it for hot water, but don’t omit the liquid.
Heavy cream: You’ll use this for the mousse. Make sure that you get either heavy cream or whipping cream (not whipped cream). Whipped cream (or cool whip) is not the same thing and it won’t work for this recipe.
*The recipe card close to the end of this post will go into all the ingredients and amounts.
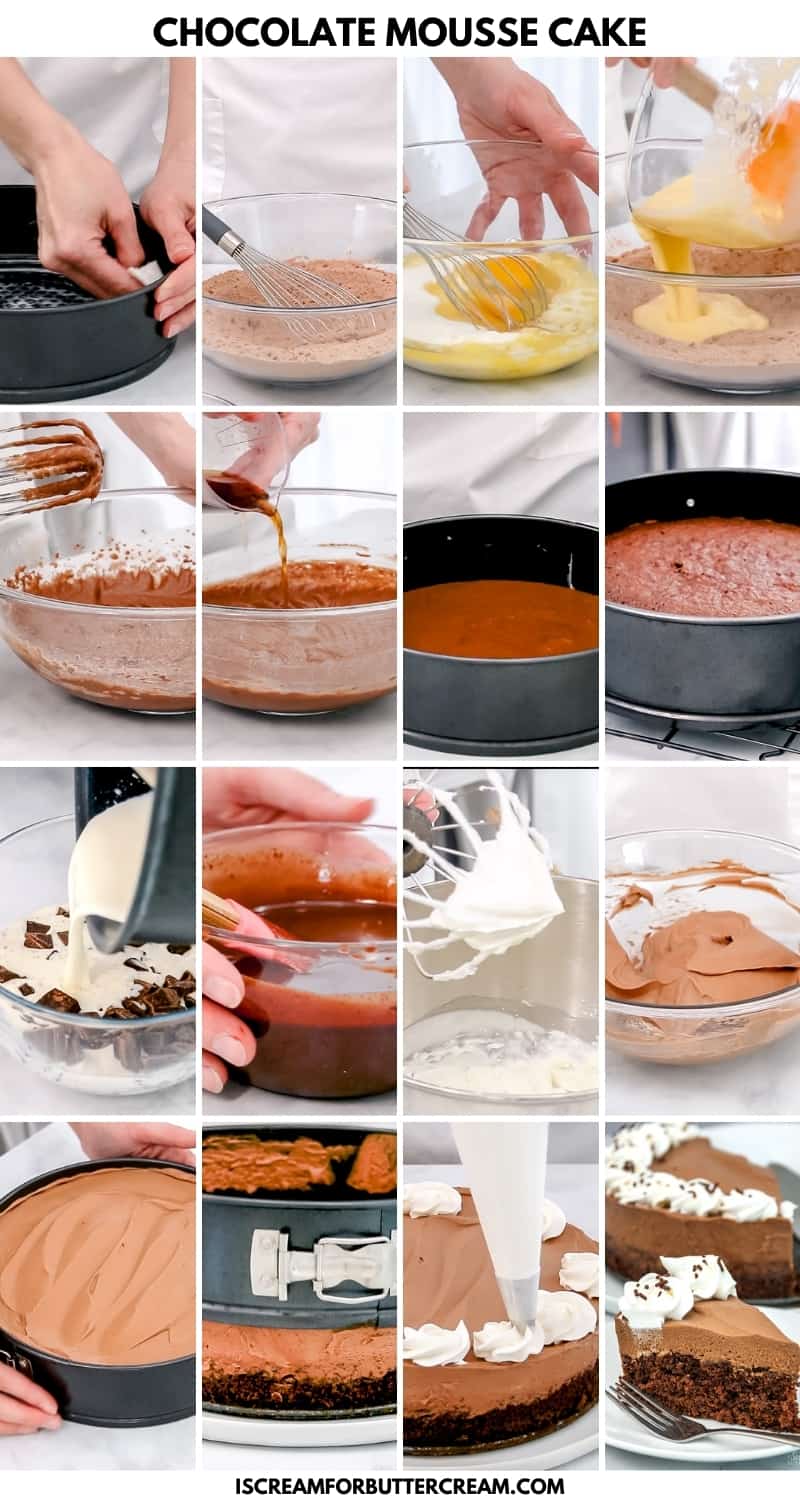
Mixing method:
The mixing method for the chocolate cake is VERY easy. You’ll add all the dry ingredients to one bowl, the liquid to another bowl and then pour the liquid into the dry.
Mix and then add in the hot coffee or water. So easy.
The method for the mousse is a bit more involved, but worth it. You’ll need heat the milk first and melt the chocolate, then let it cool just a bit.
You’ll then whip the cream with he confectioners sugar and fold it into the chocolate, but being super careful to fold it in delicately, so that it stays fluffy.
Tips & FAQs:
Why do you say not to use Dutch processed cocoa powder?
Dutch processed cocoa powder is not acidic like natural cocoa powder. In the U.S. you’ll find natural unsweetened cocoa powder more frequently than you see Dutch processed, but other countries are different.
Because this recipe calls for baking soda, using Dutch cocoa powder instead of natural, can cause some issues with the cake rising and the taste. You’d need to make some adjustments to the leavening ingredients.
What type of brown sugar should I use?
I like to use light brown sugar, but honestly, it doesn’t really matter if you use light or dark.
I don’t have buttermilk, can I substitute it?
Yes, to substitute the ½ cup of buttermilk, just use regular milk mixed with ½ teaspoon lemon juice or vinegar and let it sit for about five minutes.
I don’t like the taste of coffee or I don’t have coffee. Can I substitute it?
First, the coffee just brings out the chocolate flavor and won’t make the cake taste like coffee. If you just don’t like the idea of using it, or you don’t have any, you can substitute it with very hot water.
Make sure not to omit the liquid altogether though.
What kind of chocolate should I use for the mousse?
I used semi-sweet chocolate baking bars and I chopped them up. (You can see what I’m referring to in the video within the recipe card below.)
Do I really have to sift the confectioner’s sugar?
You don’t have to, but it does help to make sure all the ingredients in the mousse are super fluffy.
Can I use whipped cream or Cool Whip instead of the heavy cream/whipping cream?
Cool Whip will not work for this recipe. It is different than heavy cream (whipping cream). Heavy cream is in the dairy section by the milk and is just a fattier, heavier milk.
Cool Whip is already whipped and sometimes not even made from actual milk. While it’s good on pie, it won’t work for this recipe as it just isn’t true cream.
Make sure to use a springform pan for this recipe.
Springform pans have two separate parts…the bottom and the side. I used about a 9″ springform pan.
Once you finish baking the cake, you’ll leave the cake in the pan to cool, so that you can add the mousse on top later and chill.
It will be almost impossible to get the cake out of a regular pan. A springform pan makes it easy, because you can just pop the clamp on the pan and the sides come right off.
Make sure to grease the bottom of the pan and about half way up the sides:
You just want the springform pan to release easily and not ruin your cake.
Add a sheet pan under your springform pan when baking:
It will catch any possible leaks from your pan.
Make sure when folding in the whipped heavy cream, that you are very gentle:
You don’t want to stir it harshly. Just take your time and do it gently, so it stays fluffy.
Make sure to read all the recipe instructions in the recipe card and watch the video.
As they may answer any questions you may have about techniques and tips.
As an Amazon Associate, I earn from qualifying purchases.
Ok let’s get to the recipe!
Video:
Note About Recipe Measurements: I write recipes using volume (cups) measurements because here in the U.S., this is what people are more familiar with and I don’t want anyone to feel intimidated when baking. For metric/weight measurements, click the ‘metric’ button under the ingredients in the recipe card below. The weights are converted by a program, not me, and it’s just a best guess. I can’t guarantee that weighing the ingredients will produce the exact same results, since I test recipes using volume measurements.
Recipe

Chocolate Mousse Cake
Ingredients
For the cake:
- 1 cup all purpose flour
- 4 ½ tablespoon unsweetened natural cocoa powder (not Dutch processed cocoa-see notes)
- 1 teaspoon baking powder
- ½ teaspoon baking soda
- ½ teaspoon salt
- ½ cup granulated sugar
- ½ cup packed brown sugar
- ¼ cup unsalted butter (melted)
- 2 tablespoon vegetable oil
- ½ teaspoon vanilla extract (or vanilla paste)
- ½ cup buttermilk (or regular milk mixed with ½ teaspoon lemon juice or vinegar)
- 2 large eggs
- ¼ cup hot coffee (or hot water)
For the chocolate mousse:
- 1 cup chopped semisweet chocolate (I used about 1 ½ Baker's bars)
- 2 cups heavy cream (sometimes called whipping cream, not whipped cream – see notes)
- ½ cup sifted confectioner’s sugar
Instructions
For the cake:
- Preheat oven to 325 degrees. Grease the bottom and half way up the sides of a 9" springform pan. (You will need to use a springform pan for this as you will not be able to easily remove the entire cake from a regular pan once the mousse is added and chilled.)
- In a large mixing bowl, add the dry ingredients (flour, cocoa powder, baking powder, baking soda, salt and sugar). Mix well with a whisk.
- If not using buttermilk, then add the regular milk and lemon juice (or vinegar) in a measuring cup and mix well. Let it sit for about 5 minutes. (You're basically making a buttermilk substitute by doing this.) If the mixture starts looking a little clumpy, that's normal.
- Add all the liquid ingredients (except for the hot coffee or water) to a mixing bowl and whisk well.
- Pour the liquid ingredients into the dry ingredients and mix with an electric mixer on medium just until the ingredients are combined. Scrape down the sides of the bowl and mix again for about 5-10 seconds more or until well combined.
- Add the hot coffee (or hot water) and mix until well combined.
- Be careful not to over mix. Once it's combined, stop mixing. You don't want to mix for several minutes, that's too long. Scrape down the sides of the bowl and mix again for about 5-10 seconds.
- Pour the batter into the greased springform pan and bake at 325 degrees for approximately 35-40 minutes. It's helpful to put a cookie sheet on the rack below your pan just in case the springform pan doesn't seal tight and has a few leaks.
- Set the baked cake on a wire rack to cool completely, then cover the cake and chill in the fridge until ready to add the chocolate mousse. Do not remove the cake from the pan yet. You can run a knife around the edge to loosen the cake a bit though.
For the chocolate mousse:
- Place the chopped chocolate in a small heat safe bowl and set aside.
- In a small saucepan, heat 1 cup of the heavy cream until almost boiling.
- Pour the hot cream over the chocolate and let it sit for about 5 minutes, then stir well until smooth. Be patient while stirring as it takes a several minutes to mix well.
- Chill in the fridge for about 25-30 minutes, stirring every now and then. It needs to be cooled down (not cold) for the next step.
- Add the other 1 cup of heavy cream to a medium mixing bowl and beat on medium high while slowly adding in the sifted confectioners sugar. Beat on high until stiff peaks form, about 1 minute depending on your mixer.
- Transfer the chocolate mixture into a large bowl and make sure it's smooth and no longer warm.
- Very carefully fold the whipped heavy cream into the chocolate mixture. You can do this slowly in three steps if you need to. Make sure to fold it in delicately and not to stir it.
- Add the chocolate mousse on top of the chilled chocolate cake in the springform pan. Make sure the chocolate cake has fully chilled before you do this.
- Cover and refrigerate for at least 6 hours or overnight. It needs to be very cold and firm when you take off the sides of the springform pan.
- To serve, run a hot knife just around the inside of the springform pan and then unsnap and remove the outside pan ring.
- Before serving, you can whip any leftover heavy cream or use cool whip and pipe around the top of the cake then add sprinkles or chocolate shavings.
Notes
Nutrition
How to Share
I’d love for you to share this recipe link or tag it, but please do not share screenshots or copy/paste the recipe to social media as the content and photographs are copyright protected and we (bloggers) work really hard on our content. Sharing the link, tagging us on socials and pinning it is super appreciated though!
Other posts you might like:
Don’t forget to pin it below!
Doris Townsend
I made this…twice! I substituted gluten-free flour, Splenda white and Splenda brown sugar. Everyone loved it! It’s the new favorite “birthday cake” request. I am happy to oblige. ♥️
Kara Jane
Doris that’s great! I’m so glad you shared the substitutions as well… that will help others who need to make it gluten free and sugar free. So glad you loved it!
Connie
Hello!
I am so anxious to make this cake but I’m confused. You started off saying you’ll be using a cake mix but doctor it up. The recipe is a scratch cake. I’m really short on time, so I am very disappointed to not see the cake mix recipe. Can you please post it? I would really appreciate it. Thank you so much! I can’t wait to try it!!
Kara Jane
Hi Connie, thanks for bringing that to my attention. That section in the post was actually a mistake. Sometimes I copy my old posts and then rewrite them for new recipes (because it’s quicker for me to do it that way) and I just missed updating that part. I apologize and I will go back and change that section. If you do want to make the chocolate cake part as a mix, you can just use any chocolate cake mix and mix per the box instructions. You will only need about half the batter though as you don’t want to fill up the pan. The other half of the batter can be used to make some cupcakes if you’d like. Hope this helps.
Madeleine
Kara thank you very much for this recipe and the detailed instructions.
I will be baking it Friday for my daughter’s birthday.
Would it work if I split the cake in half so that the top layer is cake too?
This is because I would like to add ganache frosting. Thank you for your help.
Kara
Hi Madeleine, I’m not sure if that would work or not. The cake is a little heavy and the mousse might squish out, although splitting the cake in half might help keep that from happening. It’s worth a try though if you’d like to try it out. I hope you love it! And happy birthday to your daughter! 🙂