
Awhile back, I posted a tutorial on how to make your own cupcake box inserts. I thought it would also be a great idea to show you how to make your own DIY treat boxes as well. A lot of times, I forget to think ahead, so when I’ve baked something for someone, I don’t always have a box handy. These treat boxes are so easy to make…you only need poster board and a few other items.
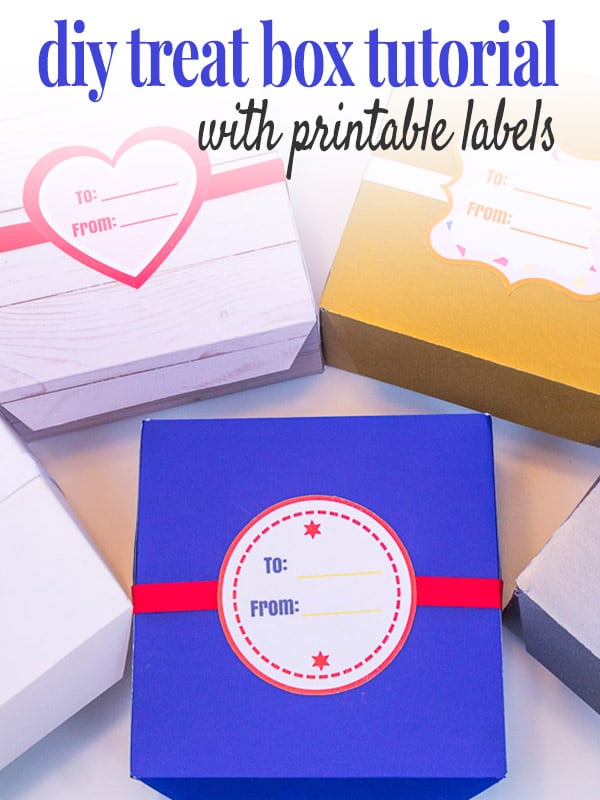
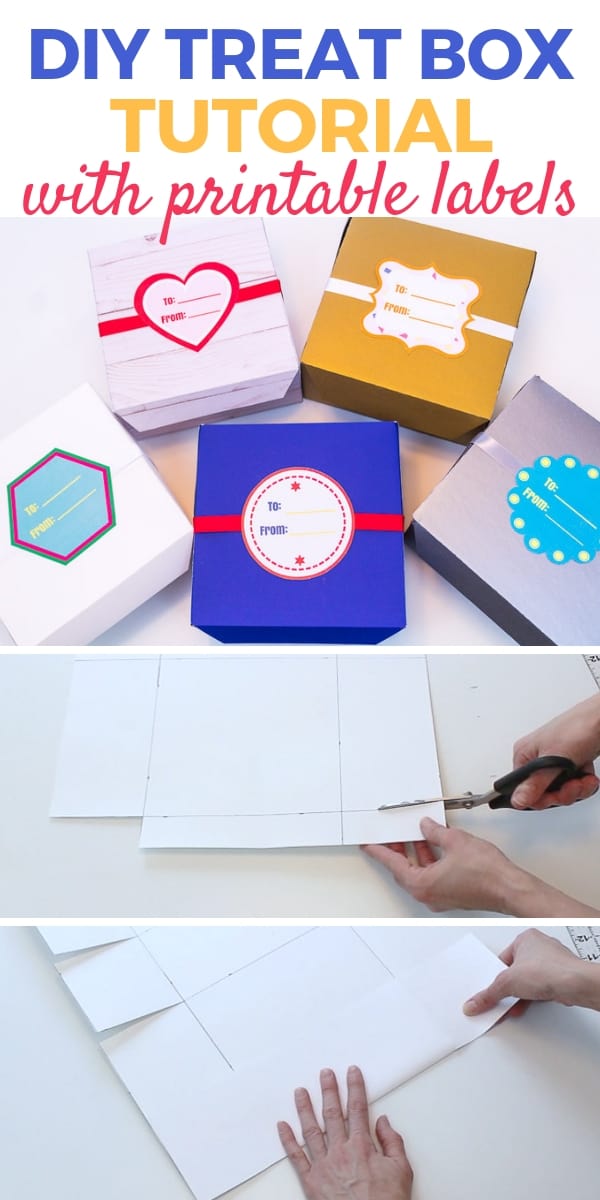
These DIY treat boxes are so easy to make, you only need poster board and a few other items. Complete with instructions and a video, this tutorial explains how to make your own template for gift boxes. Once you’ve made one, the ideas are endless.
Of course, you don’t have to put baked goods in them if you don’t want…they’re multipurpose. They are however, a great way to give treats to someone or transport your baked goods. Try them out with the DIY cupcake inserts and you’ve got a really cute birthday gift.
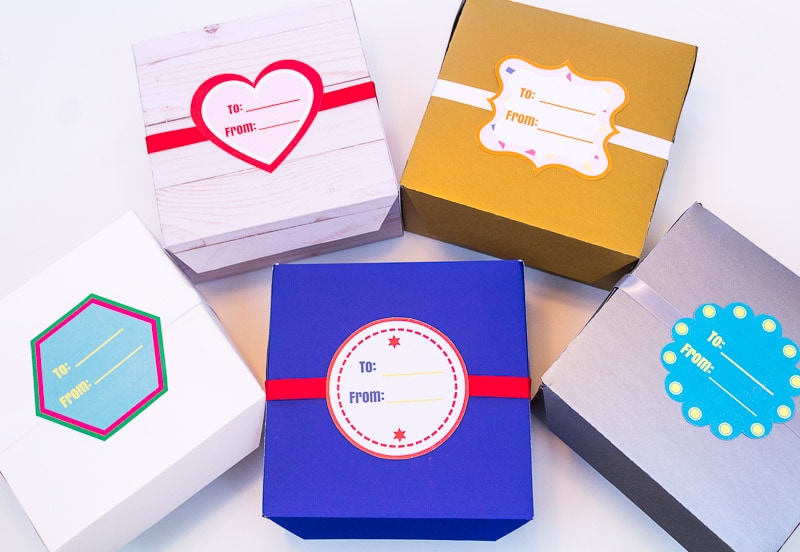
I was feeling industrious, so I also made up some handy printable labels for you as well. There are six different labels you can print out. I’ve got the link to those below the treat box tutorial, so don’t forget to check those out. I’ll put a link to those below the box tutorial.
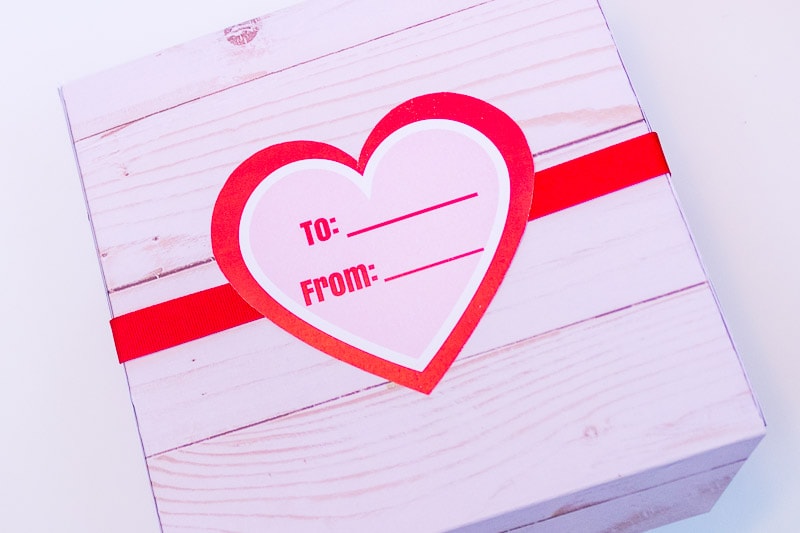
Now, you can use any poster board to make these boxes. I found some really cute colors and even a wood pattern at Michael’s craft store.
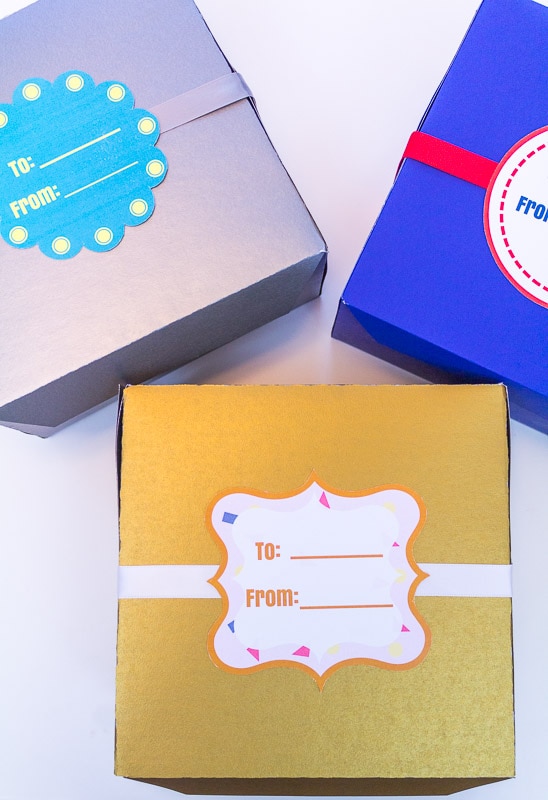
They even have some metallic options as well.
There is a video below the written tutorial that will show you exactly how to make these boxes. I’ve also included a printable diagram, so you’ll have the measurements handy. If you want to make a larger box, you’ll just need to add to each number on the diagram at the proper ratio.
You can download the diagram with the measurements by clicking on the graphic or the link below it.
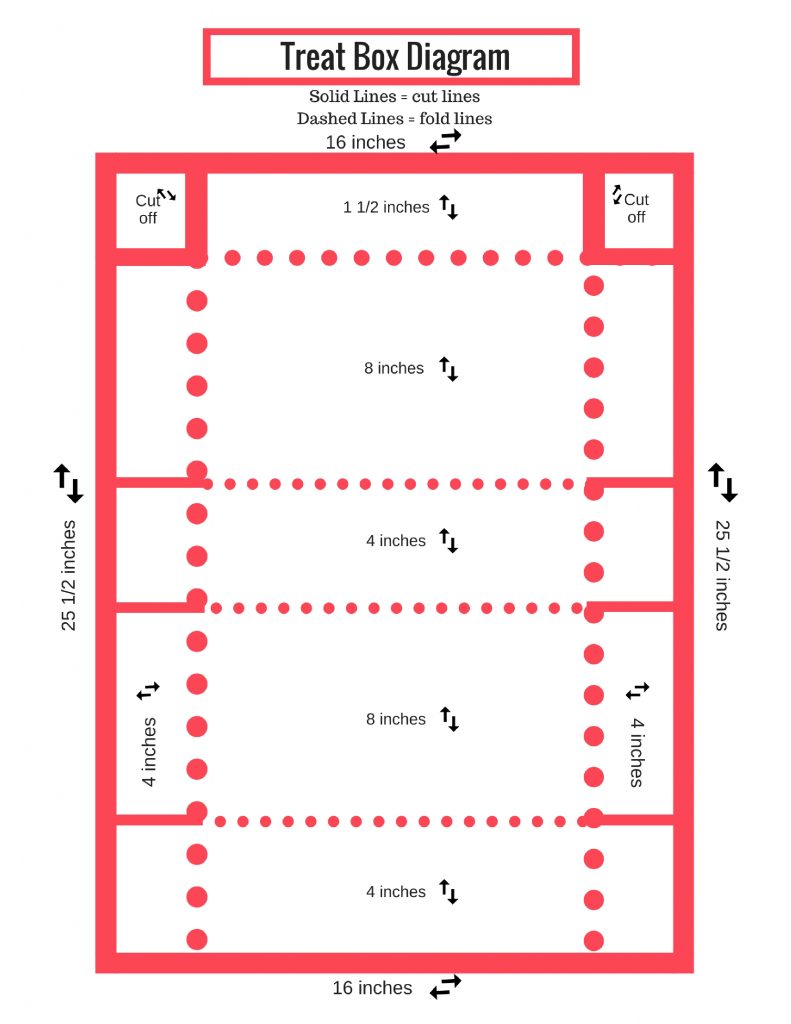
DIY Treat Box Printable Diagram
Ok, let’s get started with the tutorial. Remember to watch the video at the end of the post…it may clear up a few questions.
This post contains affiliate links. As an Amazon Associate, I earn from qualifying purchases. You can see my policies linked in the website footer.
Supplies Needed for the DIY Treat Boxes:
- Poster Board (not the smaller ones…you’ll need the large poster boards for this tutorial)
- Scissors
- Glue (regular craft glue or glue stick)
- Ruler (I really like the acrylic rules because they’re see-through.) Here is the one I use: Acrylic Ruler
- Pen or marker for marking your lines
- Optional: Ribbon and Printable Labels (which you can find close to the bottom of this post)
If you’d like to see how to make the cupcake inserts, go here: DIY cupcake box inserts
Making the DIY Treat Boxes:
Ok, grab your poster board and set it on the table in front of you lengthwise. By that, I mean you want the rectangle tall, not wide. Here’s what I mean.
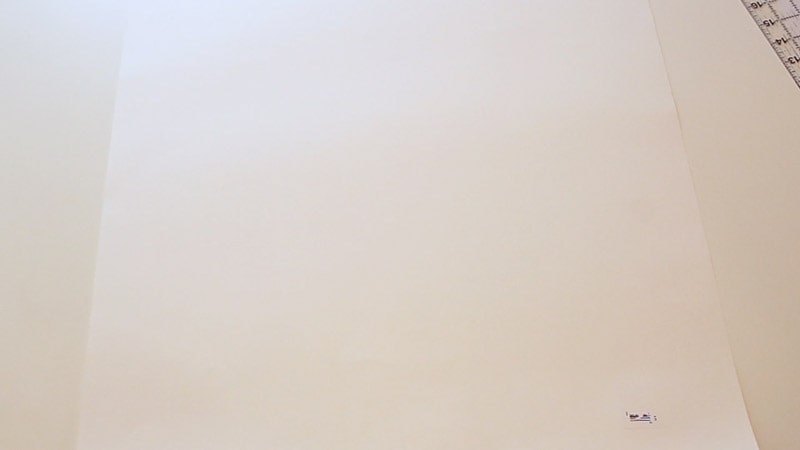
The first thing you’ll do is to cut your poster board down to size. We’re making a treat box, so we don’t need it to be too big. You’ll want it to be 25 ½ inches tall and 16 inches wide. Here’s what I do:
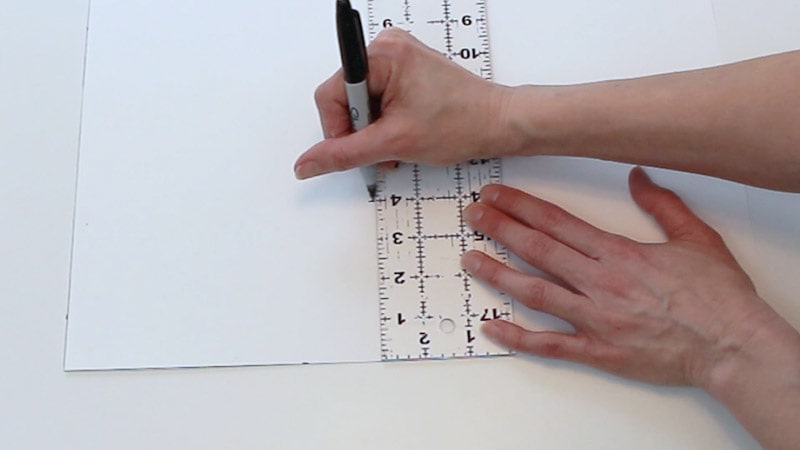
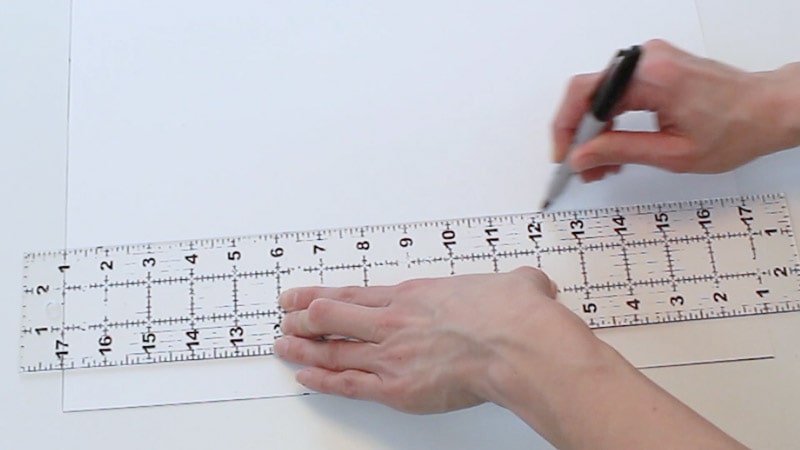
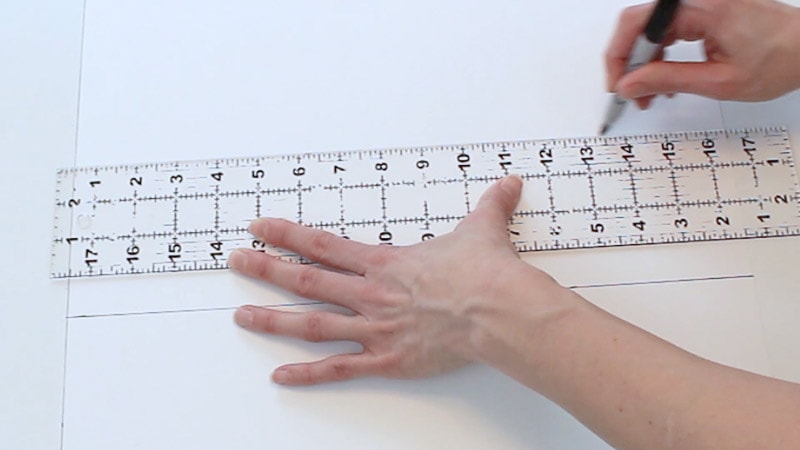
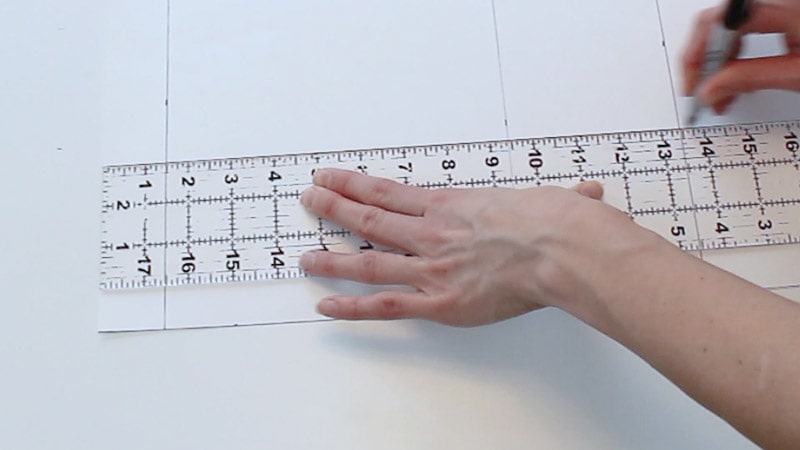
Take your ruler and measure out 16 inches from one side. Make marks all the way up the poster board.
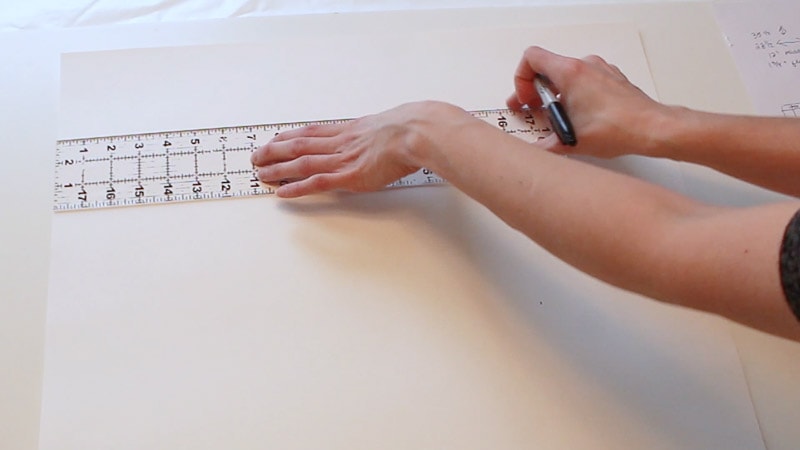
Then just draw a line connecting all your marks.
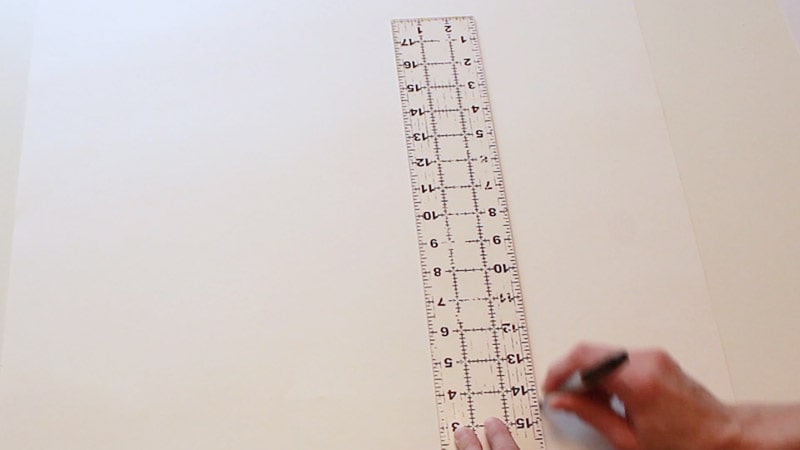
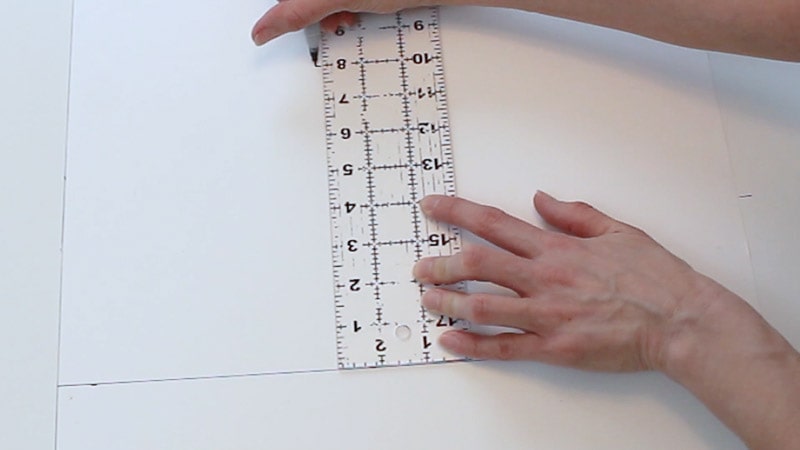
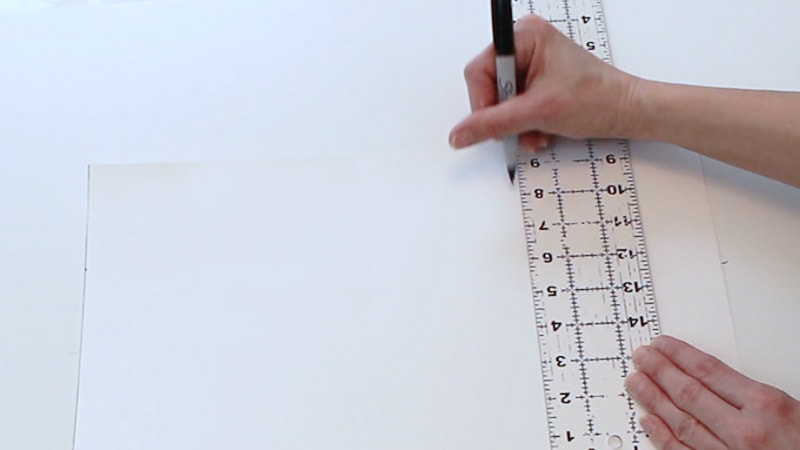
Now measure out 25 ½ inches from the bottom and make marks.
Draw a line connecting all those marks.
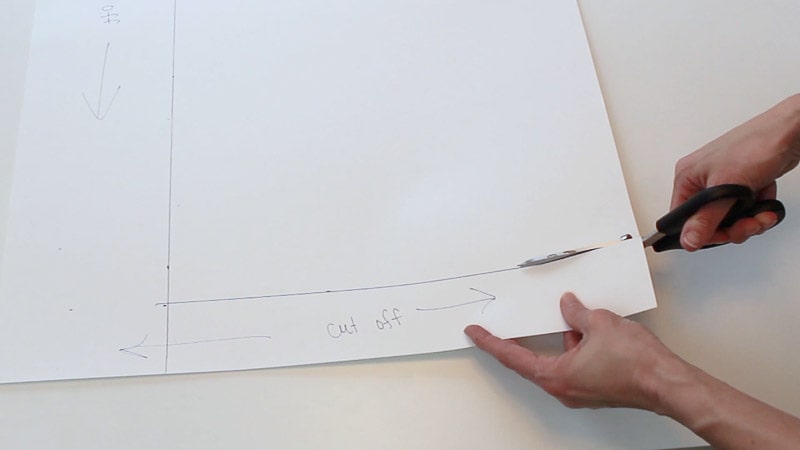
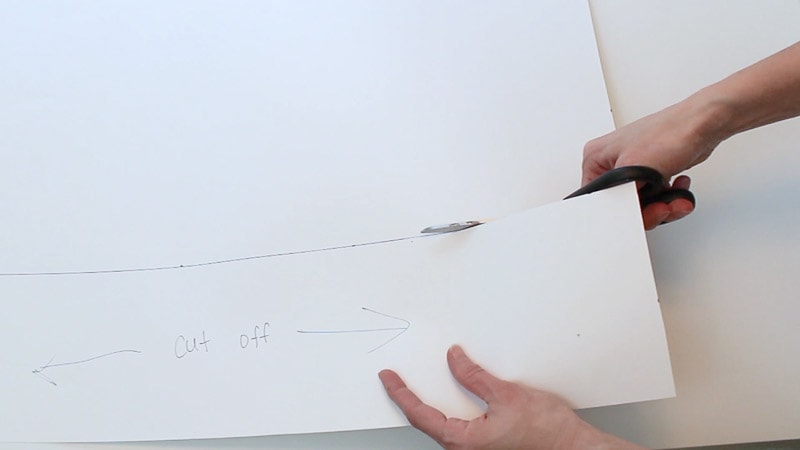
Now just cut off the excess. You’ll see I even wrote myself some notes on the excess that needed to be cut off.
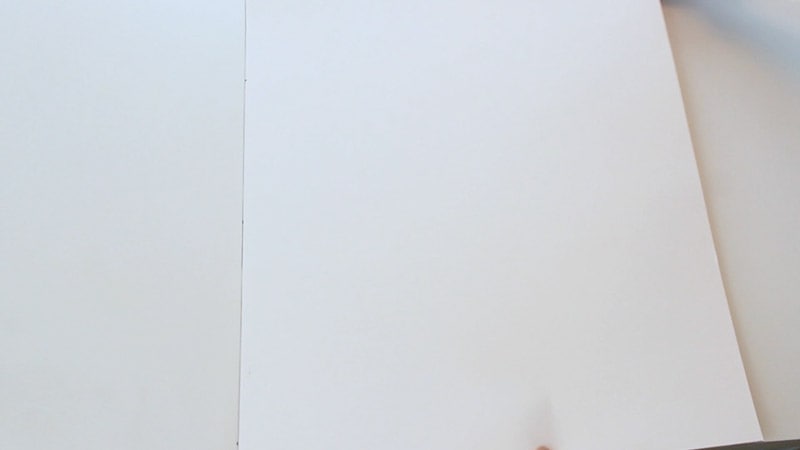
Once those areas are cut off, just set it on the table in front of you longways…vertically. It should be 25 ½ inches tall and 16 inches wide. It’ll look like this:
Okay, now we’re going to start measuring from the bottom up. Essentially we’ll be measuring 4 inches, then 8 inches, then 4 inches, then 8 inches again. Here’s how it works:
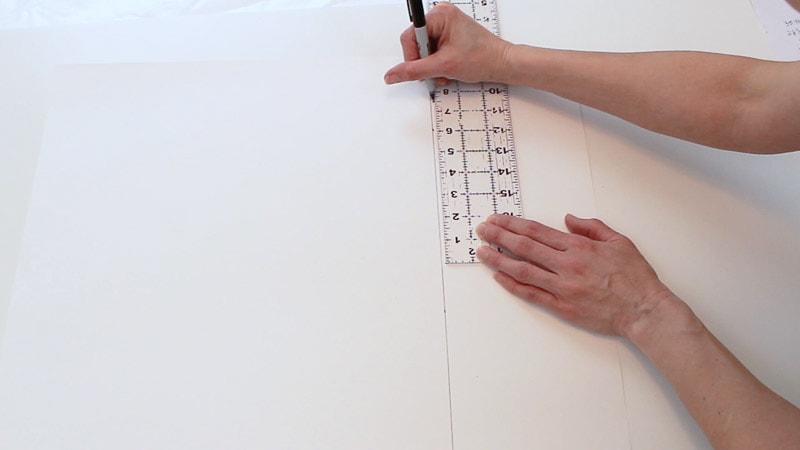
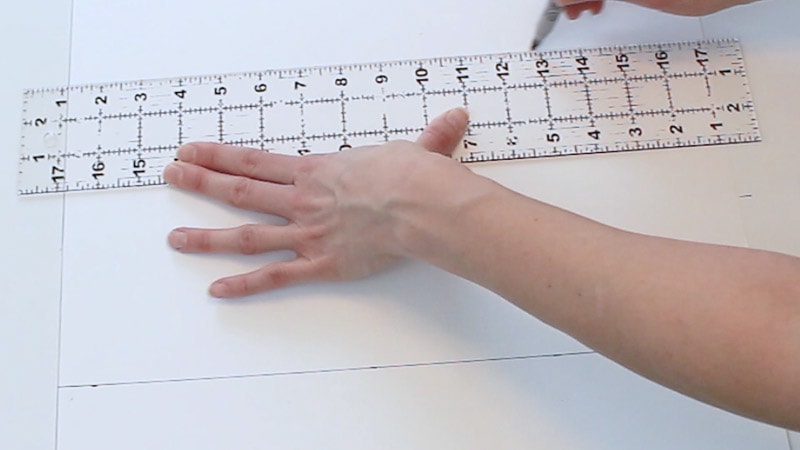
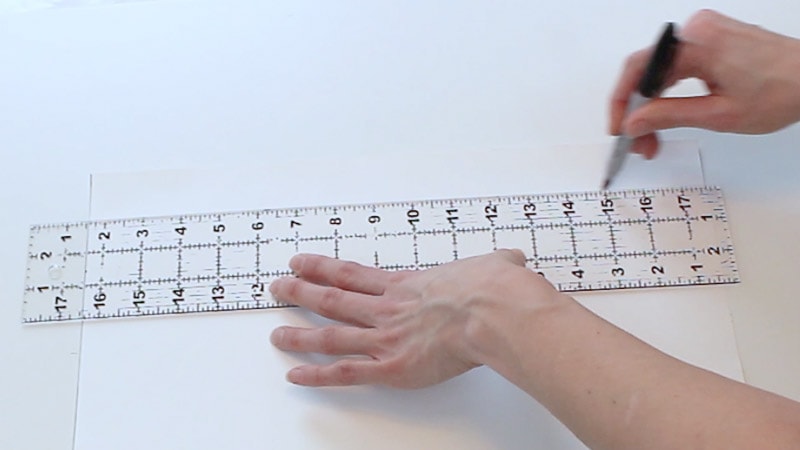
The first measurement is 4 inches, so take your ruler and make marks 4 inches from the bottom of the poster board.
Then draw a line horizontally connecting those marks you made.
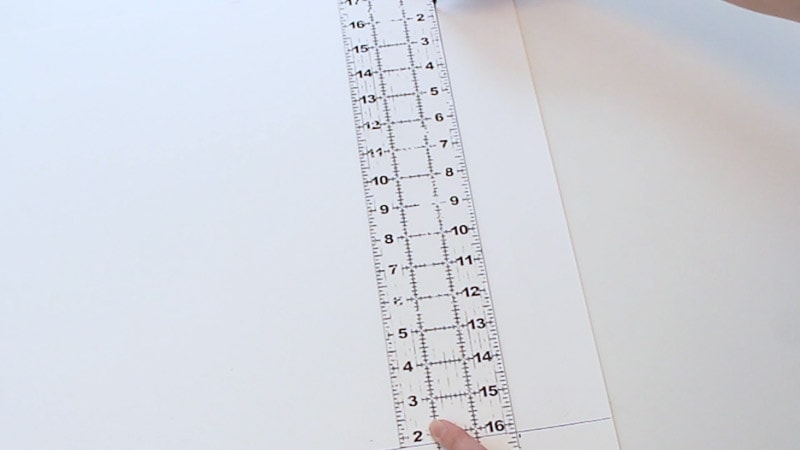
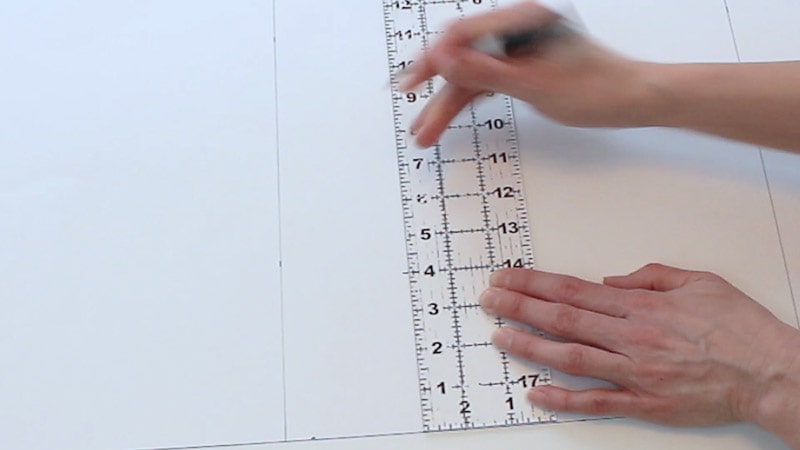
Next measure up 8 inches from that line and mark that measurement.
Draw a horizontal line connecting those marks.
Now, measure up another 4 inches and mark that measurement.
Draw a line connecting those marks.
Ok, now just measure up 8 inches from the previous line and mark those measurements.
Draw a line connecting those marks.
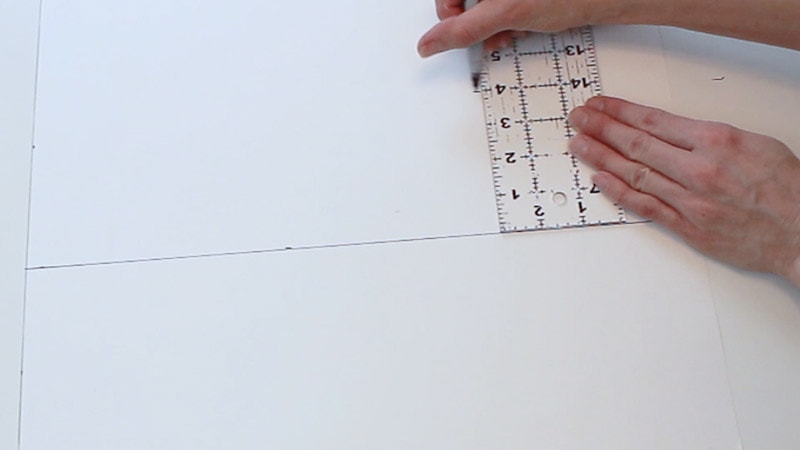
Almost there…we’re getting close. Now you’ll measure from each side. Just measure in 4 inches from each side and make your marks.
Then draw a line connecting those marks.
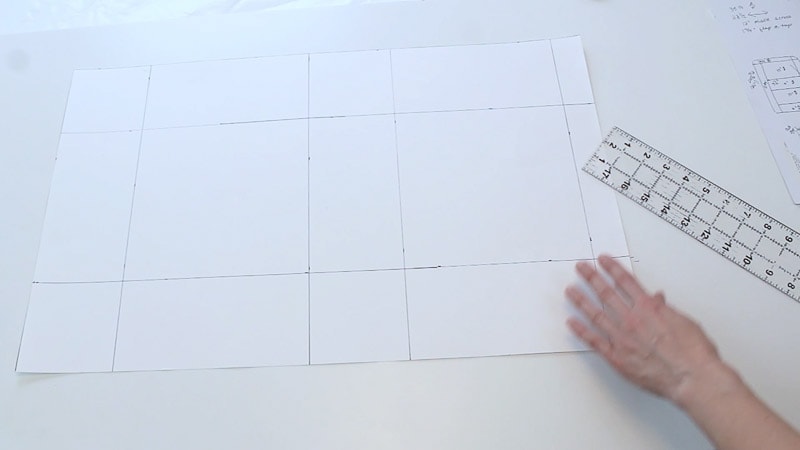
So now you’ve got all your horizontal lines and two vertical lines…one on each side, four inches in. Your poster board should look like this:
The wide view:
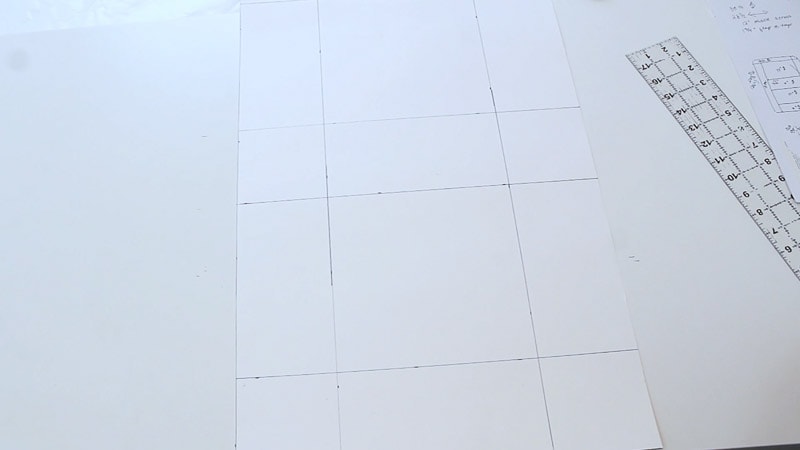
The tall view:
At the very top, you’ve got two small rectangles at the corners. You’ll need to cut those off.
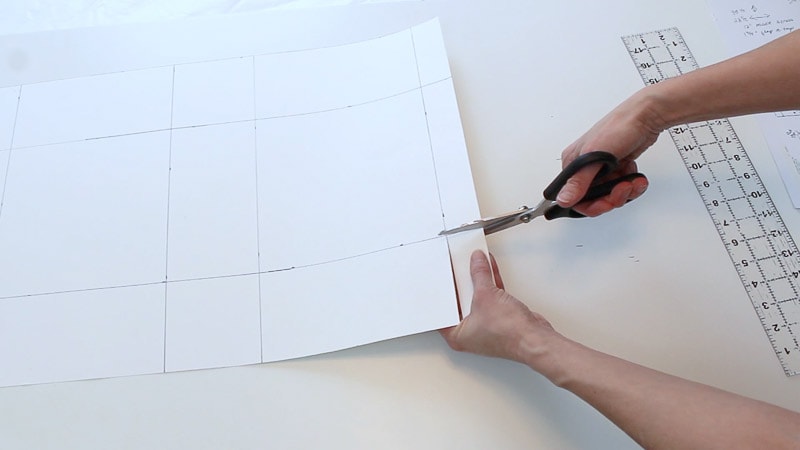
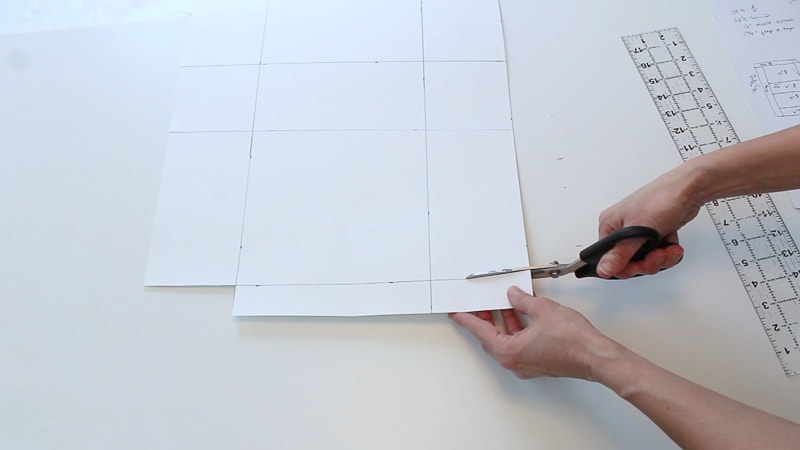
Now you’ll cut the lines at each side of the poster board. You’re not cutting anything off here…you’re just cutting on the lines until it reaches that 4 inch line you drew. Make sure to watch the video at the end, so you can see what I mean here.
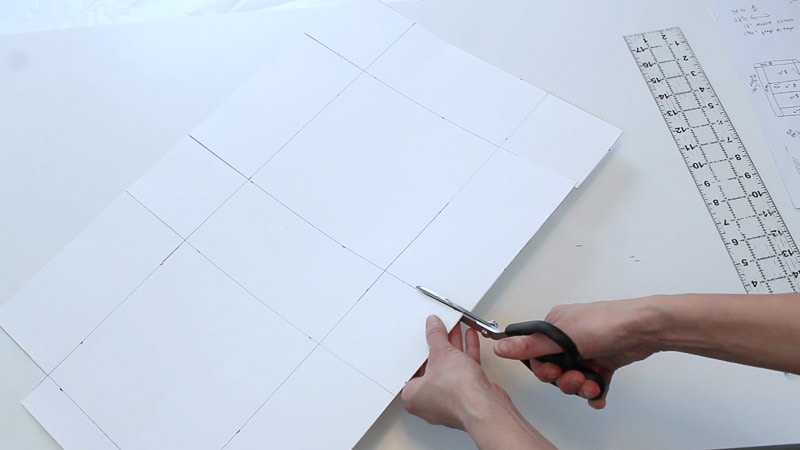
Make sure all of those lines are cut on the side.
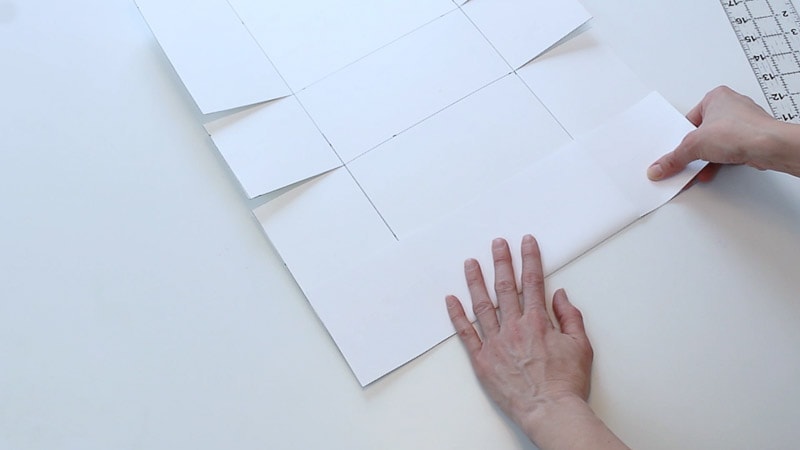
Now you’ll start folding. You’re going to fold on each line that was drawn. You can start with the sides if you want. That’s what I did.
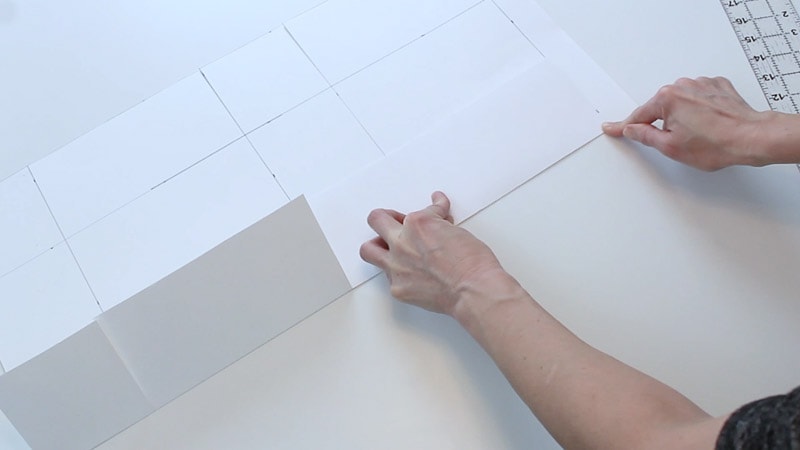
Once you get the sides folded, fold the smaller top line.
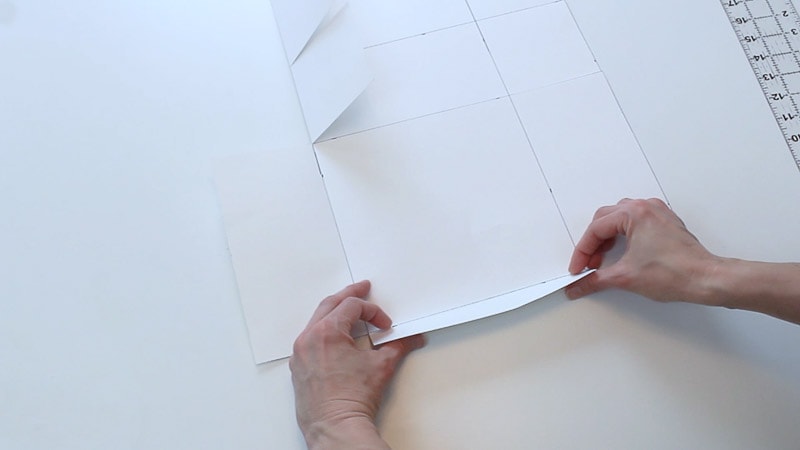
Next fold all the middle lines.
Make sure to fold at all the lines.
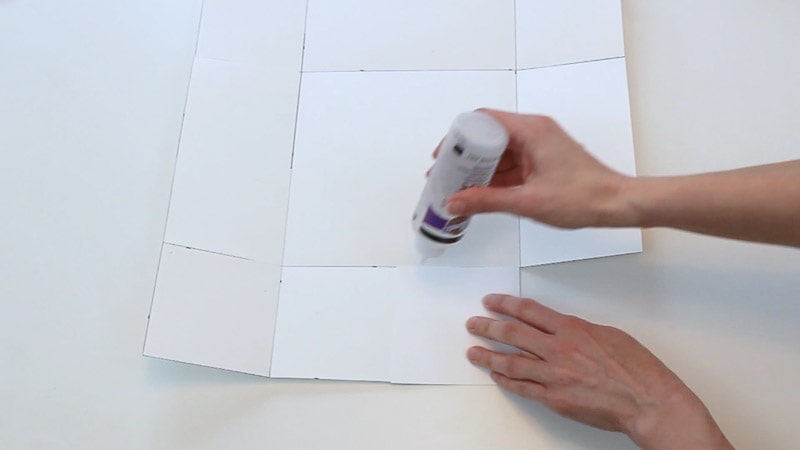
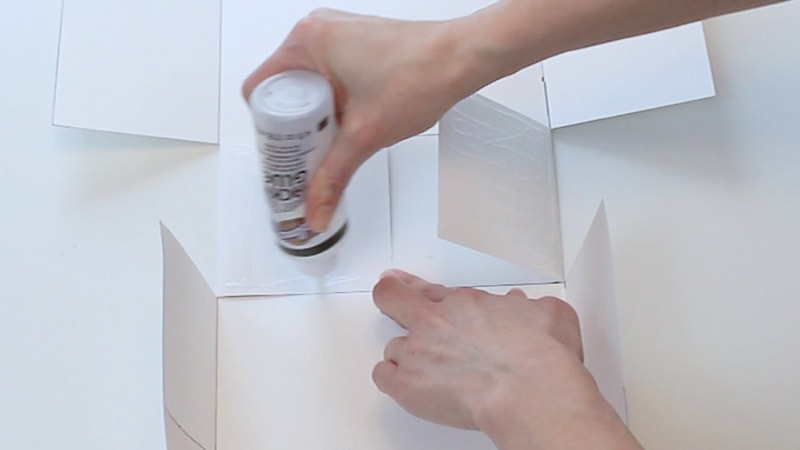
Fold the bottom 4 inch flaps in and add some glue. You’re adding the glue to the underside of the flaps.
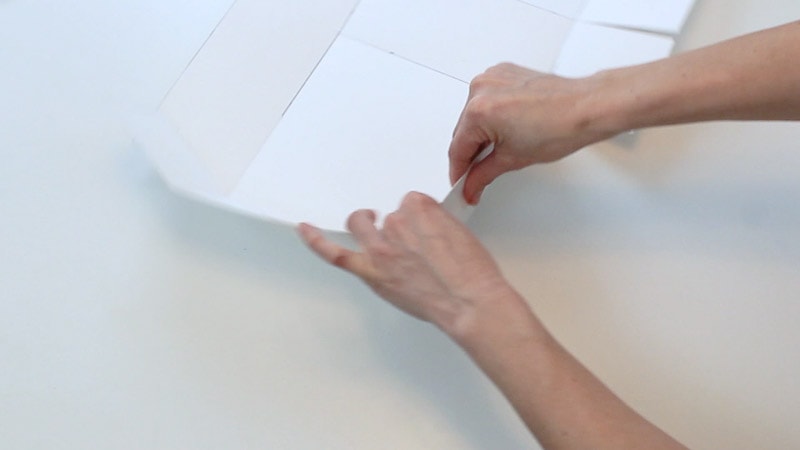
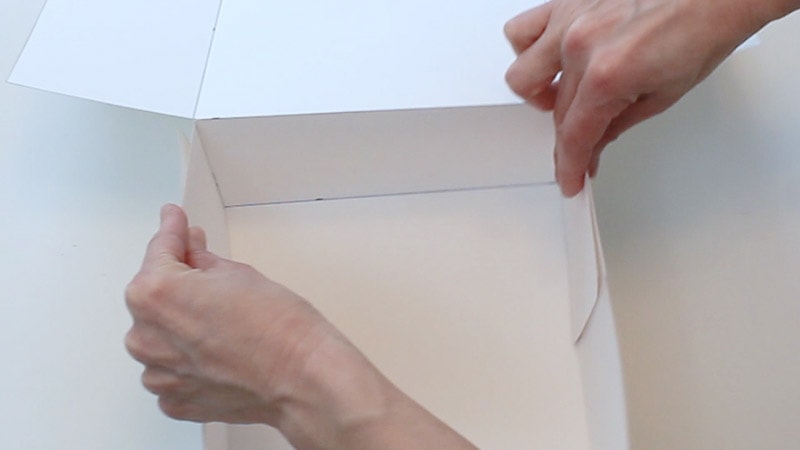
Then just fold up the bottom and attach the flaps to the sides. You’ll have to hold them there for a bit, or you can add some clamps to hold them in place while they dry.
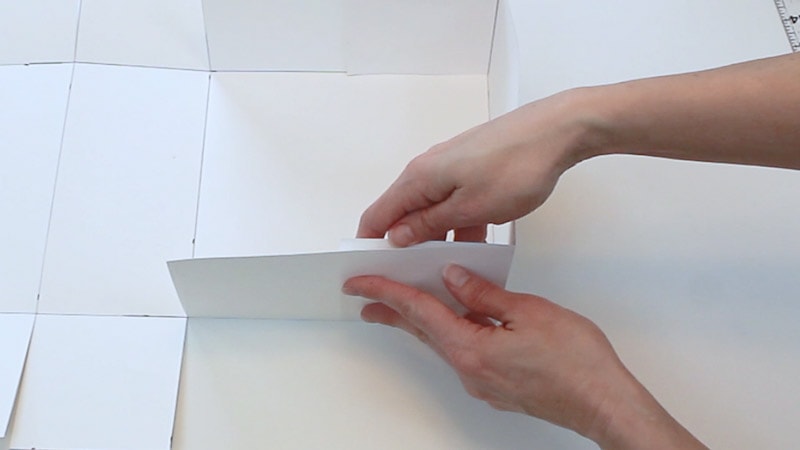
Now add some glue to the middle 4 inch flaps and attach the same way.
You’ll need to do a little trimming to the lid, but it’s just basically to make it a little prettier. You’ll want to cut the flaps at an angle like this:
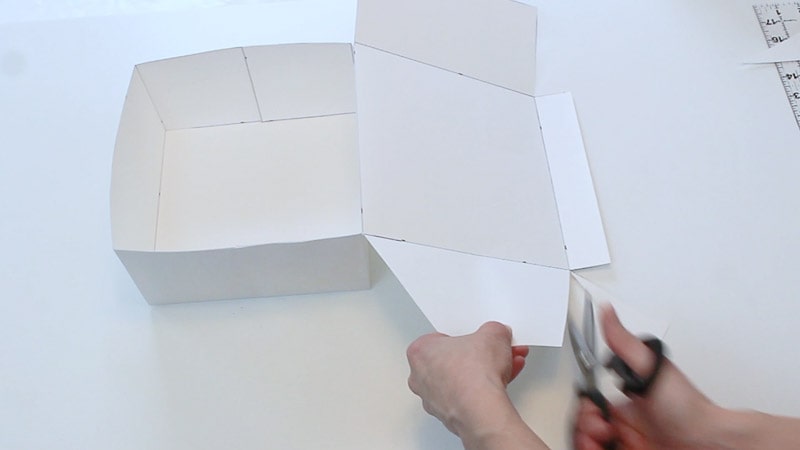
Then trim a bit off the flaps in a straight line.
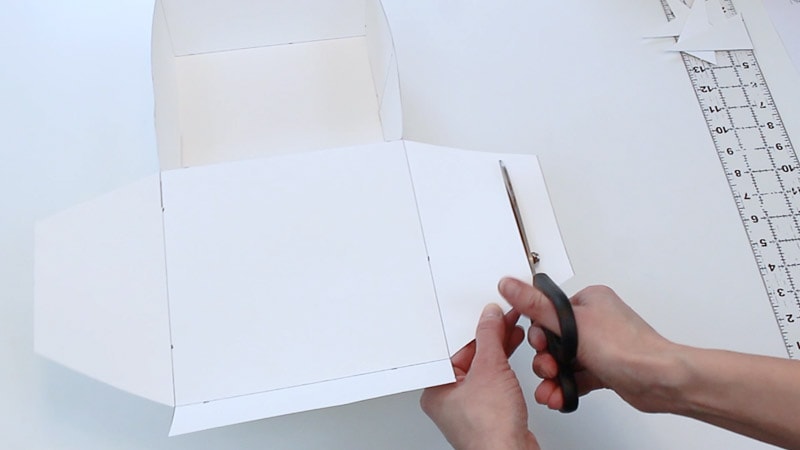
You’ll also want to do the same for small part that closes the box as well, just to make it pretty.

To close the box, the flaps go inside and the front ‘folded over’ area goes on the outside of the front of the box. You’ll see this in the video.
You can add some DIY cupcake box inserts in if you’re treating someone to cupcakes. You can see that tutorial here: DIY Cupcake Box Inserts
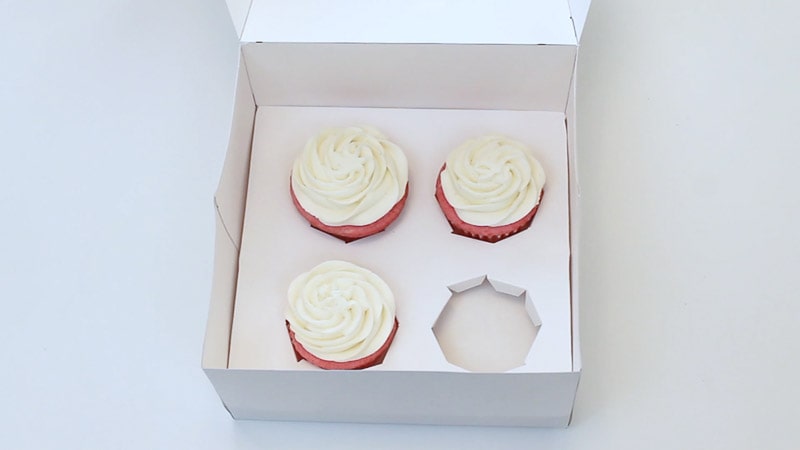
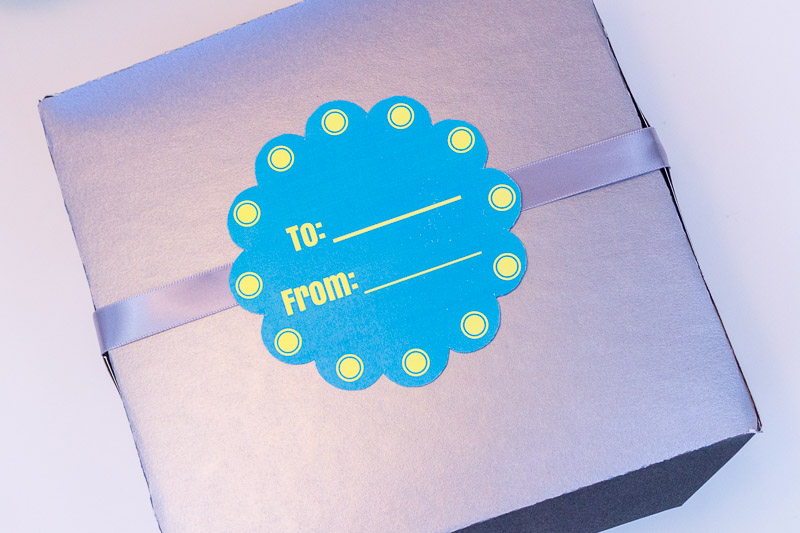
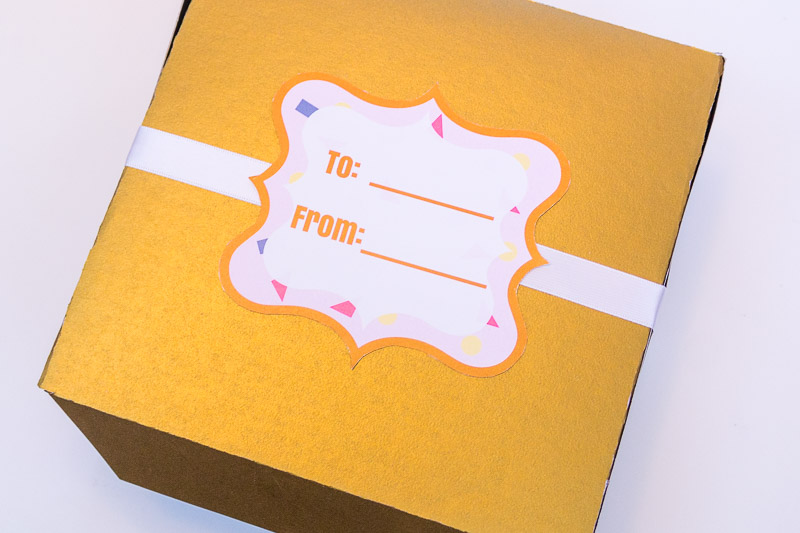
You can put anything in these cute little boxes…cookies, biscotti, brownies, fudge…or even something non food related.
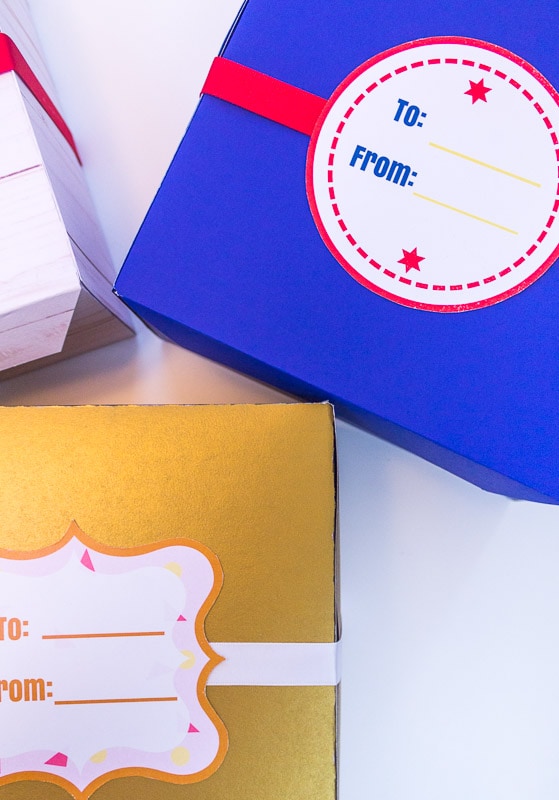
I attached ribbon around mine and then added the printed labels as well.
Don’t forget to grab the printable diagram for the box at the beginning of the tutorial. It shows all the measurements, where to cut and where to fold.
And here’s the video to show you all the steps: (Don’t forget to grab the printable labels below.)
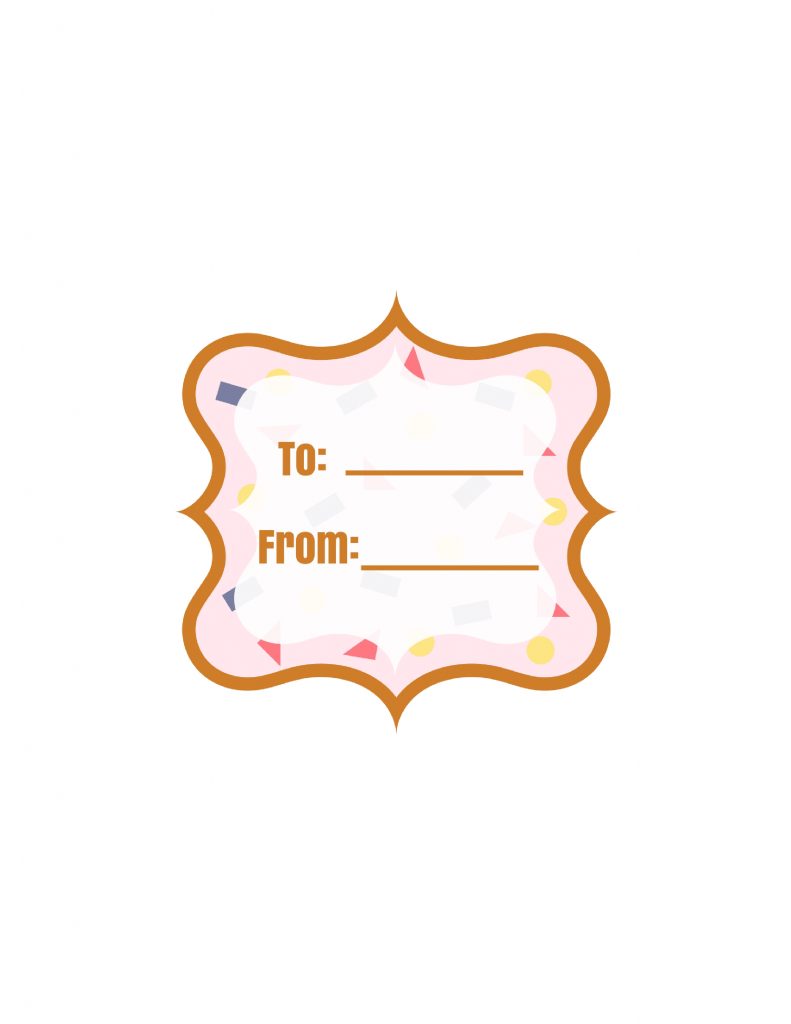
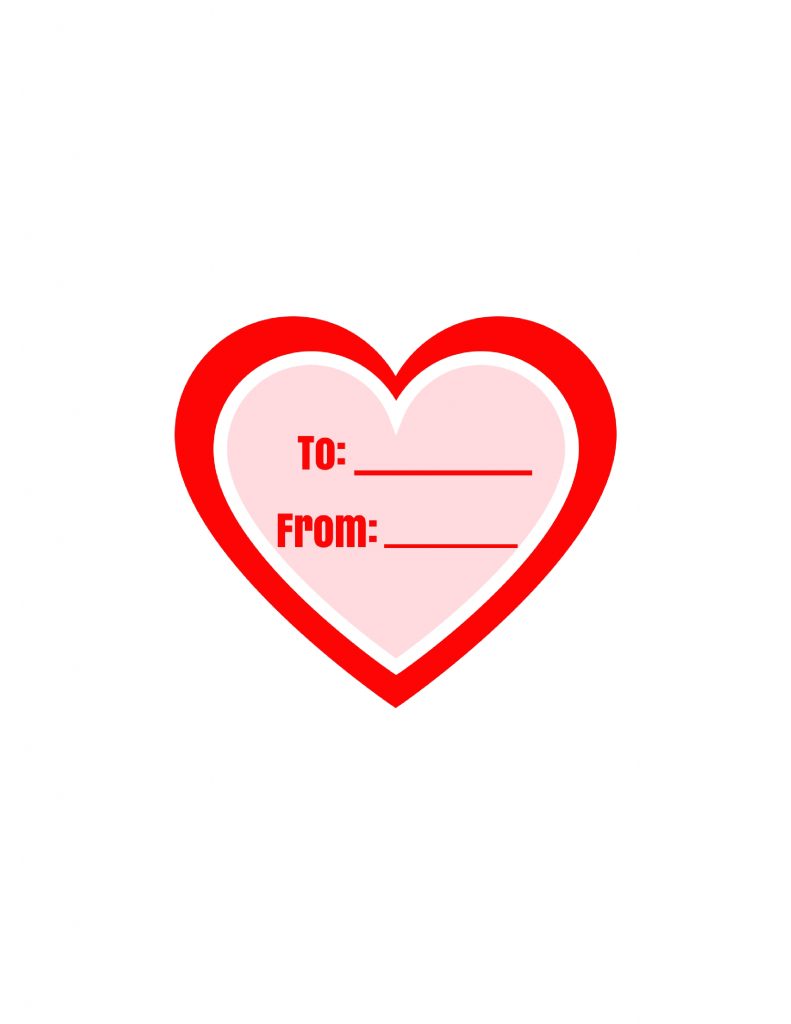
If you want the printable labels, just click on the graphic of the one you want and it’ll download automatically. These work best printed on cardstock paper, then attached to the box with double sided tape.
Here are the printable labels:
Alright, there ya go! This was a long post, but hey, now you can make your own DIY Treat Boxes (or gift box) AND you’ve even got some handy printable labels to use!
Leave a Reply