
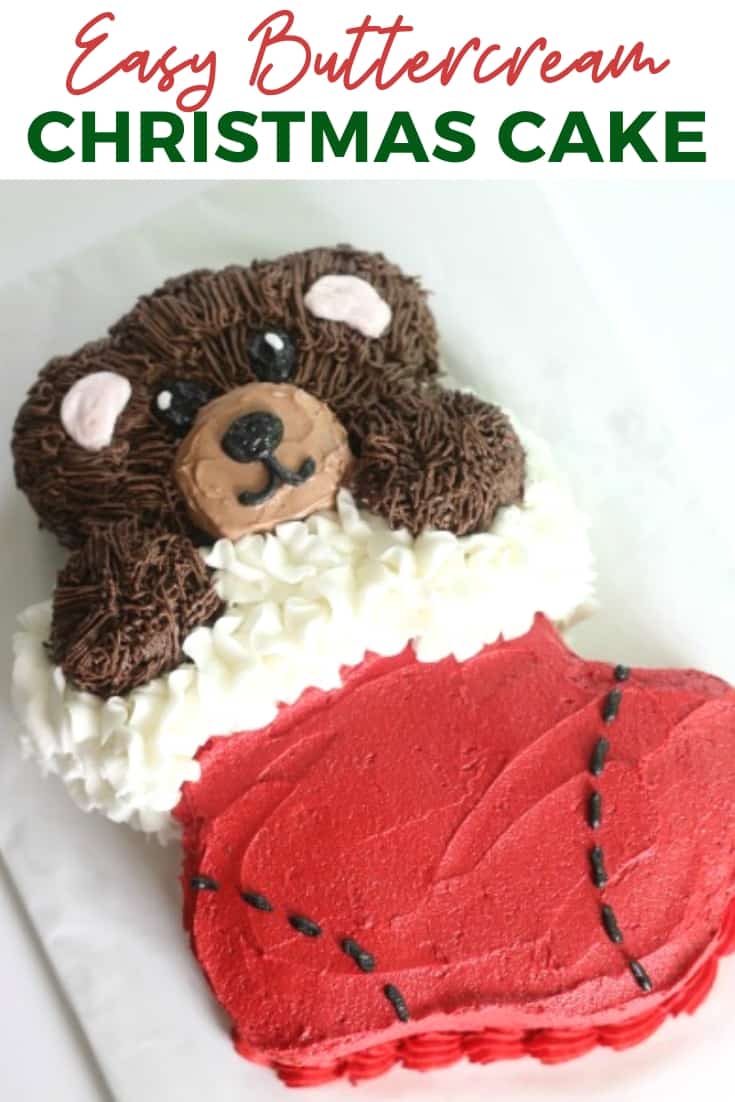
Who doesn’t love a good teddy bear cake. This easy Christmas cake is one the kids are going to love and it’s not hard to do. You’ll actually use a coloring book page as a template. Made with all buttercream and no fondant, the cake decorating goes pretty fast.
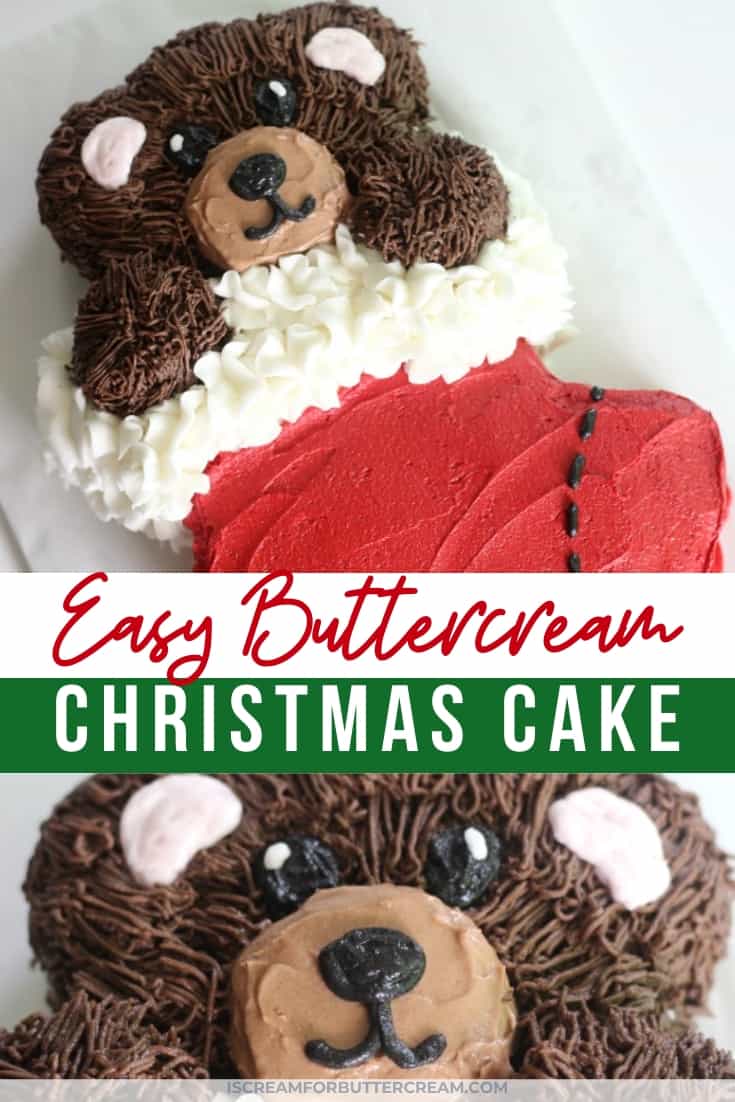
I think this little guy is super cute. Here’s the good news…it’s all buttercream baby! No fondant work on this one. I wanted to create something for Christmas that was completely buttercream, but without difficult piping techniques. I think this Easy Buttercream Christmas Cake fits the bill.
I wanted to do something a little different than the normal Santa cake. And pretty much everyone loves a cute teddy bear, right?
(By the way, there’s a video later in the post that’ll show the entire process)
As an Amazon Associate, I earn from qualifying purchases.
Supplies for the Easy Buttercream Christmas Cake:
- Vanilla, Chocolate, Red, Dark Brown and small amounts of light brown, light pink and black buttercream. For the red, I like Americolor Super Red or Wilton No Taste Red
- Two baked 13 x 9 inch cake layers
- Wilton 2D icing tip (for the top of the stocking)
- Wilton 233 Grass icing tip (for the bear’s fur)
- Wilton 21 tip (for the shell border on the bottom)
- Wilton 5 tip (for the eyes, nose, mouth, ears and stitches on the stocking)
- Small icing spatula
- Knife for carving
- Printed coloring page image (see below)
The Buttercream:
First you’ll want to make all your buttercream. I made a lot…maybe about three of my buttercream recipes. I wanted to make sure I had enough. Here’s my vanilla bean buttercream recipe and my double chocolate buttercream recipe.
I used both recipes, but I made a couple changes.
- For the vanilla, I wanted to make sure it was really white, so I cut half the butter and replaced it with shortening. You can also use my recipe here: Bright White Heat Stable Buttercream
- For the chocolate, I reserved about a half a cup for the nose (the lighter brown color) and I added several tablespoons of dark cocoa powder to the rest to get the darker color brown for the bear’s fur.
- I added an extra cup of confectioner’s sugar to each recipe. It helps with piping.
For the red buttercream: You have to use a lot of red coloring to get it to be a true red and not come out pink. It’s best not to use the food coloring you find on the grocery aisle. It’s too liquidy (is that a word?) Anyway, you really want to use gel food coloring if you can find it. As for the red, I love Super Red from Americolor (you can see the link to that in the supply list below), but you also might want to think about getting a ‘no taste’ red coloring like the Wilton brand (also in the supply list above).
For the black buttercream: To make the black buttercream, I took a little of the dark chocolate buttercream and just added in black gel coloring.
For more tips on coloring your buttercream dark colors, you’ll want to check out this post here: How to Color Dark Buttercream
Shaping the cake:
To start out, you want to have an example of what you’re going to use. I went online and did a search for free coloring book pages and found my image. You can use any image you want, but I really loved the cute little teddy bear. I found my image here.
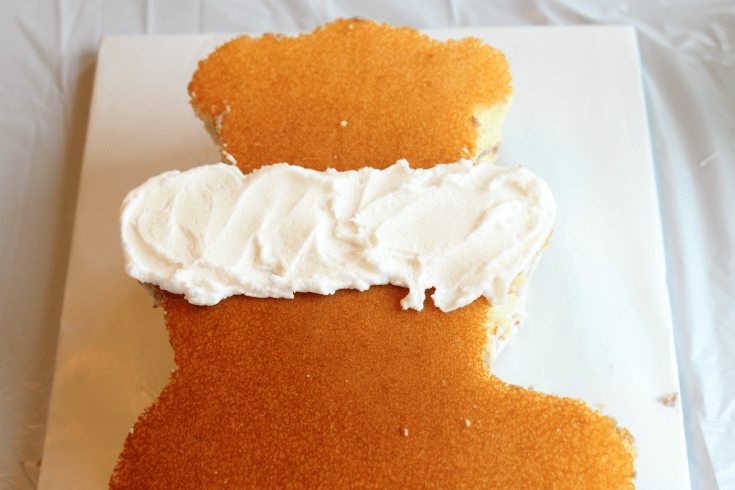
Once you’ve found your image, paste it into your word processing program and blow it up the size you need it. Then print it and cut it out. Place one of your cake layers on a cake board, spread buttercream on that layer and then place another cake layer on top.
Lay your coloring page image on top of your cake and cut around it.

Keep your cake scraps, because you’ll use some of them later. If you have some left over, after finishing the cake, just make cake pops or a trifle out of them…yum!
Now wrap your cake with saran wrap and pop in the refrigerator while you work on the next step.
Making the paws and the nose:
Now, take your leftover cake and crumble up some into a bowl. You may need to add another tablespoon of buttercream to the mixture.
You’re going to make cake balls now, but you’ll only need three. You want them larger than normal cake balls and you want them in the shape of the paws and the nose. Just ball them up and flatten them down a bit with the palm of your hand.
You can set them in the fridge to firm up if you want. I didn’t get a picture of this, but you’ll be able to see it in the video at the end of the post.
Icing the cake:
Once everything is chilled. You’ll want to ice your cake. Red on the stocking part, brown on the teddy bear part and white for the top of the stocking. It doesn’t need to be perfect because you’ll be covering it with more buttercream later. Tip: You might want to thin your icing a bit for this first coating, or you could have issues with crumbs.
Now, set your ‘cake pops’ onto the cake where the paws and nose will be. Spread some icing on those. (Don’t forget, the video is down below that’ll take you through all the steps.)
Piping on the cake:
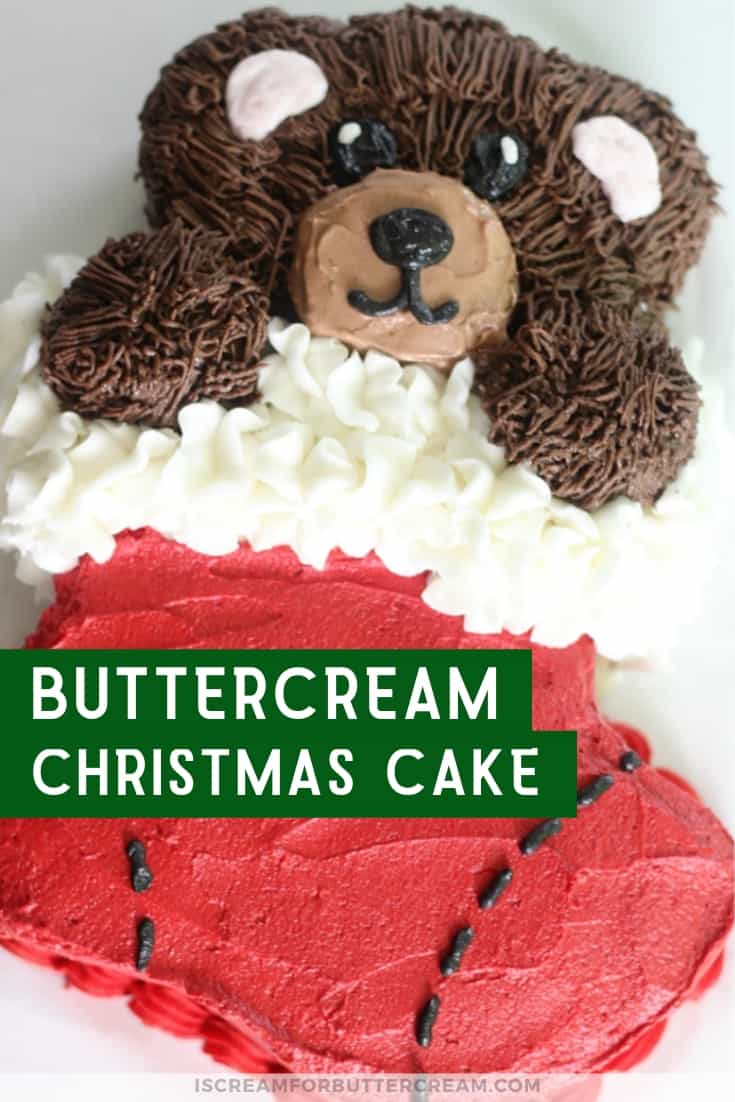
Now take your grass tip with the dark brown icing and pipe the ‘fur’ all over the bear portion of the cake.
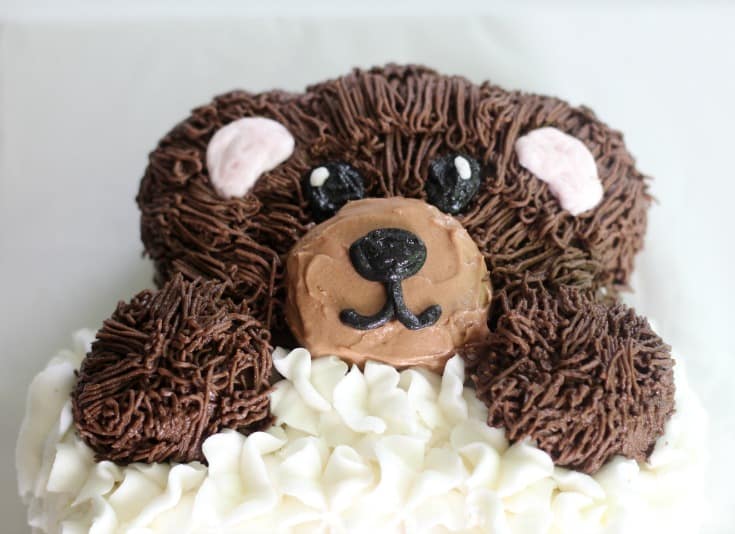
Take your white icing and your 2D tip and pipe ruffles for the white part of the stocking.

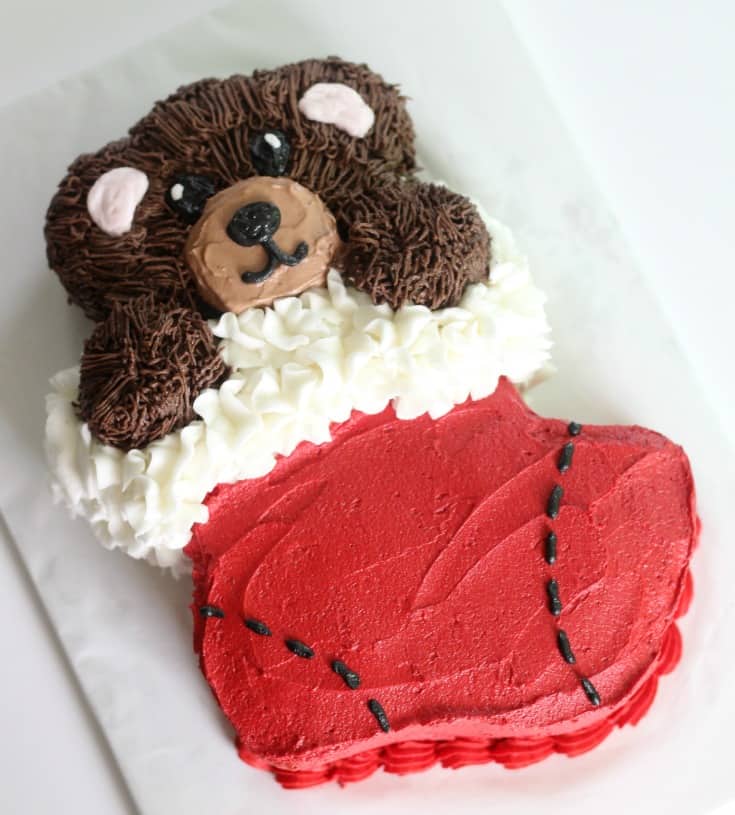
Next, pipe a little light pink for the ears and piped on the eyes, nose, mouth and stitching on the stocking with a Wilton #5 tip.

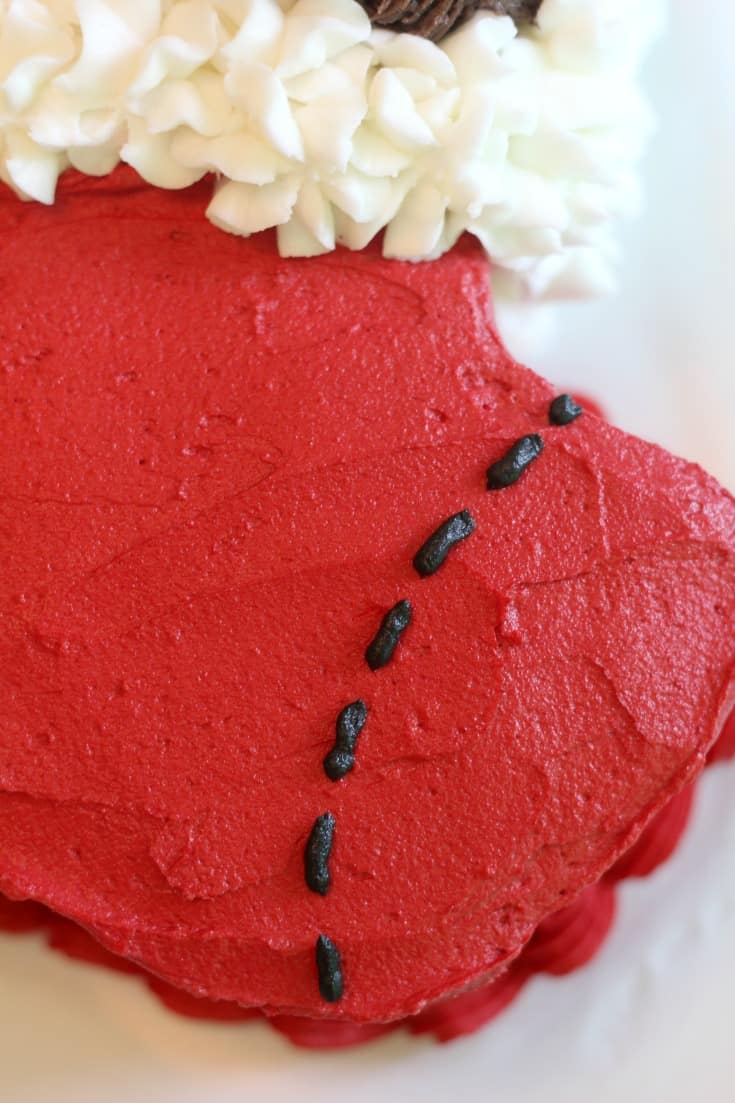
Last, I piped a shell border around the stocking part of the cake with a Wilton tip 21.

That’s it! You’re done and everyone is going to love this one.
You’ll want to keep this cake in the fridge because if the buttercream gets too warm, you could have issues with it sliding on the side of the cake or the fur breaking off in little bits.
I’m in Texas, so its always warm here, even at Christmas, but if you’re up north, it’s probably not something to worry about. I usually don’t keep my cakes refrigerated, but like I said, it’s warm and humid here and I don’t want to take any chances of the buttercream sliding.
So, there you have it. A cute and easy buttercream Christmas cake that everyone will love. Watch the video below, to see all the steps.
Don’t Forget to Pin it for Later!
Leave a Reply