
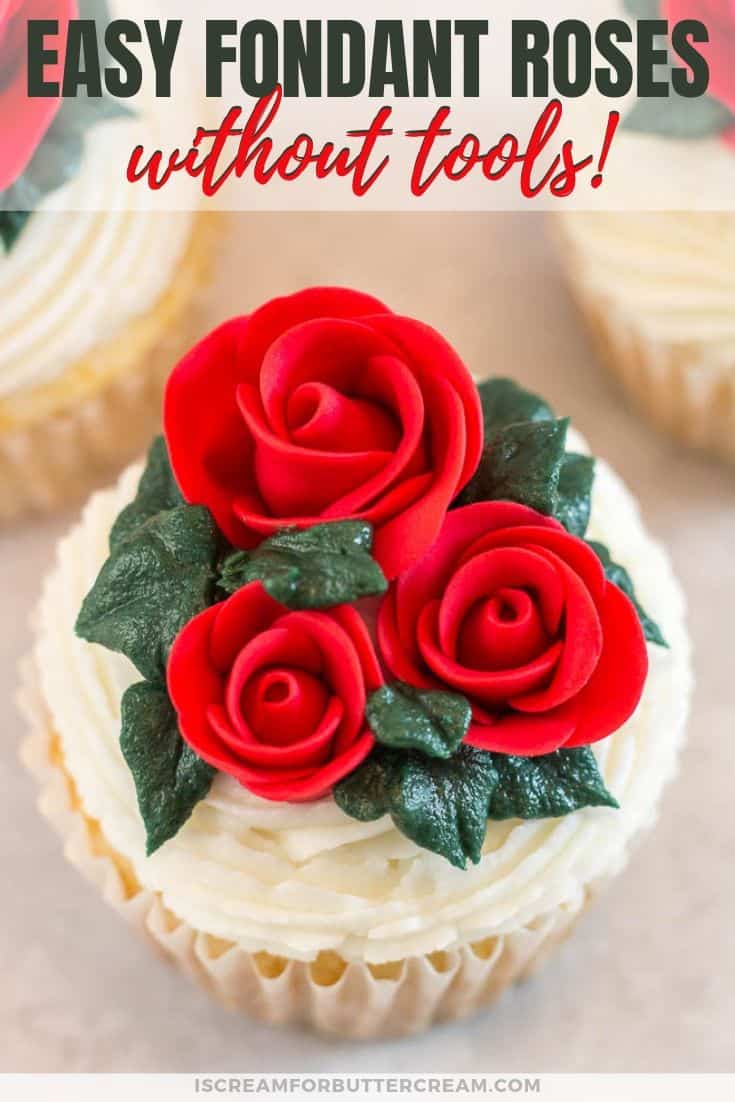
This easy fondant rose tutorial will show you step-by-step how to make fondant roses without cutters. Making sugar roses doesn’t have to be hard. If you’ve got a ton of roses to make, or maybe you just don’t want to spend hours making them, this easy fondant rose is the perfect solution. The only supply you’ll actually need is fondant.
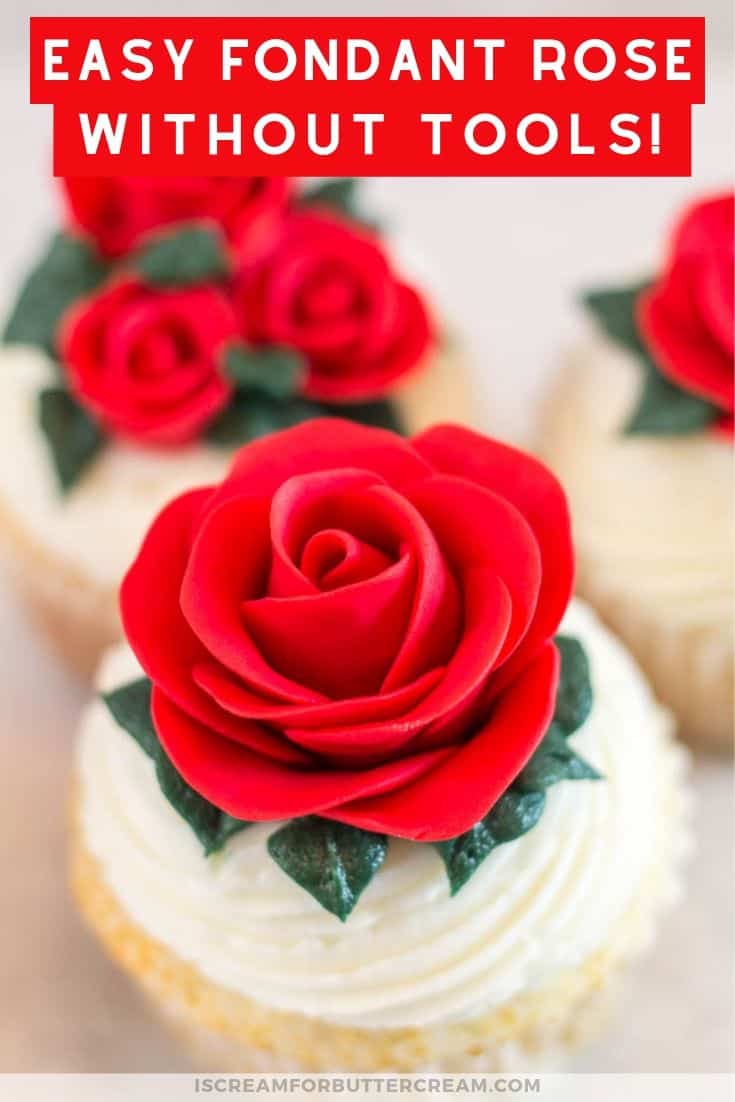
The fun part is, you can make these in all different sizes and you’re not dragging out a ton of equipment.

Now, if you want a super realistic looking rose made with gumpaste, and you have a little time, you’ll want to check out my tutorial on that here: How to Make a Large Gumpaste Rose. But if you want something easier and quicker, I’ve got ya covered here.

These easy roses really ARE super easy and the best part is that you don’t need any tools to make them. Seriously, no tools…you don’t even need water to attach the petals. The fondant easily sticks to itself.

Now, if you want to add these to the side of a cake, just pop in a toothpick and let your rose dry fully, then you’ll just pop it into the cake. For this tutorial though, I just added them to cupcakes.

Alright, on to the tutorial. And don’t forget to check out the video toward the end of this post.
As an Amazon Associate, I earn from qualifying purchases.
Supplies You’ll Need for the Easy Fondant Rose:
- Fondant in the color of your choice (You’ll want to use fondant with these because it’ll stick easily to itself and won’t harden up as quickly as gumpaste.)
(See I told you there were no tools!)
How to Make the Easy Fondant Rose:
You can make these any size you want. If you want a larger rose, you’ll need to pull off larger chunks of fondant. There are no exact measurements on these, you’ll just need to make a few in order to gauge the size.
Making the Rose Bud:
To make the bud, you’ll just pinch off a hunk of fondant.
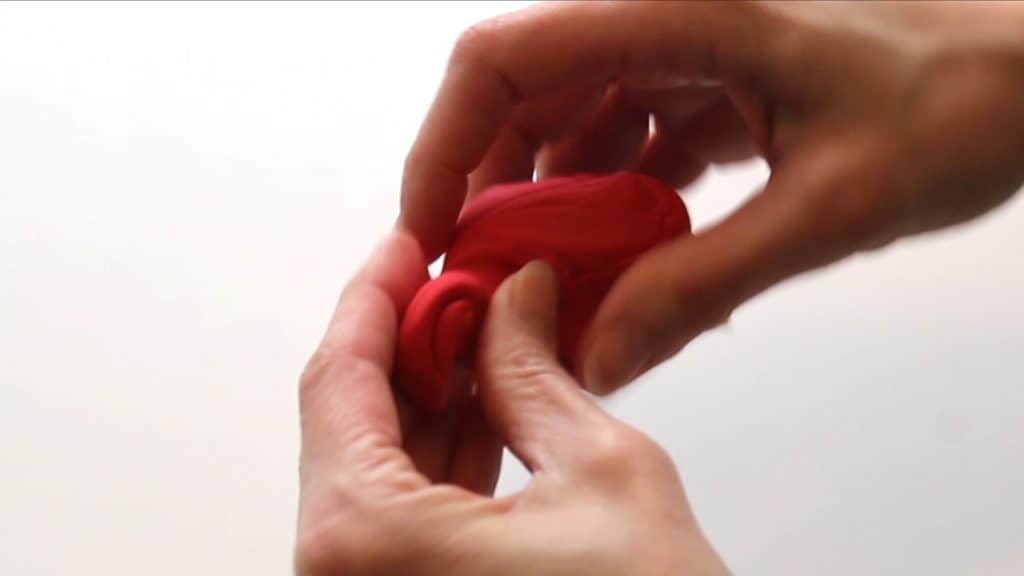
Roll it into a ball and then into a cone shape and set it aside.
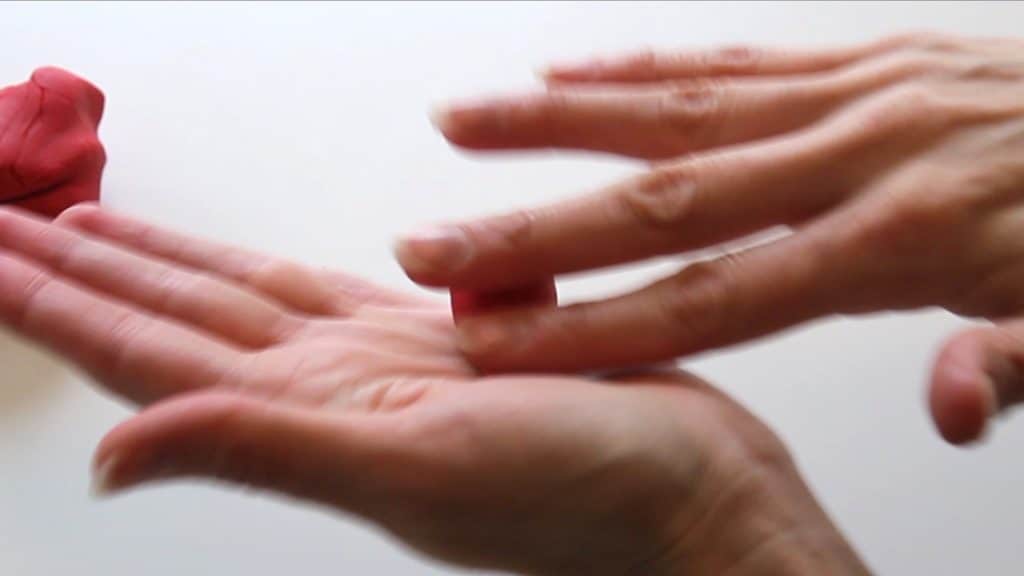
Now you want to pinch off nine smallish bits of fondant. These bits need to be a smaller amount than the cone you just made.
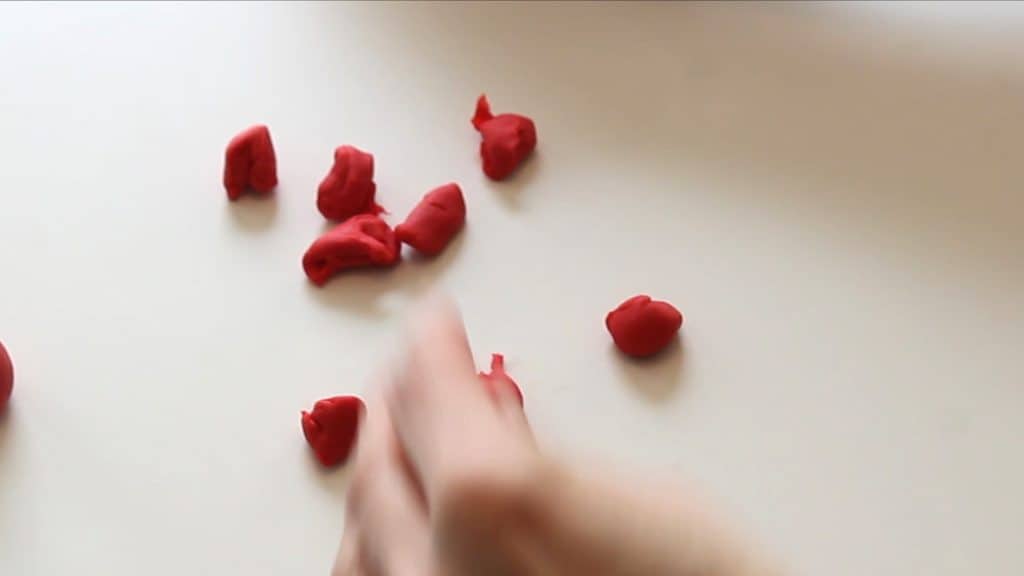
Now roll all of these into balls. Use pressure when rolling them.
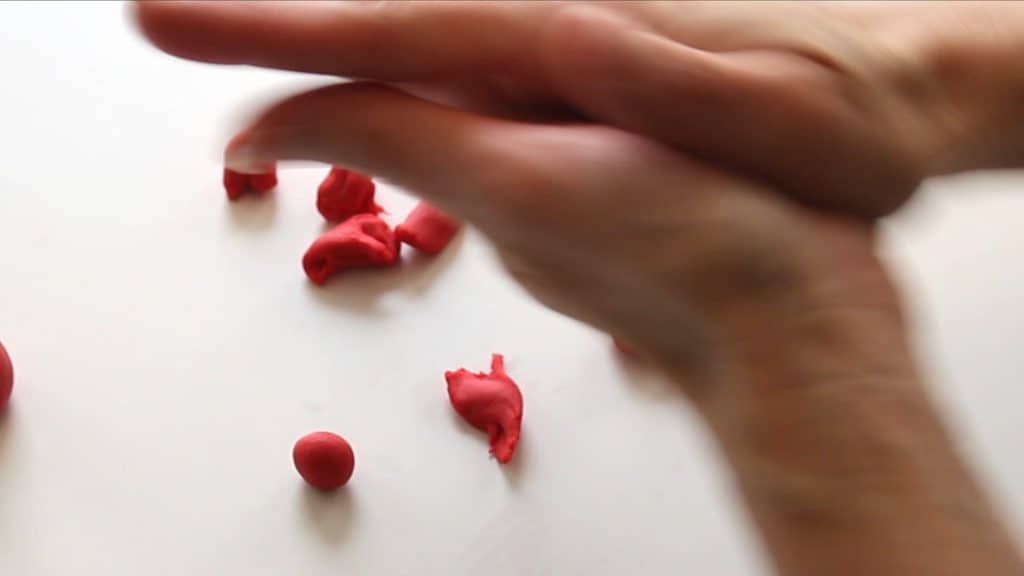
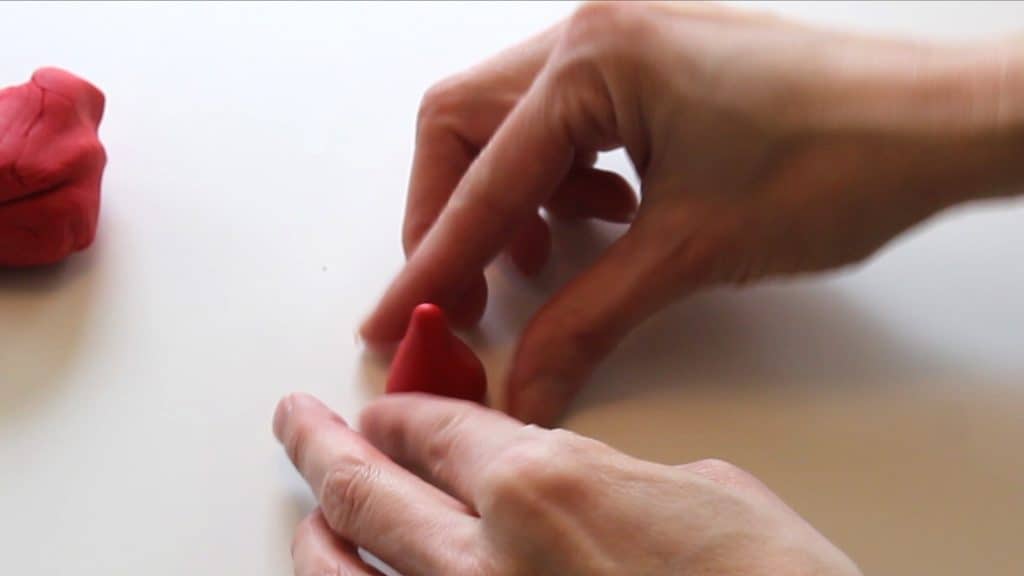
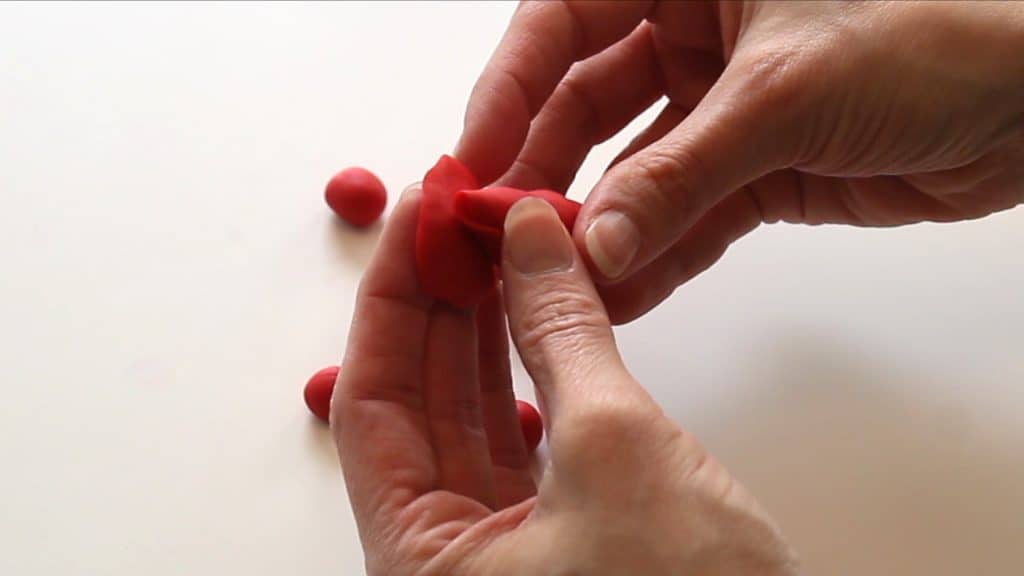
Take one of the fondant balls and flatten it with your fingers. Move around the edges and flatten it into a circle. If it’s too sticky, just dust your fingers with a little cornstarch.
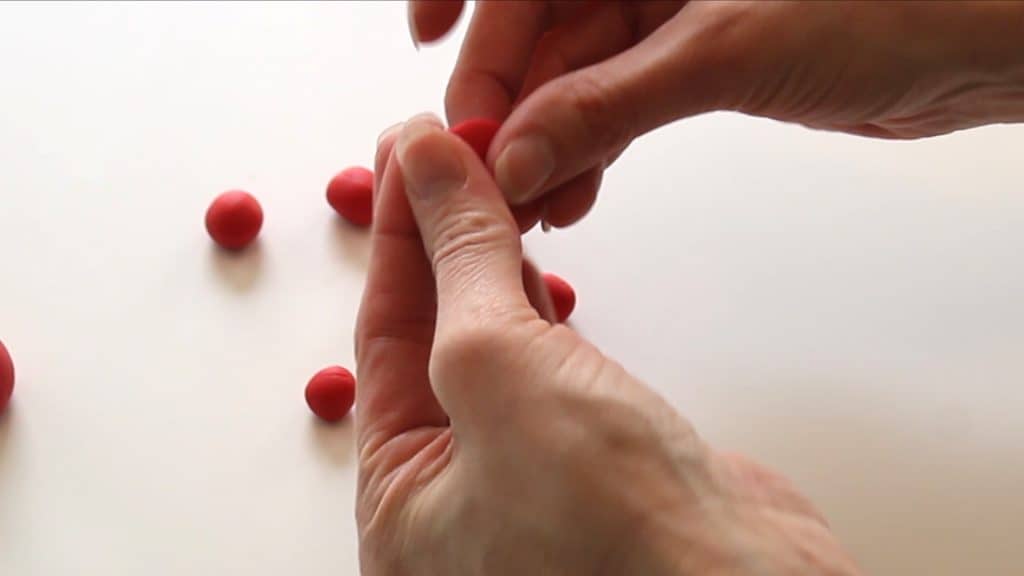
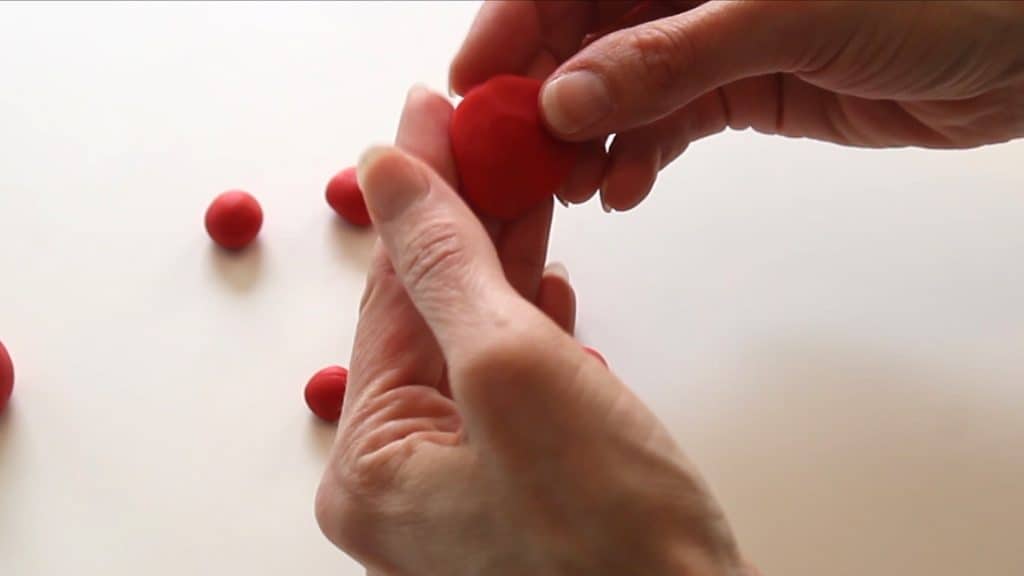
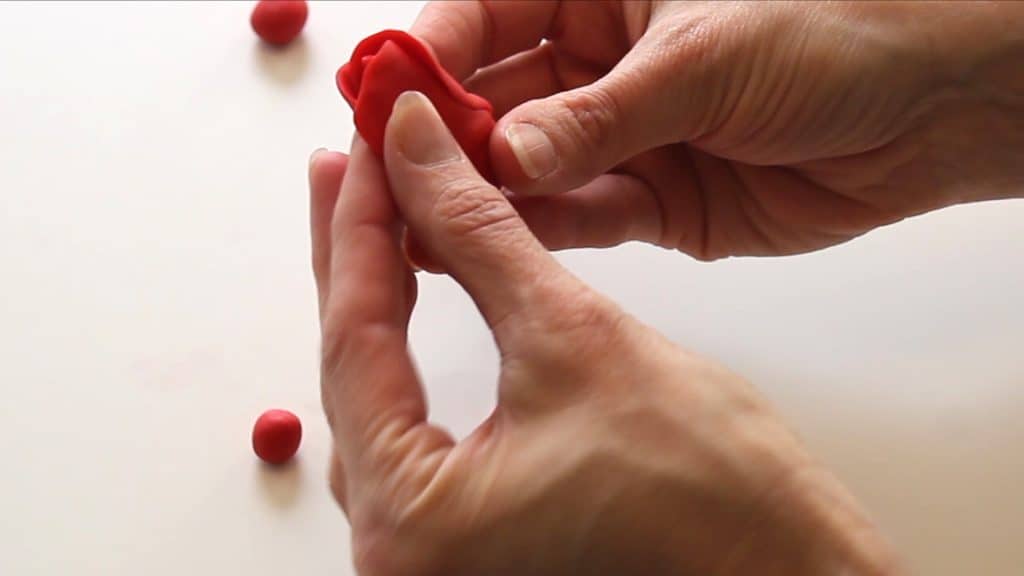
Place it onto your cone and wrap around. You want to make sure and place it higher than the tip of the cone though. You don’t need any water, the fondant should just stick to itself.
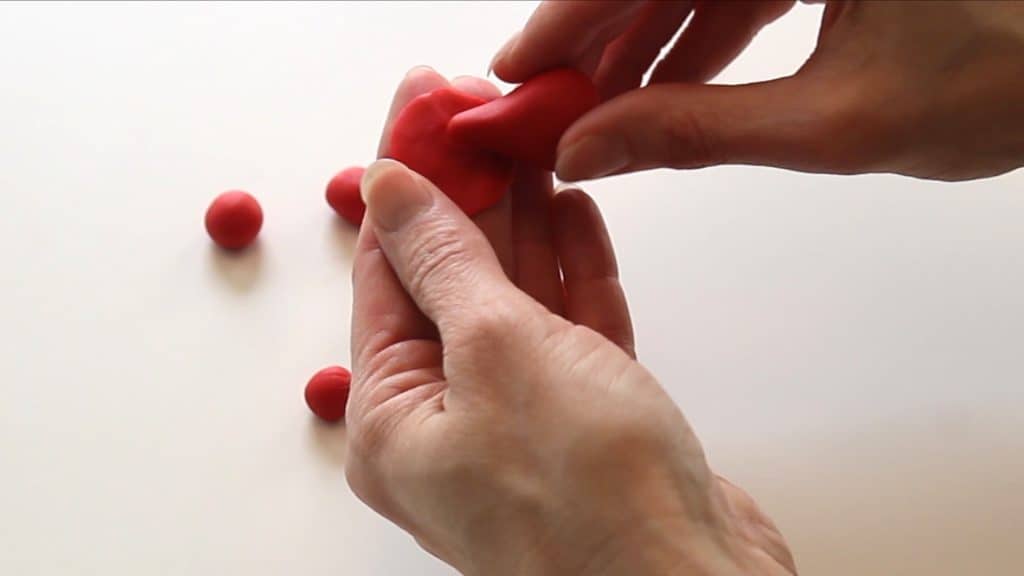
Curl it around to make a good fit.
Now just set it aside and work on the first row of petals.
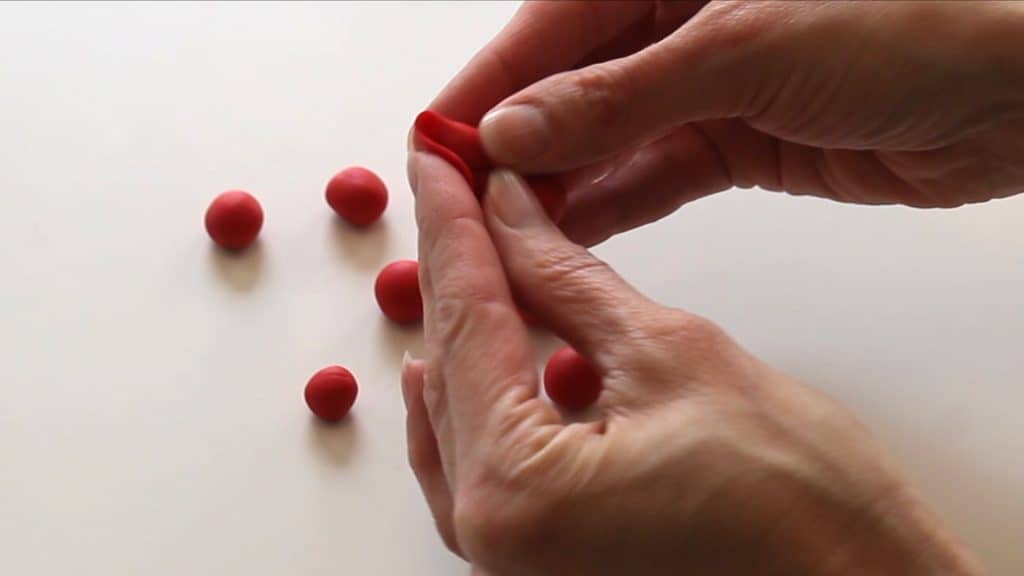
First row of rose petals:
There will be three petals in this first full row.
Take a fondant ball and flatten it into a circle with your fingers, just like you did for the bud.
Now wrap this petal around the bud.
Set it aside and flatten another petal and attach it the same way. This one will overlap the first one a bit.
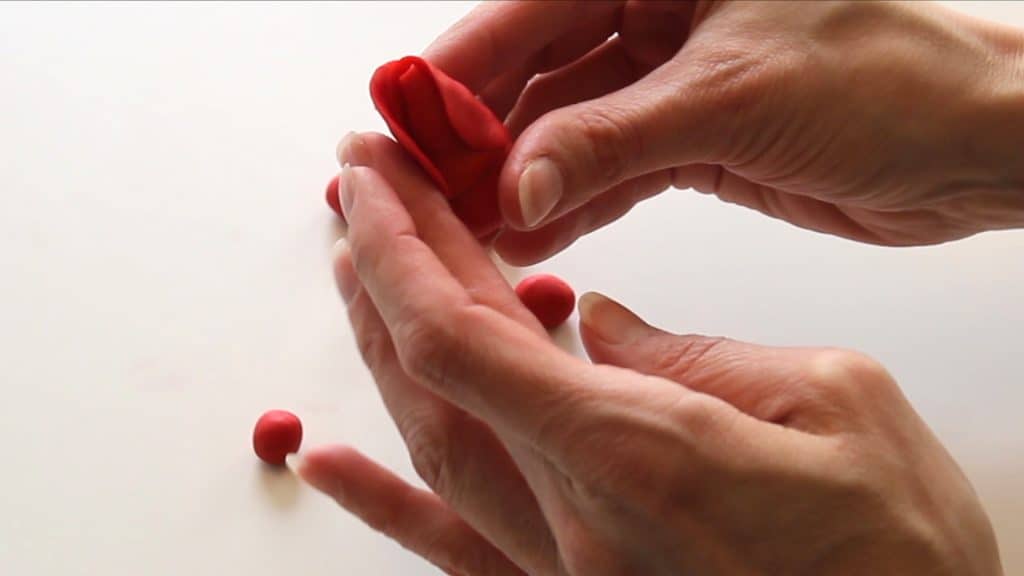
Do the same with the third petal. When you attach this one, make sure and pull the very first petal back a bit, so you can tuck this one under it.
Once you’ve tucked in the third petal, fold that first one back over to overlap it.
Set your rose aside and work on the first petal for the second row.
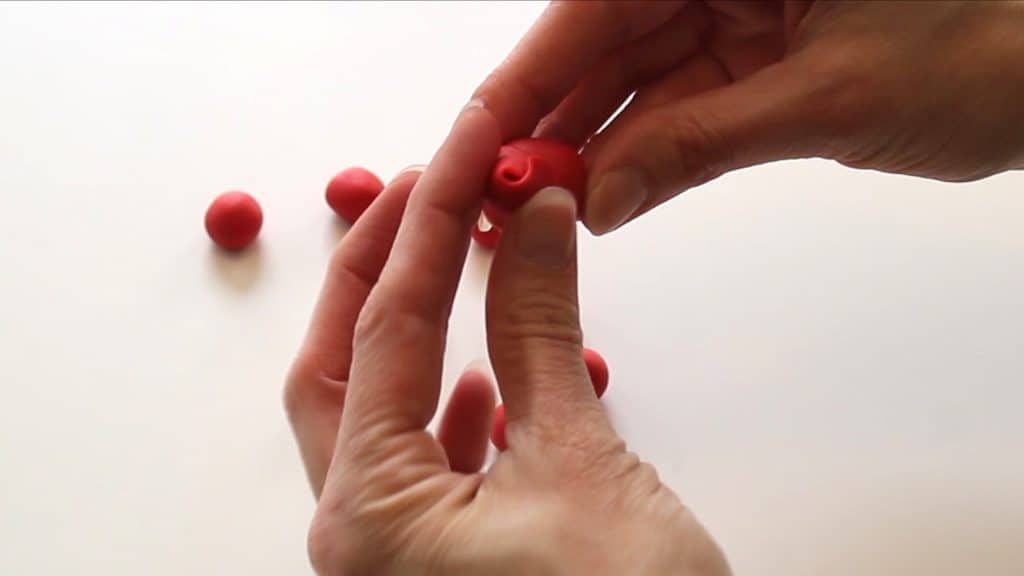
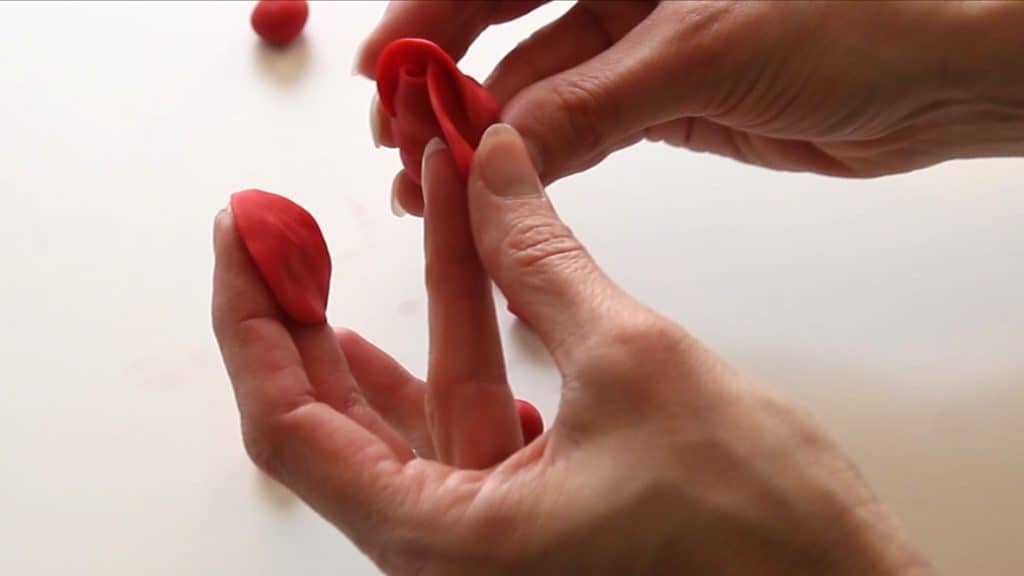
Second row of rose petals:
For this round of petals, you’ll be using five petals (you should have only five left).
Take a fondant ball and flatten it just like you did before and attach to your rose.
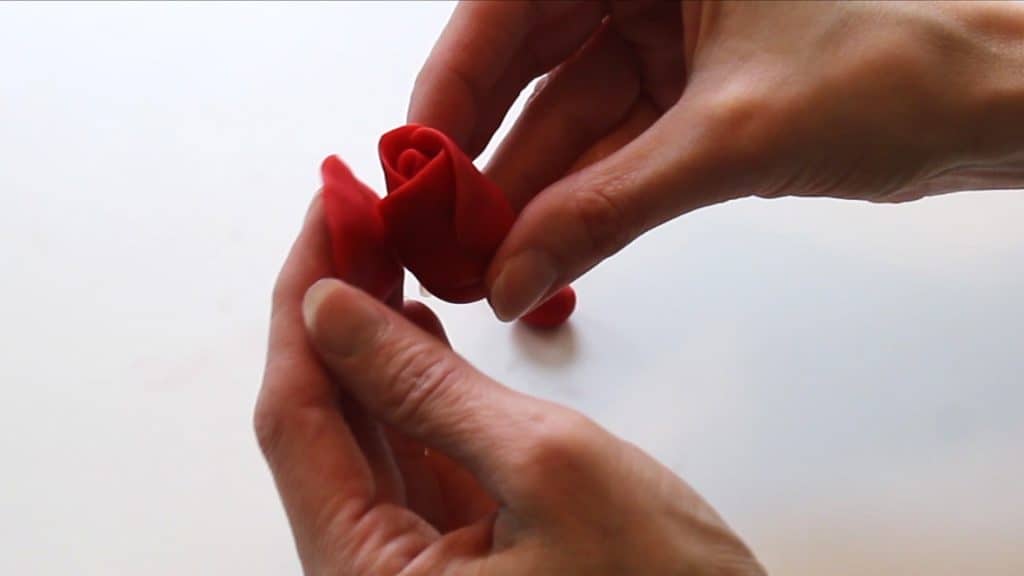
Do the same for the second petal.
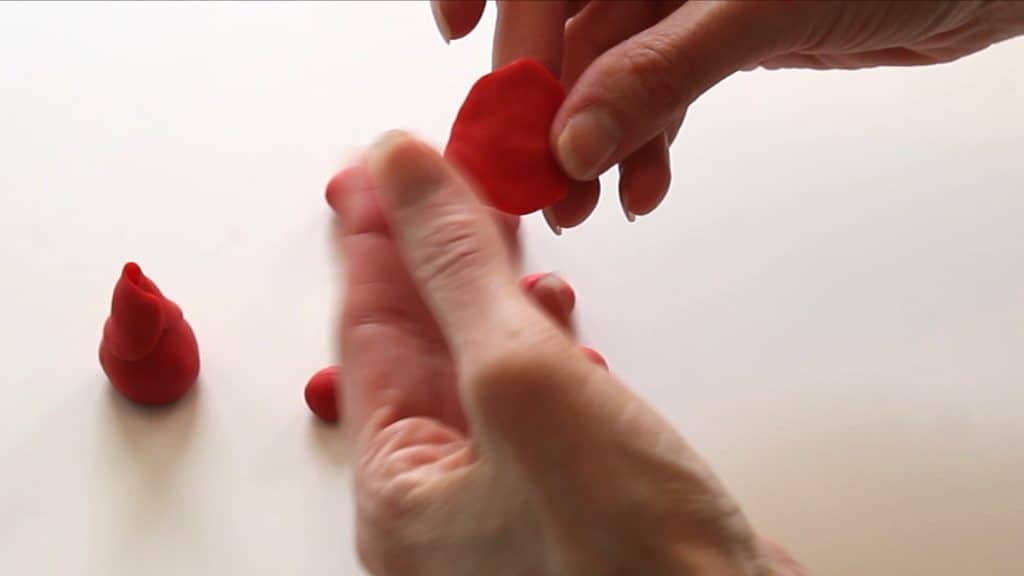
Now keep adding all the rest of the petals and make sure to overlap them a bit.
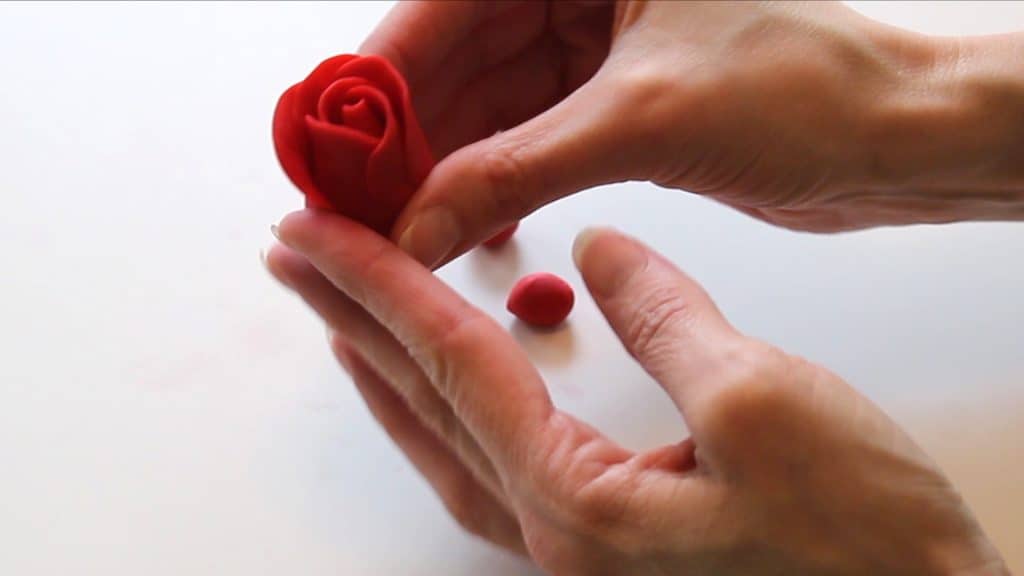
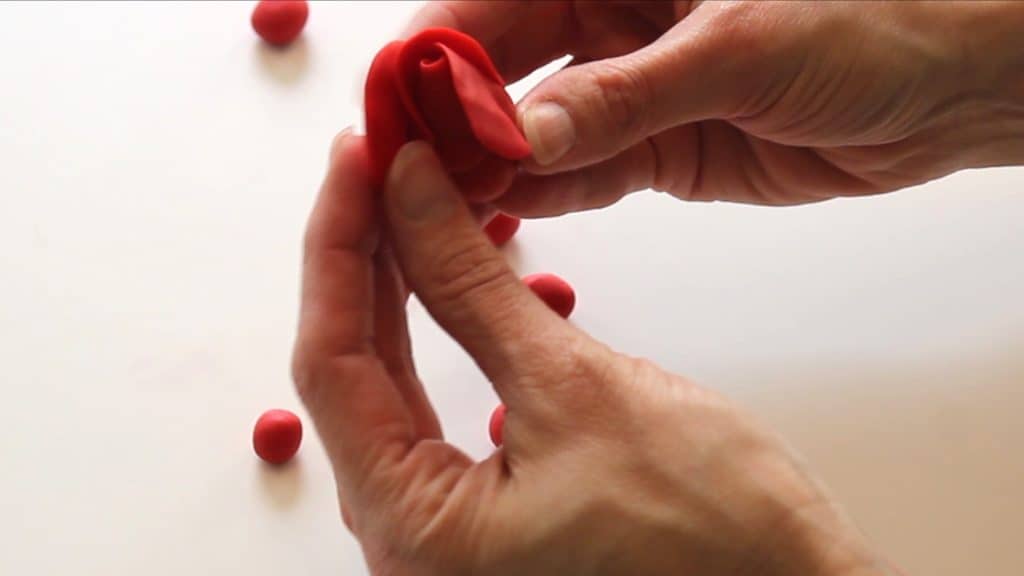
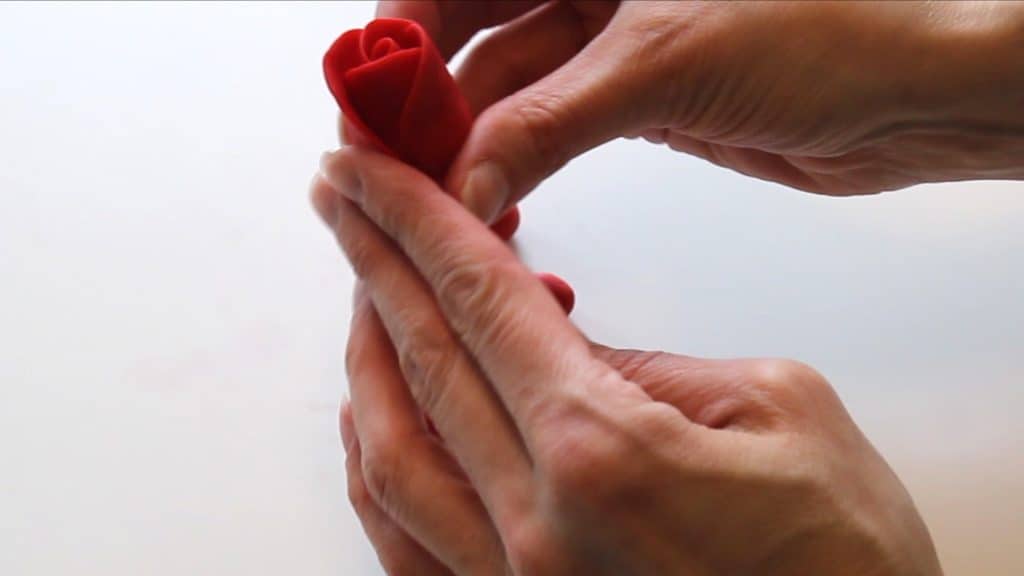
Now, after you’ve added the second row of petals, you can keep going if you’re going for a really large rose. Just make your petals a bit larger than the previous row and add five more.
If the bottom of your rose is a little bulky, you can either cut it off with some scissors, or just twist the bottom and pull off the excess.
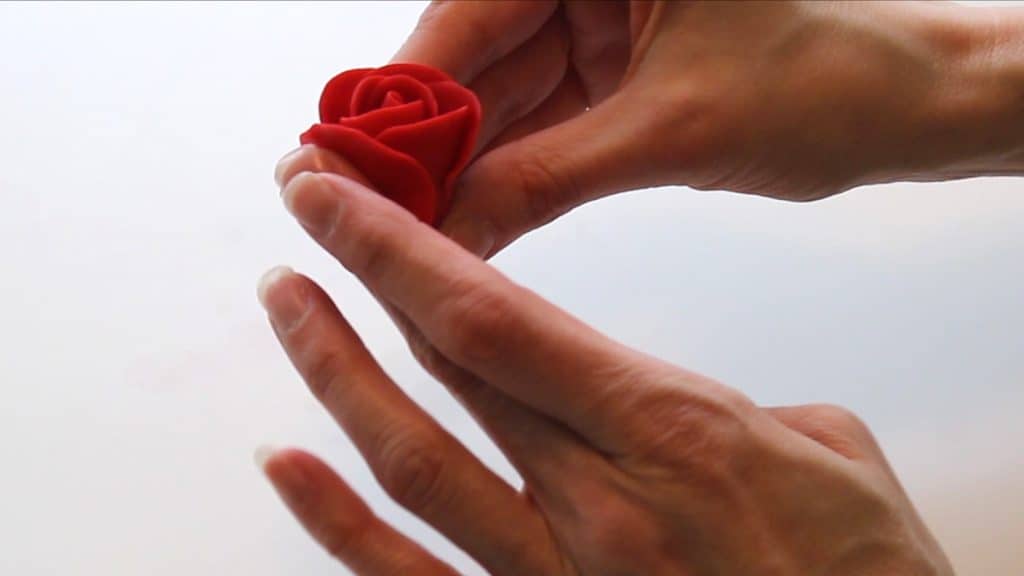
Then you’ll want to adjust the petals and open them up a bit.

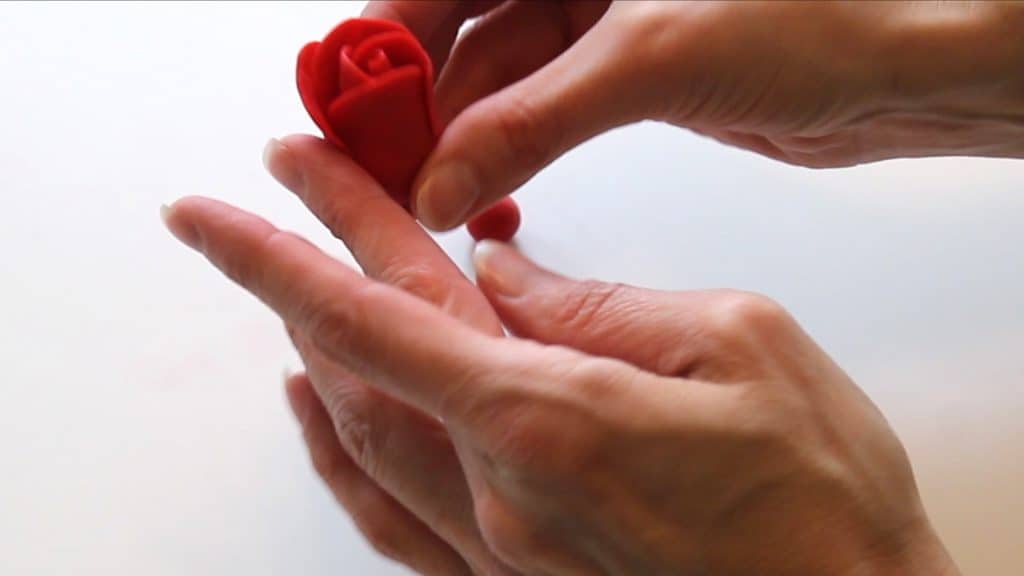
Make sure to set them aside and let them dry fully. Since it’s fondant, I’d let them dry a couple days. Before they dry, make sure if you’re planning to add them to the sides of your cake, that you add a toothpick to the bottom and insert it into some styrofoam to dry.
Ok, that’s it! Super easy right? And no buying tons of tools in order to get it done!

These are perfect when you’ve got tons of sugar roses to complete, or you’re just short on time.

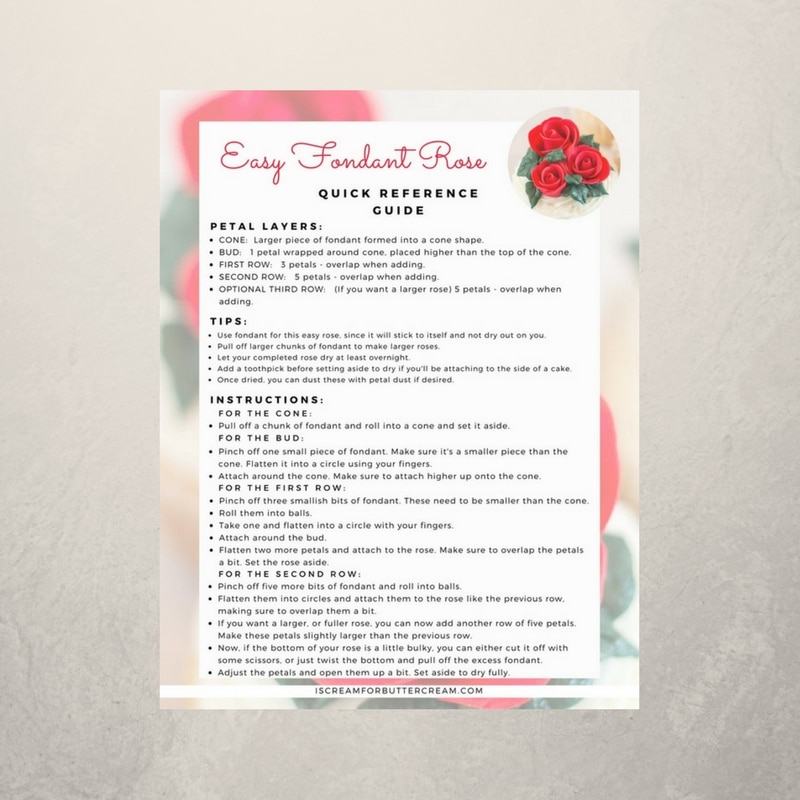
Printable reference guide:
If you want a handy cheat sheet to reference when making these, just click the graphic or button below to download it.
Easy Fondant Rose Video:
Don’t forget, if you’d like to download the free reference guide, enter your email below!
If you make these, I’d love to see a pic!
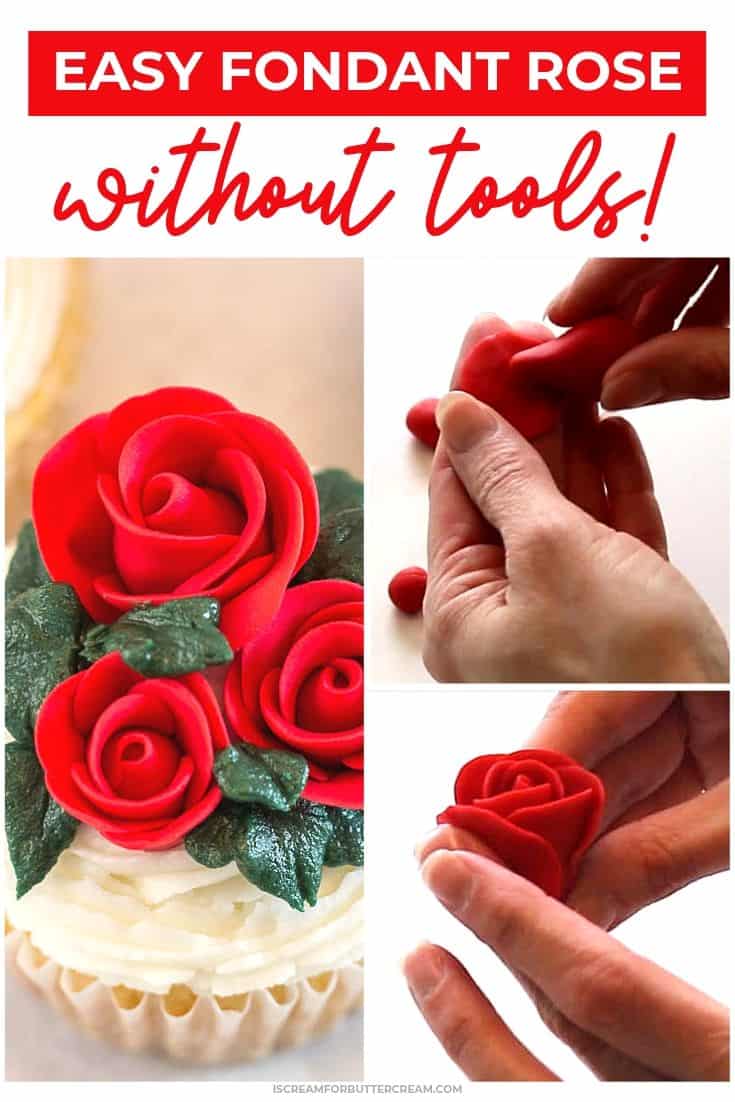
Don’t Forget to Pin it for Later!
Brenda
Great lesson! Thanks for sharing.
Kara Jane
Oh thanks…and you’re so welcome! 🙂
Jennifer
So helpful. Can’t wait til tomorrow so I can play!
Kara Jane
Yay! So glad it was helpful and I hope you have fun with it!
Joan C
Can these roses be made well in advance? How can I store them – should they be frozen or just kept in an air tight container?
Kara
It will depend on what you want the final product to be. If you want them to harden up then they can remain uncovered in a cool, dark and dry place at room emp although for that I’d probably use gumpaste instead of fondant because gumpaste doesn’t tend to crumble as bad as fondant does when dried.
If you don’t necessarily want them to be dried and hard, you can just put them in an airtight container in a cool dark place at room temp. You could also freeze them in an airtight container if you want, but you don’t have to. If you freeze them, be careful not to touch them as they’re defrosting because condensation can form and they get sticky until that’s evaporated.
Rose
Hi thanks this is so helpful! Will this last for a night in a fridge on top of a cake?
Kara
Hi Rose, I actually wouldn’t refrigerate these if you can help it. I prefer not to refrigerate fondant because it can condensate and get soft and sticky. Having said that, if you need to, just do not touch it when you pull it out until it’s dry or it will be really sticky.