So my step-son and his girlfriend were married this month. I was so excited when they asked if I would do their wedding cake. I was even MORE excited when the Bride told me her only request was red roses. YES!! (insert fist pump here). I LOVE it when I am given creative leeway and not just a picture of a cake they want me to replicate. If you have a cake decorating business, or you do it as a hobby, I’m sure you know what I mean.

So back to the point here. I was excited that I could use my creativity to match their style. I asked them the usual questions like, do you want modern, traditional, country? After learning about their style, I went about sketching some design options for them.
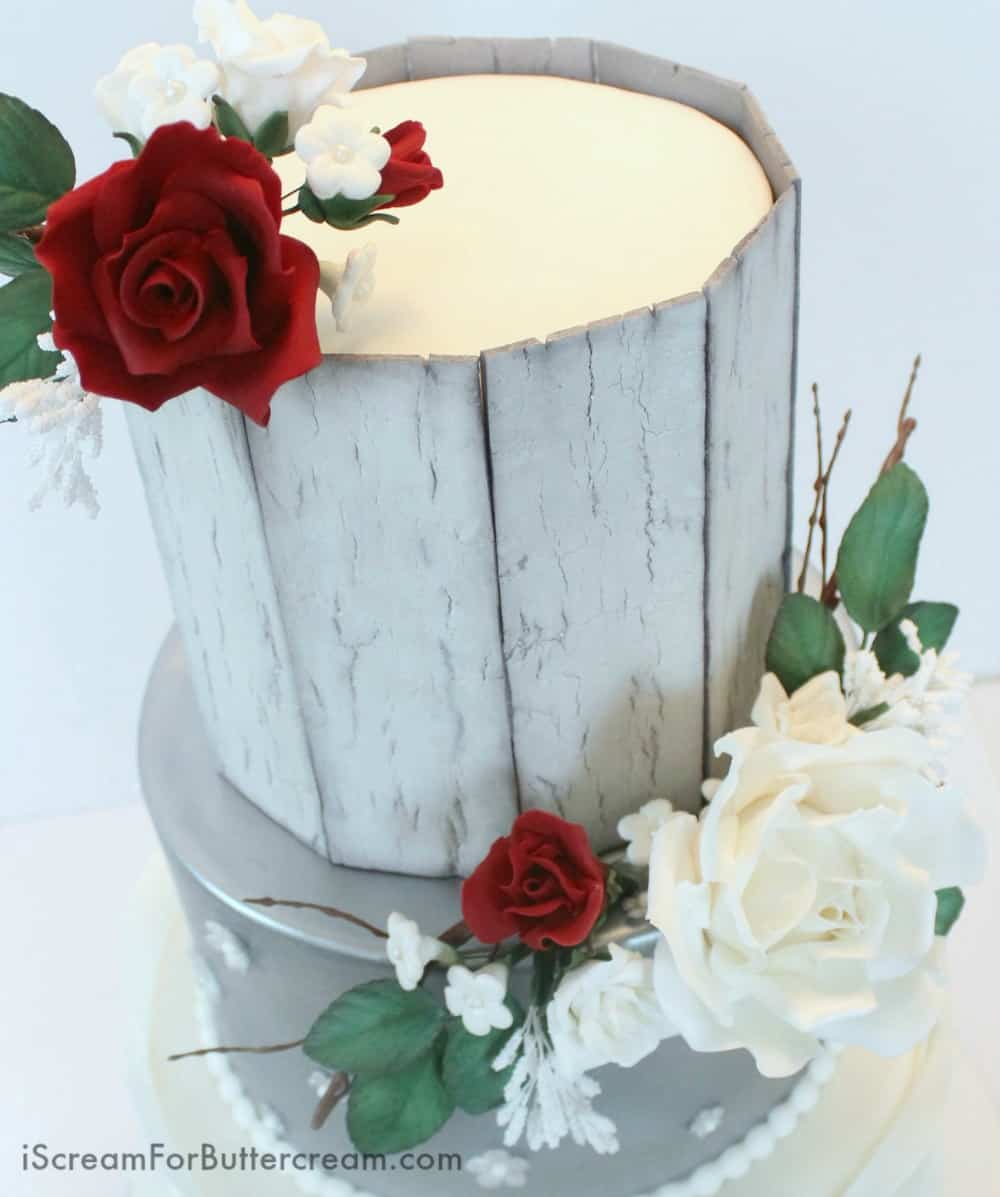
I went a little overboard and sketched about four different cake ideas and this is the one they picked.
The wedding was two hours from where we live and traveling with this thing was a heart attack waiting to happen. I had to do a lot of praying. Oh, by the way, I have a post about how I travel with cakes.
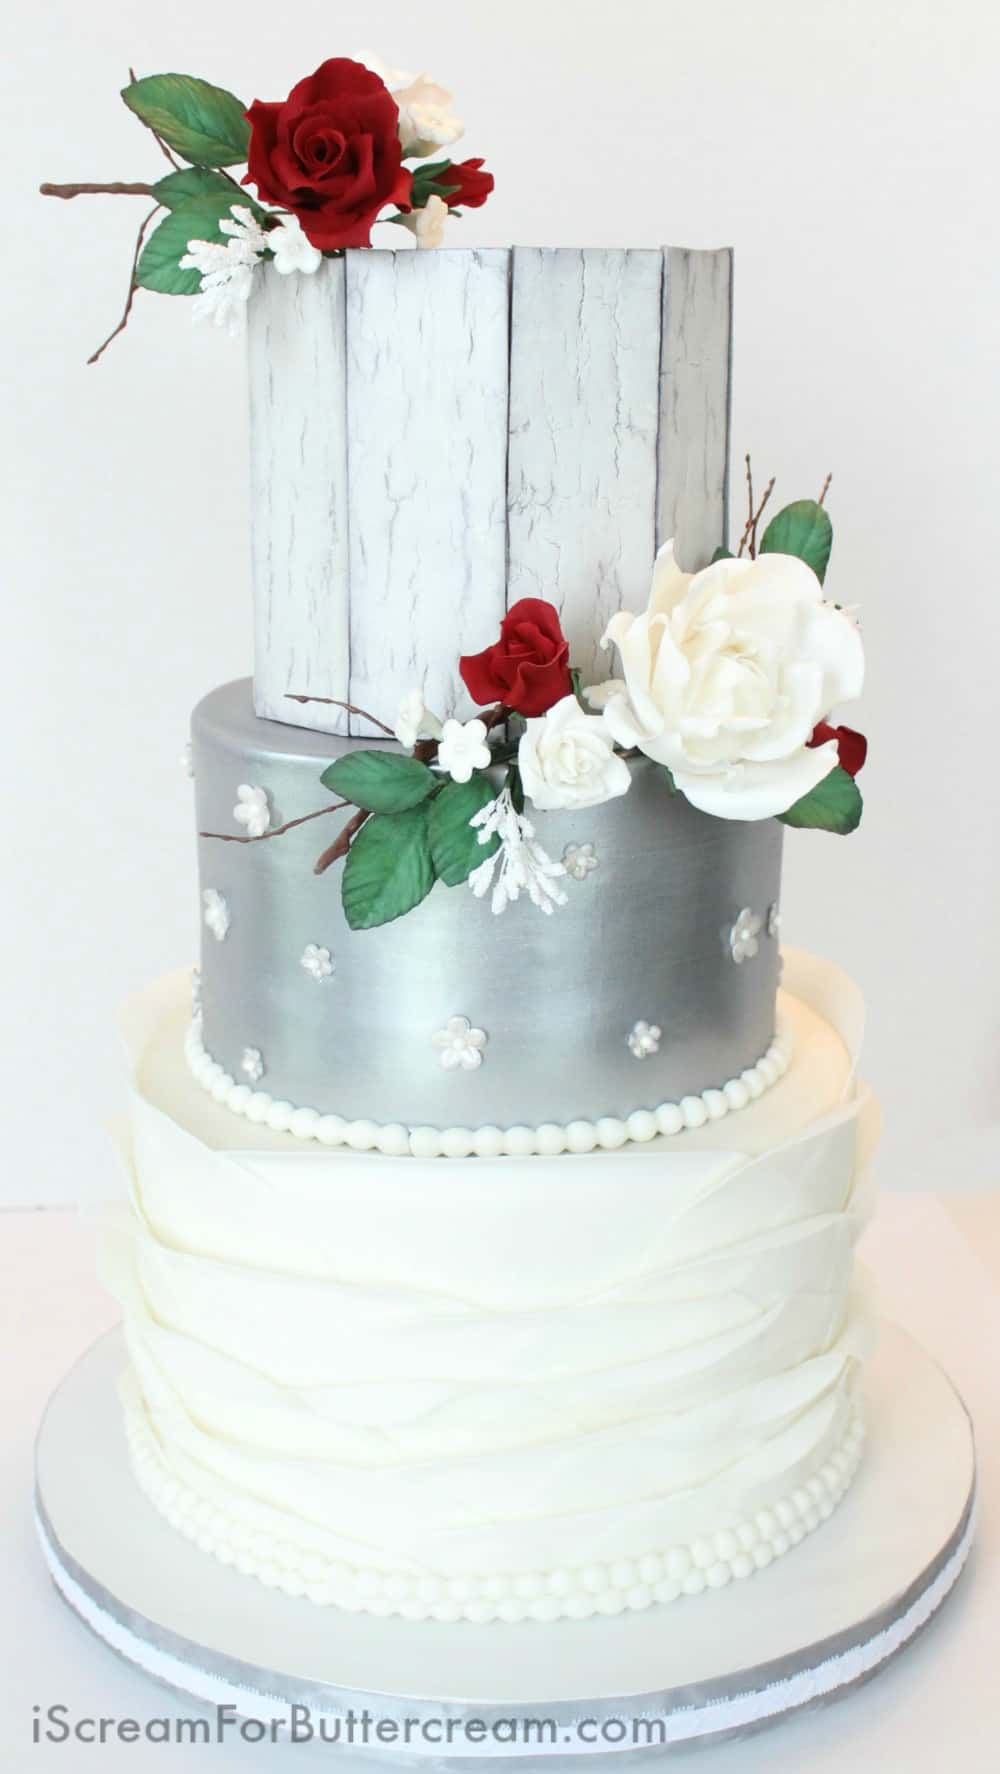
Back to the point though…This wedding cake is sort of a mash-up of everything I’m loving right now. There is so much going on here, but to me it all just works.
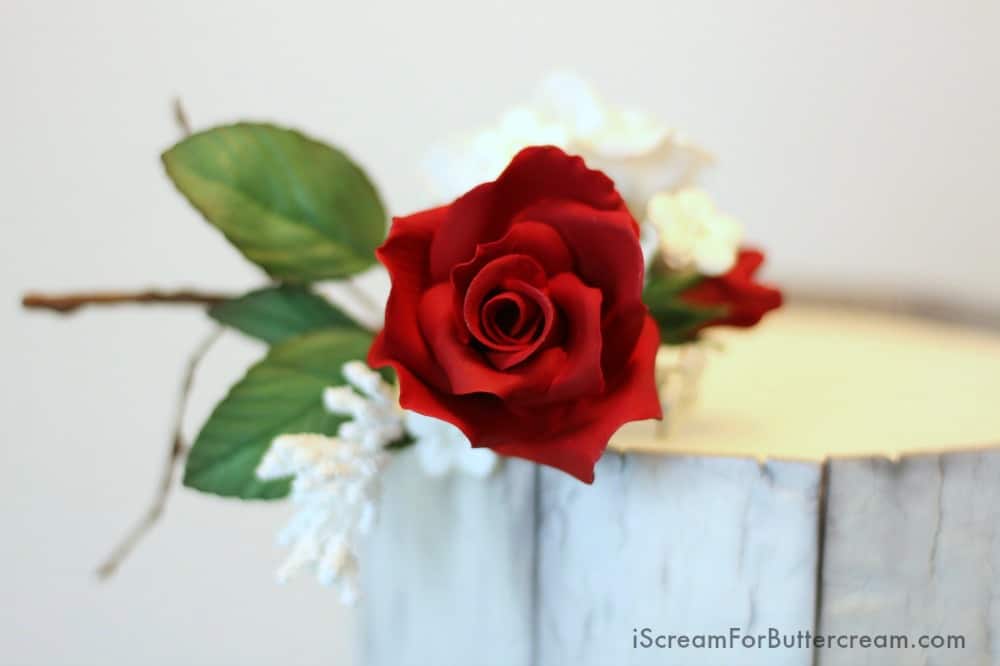
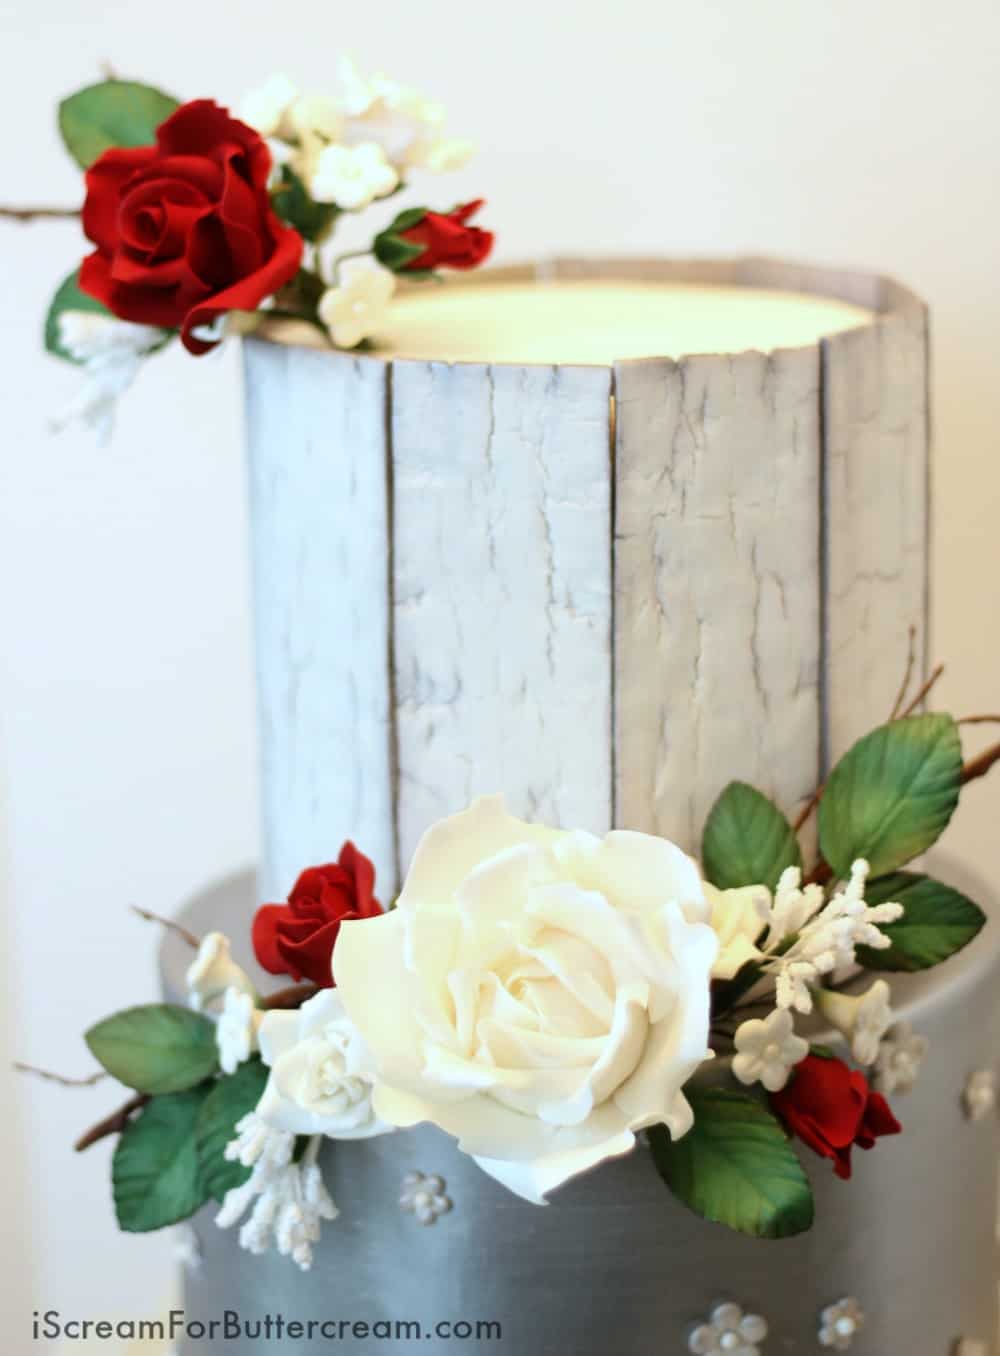
I love the combination of the rustic wood panels on the top layer, against the metallic silver and then the feminine ruffles at the bottom.
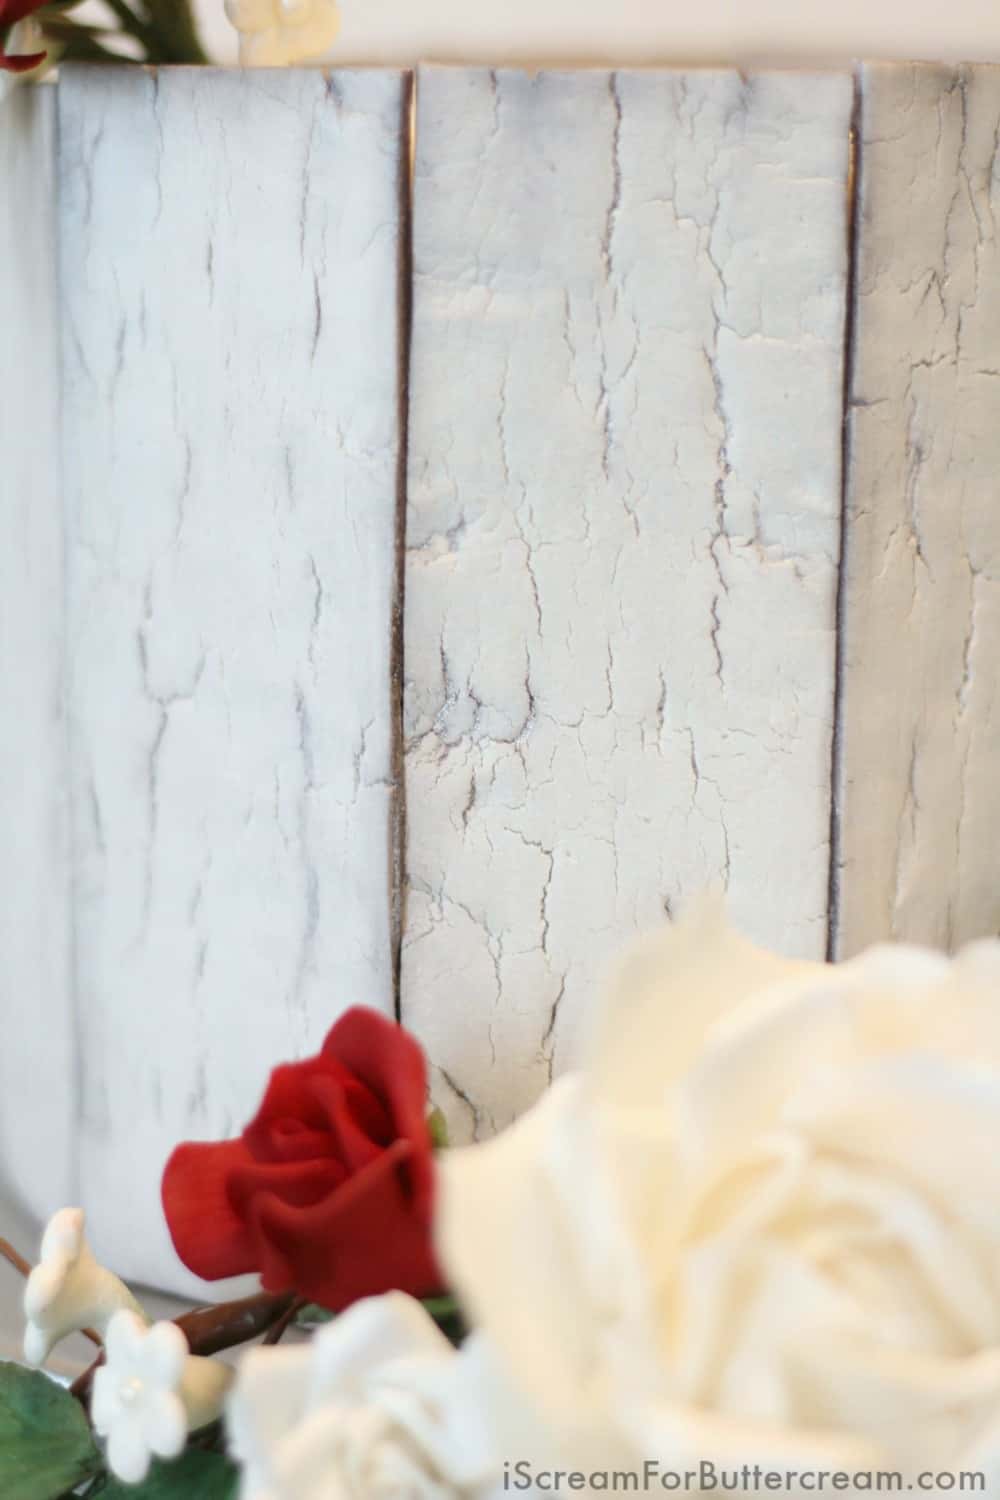
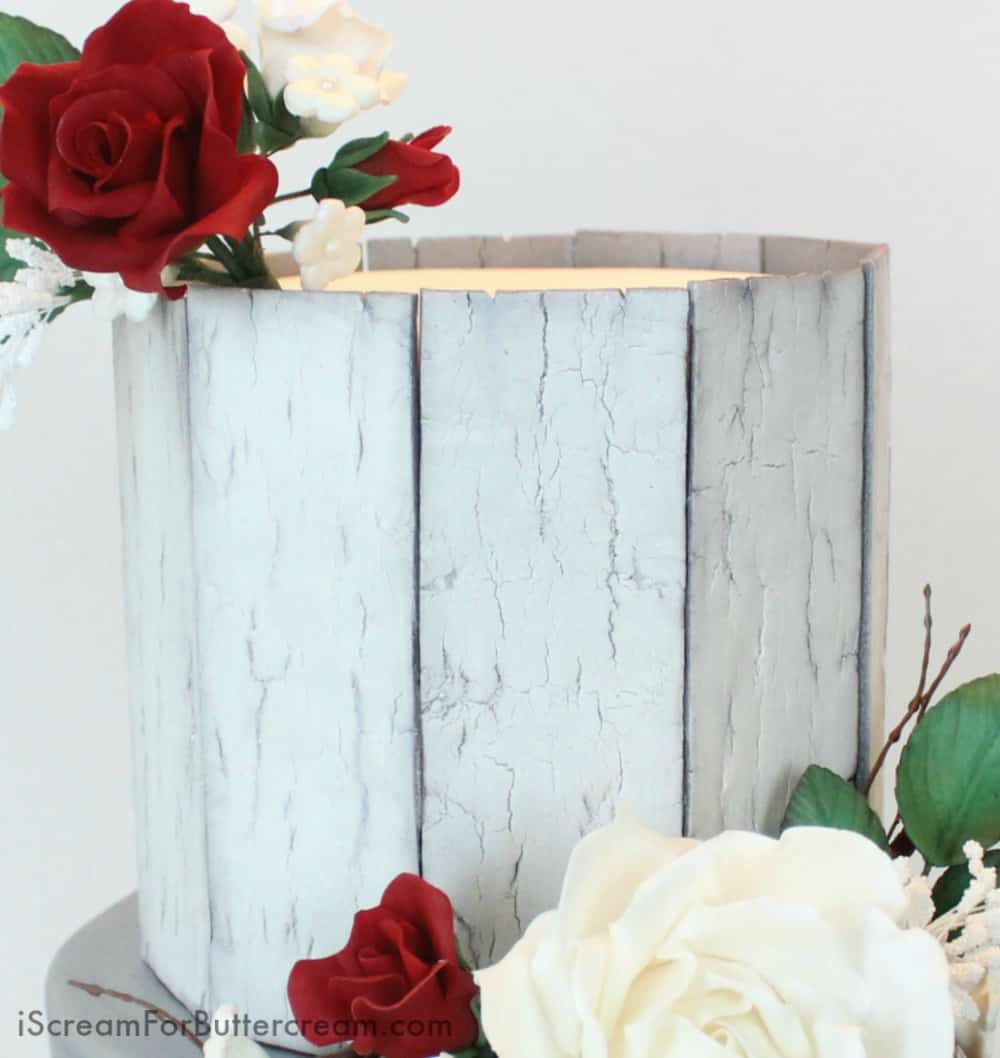
The wood panels are a little rustic, but adding silver in the cracks just made it more elegant. The silver tier is my favorite though, because duh it’s silver! The bottom tier with the petal-like ruffles resemble large rose petals and I think it gives it an ethereal feeling.
So, on with the tutorial:
As an Amazon Associate, I earn from qualifying purchases.
The Rustic Top Tier:
The top tier was done using a technique from Kara’s Couture Cakes. That lady has some serious cake skills and really thinks outside the box. I won’t show you the tutorial here because, well, it’s hers and not mine to show. I used her tutorial as a jumping off point and changed a couple things up to fit the look I was going for. If you are interested in learning how it’s done, click here to get her tutorial.
And no, I did not get any compensation for saying great things about her. She’s talented all on her own and you should check out the tutorial.
If you want an alternative way to do the wood panels, check out my DIY Rustic 4th of July Cake tutorial here on my blog. You can use any color you want on them and if you want the silver look like mine, just use edible silver dust instead of the dark brown dust used in the tutorial. It will have a different look than this cake, but will still look good.
Now, if you’d like to know how to make gumpaste roses, I’ve got a tutorial here: How to Make Large Gumpaste Roses
The Silver Middle Tier:
Supplies you’ll need:
- your cake tier covered with fondant. I use this recipe for making fondant. I’ve tried many many brands and other recipes and this one, by far, is the best. It’s easy to make and it doesn’t tear or get that ugly elephant skin. Try it!
- edible silver luster dust (I used three different kinds…I mixed Edible Hybrid LUSTER Dusts in Nu Silver, Dark Silver and Sparkle Dust in Nu Silver for ‘polishing’.
- Large brushes (like large powder or blush brushes)
- Lemon extract or vodka (the vodka is for when the kids are wrestling and screaming and you’re all stressed out trying to put a cake together…ok just kidding…don’t drink and cake.)
And now we’ve come to my favorite part… metallic!
This tier isn’t hard to do. I normally use three layers of cake per tier. That gives me a height of about 5 ½ tall. I like the taller cakes.
I also used white chocolate ganache on all of my tiers. I’m sure you can use buttercream, but honestly I can’t get my fondant as smooth with buttercream, as I can with ganache.
So, you’ll cover your cake in ganache or buttercream and then cover with fondant. If you want a darker silver look, you can color your fondant a gray color. (Remember some grays will have a hint of green and some will have a hint of purple, so color several days before you have to use it so you’ll have time to adjust it if needed). I just used white fondant on my cake.
One thing to note on metallic finish cakes. Once you paint your fondant a metallic, it will show any and all imperfections your fondant has on it…and I mean ANY imperfections. So, I suggest looking at your fondant really closely after you’ve covered your cake. Are there any bulges? Lines or ridges because the cake settled more? Any fingernail marks? Any pin holes from where you had an air bubble? If so, take out a texture/impression mat and impress a pattern all over the sides of the tier. This will camouflage it and gives it a cool modern look.
Don’t wait too long to decide to do this. Once the fondant is dried, you can’t impress into it.
So, now you’re going to be using some serious amounts of luster dust here. Mix your two luster dusts into a bowl. You’ll probably use at least half of the contents of both jars. Don’t mix in the sparkle dust yet. You’ll use that later.
BIG DEAL HERE: Make sure your dusts are edible. They will say ‘edible’ on them if they are. Not all dusts are edible even if they come from a cake decorating supplier. The other dusts are ‘non toxic’ which is great for sugar flowers that no one is actually going to eat, but this cake will be covered it luster dust. Yes, it costs a couple dollars more to get edible…not as much as getting sued because someone got sick, or the amount of guilt you’ll have if you don’t keep their health in mind.
Ok lecture over…moving on.
Now mix in your lemon extract or vodka. Mix it around with the brush until you get the consistency you’re after. You don’t want it as thick as mercury, but you don’t want it super watery either. Even when you get it the right consistency, it’s still going to drip a little so don’t set this tier on your bottom tier until it’s dried.
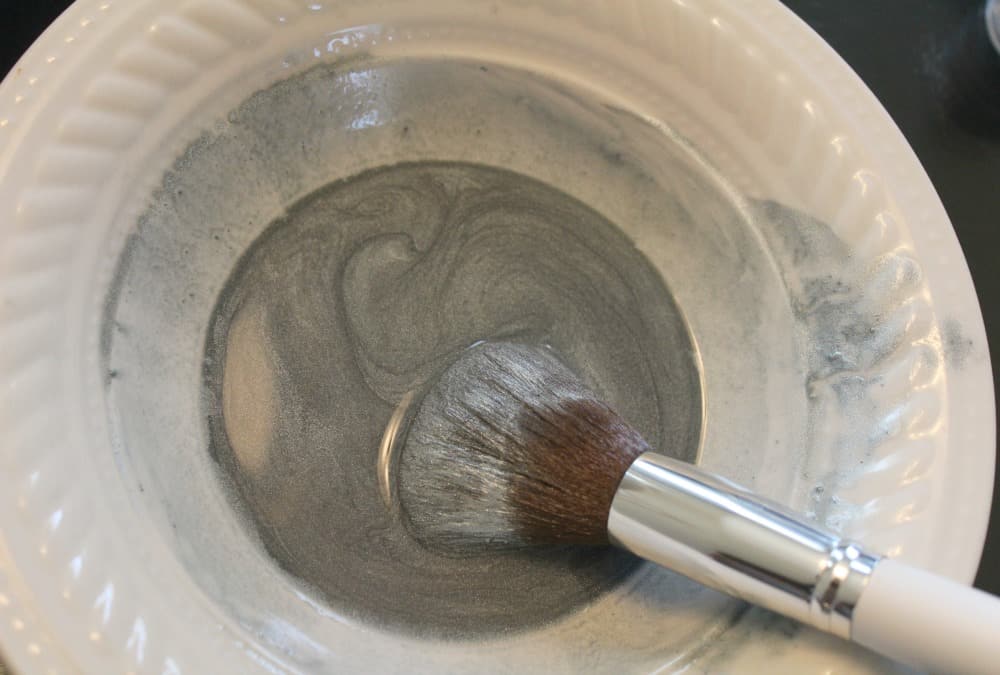
Take a brush and just paint the cake. You want long paint strokes. I paint in horizontal lines while spinning my turn table. Don’t forget the top.
Now take your dry brush and lightly go over everything in long strokes. This will even out any chunks.
Let it dry for a bit. It doesn’t take long. Wait maybe 20 minutes or so. Go take a break. (Don’t go getting into that vodka now…you’ve got work to do.)
After your break, pour some of your sparkle dust (the other silver dust we didn’t use to paint with) onto a paper plate. I like paper plates because when you’re done, you can fold the plate in half and it makes a funnel to pour your unused dust back into the jar.
Now, take your dry brush (wipe it off if there are any luster dust chunks on it) and dip it into the DRY sparkle dust. You want to ‘polish’ lightly around the cake and the top with the sparkle dust. This is what really brings out the shine. I promise this step is worth it and really makes a difference. This will get your cake almost as shiny as using silver leaf without having to actually mess with silver leaf.
So just go around and light buff/polish your tier. Just move the brush in long strokes around your cake. The dust is going to get everywhere so make sure the surrounding area is covered with something and you may even want to wear some kind of mask. Not even kidding…unless you want to sneeze glitter. (Ok, I went too far.)
There you have it! Your super shiny metallic tier. Now don’t go puttin’ your fingers all over this tier. Just be careful when handling it and stacking it onto the bottom tier.
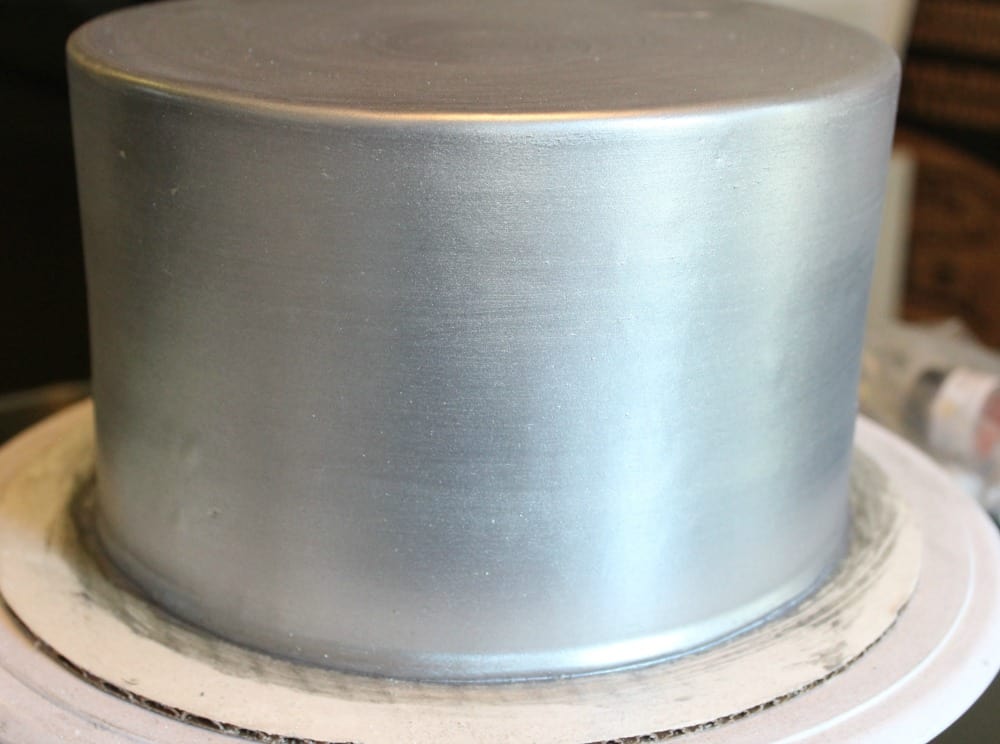
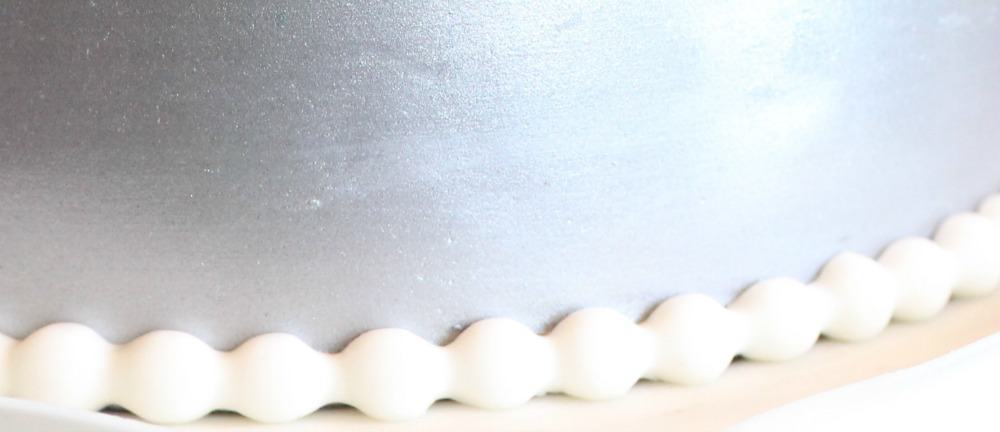
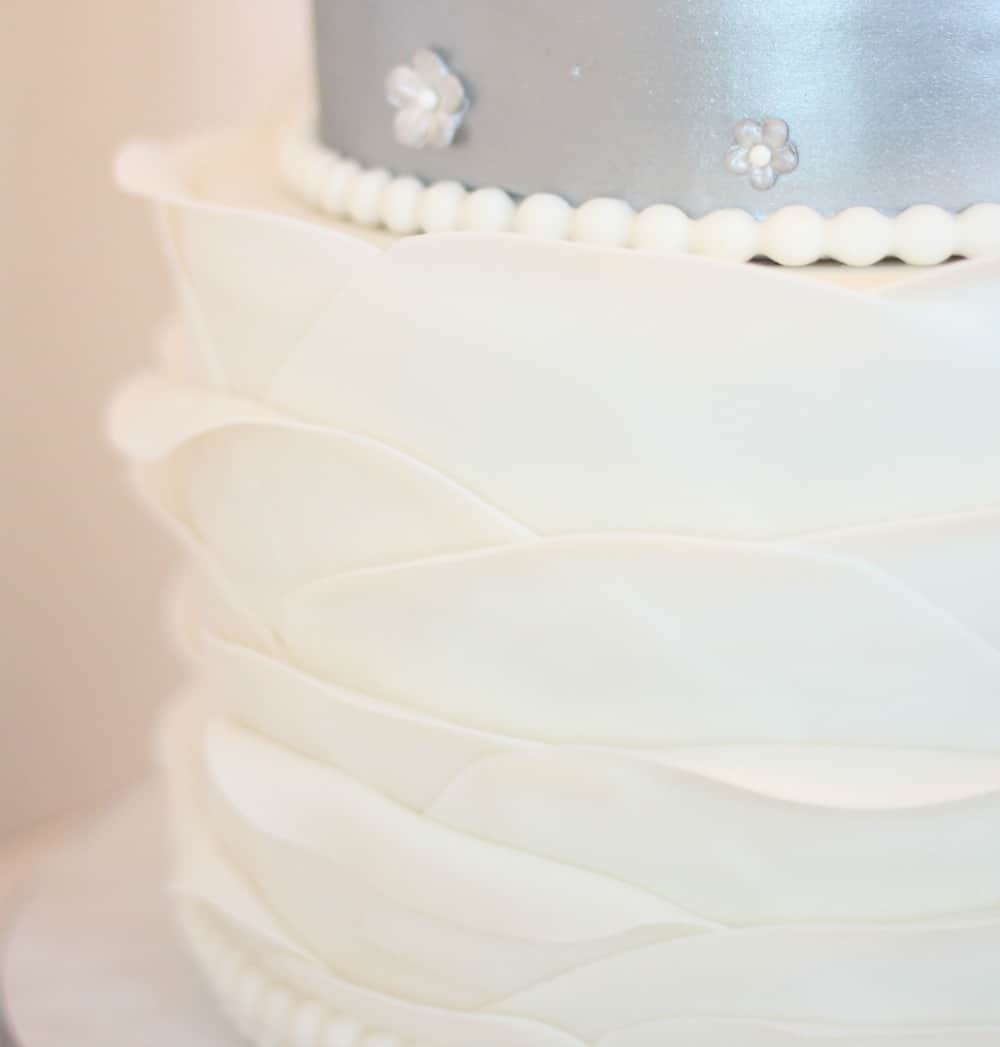
I added a pearl border around the bottom to make it look a little more finished.
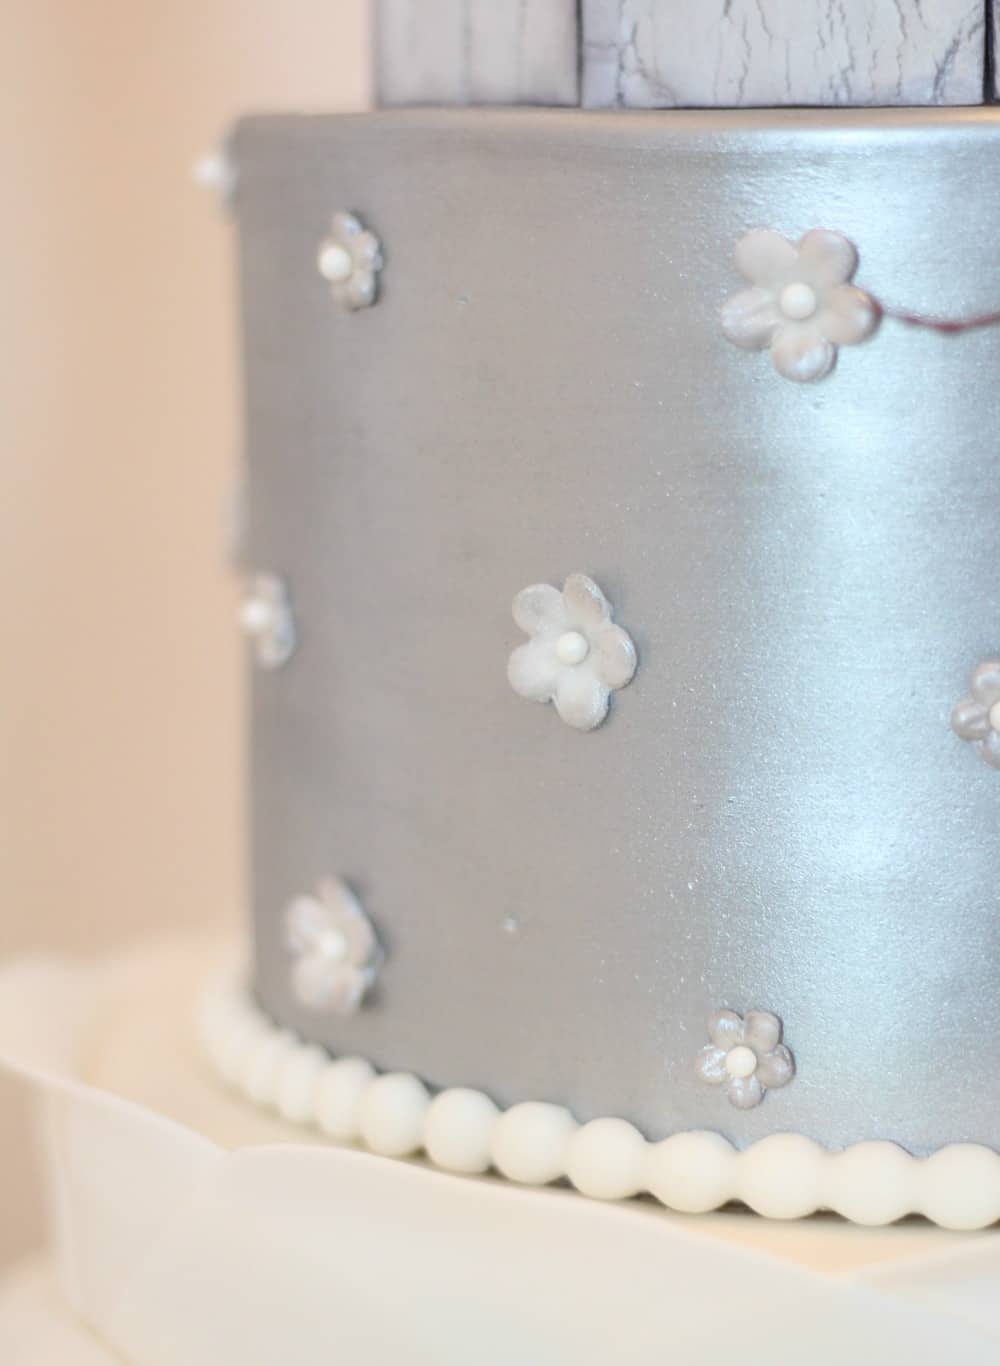
I also added some pretty white blossoms that I had tipped with silver.
The Ruffle/Petal Bottom Tier:
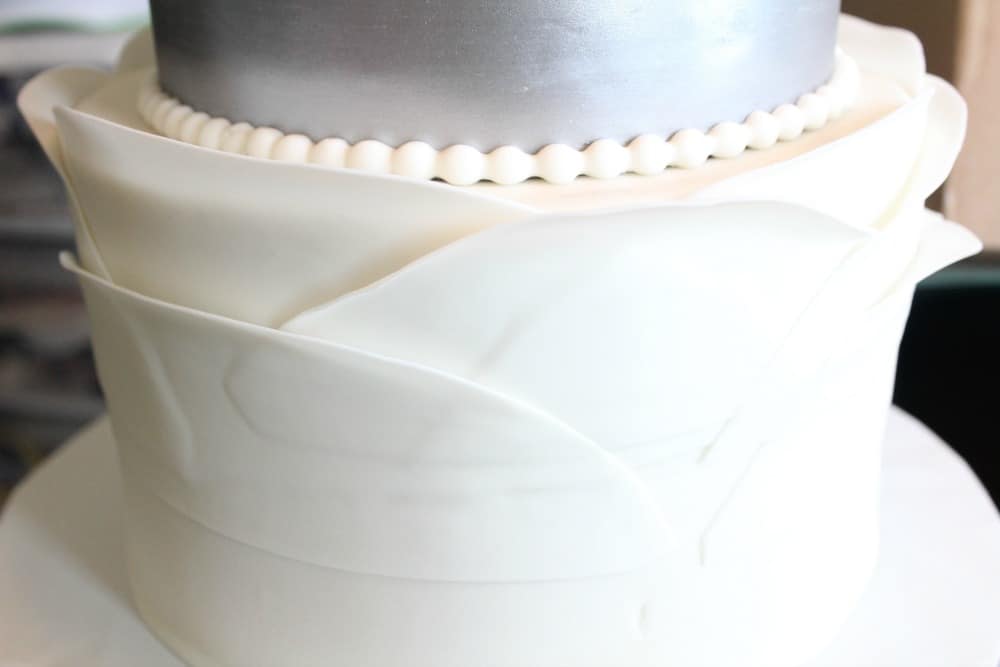
This tier was about 5 ½ inches like the other tiers in this cake. The ruffles on this tier go pretty quickly. You really don’t have to be super precise, which is always a plus.
You want to go ahead and stack any tiers that will be going on top of the petal tier. The top layer of petals will be sticking up above the tier and you’ll mess them up if you try to stack a cake on top of it later on.
Now, I use my super trusty KitchenAid pasta roller attachment for ruffles. It saves me a lot of time and saves me some neck pain from all the rolling out.
The trick with these ruffles is that you want them thin. You may have to experiment with how thin you can go before they start to fall back on you when you attach them to your cake. I like using a number 3 on my pasta machine roller. I didn’t want my petals to curve back too much. I only wanted them to have a slight curve to them, but it’s all about the look you’re going for.
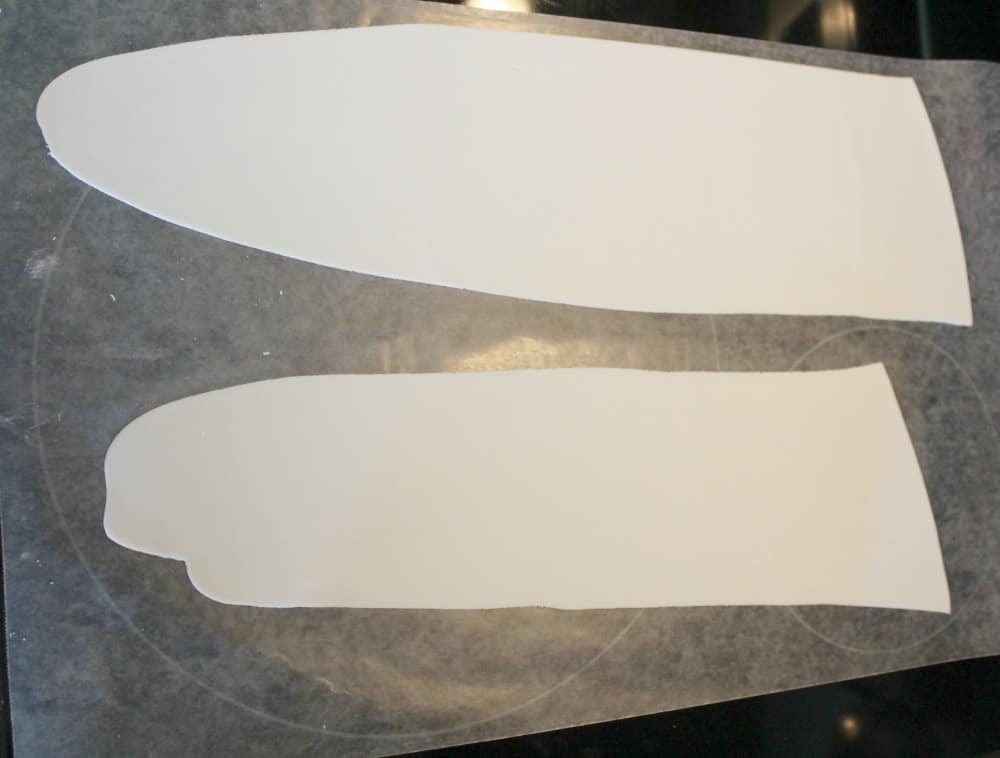
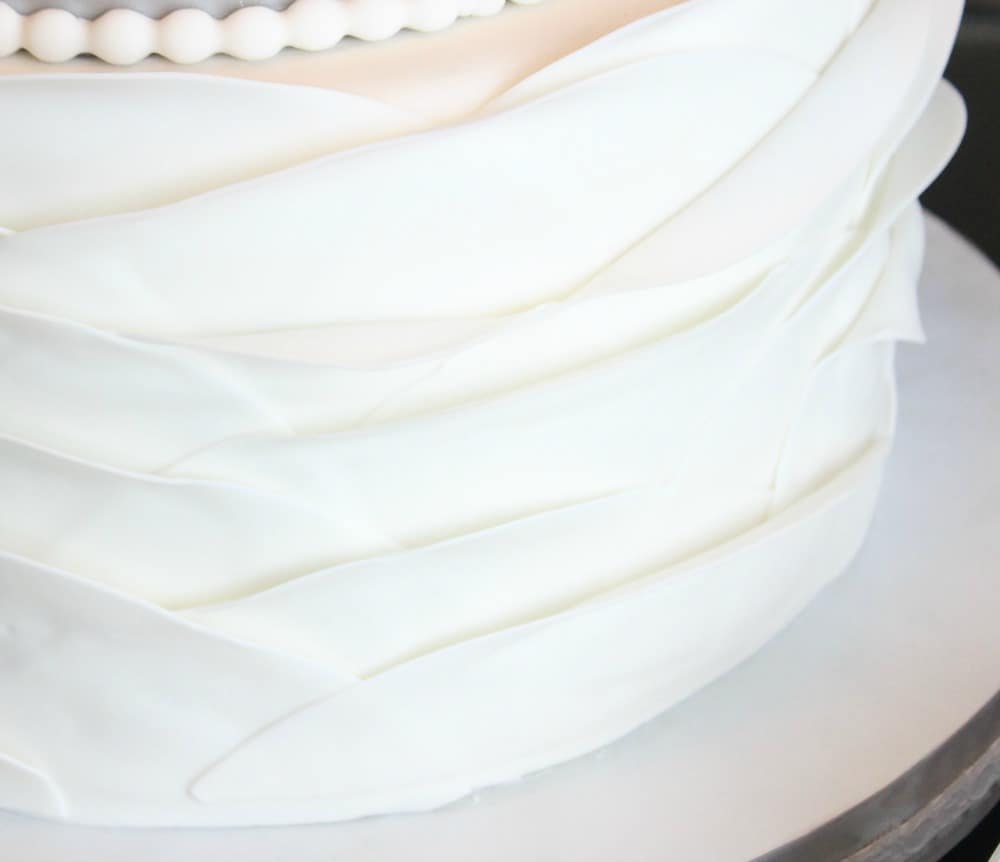
When you cut these petals/ruffles, you want large pieces like this and you want them curved. So after rolling them out, just cut the top of the strip into a curve and leave the bottom straight.
Start at the top of the cake and attach the petals with a bit of water brushed on the back of them. You want the top of the petal to stick up above the top of the cake tier.
Continue adding your petals. Skip around…leave some spaces between the petals that you’re adding and then go back and fill in those spaces with overlapping petals. Once you get the first horizontal line done, then just move down the cake tier until its covered. When you get to the bottom, you need to cut your petals a little narrower.
The last step is to add a pearl border.
Finishing the Elegant Rustic Silver Wedding Cake:
At this point, you’ve already stacked your two bottom tiers and all you have to do is stack your top tier and add your sugar flowers.
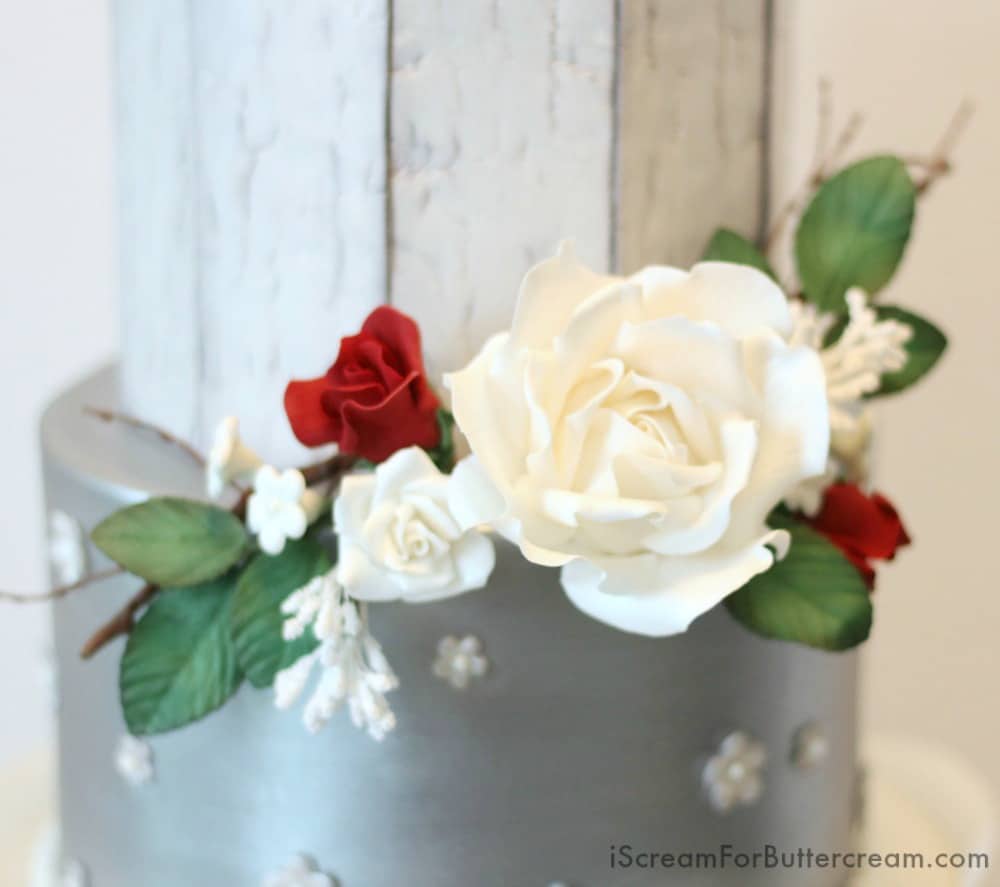
By the way, I don’t travel with more than two tiers. I just don’t feel like having a heart attack is all 😉 I box up my top tier and add it when I get to the venue. Don’t forget to check out this post for tips on transporting cakes.
I’m really happy with the way it turned out.
Do you want to see a quick slideshow of how this cake was made? Click below to see it.
The bride and groom seemed very pleased and of course I wish them the very best of luck.
Oh…and click here to see the Groom’s cake! Here’s a hint: In a galaxy far far away…
As always, if you have any questions about this tutorial or cake decorating in general, shoot me an email!
I’d love to hear from you!
DON’T FORGET TO PIN IT FOR LATER!

Dooshima Williams
Omg that wedding cake is so cute! I really like the detail in the wood and your flowers look real. The silver part has to be my favorite .
http://www.thatrunwayprincess.com
Kara Jane
Thanks Dooshima!