
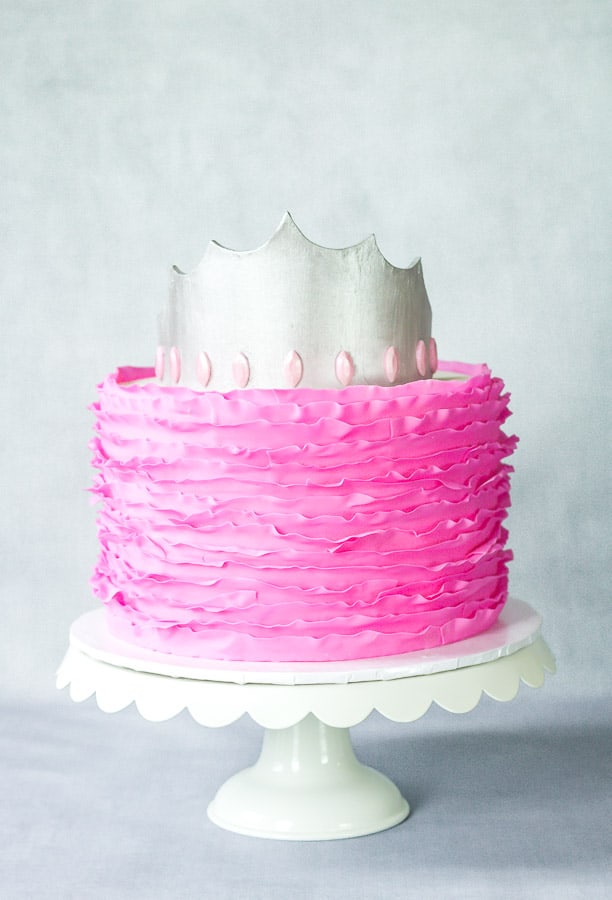
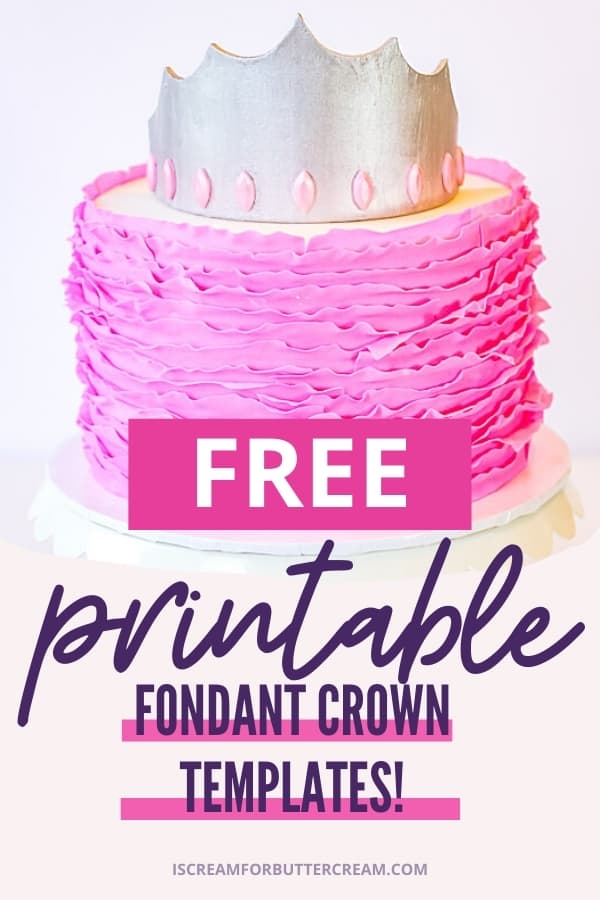
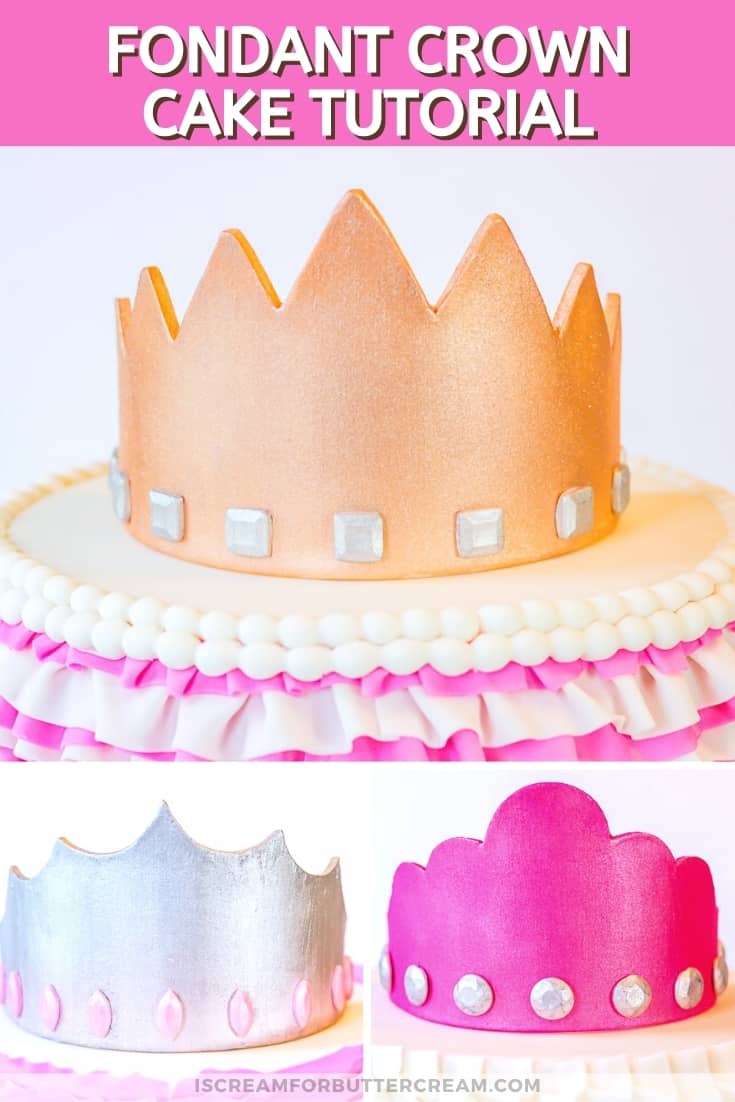
Learn to create three different fondant crowns to top your cake. Cute, easy and can be customized in so many ways, plus you’ll find three downloadable templates that you can print and use to create your own crown cake topper.
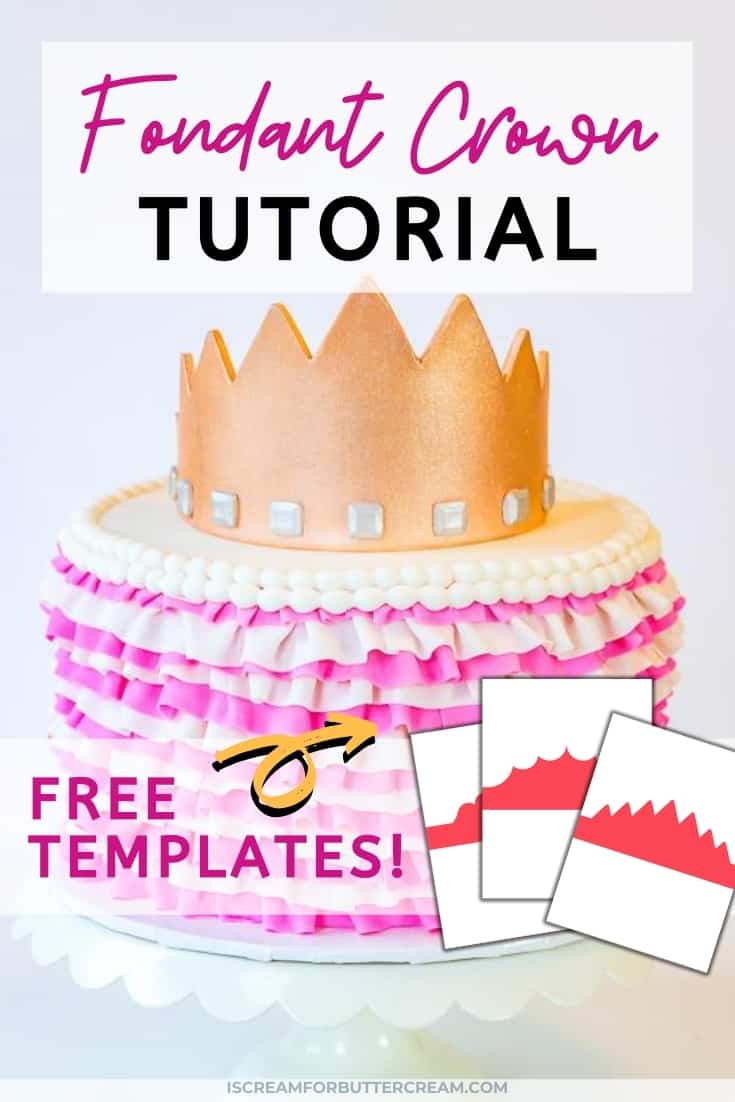
Crown cake toppers are so fun to make and they’re really easy to customize them. This isn’t just one fondant crown tutorial, it’s actually three! Oh, and I’ve even got templates for you that you can print out and use as guides for making your crowns!
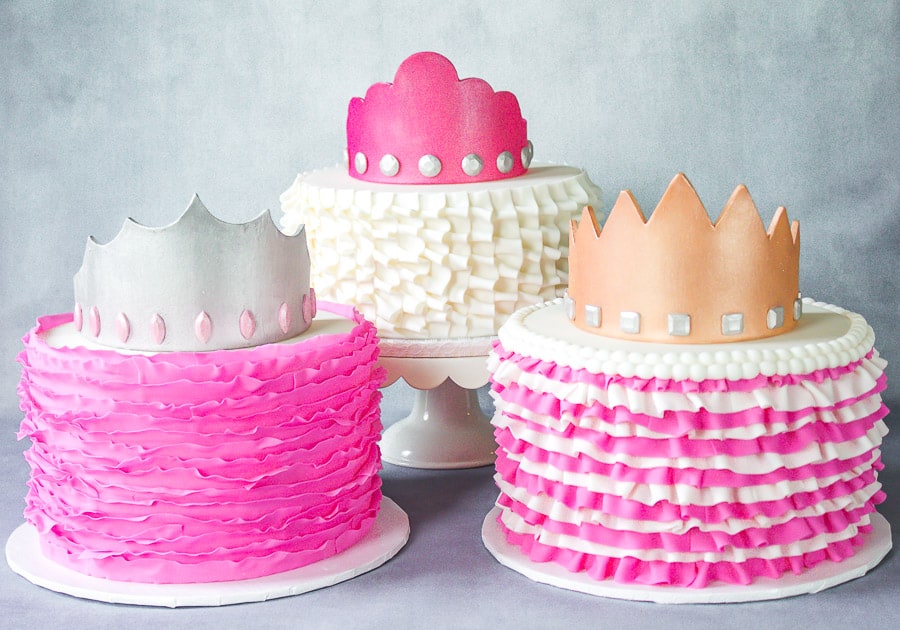
You can, of course, make these crowns in any color you’d like. You can also add different jewels, more jewels or even mold tiny roses to put on them. The options here are endless.
Oh and if you’re interested in learning how to make fondant ruffles, I’ve got a free mini course you can find here: Free Mini Course for Making Fondant Ruffles. There’s no trick here…it’s really free.
Ok, on to the tutorials and templates. In this post, I’ll go through how to make each crown and I’ll add the template at the start of each crown’s tutorial. All you’ve got to do to download the template is just click on the image of the template you want and it’ll download automatically.
This post contains affiliate links. As an Amazon Associate, I earn from qualifying purchases. You can see my policies linked in the website footer.
Supplies Needed for All of the Fondant Crowns:
- Fondant or Gumpaste in whatever color you want. Note: It’s best to use all gumpaste, but fondant is also okay if you add Tylose to it to strengthen it. You need these crowns to firm and dry hard.
- Small fondant roller
- Cornstarch
- Template for the crown you’re making (you can find these at the start of each tutorial in this post)
- Gem mold (optional)
- Edible pearl dusts (I used dusts similar to these: hot pink luster dust, silver luster dust, soft gold luster dust)
- Paint brushes used only for caking
- Exacto Knife for cutting out your crown shapes
- A large can for shaping the crown (I just used a shortening can)
- Shortening
- Wax paper
- Tape
Look for the video tutorial for all three crowns close to the end of this post, so you can see how they’re put together.
Tutorials for Each Crown:
The Process for all crowns:
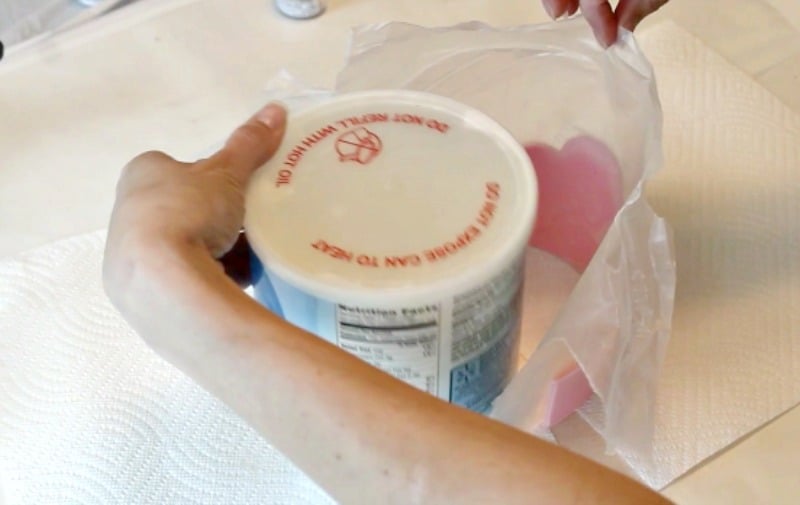
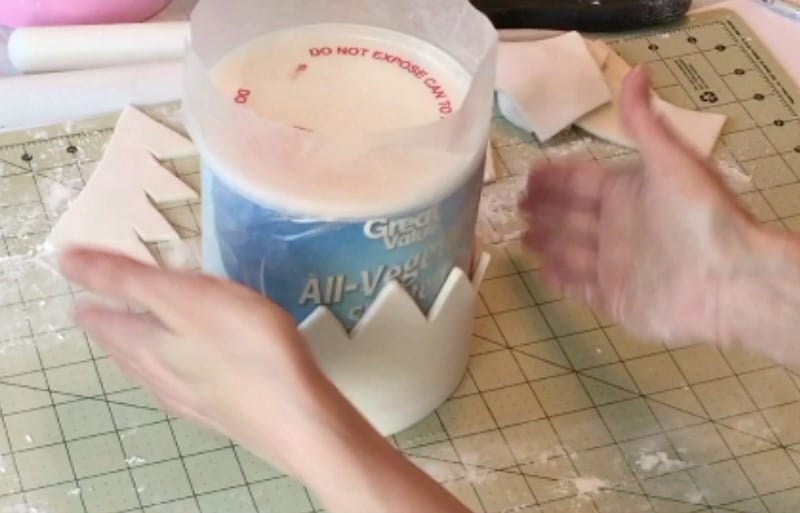
First you’ll need to tape some wax paper around your can you’ve chosen. Make sure it’s taped smooth around your can and set it aside while you work on your crown.

Now color your fondant or gumpaste in whatever color you desire. Make sure if you’re using fondant that you add some tylose to it, so it will dry as well as you need it to. Make sure you knead the powdered tylose in well.
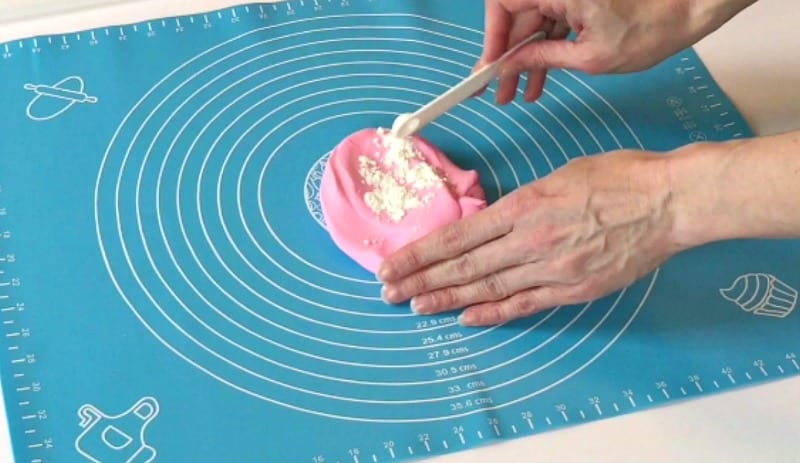
Roll your fondant out. You don’t want it too thin, or it’ll just be too delicate. You also don’t want it super thick either. (The video shows the thickness.)
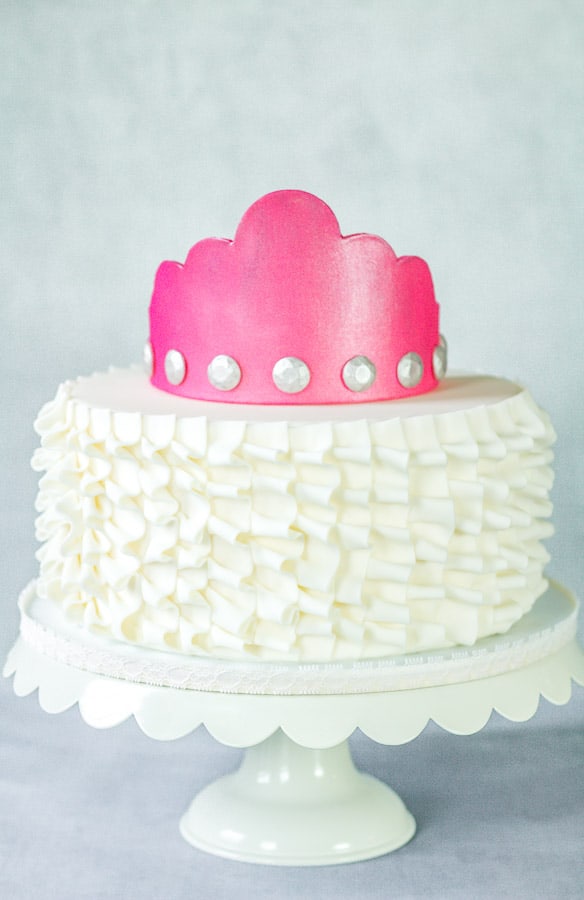
The Pink Crown:
Click on the graphic below, to download this crown template:

For the pink crown, we’ll be painting it with edible dust later, but it’s good to start off with colored fondant.
Just roll out your pink fondant or gumpaste (or whatever color you want). Make sure it’s not too thick, but it doesn’t need to be thin either, or it won’t stand up.
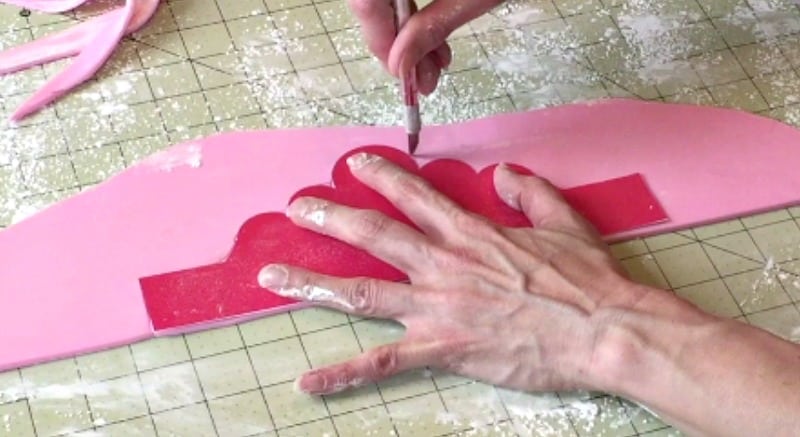
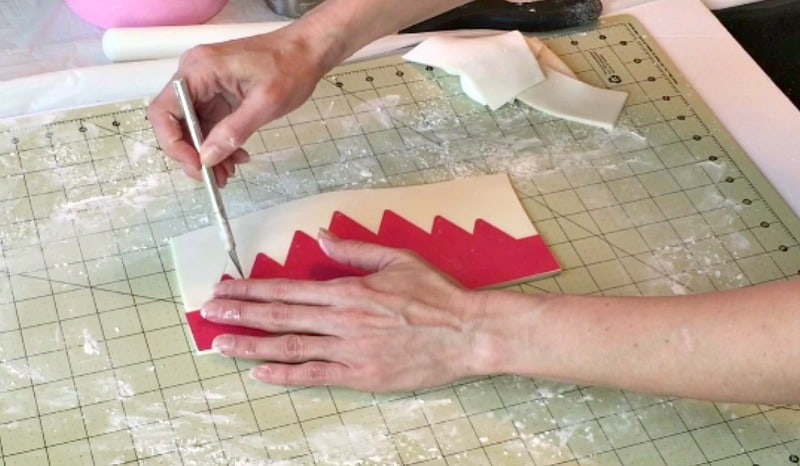
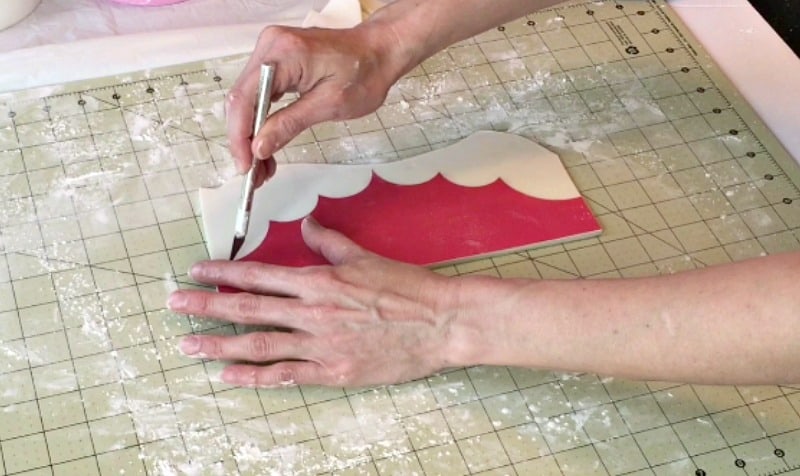
Rub a very thin layer of shortening over your fondant, lay the template on top and cut out around it with your exacto knife.
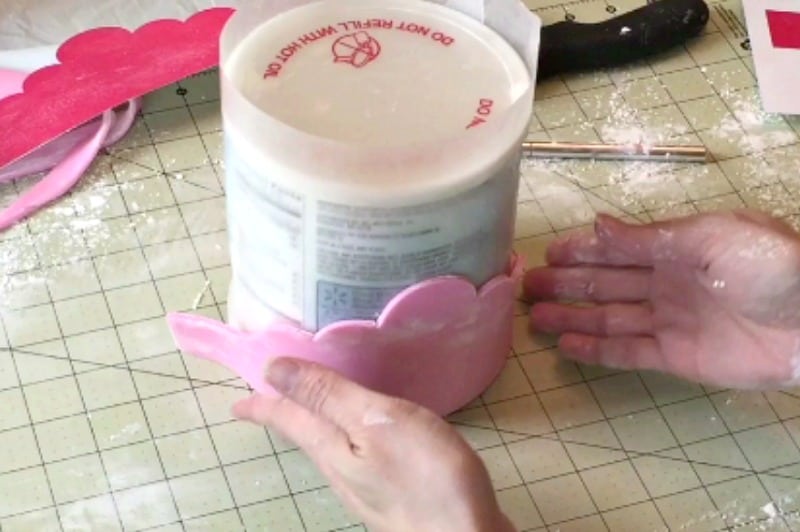
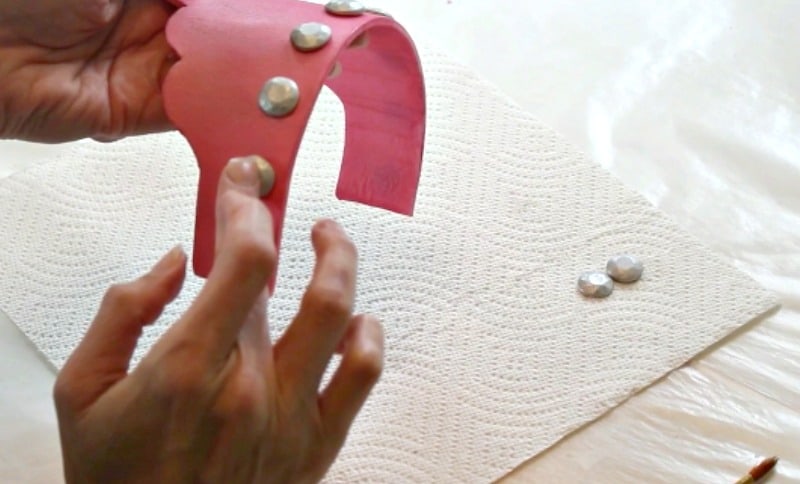
Now rub shortening all over your wax paper that’s taped around your can and wrap your crown around it. Make sure the bottom is level with the bottom of the can all the way around the crown.
Let it set up just like this for at least 24 hours. Then pull off the wax paper and slide the crown away from the can. Be very gentle with it.
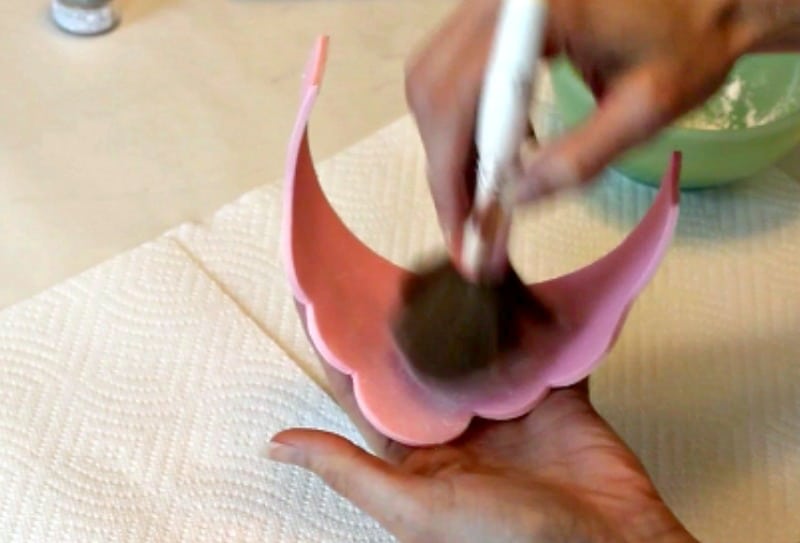
Now, to make sure the back of the crown dries fully, brush on some cornstarch and let your crown sit on a flat area like a large cake board for at least another 24 hours.
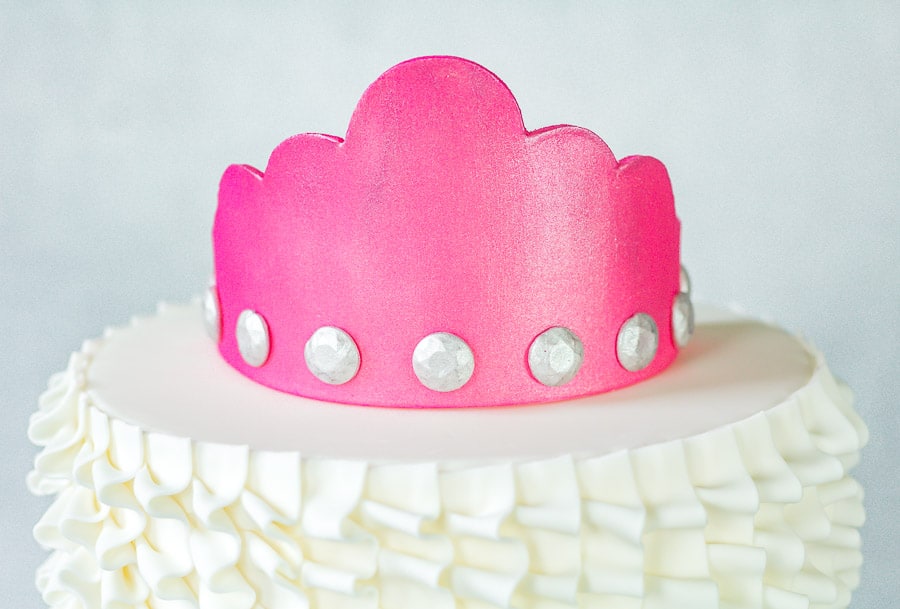
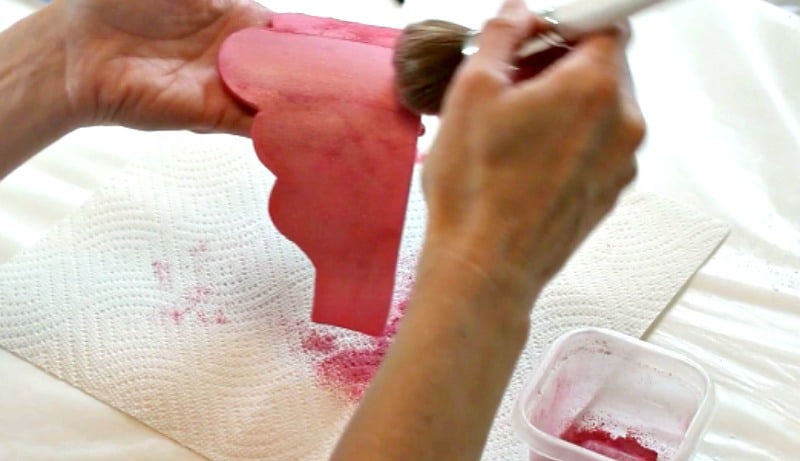
Once it’s fully firmed up, you can paint it. I used a hot pink edible luster dust and mixed it with a bit of lemon extract. Just take a brush and brush over the front and back of your crown, making sure to the the top edge. It’ll look streaky the first go around. Let it dry just for about five minutes and then do another coat.
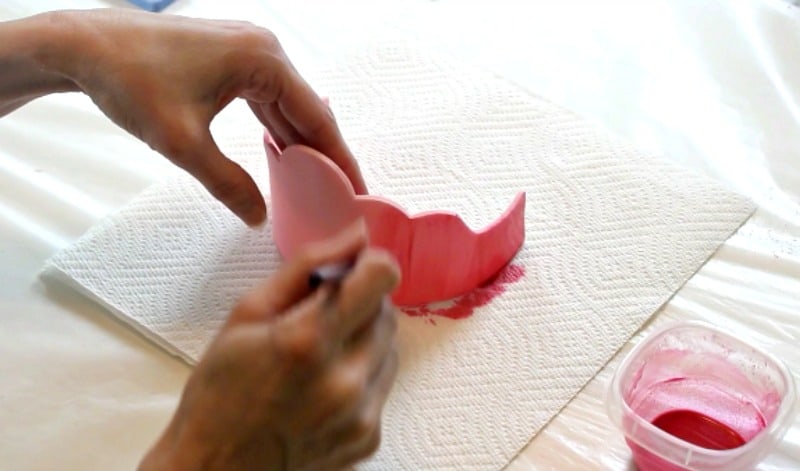
Once that coat is dry, take the same color dust, but dry. You don’t want it mixed with extract this time and you want to use a different brush. I like to use a large blush brush for this part, because you’ll basically be buffing on the luster dust to give it more color and a lot of sheen.
Just dab a good amount of luster dust on your crown and then go over it in long brush strokes lightly with your brush.
Set it aside while you work on your jewels.
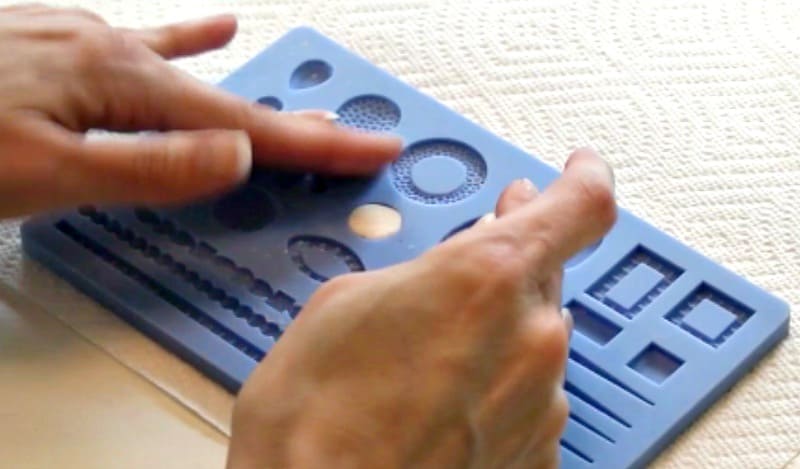
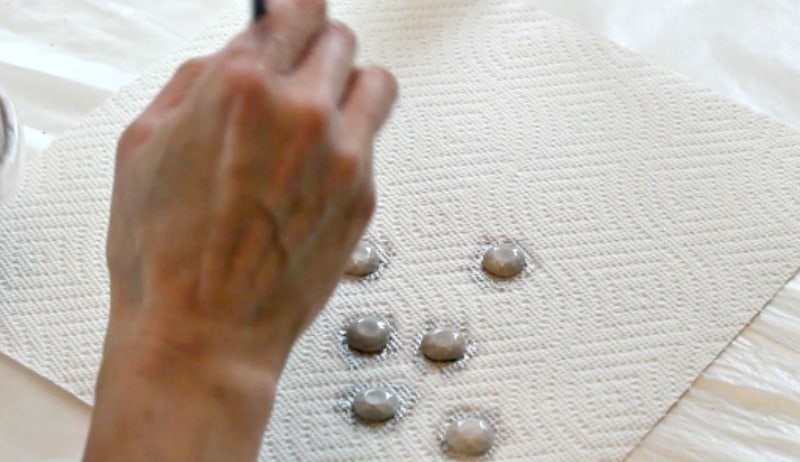
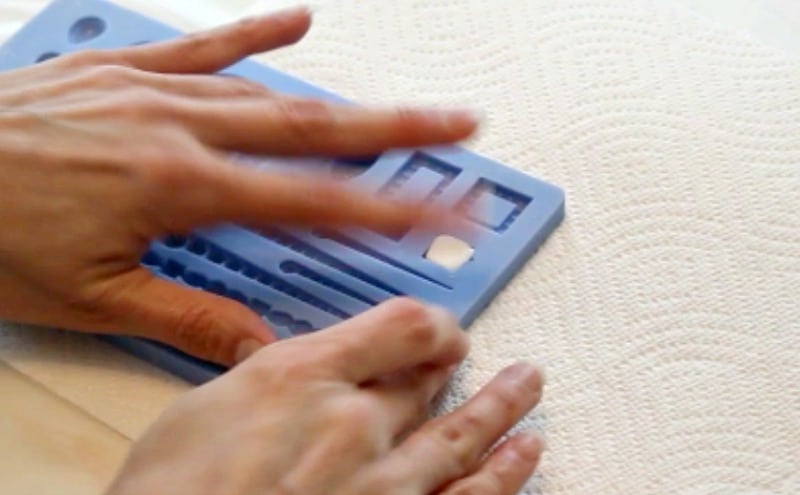
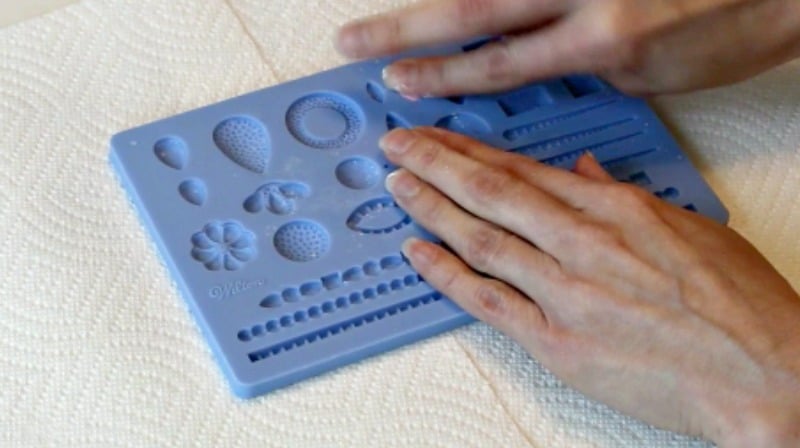
I just use a Wilton jewel mold, but you can use any embellishments you want on this. I used the round jewel mold. Just push your fondant into the mold and pop out.
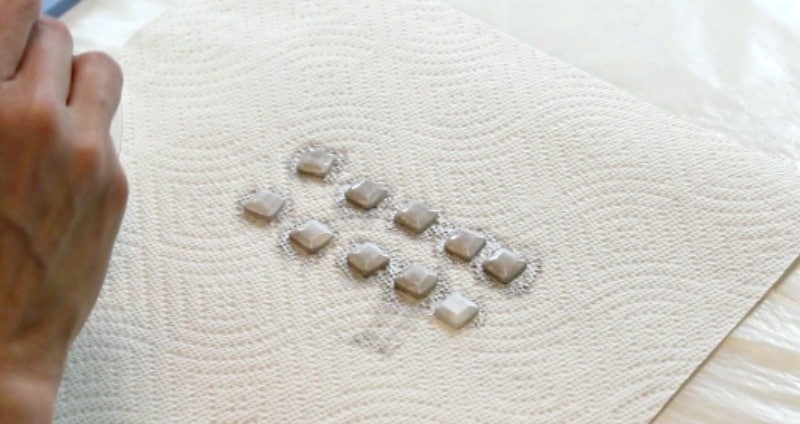
Now take your edible silver luster dust and mix it with a bit of lemon extract. Paint your jewels twice letting it dry for about 5 minutes between coats.
Now just add some water to the back of your jewels and attach to your crown. I like to start in the middle first, then add the ends, then go from there so they’re more evenly spaced.
That’s it…just set aside until you’re ready to set it onto your cake. Now, don’t travel with the crown on top of your cake. Just add it to the cake when you get to the event.
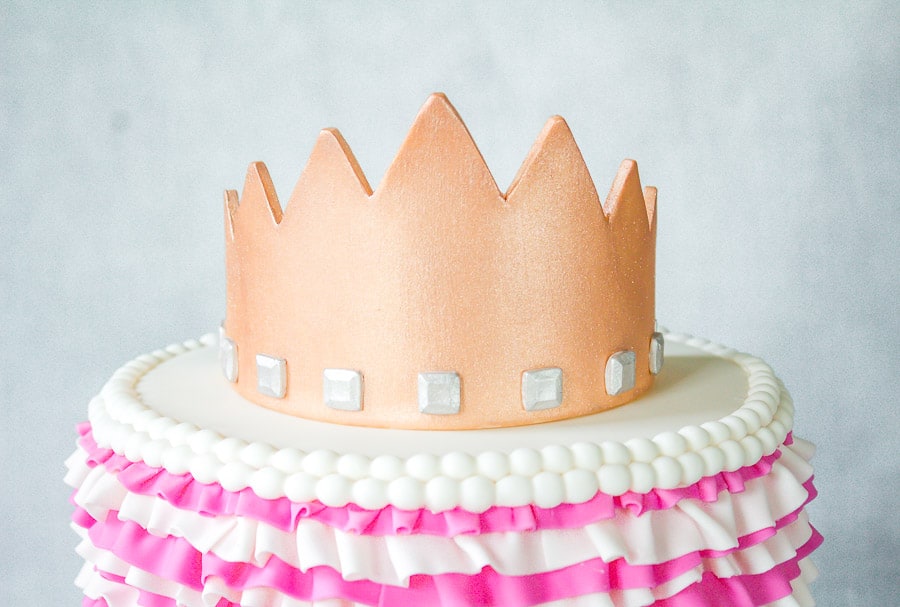
The Gold Crown:
Click on the graphic below, to download this crown template:

For the gold cake, just roll out your fondant or gumpaste, add a thin layer of shortening to it and place your template on top. Now take your exacto knife and cut out around the template.
Rub a bit of shortening on your wax paper that’s wrapped around your can and then wrap your crown around it. Let it sit like this for at least 24 hours.
Once you’ve let it set up, just tear the wax paper at the back and slowly slide the crown forward off the can and peel off the wax paper. Be gentle though…it’s not a time to lose patience.
Once you pull it off, you need to brush on some cornstarch to the back of your crown and let it sit again on a flat surface for another 24 hours. The back needs time to set up.
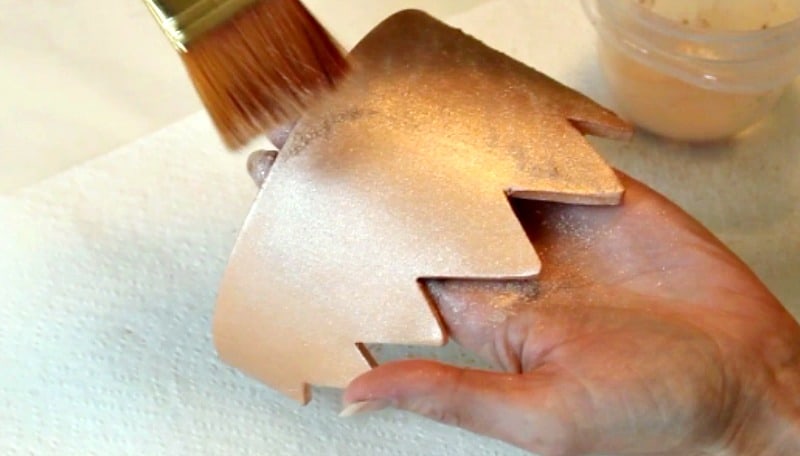
Once you’ve done that, it’s time to paint your crown. Mix edible soft gold dust with lemon extract and paint it onto your crown. Make sure to get the top edge of your crown as well. You’ll want to do two coats of the gold. It’s going to a bit streaky. Don’t worry about it, because we’ve got one more step to go.

Make sure your crown is dry before this next step. Now take another brush, preferably a large one like a blush brush (used only for caking of course) and brush the dry soft gold luster dust onto it. Make sure you’re using a dry brush and the dry petal dust. Dab on a good amount of the dust and then take your large brush and just use long brush strokes to brush off the excess. It’ll give your crown more color and a lot of sheen.
Set your crown to the side while you work on your jewels. I just used a Wilton jewel mold, but you can use whatever embellishments you like. I used the square jewel mold for this one. Just push your fondant into the mold and pop it out.
I painted these jewels silver, just like I did for the pink crown. Just mix some edible silver luster dust with lemon extract and paint it onto your jewels. Do two coats and let them dry for about 5 minutes between each coat.
Now just add a bit of water to the back of your jewels and attach to your crown. Attach the center jewel first and then to the very ends of your crown, then move on from there, so they’re evenly spaced.
Alright! Now you’ve finished your gold crown. Just pop in onto your cake! Just remember not to travel with it on top of your cake, because that could be a disaster waiting to happen. Just add it to the top of your cake once you get to the event.

The Silver Crown:
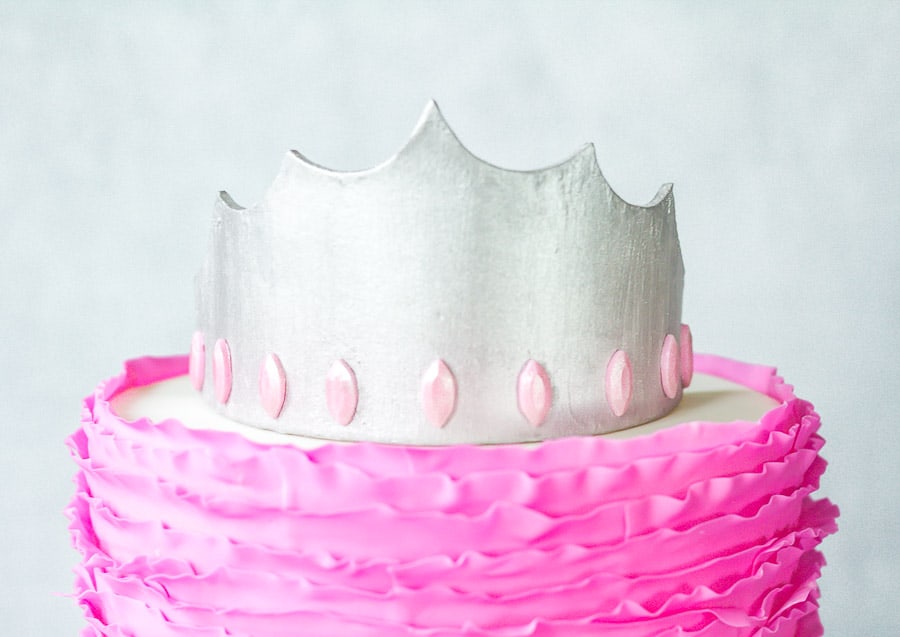
Click on the graphic below, to download this crown template:

Now we’ve come to the last crown. You’re a master at this by now, right?
Ok, just roll out your fondant, add a thin layer of shortening on it and lay down your template.
Cut out around the template with an exacto knife.
Add a bit of shortening onto your wax paper that’s wrapped around your can and wrap your crown around that. Let it sit like that for at least 24 hours.

After 24 hours, cut the back of the wax paper and pull the crown forward and off the can. Peel off the wax paper. Be careful!
Now dust the inside of the crown with cornstarch and let it sit on a flat surface for another 24 hours at least. The inside of the crown needs to dry through.
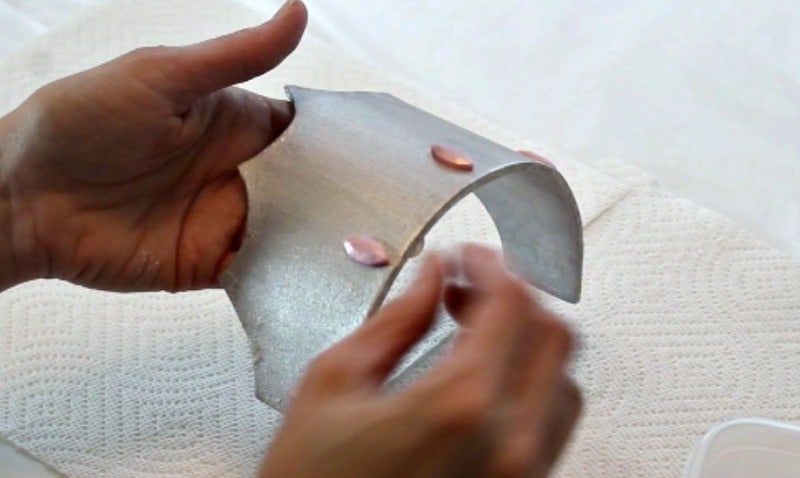
Once dry, it’s time to paint. Add lemon extract to edible silver luster dust and paint onto your crown. Do two coats of it letting it dry for about 5 minutes between coats. It’s going to be a little streaky, but that’s okay, we’re about to fix that.
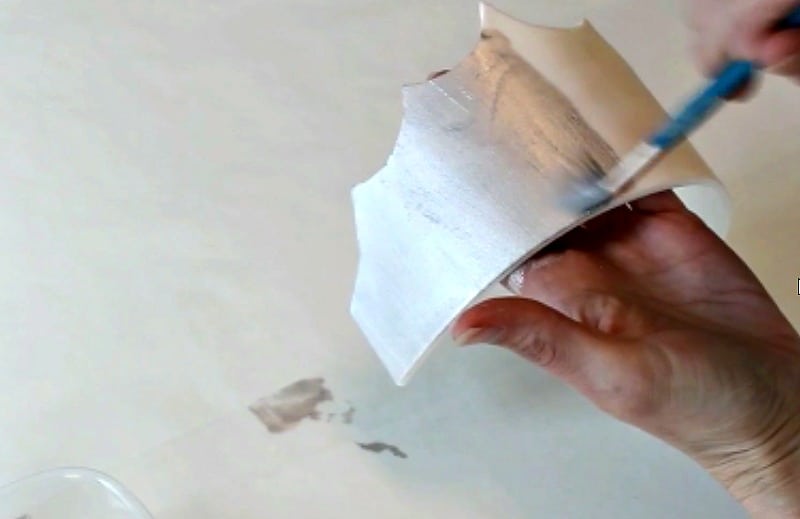
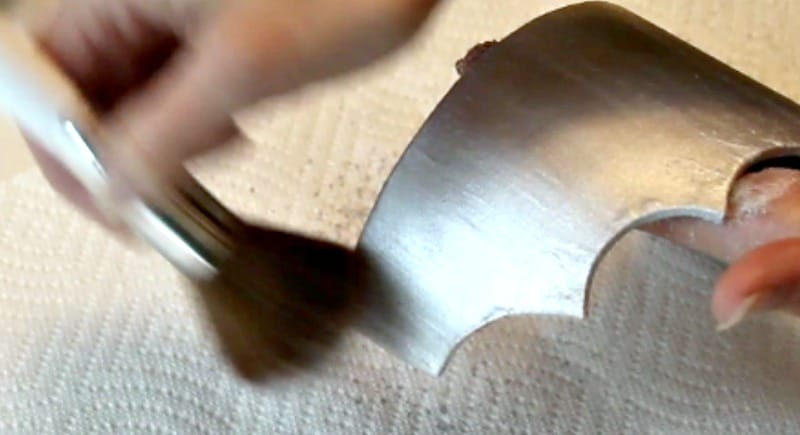
Now take a dry large brush, like a blush brush, and dab on a good amount of the dry luster dust. You want everything dry at this point, the brush, the crown and the dust. Dust on a very good amount and then use your brush and make long brush strokes to brush off the excess dust. This will add color and give it sheen.
I use this buffing technique to get that silver leaf look without the expense of silver leaf. You can use this same method on your fondant covered cakes as well. Here’s the tutorial on that: Elegant & Rustic Silver Wedding Cake Tutorial
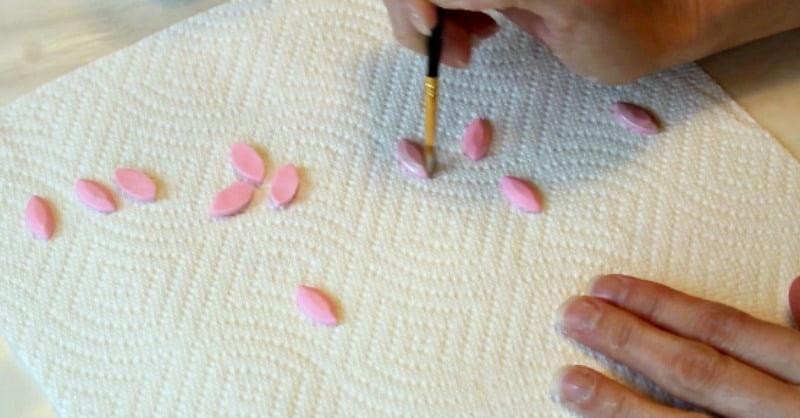
Now set your crown aside and work on the jewels. I just used my trusty Wilton jewel mold again and used the diamond shaped jewels. Press your fondant in and pop them out of the mold.
I went with pink fondant for this, but of course you can do these in any color you’d like. I then decided to dry brush some silver on them, to give them some sheen.
Now, just add a bit of water to the back of them and attach to your crown. Start from the middle, then the ends and so on, that way you’ll get them evenly spaced.
Woo hoo! You’ve done it! You’ve made it through all three crown tutorials! You get a gold star….scratch that…you get a gold (or silver) crown!
Don’t forget to check out the free mini course on making fondant ruffles. You can get more information here: Free Mini Course for Fondant Ruffles
Check out the video below to see all the steps in action:
I hope you have a lot of fun with these. Go crazy on the embellishments, just be careful not to add too much weight or the crown will be front-heavy and could fall forward, so just keep that in mind.
I’d love to see what you create!
Don’t Forget to Pin it Below!
Leave a Reply