These easy tips will help keep your cupcake pans looking new while preventing rust and stubborn baked-on stains that are tough to remove.
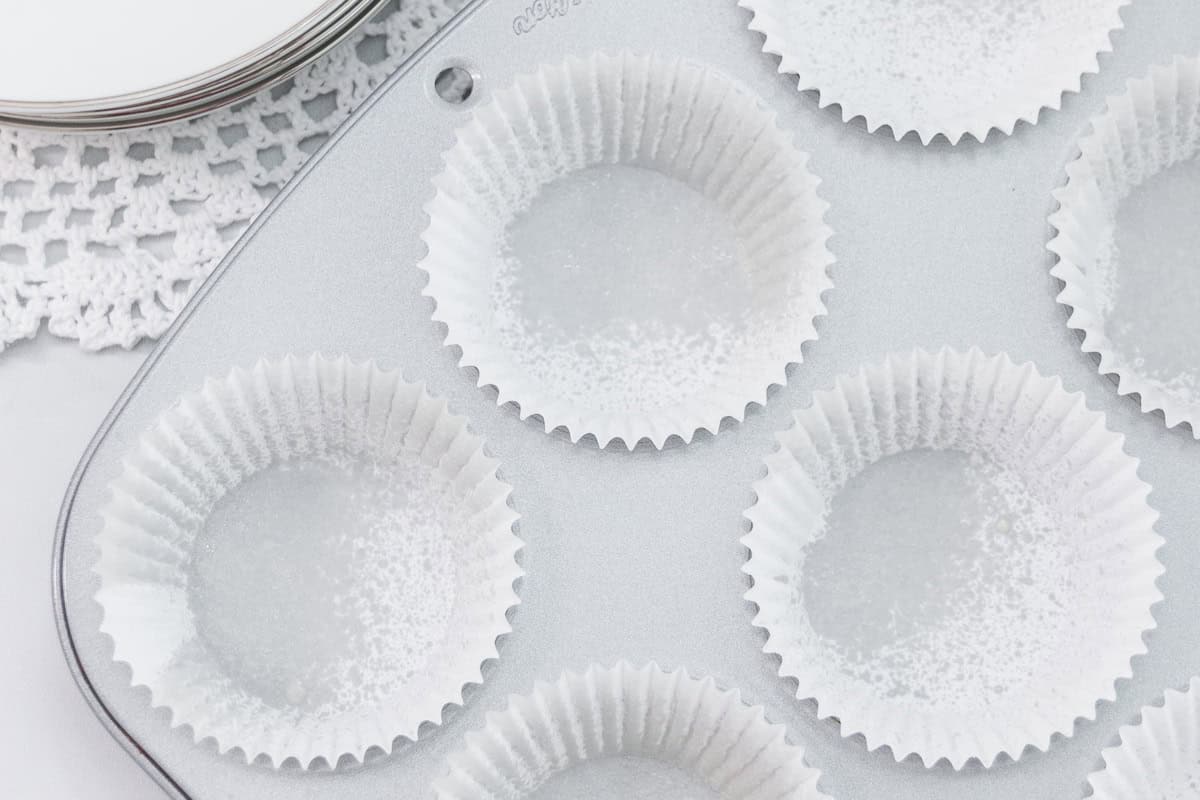
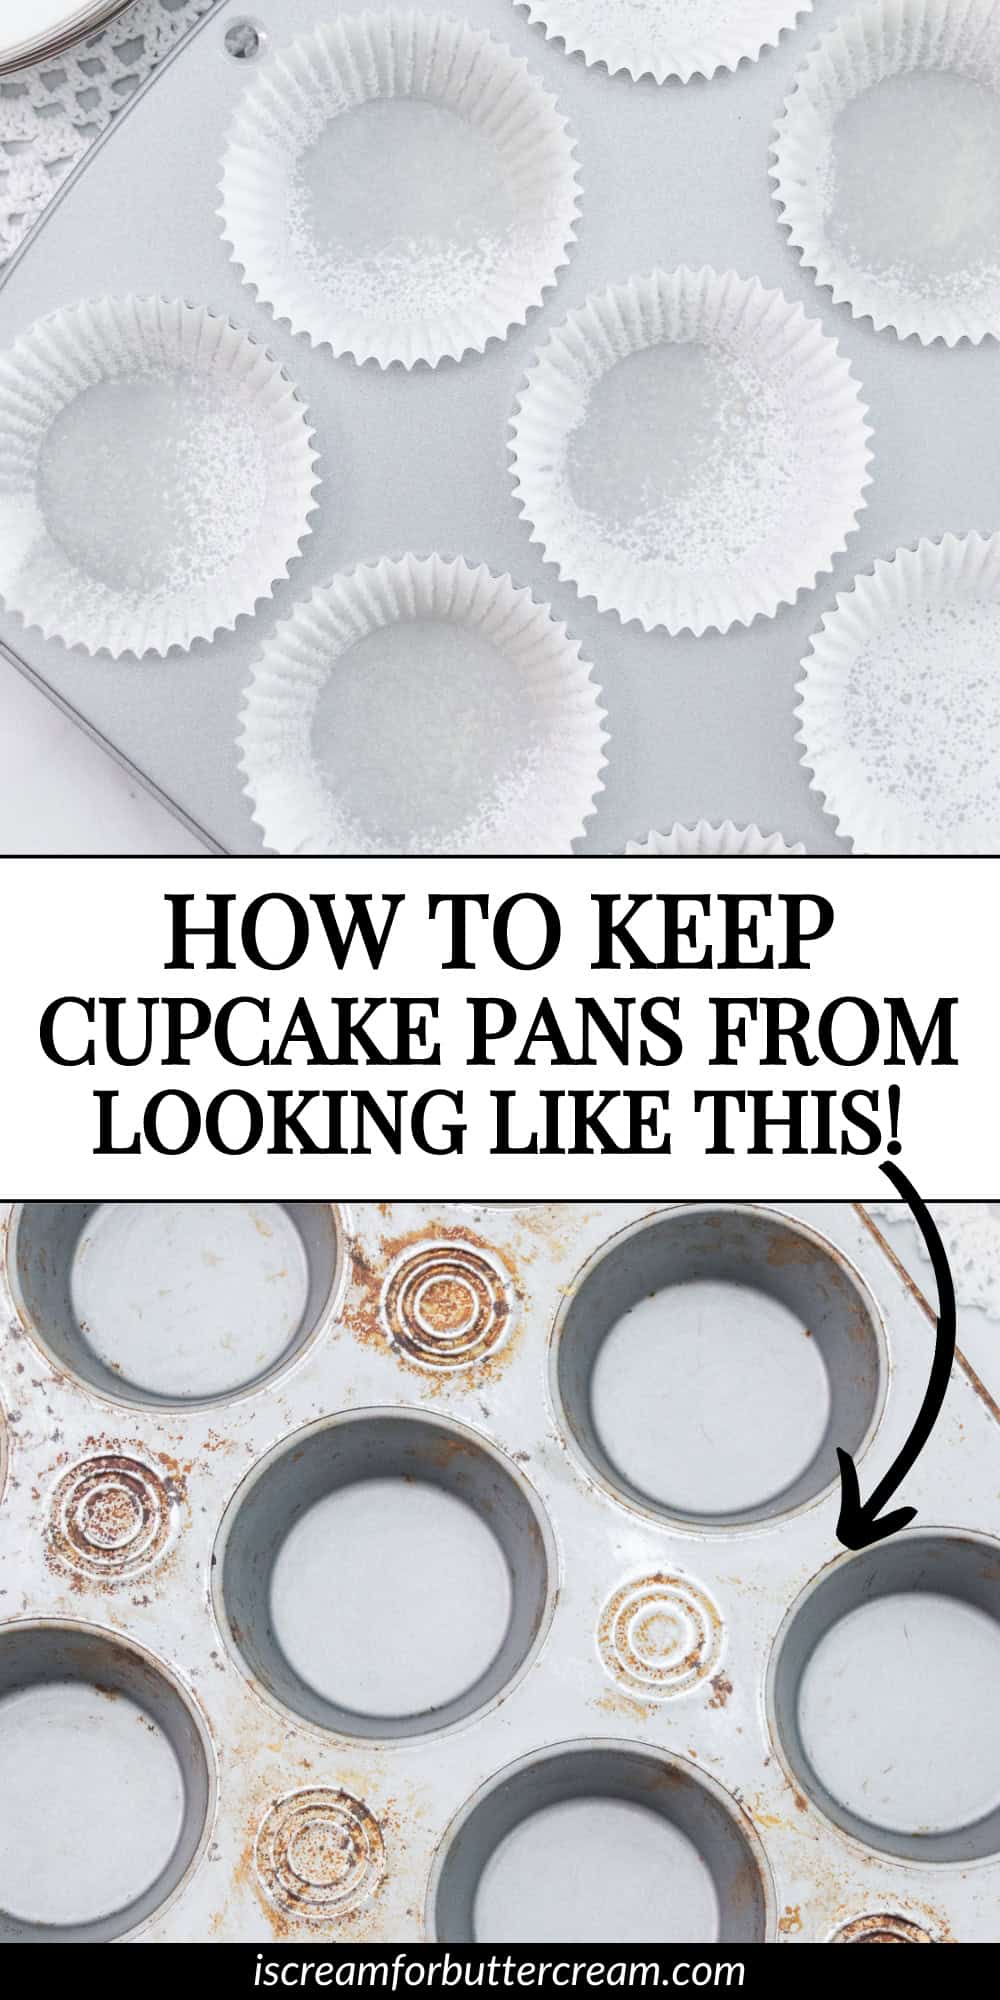
If you’ve ever had issues with your cupcake pans turning out like this (see image below), there are a few reasons it can happen.
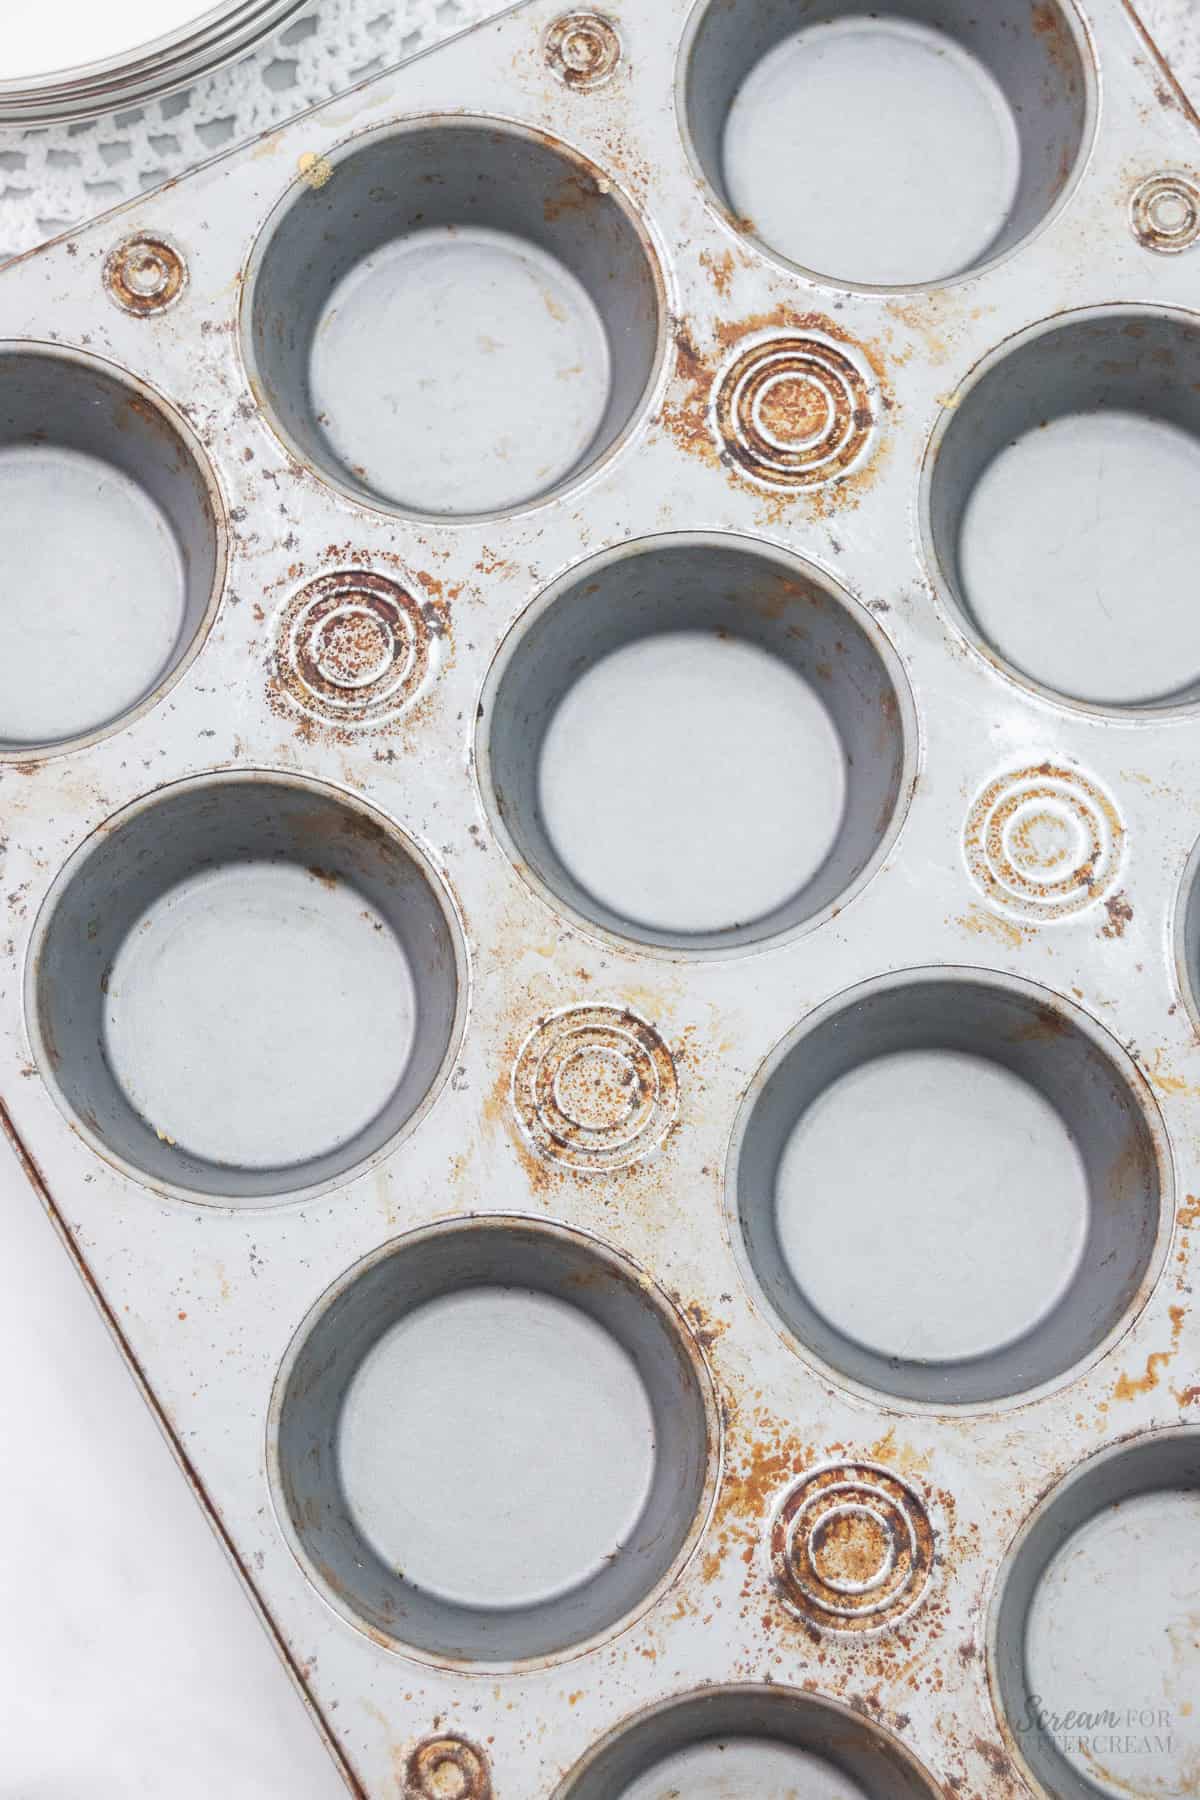
Problem #1
Rust
If you’re washing cupcake pans in the dishwasher, if not dried completely, they can just sit in there without properly drying and depending on what kind of pan you’re using, that can cause rust.
Now, some of the newer pans are rust resistance, so you may not have that issue, but it’s something to think about.
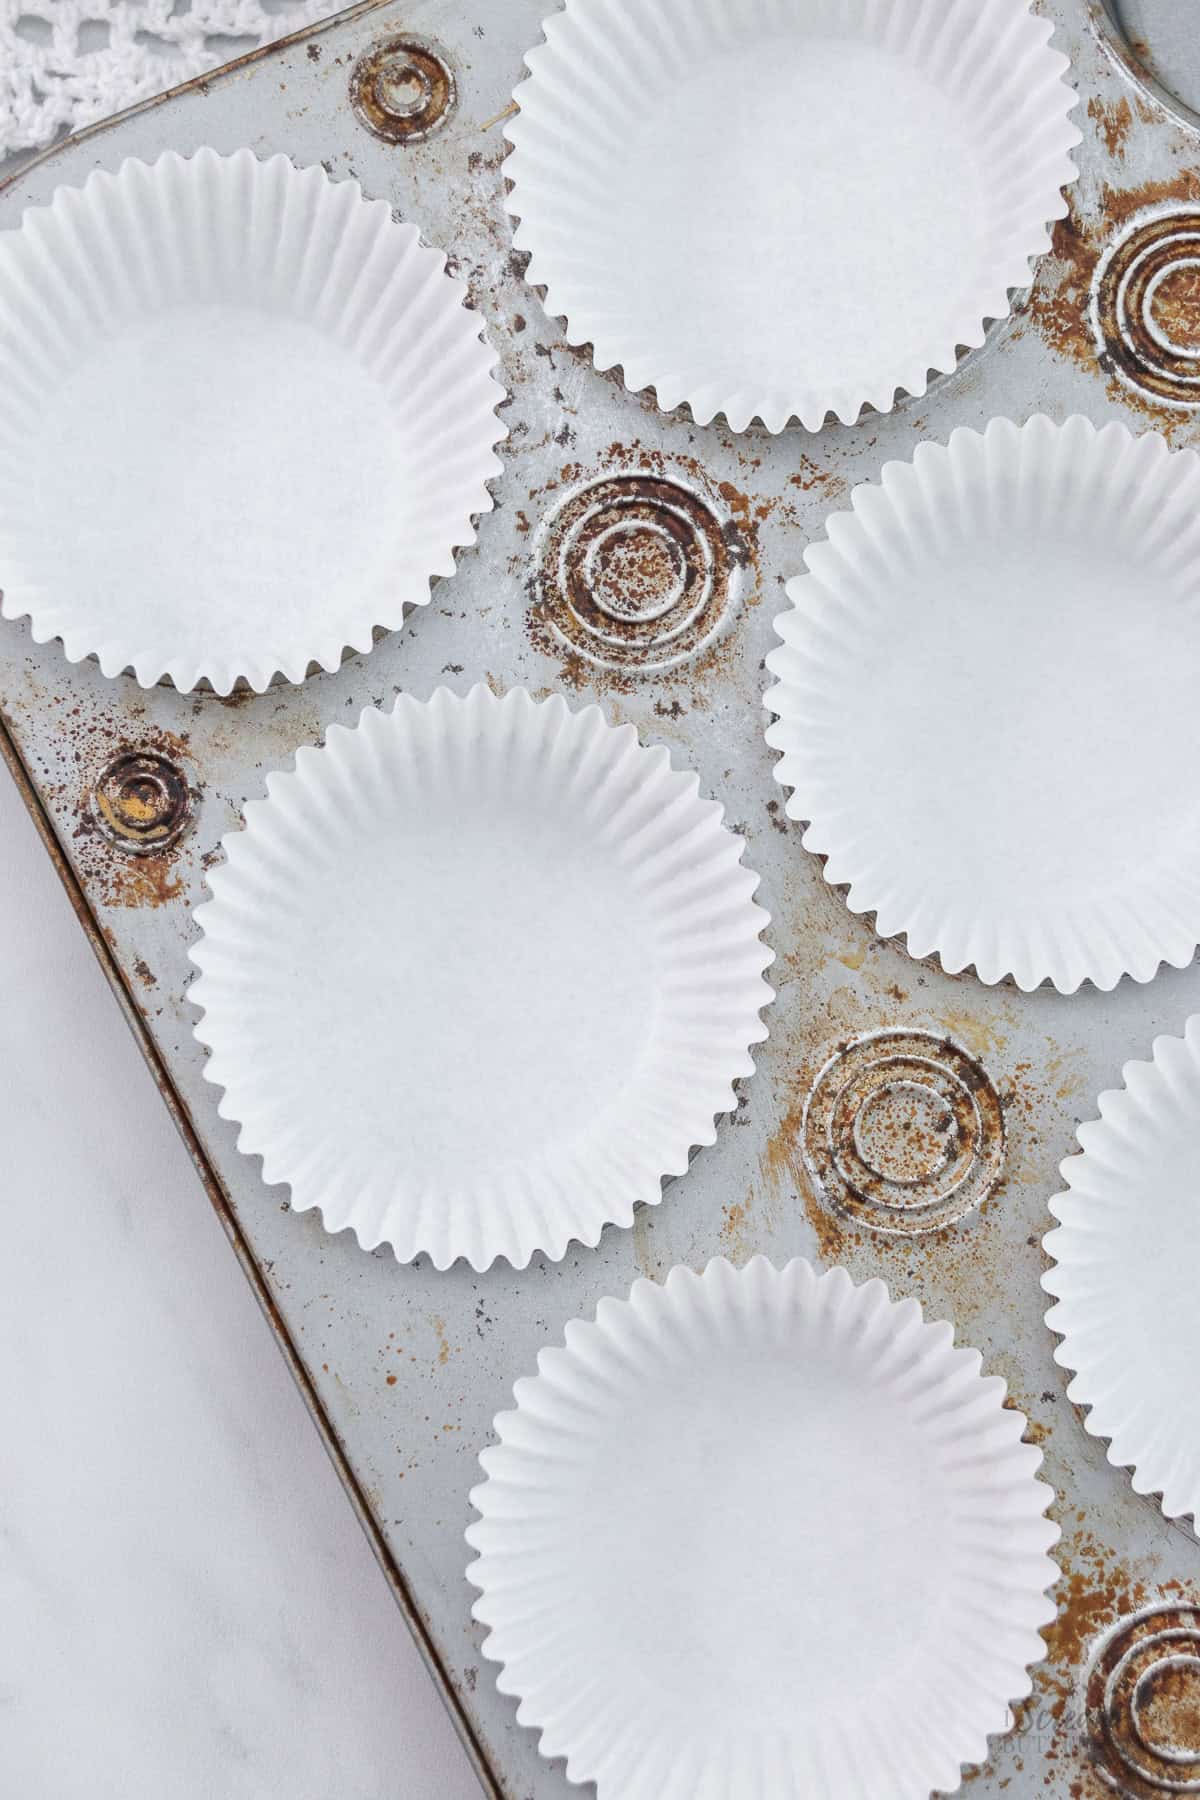
How to fix it:
If your pans already have rust on them, it might be too late. Iv’e tried all kinds of things to clean rusted pans, but honestly none of them worked super well.
You can however prevent it if you hand wash your pans and dry them off afterwards. Yes, I know this takes more time, but when I started handwashing all of my baking pans, they 100% last longer and look better.
Problem #2
Baked on non-stick spray
To me, this is usually the culprit. If you use baking spray to spray your cupcake liners, it’s also getting all over the pan, then it’s getting baked onto that pan when you bake your cupcakes.
How to fix it
If you already have the baked-on spray, it’s really hard to remove. I’ve never been able to fully remove it. It happened to multiple pans before I realized what was causing it.
Once it’s baked on, it forms this gummy consistency. It just won’t come clean enough.
The solution isn’t giving up on using baking spray, it’s just using it a bit differently.
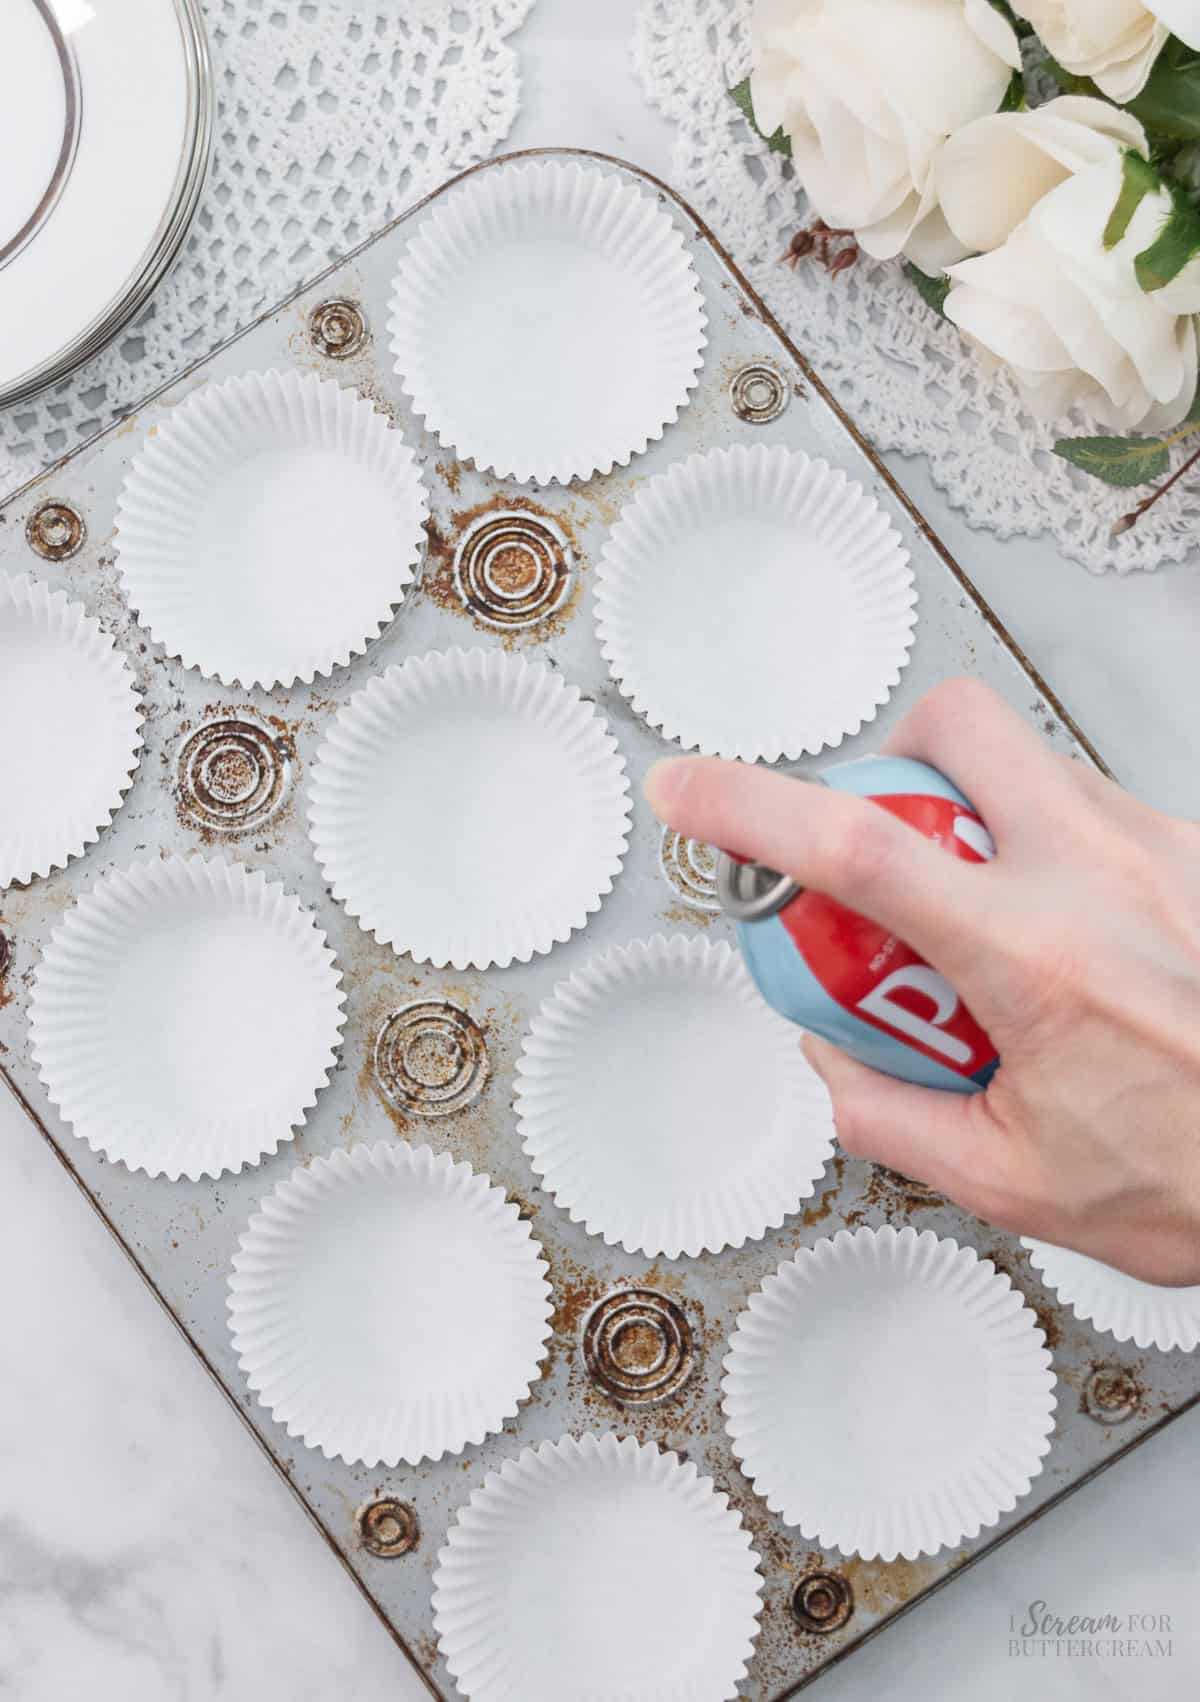
If you add cupcake liners to the cupcake pan first and then spray the baking spray onto the liners, well you’re going to get overspray onto the pan, then it will get baked on.
The solution is to spray each individual cupcake liner before you add it to the pan.
I know it sounds cumbersome and time consuming, but it really does not take that much more time and it’s worth it in my opinion.
What I do is to just put all the cupcake liners into the cupcake pan, but then move over to the sink and pick up each individual cupcake liner and spray it, holding it over the sink (not over the pan), then pop the liner back into the cupcake pan. This way no overspray gets on to the top of the pan.
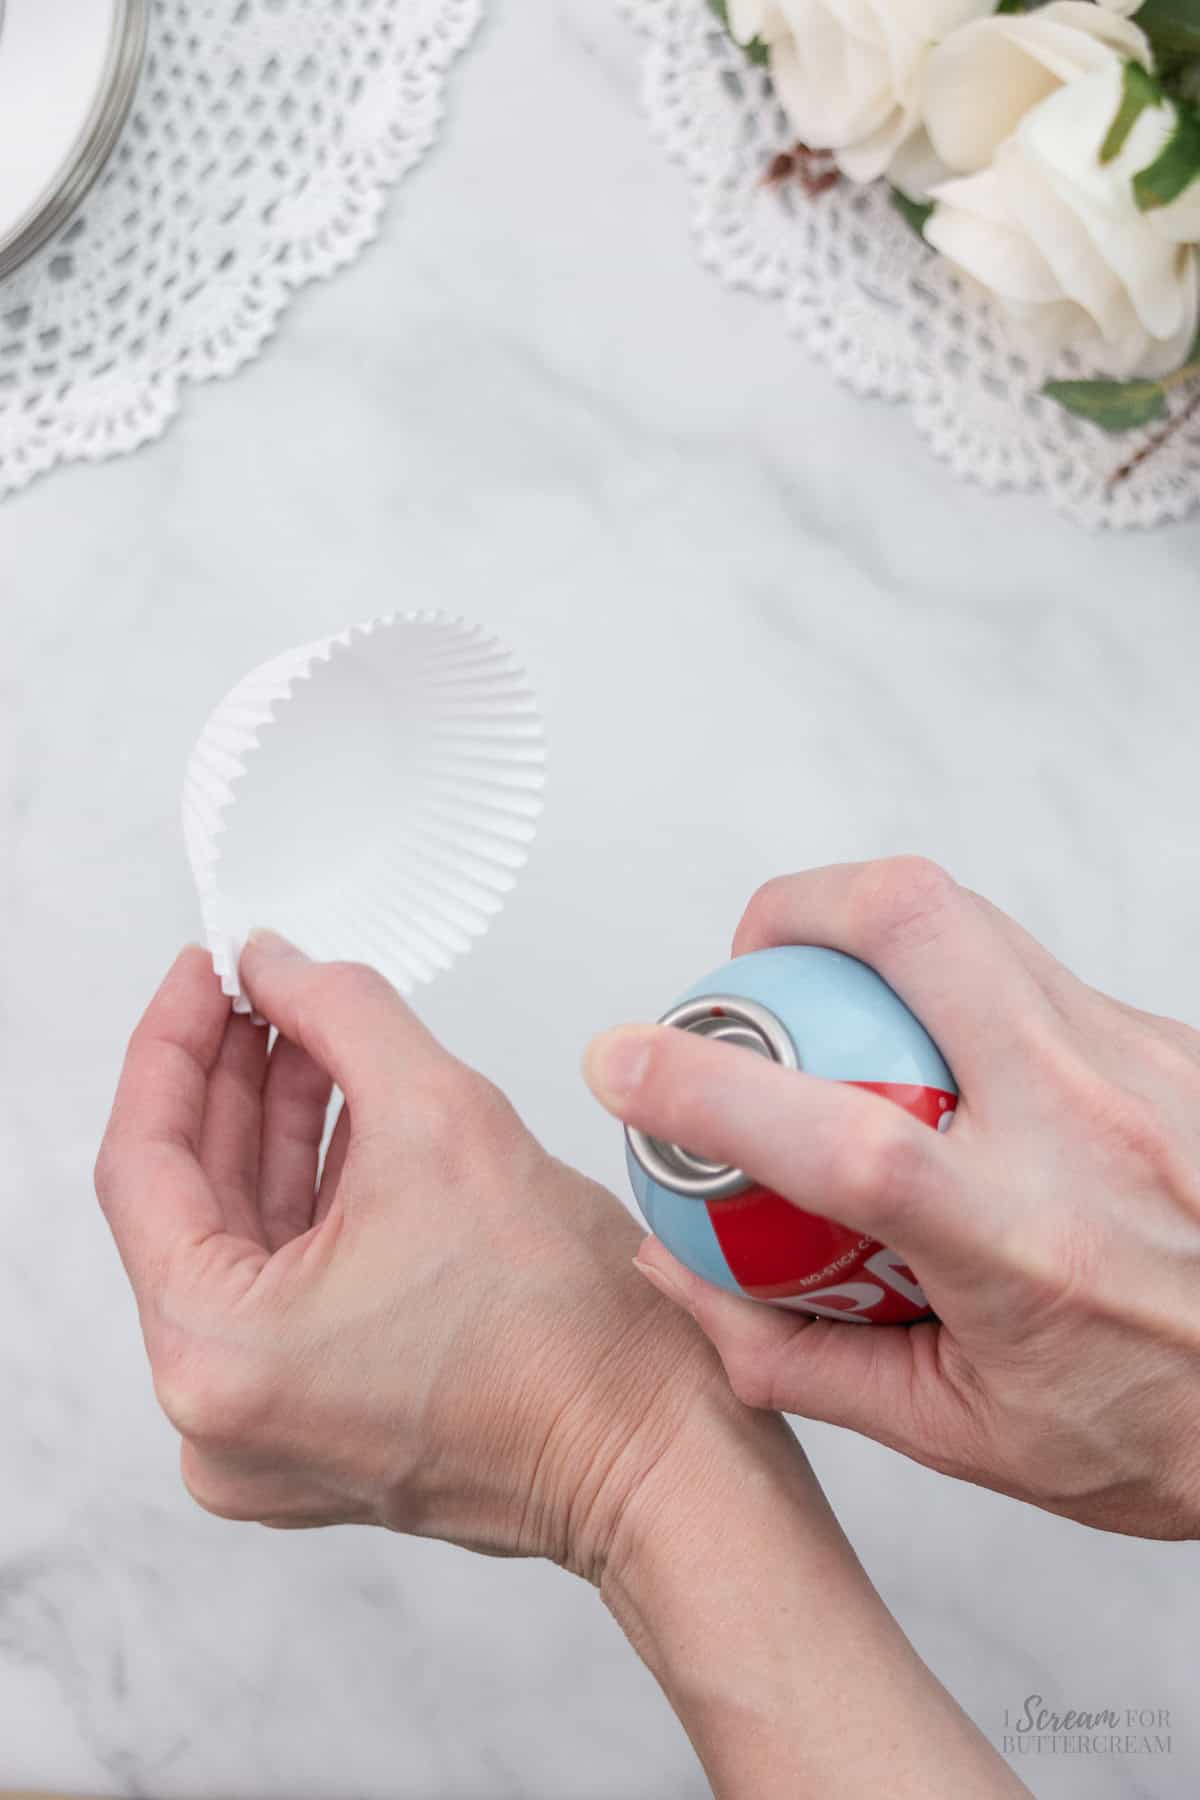
Now, you could just spray all the liners while they’re sitting in the pan and then take a wash cloth or paper towel and wipe up any overspray, but to me, that seems like it would take more time, but to each their own.
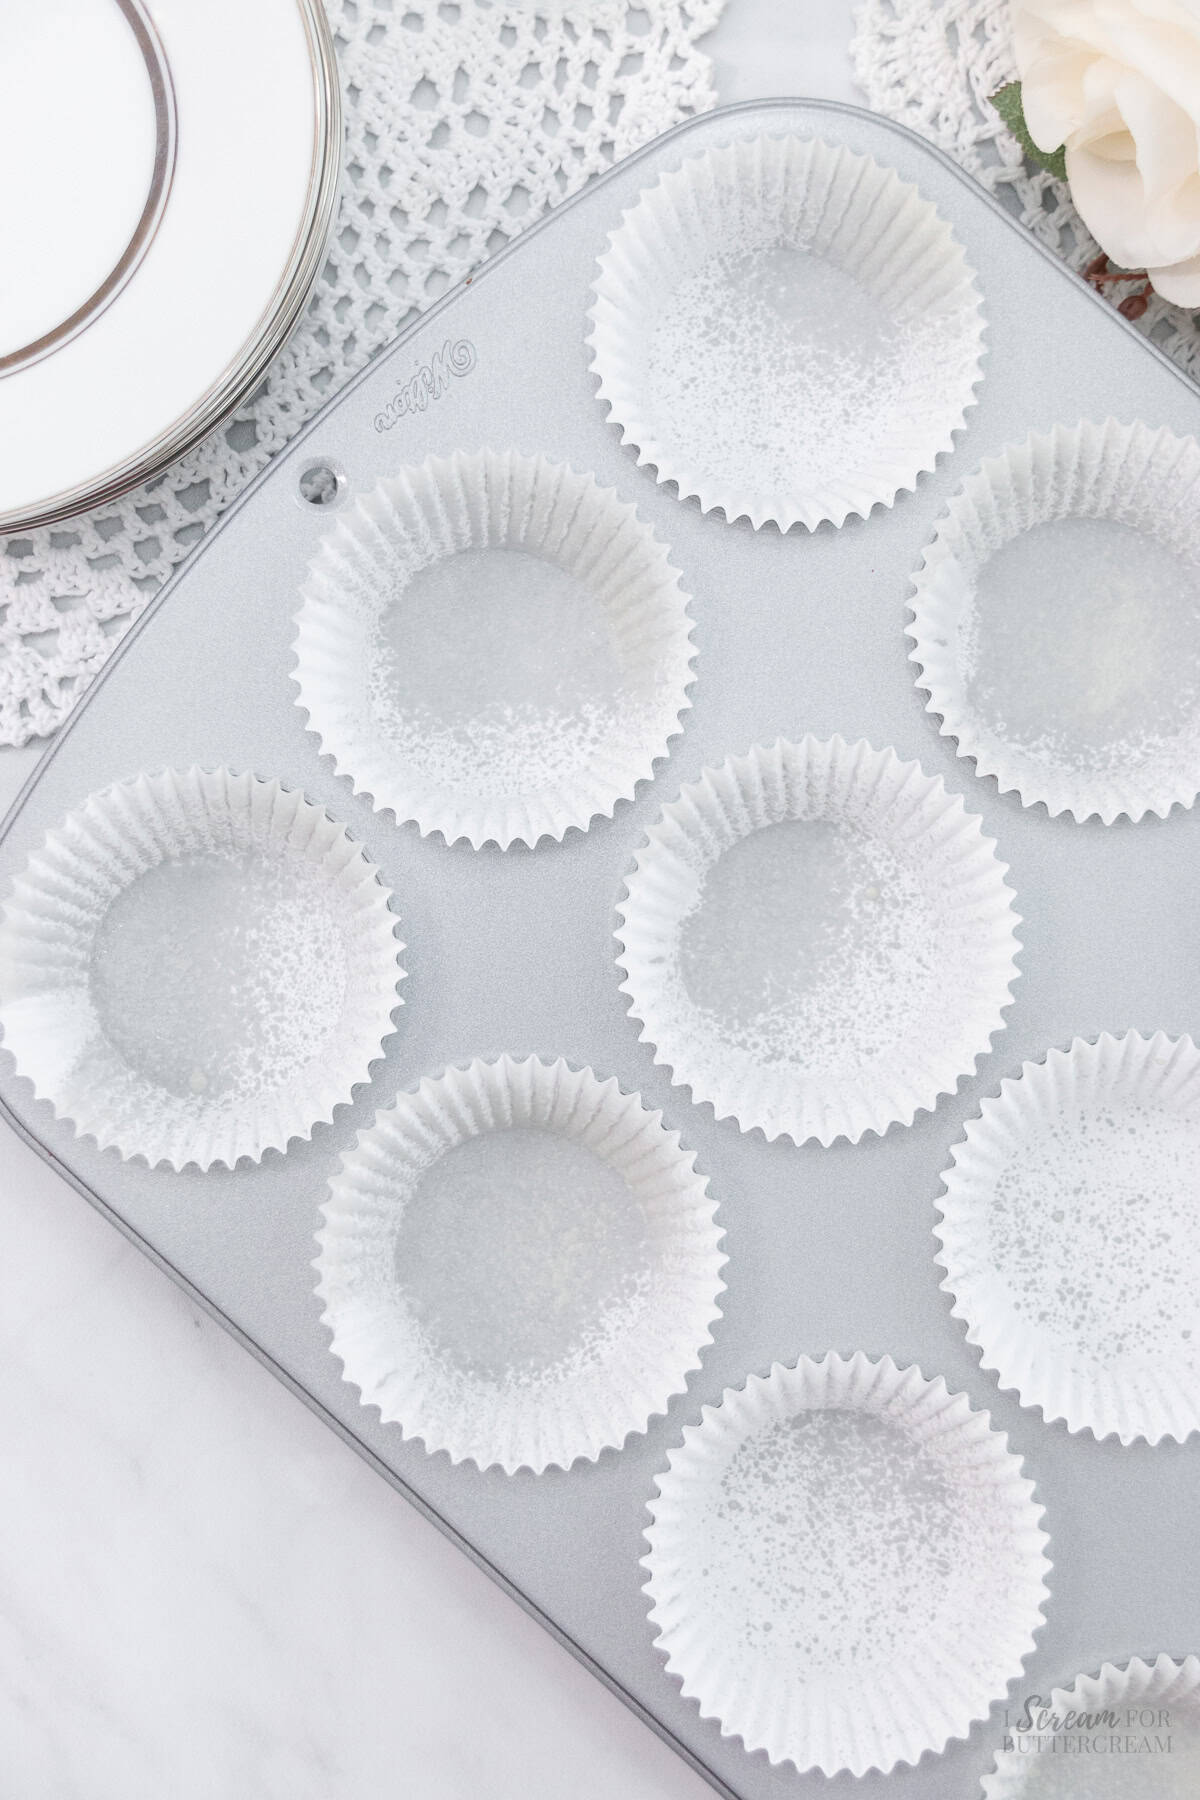
Now if you don’t have an issue with your cupcake pans getting dingy, well then that is awesome for you and you don’t have to worry about this.
If you’re like me though and have struggled with this, then this is what I’ve found to actually work and I’ve been able to keep my cupcake pans looking new by handwashing them and drying them off and by not letting baking spray even touch them.
Other posts you might like
- How to Ice Cupcakes without a Piping Bag
- Best Chocolate Cupcakes
- How to Store Cupcakes
- How to Keep Cupcakes from Drying Out
- How to Freeze Cake and Cupcakes

Pam Gross
I have never spayed cupcake papers.
When I bake something that sticks to the paper, I use parchment paper cups. Nothing sticks it.
Paper Chef® Large Culinary Parchment Baking Cups
60 . Locally bought at Kroger for $2.19
I love using them.
Kara
Thanks Pam!
Melliegrace
zero solutions?
Kara
Hi there, I don’t understand your question. Are you saying there are zero solutions to the problem? I actually have the ‘how to fix it’ heading and then the solution after each problem listed. Maybe you missed it? If your question was about something different, feel free to give me a little more detail.