Learn how to make realistic looking gumpaste leaves and how to color them so they really bring life to your gumpaste roses.
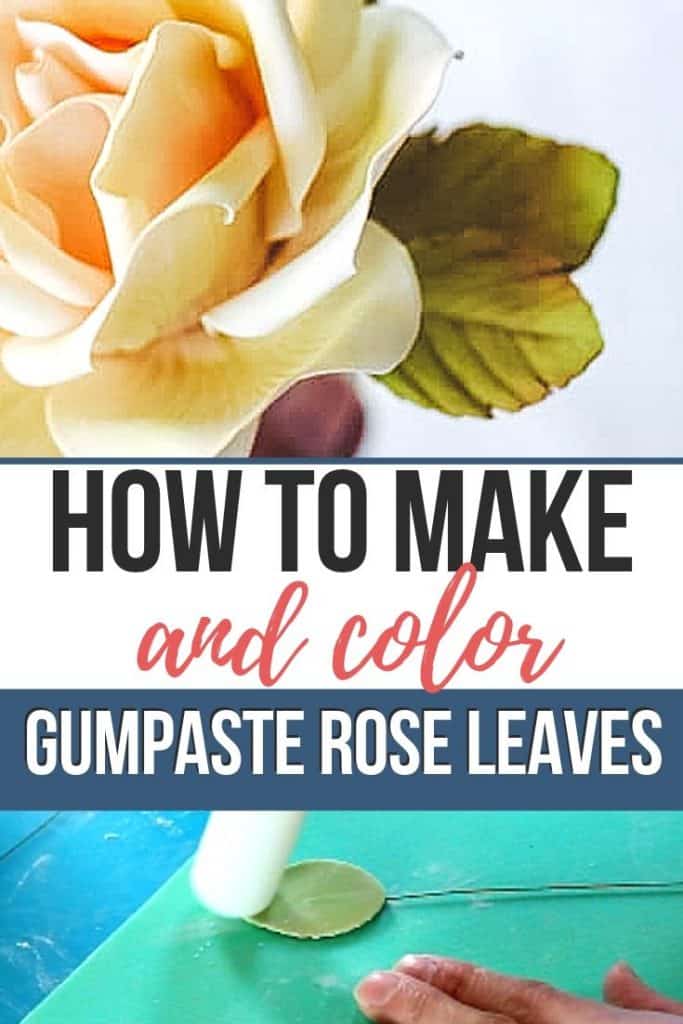
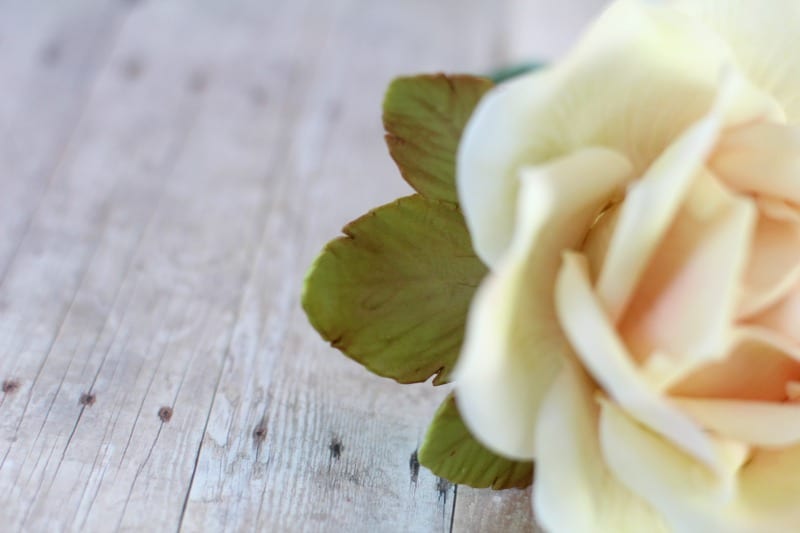
Ok, once you’ve made and dusted your large gumpaste rose, you’ll want to make some gumpaste rose leaves to complete the look. The rose is beautiful on its own, but you’ll need some greenery in there to make it look realistic.
This post is the first of a three part series. Here are the links to each post in the series:
- How to Make a Large Gumpaste Rose
- How to Add Color to a Large Gumpaste Rose
- How to Make and Color Gumpaste Rose Leaves (you’re here now)
In this post, I’ve included some screen shots and detailed instructions for making the rose leaves plus the calyx (which is the under part of the rose). The good news is that there’s also a video later in the post that will show you all the steps as well. Let’s get to it!
As an Amazon Associate, I earn from qualifying purchases.
Supplies you’ll need to make the leaves and calyx:
- Gumpaste tinted green (I used moss green liquid gel coloring) I also just buy the premade gumpate from Wilton or Satin Ice.
- Rose leaf and calyx cutters (I use the ones that came with the Wilton set similar to these.
- Wilton leaf impression mat (I prefer the Wilton mat, but there are others like this veining mat) I think the Wilton leaf impression mat is discontinued, so if you click on the Wilton mat link above and it’s completely out of stock, you might find one on eBay.
- Firm gumpaste foam board
- Soft foam
- Ball tool set
- Gumpaste dresden tool
- Small fondant roller
- 22 gauge green wire or 24 gauge green wire (If you go smaller than a 24, it doesn’t work as well.) Oh and if you can get the paper covered wires, do that.
- Floral tape
- Small exacto knife
- Moss green petal dust
- Flesh colored petal dust
- Soft pink petal dust
- Burgundy petal dust
- Small pain brushes used only for caking
Making the gumpaste calyx:
We’ll start with making the calyx which will go on the base of the gumpaste rose.
Roll out a bit of the green gumpaste. I just use my small fondant roller to do this and it’s not necessary to get it super thin. Use your calyx cutter and cut out one or two. It’s always good to make an extra.
Set it on your shaping foam and use your ball tool to cup each point. Start from the outside and run the ball into the middle.
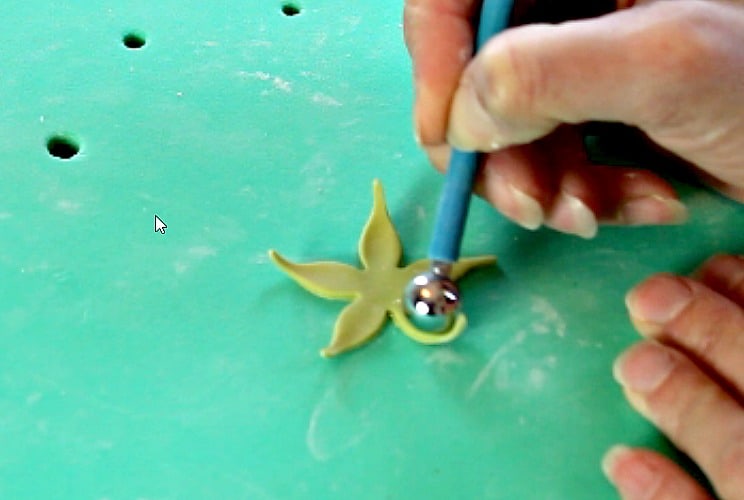
Now take your dresden tool and drag it from tip to the middle for each point of the calyx.
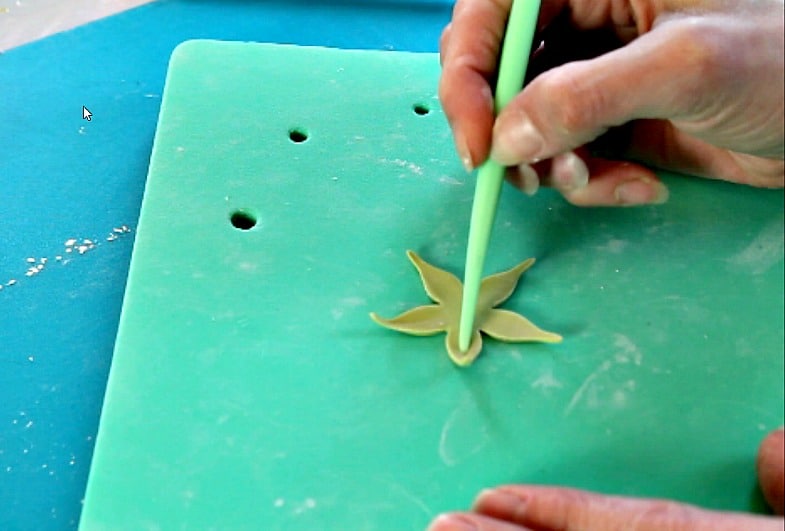
Turn it over and do it for the other side as well.
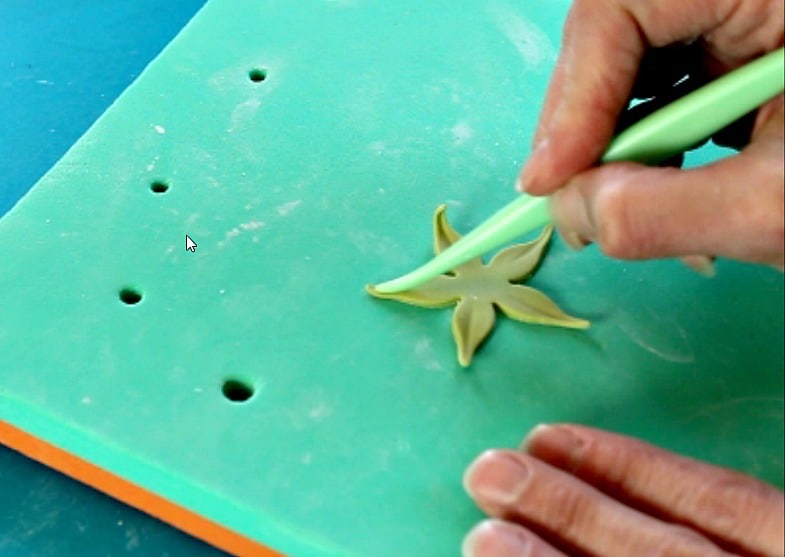
Now set it on your soft foam. You can just use any type of soft foam here. I usually poke a hole in the center of my foam before I do this next part. In the video, you’ll see I’ve already got a hole punched through, since I’ve made gumpaste roses a time or two 😉 Anyway, you can poke the hole with the wires from your rose, or with a wooden skewer. You just don’t want to poke the center hole when you’re trying to attach the calyx, because it’ll completely tear it up.
Once you’ve got a hole in your foam, brush one side of the calyx with a bit of water and lay it on the foam (wet side up) right on top of the hole.
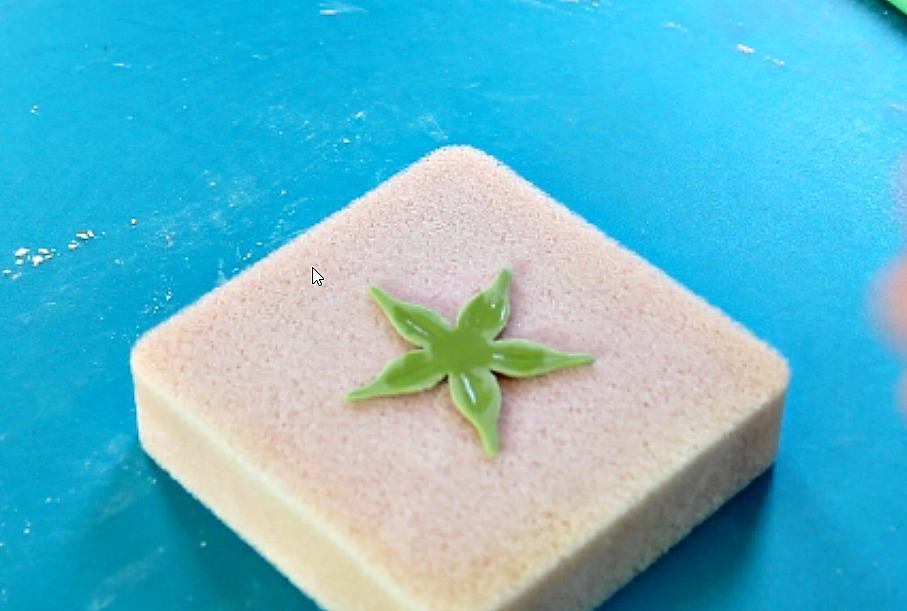
Now just take your rose and poke the wires of it straight through the middle calyx.
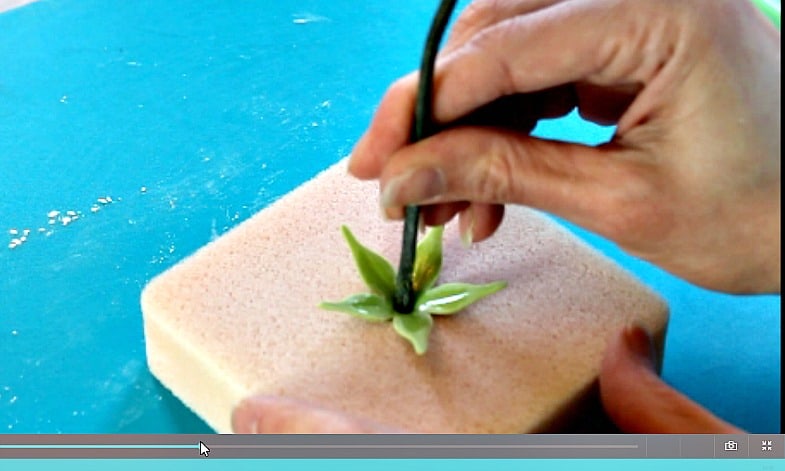
You can then just push the piece of foam right on up to the base of the rose and the calyx will attach nicely. This method is so much easier for me to do because the foam keeps the calyx intact and you don’t have to worry about it flopping around everywhere.
Alright, the next step is to make the base of the calyx. (I don’t know what the scientific term is for that. I did take a botany course in college, but apparently, that information has been deleted from my brain.) Anyway, we are going to make that little base now.
Just take a small amount of green gumpaste and roll it into a ball, then wet the base of the calyx you just attached to the flower.
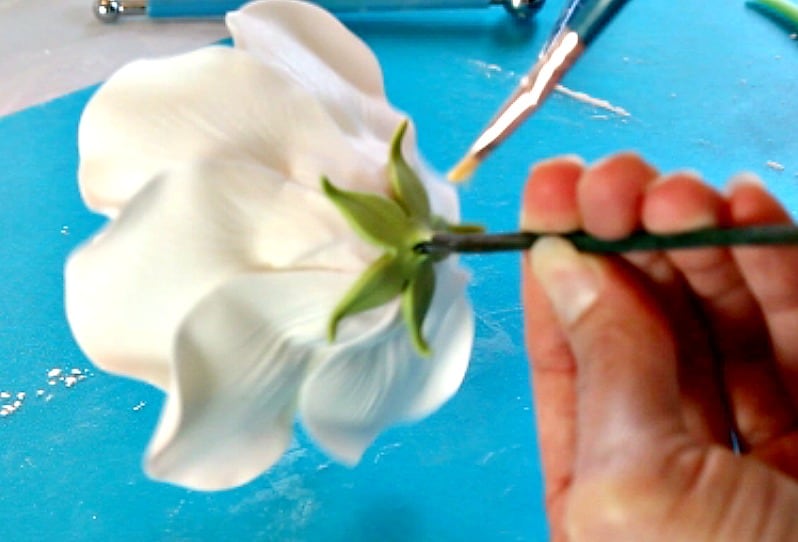
Run the gumpaste ball up the wires of your rose and attach to the base.
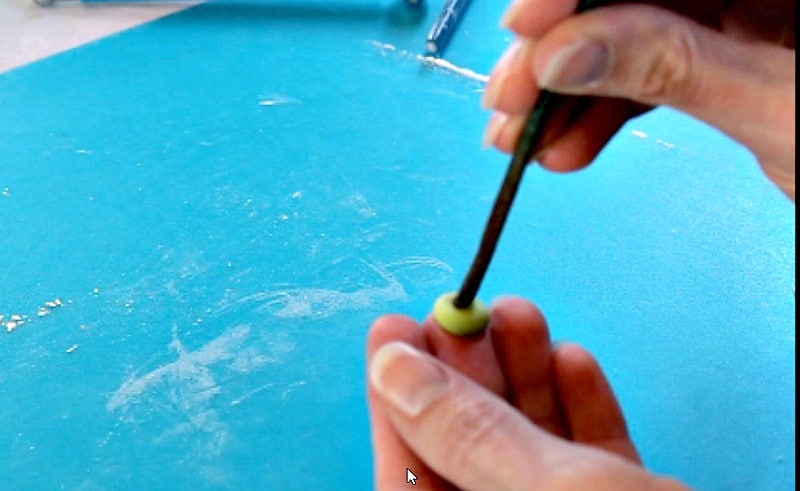
You’ll need to form it with your fingers so that it narrows at the bottom. The video is better at showing this part.
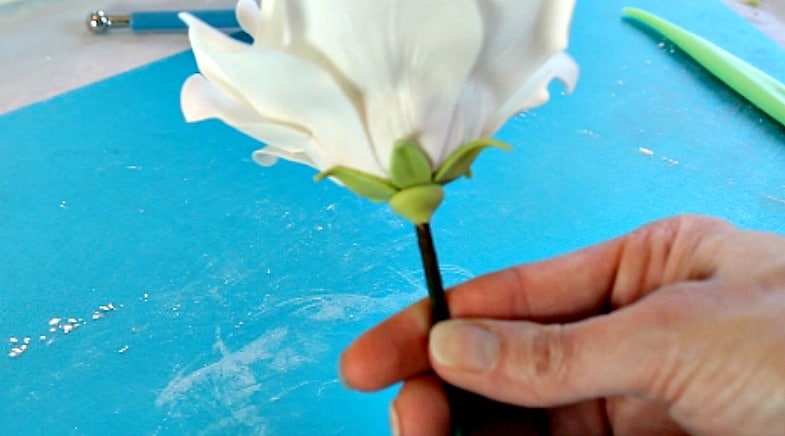
Now just set that aside to let it dry before dusting it with color.
Once it’s firm, I like to dust it with the same colors I used for the petals of the rose. You can check out that post here. So I’ve got moss green petal dust, flesh petal dust, pink and burgundy. I didn’t use the burgundy on the petals, but I almost always use a dark color of some type on the leaves and calyx as an accent and to give a little dimension.
Dusting the Gumpaste Calyx:
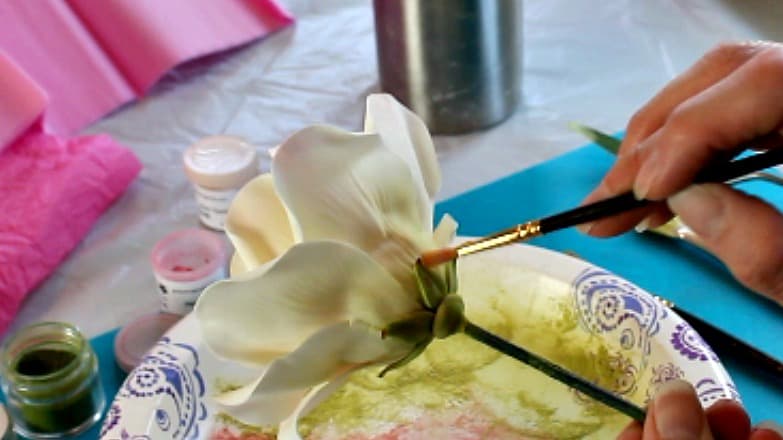
Dusting the calyx is super simple. Just take the moss green and dust over it. It’s okay if some dust gets on the base of the flower. You want that to happen actually. Just give it a good dusting of green. Now add in the pink and flesh petal dusts mixed together along the middle of each of the calyx leaves.
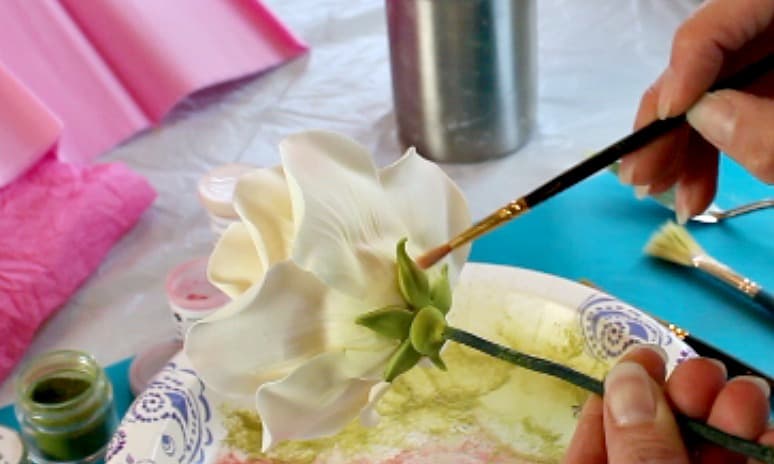
Use the burgundy at the very tips. If you don’t have burgundy, you can use a dark brown or a bit of cocoa powder. By the way, don’t panic if some of the tips break off. It almost always happens and you really don’t see the entire calyx once you’ve got the grouping of flowers on your cake. Don’t stress over it.
Making the gumpaste rose leaves:
Ok, for the gumpaste rose leaves, I’m going to show you two options. I’m sure there are more options, but we’ll go with these two for now.
Leaf method 1:
The first method is to use a veining board that will make it possible to insert the wires into your leaves. It’s just a board with some lines cut out. You roll your gumpaste over it and cut out your leaves.
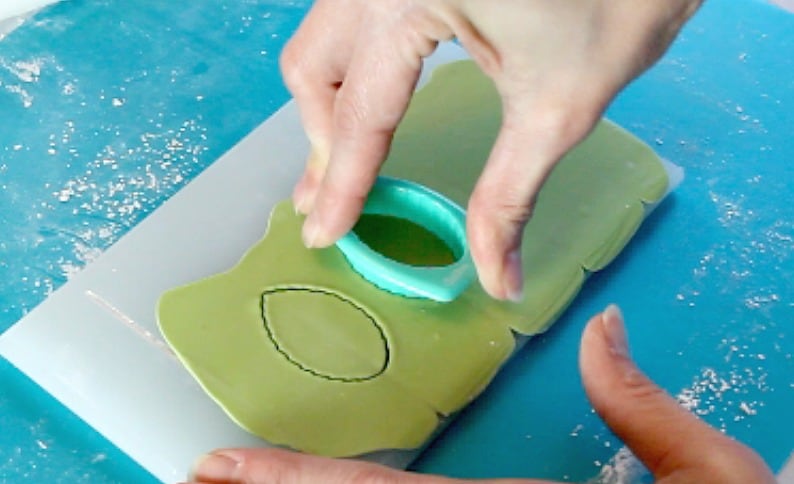
When you pull the leaves off the board, you’ll see a tube of fondant along the back of the leaf. That’s where you’ll insert your wire.
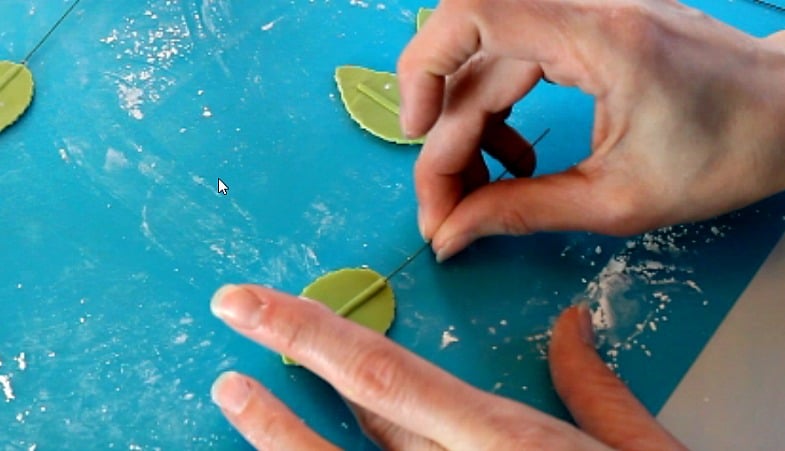
By the way, the wire I’m using is too small, but it’s what I had on hand once I had already started on this tutorial. If you look up near the beginning of this post, I’ve got the supply list where I’ve added in the gauge of wire that is better to use, rather than the 26 gauge wire I had on hand.
Anyway, you’ll want to insert your wires along that fondant ridge. So I’m gonna be honest and say that I absolute hate inserting wires into leaves, but there are those who prefer this method. I’m just not good at inserting them straight and always end up with the wire showing at some point along the leaf, so this method is not my favorite.
Leaf Method 2:
I prefer to make leaves with this method I’m about to show you. The good thing about this method is I don’t ever get wires sticking out of my leaves, but the bad part is that you can really only make one or two at a time. This method calls for a different veining board.
I have actually seen some decorators who don’t use a veining board at all and they simply roll out the gumpaste super thin, lay the wires on it and then fold over the gumpaste to enclose the wires. They then just cut out the leaf shapes. I haven’t been able to make that method work as well for me, but I still prefer it over inserting the wires.
Ok, back to this method now. I really like to use the Wilton veining board (see supply list above.)
It’s got two sides to it. One is to make the vein for the leaf wire and the other side is to imprint vein lines on leaves and petals. Yes, I know there are fancier veining boards, but I like my old trusty Wilton. I’m about to tell you why. (BTW, if that mat is out of stock on Amazon, go to Michael’s or Hobby Lobby…I’ve seen them there.)
UPDATE: I’ve recently learned that these veining mats are discontinued, so you may have to search on ebay for them, but I’ve put a few other options in the supply list at the top of this post.
First just take your gumpaste and roll a bit out onto the center veining side of the Wilton mat.
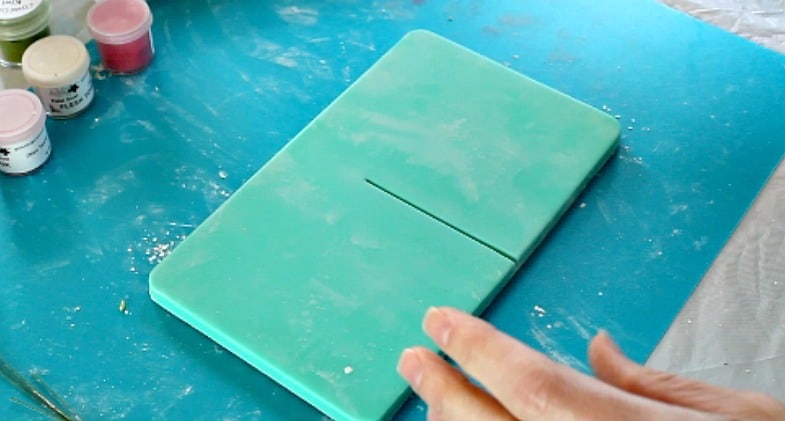
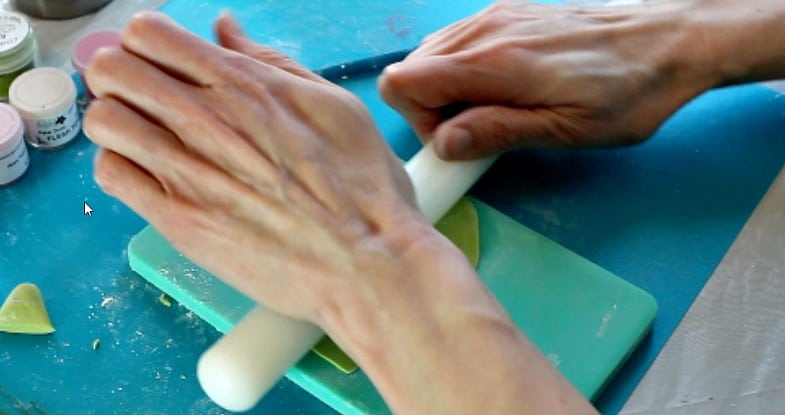
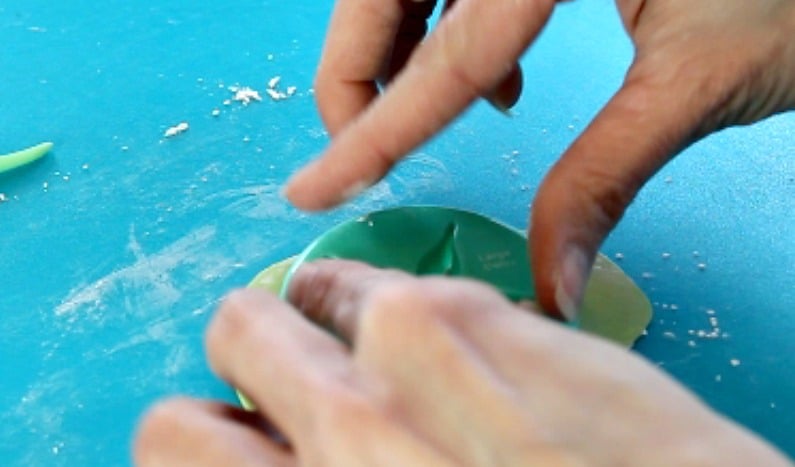
I just pull the gumpaste off the mat and lay down on your cutting surface. Take your leaf cutter and cut out a shape. You don’t want the top half of the leaf to have the ridge line in it though.
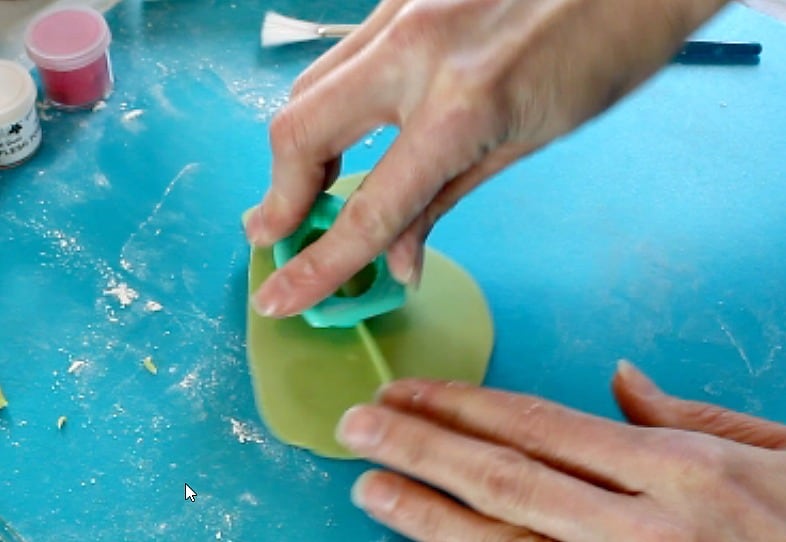
So what’s the difference between this veiner and the first one? Well this veiner makes a flat ridge that all you have to do is lay your wire next to it and then fold it over on top of the wire. You don’t actually have to insert your wire through a tube of gumpaste. It’s probably not as pretty as the first veiner, but hey, it’s the back of the leaf and we’re about to impress some vein lines on them anyway. Really, no one is going to see the backs of them much anyway.
Alright, moving on. Just take a little brush and add a little water to one side of the vein line. Lay your wire down and then fold that flap over it and press down a bit. You can add a little cornstarch to the back to dry any wet spots.
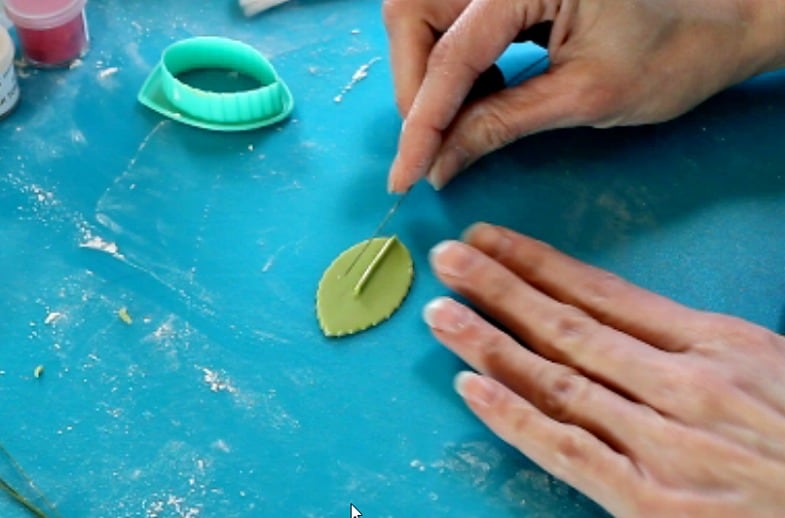
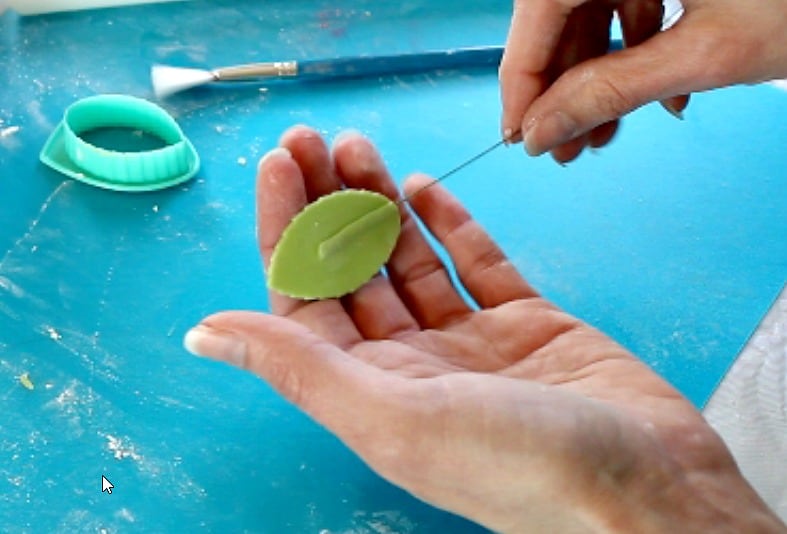
Now, set your leaves on the firm foam mat and thin the edges with a small fondant roller. Just thin them a bit.
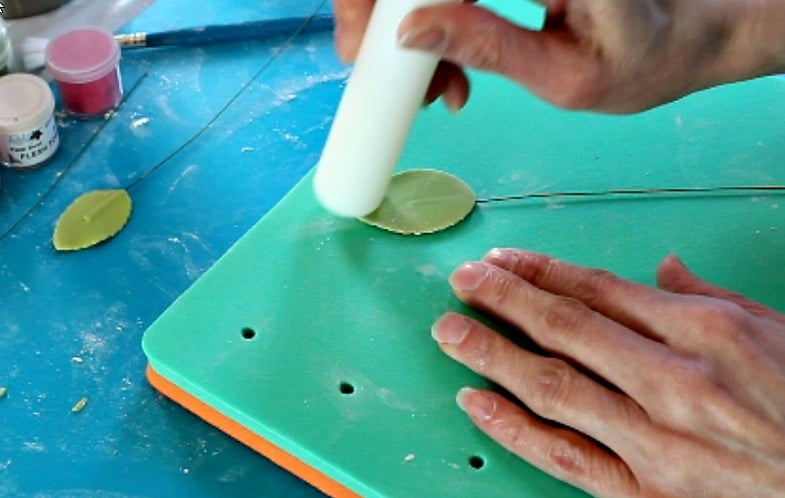
Now, you can just turn your veining board over (the one you just used) and use the impression side to add some veining lines to your leaf.
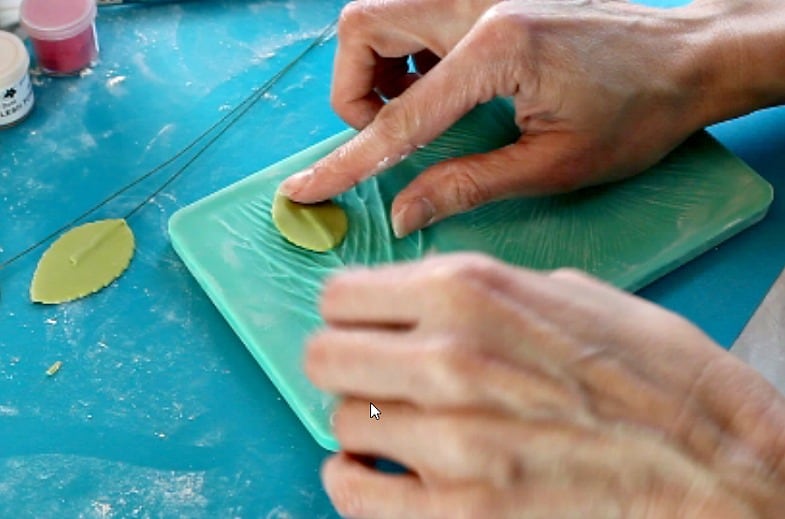
I just use a bit of foam to press the leaf down.
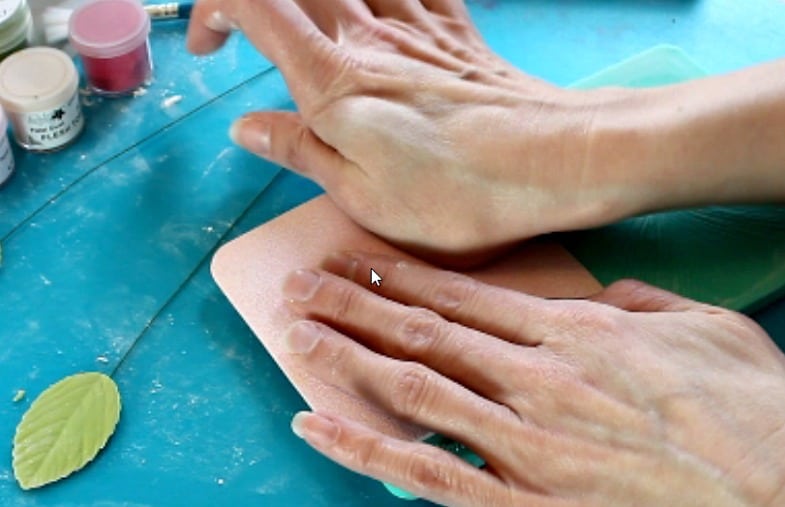
Now you’ve got a veined leaf with no wires sticking out of it. Nice!
Next take a small exacto knife and just cut out some tiny ‘v’ shaped areas along the edges of your leaves. This will just make them seem a little more realistic. Don’t go crazy here, just do a couple for each leaf.
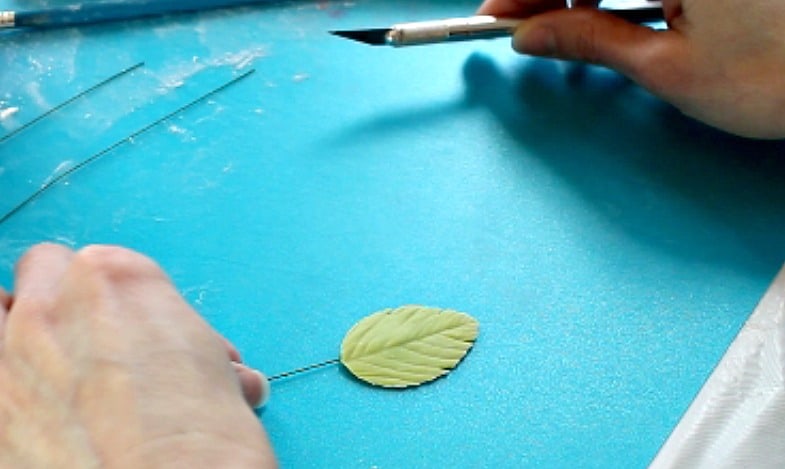
You’ll also want to pinch the base of the leaf just a bit where it meets up to the wire, so it doesn’t look totally flat there.
Now set your leaves on some egg-crate foam to dry fully…probably about a day or so. You’ll want to give some curve to some of your leaves, so they don’t dry flat.
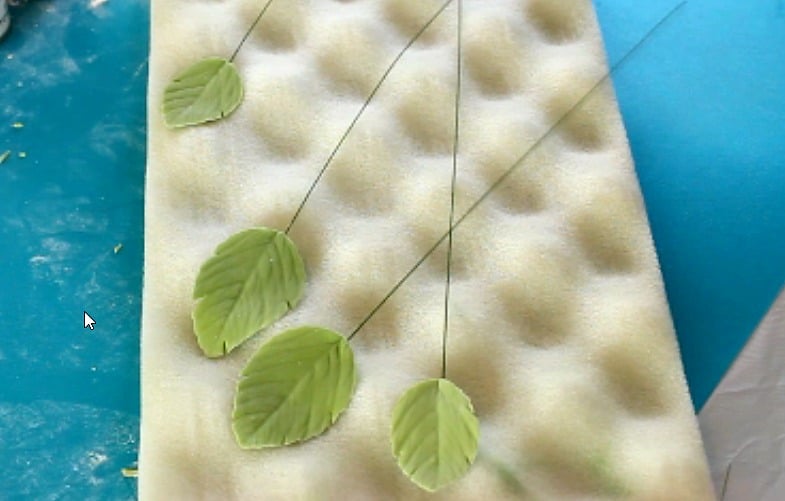
Once they’re dry, it’s time to add some color to them.
Dusting the Gumpaste Leaves:
We’re using the same colors we used on the calyx. You can see the list and where to get them at the beginning of the blog post.
Just take your straight moss green or kiwi color and dust it all over the front and back of the leaves. I try to get the outside of the leaves darker, but don’t stress about it.
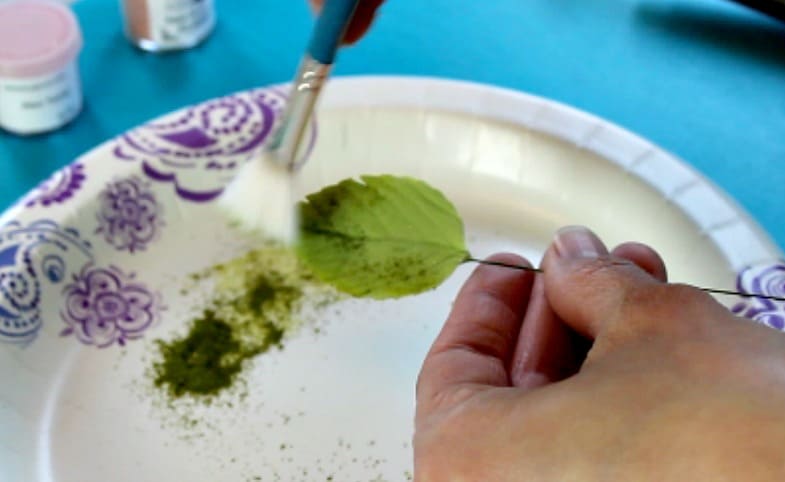
Next take the flesh petal dust and pink petal dust mixed together and add a bit to the middle of the leaf. (I’m using the pink because that’s the color I dusted my rose with. If your rose is a different color, just use a muted down version of that in the center of your leaves. You can mute the color by adding cornstarch to it.)
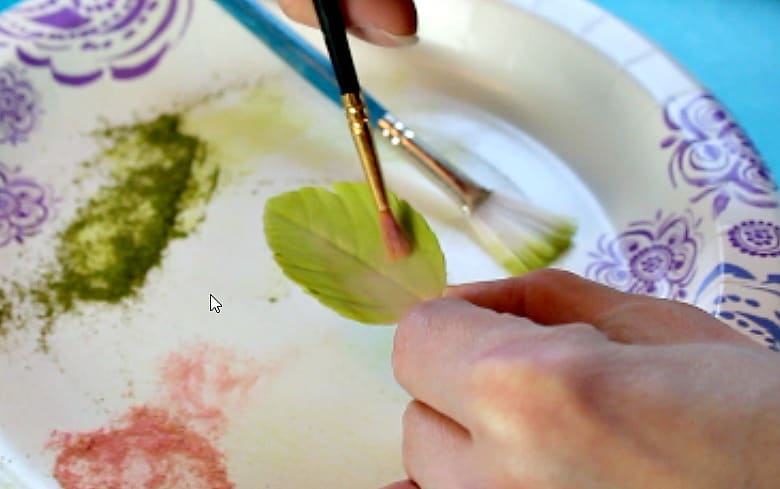
Now take some dark color petal dust (I used burgundy, but you could also use a dark cocoa color), and add it to the areas where you cut the little v’s into.
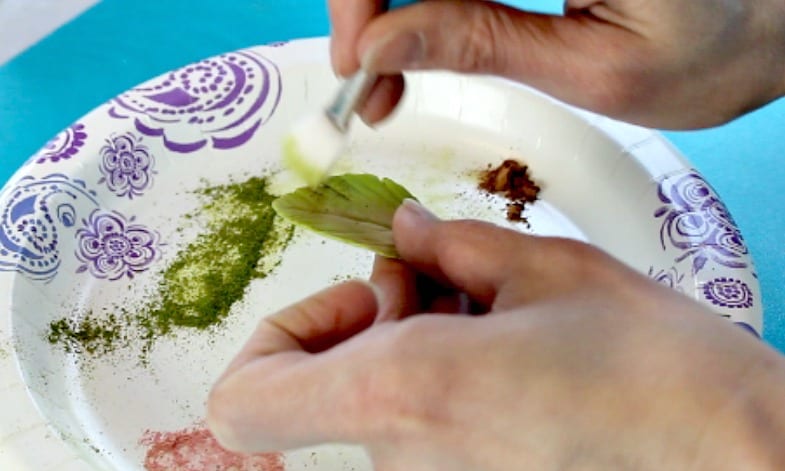
Just sort of blend it into that area.
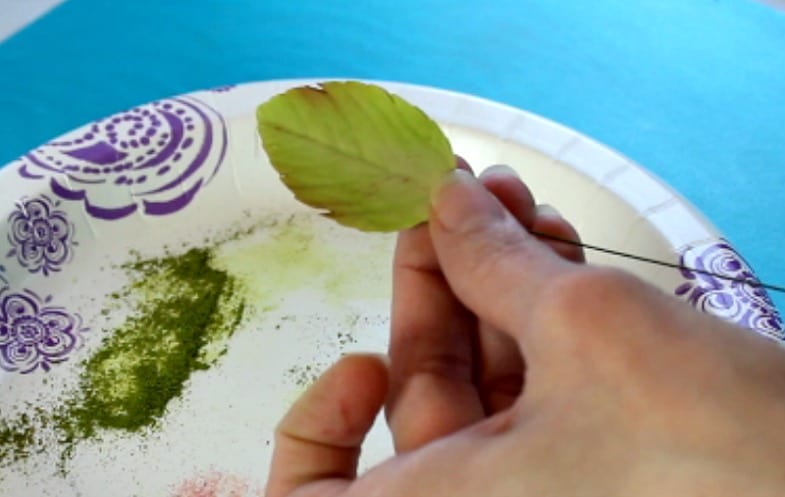
Ok, you’re almost finished. You get to make a decision here on whether you like the matte look of the leaves or if you want them to have a sheen to them. If you want shinier leaves, just steam them a bit. Just hold in front of a steamer or steam over your stove, but only for a second, or you’ll melt them. Steaming them will set the color of the petal dust and will give them a bit of sheen.
I could go either way on this, sometimes I steam and sometimes I prefer the more matte look.
The only thing left to do is to attach your leaves together with some floral tape and then attach to the rose with tape.
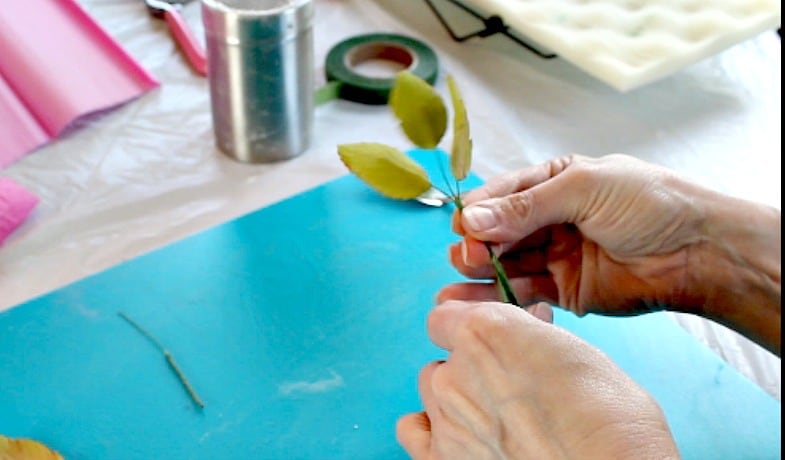
And here’s the video to show you all the steps:
So that’s it! Now you’ve made some beautiful, realistic gumpaste rose leaves.
Don’t forget to check out the related videos below:

I hope this tutorial was very helpful. If it was, I’d love for you to share it! And don’t forget to subscribe to the blog, so you won’t miss any new posts 🙂
Don’t Forget to Pin it for Later!

Bea
Beautiful! Are you close to Yantis? My sis lives there. I go see her so maybe one day we can meet for a glass of tea or have coffee! Love the tutorials.
Kara Jane
Oh wonderful! I looked at the map and I’m probably about an hour and a half south of Yantis. I don’t think I’ve ever actually been there!
Deborah Ann rabbett
Thanks so much, brilliant as always, love from London x
Kara Jane
Awe thanks Deborah! And love to London from the great state of Texas! ?