
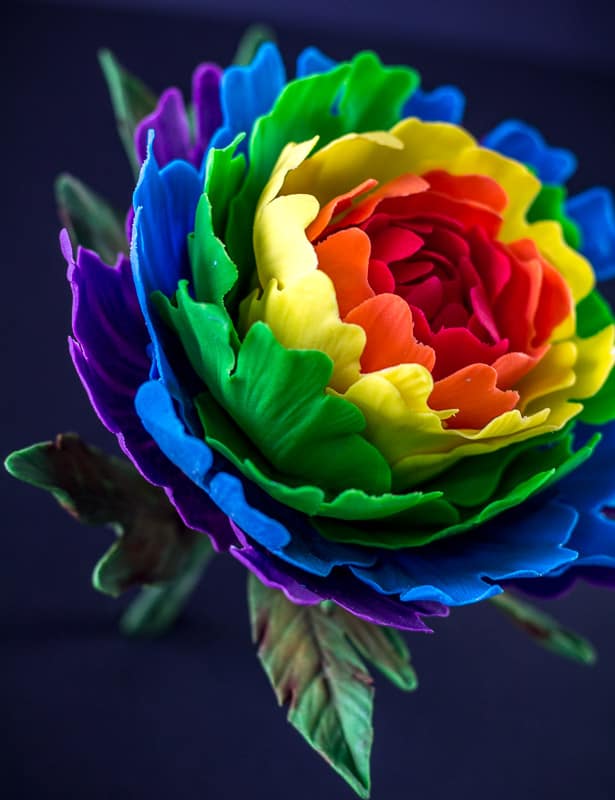
Learn how to make realistic looking peony leaves and a calyx from gumpaste. From cutting and forming the leaves to dusting with color.
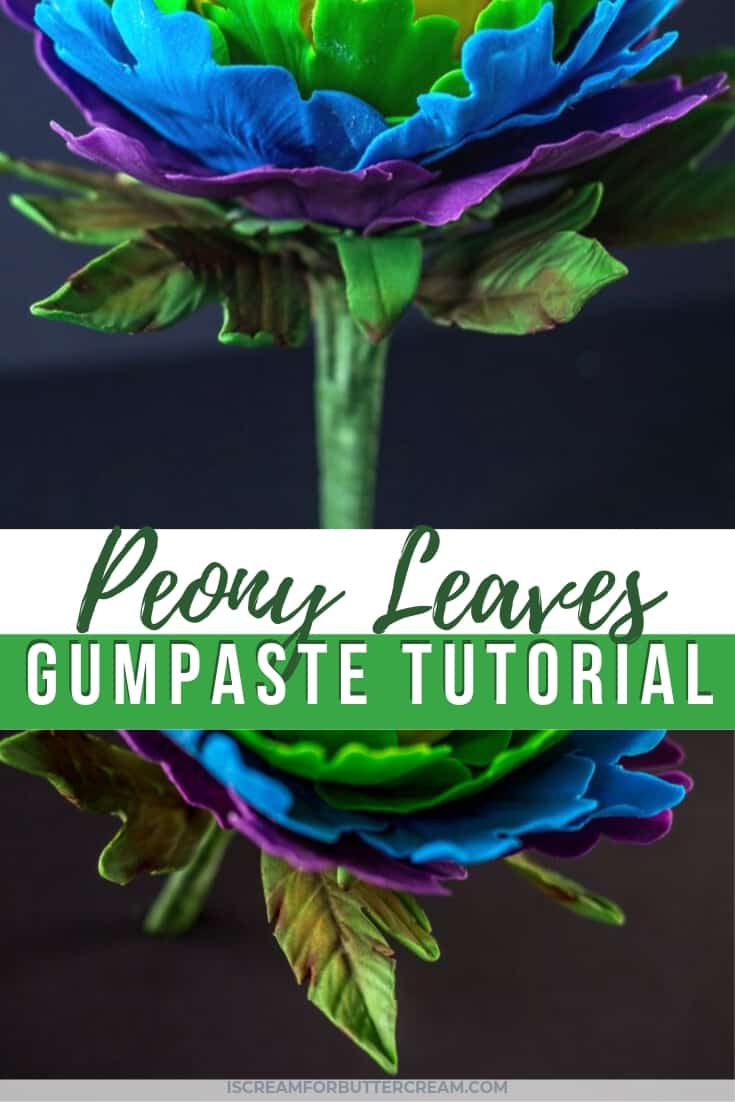
This is the second post in a two part series of making a rainbow peony. In this post, we’re going to work on making the peony leaves and calyx.
If you’ve checked out my post about making gumpaste rose leaves, you’ll notice that these are a bit different. Namely, the calyx on peonies are very different and the leaves are much narrower on the peony.
Make sure to check out the other tutorial in this series:
Rainbow Gumpaste Peony Tutorial
Ok, let’s get to the tutorial for the peony leaves and calyx.
As an Amazon Associate, I earn from qualifying purchases.
Supplies Needed for the Peony Leaves and Calyx:
- Gumpaste or Fondant with Tylose added for firmness (tinted green)
- Small fondant roller
- Wilton peony cutter set
- Fondant Dresden tool
- Leave Veiner – I use this Wilton one, it’s officially discontinued, but sometimes they have a small inventory, so be sure and check. If you can’t get that one, here is another option.
- 20 to 18 gauge wires
- Blossom cutter similar to these
- Exacto Knife
- Petal dusts in green, yellow, orange and burgundy
- Brushes used only for caking
I’ve included some screen shots of the video below with detailed instruction.
I’ve also included a video toward the end of this post that shows all the details.
Making the Calyx:
Ok, the calyx for the peony is a little different. I only have a calyx cutter for a gumpaste rose, so I looked up what a calyx for a peony actually looks like and then I just made my own out of the supplies I had.
I like trying to figure out ways to do things with only the supplies I have, instead of always buying new things. I mean, don’t get me wrong, I like buying caking supplies, but I could go crazy if I don’t watch myself. I also like giving myself a challenge.
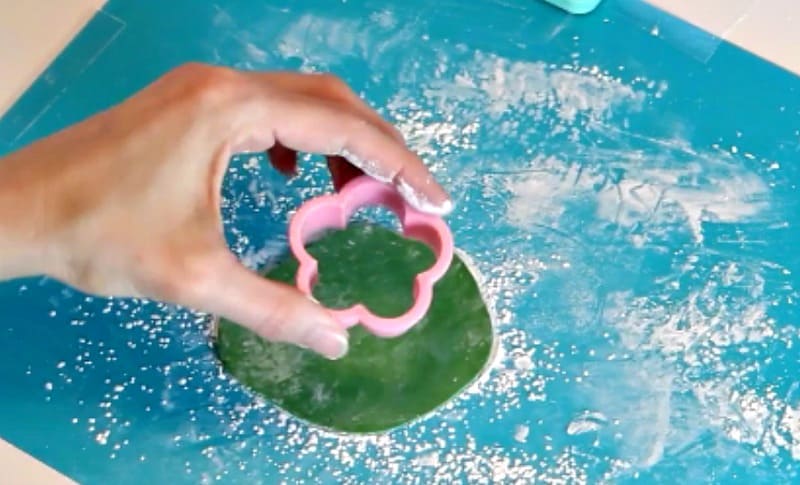
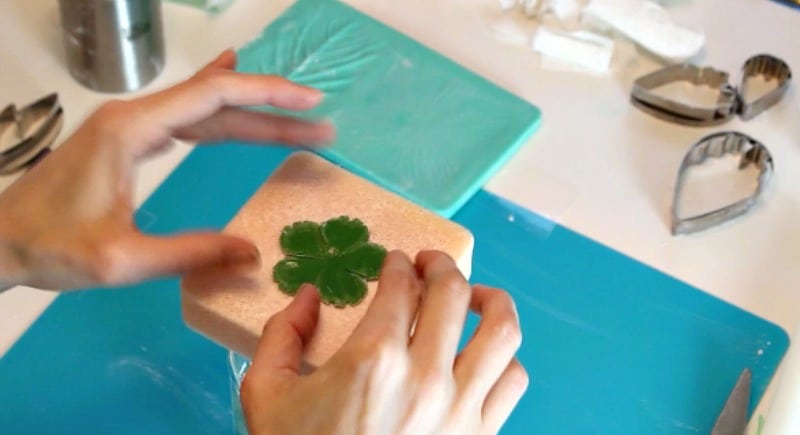
Make the Calyx Part 1:
Alright, first you’ll roll out the green gumpaste and cut out a shape with your small blossom cutter.
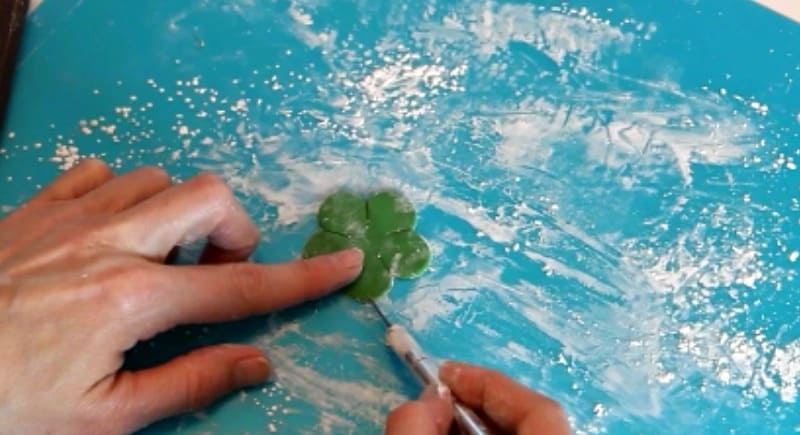
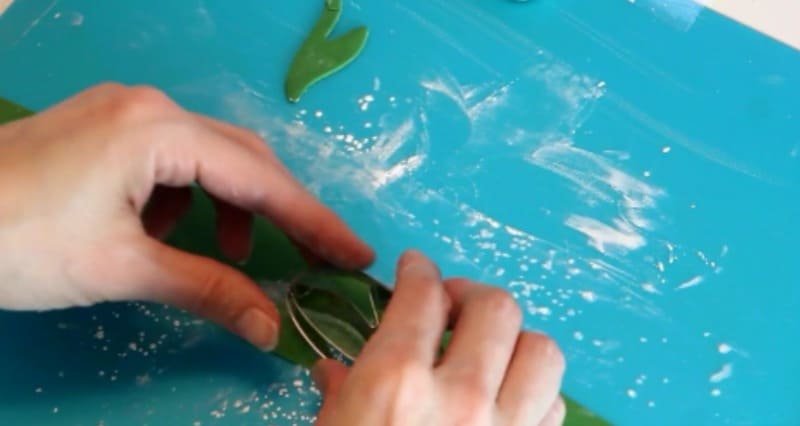
Once it’s cut out, take your exacto knife and cut into the blossom to elongate the petals.
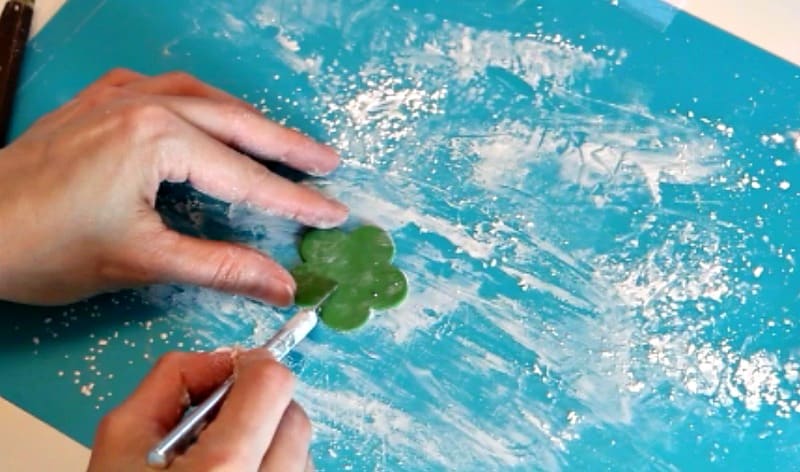
Now take your exacto knife and cut little ‘V’s’ into each petal. I do a larger one in the middle of each petal, then smaller ones around that.
Take your blossom (calyx) and add some vein lines to them. I just use my trusty Wilton veining mat.
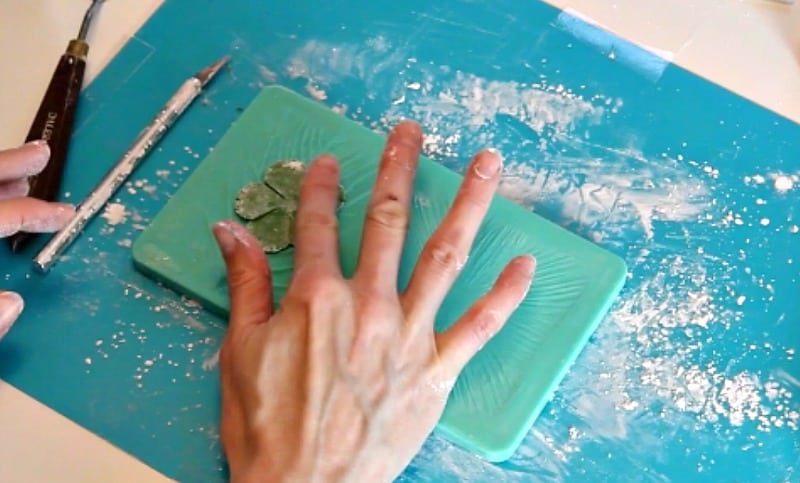
Score some deeper lines with your dresden tool.
Now take a mason jar and pop a piece of foam on top. Make sure there’s a hole in the middle of your foam. Lay your calyx face down on it and add water to it. Don’t add water to the very ends of your petals though.
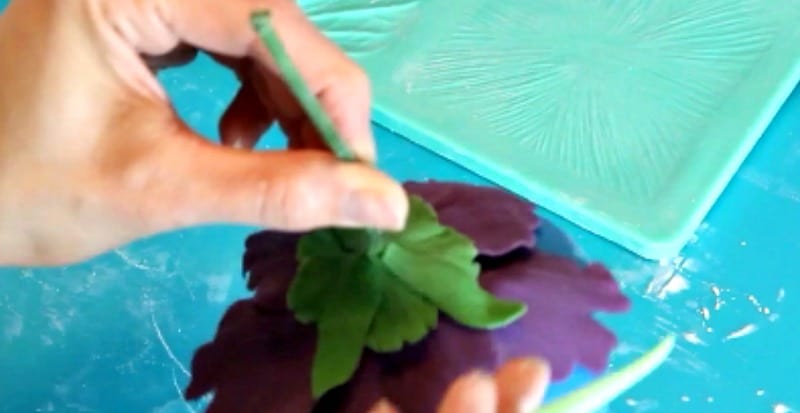
Now insert the stem of your flower through the calyx and foam and use the foam to attach the calyx around the base of your flower.
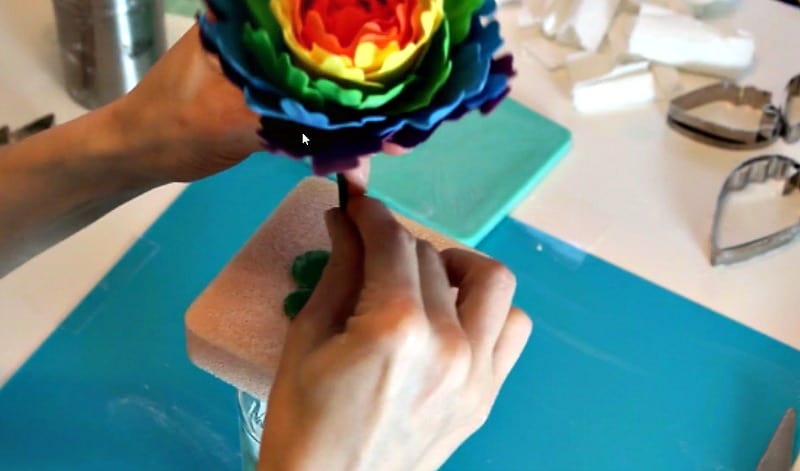
Lift up the very ends of the calyx and curve them back a bit.
Pop your stem into some foam while you work on the other part of the calyx.
Make the Calyx Part 2:
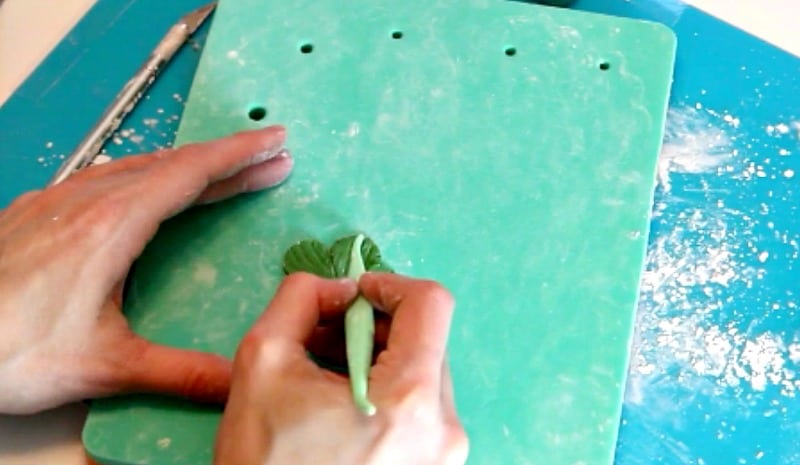
Now we’ll make the longer leaves for the calyx.
Roll out your green gumpaste very thin. Use your leaf cutter from your peony cutter set. I’m just using the Wilton cutter set.
We’re only using the small portion of the leaf though. Cut out three and trim the excess off, so you only have three of the smaller leaves.
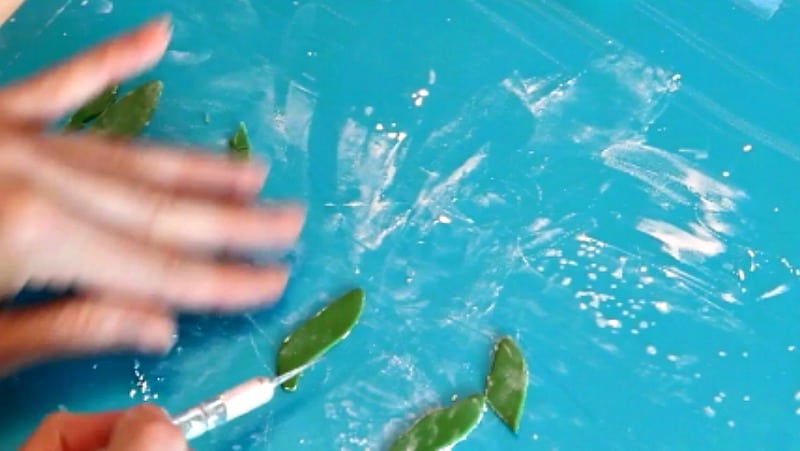
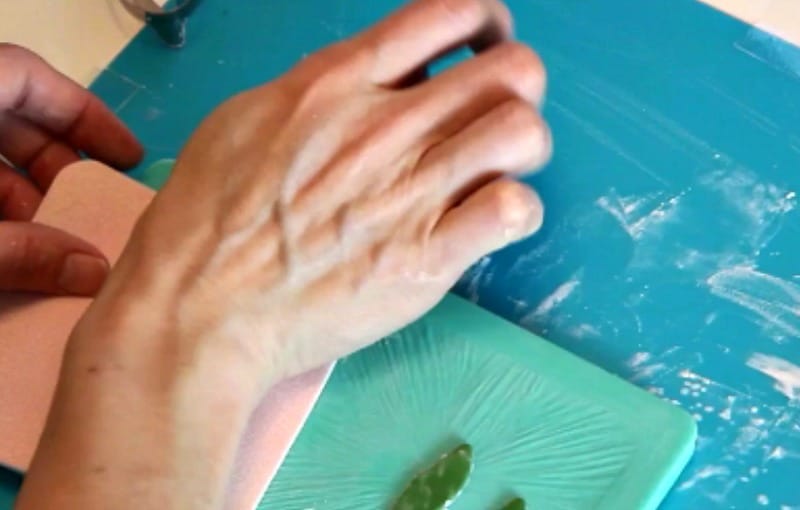
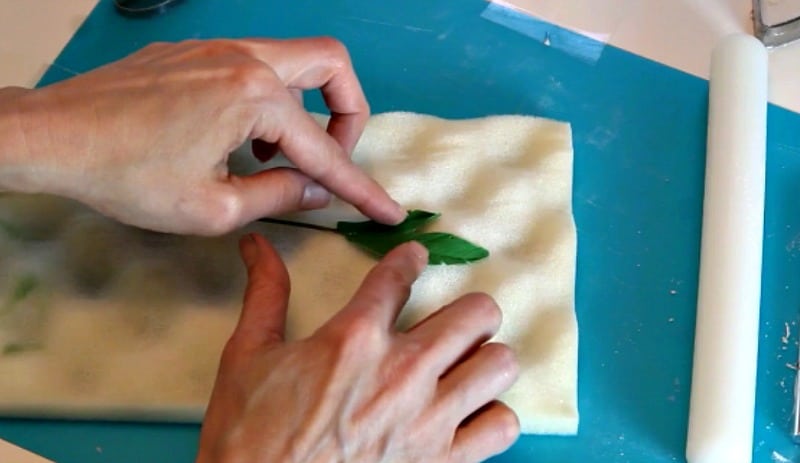
Vein them with your veining mat. I just use a piece of foam to press them down on the veining mat.
Now you want to curl the very ends of these leaves. Just kind of make the ends into little points.
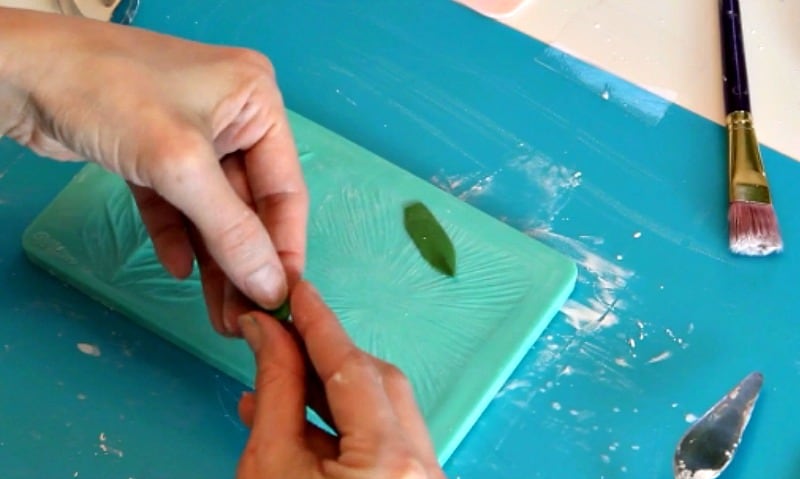
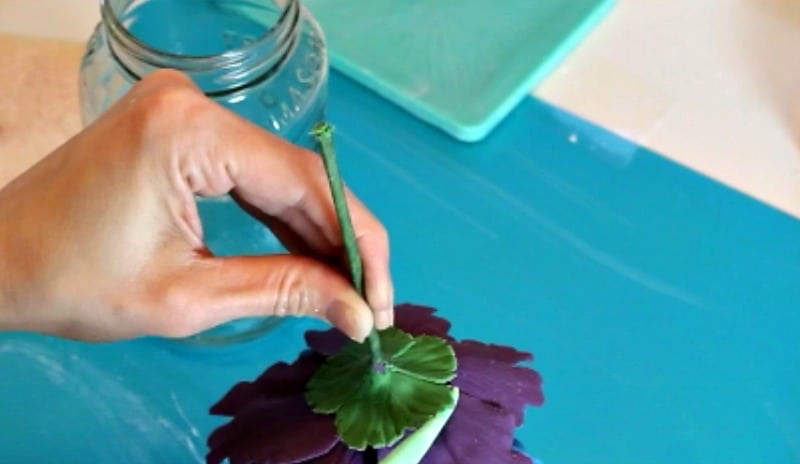
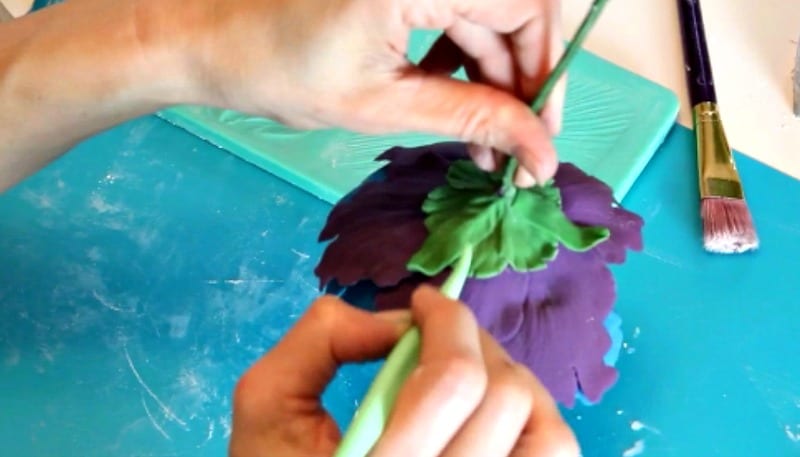
Add water to the leaves, but not up to the tips. Attach to your calyx evenly spaced and curl the ends up.
Use your fondant dresden tool and impress lines into it. You’re just trying to blend in the new pieces you’ve added.
Now just pop your flower stem into foam while you work on the peony leaves. Make sure your calyx is completely dry and firm before you dust it with color or they will crack easily.
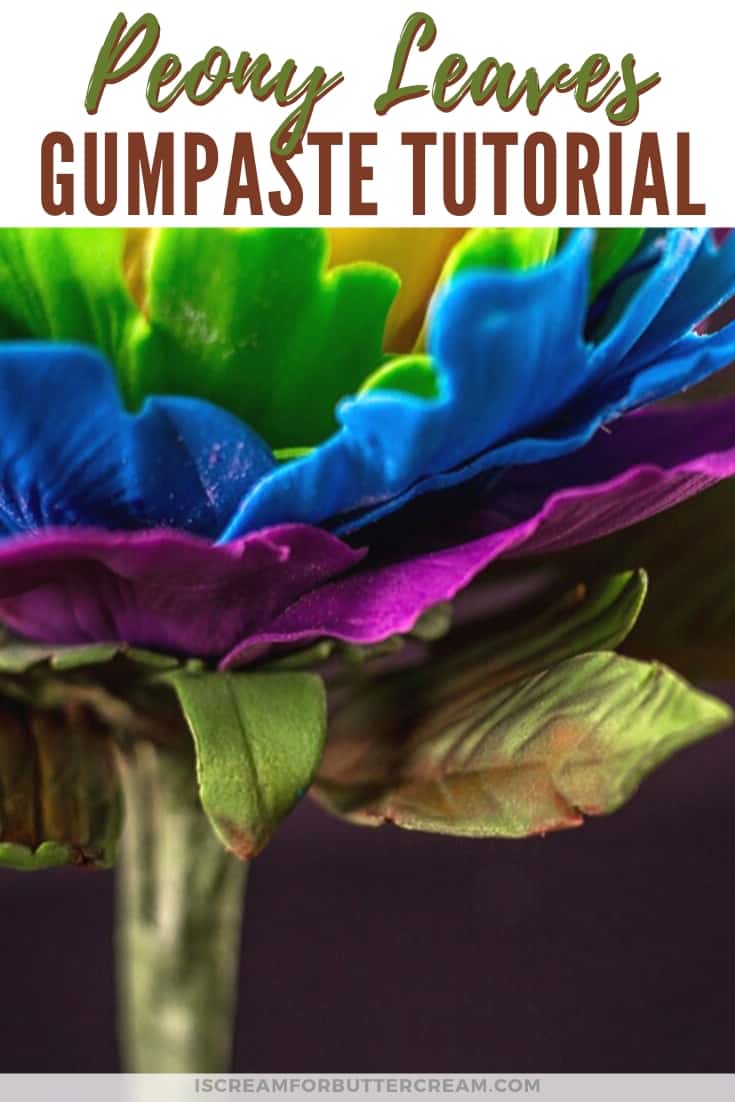
Making the Peony Leaves:
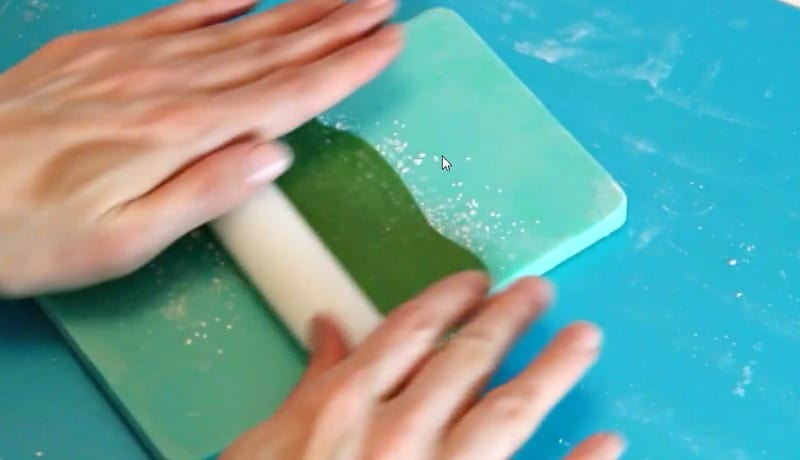
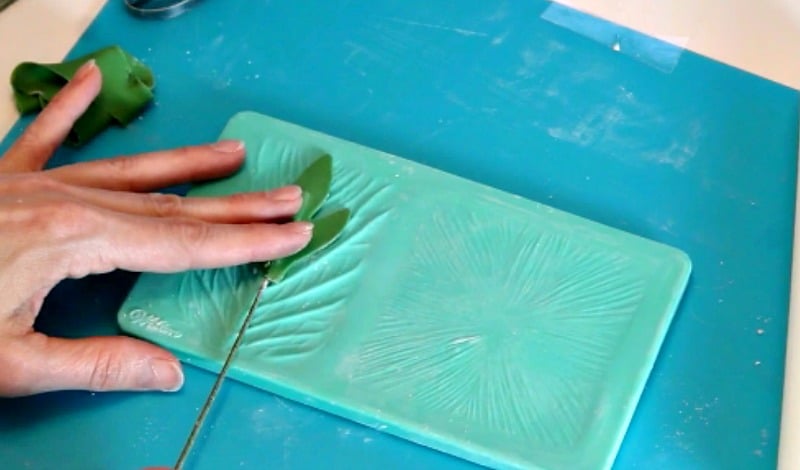
Roll out your green gumpaste very thin on a veiner board. I use my trusty Wilton board. (You can find a link for that in the supplies section at the top of this post.) Roll it out on your board and then pull the gumpaste off your board and dust a bit with cornstarch.
Use your peony leaf cutter and center it on the little tab that your veiner board made.
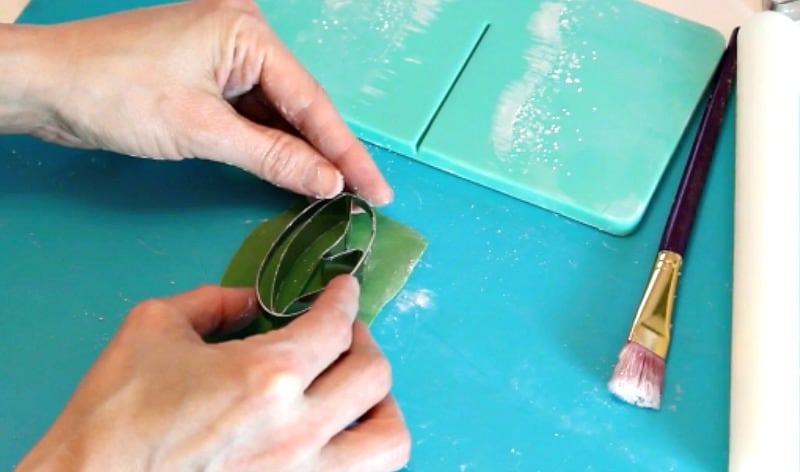
Once cut out, it’ll look like this. The veining tab only goes about three quarters of the way up the leaf.
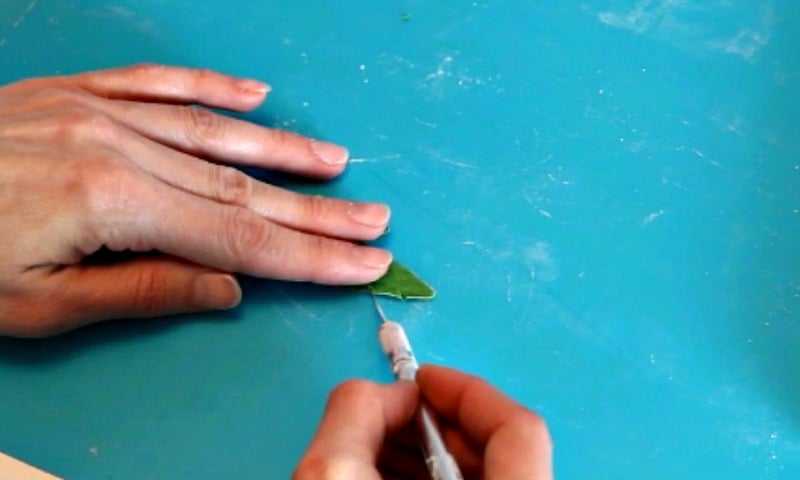
Add some water on one side of the tab, lay the wire onto it and then fold over the tab, then dust with cornstarch to soak up any remaining moisture.
By the way, there are other veining boards you can use. Some make a tube like structure down the middle of the leaf where you insert your wire. I never have good luck with these, because I can’t seem to be able to insert a wire straight. It always ends up poking through the top of the leaf. Use what you feel comfortable with.
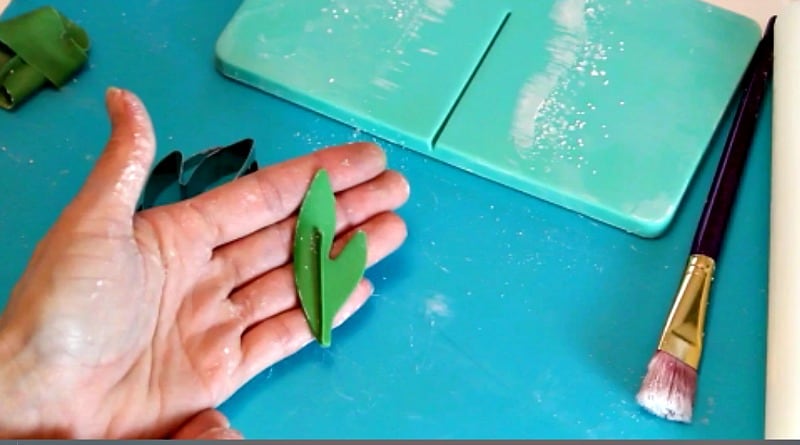
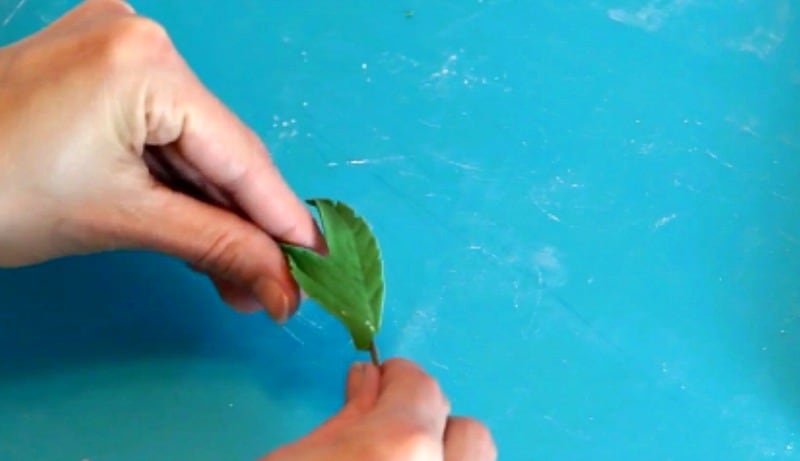
Now just vein the top of your leaf.
Now cut in small ‘V’s’ like you did for your calyx. You’re just adding in some texture to make it look realistic.
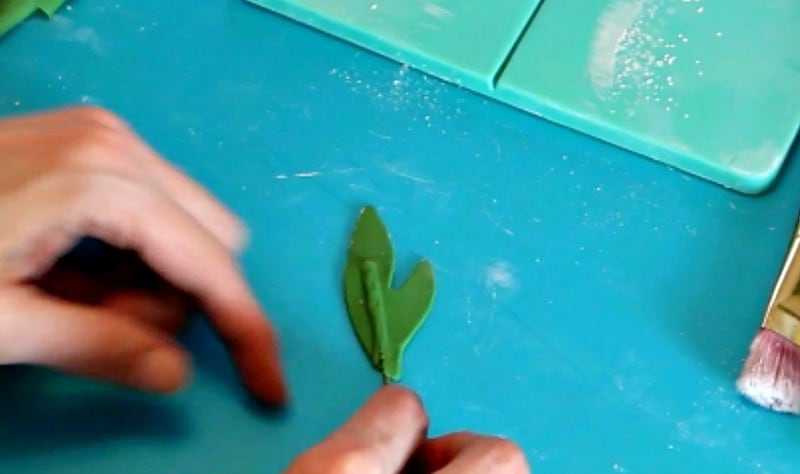
Pinch the base of your leave where it’s attached to the wire and the very tips of the leaves.
Now just set it on some foam. I like to use an egg crate foam so it gives it some movement. Don’t lay them flat. You want them to have curves and you want each to look a little different.
I make three of these leaves for each bunch and I make two bunches for each peony flower.
You want these to fully harden before you dust them with color, so let them sit like this for about 24 hours.
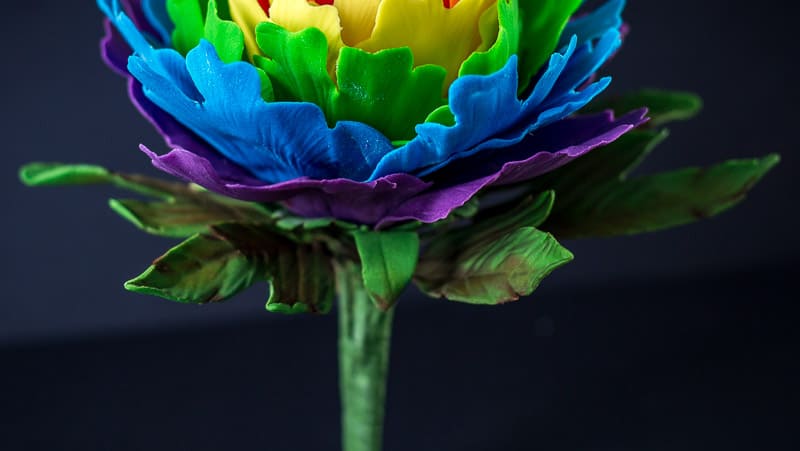
Dusting the Calyx:
Now that your calyx has dried and firmed up, we’ll dust it with color to give it a realistic look.
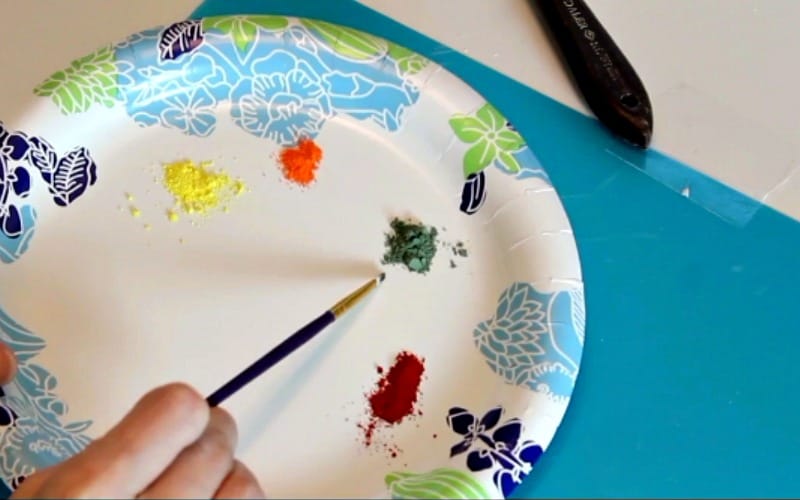
I’m using multiple colors here. These colors were chosen because I was pairing the leaves with the rainbow peony, so I was adding in some of the same colors I used for the peony.
I used kiwi green, yellow, orange and dark red petal dust. (You can see links to these in the supplies section of this post.)
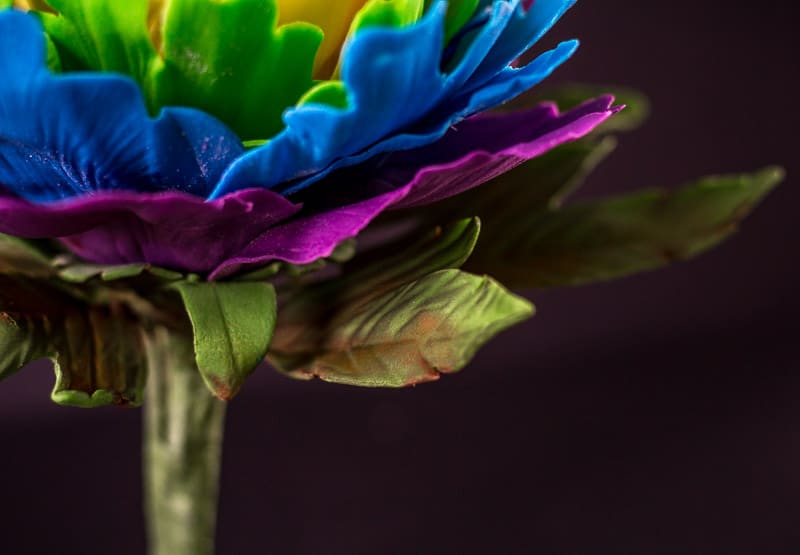
Dust the entire calyx and the longer leaves with green. You can also dust the under side of the longer leaves, just be careful because those are delicate.
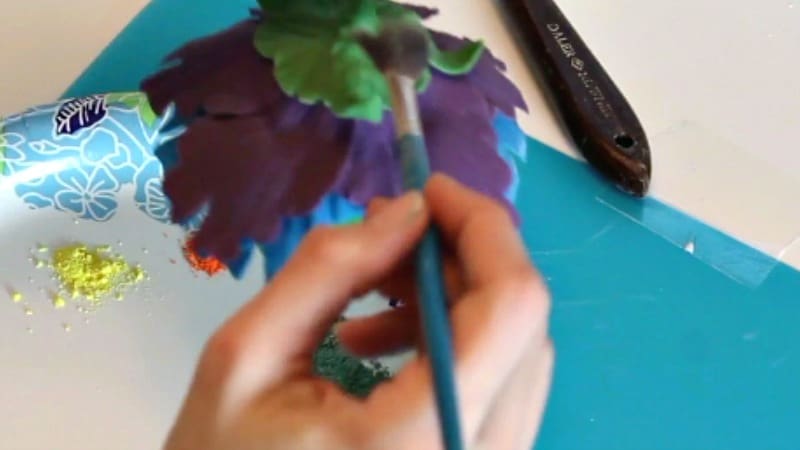
Dust on some yellow and orange in random places, then blend together with a bit more green.

Now add a little of the dark red into the little ‘V’s’ that you cut out and onto the tips of the longer leaves. Blend that with a bit of green.
Now just set aside and work on your leaves.
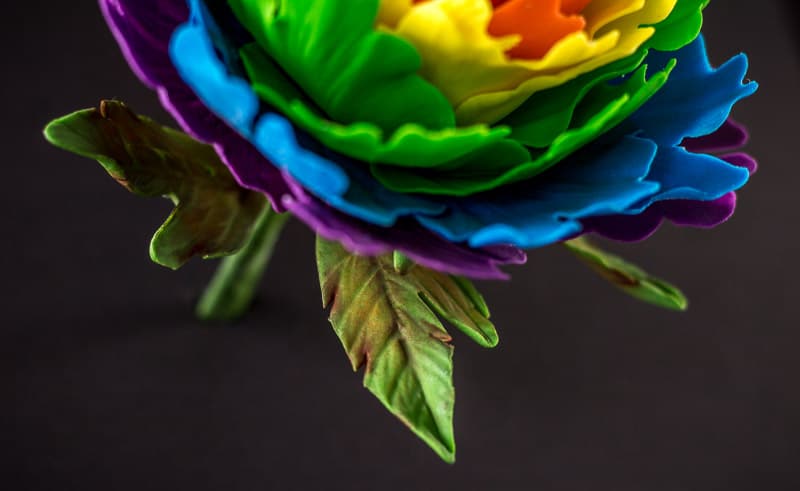
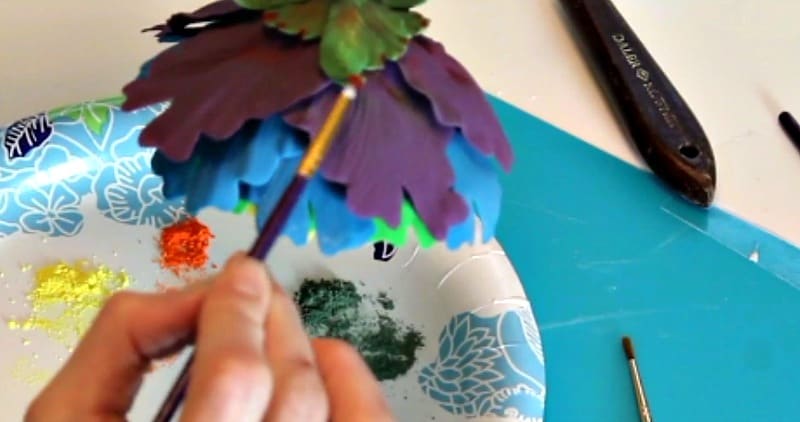
Dusting the Leaves:
Use the same petal dust colors as you used for the calyx. It’s basically the same method.
Dust your leaves with the green dust first. I usually dust both sides of the leaves.
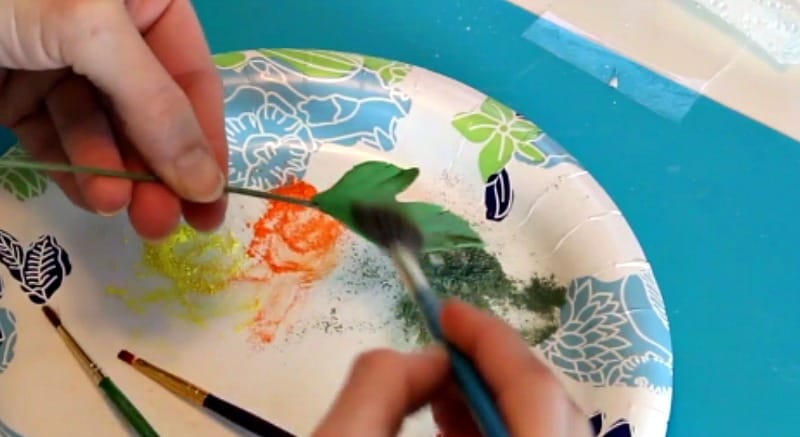
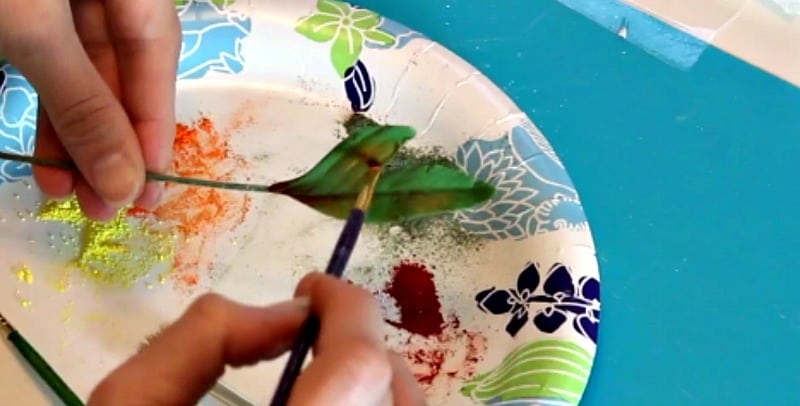
Dust random areas with the yellow and orange dust.
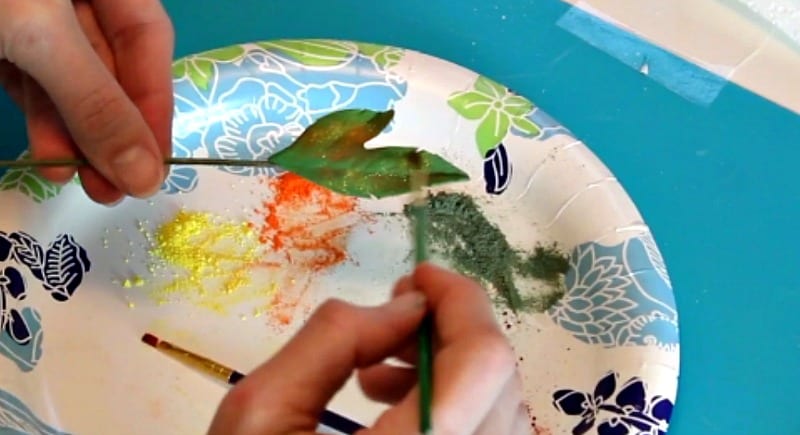
Then dust the little ‘V’s’ you cut out and the very base of the leaf with the dark red. Blend all those colors in with a bit more green.
Once you’re happy with it, you’ll want to steam your flower, calyx and leaves. If you don’t have a steamer, it’s not crucial, but it sets the petal dust and gives some sheen to your flower and leaves.
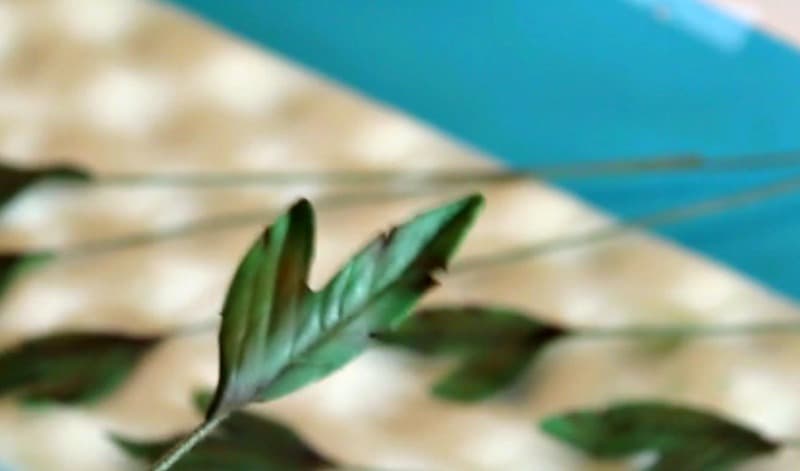
Just twirl them around in the stem for a couple seconds. Don’t hold them over the steam for long, or it will completely melt your fondant or gumpaste. It’ll leave you a sheen about like this. (Excuse the pic blurriness, it’s a screenshot of the video, which actually shows it more clearly, so don’t forget to check that out below.)
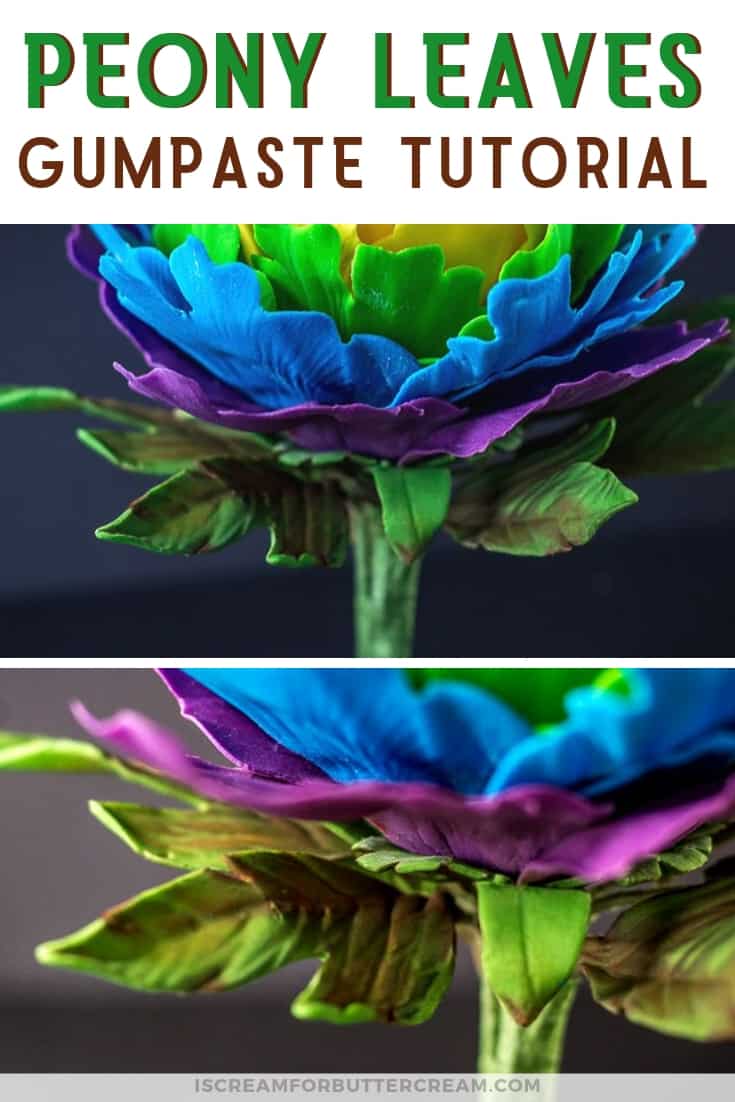
Once your leaves are finished and dry, just bundle them in sets of three, staggering the heights of each leaf. Tape them together with floral tape, then tape two bunches to the stem of your peony.
That’s it! Now you’ve finished up your beautiful peony and added in some lovely greenery.
And here’s the video that shows all the steps:
I hope this was helpful to you and don’t forget to check out the post on how to make the rainbow peony. There’s even a quick reference guide there you can download, so you can have it handy when you’re making your flower.
Don’t Forget to Pin it for Later!
FREE: 7 Quick & Easy Tips to Make Your Cakes Look Professional

Ready to start making cakes that look amazing?
Grab this FREE guide with quick and easy tips to make your cakes actually look like a professional made them, so you can start showing them off!
See our privacy policy here.