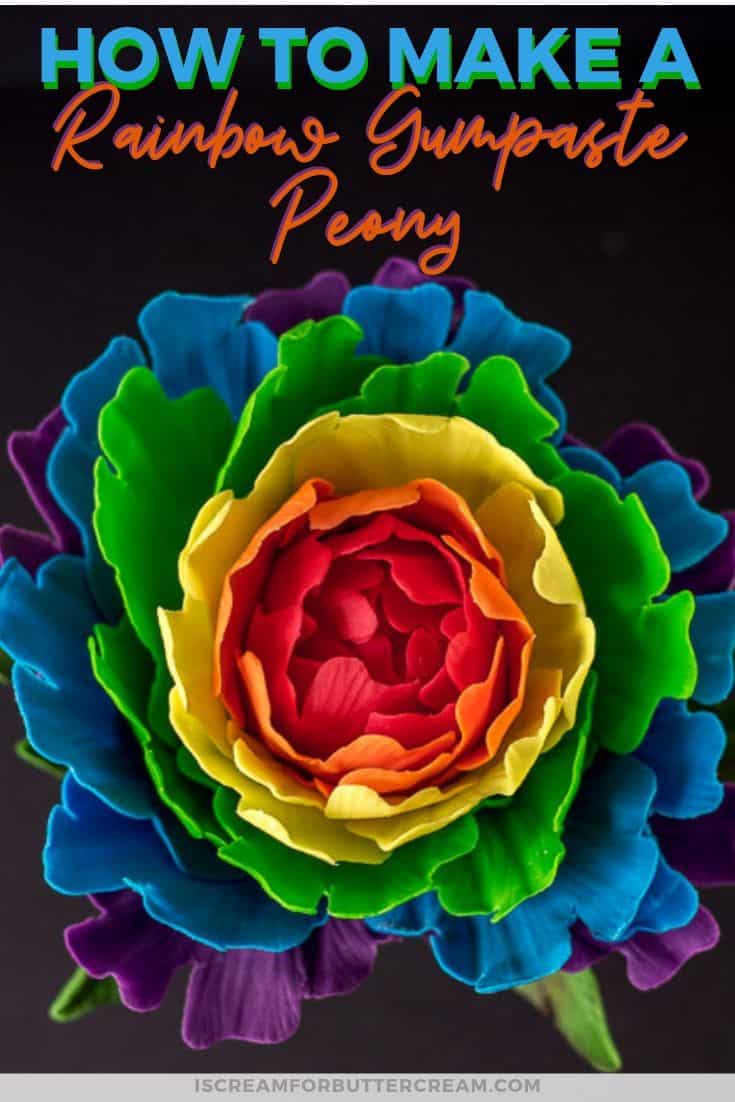
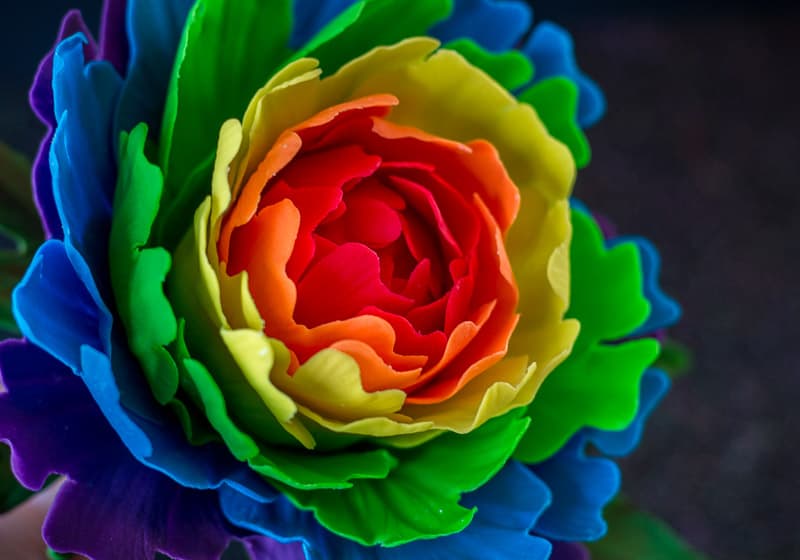
Learn how to make this bright, fun and showy rainbow gumpaste peony. This tutorial shows each step along with a detailed video!
I love making sugar flowers and this rainbow gumpaste peony just makes me happy. How can a rainbow flower NOT cheer you up? No, I’ve never actually seen a rainbow peony in real life and I don’t think they even exist, but that doesn’t matter. We’re having fun, right?
I wanted to create another gumpaste flower tutorial for you (you can see my large gumpaste rose tutorial here), but I also wanted to have a little more fun with this one…something a little more flashy.
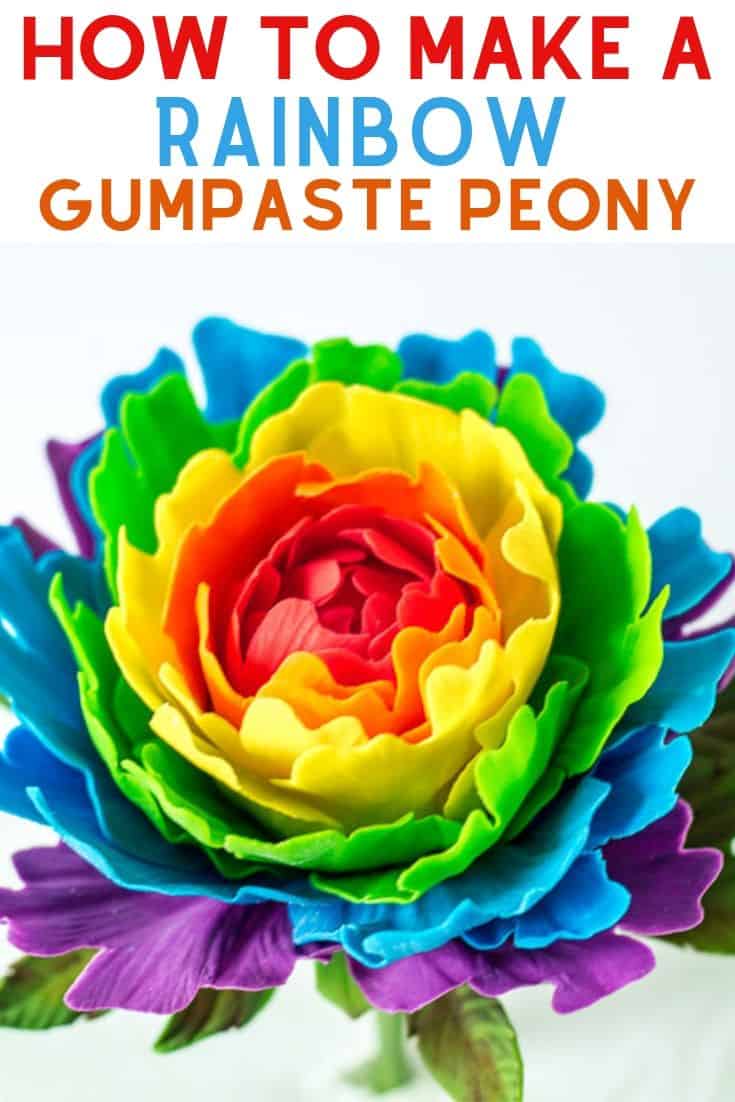
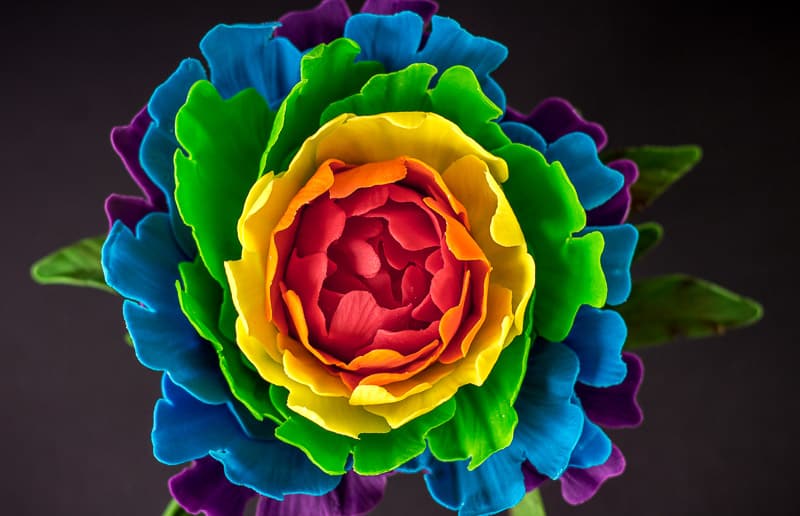
I think this accomplishes that goal. It’s just so eye-cathcing.
Obviously you can make this peony in any color you like. It doesn’t have to be rainbow…I was just going for something bold. So just make this in whatever color you like, or that you need for your current project.
Ok, enough talk and onto the rainbow gumpaste peony tutorial.
This tutorial has two parts:
- Making the peony flower (you’re here now)
- Making the calyx and leaves for the peony
Just click on the link to the other post once you’ve finished this one to see how to make the leaves and calyx for the peony. (They’re different than your average gumpaste rose leaves.)
In this post, I’ve included some screen shots from the video and I’ve gone into detail with all the steps. If you’re more of a video person, I’ve included the video toward the end of this post. I’ve narrated it, so it explains everything as well.
As an Amazon Associate, I earn from qualifying purchases.
Supplies You’ll Need for the Rainbow Gumpaste Peony:
- Gumpaste or Fondant with Tylose added. You want it tinted in rainbow colors (I just bought premade white fondant and added gel coloring to mine.)
- Peony Petal and Leaf Cutter Set (I just used the Wilton brand here: Wilton Peony Petal & Leave Cutter Set)
- Three 18 gauge wires
- Floral Tape
- One inch styrofoam ball
- Hot Glue
- Small fondant roller (for rolling out gumpaste and thinning the petal edges). You can also use a pasta roller attachment for a KitchenAid Mixer to roll out your gumpaste.
- Cornstarch (for dusting)
- Mini pizza cutter (for any additional cutting)
- Firm foam pad
- Soft foam pad and mason jar (optional, but useful if you’re using my mason jar drying technique – I explain this in the post and the video later.)
- Petal veiner (I just used an all purpose petal veiner like this one) There are specific ones for peonies, but I just like to use what I have on hand.
- A fondant dresden tool (I use this to make deeper indention lines in the petals and to help me manipulate the petals when I’m attaching them to the bud.)
- Water and paint brushes (used only for caking).
- Florist Foam or styrofoam to set and store your gumpaste flower on
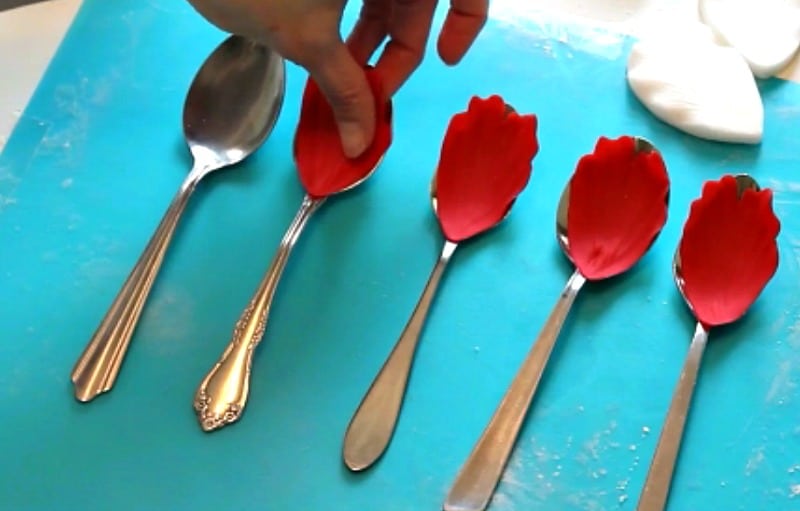
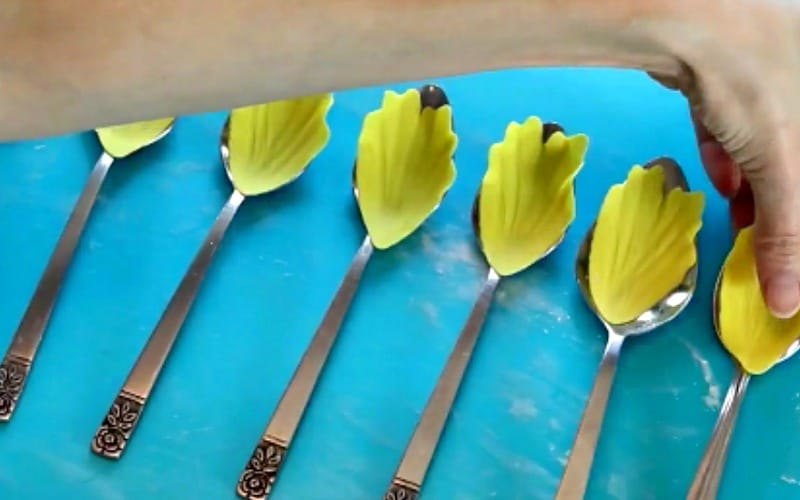
- Tablespoons or apple crate (used to form the petals).
Making the Rainbow Gumpaste Peony:
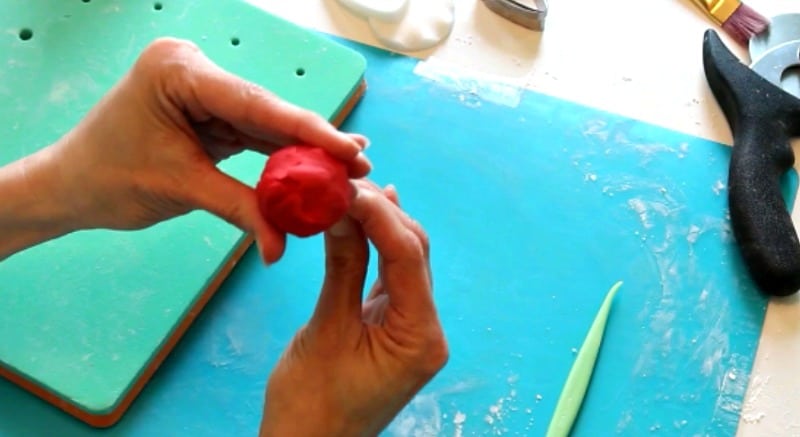
Preparing the Base:
Take three 18 gauge wires and tape them together with floral tape.
Poke a small hole into the bottom of your one inch styrofoam ball. Add in a little hot glue and insert your taped wires. Let this set up before moving on.
Using a styrofoam ball allows the gumpaste flower to be lighter than if you made it out of straight gumpaste. It would take much longer to dry and would be a much heavier flower.
Preparing the Gumpaste or Fondant:
Just a few quick words here. Use straight gumpaste if you can. It’s more malleable (or stretchy). Okay am I the only one that hear’s Nacho Libre say ‘stretchy pants’ whenever I hear anyone say stretchy? I think it’s in my brain forever.
Ok, I’m off topic. Anyway, gumpaste is better, but if you only have fondant, you can add in some Tylose to it. It’s just a powder that you add to fondant to allow the fondant to firm up as hard as gumpaste.
If you use straight fondant, it doesn’t dry as hard as gumpaste. It’s harder to work with to make sugar flowers and it’s a lot easier to crack.
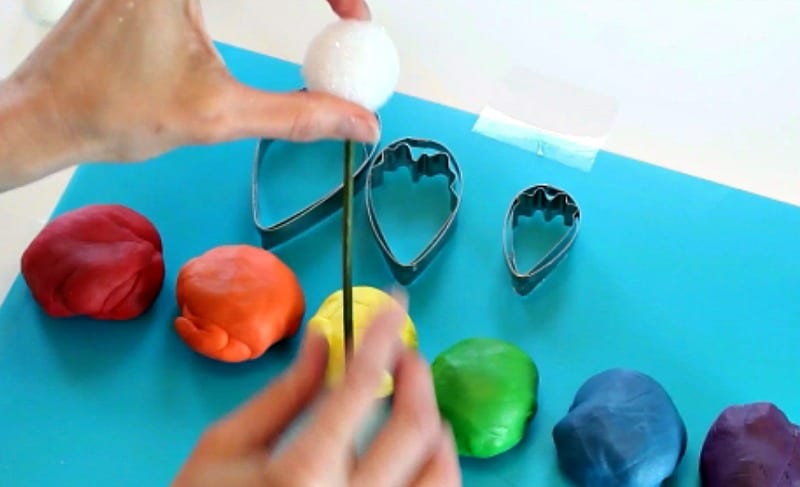
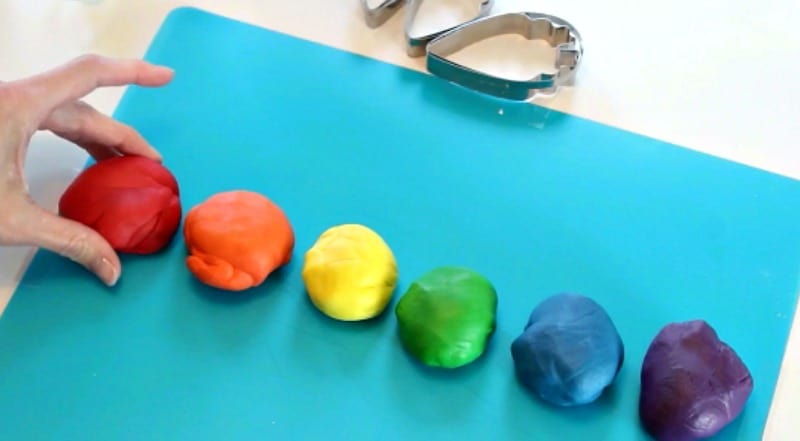
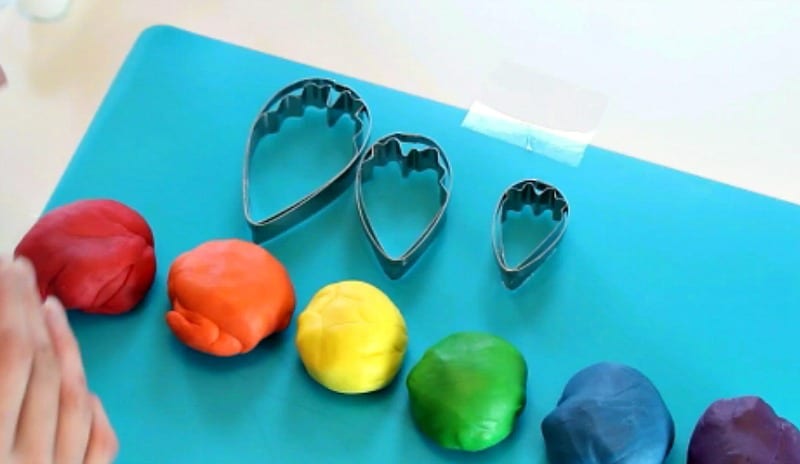
I used these colors for the peony: Red, orange, yellow, green, blue and purple
And I used the Wilton Peony Cutter Set. It comes with peony petal and leaf cutters.
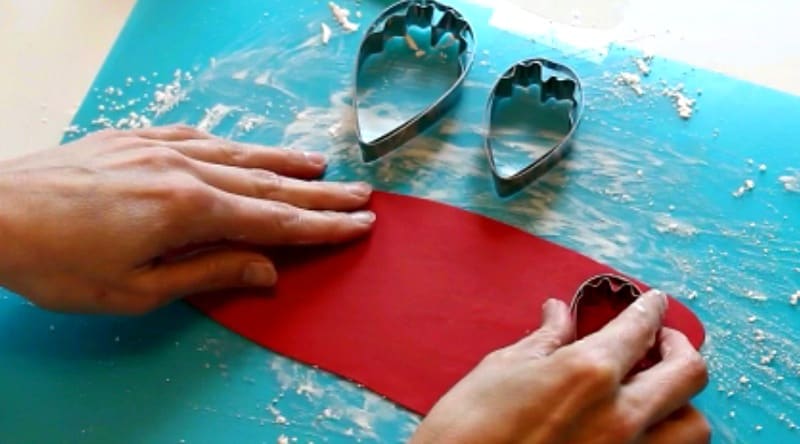
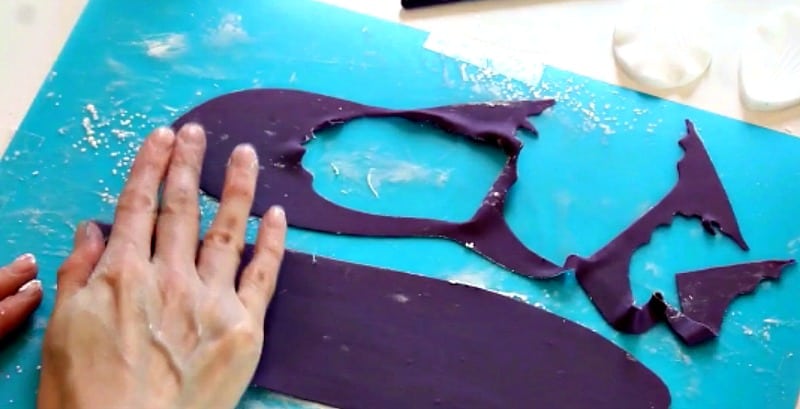
Rolling out the Gumpaste:
I use a pasta roller attachment on my KitchenAid mixer to roll out my fondant. I use about a level 4 – 5 when rolling out these petals.
You can see other ways I use the pasta roller and I explain a little more on what that process is in this post: 3 Ways to Use a Pasta Roller for Cake Decorating.
It’s the best cake decorating tool I have. Don’t panic though, if you don’t have one, just use a small fondant roller and try to roll out your petals as thin as you can.
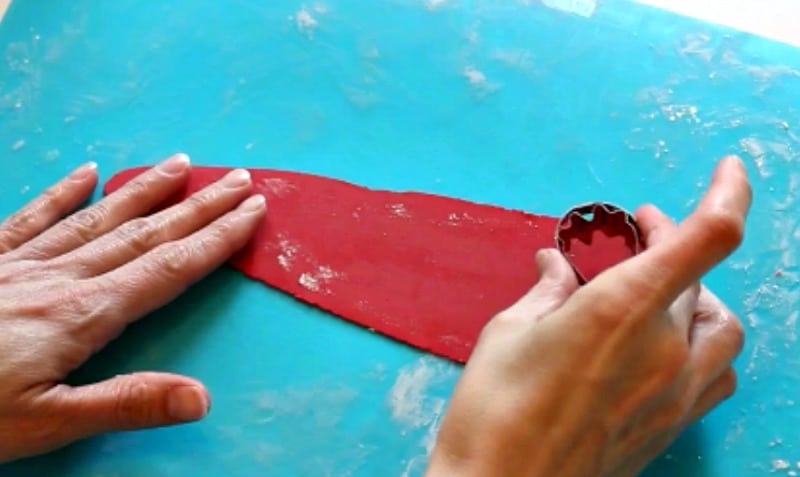
Row #1 – The Bud:
(Red – 3 Small Petals)
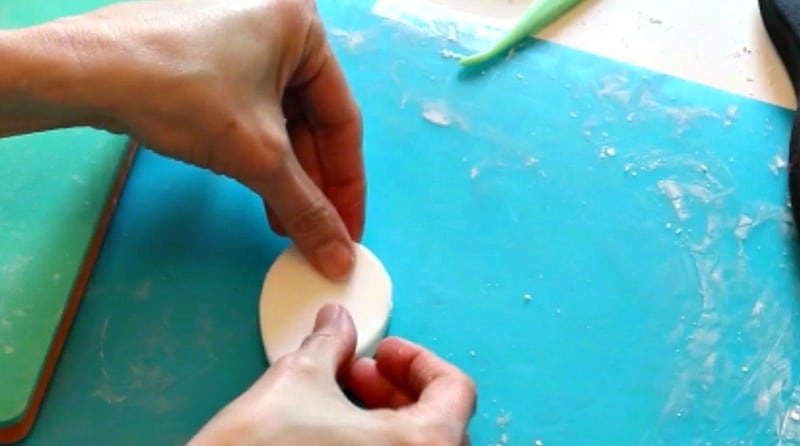
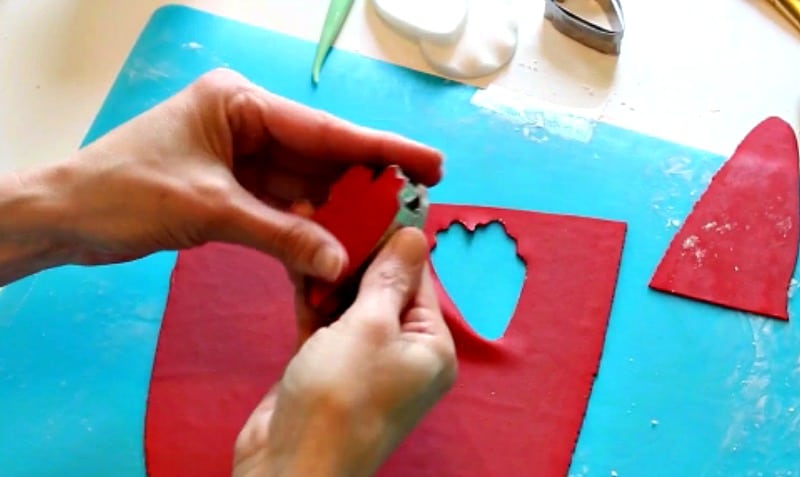
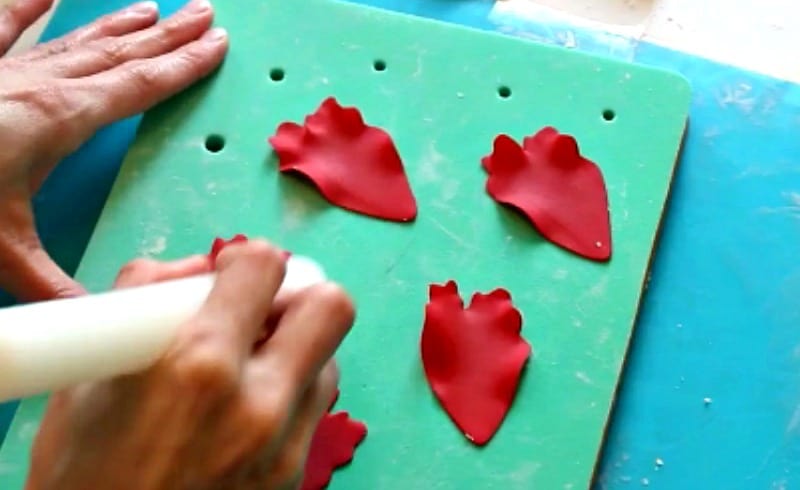
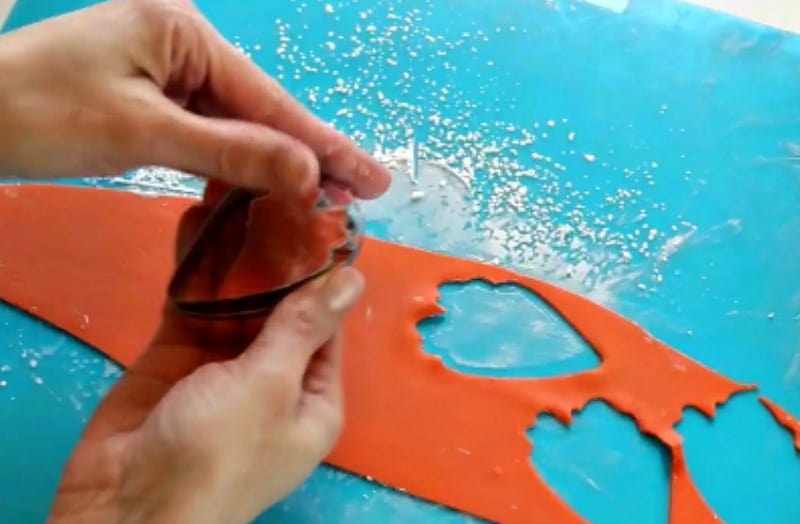
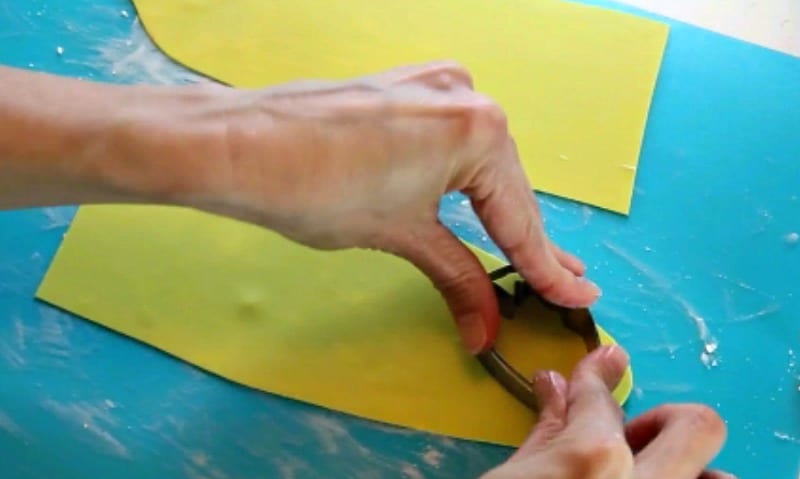
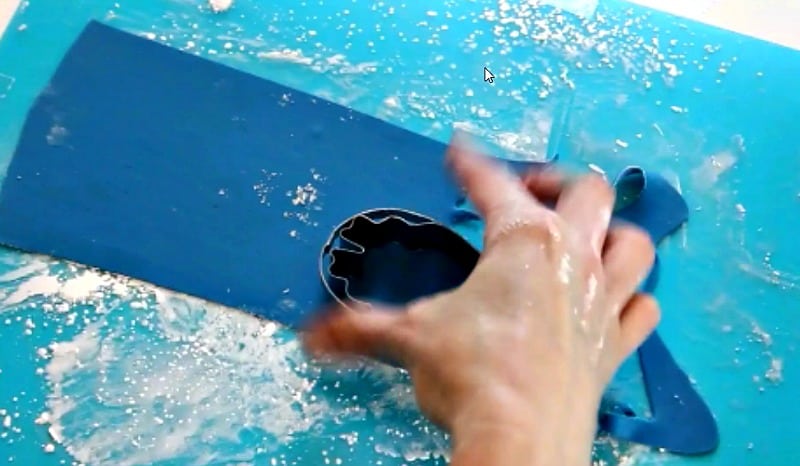
For round 1, you take your smallest petal cutter and cut out three of the red petals.
Make sure to put any left over gumpaste into a ziplock bag or it’ll dry out quickly.
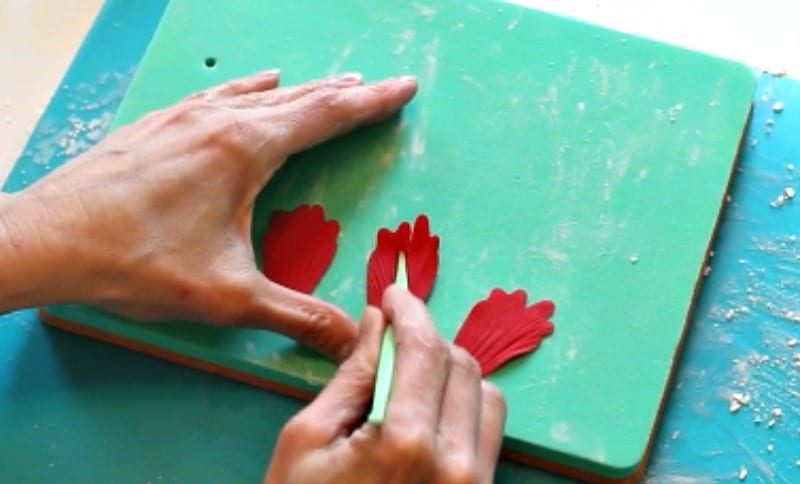
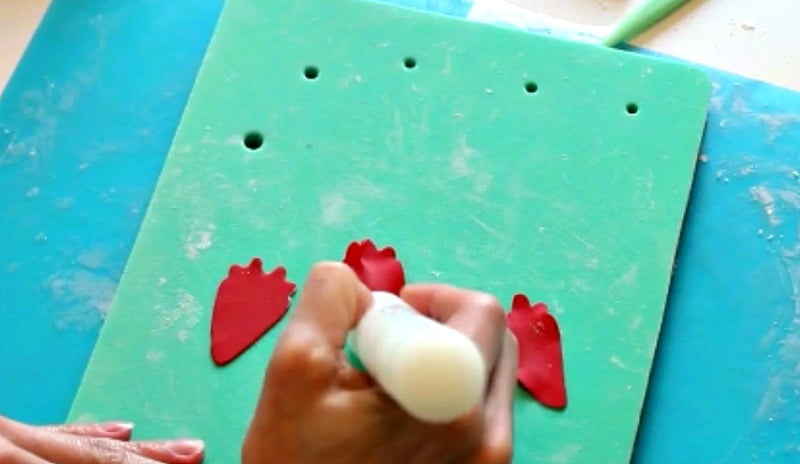
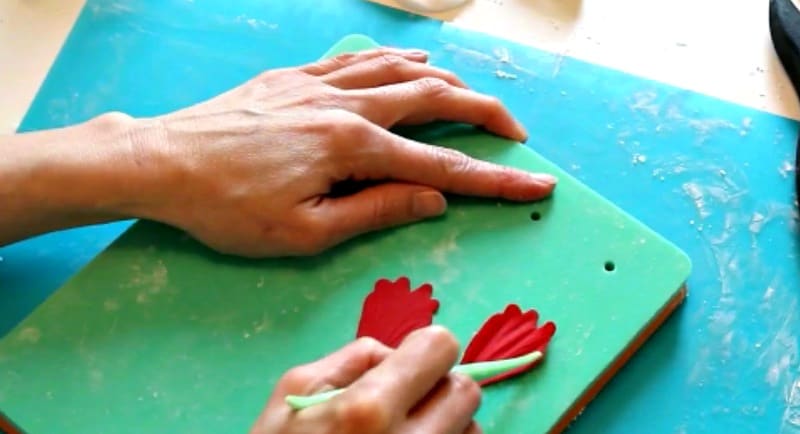
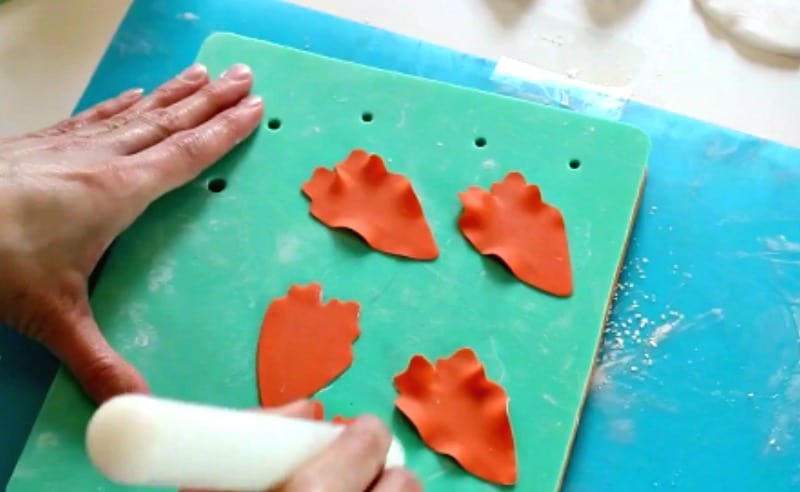
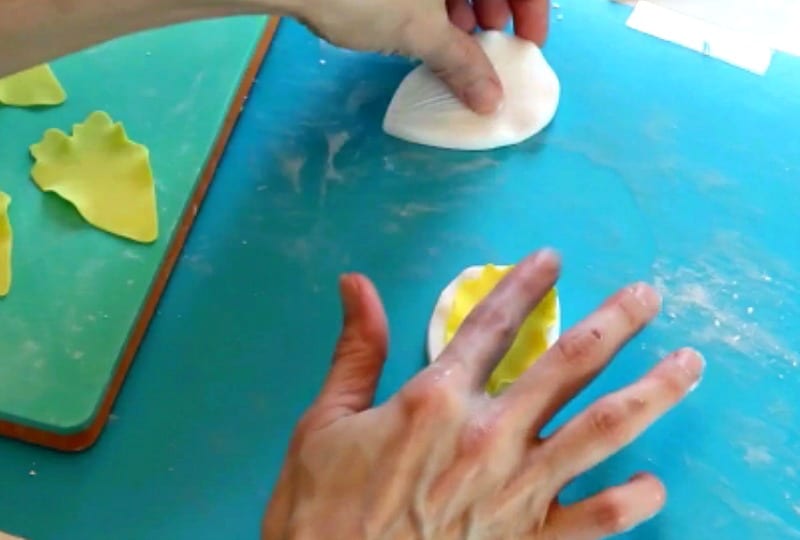
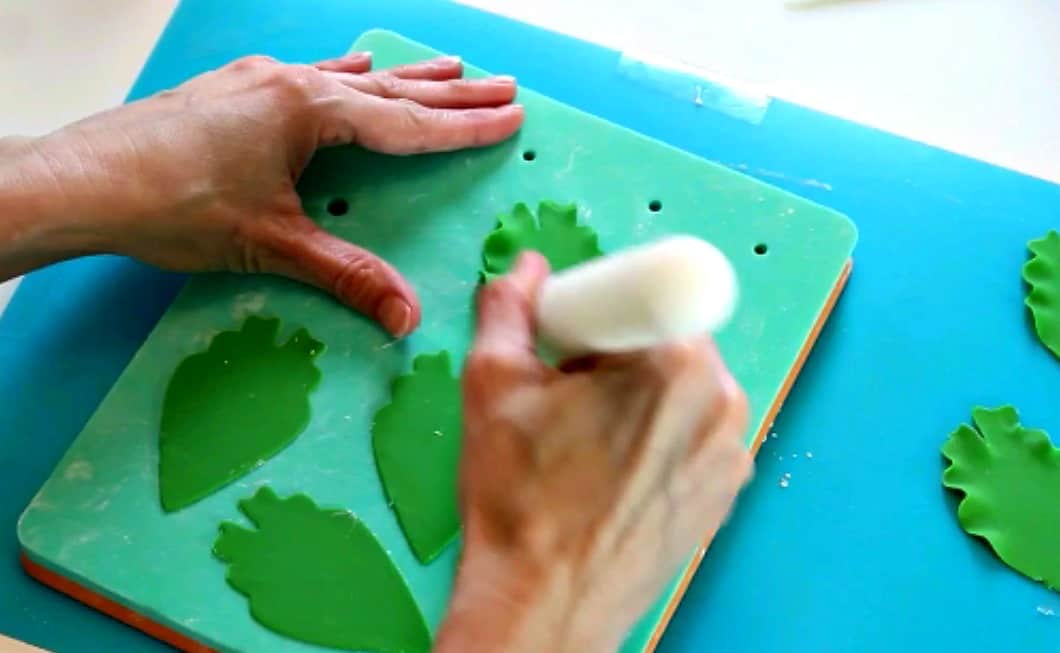
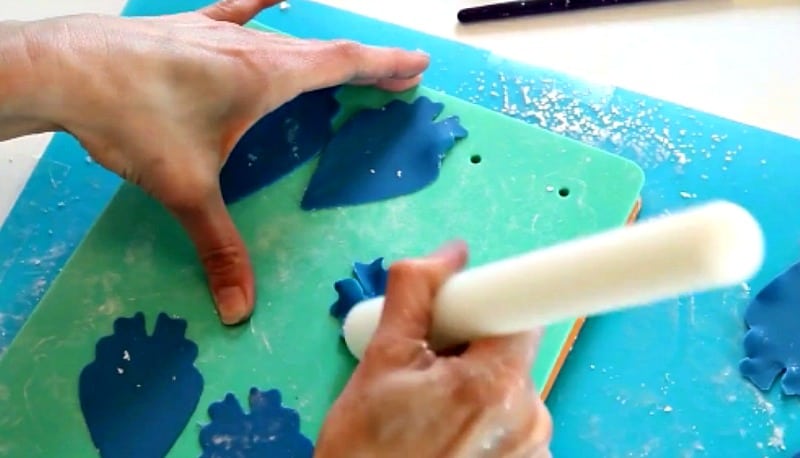
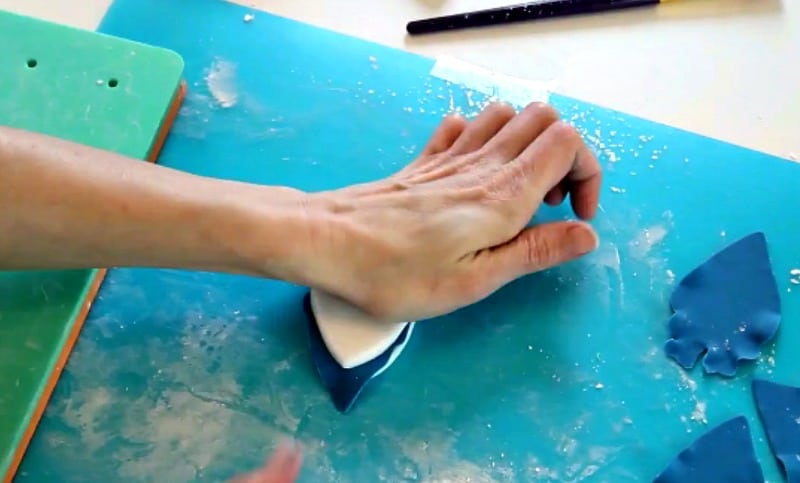
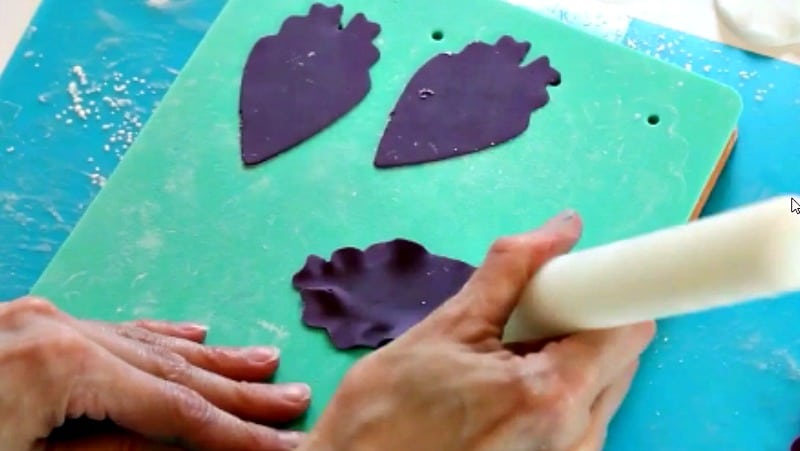
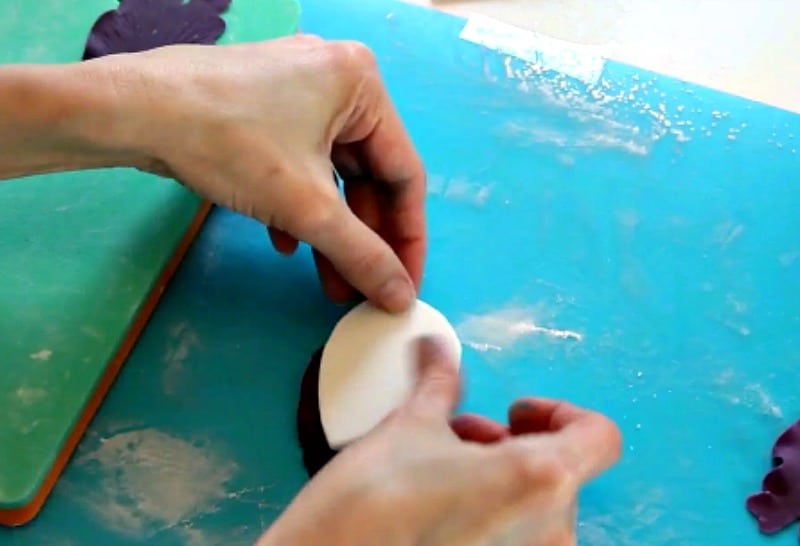
Next, take your petals and set them on your firm foam. Use your small fondant roller and thin the edges.
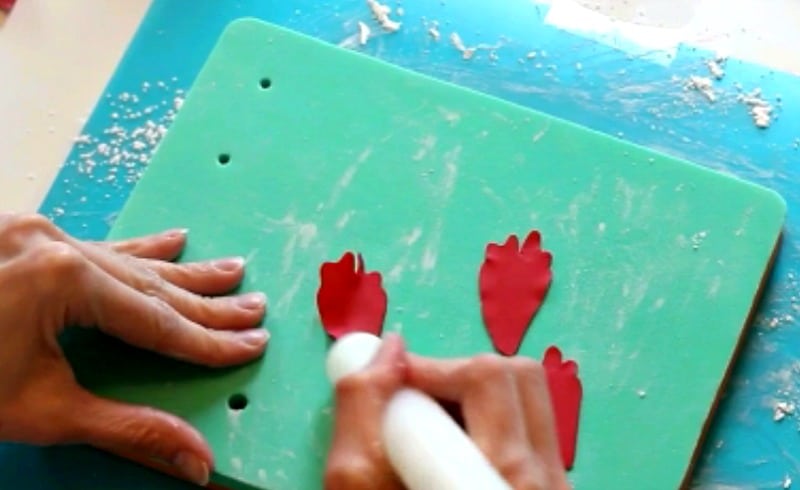
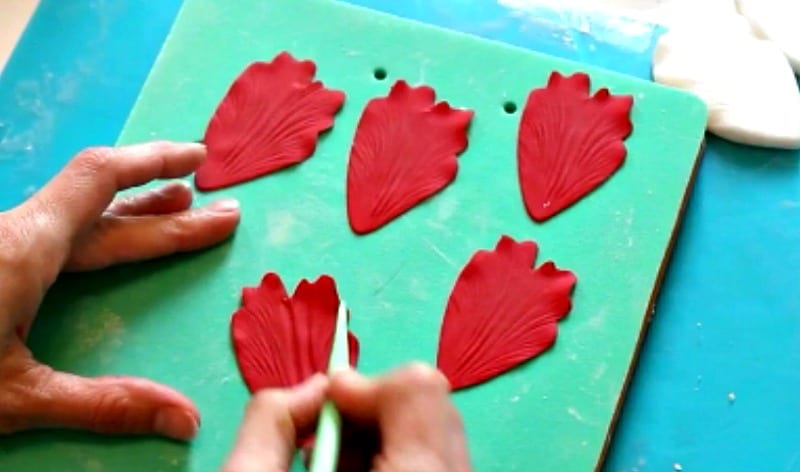
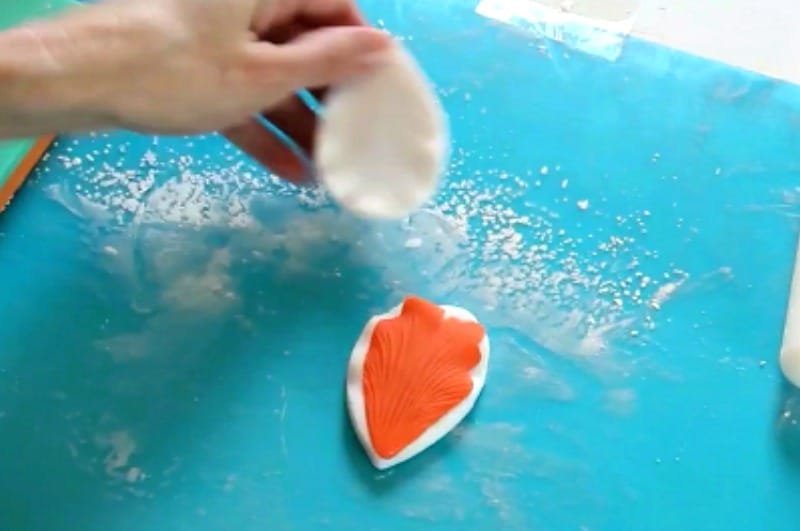
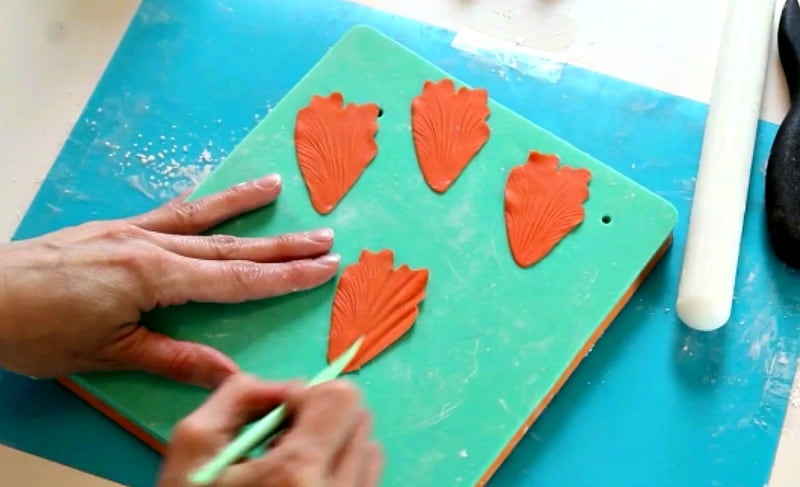
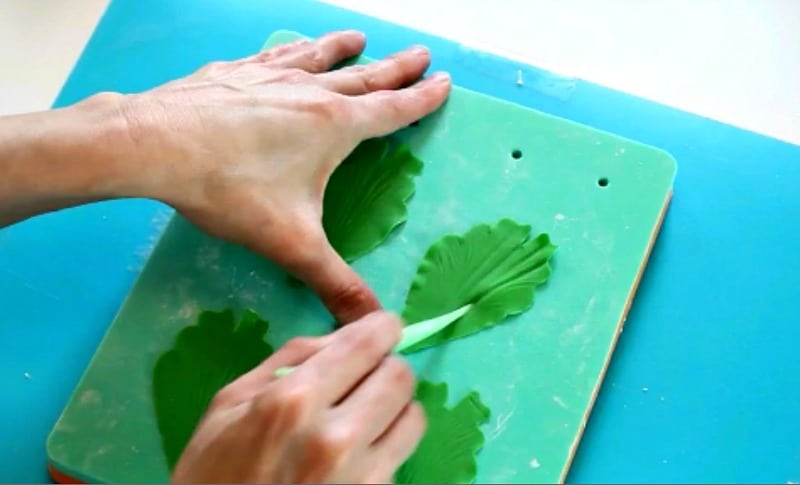
Put them into your all purpose veiner and press down to impress the vein lines.
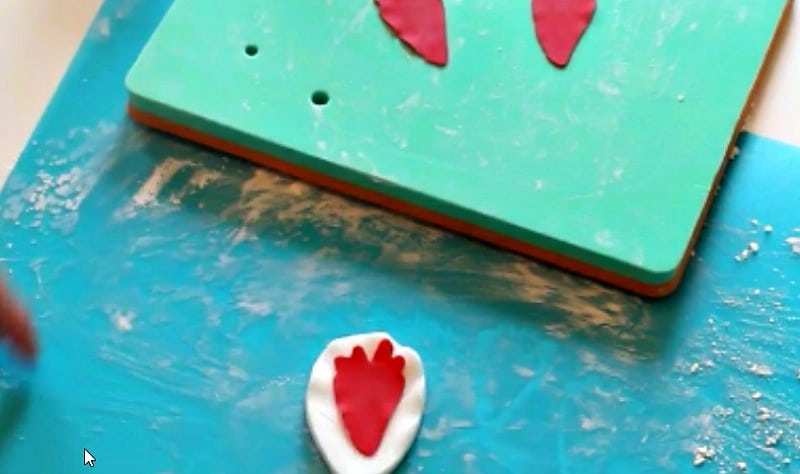
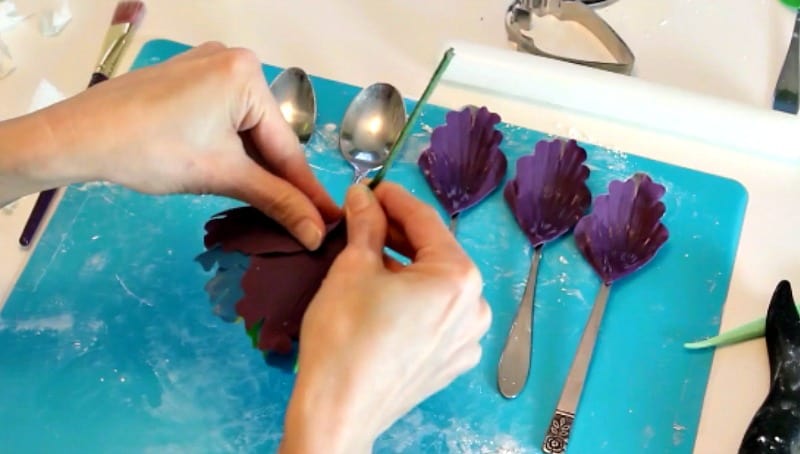
Now, take it out of the veiner and add in some deeper lines using your dresden tool. We’re just adding some deeper veins from the top of the petal to the base.
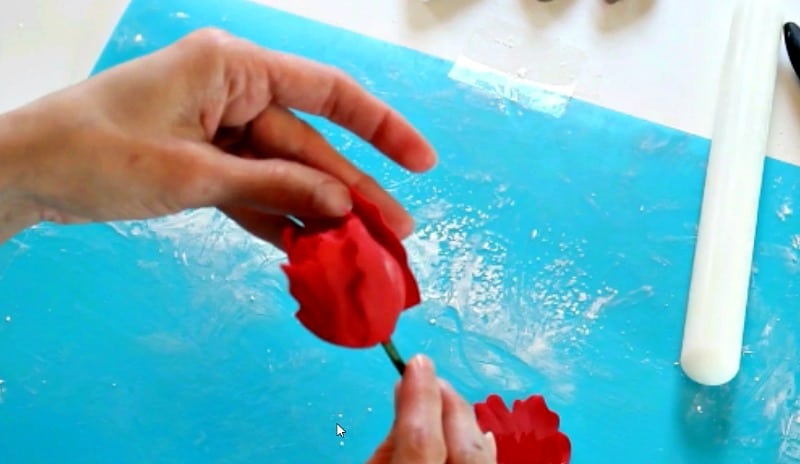
Add water to your petals all the way up from base to tip. Attach them onto your styrofoam ball evenly spaced between each petal, but the petals should cover the top of the ball.
My video screenshot is a bit blurry, but the video shows it much better.
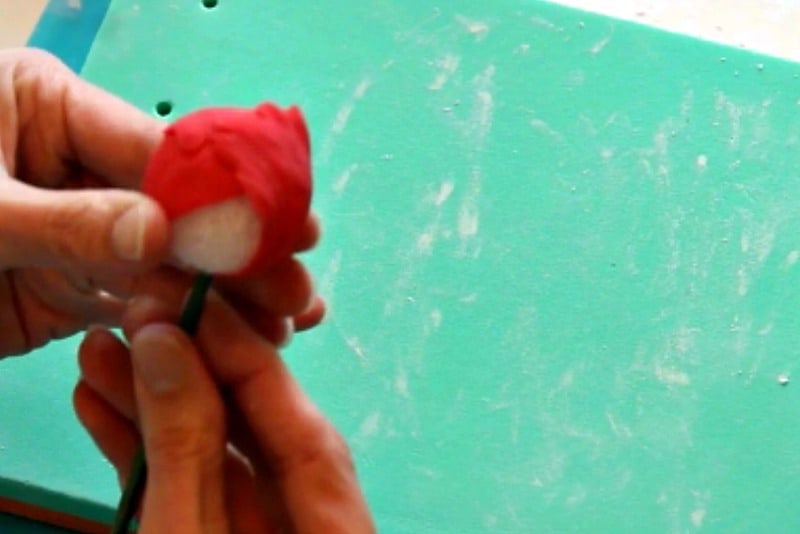
Now just stick your flower in some foam while you work on the next round of petals.
Row #2:
(Red – 3 Small Petals)
Cut out three of the small petals in red.
Thin the edges with your small fondant roller.
Vein them with a petal veiner.
Then score some deeper lines.
Add some water to your petals and attach to your flower base. You want these to stick up a bit more than the previous row, but still overlapping a bit.
Now just pop your flower stem into some foam and set aside while you work on the next row of petals.
Row #3:
(Red – 5 Medium Petals)
For this row, you’ll use your medium petal cutter and cut out three from the red gumpaste.
Thin them with your fondant roller.
Vein them with the petal veiner and add more ridge lines.
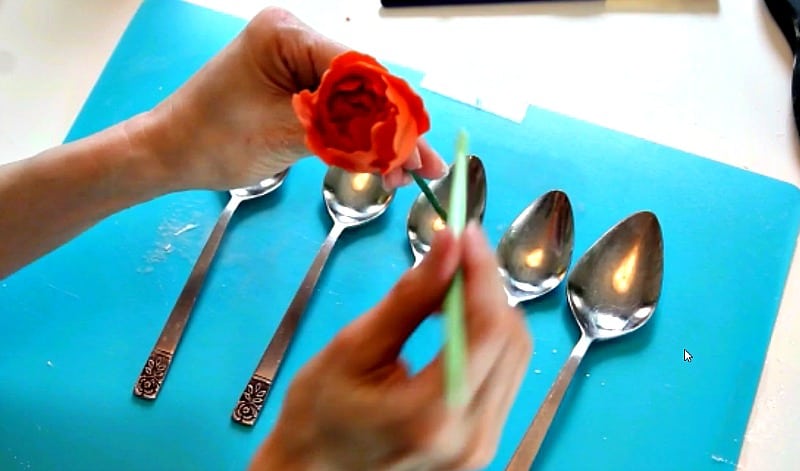
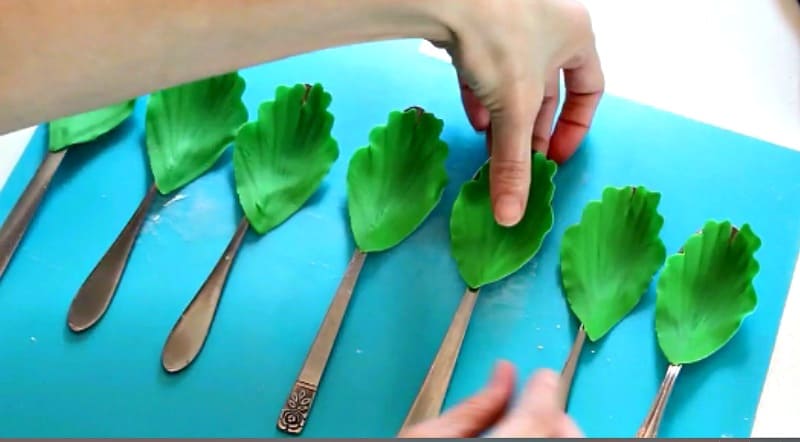
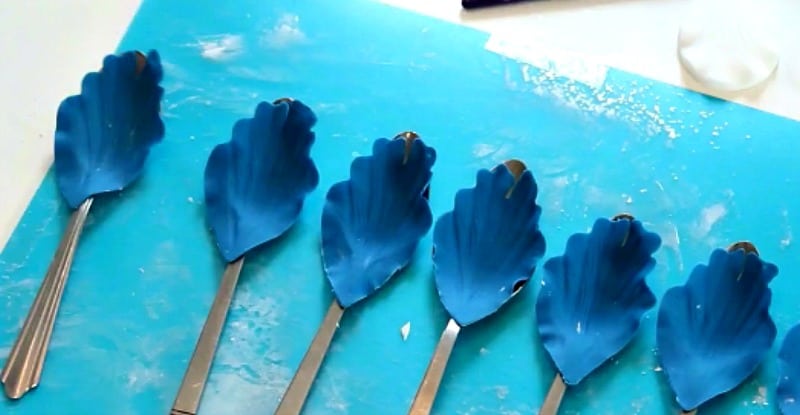
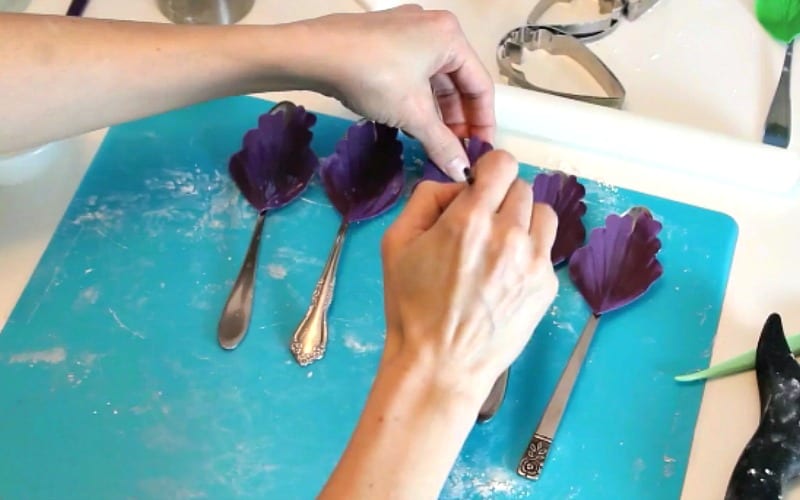
Place these petals onto tablespoons to firm up for about 20 minutes.
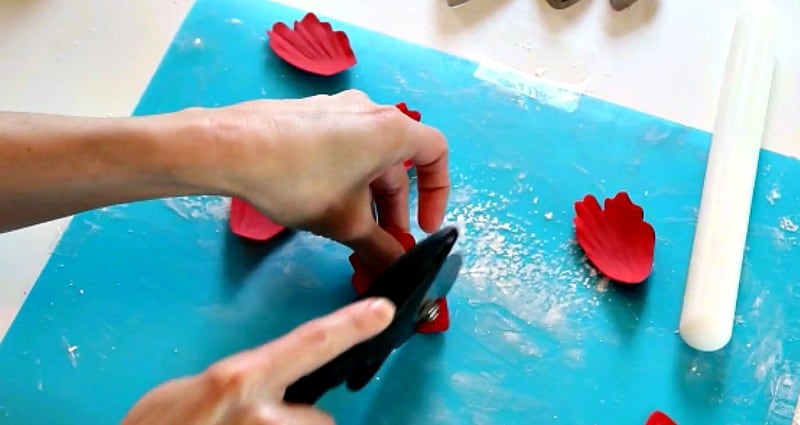
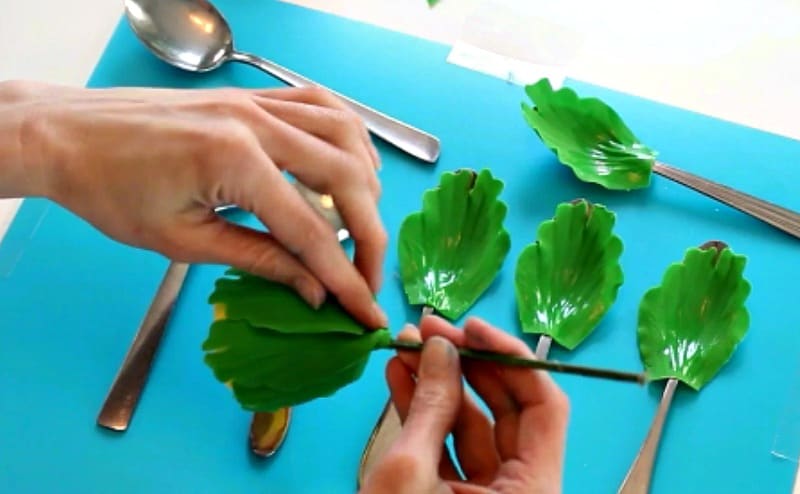
Once firm, I cut off the very bottom of the petals, since they are a bit too long when attaching to the foam ball.
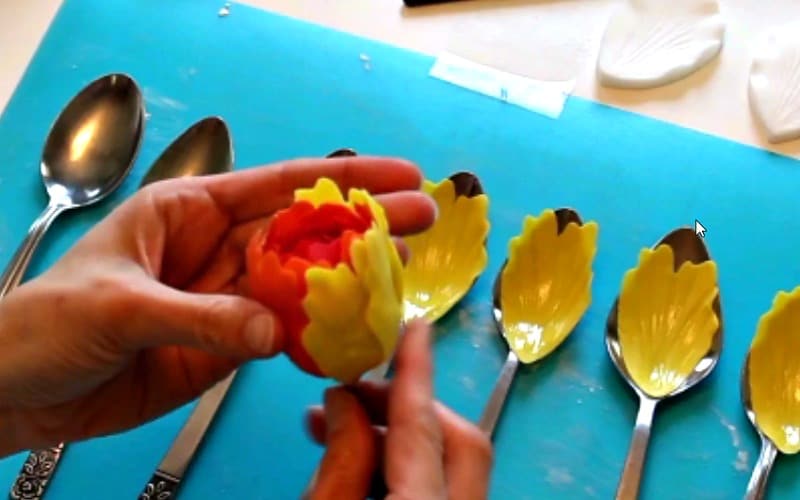
Add water to the petals only about two-thirds of the way up and attach to your flower base.
Set aside in some foam.
Row #4:
(Orange – 5 Medium Petals)
Now cut out five petals with your medium sized petal cutter in orange.
Thin the petals.
Vein them.
Add ridges.
Set into tablespoons to firm up for about twenty minutes.

Add water about two thirds of the way up the petals and attach to your flower base. Make sure the tip of your petals are the same height or a bit taller than the previous row.
Set aside in some foam while you work on the next round.
Row #5:
(Yellow – 7 Medium Petals)
Now cut out seven medium petals from your yellow gumpaste.
Thin the edges like you did the others.
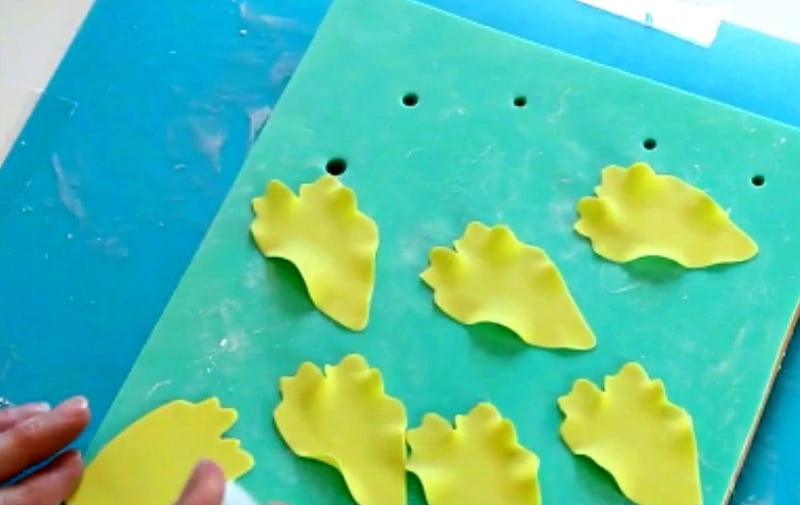
Vein the petals.
Add ridge lines.

Set into tablespoons and let firm up for about twenty minutes.
Add water about two-thirds of the way up and attach to your flower base. Make sure the tops of the petals are the same height as the previous row.
Set your peony aside in foam while you work on the next row.
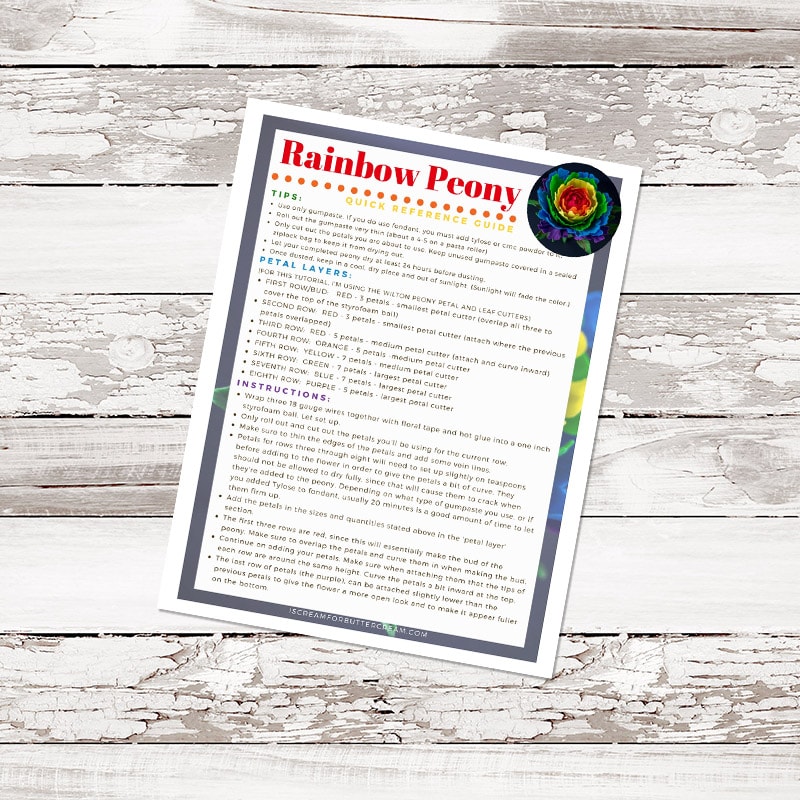
Want a free printable quick reference guide for the gumpaste peony? Just enter your email below to grab it.
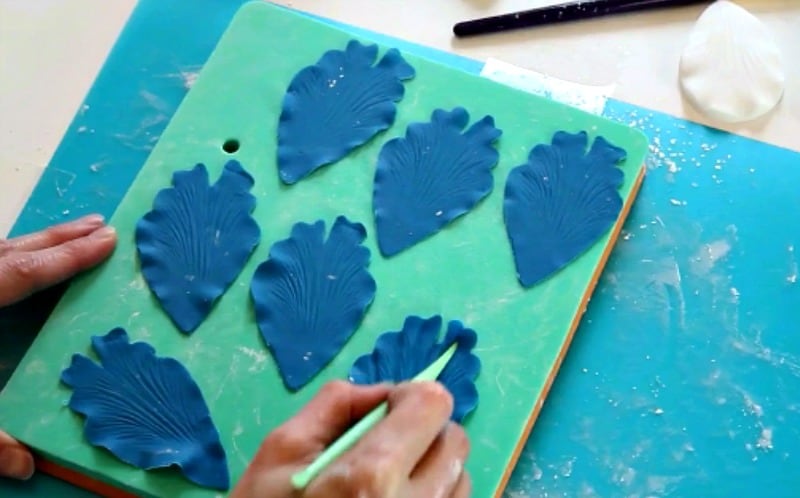
Row #6:
(Green – 7 Large Petals)
Cut out seven large petals from green gumpaste.
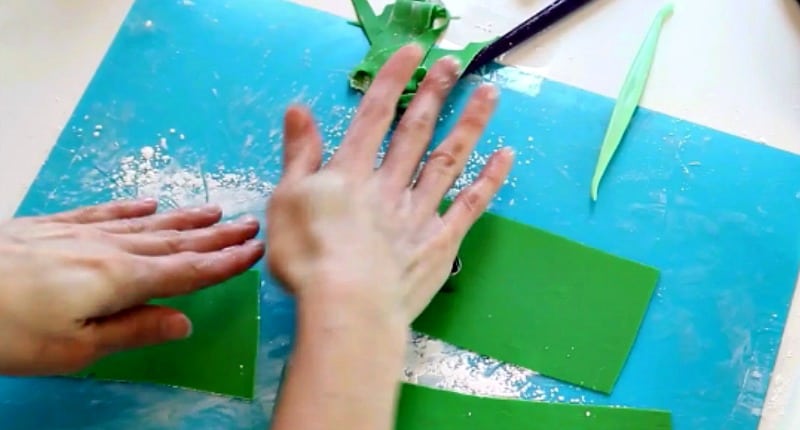
Thin the edges.
Vein with the petal veiner. Now these petals are larger than an all-purpose veiner, so I just line up the top of the petal to the top of the veiner. The top is really the only part that’ll be seen.

Add ridges.
Set into tablespoons and let firm up for about 20 – 30 minutes.
Add water only about half way up and then attach to your flower.
Set a piece of foam on top of a mason jar and poke the stem of the flower through it. Add paper towels around the base to hold up the outer petals and let the flower set while you work on the next row of petals.
You can also hang your flower from a rack upside down, if you’d like, but I like the mason jar trick since it allows the petals to open up a bit more.
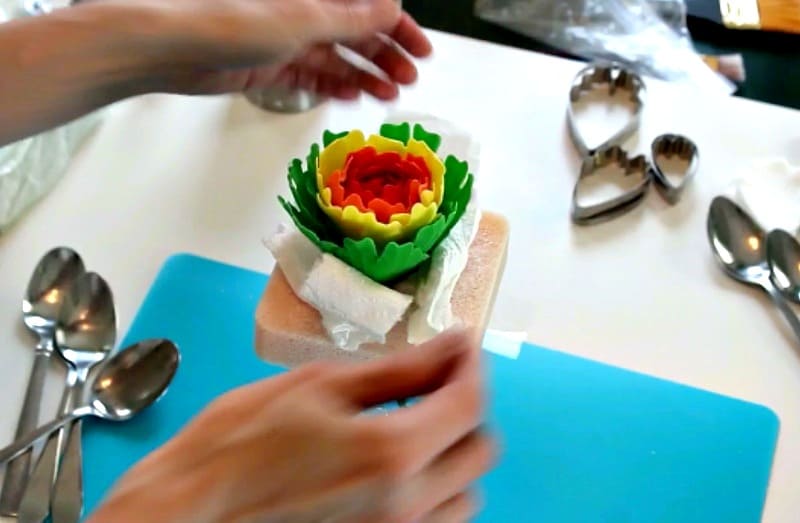
You can also add in little bits of paper towels in between the petals to help separate them a bit.

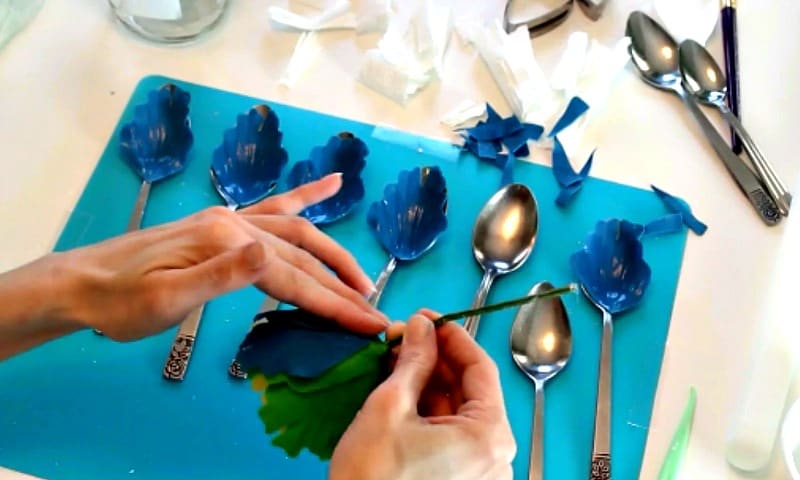
Row #7:
(Blue – 7 Large Petals)
Cut out seven large petals from blue gumpaste.
Thin the edges.
Vein your petals.
Add more ridges.
Set into tablespoons to firm up for about 20 – 30 minutes.
Add water about half way up and attach to flower.
Set your peony on your foam that’s placed on the mason jar….the same as you did for row six. Let it set up while you work on the last row. (You’re almost there!)
Row #8:
(Purple – 5 Large Petals)
For the last row, cut out five large petals of the purple gumpaste.
Thin the edges.
Vein them.
Add ridges, set into tablespoons and let set up for about thirty minutes.
Add water about half of the way up.
And add to your peony. It helps to hold your flower upside down when you add them.
Once the last row is added, set them on your foam that’s on the mason jar and add in some paper towel bits to hold up the outside petals. Let it set up to firm for at least 24 hours. You want it good and firm before you use it on a cake, or before you try to color it or add leaves and a calyx.

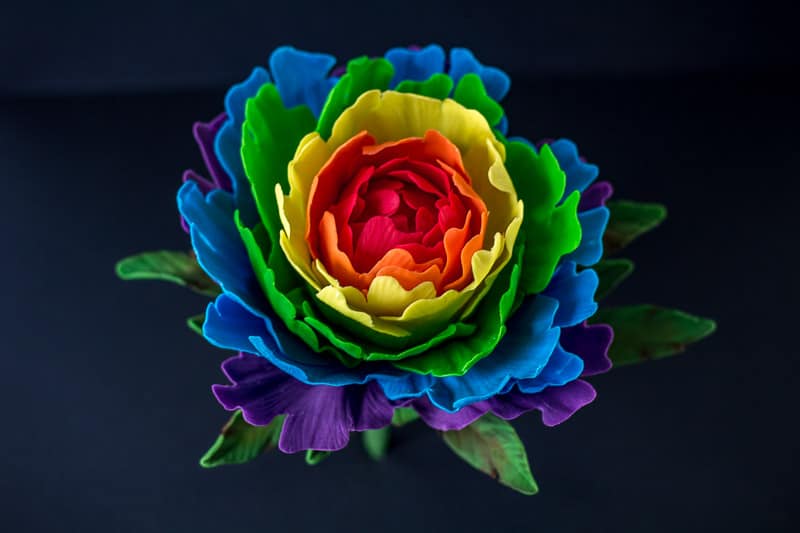
Whew! You did it! It takes some time, but I think the results are worth it. Make one in any color you want, but I’m a little partial to the rainbow peony.
Oh, and here’s the video that will show you all the steps.
You can print out the cheat sheet for easy reference below:
I hope this was helpful to you and if you make one, I’d love to see it! And don’t forget to go and check out the tutorial on making the calyx and leaves for the peony here: Peony Calyx and Leaves Tutorial
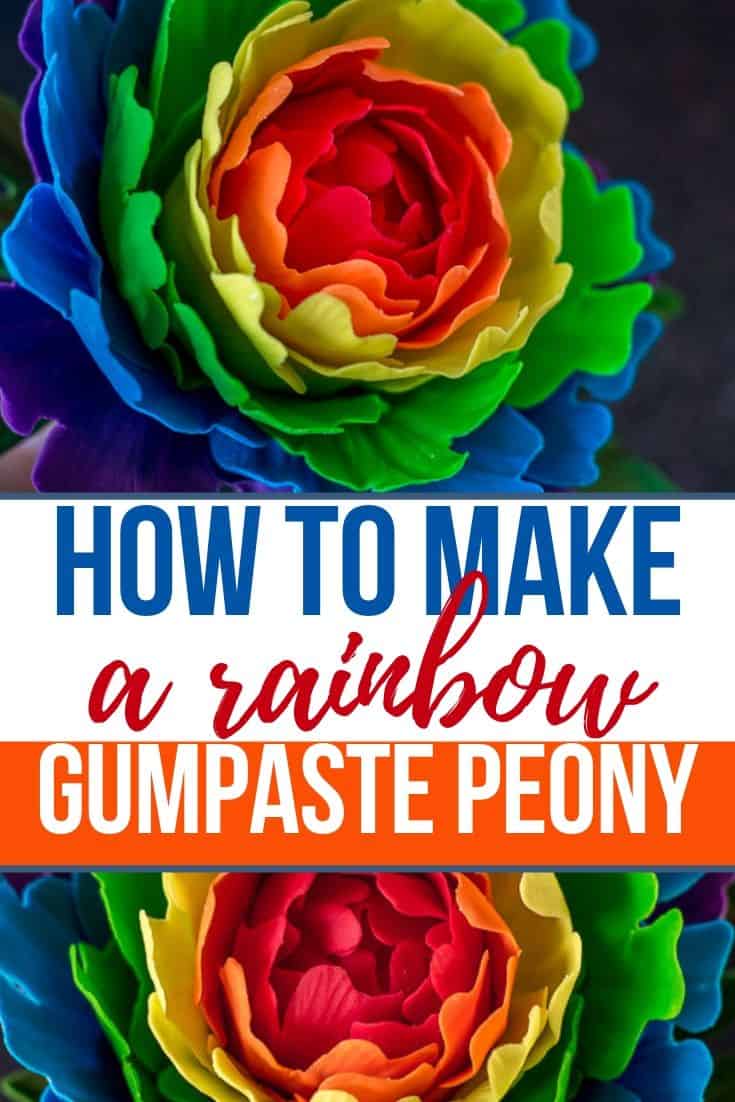
Don’t Forget to Pin it for Later!