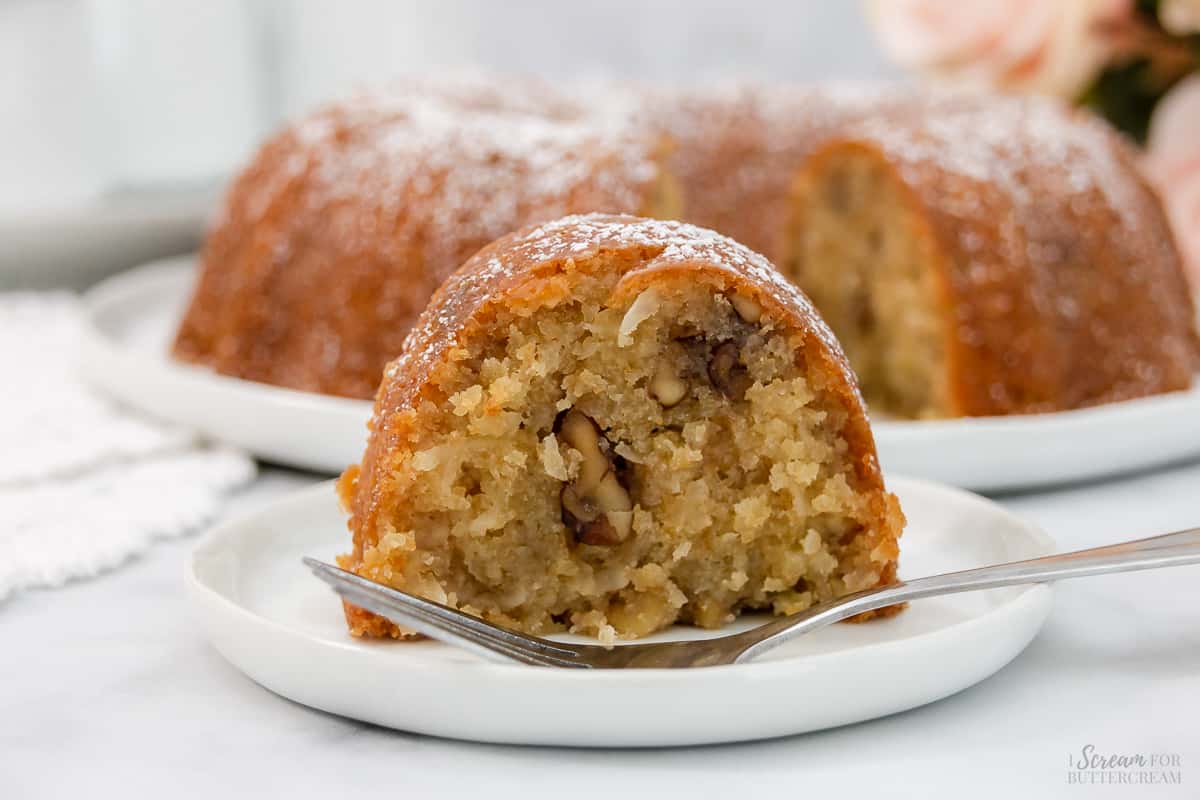
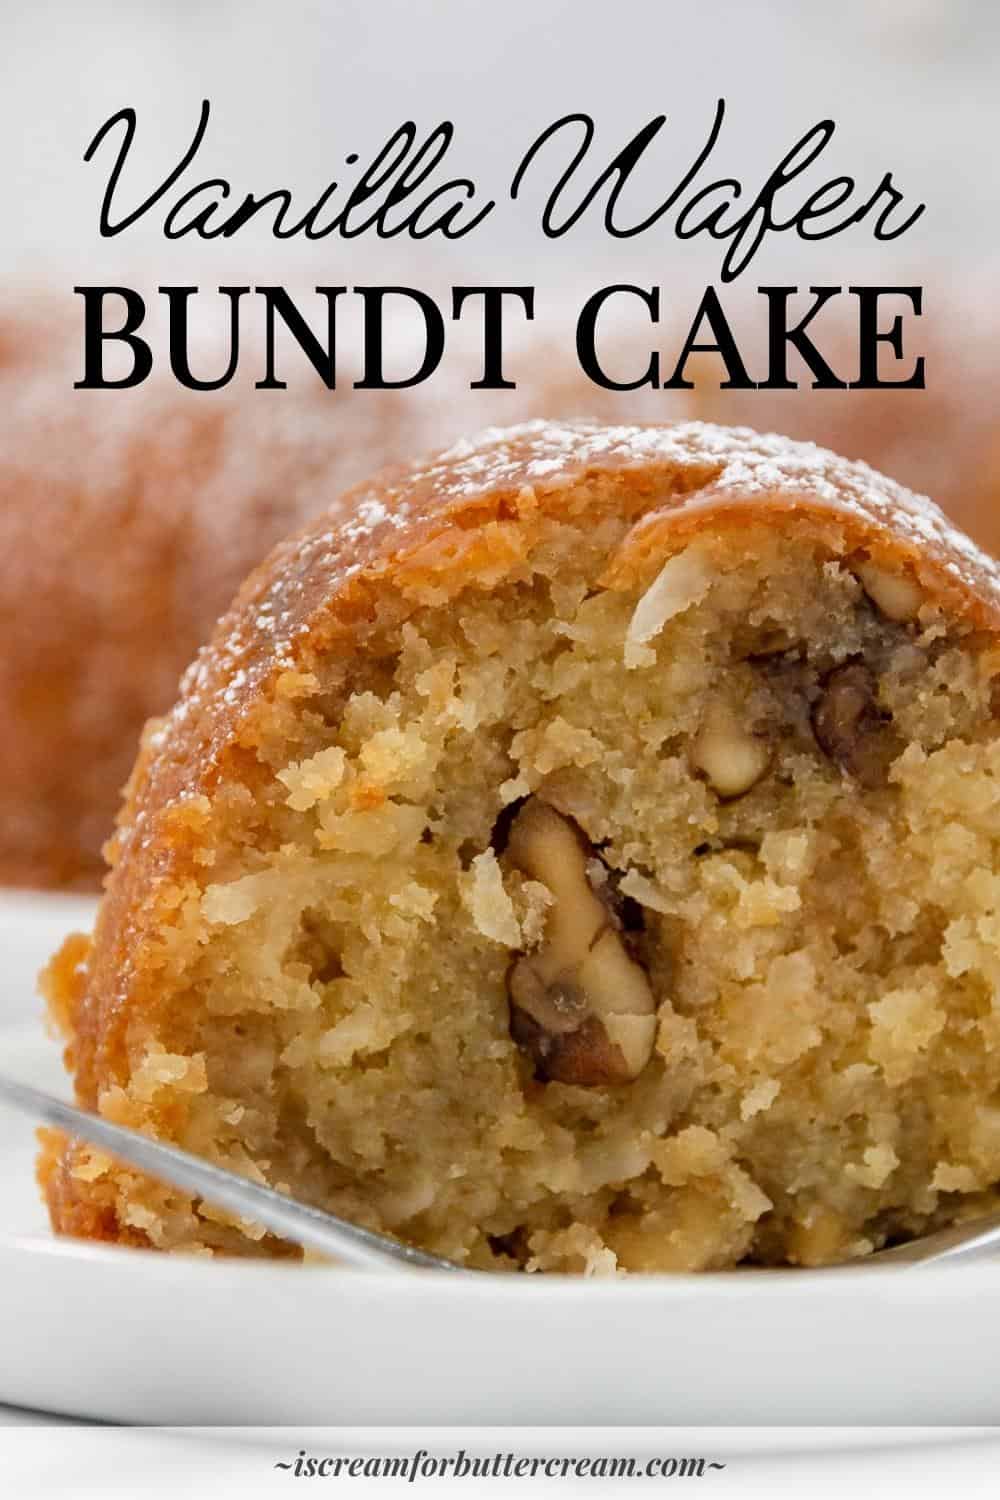
Indulge in this moist and easy Vanilla Wafer Cake, packed with crushed vanilla wafers, coconut, and chopped nuts. It’s a delicious twist on a classic old-fashioned pound cake.
Not only is this cake incredibly easy to whip up, but it’s really a fun baking experience.
Hey there! Before you scroll, there’s lot’s of important stuff in the post!…including the FAQ section, which may answer any questions you might have about this recipe. Enjoy!
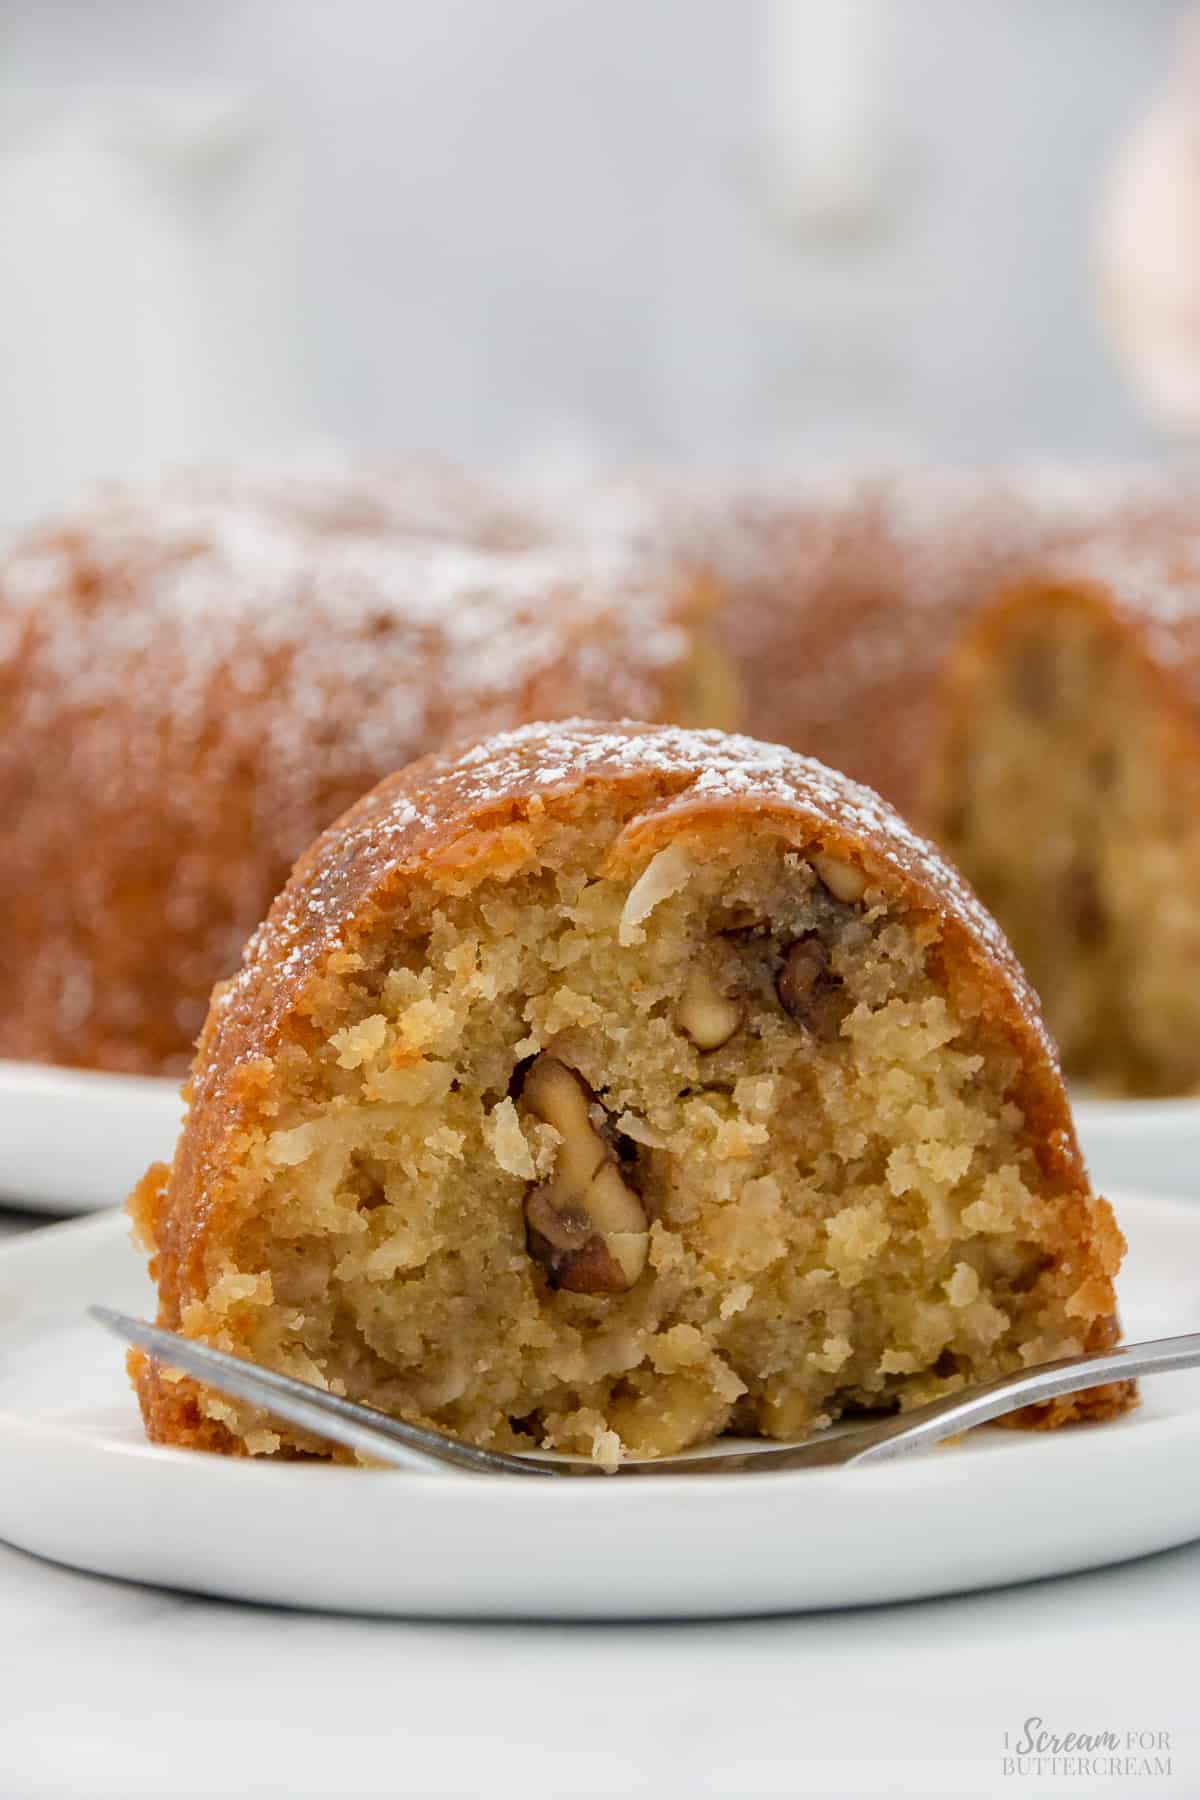
This delightful bundt cake has the perfect balance of moistness and a combination of delightful textures, courtesy of crushed vanilla wafers, shredded coconut, and chopped nuts.
If you’re searching for a crowd-pleasing dessert that’s both delicious and easy to make, this vanilla wafer cake fits the bill and is sure to become a treasured favorite among your friends and family. This is a great cake to take to pot-lucks, family get-togethers or church potlucks.
Ingredient notes:
Now let's talk a little about just some of the ingredients in this Nilla Wafer Cake. (The printable list of all ingredients are in the recipe card below.)
Unsalted butter: Butter simply makes cakes better and this cake is no exception. You’ll get a nice buttery flavor when using real butter, so make sure not to use margarine instead.
Granulated sugar: Sugar doesn’t just make the cake sweet, it also helps give cakes their moisture.
Eggs: You’ll use quite a bit of eggs for this cake, but they’re needed to provide moisture and stability.
Vanilla extract: Vanilla extract is just the perfect flavor enhancer for cakes and it definitely fits right in with the vanilla wafers.
Vanilla wafers: If you’ve never tried vanilla wafers, they’re basically just small round vanilla cookies. A lot of people use them for making banana pudding.
For this recipe though, you’ll use the entire box of crushed vanilla wafers. Essentially the crushed cookies are used in place of flour.
Shredded sweetened coconut: If you love coconut, then you’re in for a treat because it goes perfectly with the vanilla wafer flavor. It also provides a nice texture to the cake.
Chopped nuts: This recipe calls for chopped nuts and you can add any kind of nuts you like. I chose walnuts because I’m highly allergic to pecans, but choose what you like. The nuts add flavor and a bit of crunch.
(Make sure to check out the FAQ section below in this post for ingredient and substitution questions.)
How to make this cake:
Let's talk about how to make an easy vanilla wafer bundt cake. (The printable instructions are in the recipe card below.)
Step 1:
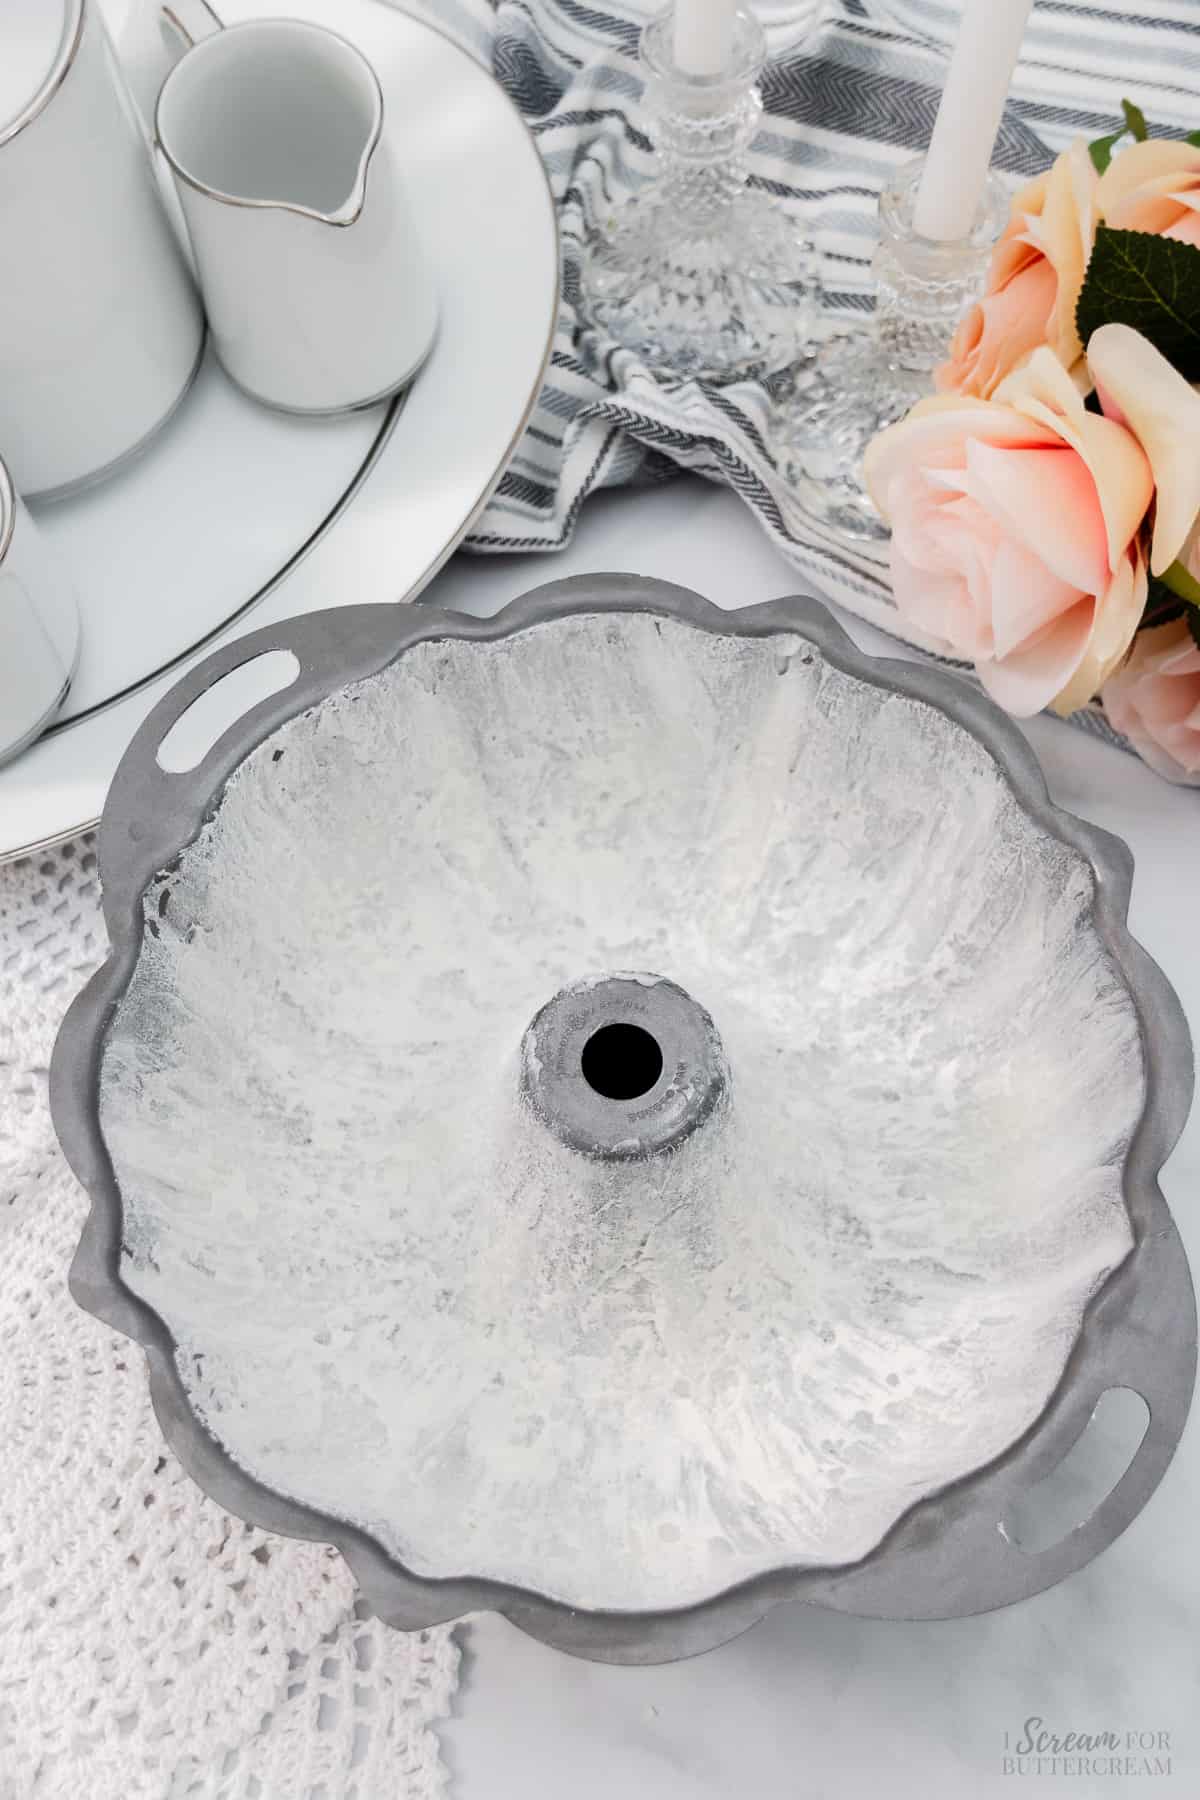
First, preheat the oven to 325 degrees F and grease and flour a bundt pan very well, then set it aside.
Step 2:
Crush the vanilla wafer cookies very well. You can use a food processor if you have one or you can smash them up inside a freezer bag.
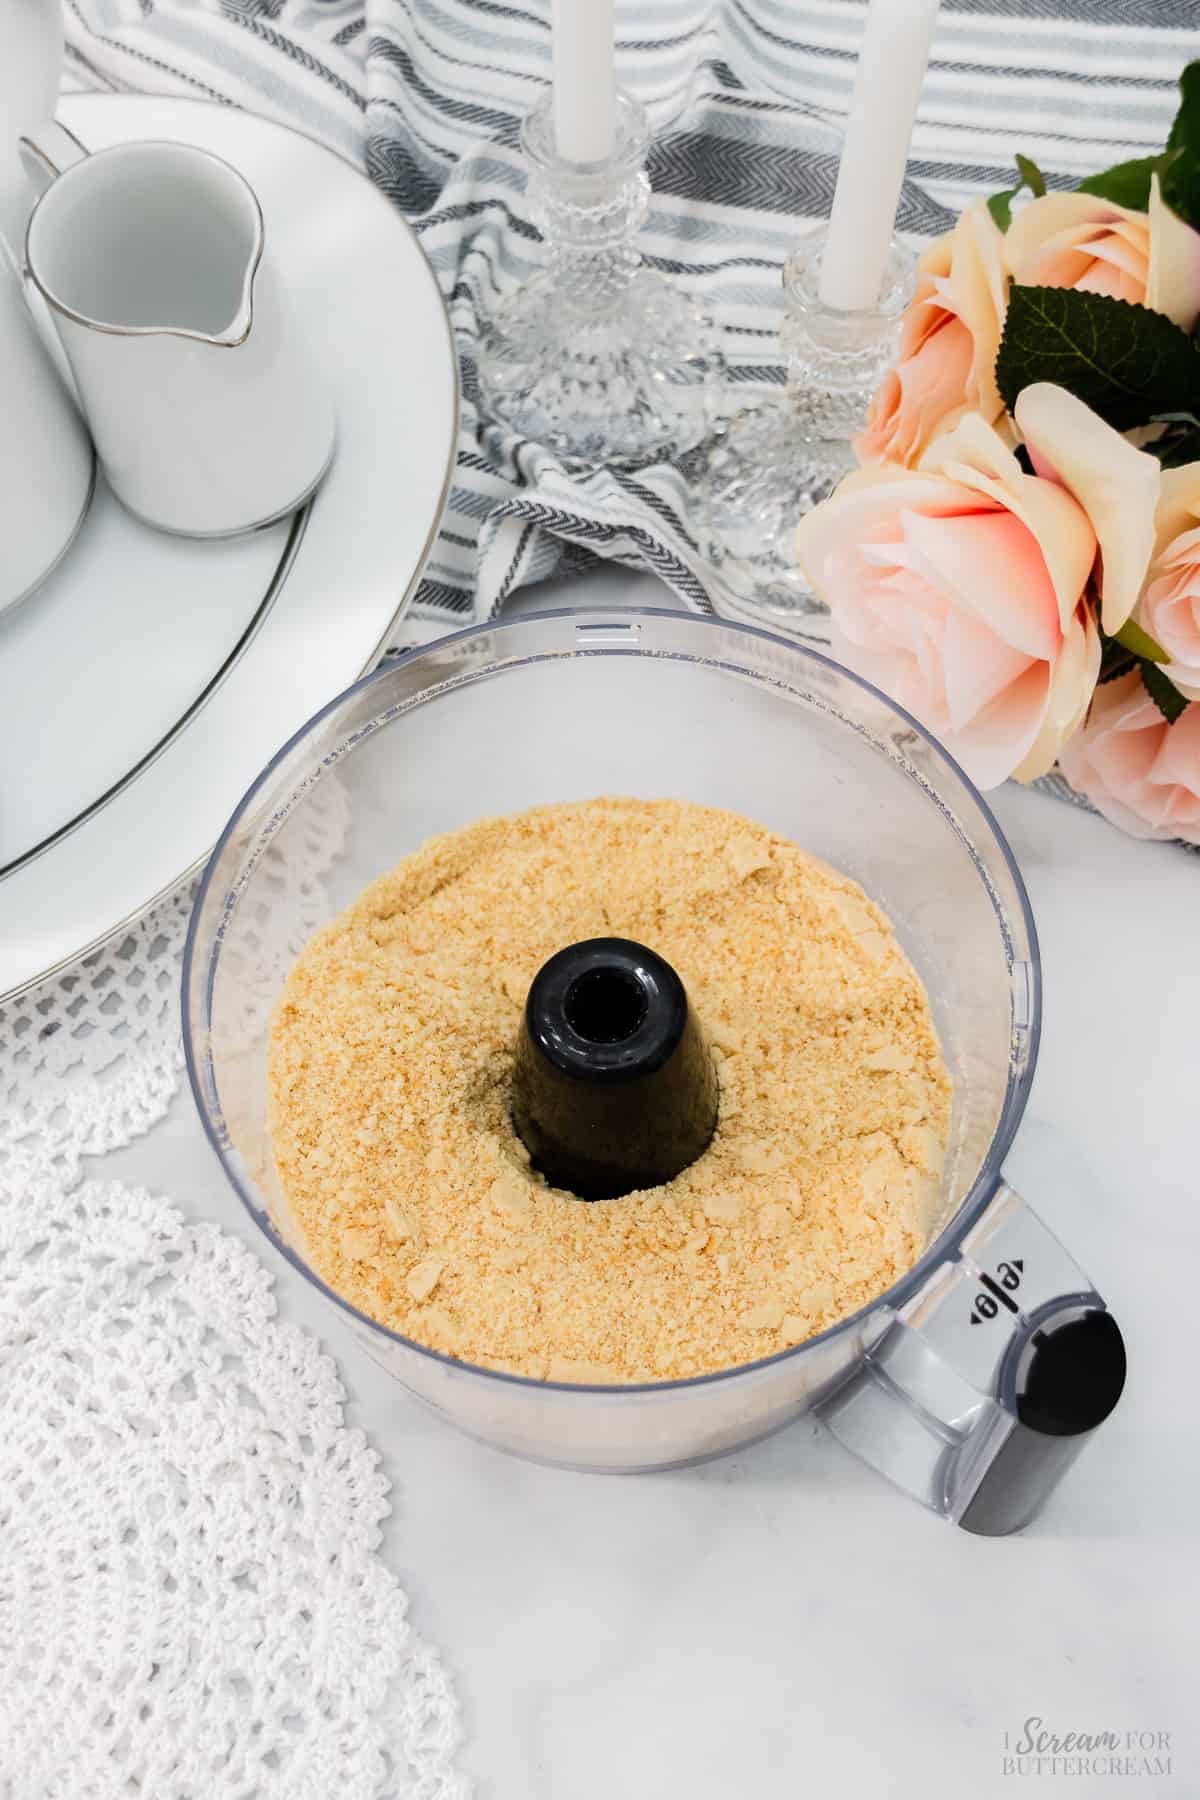
Step 3:
Add the butter and sugar to a large mixing bowl and mix on medium-high with an electric mixer for a couple minutes until light and fluffy.
Step 4:
Now add the eggs, one at a time, mixing on medium speed after each addition.
Step 5:
Next, add the milk, vanilla extract and crushed vanilla wafers and mix on medium-high until well combined.
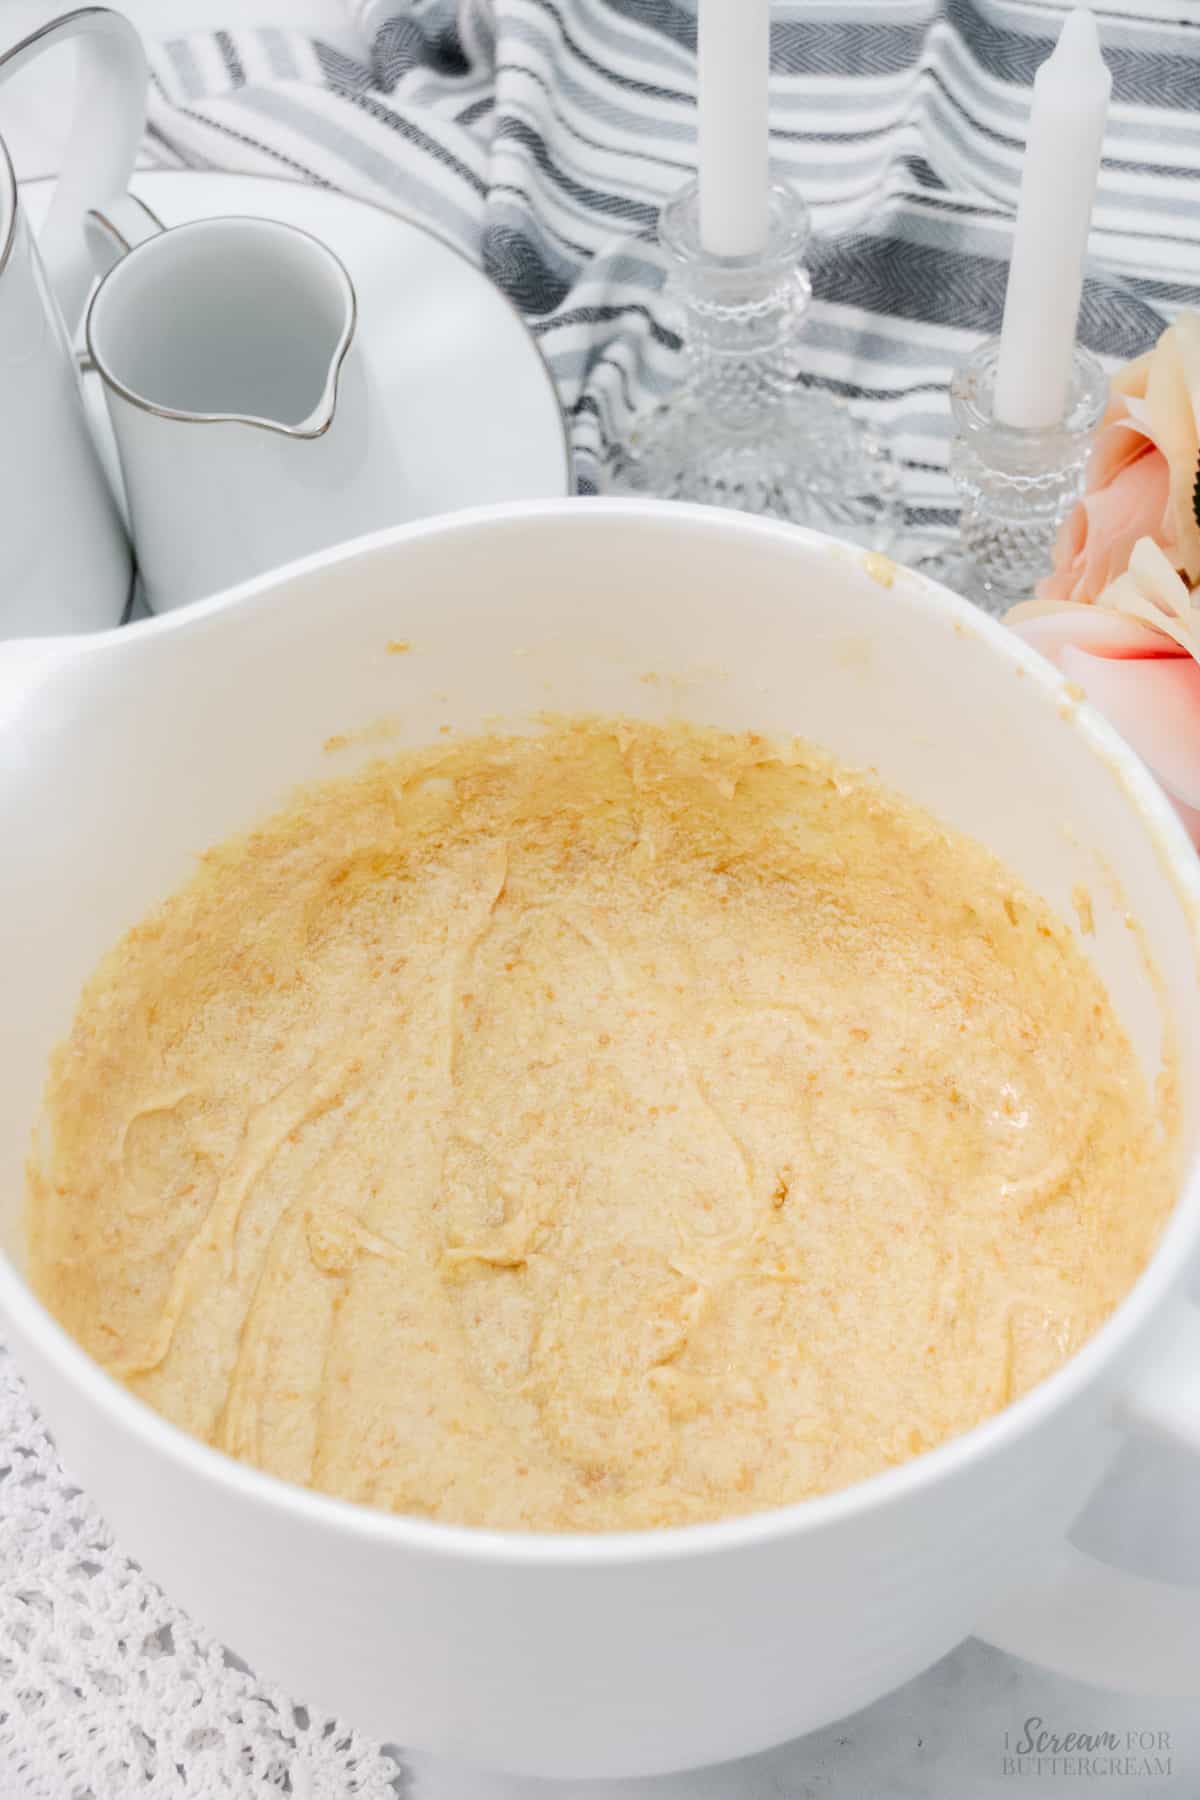
Step 6:
Lastly, add the shredded coconut and nuts and mix in by hand.
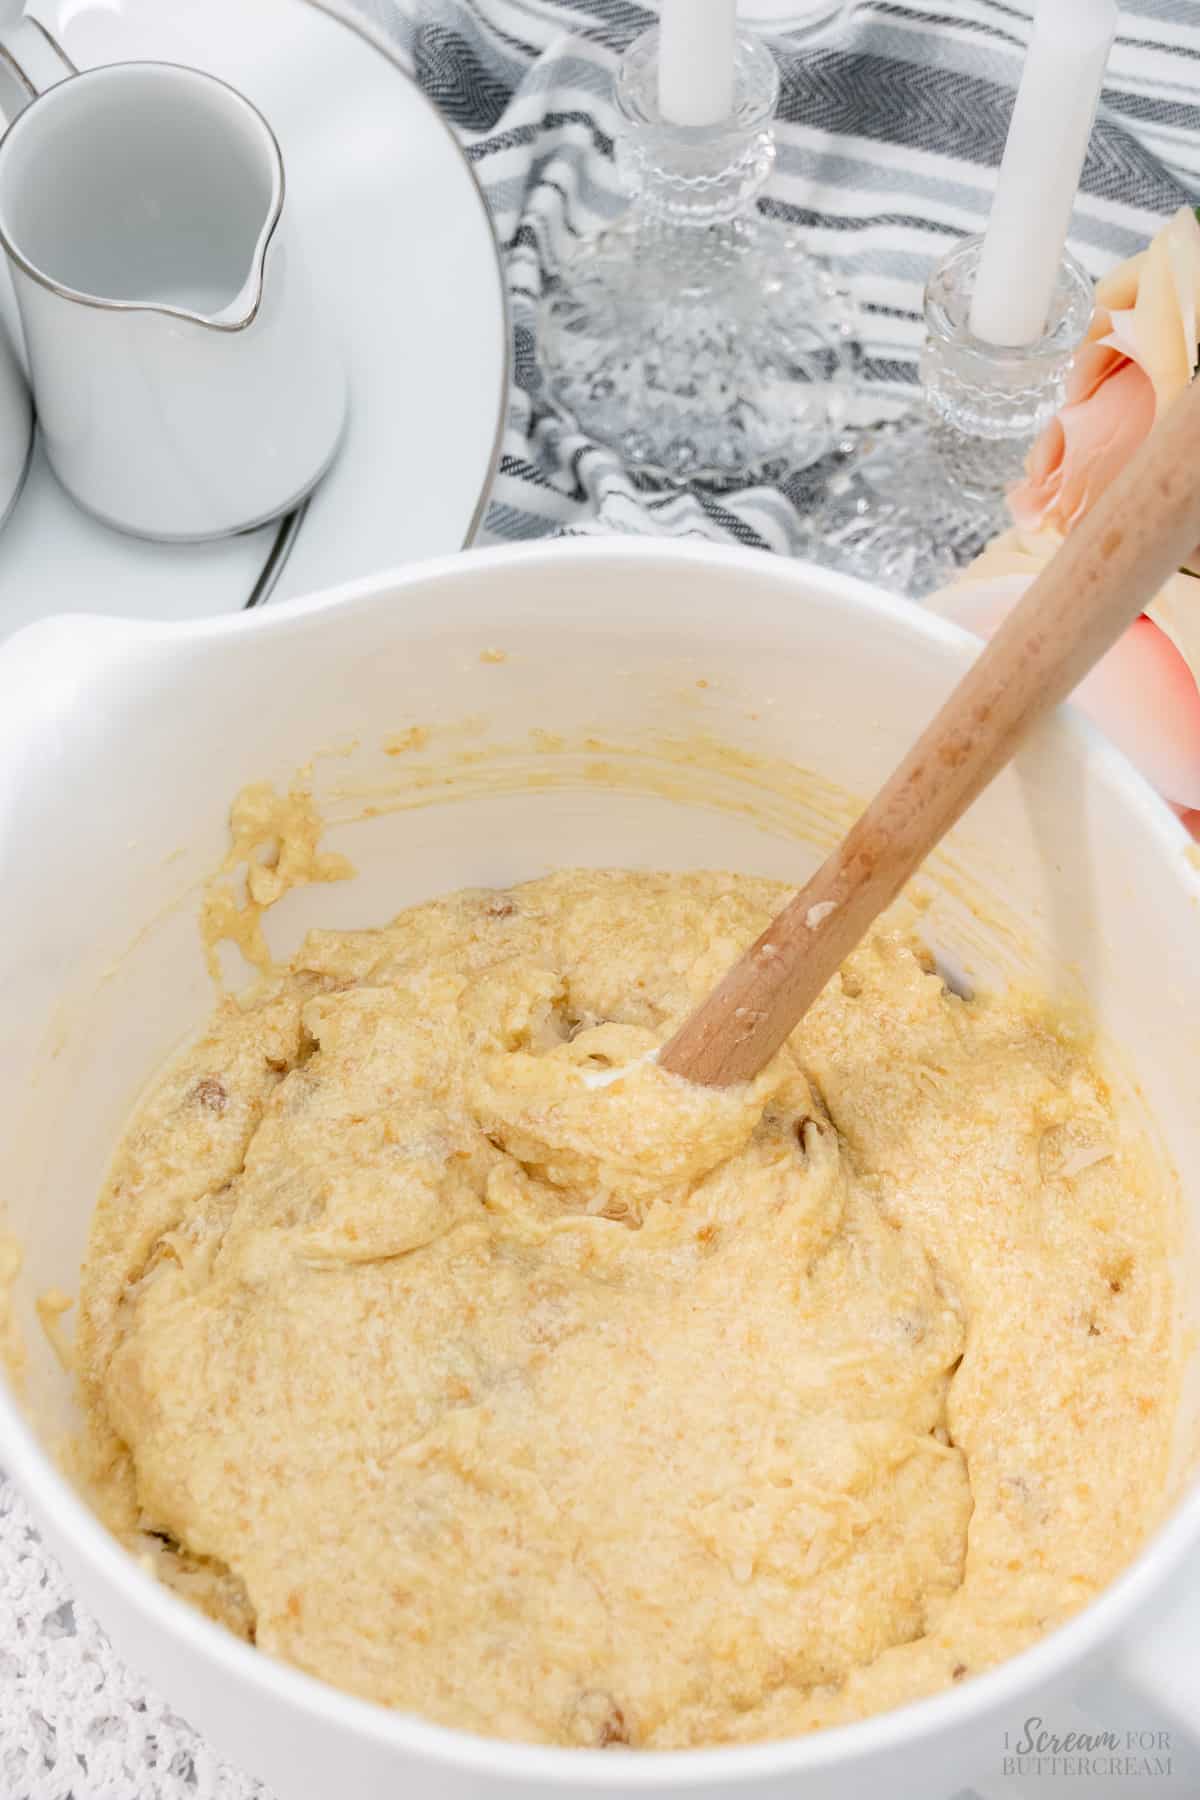
Step 7:
Now pour the batter into the prepared pan and bake at 325 degrees F for approximately 1 hour to 1 hour and 10 minutes depending on your oven. (Ovens vary.)
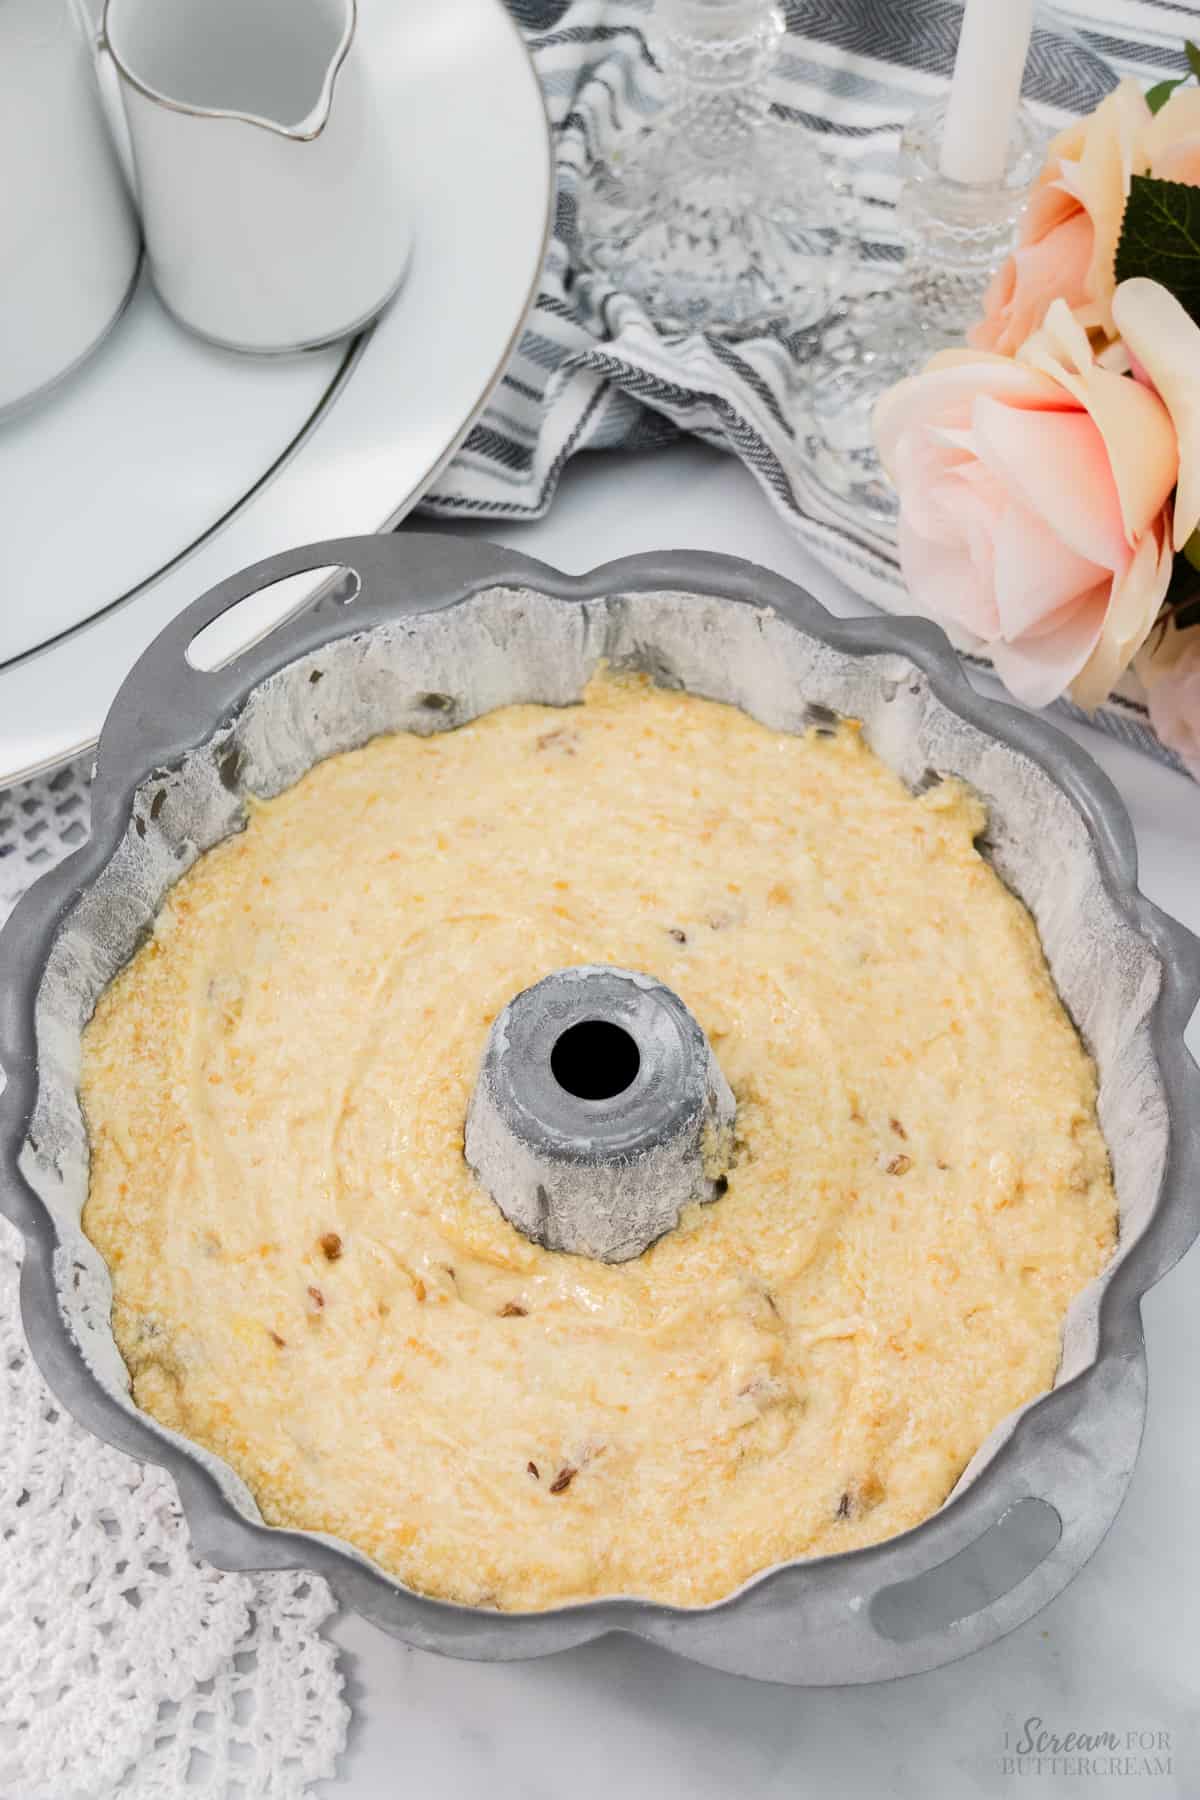
Step 8:
Remove the cake from the oven and set the pan on a cooling rack to cool for about 20 minutes.
After 20 minutes, turn the cake out onto the cooling rack and let it cool for about 10-20 minutes more.
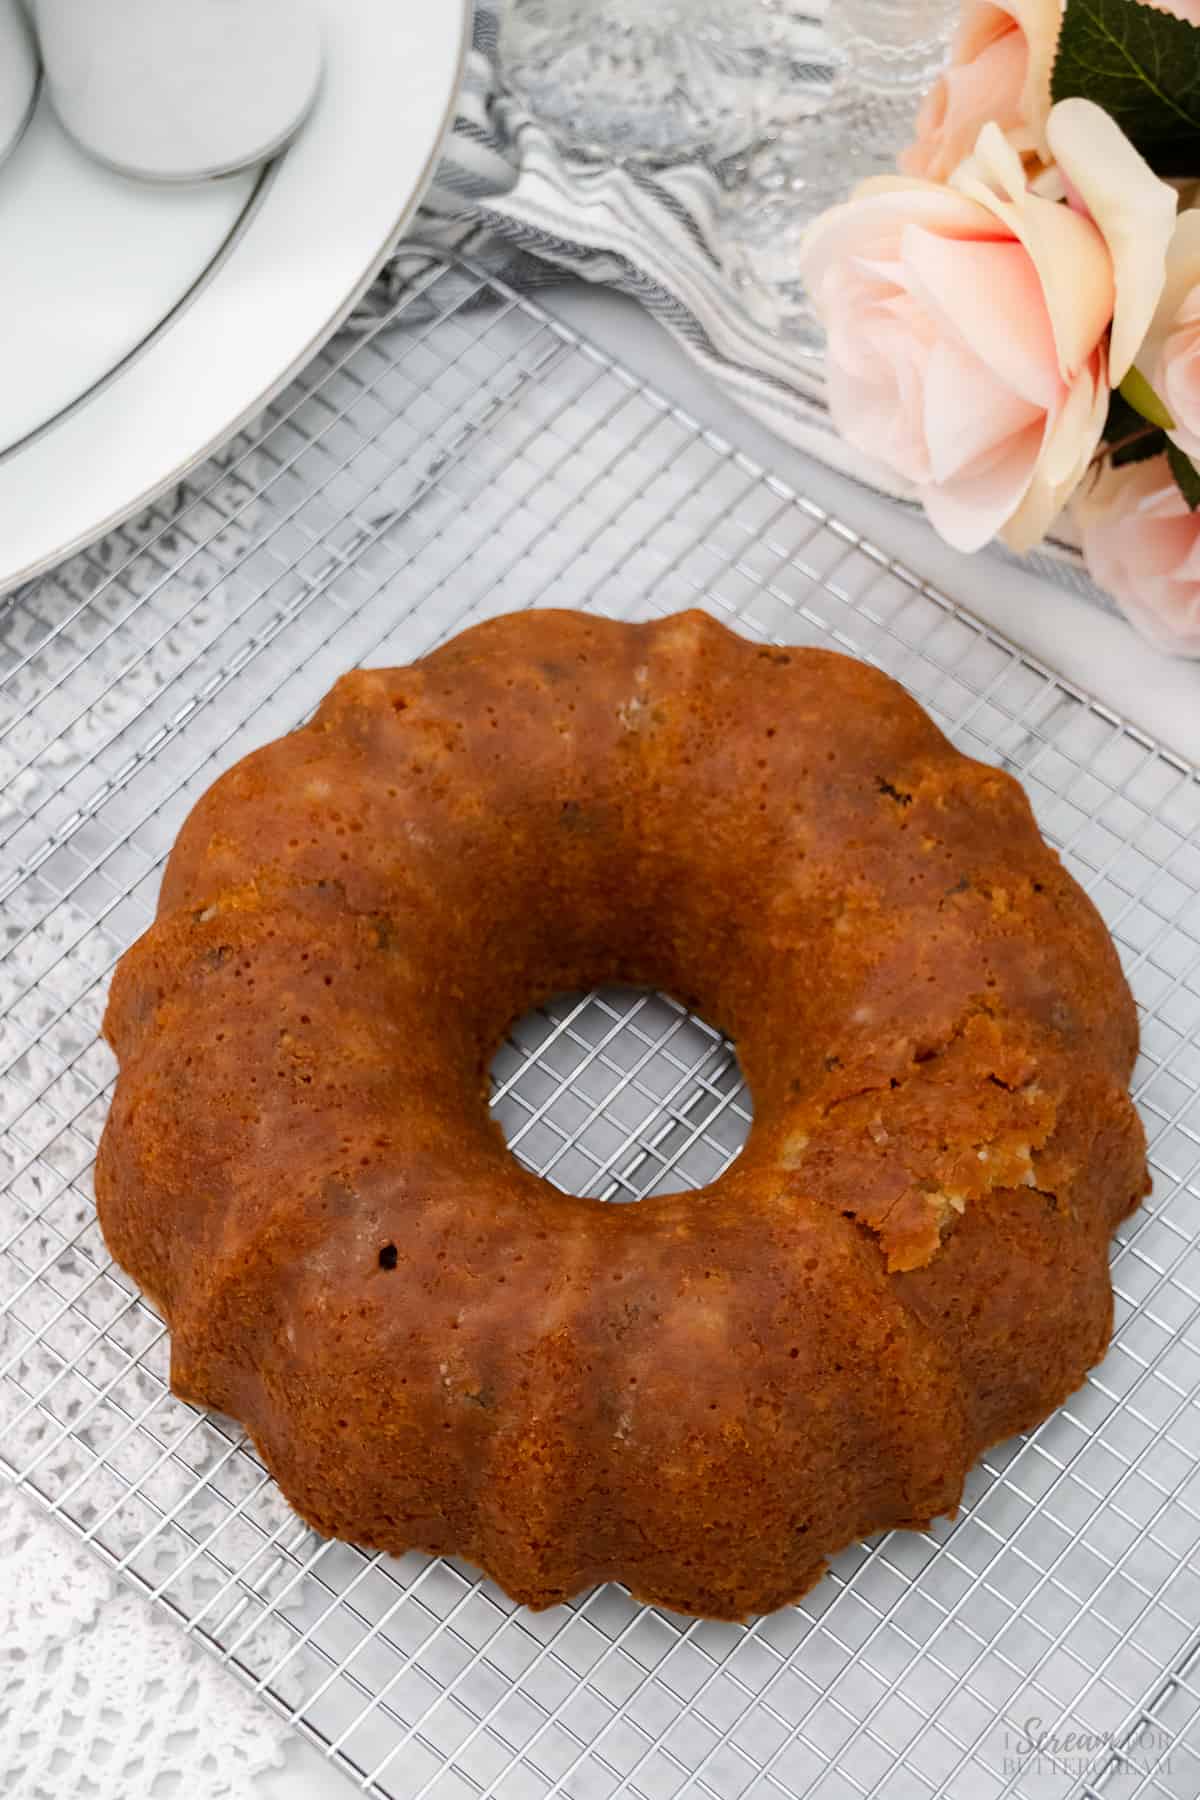
Step 9:
Serve this cake warm with either a sprinkling of powdered sugar, butter, cool whip or caramel sauce. I went with powdered sugar.
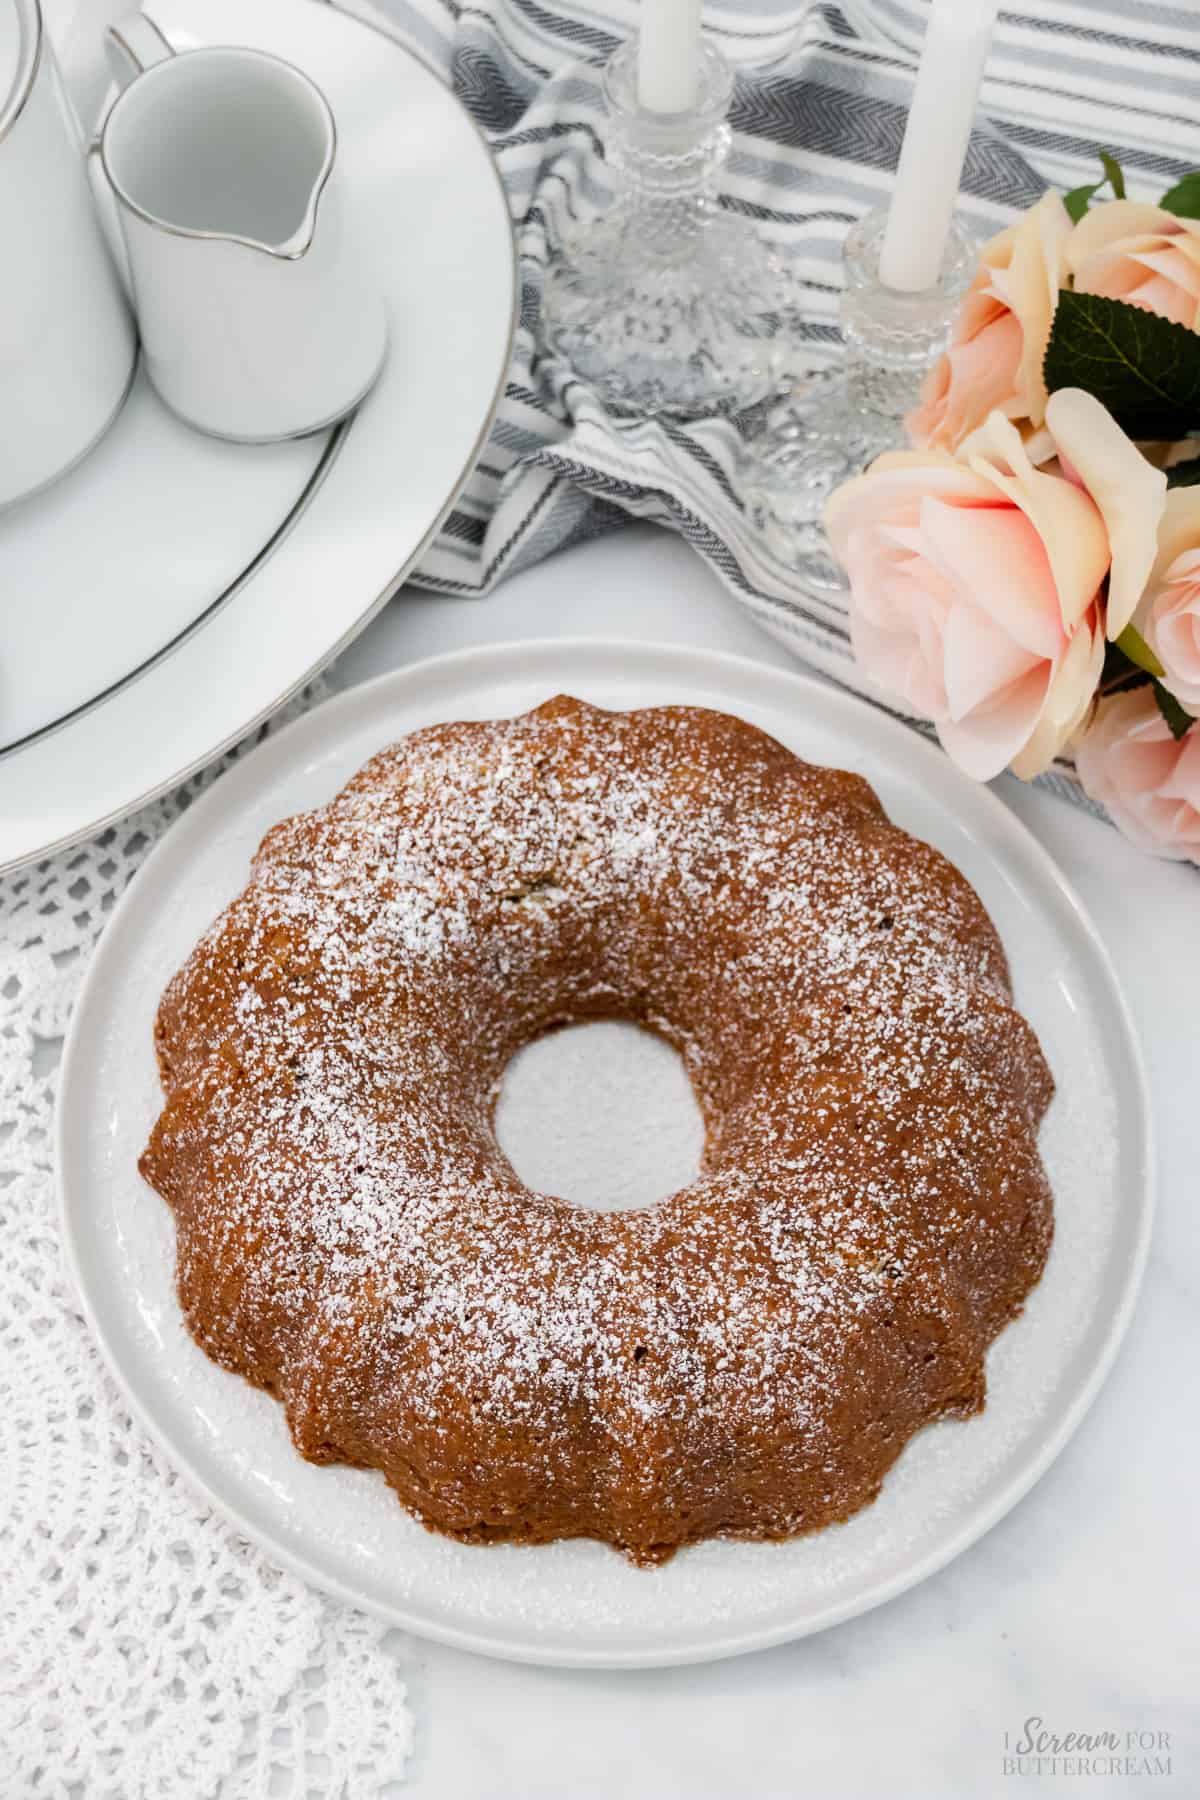
(Remember that the instructions will also be in the recipe card below.)
Tips & FAQS:
Unsalted is always best because you can estimate the proper amount of salt that will be added plus salted has a different water content than unsalted. However, if you’re unable to get unsalted butter, you can use salted in this cake as I don’t think it would make too much of a difference for this particular recipe.
The butter needs to be at room temperature so that it will emulsify (mix) better with the sugar.
In my non-scientific explaination, basically, all the molecules need to really get in there and intermingle.
The other ingredients are best used at the same temperature as adding cold milk and eggs to the warmer butter and sugar mixture, which can sometimes make the butter cold again and cause it to clump up.
It’s not the end of the world if this happens, but it’s better if you can prevent it.
Probably. You just want to make sure you’re getting the vanilla wafer cookies that are the small round vanilla cookies, not actual wafers. Here’s a link to the vanilla wafers you need: Vanilla Wafers
You can use the brand name Nilla Wafers, or the generic which are just called Vanilla Wafers.
Right. This recipe doesn’t call for any flour. It uses crushed vanilla wafer cookies instead of flour.
I used sweetened shredded coconut, but it may turn out just fine if you want to use unsweetened.
Probably not, but that’s one of the best parts about this cake…the combination of all the flavors.
It should turn out fine without it, but it may not have as much of a flavor profile without it.
It’s good if you can as it does add flavor and texture, but if you don’t like them or are allergic (like I am), then the cake will still turn out if you don’t add nuts.
Don’t skip out on preparing the pan by either spraying it really well with non-stick baking spray or greasing it with vegetable shortening and flouring it afterward.
This cake will stick if the pan isn’t prepared.
This cake is done baking when a toothpick inserted into the cake comes out with a few moist crumbs on it or clean, but no raw batter.
Absolutely! You can add a simple vanilla glaze, a caramel glaze, a sprinkling of confectioner’s sugar, or your favorite frosting to complement the flavors of the cake.
I have not tried freezing this cake, but there should be no problems freezing it if that’s what you desire.
Just let the baked cake cool completely, then wrap in plastic wrap and foil and place in the freezer for up to a month.
To thaw, place the wrapped cake on the counter at room temperature and let thaw completely, then remove the wrapping. Once defrosted, you can add glaze or powdered sugar to the top.
This cake is best served warm with either a sprinkling of powdered sugar, butter, cool whip, or caramel sauce. If the cake is cold from storing in the fridge, set it out to come closer to room temperature for about 20-30 minutes before serving, or pop a slice in the microwave to warm up a bit.
I have not tested this recipe out as a layer cake. It is worth a try if you like experimenting though. Try baking in two, 8-inch round cake pans and bake at 325 degrees F. Start checking for doneness at around 30 minutes or so, but it will likely take a bit longer.
This cake is best served warm with either a sprinkling of powdered sugar, butter, cool whip, or caramel sauce. If the cake is cold from storing in the fridge, set it out to come closer to room temperature for about 20-30 minutes before serving, or pop a slice in the microwave to warm up a bit.
As an Amazon Associate, I earn from qualifying purchases.
Video:
Note About Recipe Measurements: I write recipes using volume (cups) measurements because here in the U.S., this is what people are more familiar with and I don’t want anyone to feel intimidated when baking. For metric/weight measurements, click the ‘metric’ button under the ingredients in the recipe card below. The weights are converted by a program, not me, and it’s just a best guess. I can’t guarantee that weighing the ingredients will produce the exact same results, since I test recipes using volume measurements.
Other posts you might like:
Recipe
Vanilla Wafer Cake
Ingredients
- 1 cup unsalted butter, room temperature
- 1 ¾ cup granulated sugar
- 6 large eggs, close to room temperature
- ½ cup milk, close to room temperature
- 2 teaspoons vanilla extract
- 1 (11 ounce) box vanilla wafers, crushed
- 1 ½ cups shredded sweetened coconut
- 1 cup chopped nuts, walnuts or pecans, (optional)
Instructions
- Preheat the oven to 325 degrees F.
- Grease and flour a bundt pan very well and set aside. Make sure not to skip this step or the cake will stick.
- Crush the vanilla wafer cookies very well. Use a food processor if you have one, or place the vanilla wafers in a large freezer bag and use a rolling pin or flat side of a meat mallet to crush them well. Set aside.
- In a large mixing bowl, add the butter and sugar and mix on medium-high with an electric mixer for a couple minutes until light and fluffy.
- Add the eggs, one at a time, mixing on medium speed after each addition.
- Add the milk, vanilla extract and crushed vanilla wafers and mix on medium-high until well combined.
- Scrape the sides and bottom of the bowl and mix again for about 10 seconds.
- Add the shredded coconut and nuts and mix in by hand.
- Pour the batter into the prepared pan and bake at 325 degrees F for approximately 1 hour to 1 hour and 10 minutes depending on your oven. (Ovens vary so you may need to bake a bit less or a bit more, just keep an eye on it.)
- A toothpick inserted into the cake should come out either clean or with a few moist crumbs on it, but no raw batter.
- Remove the cake from the oven and set the pan on a cooling rack to cool for about 20 minutes.
- After 20 minutes, turn the cake out onto the cooling rack and let it cool for about 10-20 minutes more.
- Serve this cake warm with either a sprinkling of powdered sugar, butter, cool whip or caramel sauce.
- See the notes section for best ways to store this cake, serve it and for more questions. You can also see this cake being made in the video inside this post.
Notes
Nutrition
How to Share
I’d love for you to share this recipe link or tag it, but please do not share screenshots or copy/paste the recipe to social media as the content and photographs are copyright protected and we (bloggers) work really hard on our content. Sharing the link, tagging us on socials and pinning it is super appreciated though!
Don’t forget to pin it below!


Leave a Reply