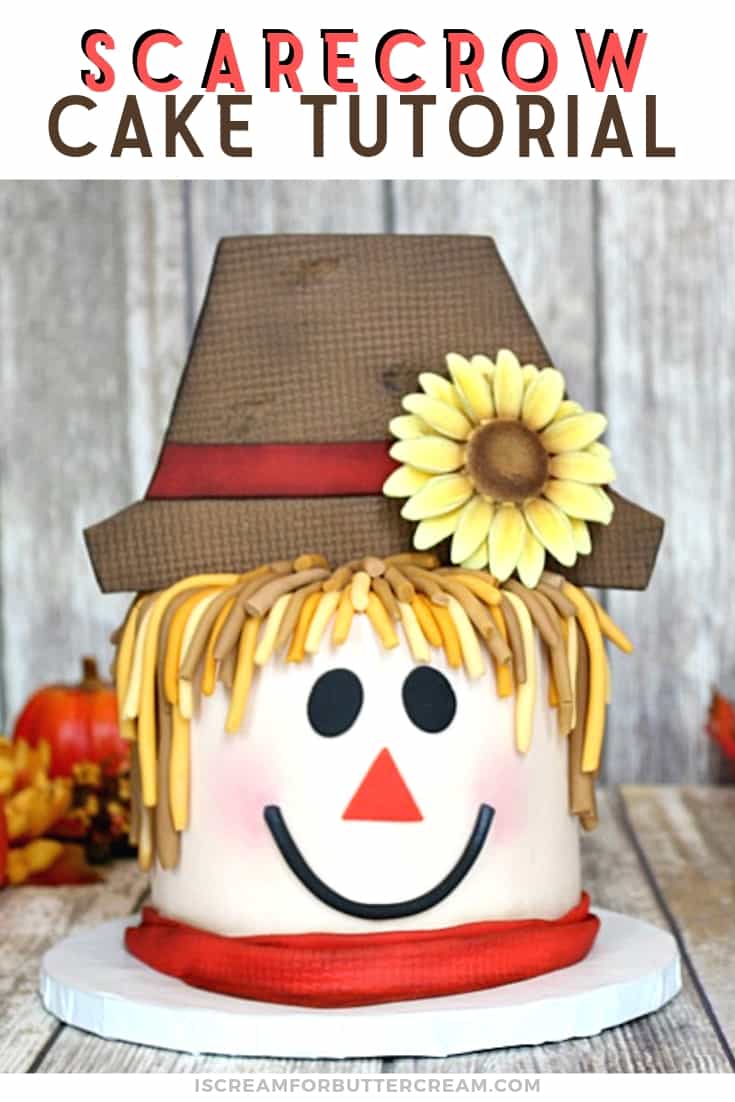
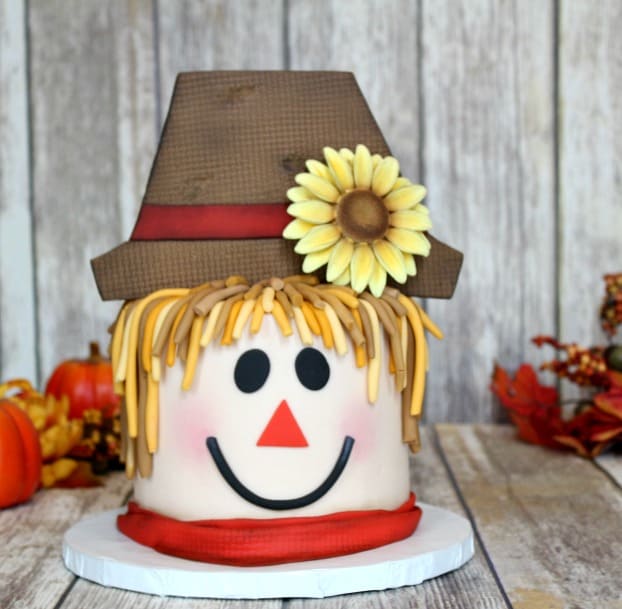
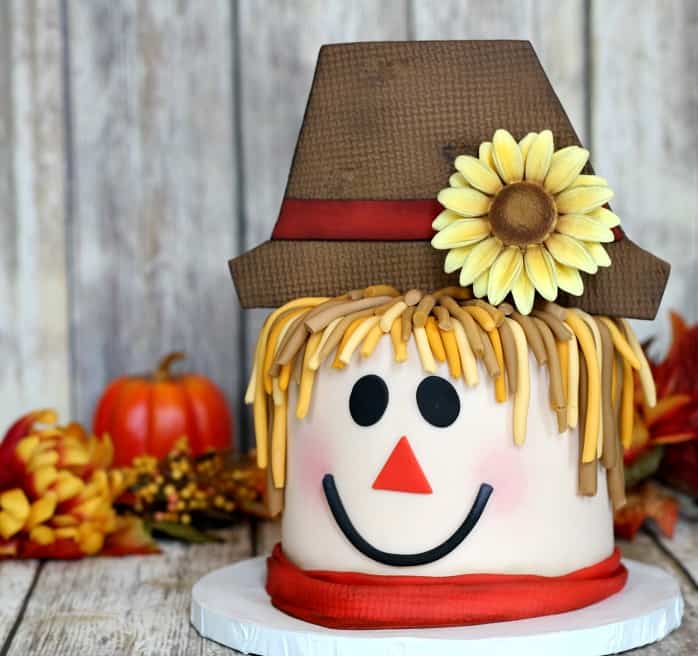
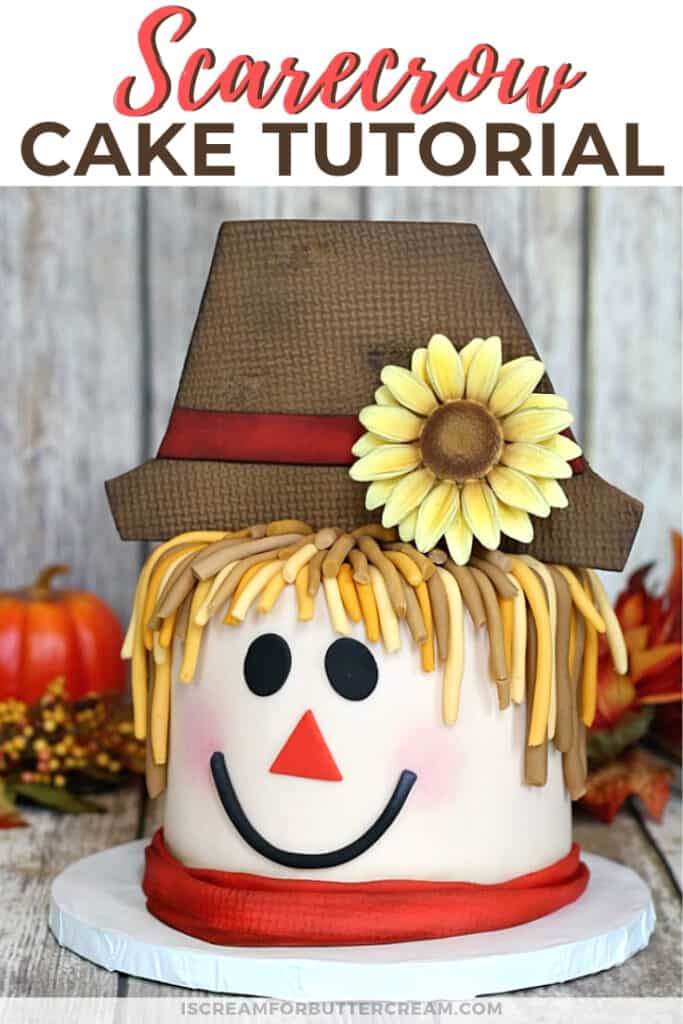
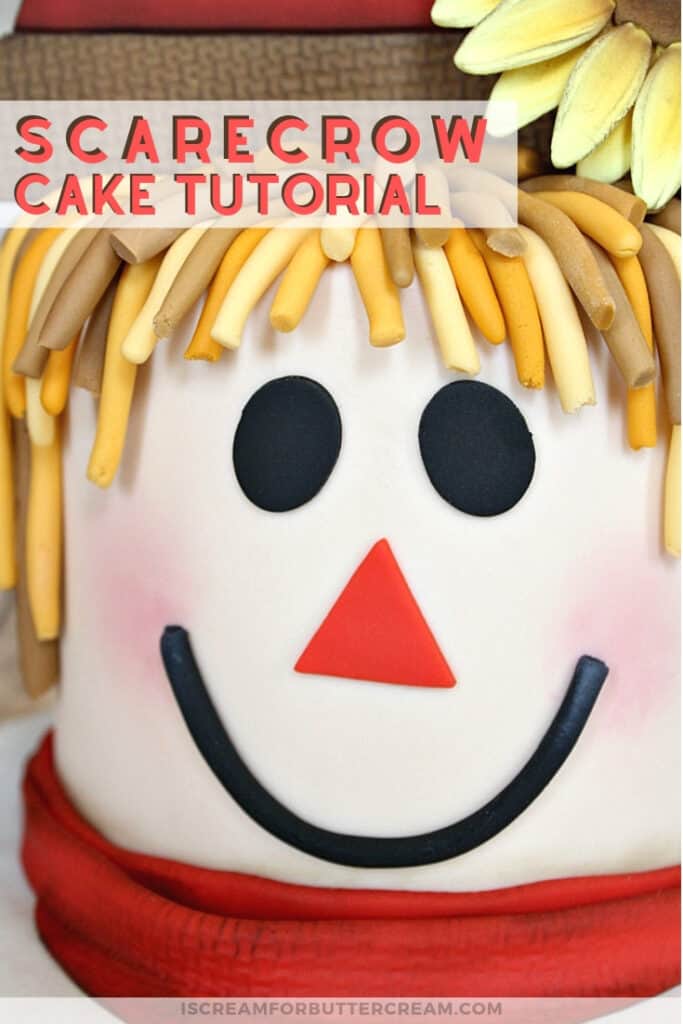
This cute scarecrow cake is the perfect way to celebrate Thanksgiving. Everyone will love this little guy and he’ll be the centerpiece to your fall table.
I was chatting with my sister the other day and I was running a couple of post ideas by her. I had come up with a couple fall cake tutorial ideas, but then she busts out with, “How about a scarecrow cake?”. Well, I thought that was an awesome idea!
I didn’t want to get all complicated on you. I wanted to try and keep it simple. I didn’t want to make a carved cake and I wanted to do something that didn’t take a ton of cake decorating supplies. So I came up with this cute little guy…I call him Samuel the Scarecrow. He kinda looks like a Sam, right?
I am a fall kind of person. I love it. I look forward to it all year and as soon as it’s over, I look forward to it again. Fall just makes me happy and so does this cake.
When I decided to do a scarecrow cake, I didn’t want it actually ‘scary’. I wanted it to be happy, since that’s how I feel when fall is here.
So let’s get started making this little guy!
As an Amazon Associate, I earn from qualifying purchases.
Supplies You’ll Need:
- Ivory fondant
- Brown fondant (with either half as gumpaste or add tylose to harden it up)
- Burnt orange fondant
- Black fondant
- Fondant in various colors for the hair (yellow, pale yellow and tans in different variations)
- Oval and triangle cutters
- Small fondant roller
- Fondant Texture sheet for fabric
- Dark brown petal dust
- Pink petal dust
- Gumpaste sunflower (optional)
Making the Straw Hat:
You want to make this hat at least a week before you need it. I know, that seems like overkill, but it is a little heavy and you’ll be sticking it into the top of the cake, so it needs to me completely dry and hardened.
You’ll need to mix half fondant and half gumpaste, or you can just add some tylose powder to your fondant so that it will harden. If you want to make it completely out of gumpaste, that’s even better. Just color it your desired color. I went with a dark brown.
Roll out your brown fondant/gumpaste. Take your texture mat and set it on your fondant. Roll over it with your small fondant roller.
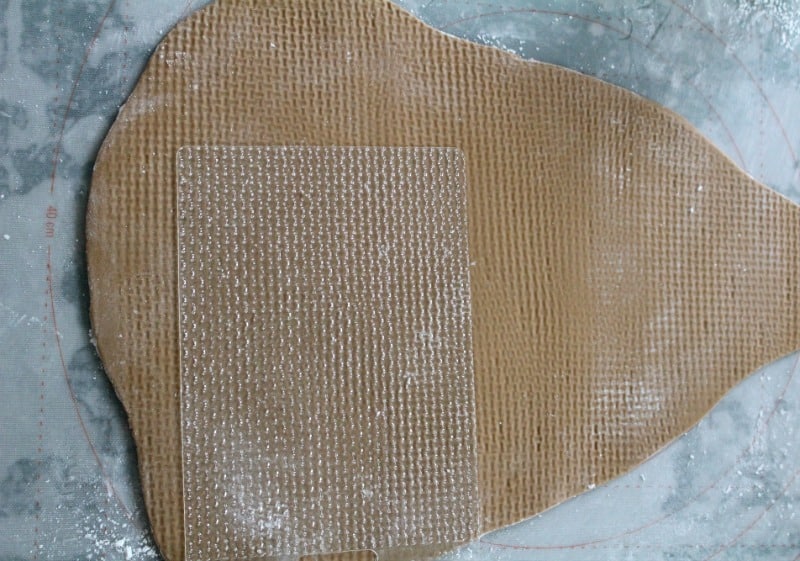
Now, when determining the size of your hat, you’ll need to look at the size of the cake you’re planning to make. I knew I would be making a 6″ cake, and that I wanted the hat to extend just a bit off the sides of the cake. Determine the size you want. Now just cut out the shape you want. I just free-handed mine.
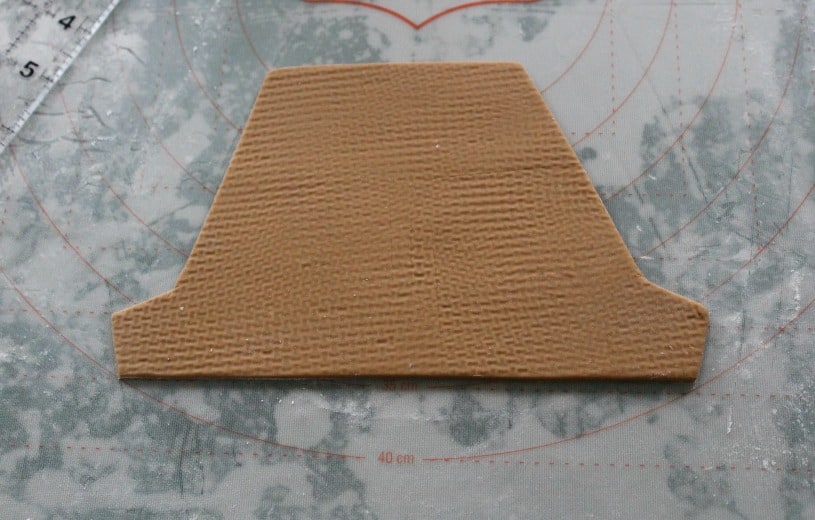
Next you want to distress it a bit. Scarecrows live outside and are exposed to the elements, so you want this little guy to look authentic, right?
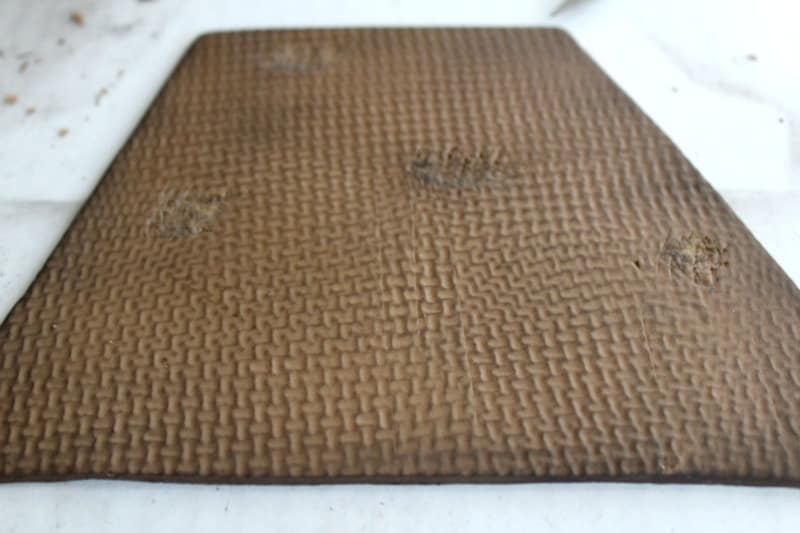
I actually just took my xacto knife and scraped sections here and there and then made some cross-hatching marks over those sections. Then I took my cocoa petal dust and dusted the edges well and then dusted lightly over the entire hat. Lay this on a piece of foam or a cake board to dry fully.
Depending on how much gumpaste you used, it may need to dry almost a week. If you used straight gumpaste, it should be good within a couple days. If you dry this on a board instead of a piece of foam, you need to turn it over halfway through the drying phase, so the other side can be exposed to air.
Making the Scarecrow Face:
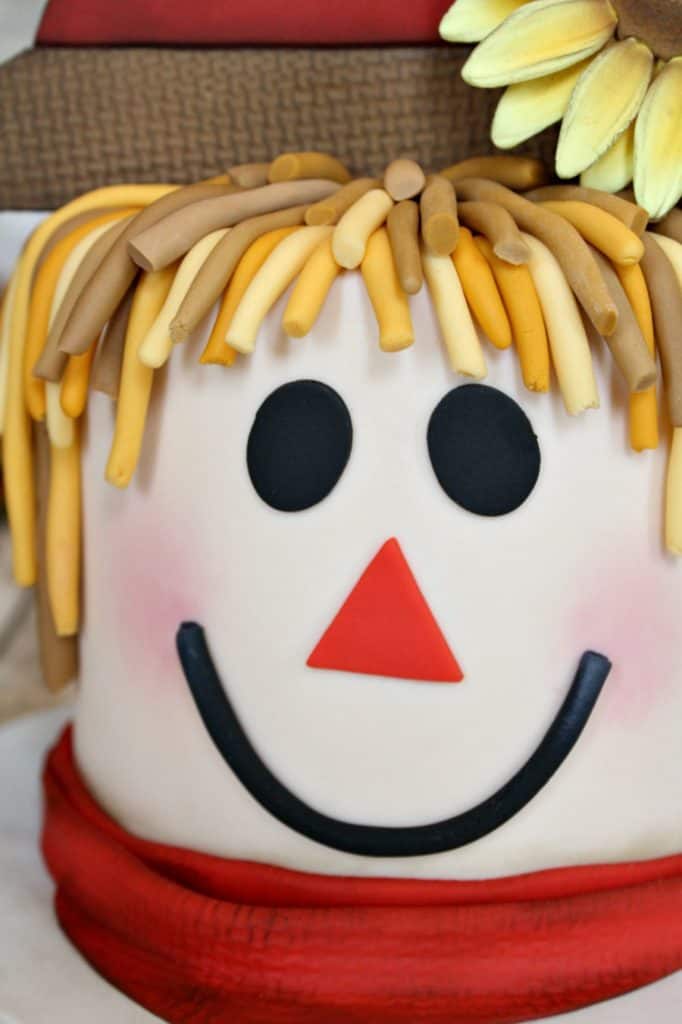
This part is super simple and easy. All you need to do is roll out a small amount of black fondant and cut out two ovals for the eyes.
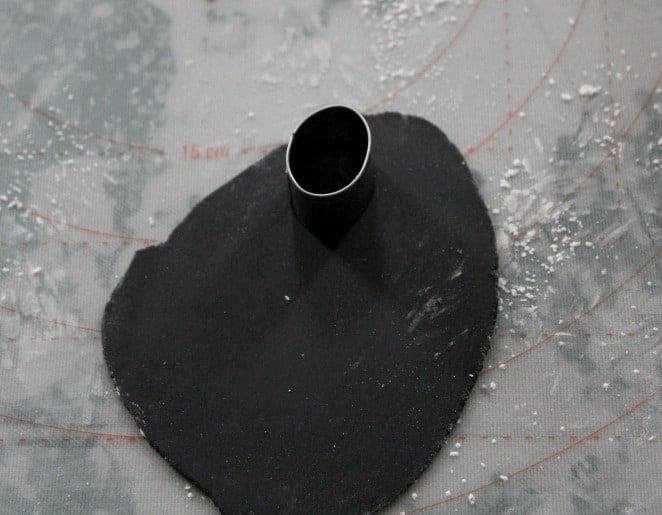
Next take a small amount of your orange and cut out a triangle for the nose.
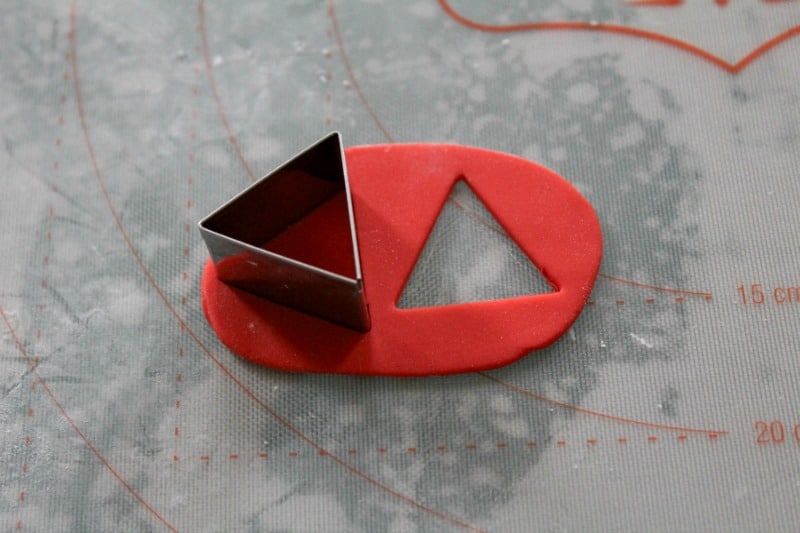
I made a couple extra, because let’s face it, I almost always need a back up plan and the one time I don’t have one, well…..you get the point.
Next, cover your cake with the ivory colored fondant. My cake was a 6″ round that was three layers tall (about 5″ tall in total). Once covered, attach the eyes and nose. I just used shortening to attach them, so that I could adjust them if needed.
For the mouth, take a bit of the black fondant and roll it into a log. I just roll it first in my hands and then against my work surface.
Cut it to the size you need it. Brush some shortening onto your cake where you want to add the smile and then attach the log you just made. The great thing about shortening is that you can just move the elements around until you get them the way you want them.
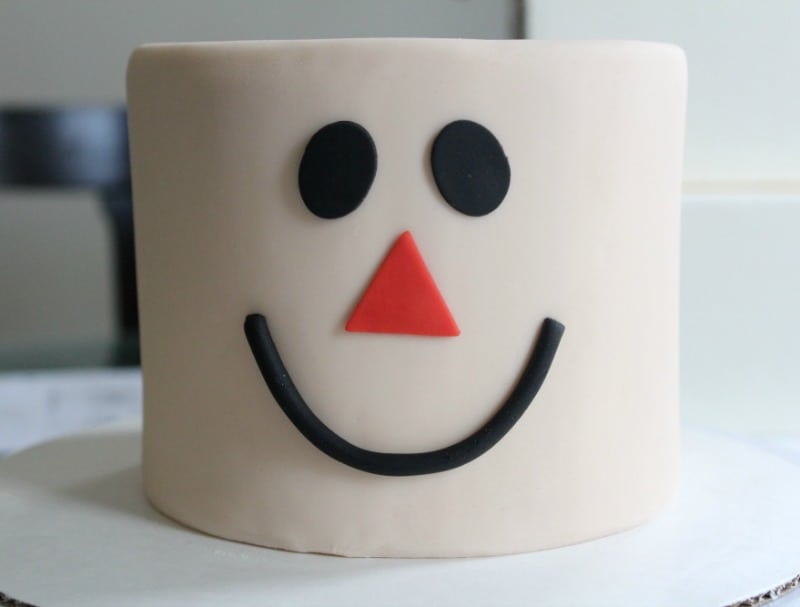
Once you’ve attached his little smile, take a paper towel and wipe off any extra shortening that’s on the fondant around it. Make sure the fondant has soaked up any extra shortening before you do this next step, or it can get streaky.
Take your pink petal dust and a fluffy medium sized brush (like a small blush brush used only for caking) and dip it into the dust. Pounce your brush onto a paper towel to remove most of the dust. You only want a hint on the cheeks. Now dust the corners of the smile.
Making the Straw Hair:
Ok, honesty time here…the straw hair is gonna take you some time. You can either make enough just to cover the front, or you can make enough to cover the entire top. Either is fine.
Just a quick note: If you don’t cover the back part of the scarecrow’s cake (the part that will be behind the hat), it sort of looks like a balding scarecrow. Especially if there’s just a couple of strands of hair back there. This could actually be kind of funny, but if that’s not the look you’re going for, you might want to make double the amount of hair.
Mix up a variety of colors for the hair. There’s no rhyme or reason, just make all different shades of browns, tans and yellows.
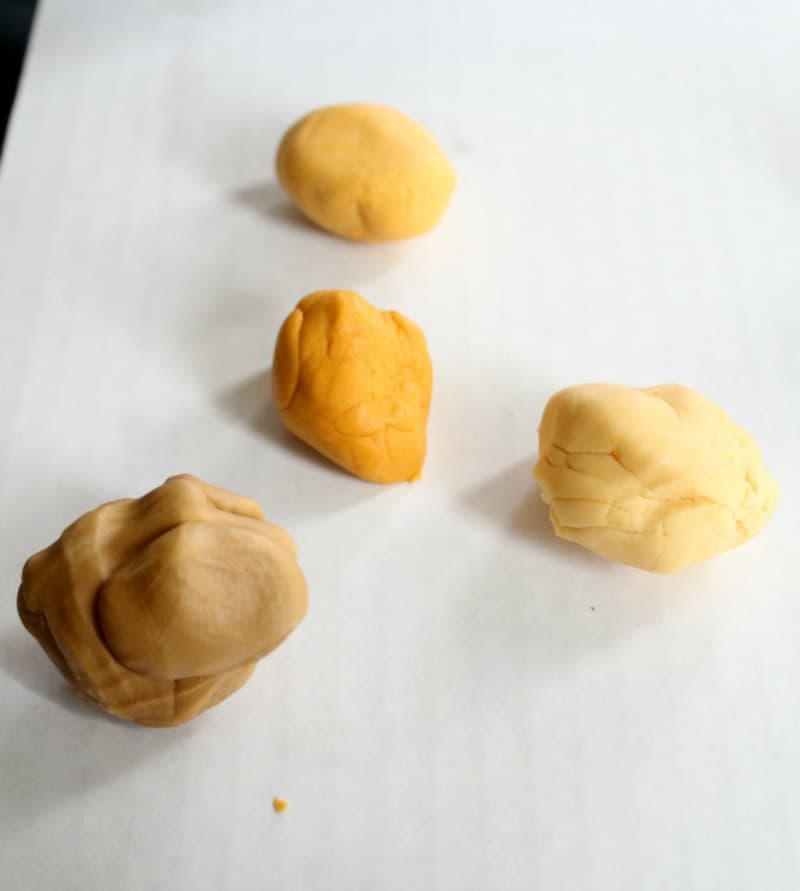
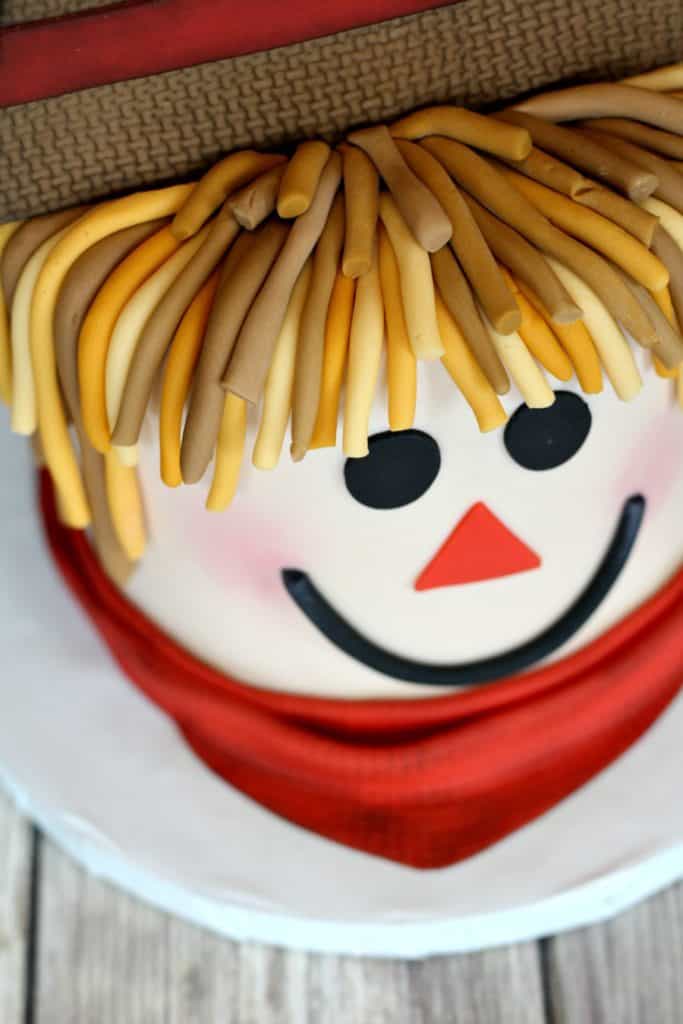
Take portions of each color and roll them into logs like you did for the scarecrow’s smile. Roll them into a log with your hands first and then roll them against the table to elongate them. Cut them in different sizes.
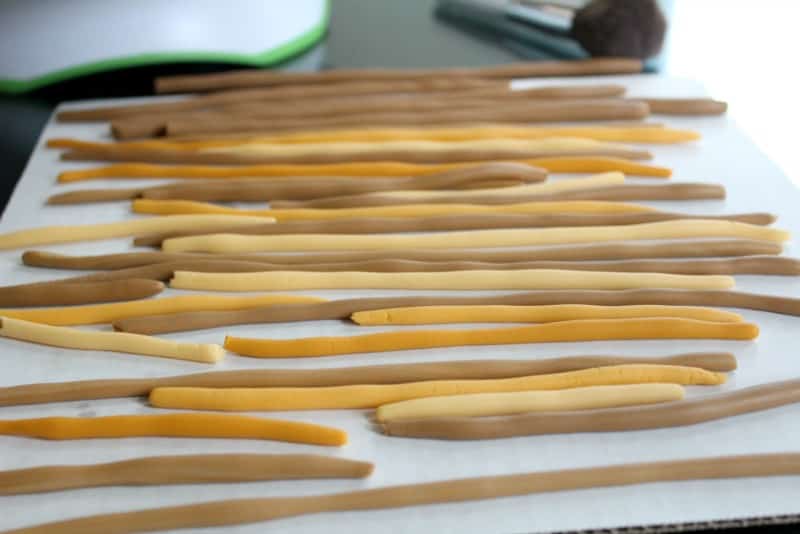
You don’t need them to be perfect, so just get them rolled out and once they’re on the cake, all the different sizes and shapes will work together.
Now, brush some water onto the top of your cake and start attaching the hair. I attached most of the longer pieces first and then built upon that. Just mix up the colors and sizes when you’re attaching them.
Once you get all of the hair on, get some tissue or roll up sections of a paper towel and put them under certain sections of the hair so they’ll dry that way and not totally flat. I wonder if that would work on my own hair?

Finishing the Hat:
You’ll want to add a hat band onto your hat, so take your orange fondant, roll it out and cut out a strip. Take your dried hat, brush on a little water and attach your orange strip. Turn the whole hat over on its face and cut off the excess of the hat band. Turn the hat back over and let it set for a bit. Maybe 20 minutes or so, you just want to make sure there’s no water around the band.
Take your cocoa petal dust and dust the edges of the hat band to give it some dimension and to distress it a little.
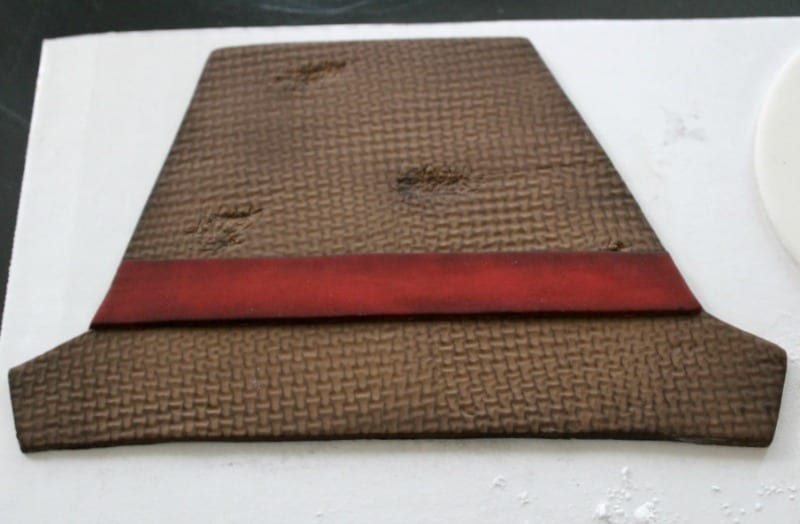
Now, turn your hat over, face down. Melt some candy melts and attach popsicle sticks to the back. Don’t use just one popsicle stick. You need more for stability. You also want them to go at least half way up the back of your hat for stability.
If you don’t have candy melts, you can brush on a little water, attach your popsicle sticks and then lay a strip of fondant over each of your popsicle sticks on the back of the hat. If you go this route, you’ll need to wait for that fondant to completely dry before you attach the hat to your cake.
Making the Bandana:
Take your orange fondant and roll out a strip that’s about the circumference of your cake. Texture it with your texture mat that you used for your hat. Cut it into an elongated triangle. Then take it and scrunch it up a bit…kind of like an accordion.

Now brush on a little water around the bottom of your cake and attach the bandana. Make adjustments once you get it on.
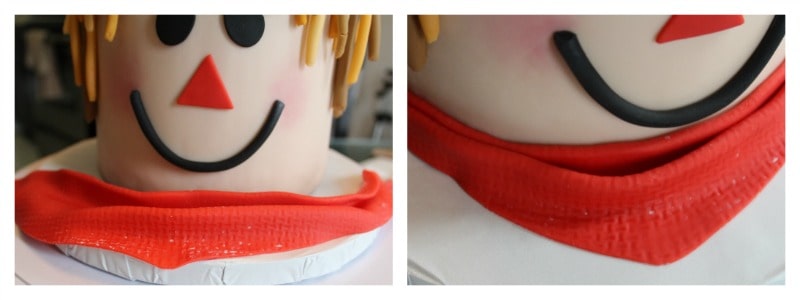
After you attach the bandana, dust it with your cocoa petal dust to distress it.
Finishing the Scarecrow Cake:
Once your hat is totally dry and hardened, you can add it to your cake. First, hold your hat at the point you want to insert the popsicle sticks. Push down just enough to make a small indention into the fondant. Now, take a dowel and go ahead and push the dowel into each indention straight down into the cake. You’re ‘pre-drilling’ the holes now.
Since this hat is a little large, you don’t want to have to push on it too hard to get it to go into the cake. You also don’t want your cake cold because that’s going to make it even harder to insert.
Once you’ve got your holes pre-drilled, use your xacto knife to cut away a line across where your hat will touch the cake. Some of your straw hair you attached will be in the way and won’t allow the hat to sit straight on your cake. Just cut a narrow line across.
Now slowly insert the hat into the cake. Once it’s there, if you need to cut away more of the hair, you can.
Once it’s setting flat onto the top of the cake, take your leftover fondant you used to make the straw hair and make a few more shorter pieces. Attach them, using a bit of water, where your hat meets the top of the cake.
The last step of adding a sunflower is optional, but I think it just adds a little extra cuteness. Take your premade sunflower and dust it with your cocoa petal dust to distress it. Melt some candy melts and add a bit to the back of your sunflower, then attach to your hat.
Yay! You did it! You’ve made THE cutest scarecrow cake ever.
This would be such a great treat for Thanksgiving, or Halloween if you don’t want to go the scary route.
I’m loving my little Samuel the Scarecrow. You can name yours anything you want, of course, but he does need a name right? Oh, and I just thought of something…instead of adding a sunflower, you could even add a cute fondant bow at the top and you’d have yourself a girl scarecrow. Yes!
Check out a slide show of the whole process below:
So try this cute little guy out and let me know how it goes for you!
Don’t Forget to Pin it for Later!

Lydia Sexton
is there any thing other then fondant to use on this little guy or any way to make fondant taste better ?
Kara Jane
Lydia, I’m having trouble with my comment section on my blog today, so I’ll try to respond this way and hopefully you’ll see it. You can use buttercream for the base of this cake and not cover it with fondant. You’ll just need to try and get it as smooth as possible and tint it an ivory color.I would also put it in the fridge to set it before adding the details. You could even just using a round icing tip and pipe on the smile and the hair using buttercream if you wanted. It will have a slightly different look, but I think it would still look really cute.
As far as fondant goes, I use Artisan Cake Company’s LMF (Liz Marek Fondant) recipe and I love it. For some reason, I’m not able to link it here, but if you google LMF fondant, it will come right up. I think it tastes better than just the plain prepackaged fondant and it’s the easiest fondant I’ve ever worked with (and I’ve tried a lot). You can also add a little vanilla extract to it to add flavor if you want. I would start with a teaspoon and I think she gives suggestions for adding extracts. Hope this helps!
Kara Jane