Have Questions or Need More Details?
Don't forget to check out the Tips & FAQ section in the post!
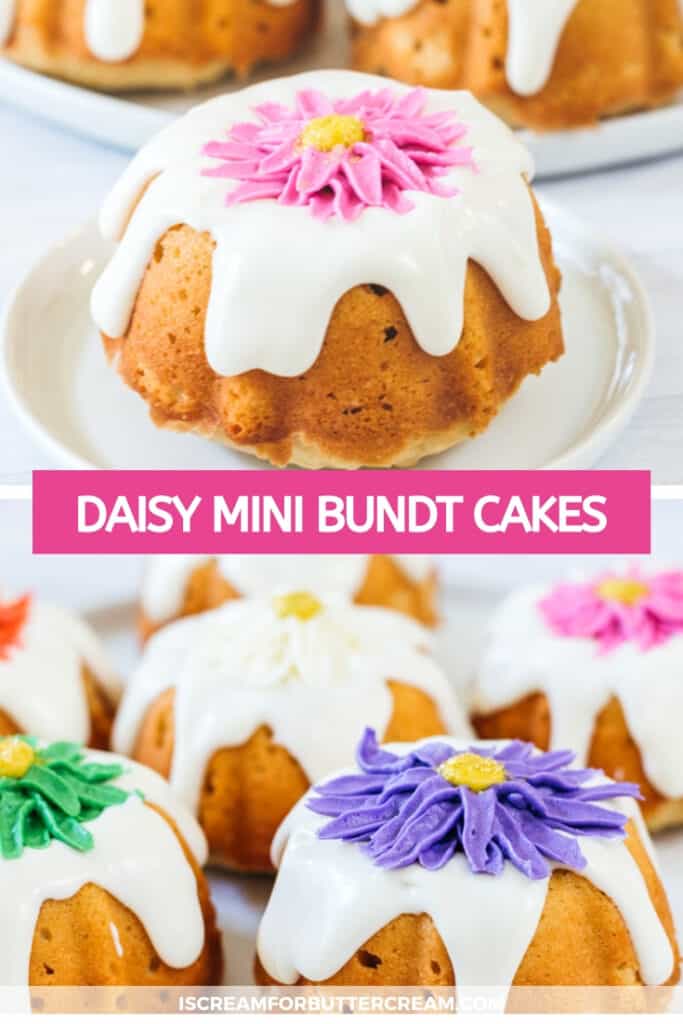
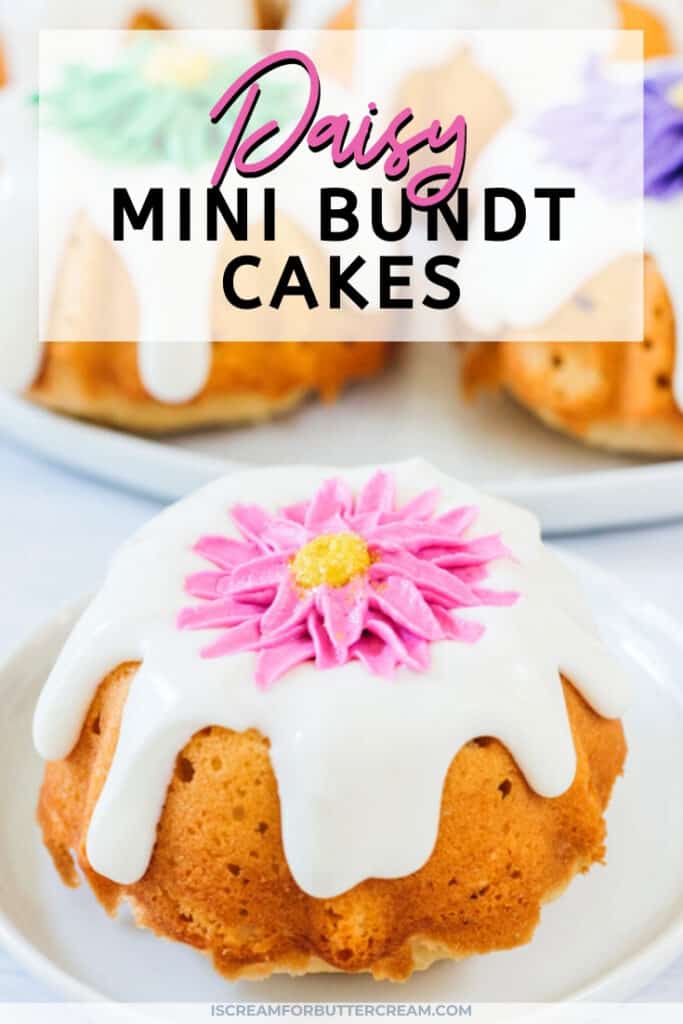
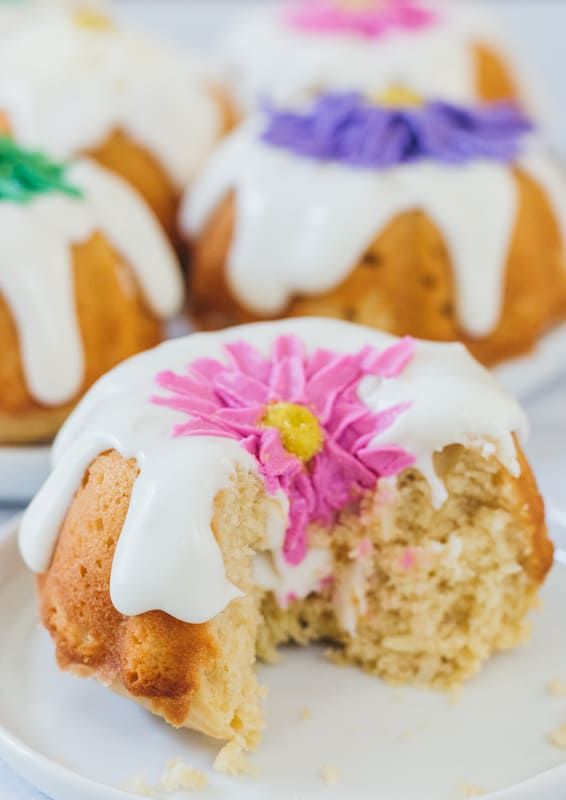
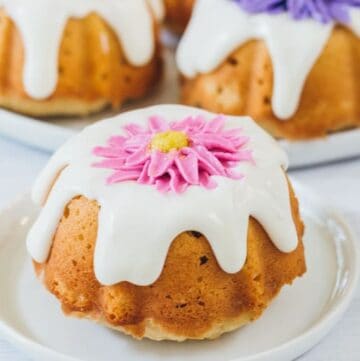
These super cute daisy mini bundt cakes are perfect for spring or summer. The buttercream daisies are easy to pipe…just follow along with the tutorial below. The scratch mini bundt cake recipe is full of vanilla flavor with a bit of shredded coconut. Easy and so pretty!
Hey there! Before you scroll, there’s lot’s of important stuff in the post!…including the FAQ section, which may answer any questions you might have about this recipe. Enjoy!
Have you ever heard of daisy cake? Well I’ve seen recipes floating around out there for a long time and it’s basically a very simple vanilla cake using brown sugar and a bit of shredded coconut.
Usually the recipes calls for boiling milk, but I wanted to do my own thing here AND I wanted to make them mini cakes. Um, because who can say no to cute mini bundt cakes?
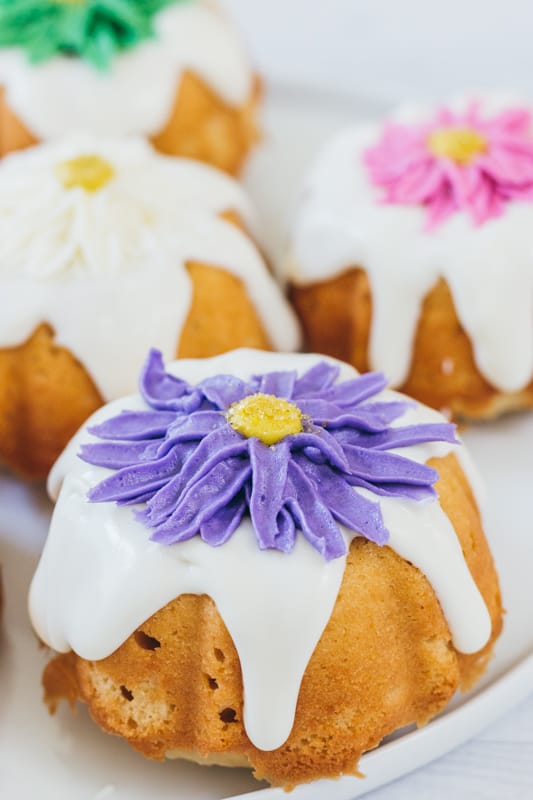
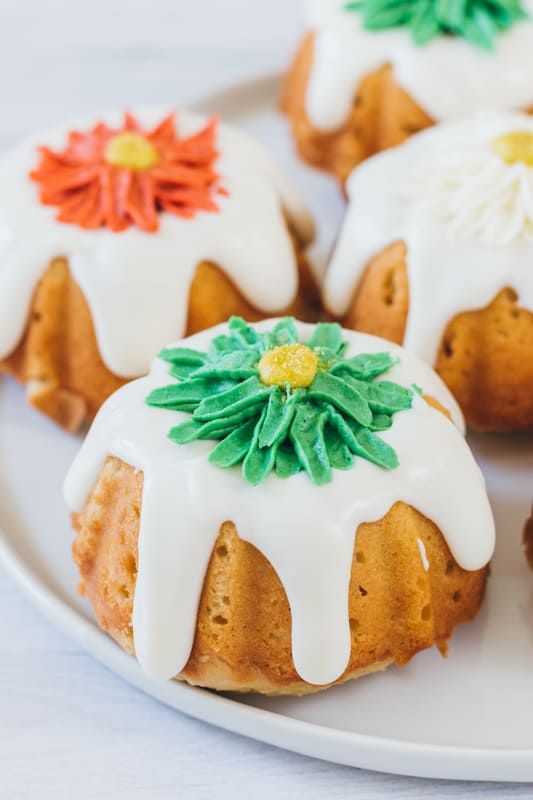
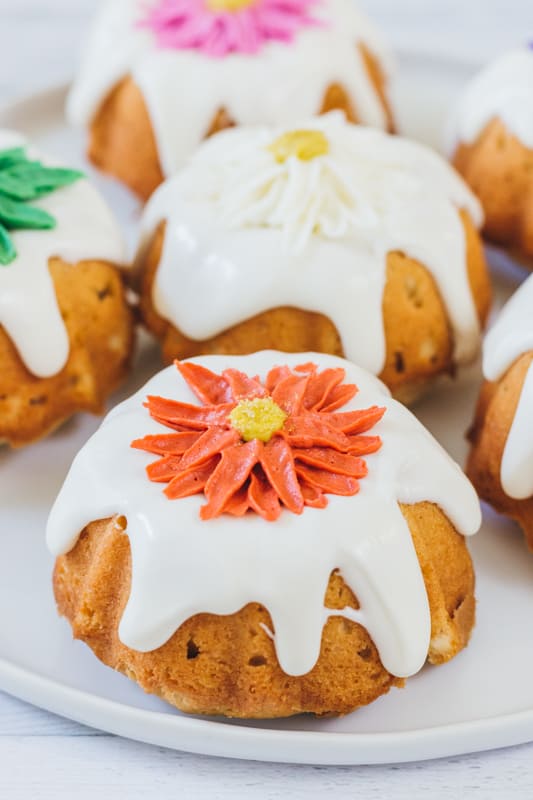
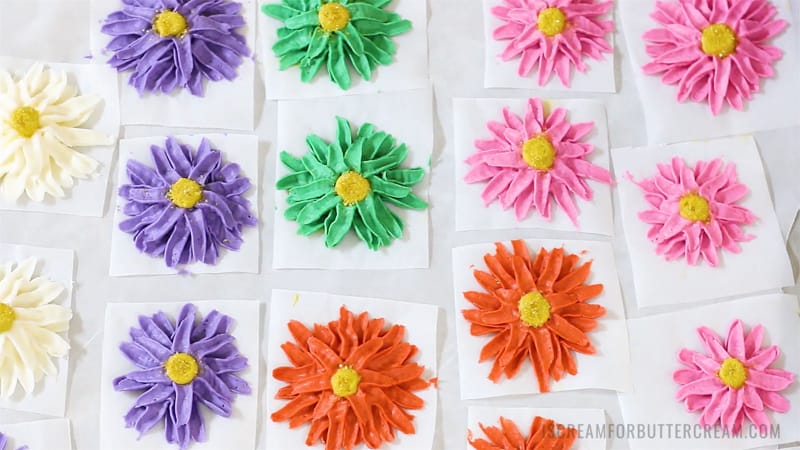
These were so fun to make and the neat thing is that you can do any colors you like…or just make them all the same color. I think these would be perfect for a wedding or shower or really any time.
This post will be a tutorial and recipe post in one. First I’m going to go through a bit about the recipe, then I’ll get into the tutorial on how to pipe the buttercream daisies. I’ll finish up with some FAQ’s about this tutorial and recipe.
First let’s talk about some of the ingredients in these mini daisy cakes:
Essentially, this recipe is based off of my favorite vanilla bean cake recipe. I’ve changed some things up…added some ingredients here and there…and changed the mixing method to give it more lift.
Unsalted Butter: Make sure to use unsalted, room temperature butter.
Brown Sugar: You’ll use brown sugar in this recipe. I like how it gives it a little extra depth and flavor. It doesn’t matter which type of brown sugar (light or dark), but I used light.
Sour Cream: Didn’t think you’d get through this one without sour cream did ya? Nope…it’s my favorite thing to add to cake batter. Gives it a nice flavor and added moisture. (See the FAQ section in this post about substitutions.)
Shredded Coconut: You’ll be adding in a bit of shredded coconut for this cake. It’s not overloaded with coconut flavor, but just enough to give you a hint of it. Plus the coconut and brown sugar flavor, I think really go together.
Cream cheese glaze: We can’t forget about the cream cheese glaze, right? This one is super simple and contains cream cheese, butter, confectioner’s sugar and a bit of cream or milk.
Mixing method for the mini cakes:
Like I mentioned early in this post, this recipe is based off my favorite vanilla bean cake recipe, but I’ve changed out some ingredients and changed up the mixing method.
For this one, instead of using the reverse creaming method, we’ll be using the regular creaming method. I’ve done that so that these mini cakes rise up just a little fluffier.
If you want more information on the different mixing methods, you’ll want to check out that post here.
As an Amazon Associate, I earn from qualifying purchases.
Supplies needed for the daisy mini cakes
- Baked mini bundt cakes (You can use either the recipe in this post, or use your own, or even a cake mix…the choice is yours.) I used this 6 cavity mini bundt pan.
- Buttercream (You’ll want to make sure you use a buttercream that is butter based and not shortening based. Butter will harden up in the fridge or freezer, but shortening doesn’t as well and you need these to harden up.)
- Gel food coloring (You can tint your buttercream any color you want for your daisies but you’ll want to tint some of the buttercream a dark yellow color for the daisy centers.)
- Large flower nail
- Piping bags
- Wilton tip #81 for the daisy petals
- Wilton tip #12 for the daisy centers
- Parchment or wax paper squares (You can buy these, but it’s much less expensive to just cut out your own squares of parchment paper.)
- Yellow sprinkles or colored sanding sugar (For the centers of the daisies.)
Steps to make the buttercream daisies:
(Make sure to watch the video down below in the recipe card, so you can see how everything is done and put together.)
First you’ll need to make your buttercream. You need to make it a semi-stiff consistency. Not super stiff, but you need it to pipe well.
Once you’ve got all your buttercream tinted in the colors you want them, add your piping tips to your piping bags. I just piped one color at a time and then washed the tip out and filled another piping bag with another color.
Make sure you’re using a large flower nail, or your daisies will be very small.
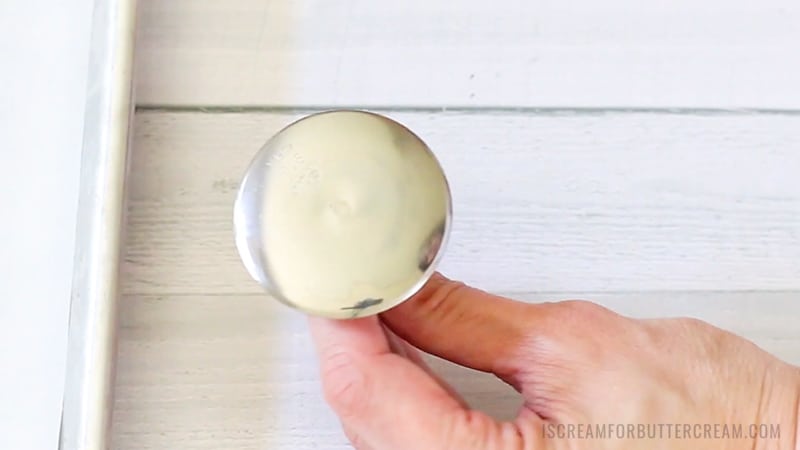
Pipe on a bit of buttercream in the center. (This will help the parchment or wax paper squares stick to the flower nail.)
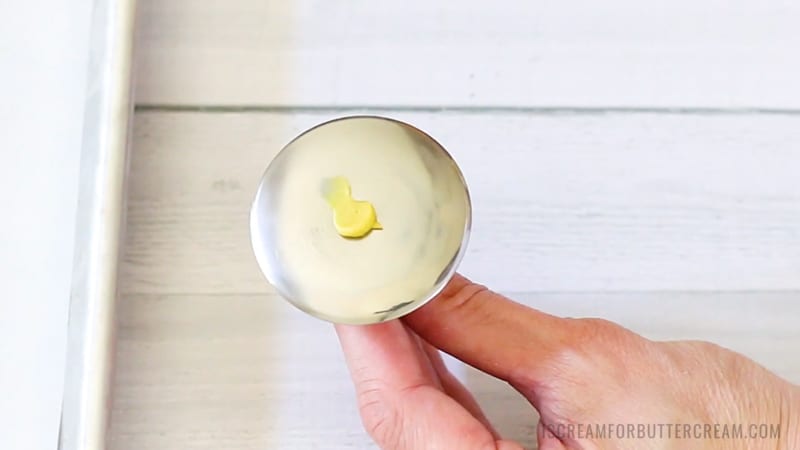
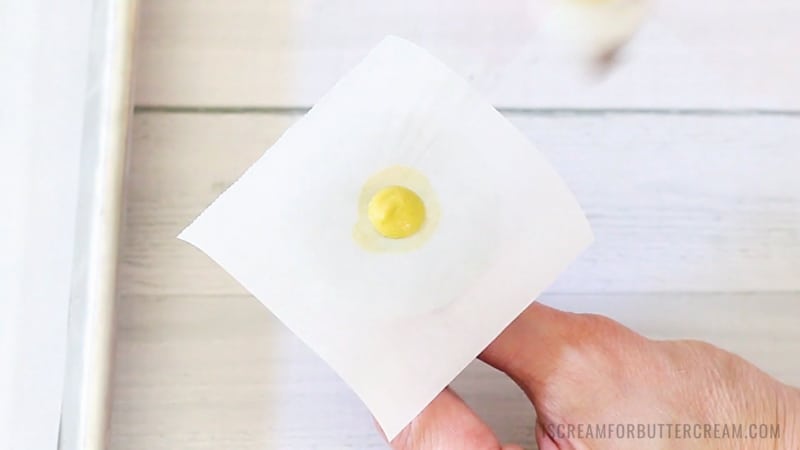
Add a square of parchment paper or wax paper to your flower nail and then add another dot of buttercream in the center. This will help give you a guide to pipe the daisy petals.
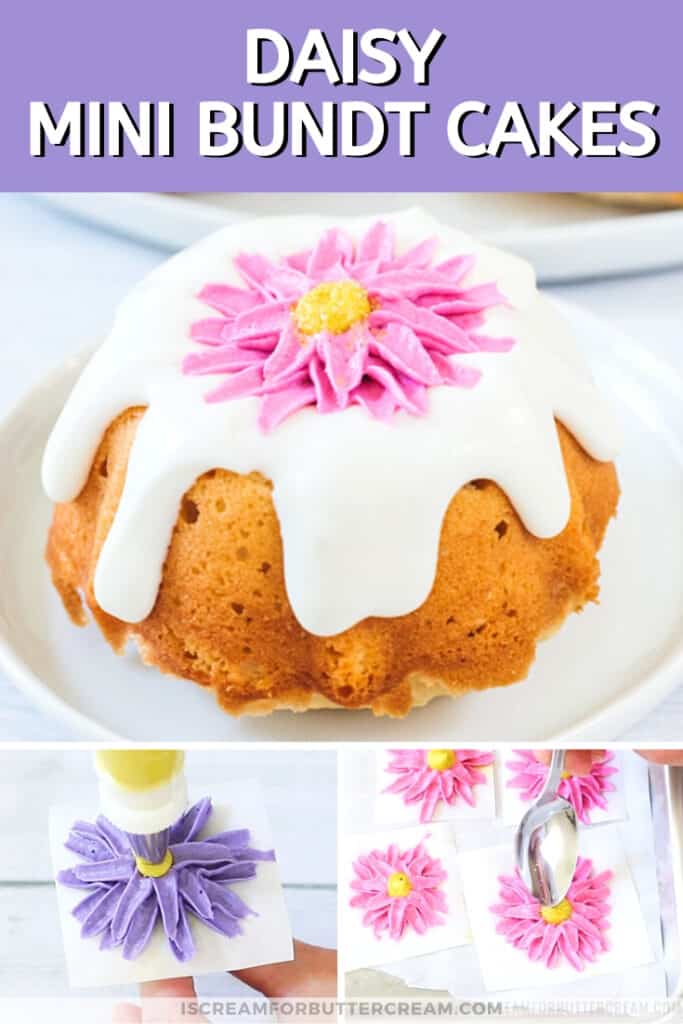
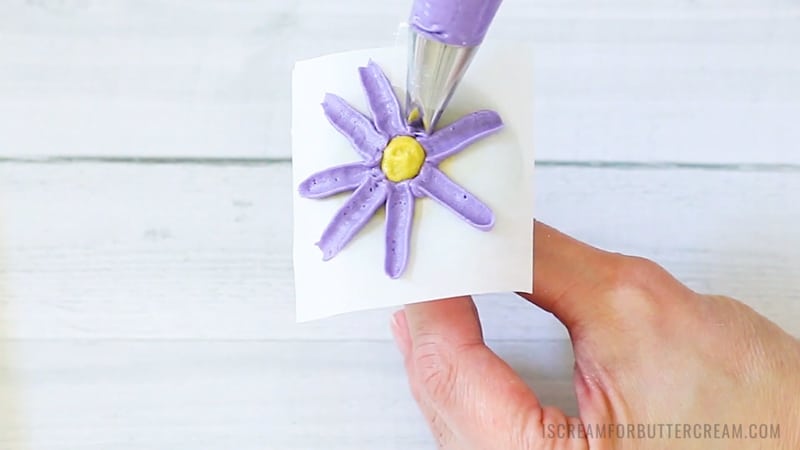
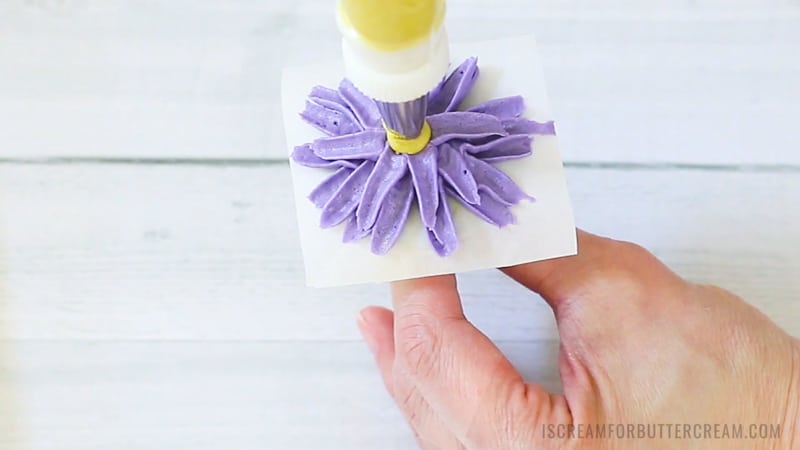
Now take a piping bag filled with buttercream and fitted with your #81 piping tip and just make sure the curve on the tip faces up.
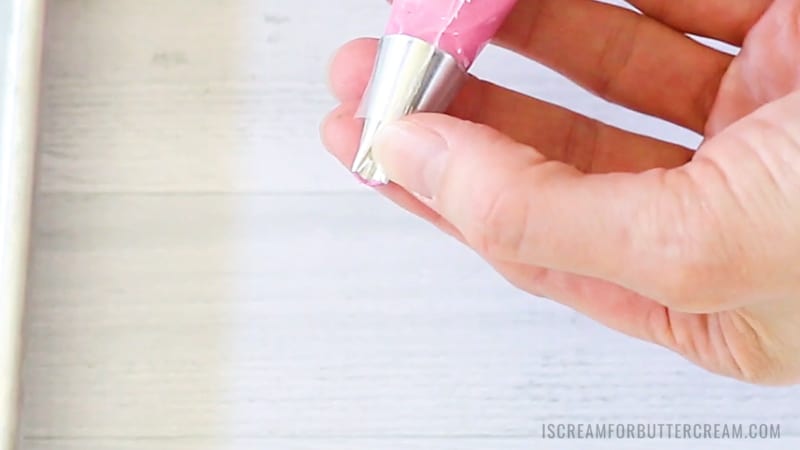
Pipe the daisy petals from the center of the flower moving out. You’re using the yellow dot in the middle as a guide. Just squeeze the piping bag as you pull the bag away from the center. (The video will show this better.)
Just pipe them around the center, but they do not have to be perfectly spaced. It’s okay because you’ll add a few layers.
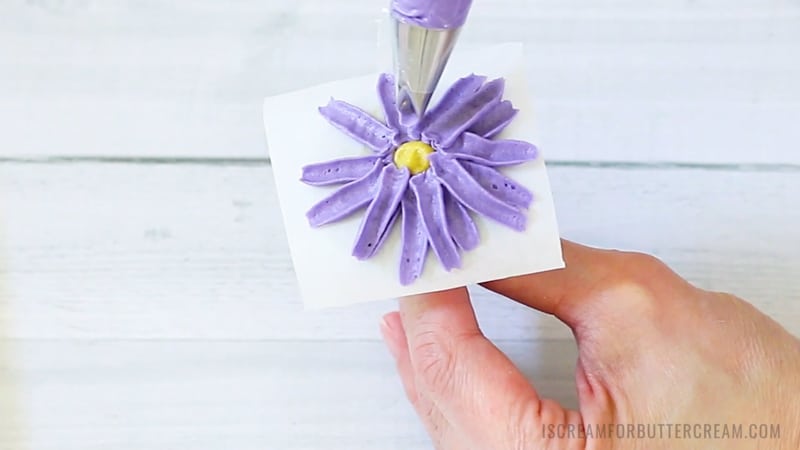
Now pipe on another layer of petals on top of this one. Try to pipe these petals in the gaps of the previous layer.
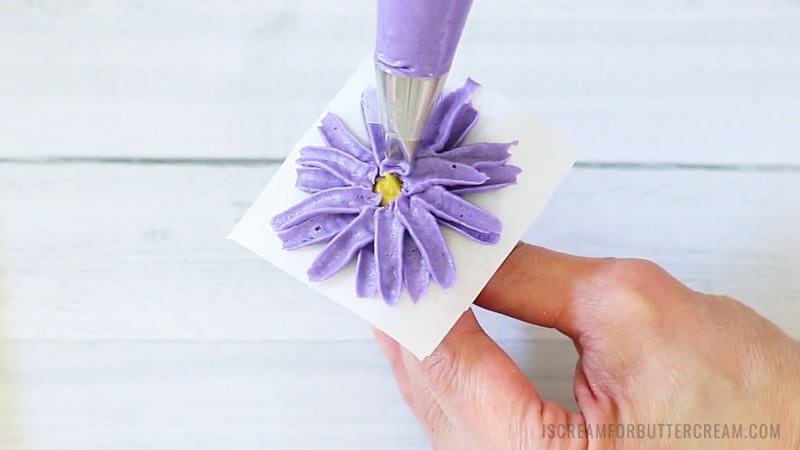
Now you’ll pipe a third row of petals, but you’ll pipe these shorter than the previous row. Don’t worry about messing up the middle of your daisy. You’ll fix that in just a minute.
Now your flower will look like this:
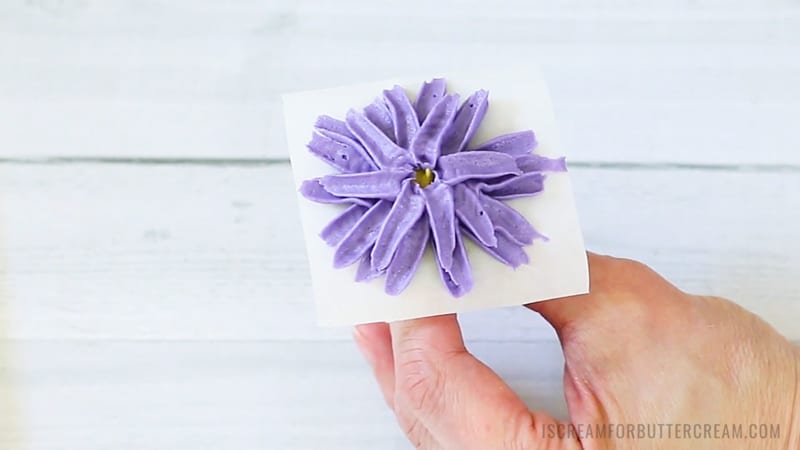
Now just pipe a small yellow dot in the center.
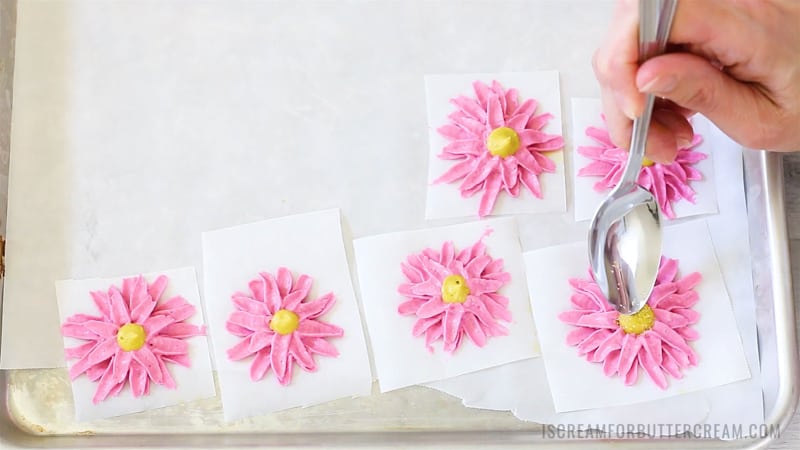
Take the paper off the flower nail and set it on a cookie sheet or a cake board…just something you’ll be able to set in the fridge or freezer.
Now take your sanding sugar or yellow sprinkles and add a bit to the middle of each daisy.
Now you’ll want to chill your buttercream daisies really well. You can do that in the fridge or the freezer…it doesn’t matter, but it’ll be quicker in the freezer.
You need the daisies to firm up very well before you try to add them to your mini bundt cakes.
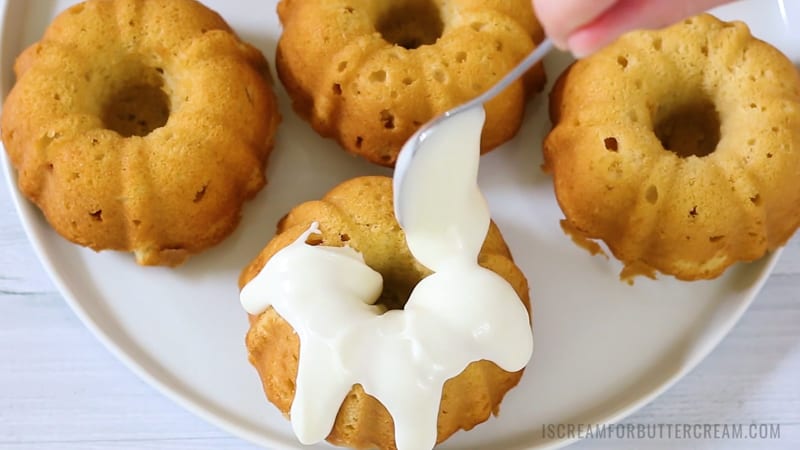
Make sure your bundt cakes are cooled to room temperature, then add the glaze to them.
Once the buttercream daisies have firmed up, take them out of the fridge or freezer.
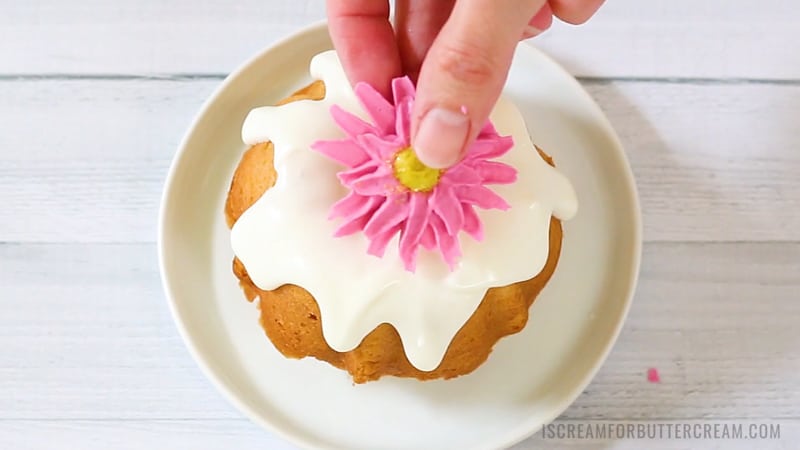
Now youll just take a daisy, peel the paper off of it (carefully) and pop it onto your mini bundt cake.
Now, depending on how warm your environment is, you may be able to only add two daisies and then need to chill them again.
If they start to break on you or bend when you take the paper off, just pop them back into the freezer to chill again.
TIPS & FAQs for making the daisy mini bundt cakes:
There are regular sized flower nails and larger ones. You can use a regular sized one, but your daisies will be pretty small. There is a link to a larger sized one in the supply section of this post above.
You need these daisies to firm up nicely and if you use a shortening based buttercream, they just won’t get hard enough to peel off the paper in one piece.
You want the flower petals to have a bit if a cup to them.
Some of them will break on you when you try to pull them off the papers.
If you don’t pipe several rows, your daisies will look very sparse.
If they start to warm up on you as you’re adding them to your cakes, then just pop them back into the fridge or freezer.
Measure it out with a spoon into your measuring cup. Scooping it out of the flour bag will pack down the flour and adds too much to your batter causing a dry cake or giving it texture problems.
Sour cream is best, but if you can’t get it, you can use this sub: For every cup of sour cream called for, replace with ¾ cup sour milk or buttermilk mixed with ⅓ cup melted butter. (To make sour milk, or buttermilk, measure one cup of milk and take out a tablespoon of it. Add in a tablespoon of lemon juice or vinegar.) You can also sub sour cream with yogurt, but use the full fat yogurt, not the low fat.
Use unsalted butter, not salted butter and not margarine.
Do not microwave it because that heats it unevenly and it may not mix well with the other ingredients, which will cause problems with your cake’s texture. Just cut up the butter and set it out on a plate to warm up about an hour and a half or so.
It doesn’t matter, but I generally use light brown and that’s what most recipes generally use. You just want to make sure you pack it down when you measure it.
The video will help answer questions about how to make this cake and how to pipe the daisies.
Over-mixing cake batter will lead to a denser cake that could turn out rubbery.
Make sure to push it down into the mini bundt cavities and smooth the top.
You don’t want your glaze just sliding off the cakes.
I have not tried these out in a different sized pan, but they should be fine if baked in two, 8″ round pans or a regular sized bundt pan. Bake at the same temperature, but you will need to bake for a longer amount of time, especially for the bundt pan. Start checking for doneness with layer cakes at about 30 minutes and the large bundt cake for about 45-50 minutes. You’ll likely have to bake a bit longer. It will be done when a toothpick inserted into the center, comes out with just a few moist crumbs on it or clean.
As an Amazon Associate, I earn from qualifying purchases.
Tools Used to Make the Cakes:
Ok, let’s get to the recipe:
Note About Recipe Measurements: I write recipes using volume (cups) measurements because here in the U.S., this is what people are more familiar with and I don’t want anyone to feel intimidated when baking. For metric/weight measurements, click the ‘metric’ button under the ingredients in the recipe card below. The weights are converted by a program, not me, and it’s just a best guess. I can’t guarantee that weighing the ingredients will produce the exact same results, since I test recipes using volume measurements.
Recipe
Daisy Mini Bundt Cakes
Ingredients
For the cakes:
- 1 cup butter (room temperature)
- 1 cup granulated sugar
- 1 cup packed light brown sugar
- 3 eggs
- 2 ⅔ cup all purpose flour
- 2 ½ tsps baking powder
- ½ teaspoon salt
- 1 cup sour cream
- ½ cup whole milk
- 1 tablespoon oil
- 2 teaspoon vanilla extract
- 1 ½ cups shredded coconut (sweetened or unsweetened)
For the cream cheese glaze:
- 4 oz cream cheese (room temp)
- ¼ cup butter (room temp)
- 2 cups confectioner’s sugar
- 1 teaspoon clear vanilla extract
- 3 ½ tablespoon milk
Instructions
For the cake:
- Preheat the oven to 325 degrees.
- Spray or grease a 6 cavity mini bundt pan and set aside.
- In a medium sized mixing bowl, add the flour, baking powder and salt. Whisk and set aside.
- In another bowl, add the sour cream, milk, oil and extract. Whisk well and set aside.
- In a large mixing bowl, add the room temperature butter, granulated sugar and brown sugar. Mix with an electric mixer on medium until mixed well, then switch to medium/high and mix for several minutes.
- Add in the eggs, one at a time, mixing after each egg, but only just until it’s incorporated. Don’t mix too long here.
- Alternately mix in the dry and liquid ingredients starting and ending with the dry mixture. (Add ⅓ of the dry mixture, mix on medium just until combined. Add in ½ the liquid and mix on medium just until combined. Add in another ⅓ of the dry mixture and mix on medium just until combined. Add the last ½ of the liquid mixture and mix on medium just until combined, then the last ⅓ of the dry mixture and mix only until combined well.)
- Add the shredded coconut and mix with a spoon or rubber spatula.
- Spoon into the mini bundt pan filling up each cavity to about ⅔ full. You will have batter left over. Cover the bowl and set in the fridge until the first batch is baked.
- Bake in a preheated oven at 325 degrees F for approximately 20 minutes. A toothpick inserted into a mini cake should come out with a few moist crumbs or clean.
- Remove from the oven and set on a cooling rack for about 7 minutes, then turn the cakes out of the pan and onto the rack to cool completely.
- Take the leftover batter and bake round two of the bundt pans the same way you did before. If there is any remaining batter, just repeat the process. It's best to use the left over batter as soon as possible.
- Your mini cakes might have a few air bubbles that burst on the top. That's essentially because the batter is on the thick side. It's okay. The glaze will cover it up.
- Cool the cakes completely before you add the glaze and buttercream daisies.
For the glaze:
- In a mixing bowl, add the room temperature butter and cream cheese. Mix well with an electric mixer until creamy. Add in the confectioners sugar, vanilla extract and milk. Mix well. Check the consistency. You want it a bit on the thicker side, so that it drips over the cake, but not too much. If it’s too runny, add a bit more confectioner’s sugar. If it’s too thick, add another teaspoon of milk. Mix well and check the consistency again.
- Drizzle the cooled mini bundt cakes with the glaze and store covered in a cake saver, or cake box in the fridge. Make sure they are covered very well. Since they are small, they will tend to dry out quicker than larger cakes.
- To make the daisies:
- This is optional, but a pretty addition to the mini bundt cakes.
- You'll need about ¼ – ½ a batch of buttercream to pipe the daisies. You can find my recipe for that in the notes.
- (Whichever buttercream you choose to use, make sure it is an all butter buttercream with no shortening. You need your daisies to firm up in the freezer. A shortening based buttercream won't firm up as well.)
- Pipe a center dot on a square piece of parchment or wax paper that's attached to the top of a flower nail. Use an icing tip #81 and pipe daisy petals onto the parchment or wax paper. Pipe three rows of petals making sure your #81 tip is curved upward and make the top row a bit shorter than the bottom two rows. Use an icing tip #12 to pipe the center of the daisy.
- Pull the parchment or wax paper square off the flower nail and set on a cake board or cookie sheet. Repeat this process and make at least one daisy for each mini bundt cake. Add yellow sprinkles or sanding sugar to the center of each daisy. Place the daisies in the freezer or fridge to chill and become firm.
- Remove the buttercream daisy from the parchment or wax paper and place one in the middle of each cooled mini bundt cake. Make sure to read the post and watch the video for more instructions on piping the buttercream daisies.
Video
Notes
Nutrition
How to Share
I’d love for you to share this recipe link or tag it, but please do not share screenshots or copy/paste the recipe to social media as the content and photographs are copyright protected and we (bloggers) work really hard on our content. Sharing the link, tagging us on socials and pinning it is super appreciated though!
Don’t forget to check out the video, which will show all the steps for the tutorial and for mixing the cake.
Don’t forget to pin it below!