This Easy Buttercream Flower Cake comes together so quickly. Such a pretty way to welcome spring and much easier than piping roses.
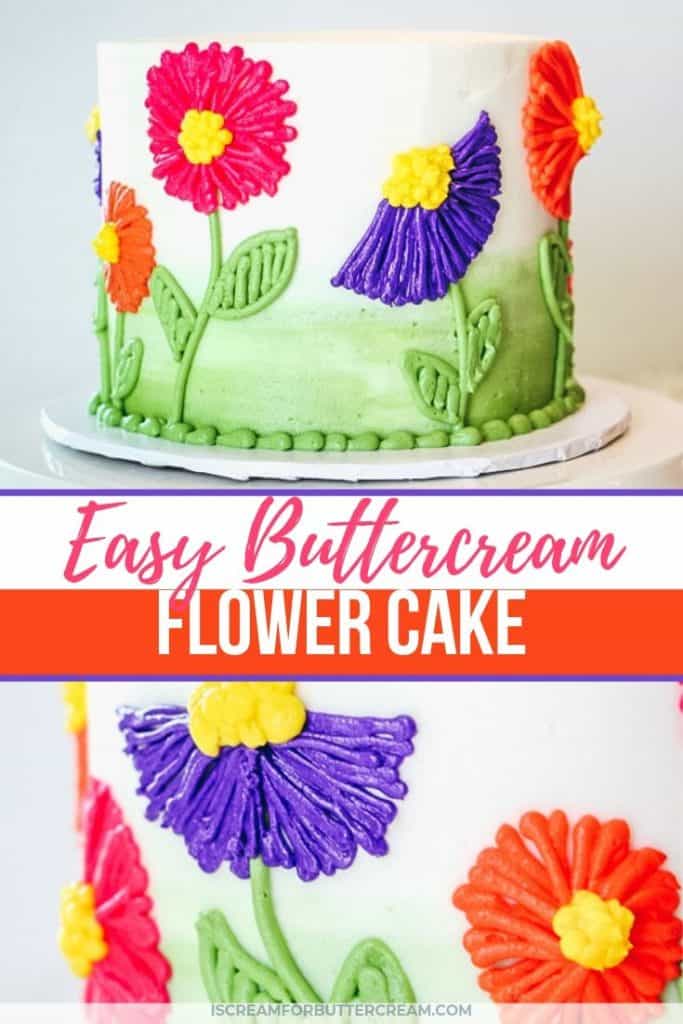
Spring is here and all my rose bushes are blooming and loving it. Do you know what isn’t loving it though? My allergies. I should just buy stock in Zyrtec.
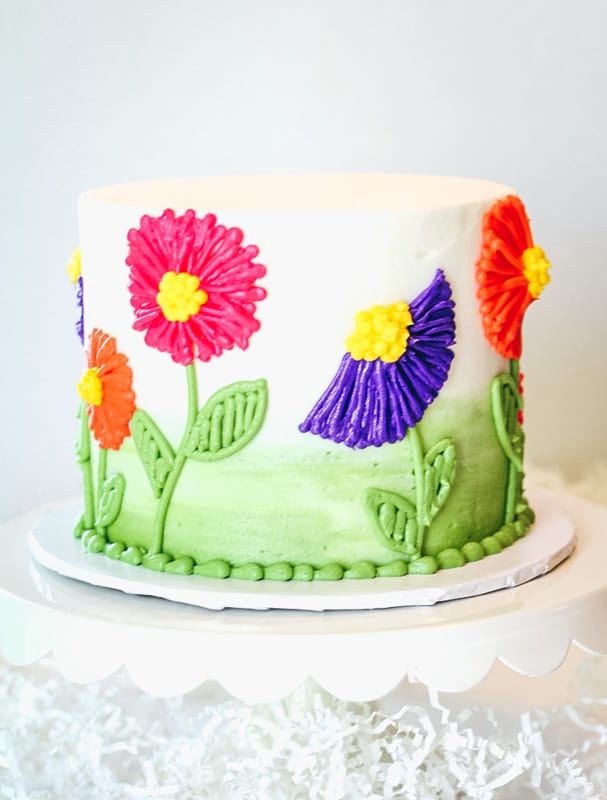
Regardless of my allergy situation, I still really love the spring and seeing all the flowers in bloom. This Easy Buttercream Flower Cake is so quick to put together and what a pretty way to welcome spring.
Sometimes you just want to make a pretty cake, but you just don’t feel like piping a ton of buttercream flowers or doing anything super fancy.
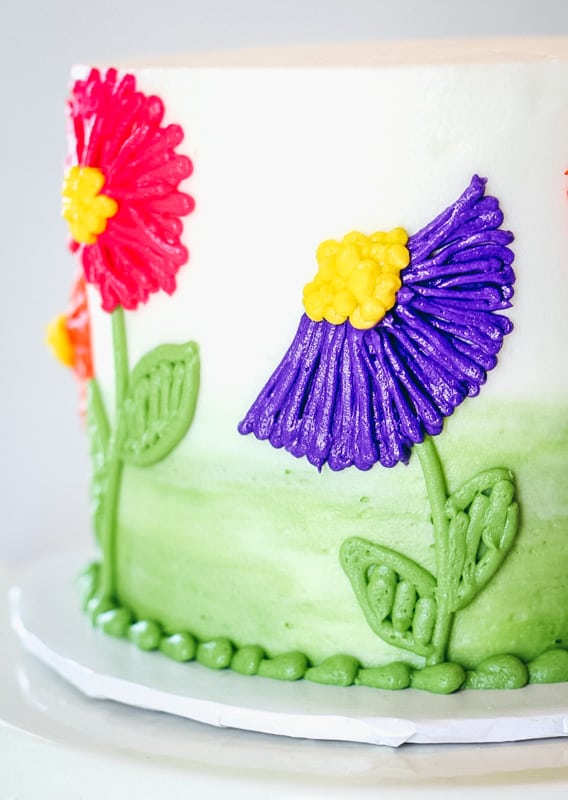
This cake comes together really fast. It’ll take you a bit of time to color the icing, but once you start piping, it goes really quickly. (Don’t forget to check out the video later to see how it’s piped)
As an Amazon Associate, I earn from qualifying purchases.
Supplies you’ll need for the Buttercream Spring Cake:
- A baked cake – I used a 6″ round cake that was three layers high. You want it to be a little taller. Here are some cake recipes you might want to try: Vanilla Bean Cake, Moist White Cake, Chocolate Butter Cake
- Buttercream (You can find my super delicious vanilla bean buttercream recipe here.
- Gel food coloring (You want the gel food coloring. If you try to get your buttercream these bright colors using the liquid food coloring, it will cause it to be too liquidy to pipe.) You want your buttercream white, green, hot pink, deep purple, orange and yellow.
- Piping Bags
- Offset Spatula
- Buttercream Smoother
- Wilton #4 Round Tips or Wilton #5 Round Tips (You’ll need one for each color)
- Cake decorating turn table
Decorating the Easy Buttercream Flower Cake:
The first thing you want to do is to cover the entire cake in white buttercream. Remember to get a bright white buttercream, you may want to go with half shortening and half butter instead of all butter. You might also want to use clear vanilla extract instead of regular extract.
After you’ve iced your cake, you’ll want to add some green to the bottom and then smooth it with your buttercream smoother. That will give it the watercolor effect on the bottom.
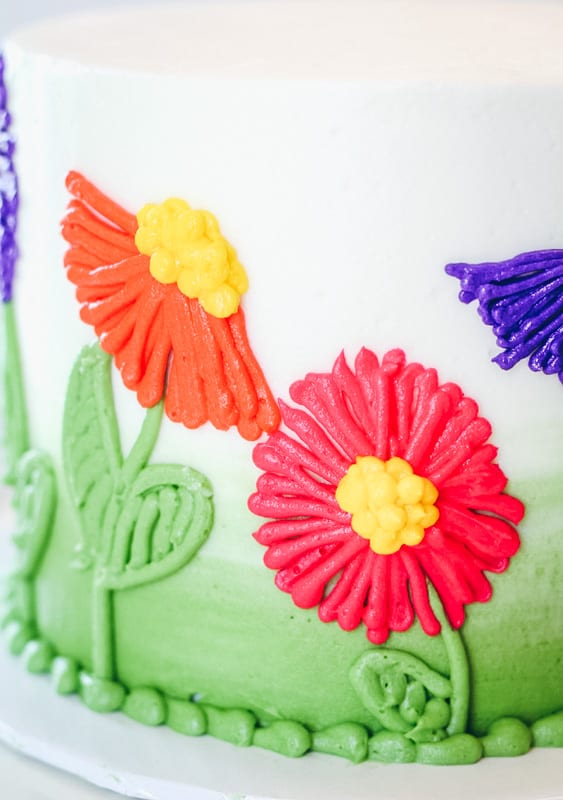
Next you’ll just fill your icing bags with the buttercream you tinted. Now, I just free-handed my flowers, but if you want to give yourself some guidelines, just take a toothpick and lightly draw your design and then pipe over the lines.
I decided to freehand mine, because I wanted a sort of ‘cartoonish’ look to it, but do what feels comfortable to you.
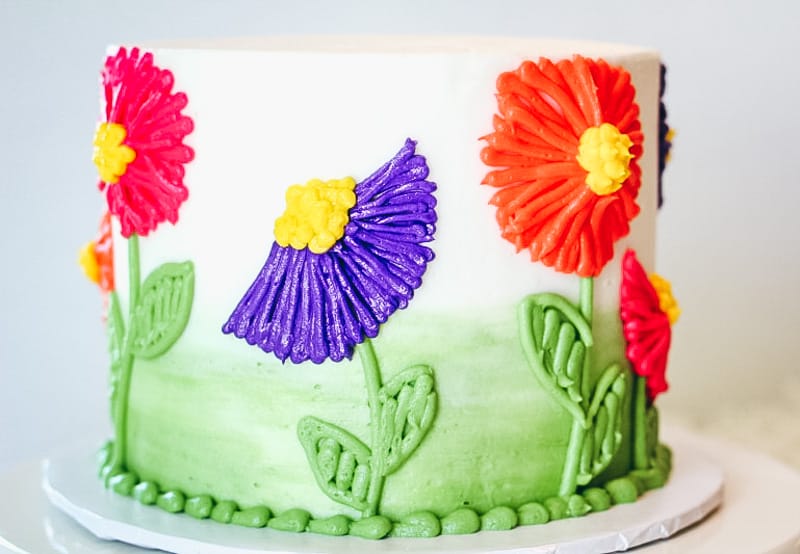
Start by piping the stems first and then the leaves. Next pipe the blossoms and finish them off with yellow dots for the center. The reason this cake is so simple is that you’re just piping straight lines. It gives it a sort of embroidered look.
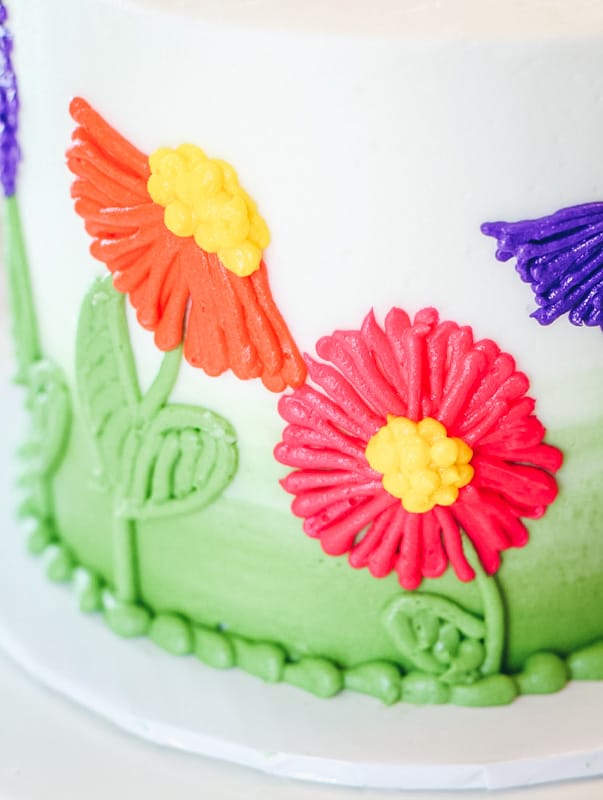
You want the flowers to be leaning in different directions. You also want some of them to be in full bloom and some to look like you’re seeing them from the side.
Here’s a video with all the steps:
And that’s it! Super simple, but oh so cute. I think this would be lovely for a simple spring birthday cake, or even a Mother’s Day cake. Pop in a Happy Birthday topper and anyone would love to get this little cutie.
And the great thing about this flower cake is that you can get your flower fix without the allergies!
Don’t Forget to Pin it for Later!
FREE: 7 Quick & Easy Tips to Make Your Cakes Look Professional

Ready to start making cakes that look amazing?
Grab this FREE guide with quick and easy tips to make your cakes actually look like a professional made them, so you can start showing them off!
See our privacy policy here.

Leave a Reply