
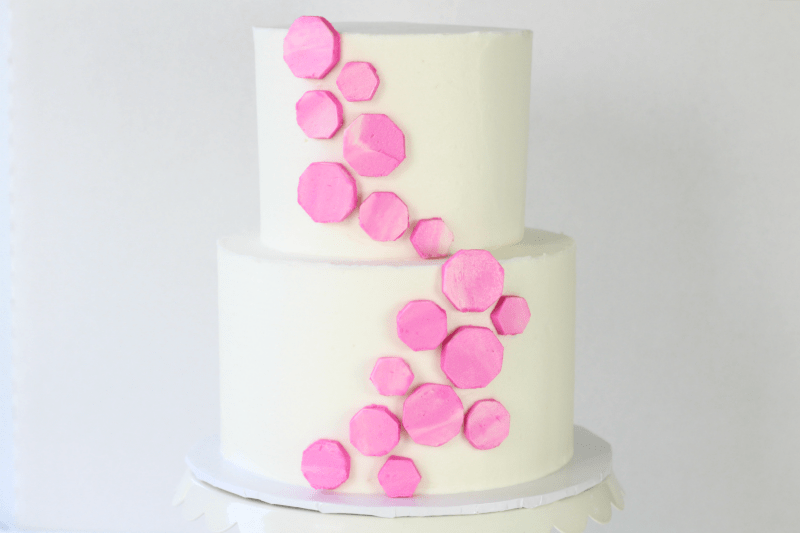
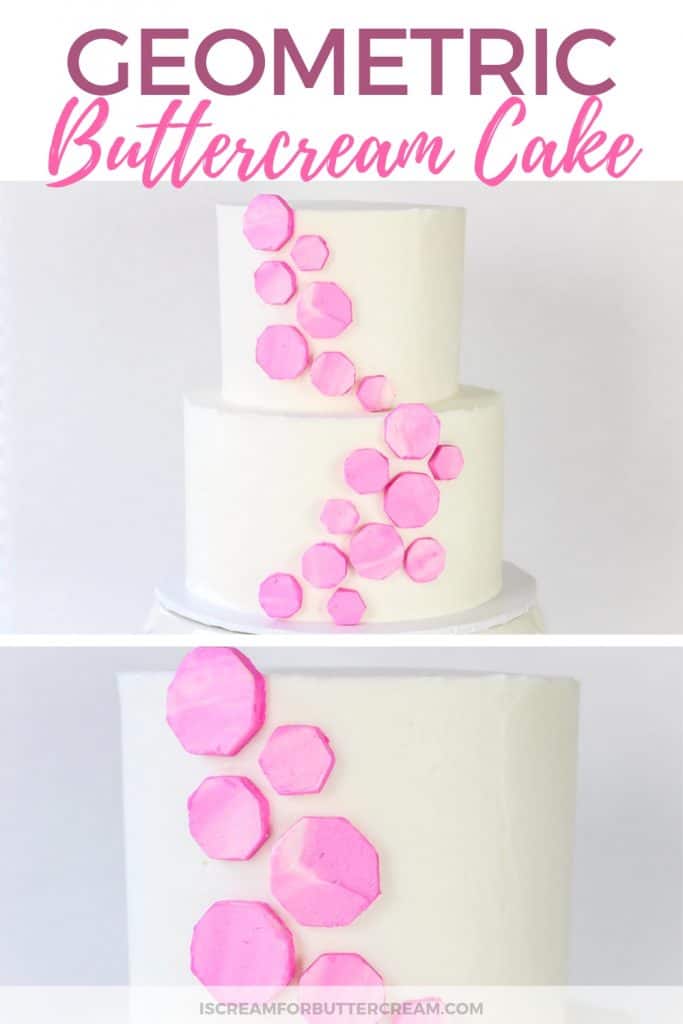
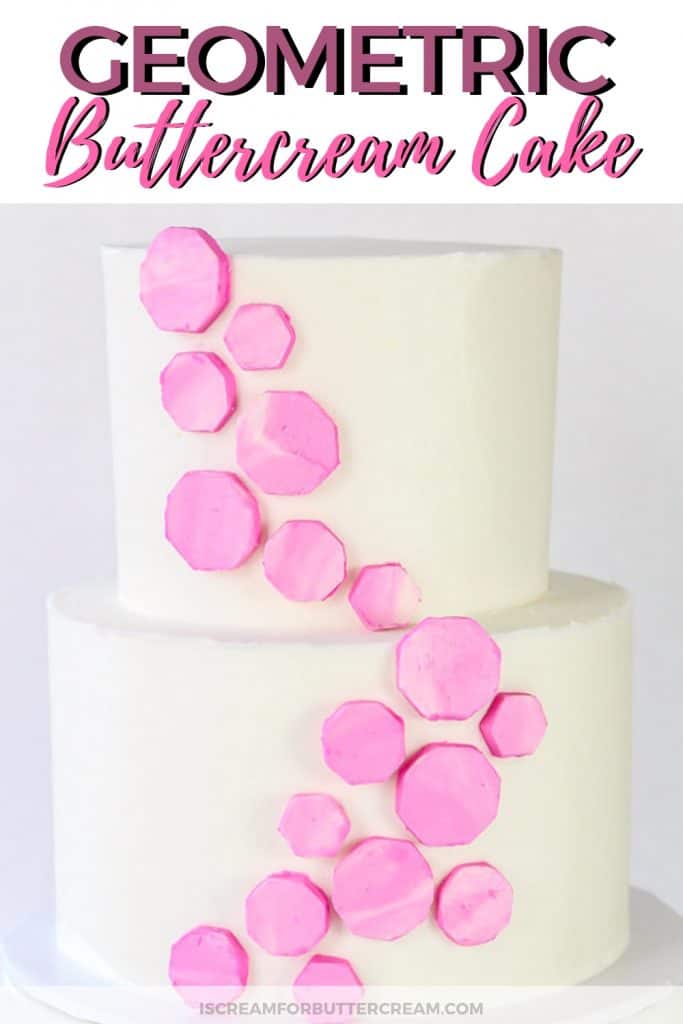
So, here’s my confession. I CANNOT resist a geometric cake. Well, I guess that’s not really a surprise if you’ve seen my Black and White Geometric Cake Tutorial. For this one though, I wanted to come up with an ALL buttercream geometric cake.
This post contains affiliate links, which means I will receive a referral commission, at no additional cost to you, if you make a purchase using these links. As an Amazon Associate, I earn from qualifying purchases.
These links also use cookies, which tracks and allows me to get credit for the referral. You can see my policies linked in the website footer.
I even gave the shapes a marbled look. It’s a really simple way to decorate a cake. The good news? You don’t have to worry about messing with fondant!
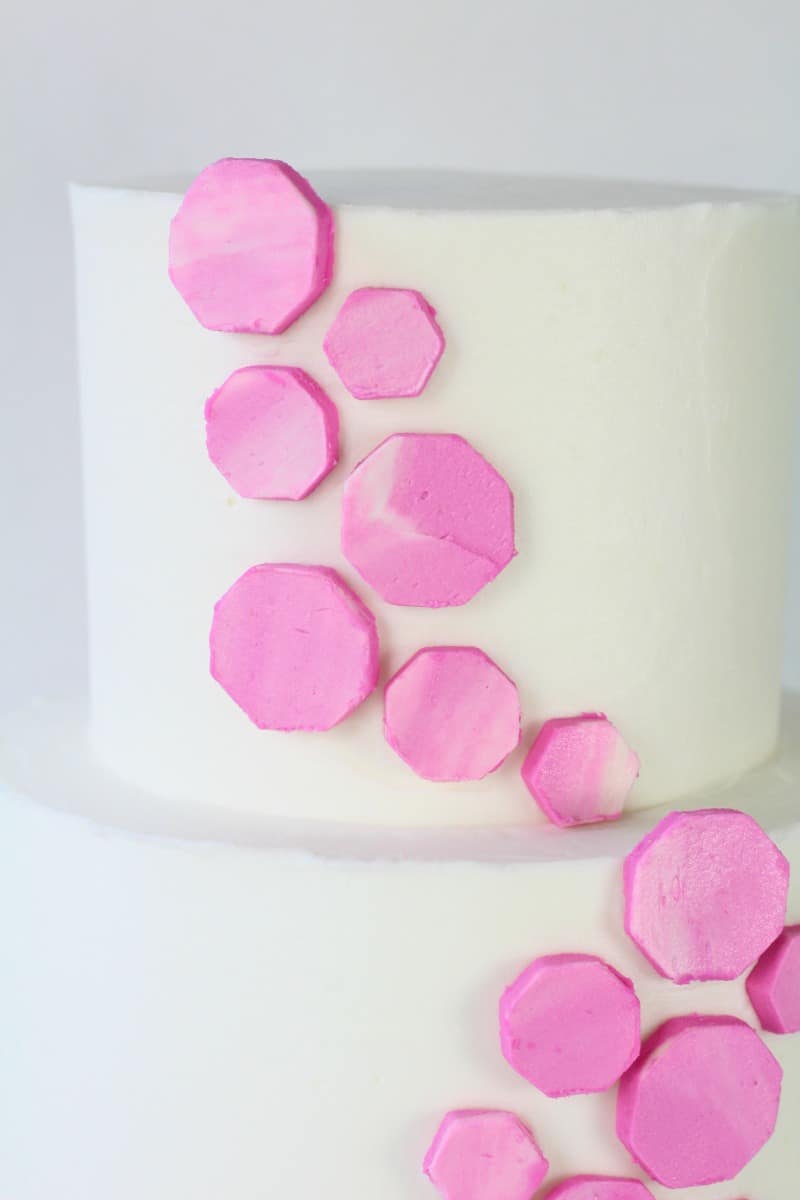
You can make your shapes in any color you like. You can keep them a solid color, or marble them like I did. You can even go with other shapes like stars or hearts. Be creative to your heart’s content.
You could even change up the design and just go with a one tier cake if you wanted. I think a square cake would look great with some geometric buttercream shapes.
So let’s get on with the tutorial. Don’t forget to check out the video below so you can see the whole process in action.

Supplies You’ll Need for the Geometric Buttercream Cake:
- A two tiered cake (or you can just go with a one tier…it’ll still look super cute.) Go here to get my vanilla cake recipe: Favorite Vanilla Bean Cake Recipe You can get my chocolate cake recipe here: Chocolate Butter Cake Recipe
- Buttercream (I used this one: Vanilla Bean Buttercream) Make sure you use all butter in your buttercream. Don’t use shortening because the buttercream needs to harden in the fridge for this method. Buttercream made with shortening won’t do that well enough.
- Geometric Cutter Set
- Large Icing Spatula
- Buttercream Smoother
- Gel Food Coloring
Making the Geometric Buttercream Shapes:
The first thing you want to do is make your buttercream and tint a portion of it for your geometric shapes. I just tinted mine pink. Also set aside some white buttercream if you are going for a marbled look.

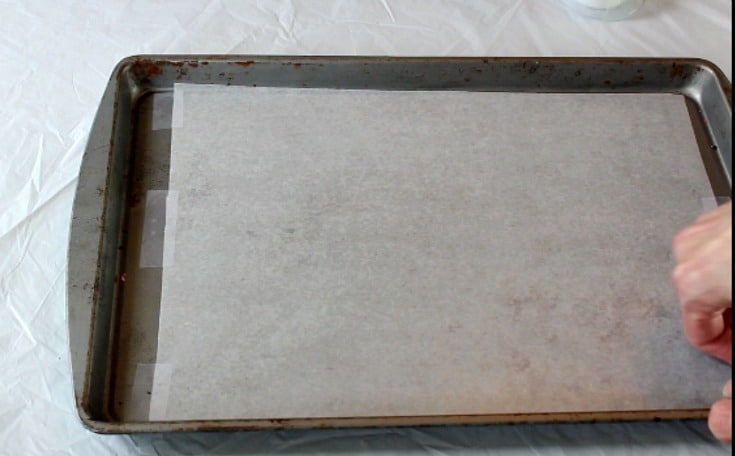
Spread some wax paper over a baking sheet and tape it down, so it doesn’t move.
Spread on your pink buttercream.
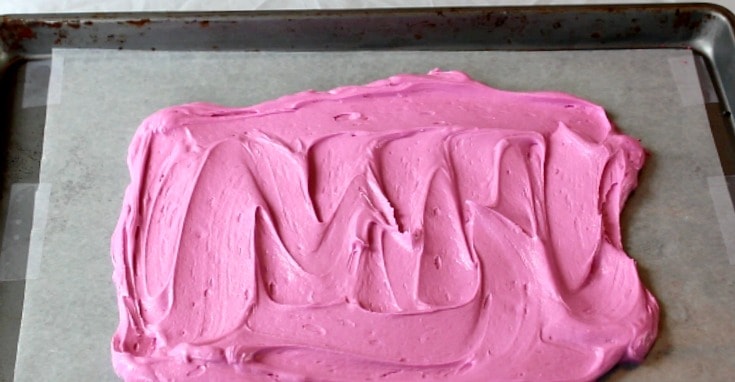
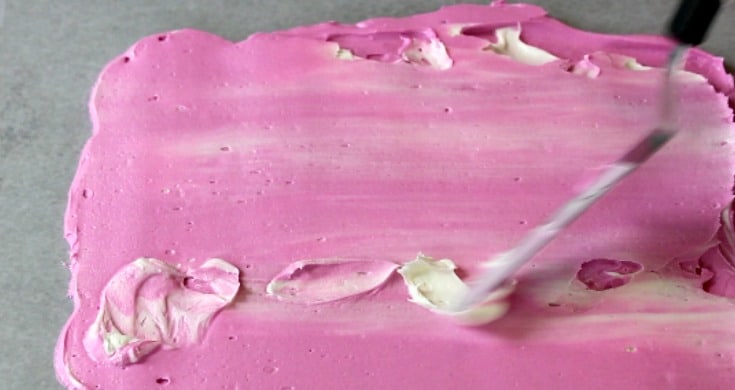
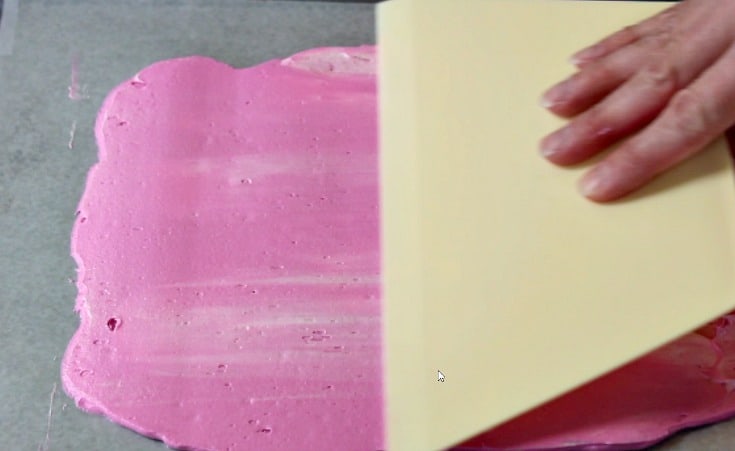
Add in some areas of another color, if you’re going for a marbled look. Use your buttercream smoother to smooth it out as best you can. You don’t want it too thin or you’ll have trouble handling the shapes later on. Try not to get them too thick either.
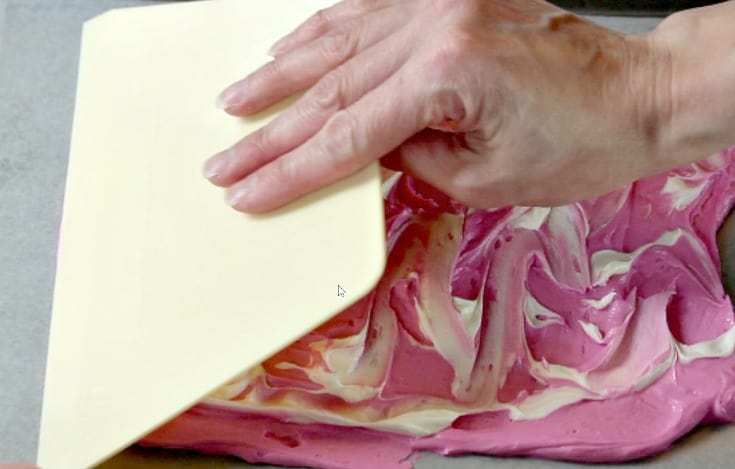
If you’ve got a couple areas that aren’t smooth, just add a little buttercream to those areas and then smooth again.
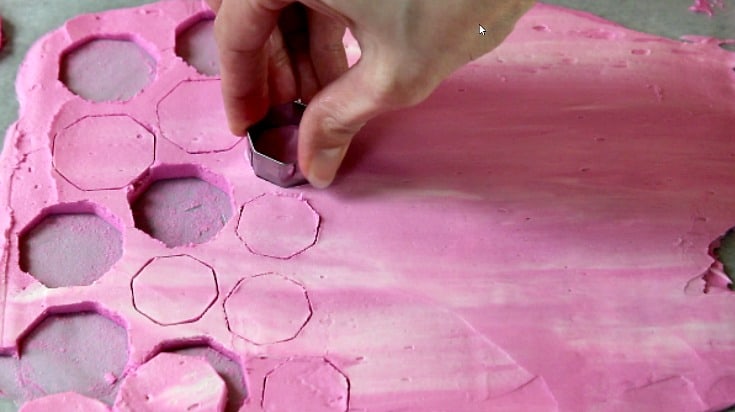
Pop in the fridge to firm up for about 15 – 20 minutes or so. Once the buttercream is firm, take it out and just cut out some shapes. You’ll need to clean off your cutter every other shape. I used two different sizes of cutters.
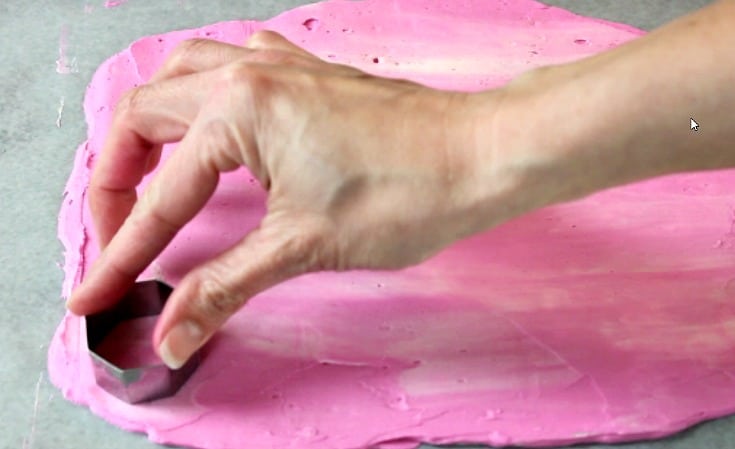
Some of them will pop out easily and some will stay on the tray, just leave them like that for now.
Now, take the pan and pop back in the fridge to firm up another 10 – 15 minutes. Once firm, just scrape away the parts around your shapes with a small palette knife and set your shapes back in the fridge until your cake is iced and ready to go. I actually just moved my shapes to a cake board.
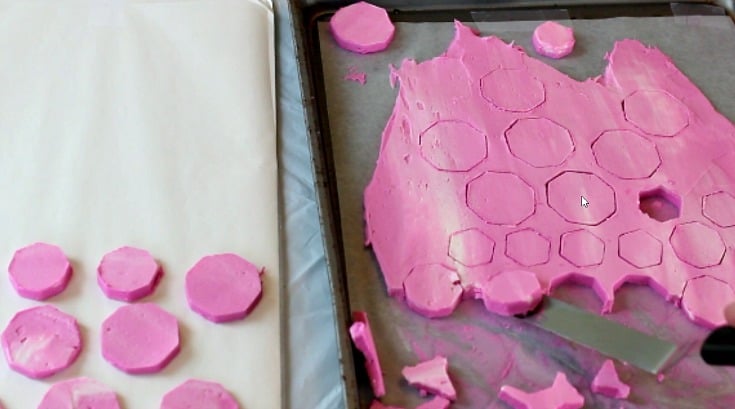
Make sure your shapes are firmed up well before you take them out of the fridge to attach to the cake.
Putting the Geometric Buttercream Cake Together:
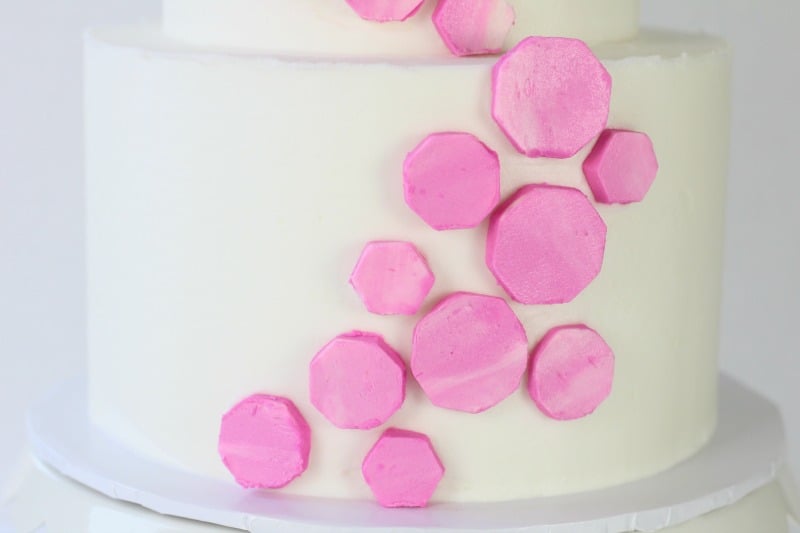
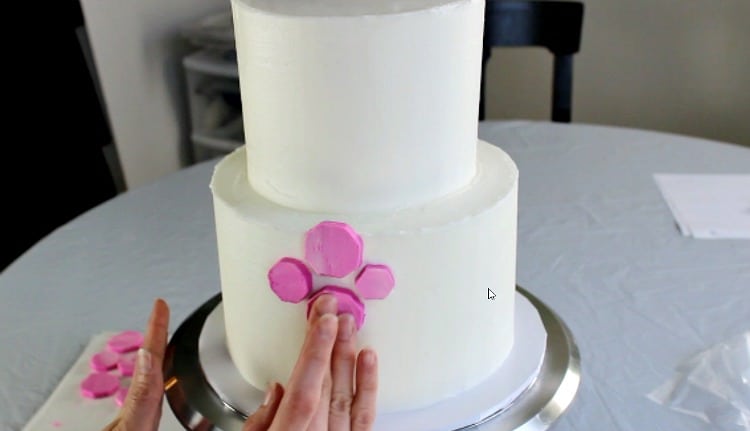
Once your cake is iced, grab your buttercream shapes and decide what kind of pattern you want on your cake. You can also chill your cake if you like. You’ll need to attach the buttercream shapes to your cake with a bit of buttercream on the back of the shapes and it’s really that simple.
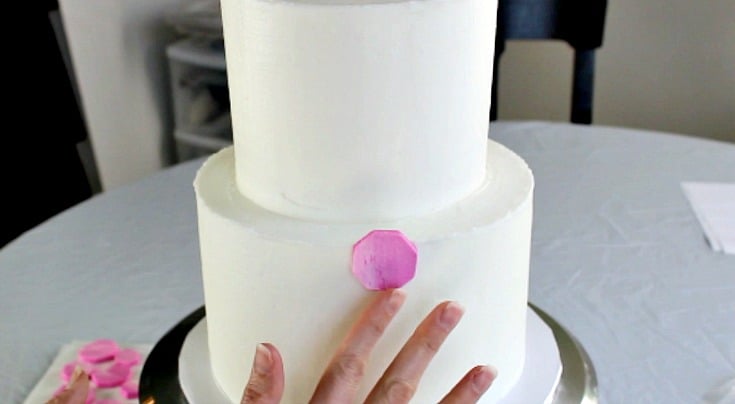
I started on the bottom tier on the top because I wanted the top shape to stick up a bit higher than the cake. Just continue adding based on the pattern you want on your cake. Remember to add just a bit of buttercream on the back of each shape, it’ll help it stick.
Try not to handle them too much or they’ll warm up. If it’s taking you awhile to attach them to the cake, you may need to pop them back into the fridge to firm up.
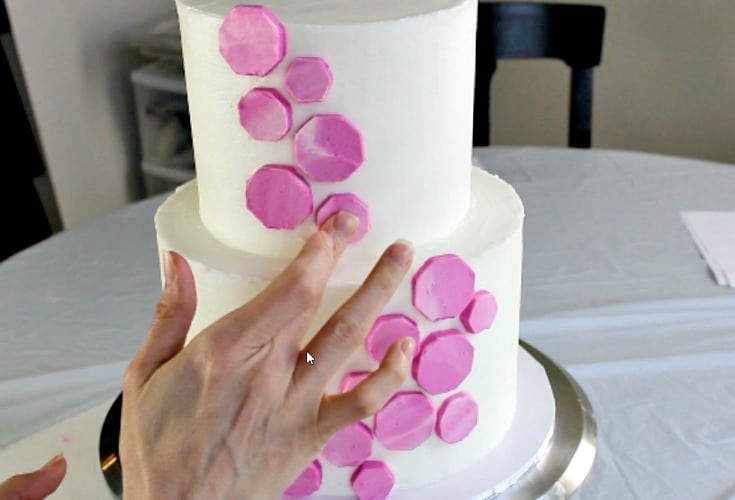
Once you get the bottom tier done, move on to the top tier. I started from the top on this tier as well.
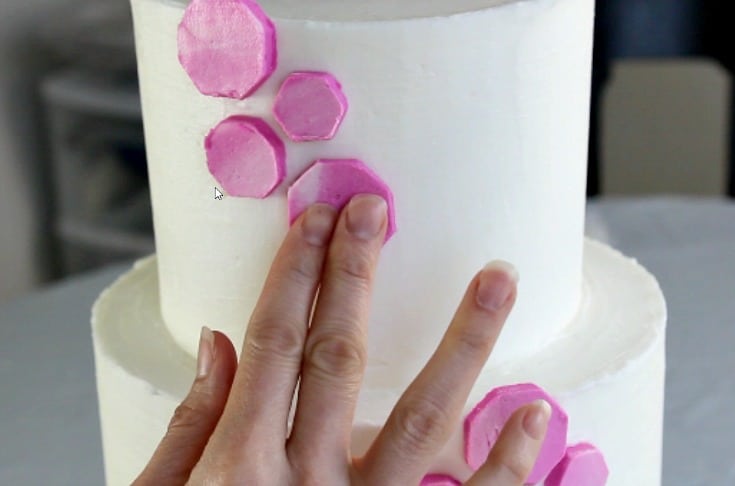
Just continue on until you like what you see.
And here’s the video that’ll show you all the steps:
What do you think? Doesn’t seem too hard, does it? I love the simplicity of this design plus the fact that it’s completely buttercream.
If you make one, I’d love to hear about it and see your spin on it!
DON’T FORGET TO PIN IT BELOW!
FREE: 7 Quick & Easy Tips to Make Your Cakes Look Professional

Ready to start making cakes that look amazing?
Grab this FREE guide with quick and easy tips to make your cakes actually look like a professional made them, so you can start showing them off!
See our privacy policy here.
Dee
What a great idea! Love it!
Kara Jane
Thank you! 😉
Holly
I want to try this on a cake that I am making for a baby shower. Do the shapes move or slide down the cake? I’m doing an ombré frosting job on the cake and want to try this cut out method using arrows & dream catchers. It would be so sad if the decorations slid down the cake during the shower!
Kara Jane
I didn’t have any problems with them sliding down the cake at all. It’s important though to use an all butter buttercream so that it will firm up a bit. If the cake gets too warm, you may have some problems with the buttercream getting soft and then it might slide down, but I even kept mine at room temp for a few hours and it stayed put. Just make sure to chill it before traveling with it and I wouldn’t put it in a warm place or direct sun.
Rk
First of all your cake looks very neat and classic.That’s just awesome.Can we add the buttercream cutouts on the sides of whipping cream frosted cake.Will they hold well?pls let me know.
Kara Jane
Thanks for the compliment on the cake! As far as your question goes, I don’t think that whipped frosting would be firm enough to hold up the cutouts.