
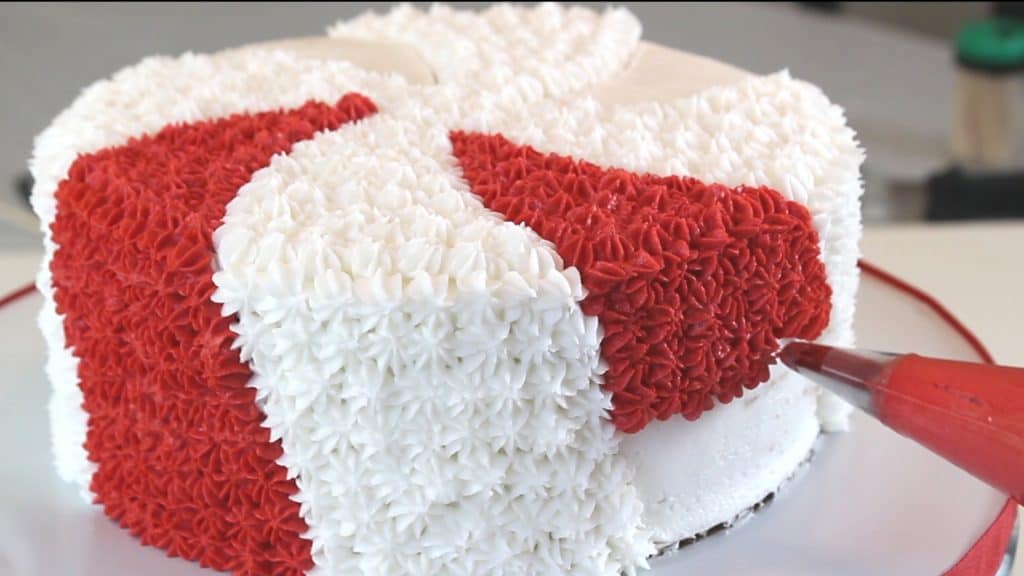
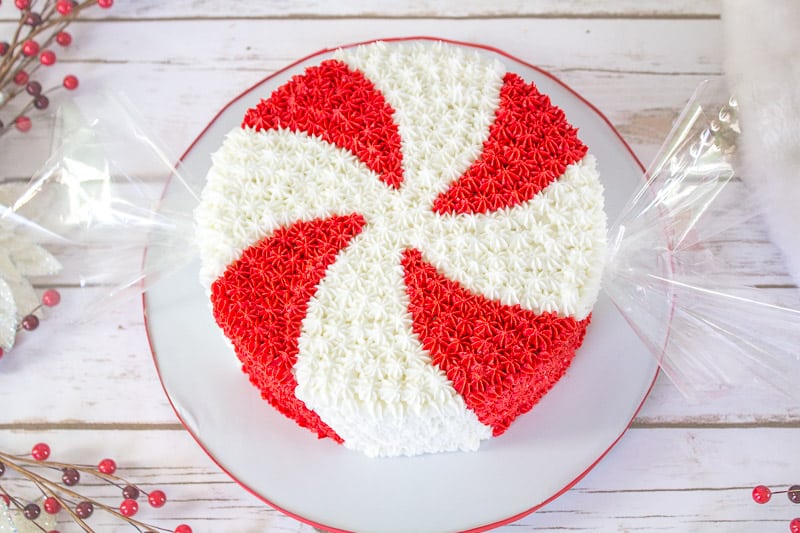
What’s more fun for the holidays than a giant peppermint candy cake? It’s such a fun and easy Christmas cake for the season and it makes a great centerpiece for your holiday table.
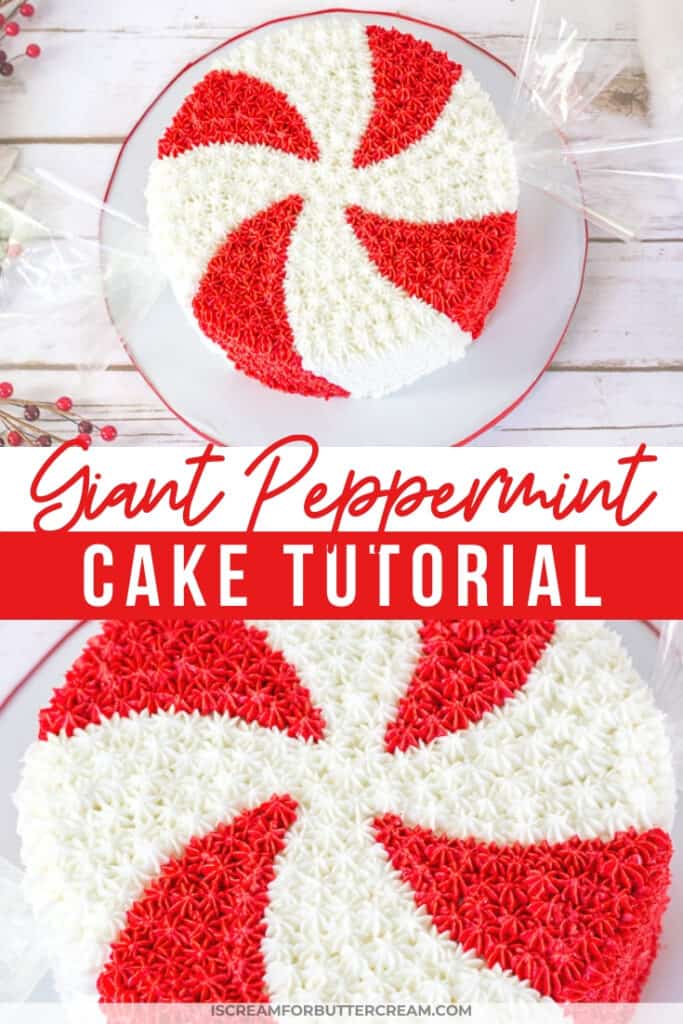
This year you can make your own fun for the holidays and make something a little different…Something unexpected. This giant peppermint candy cake will really bring out your inner child.
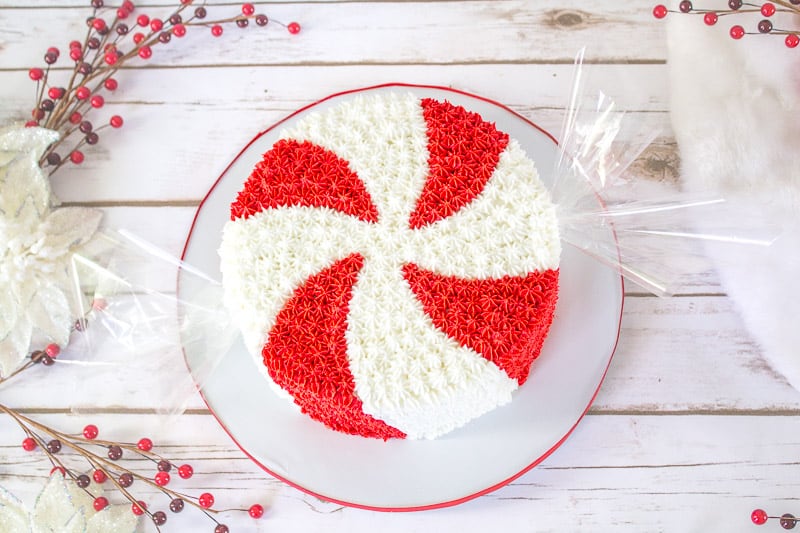
The little wrappers on each side look like it’s still all wrapped up! So cute, right?
Now, if you really want to go all out, you could even add peppermint extract to your cake batter and buttercream. I went with plain vanilla, since peppermint flavoring is one of those things that people either really like or really dislike, so I just played it safe. But this is YOUR cake, so I say if you want that peppermint taste, go ahead and add it in!
I’ve added in some screen shots to show you all the steps, but if you’re more of a video person, keep scrolling to find the video.
Oh and I’ve also added a template for the peppermint candy pattern that you can download and print out. Don’t forget to grab the link for that in the supplies list below!
Ok, let’s get to the tutorial.
As an Amazon Associate, I earn from qualifying purchases.
Supplies for the giant peppermint candy cake:
- Two 8″ layers of baked cake. (Find my favorite recipe here: vanilla bean cake
- Red & White Buttercream (Find my buttercream recipe here: vanilla bean buttercream) If you want bright white buttercream, check out this recipe: Bright White Buttercream
- No Taste Red Food Coloring
- Icing Bags
- Star Icing Tips (Wilton 21 tip)
- Cellophane wrap
- Tape (preferably clear packing tape)
- Wooden Skewers (You can generally find these very cheap at the dollar store.)
- 2 Straws (Any regular sized straws will do.)
- Peppermint Template (Once you click the link, it’ll download automatically. You can print it on regular paper, but it works better if you print it on cardstock.)
- Peppermint Extract (optional and you can usually just pick this up at your grocery store.) I would only add in about a ½ – 1 tsp. to the cake batter and about ¼ to the buttercream…that way it won’t be too overpowering.
Making the giant peppermint candy cake:
Bake your cakes and have them cooled, then prepare your buttercream. Remember, you can always add peppermint extract to your cake and buttercream to give it a peppermint taste, or you can just make them in any flavor you like.
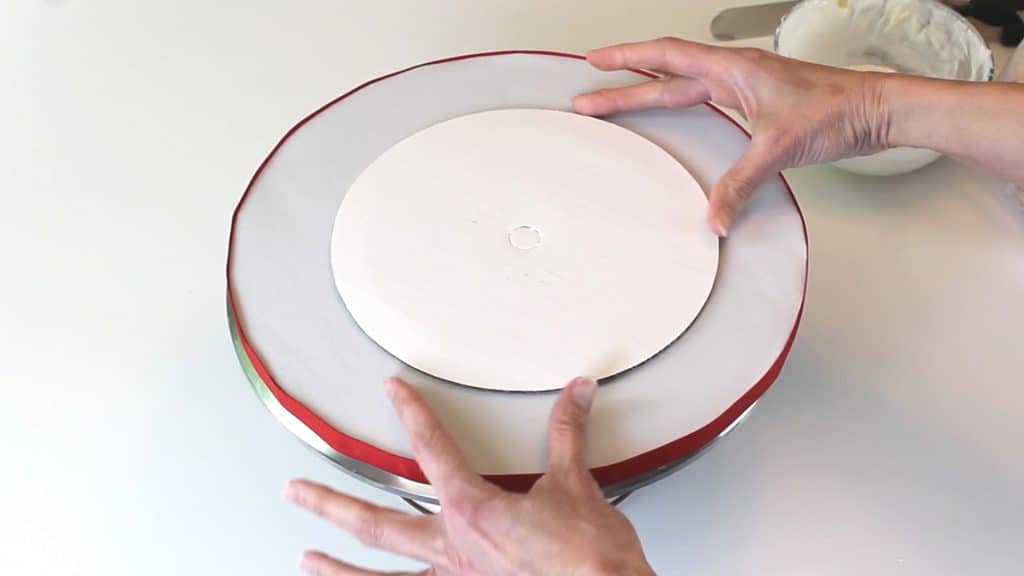
First, you’ll want to prepare your cake base. I just used a large round foam core board, covered it with fancy foil then attached some red ribbon around the edge. Once you’ve done that, cut out a small circle of the fanci foil in the middle of the cake board and add in some melted candy melts. (This will allow your cake board to stick to the cake base.)

Pop on your 8″ cardboard cake round and let it set up. You can just pop it in the fridge for a few minutes.
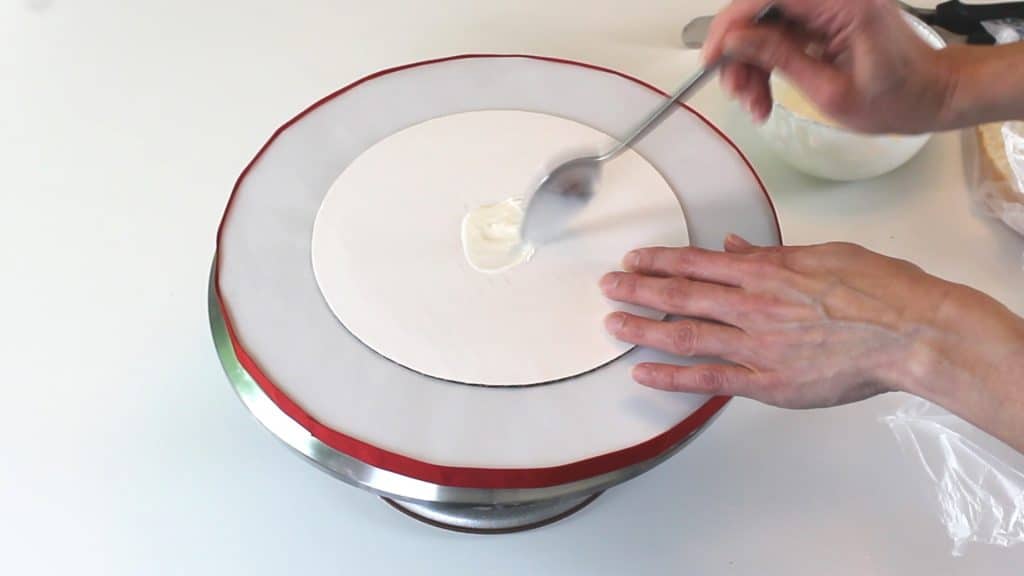
Now you’ll stack your cake layers. I add in a bit of melted candy melts just to allow that bottom layer to stick well to the cake board.
Pop on your first cake layer and add the filling.
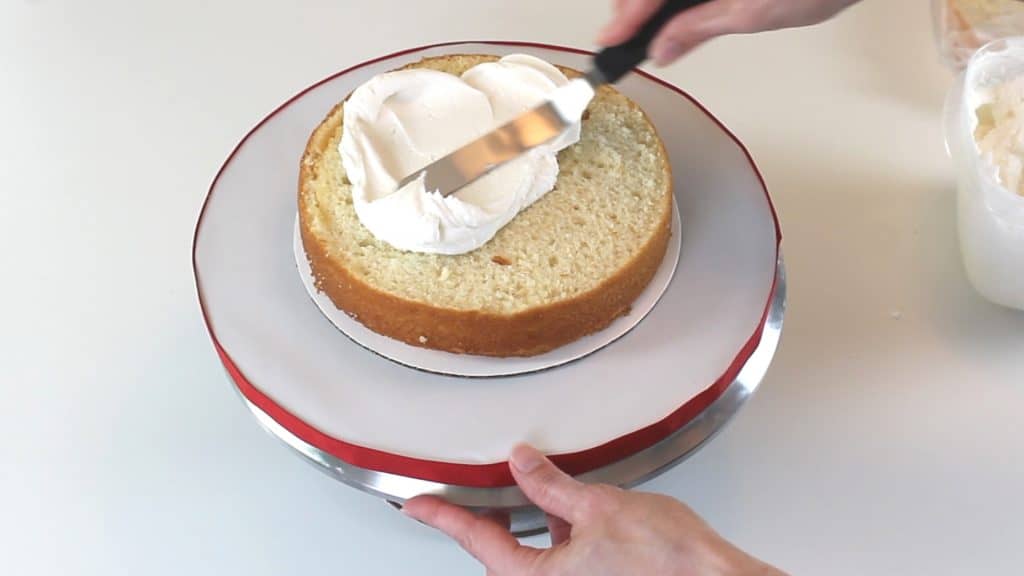
Pop on the next layer of cake and cover with buttercream.
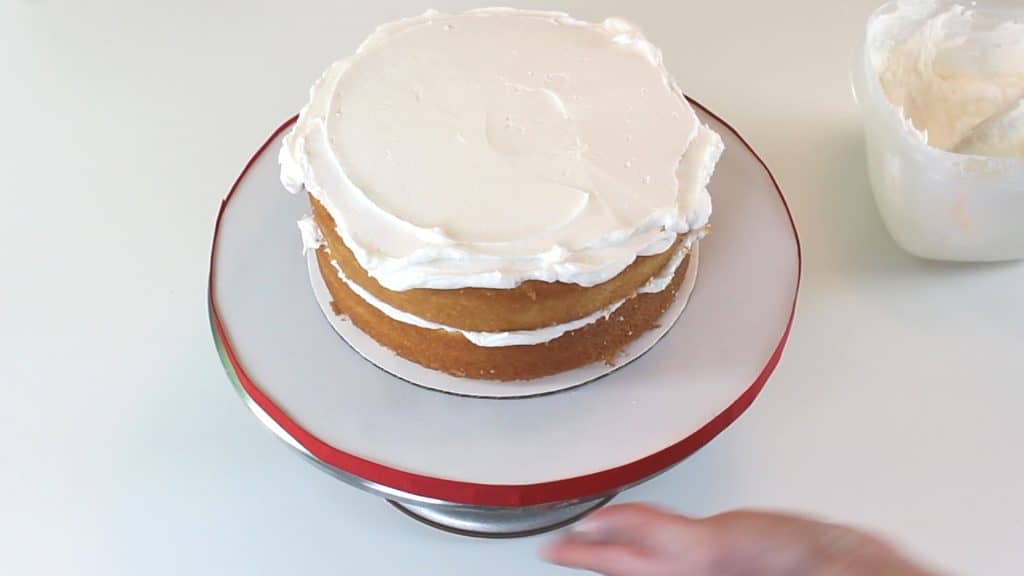
Crumb coat your cake. You don’t need to make the icing super thick and it doesn’t need to be perfect because you’ll be piping stars over everything.
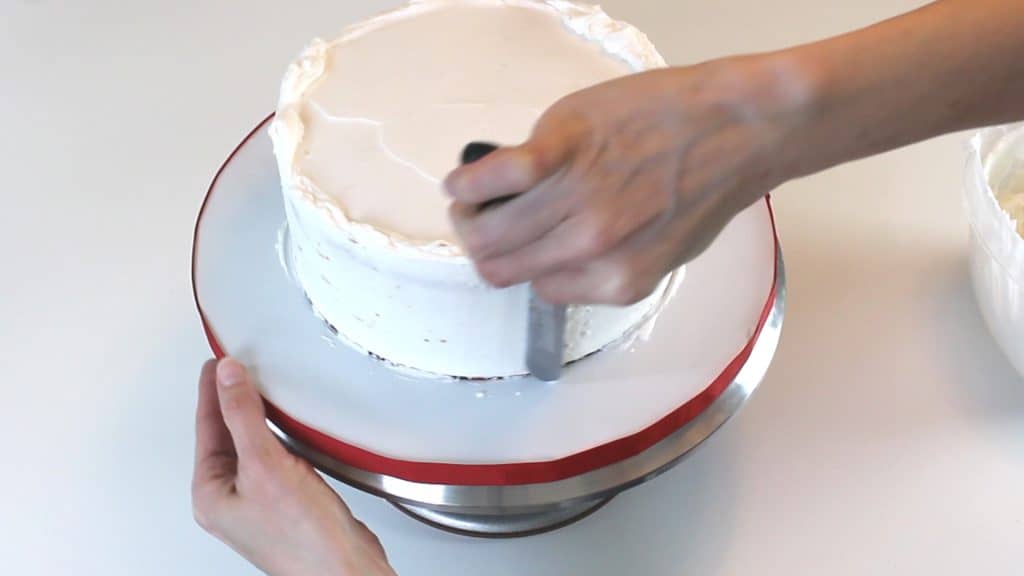
You do want to try and get it mostly smooth though.
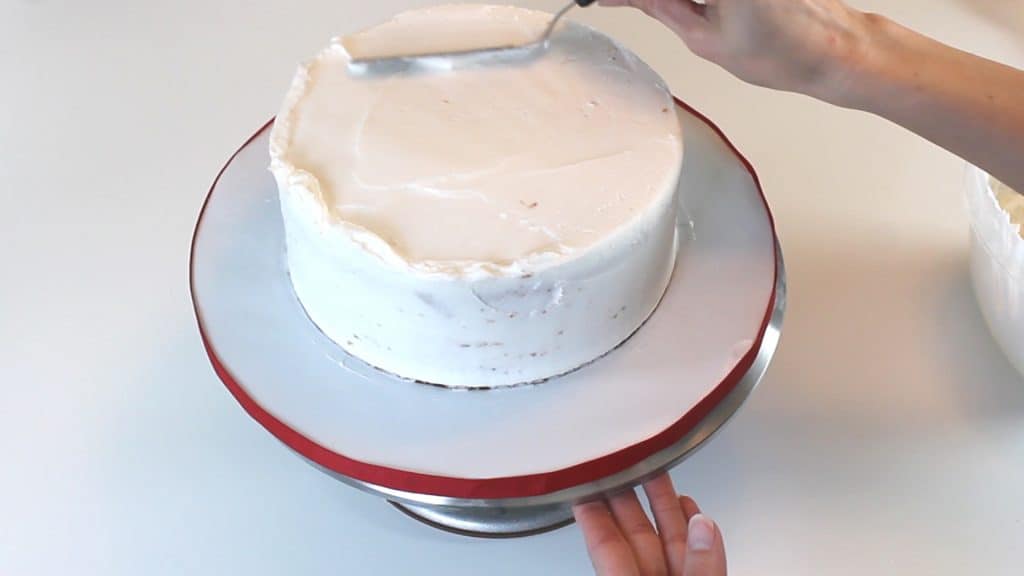
Once you’ve got your icing on, let it ‘crust’. That just means you’ll let it set for about ten minutes or so, so the icing isn’t tacky. That’ll help keep the template from sticking to it. You could also just pop it in the fridge for about 10 – 15 minutes if you wanted to.
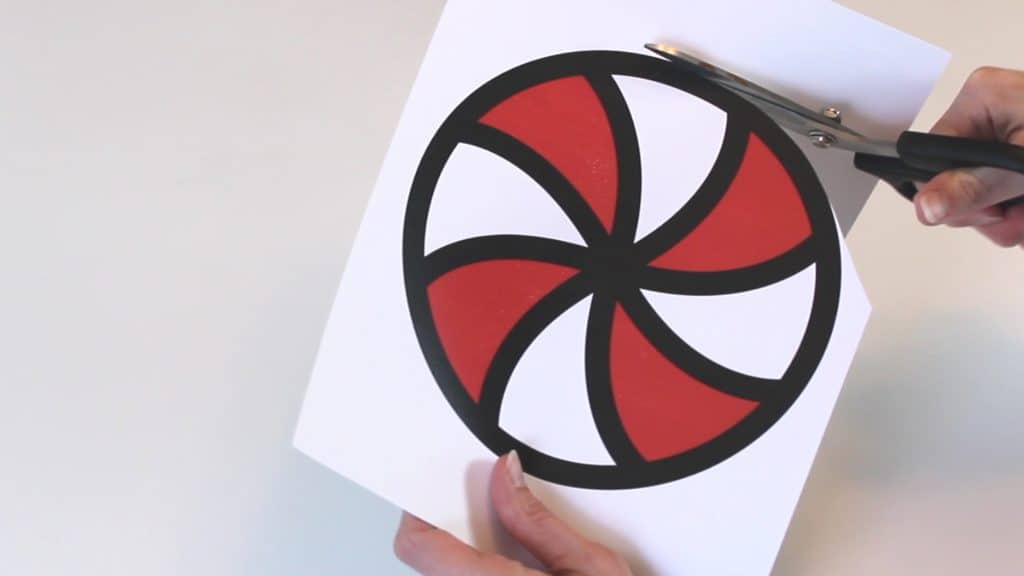
Now just print off your template (you can find it listed in the supplies above). You’ll want to print it on cardstock if you have that handy. Cut around the peppermint.
Then you’ll cut out only the red areas.
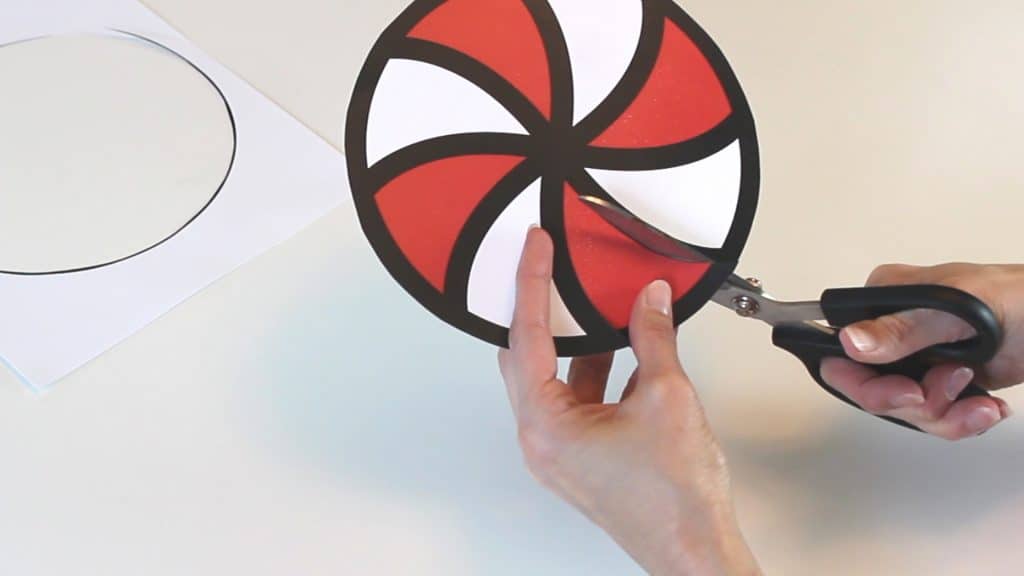
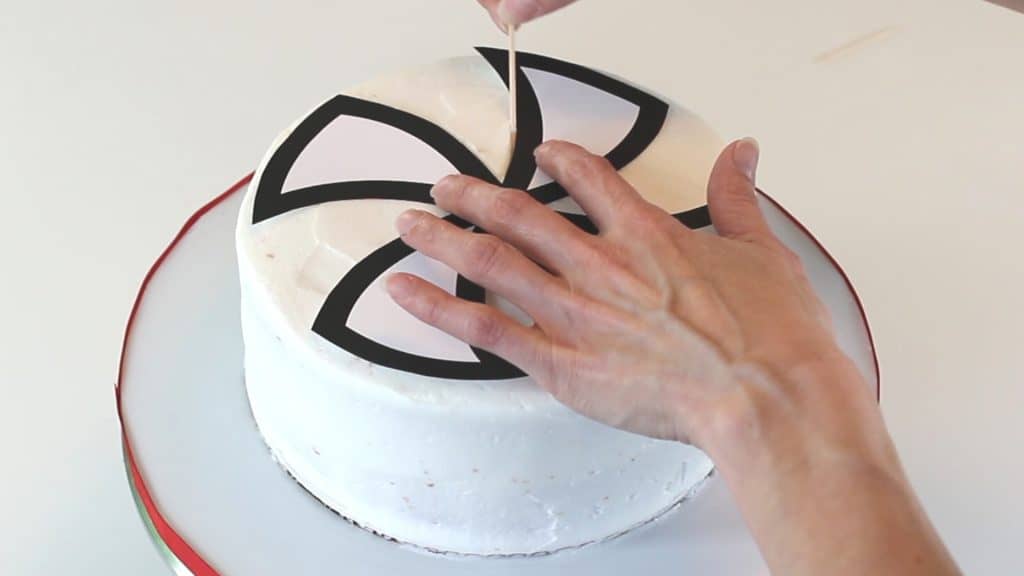
Once it’s cut out, just set it on top of your cake. Take a toothpick and trace around the template.
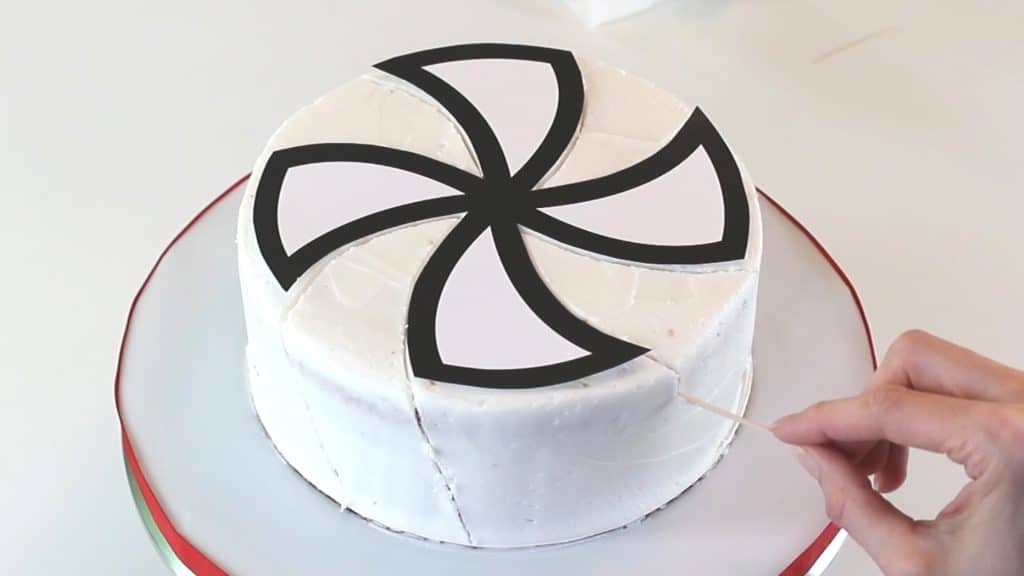
Continue scoring down the side of the cake.
Fill your piping bags with red and white buttercream and fit them with star tips.
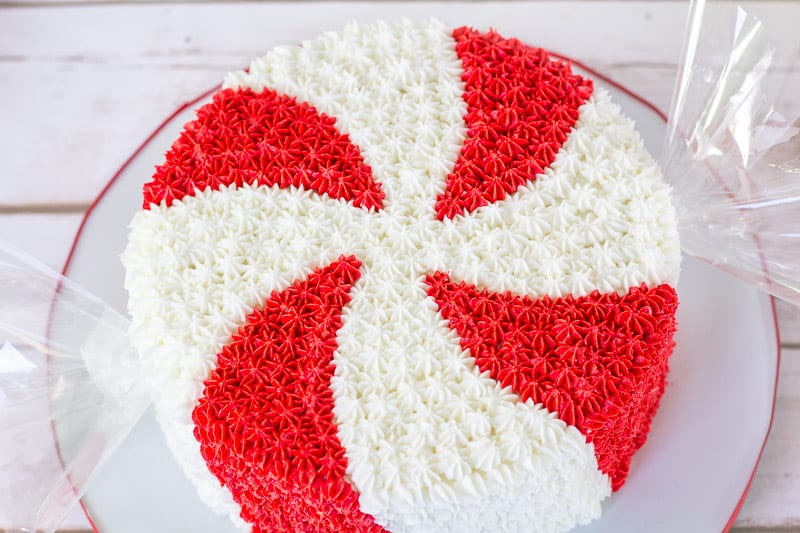
Start by piping white stars into the middle pinwheel shape.
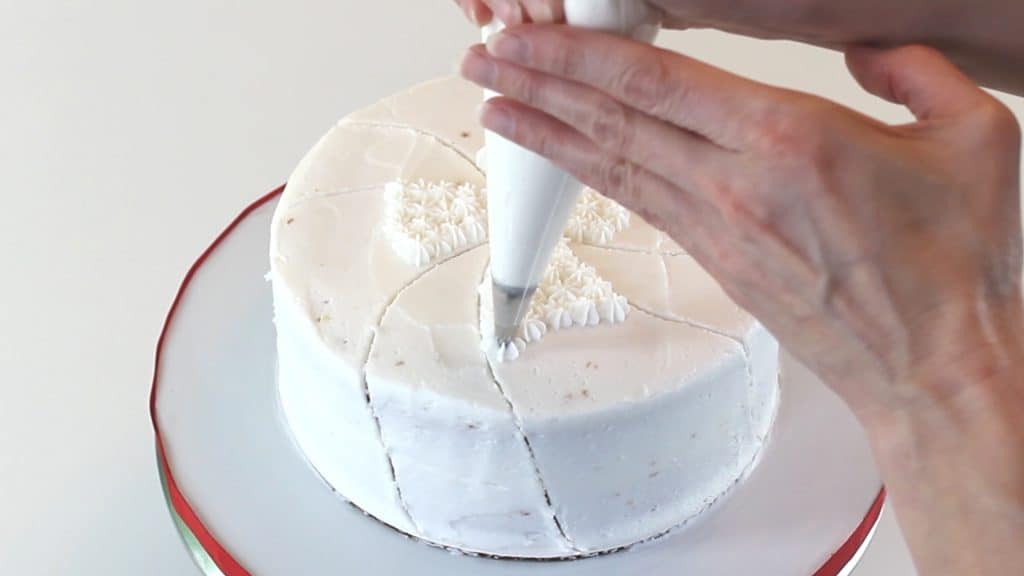
Continue piping the stars down the side of the cake.
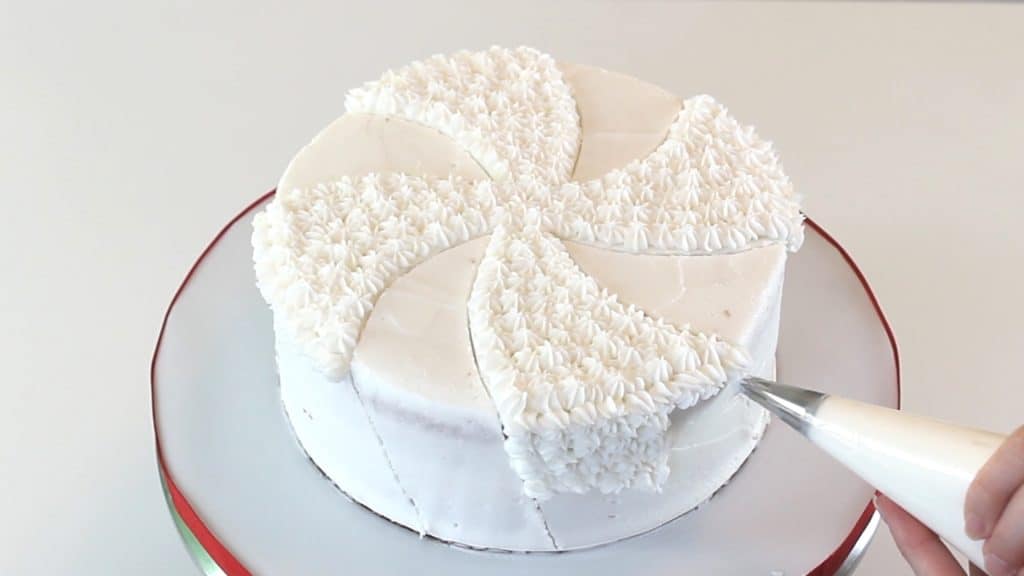
Next, pipe red stars into the remaining spaces.

Continue the piping down the sides of the cake.
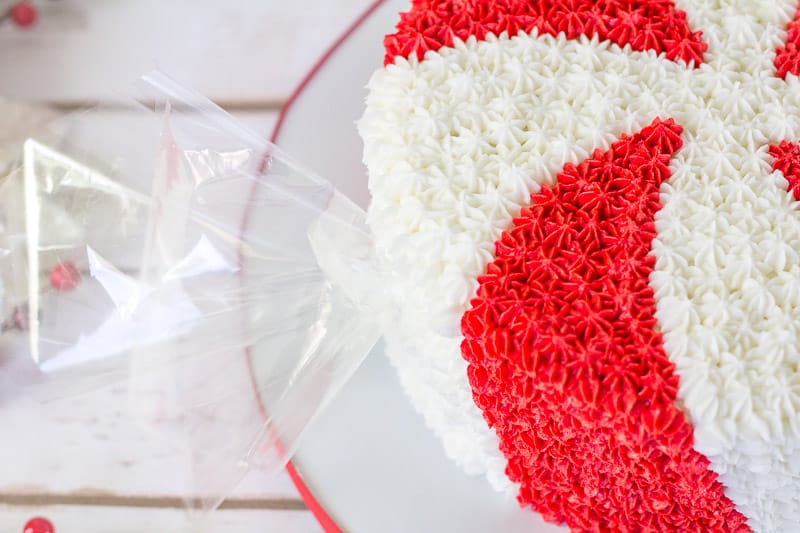
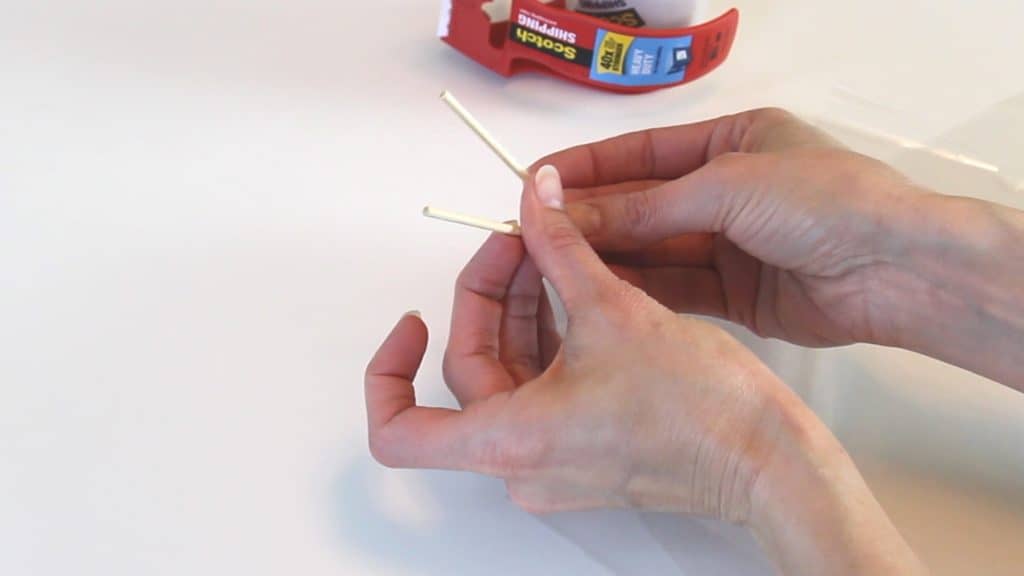
Now for the wrappers that stick out of the side of the cake! Take your wooden skewers and cut two pieces that are about three inches or so long.
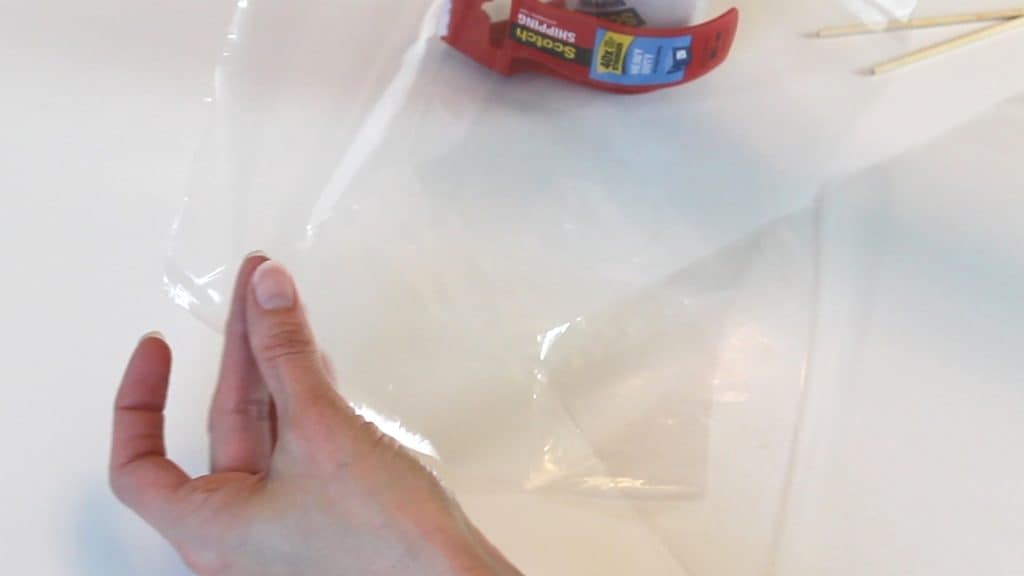
Now take your cellophane and cut out two pieces that are about 7 inches squared.
Fold it into a cone shape and wrap it around the top end of the skewer.
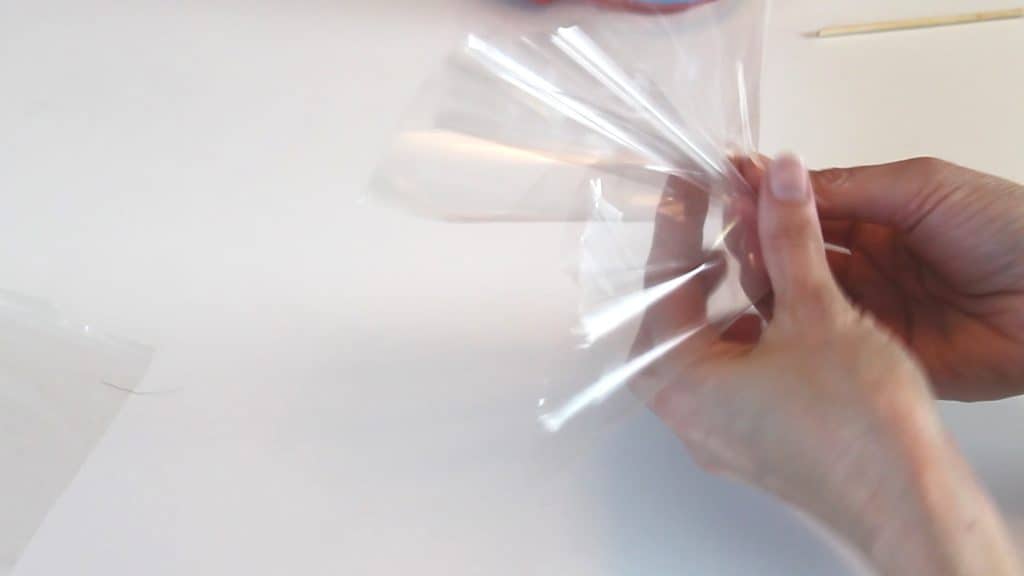
Take your clear packing tape and tape around it to secure the cellophane onto the skewer.
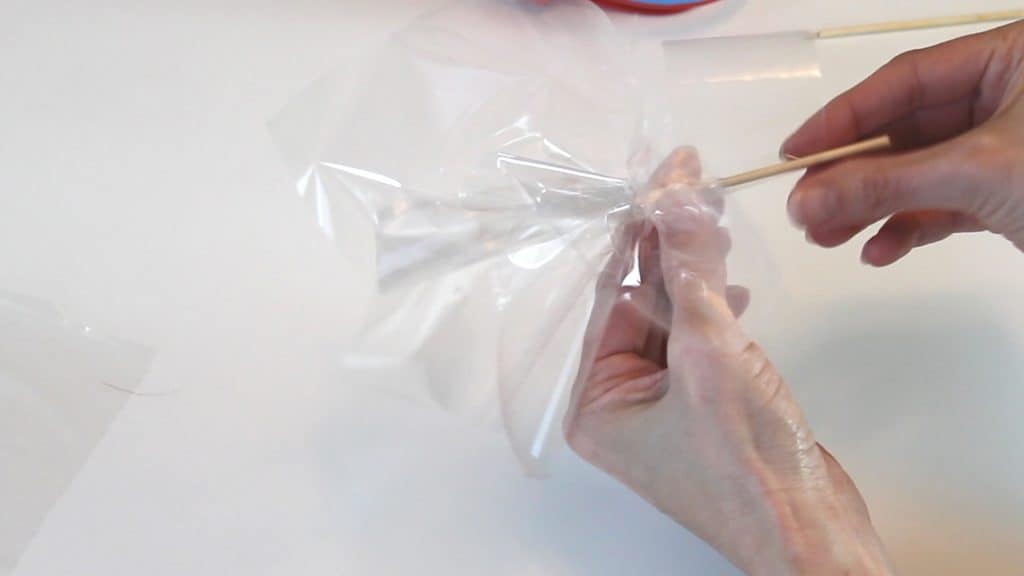
Do the same for the second skewer and cellophane square.
Now take your straw and insert the skewer into it.
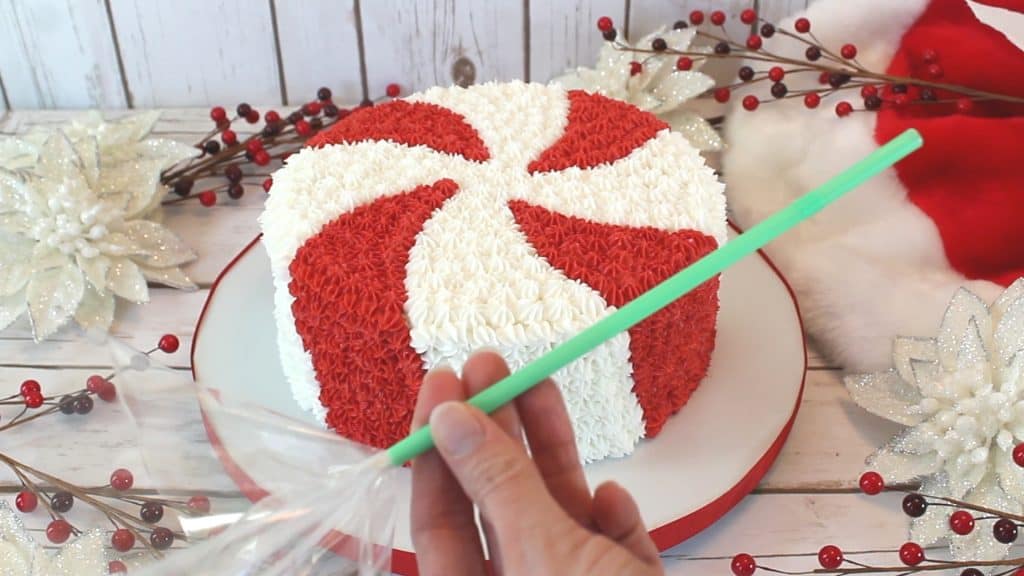
Cut off the excess straw. You’re covering the skewer with the straw because you don’t want the tape that’s on it, to be touching the cake. You want a food safe barrier between the tape and the cake and the straw does that for you.
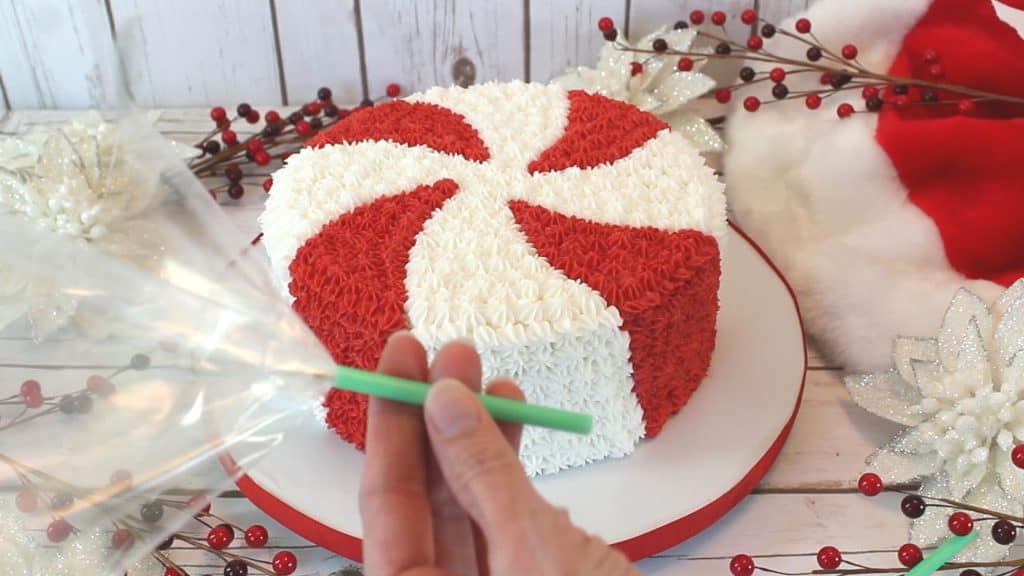
Do this for both and then just insert them into the sides of the cake.
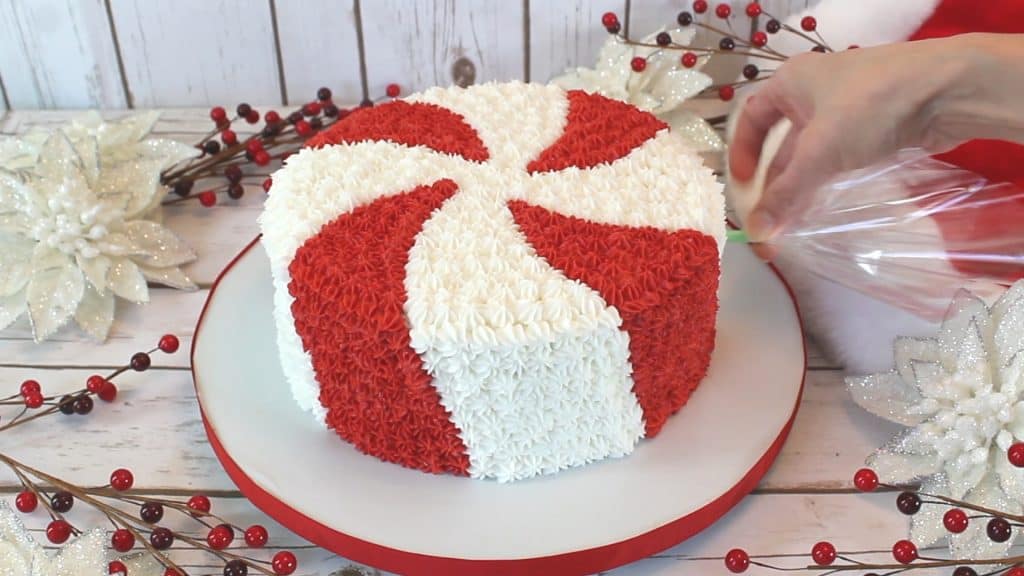
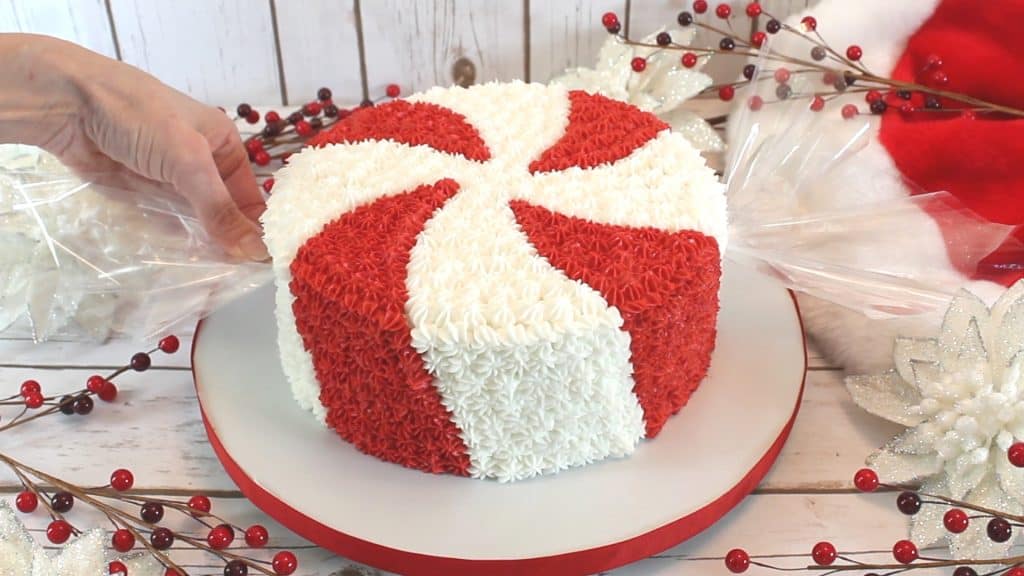
That’s it! Cute, right?
It’s so fun for a holiday party and people will love it!
Oh, and here’s the video:
Don’t forget to grab the peppermint template in the list of supplies at the beginning of the post!
I hope you have fun with this one and if you make it, I’d love to see pics!
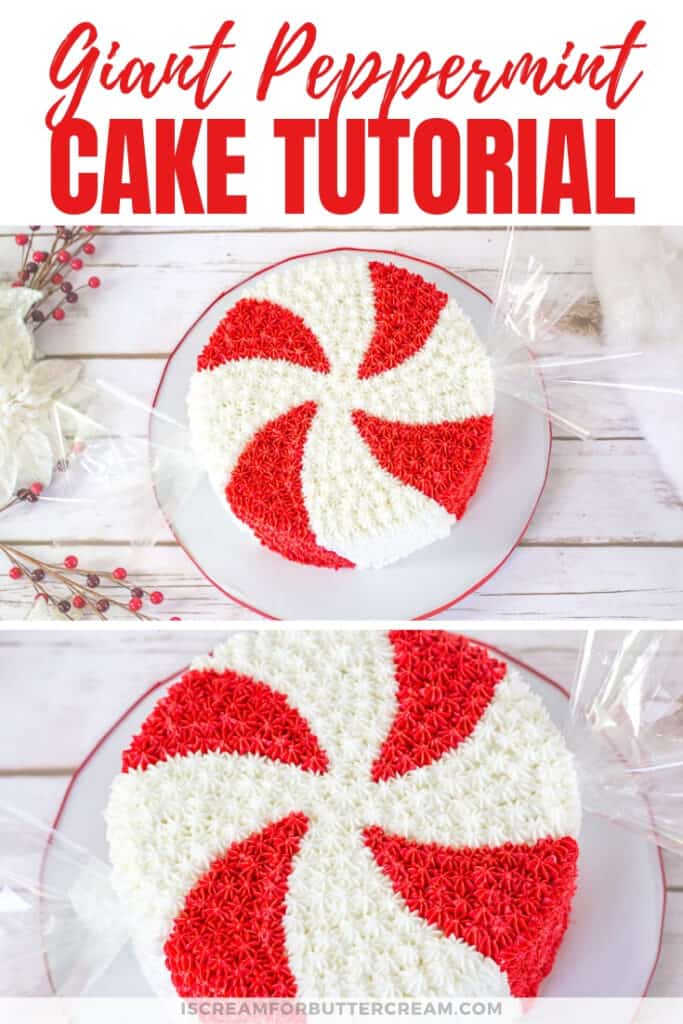
Don’t Forget to Pin it for Later!

Leave a Reply