
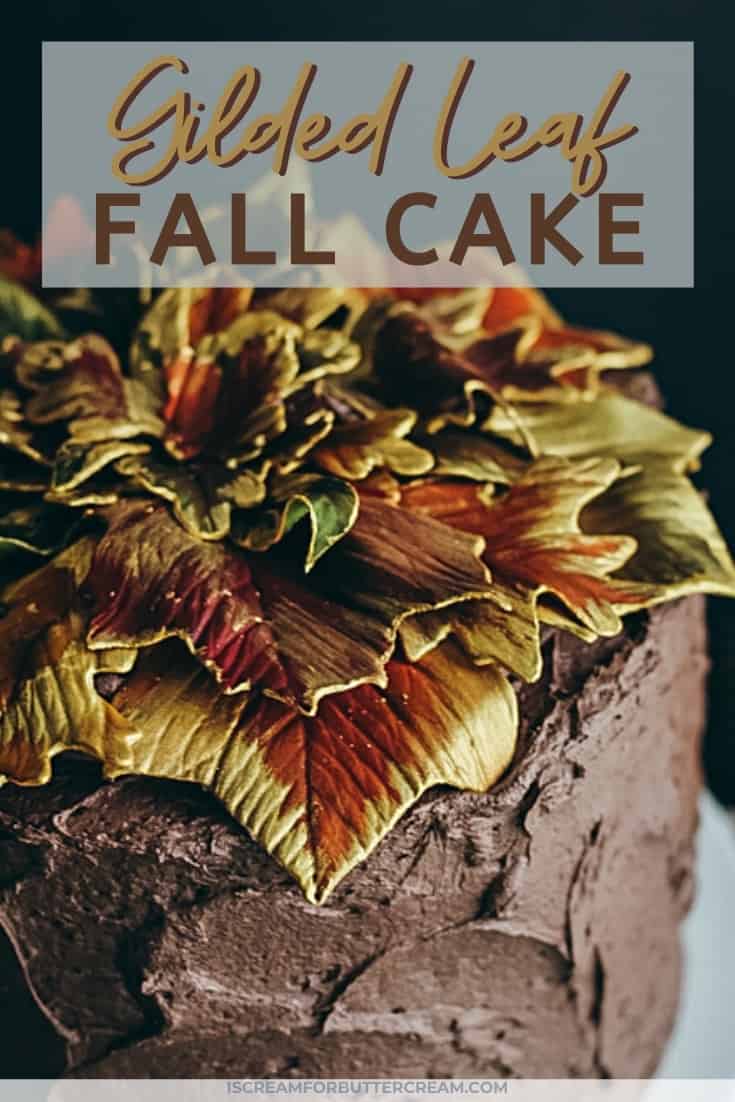
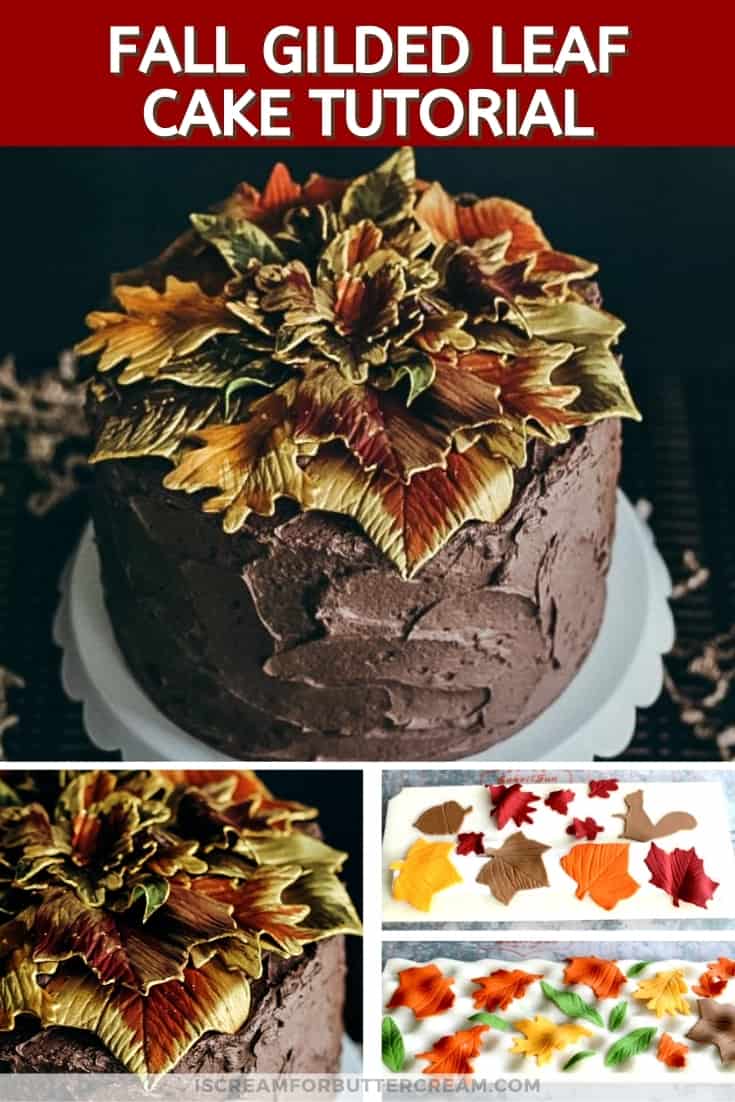
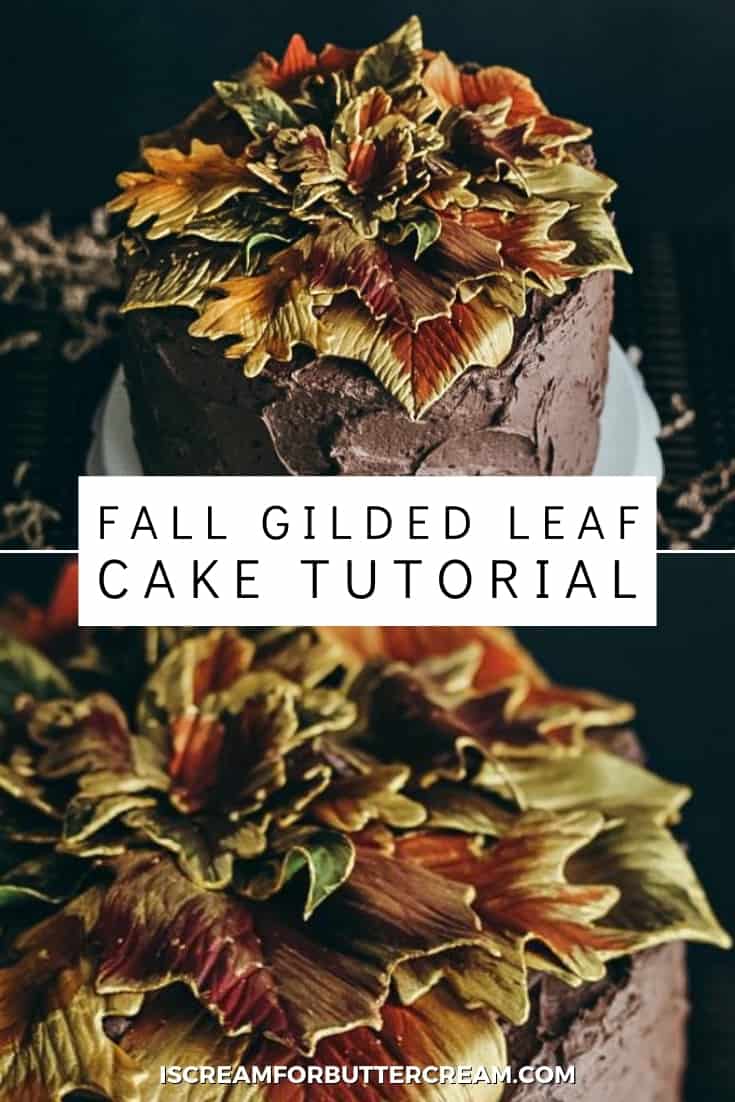
A step-by-step tutorial on how to make this elegant Gilded Leaf Cake. It’s such an impressive addition to a fall get-together or a perfect ending to your Thanksgiving dinner.
Lately, I’ve seen a lot of fall cakes going around Pinterest and Facebook. I love looking at them…mainly because I love everything fall-like. (Is that a word? Maybe it should be fall-ish).
Anyway, I wanted to come up with something a little different than what I’ve been seeing. One thing you’ve probably guessed about me is that I LOVE metallics. I thought, why not combine two of my favorite things? So, I came up with this Gilded Leaf Cake.
This cake has tons of fall leaves covering the top…but not just any fall leaves. They’re gold gilded fall leaves!
It’s very luxurious looking and maybe a little pretentious. I like to think of it as a stately Englishman wearing slippers and a smoking jacket, sitting in a large winged backed chair in front of the fireplace.
Yeah, I know that’s probably weird that I give my cakes personalities, but hey, you’ve gotta make life a little fun, right? I even felt like talking in an English accent while making this cake…you know, in an effort to make myself feel a little more refined.
My English accent needs some work though, I think I sound more like the Gieco Gecko than a refined English aristocrat. (Although either of those may sound better than my major southern accent.)
Ok, on with the cake making! You’ll find the supplies I used along with the tutorial below. Keep scrolling for the video tutorial.
As an Amazon Associate, I earn from qualifying purchases.
Supplies for this Cake:
- Chocolate cake (I used my Easy Double Chocolate Sour Cream Cake recipe. I used three layers of 8″ rounds) If you want to make a chocolate cake from scratch, try this one: Chocolate Butter Cake
- Chocolate buttercream (Here’s my Double Chocolate Buttercream recipe. For this cake, I made one and a half batches of the recipe. For the half batch, I used Hershey’s dark chocolate cocoa, instead of the regular cocoa. It really deepened the chocolate taste, plus darkens your buttercream a bit.)
- Offset Icing spatula
- Mini pizza cutter
- Brushes used only for caking
- Leaf impression mat (I used Wilton’s brand)
- Various fall colors of fondant. (I used straight vanilla fondant and colored small amounts with gel colors.)
- Petal dusts: Cocoa, Orange, Green, Yellow, Caramel and Burgundy
- Gold Luster Dust (I mixed these two together: Old Gold & Soft Gold)
- Vodka or Lemon extract
- Fall leaf cutters
- Mini fall leaf cutters
- Small gumpaste foam pad
I’ve also made a video of the whole process toward the end of this post.
Making the Gilded Leaf Cake:
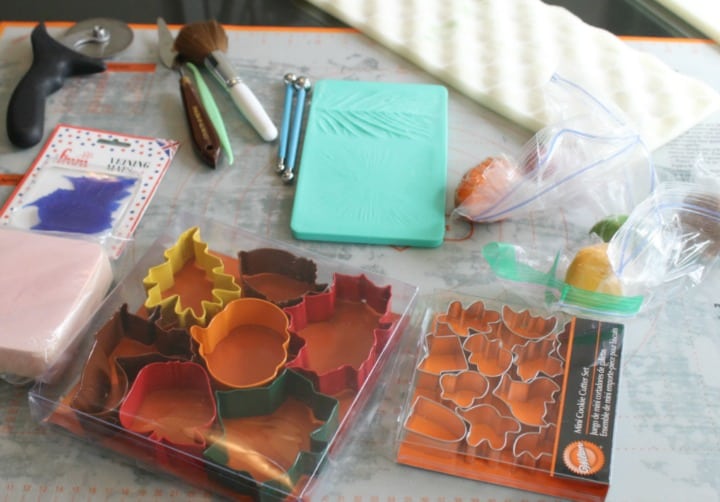
Cutting Out and Impressing the Leaves:
Roll out your fondant and use your cutters to cut out the leaves. You’ll need a lot of leaves if you’re going to cover the entire top of the cake. I used the large and mini leaf cutters.
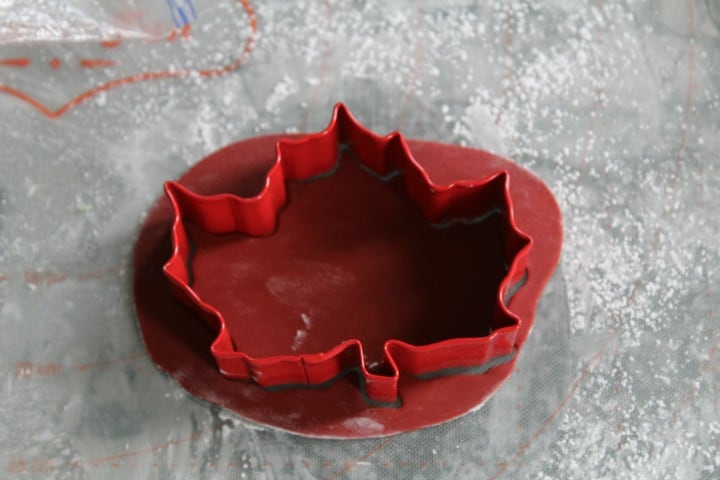
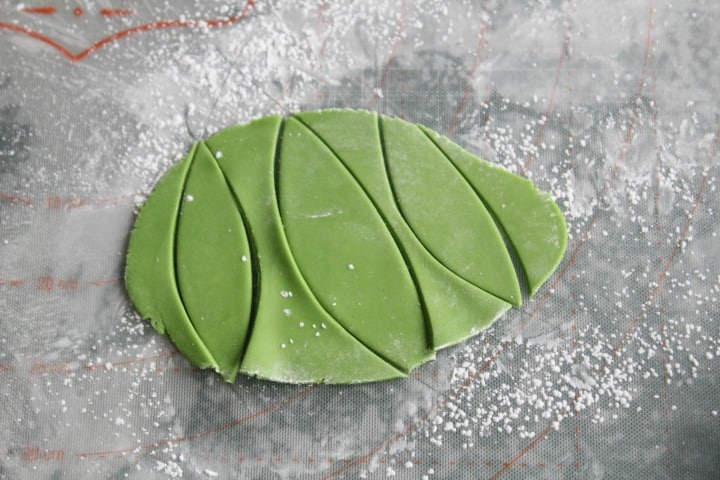
I also just freehand cut some small green leaves. I just used my mini pizza cutter for that.
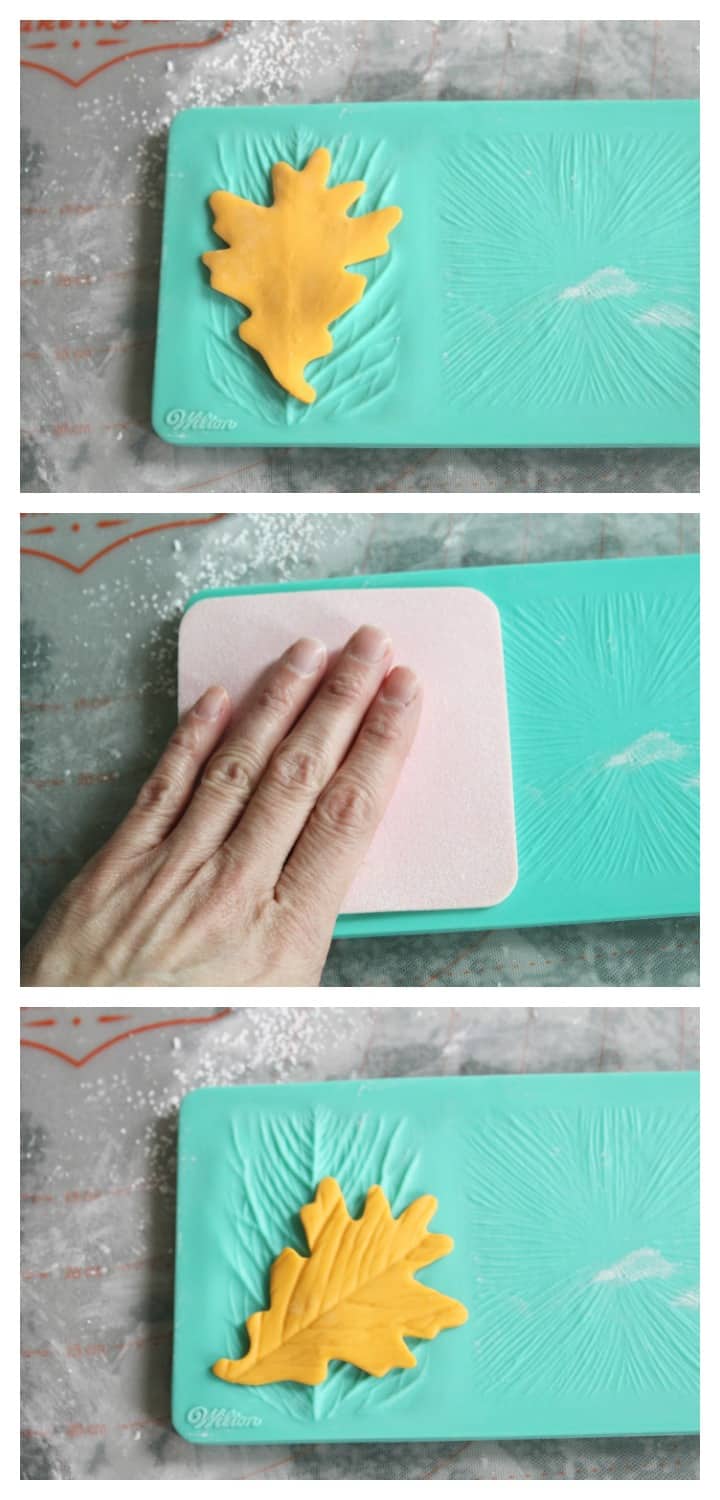
After you’ve cut out several leaves, you’ll then want to use your leaf impression mat. Just set your leaf, face down on the mat, set your small foam mat over that and press down.
Set your leaves on foam to dry. You want to position them with a little movement, so they don’t dry flat and so each one is shaped a little differently. These need to dry at least overnight. If you’re using a soft fondant like marshmallow fondant, then you’ll need to let them dry longer.
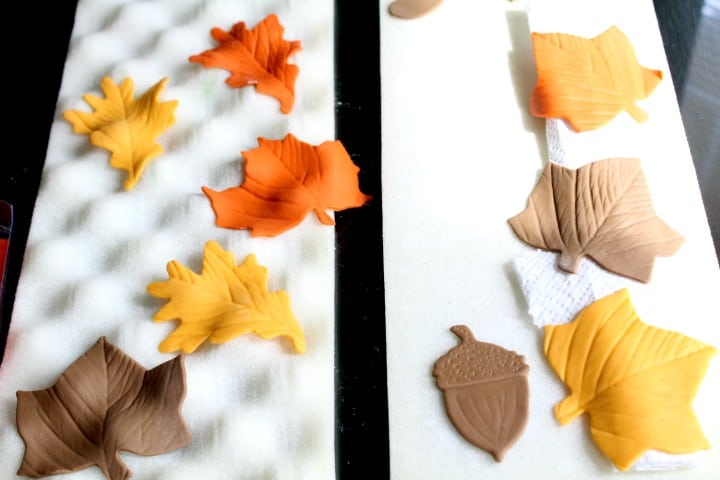
Yes, I know there’s a random acorn there. I decided I didn’t want to use it 😉
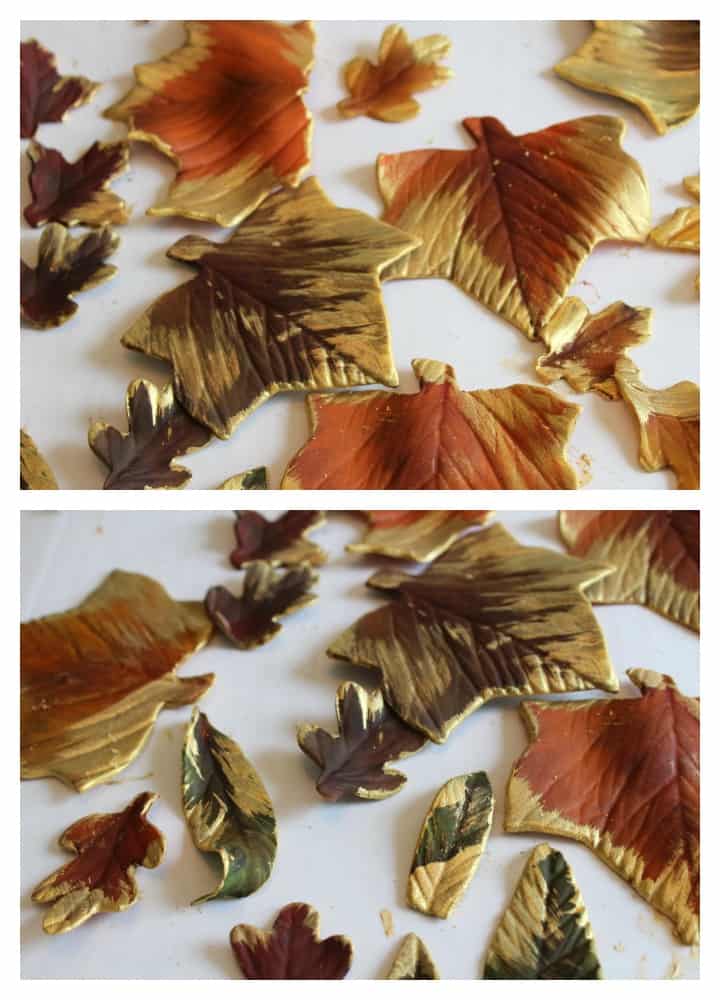
Coloring the Leaves:
After your leaves are completely dry, you can dust them with the petal dusts. I didn’t get a picture of that, but you can see a bit of it in the video.
I used the cocoa color to dust around the edges, then used the other colors randomly on different parts of the leaves. Random is good here…you don’t want to be too specific. You don’t necessarily want to stick with the same color petal dust as the leaf. Mix them up. I also went back in with burgundy on the stems and the center of all the leaves.
Next, mix your gold luster dusts with a bit of vodka or lemon extract. You want this mixture to be a little on the thick side.
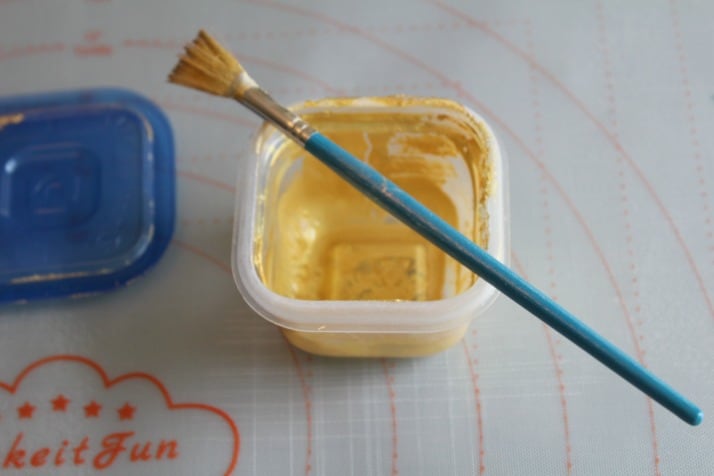
A small fan brush is good for this technique. I just brushed the gold along the edge of the leaves and then brushed across random sections of the leaves.
Putting the Cake Together:
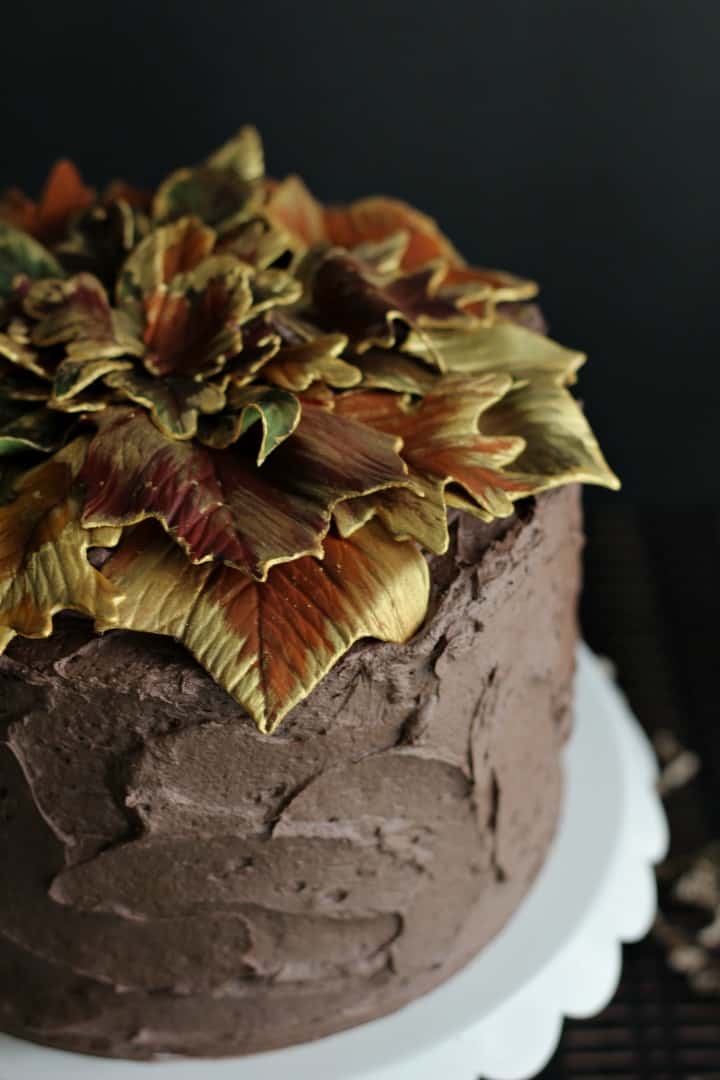
Now take your iced cake and pipe a ring of buttercream around the top. Fill that in with more icing. You want to build it up a bit. Start by setting your large leaves around the edge and then move in getting smaller and smaller. You may need to add a little icing on the backs of some of the leaves to attach them.
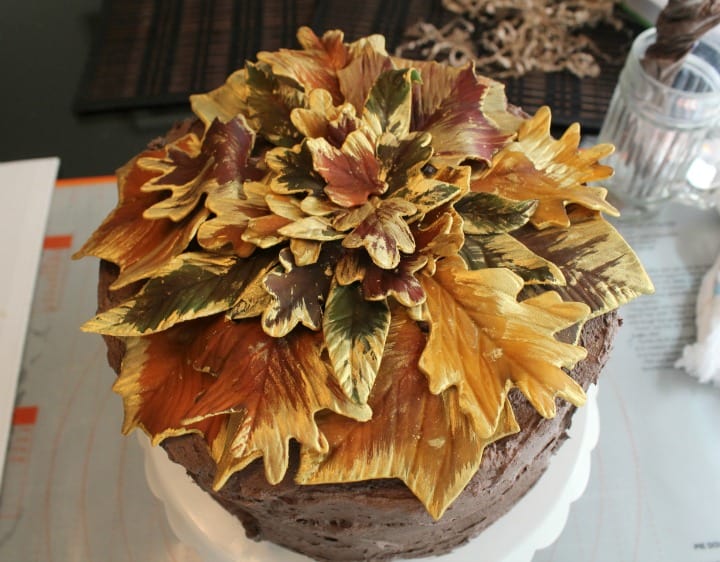
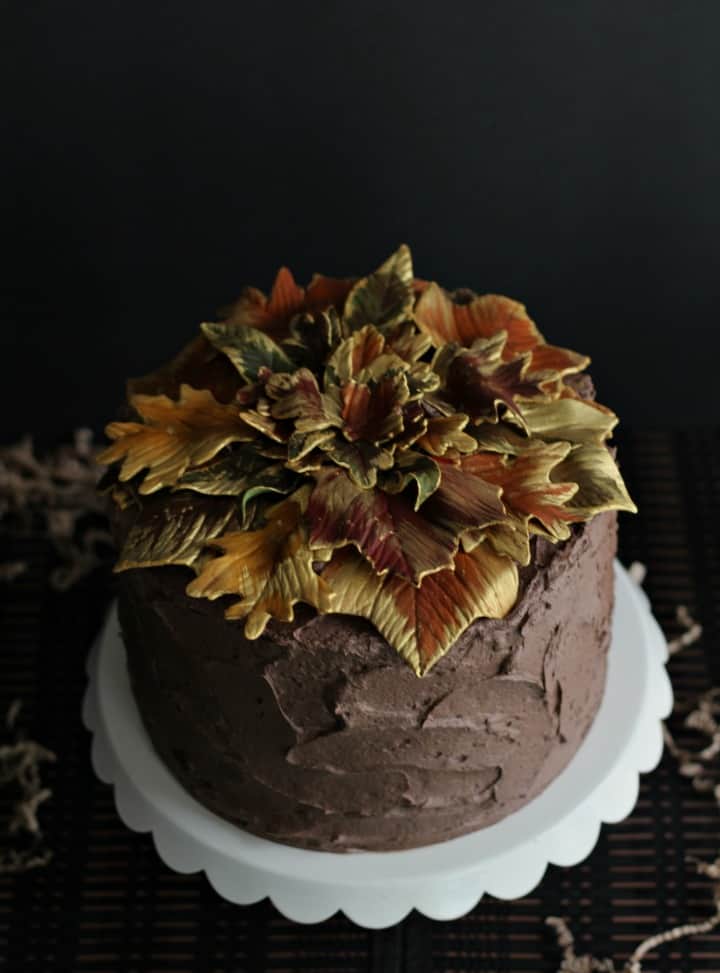
And there you have it! Your beautiful Gilded Leaf Cake!
It’s such an elegant cake. It’s not too terribly involved and you can even make the leaves weeks ahead of time, which would save you tons of time setting it up. It would make such an impressive addition to a fall get-together and a perfect ending to your Thanksgiving dinner.
And here’s the video for this tutorial:
Don’t Forget to Pin it for Later!
Irene
Absolutely fabulous – I would love to give this cake a try and see if I am able to replicate your lovey design. I have some cutters etc, and have enjoyed watching your video. Thanks for sharing. Kind regards from Irene, Auckland New Zealand.
Kara Jane
Oh wonderful! So glad you liked it. If you try it, let me know how it goes! 🙂
Irene
Will do, Kara Jane.
Thank you.