
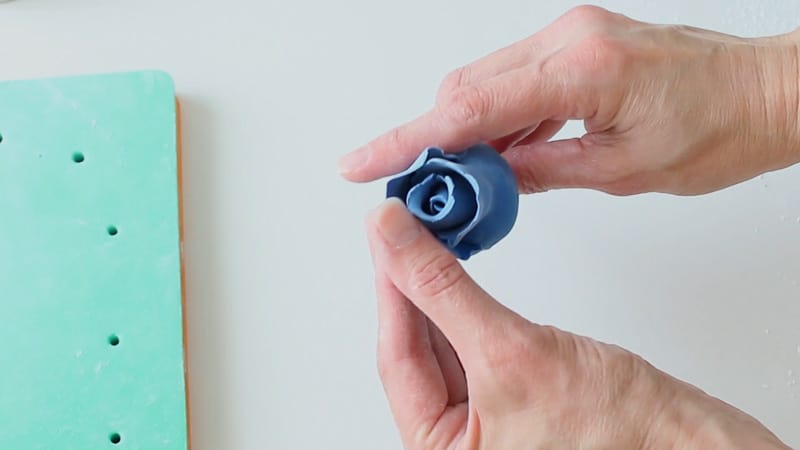
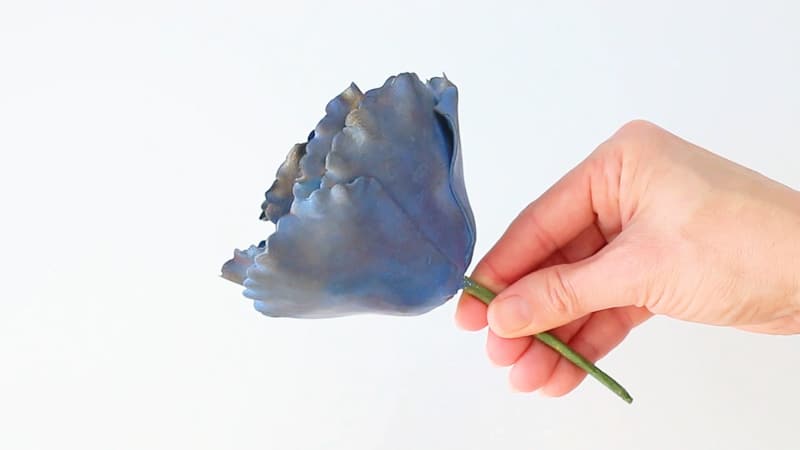
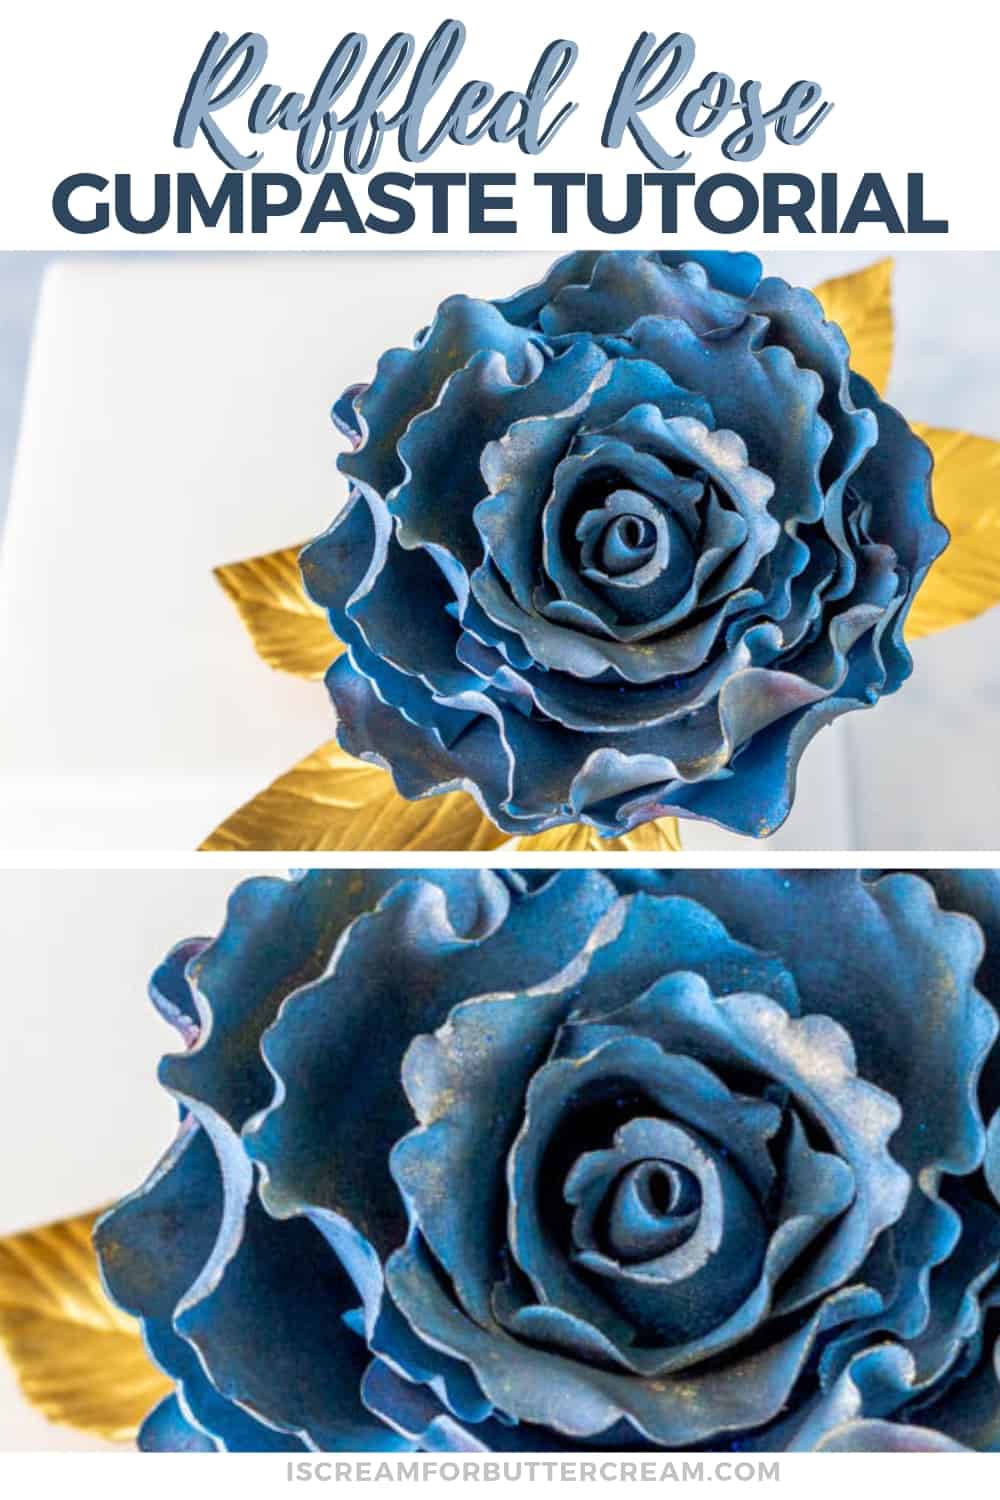
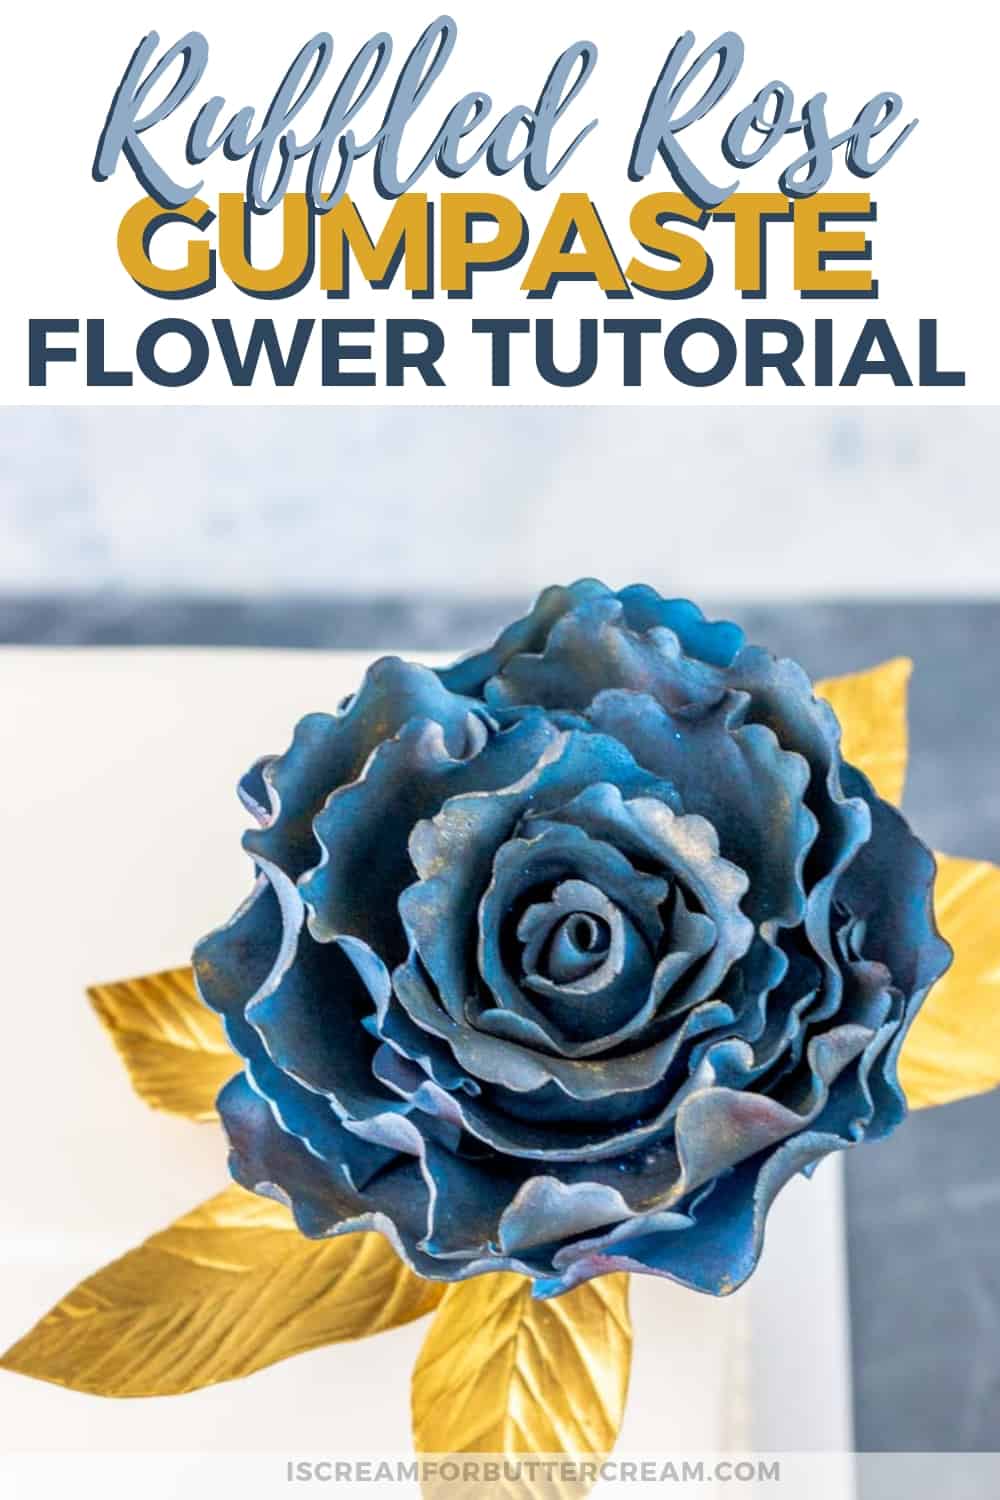
Oh I have a fun tutorial for you and I am in love with this ruffled rose gumpaste fantasy flower. I’m calling it a fantasy flower because it’s not really based off of a real flower. I sort of just made it up and ultimately it kind of looks like a cross between a rose and a peony.

It’s just so frilly and feminine though!
The really cool thing about this flower is that instead of using petal cutters, you’ll be using fluted circle cutters. You’ll be using a 6 cutter set, so if you’ve already got one then woo hoo!
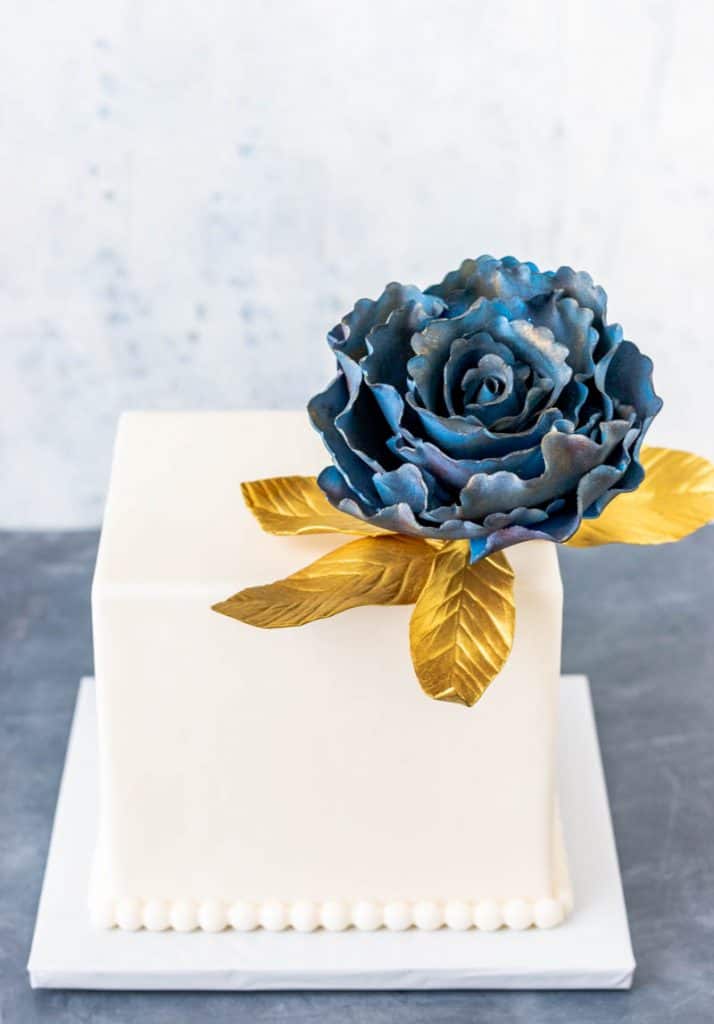
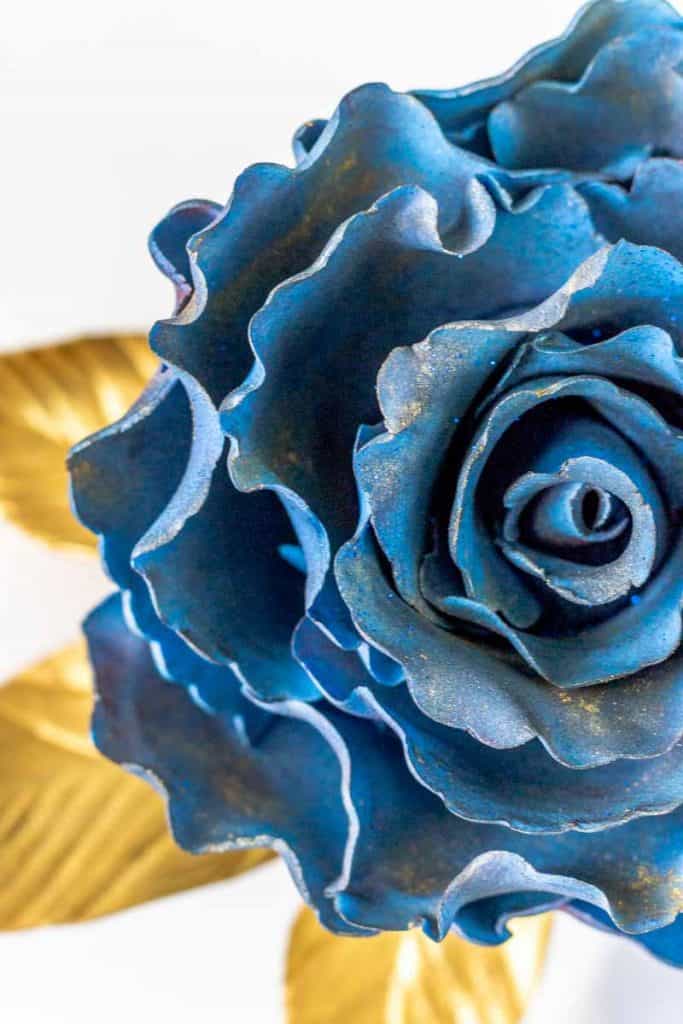
Now I made mine in blue and then added in some blue sparkle and some hints of smokey black, some burgundy and some gold. You can do this in any color you like though…just use your imagination.

I just love the random pops of color.
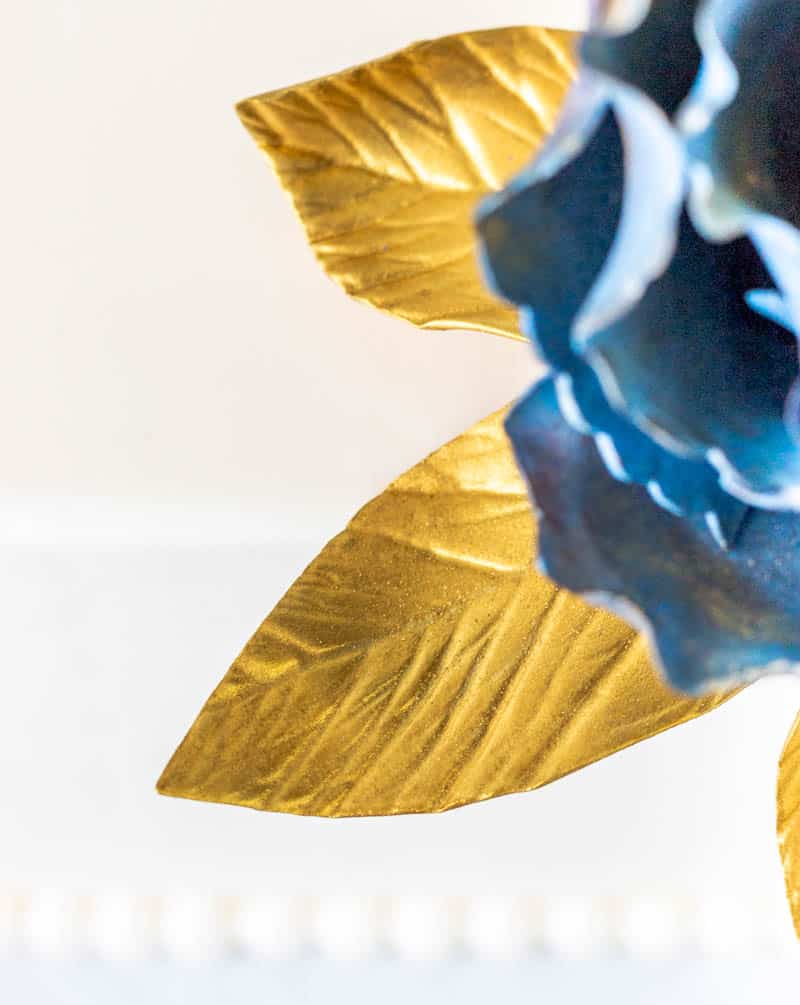
And of course, I had to add some extra gold in there with the gold leaves. If you’d like a tutorial on how to make gumpaste leaves, you can grab that here: How to Make Gumpaste Rose Leaves
The only difference is that I painted these with edible gold luster dust.
If you’re interested in a classic rose tutorial, you can find that one here: How to Make a Large Gumpaste Rose
Ok, first off, I’m just gonna say this is a looooong tutorial because I’ve got lots of screenshots for all the steps. If you don’t want to go through all the written steps, you can scroll down to the bottom of this post to watch the video.
Then if you need any additional help, come back to the written instructions. The most important thing is the watch the height of the petals when you attach them. In each step, I’ve written tips for placing each row of petals. This is important to pay attention to, since it can make or break the look of your rose.
Also close to the bottom of the page, I’ve included a free printable quick reference guide that shows the steps in an easy bullet point format. Scroll down past the video to find that and just enter your email address.
This post contains affiliate links. As an Amazon Associate, I earn from qualifying purchases. You can see my policies linked in the website footer.
Supplies for the Ruffled Rose Gumpaste Fantasy Flower:
- 6 piece fluted circle cutter set like this one: Round Fluted Cutter Set
- Cornstarch shaker
- Small fondant roller
- 1 ½ inch styrofoam ball
- 18 gauge wires
- Floral tape
- Gumpaste (I like to use premade)
- Fondant ball tool set
- Large blush brush used only for caking
- Mini pizza cutter or knife
- Foam shaping board
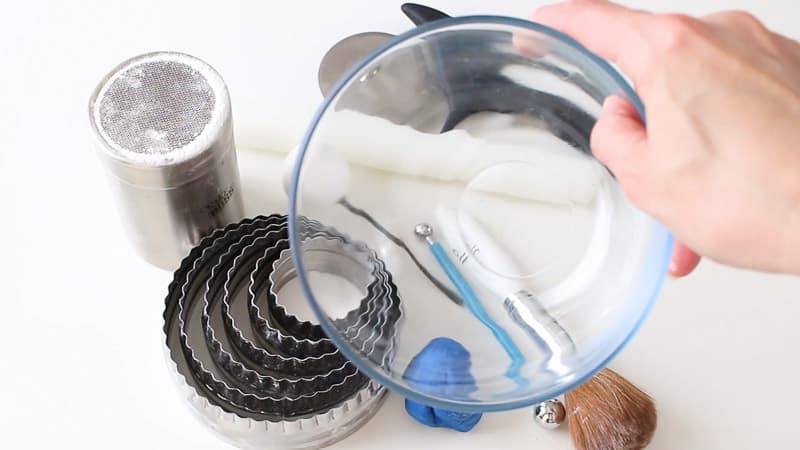
- 2 small/medium sized rounded bowls (you can see in the link or in the video below, about what size you’ll need.)
- Blue luster dust or blue glitter dust
- Black petal dust
- Burgundy petal dust
- Gold luster dust
Here are what the fluted circle cutters look like:
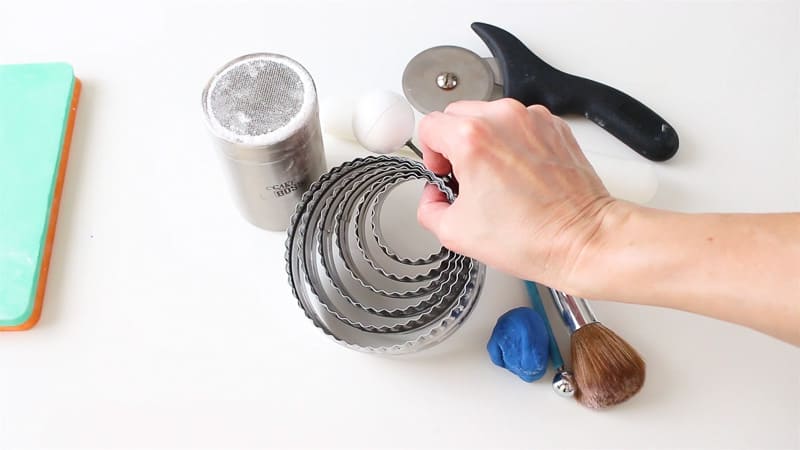
I’ve added a link to these in the supply list above. I’m not sure if all circle cutter sets are the same size, so if you already have a set, you may just want to try out what you’ve got first and see if they’ll work.
Here is a screenshot of the bowls I used. They’re small glass mixing bowls, but are quite rounded. You can use anything that’s about the same size and that you can dry your petals in and that will give them a good curved shape.
Making the Ruffled Rose Gumpaste Fantasy Flower:
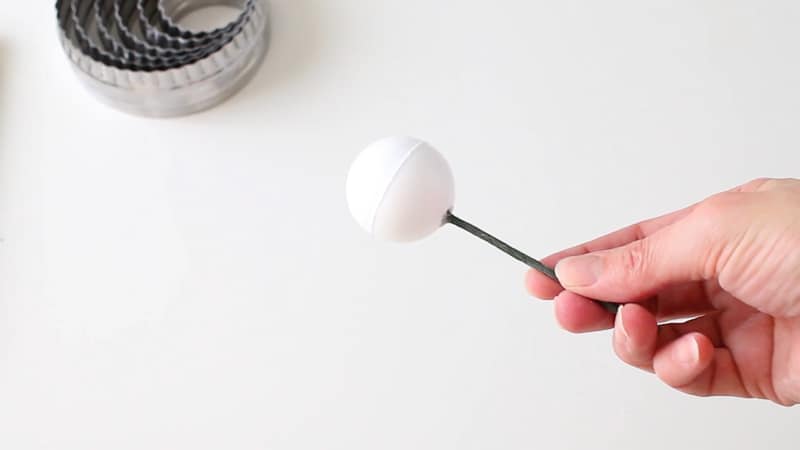
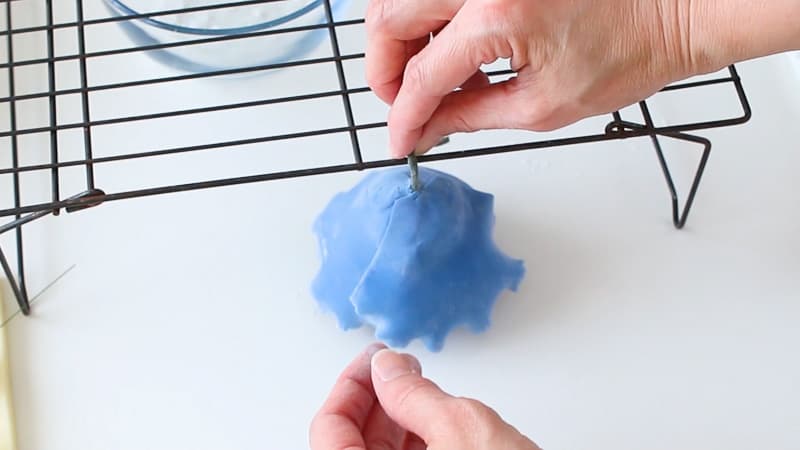
The first thing you want to do is add several 18 gauge (or another thick wire) to your styrofoam ball. You’ll just tape together several wires. I said in the video to use two, but you may need to add more than that if your rose seems a bit heavy.
Just poke a small hole in your styrofoam ball, if there’s not one already, and hot glue your wires there. Let it set up until it’s completely dry and firm.
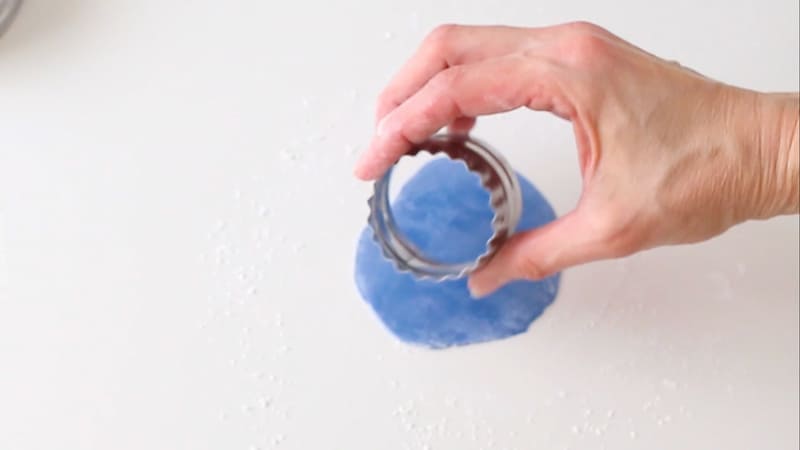
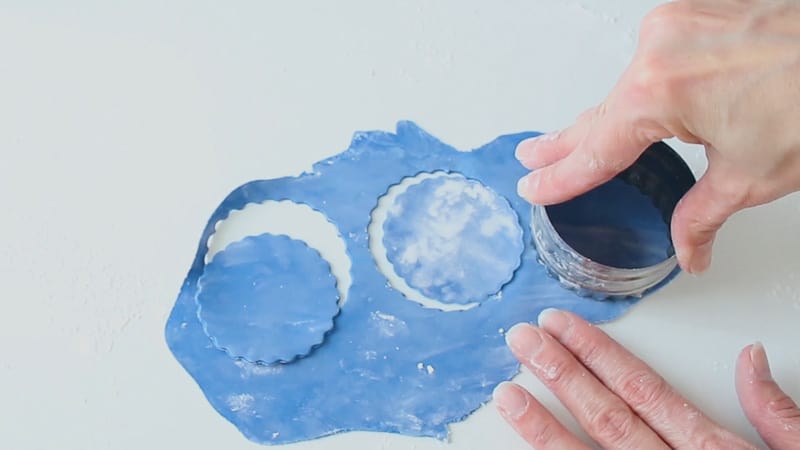
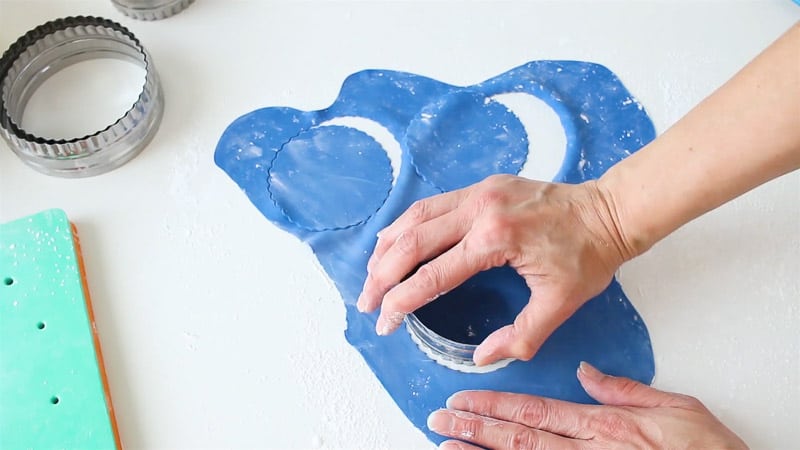
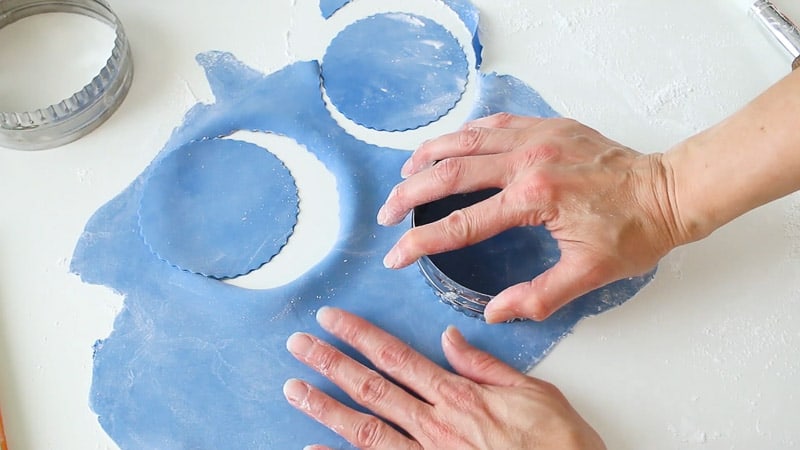
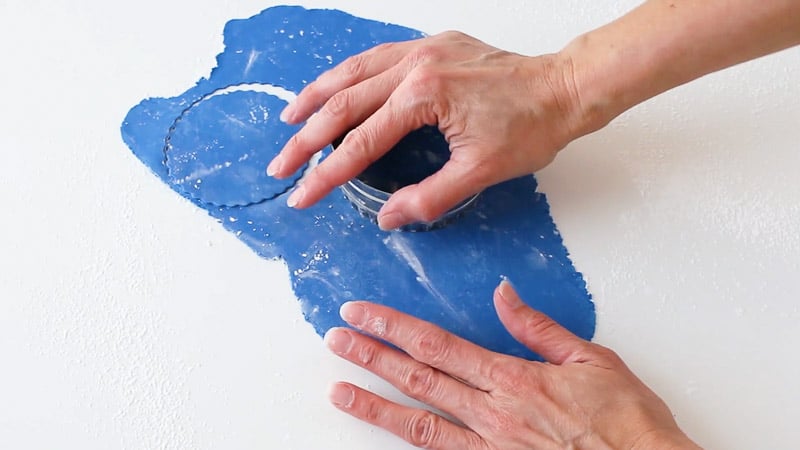
Next just take your gumpaste and roll it out very thin. You want your petals thin because you want your petals to look more realistic and also so that your rose doesn’t get too heavy.
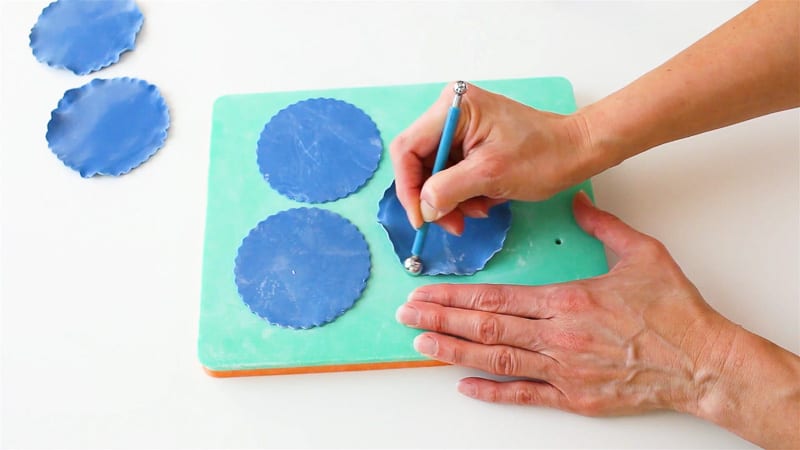
Use your smallest fluted circle cutter and cut out one circle.
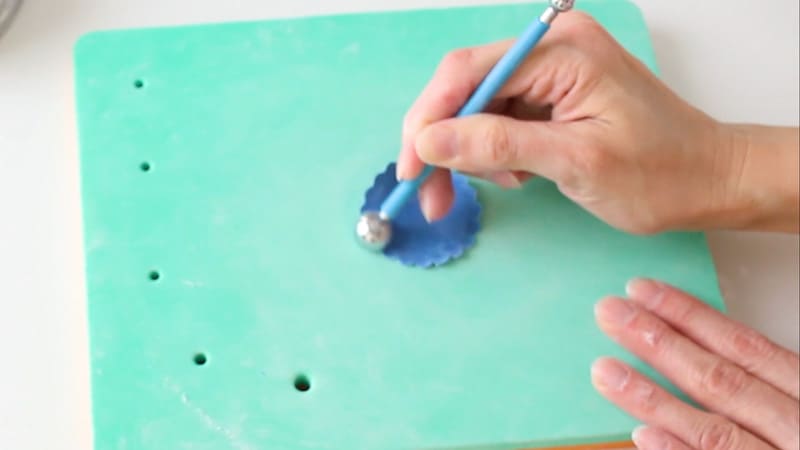
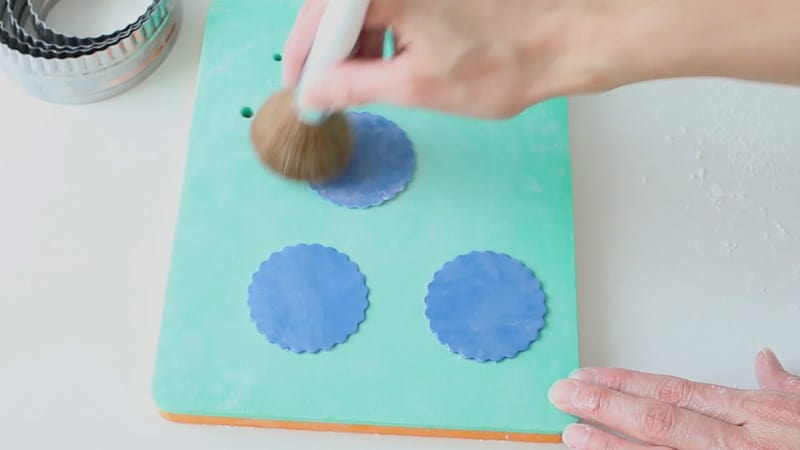
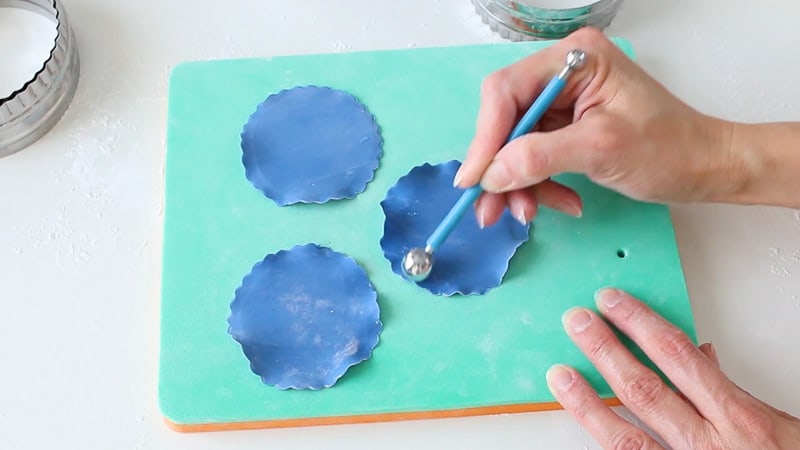
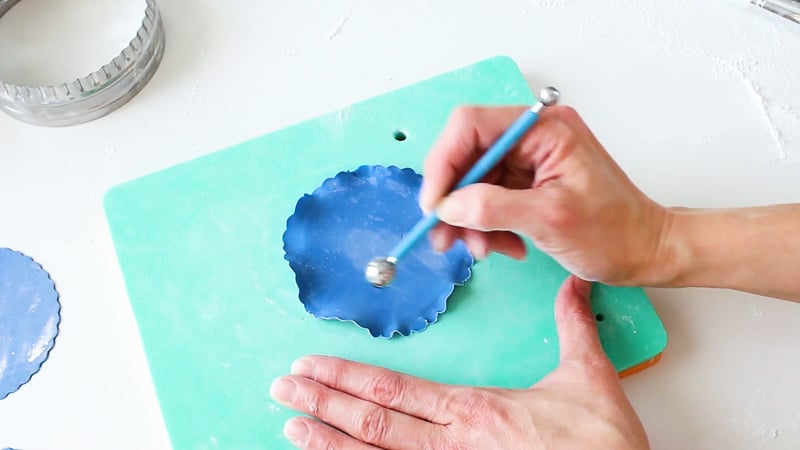
Once the circle is cut, set it on your foam shaping board and brush off any excess cornstarch.
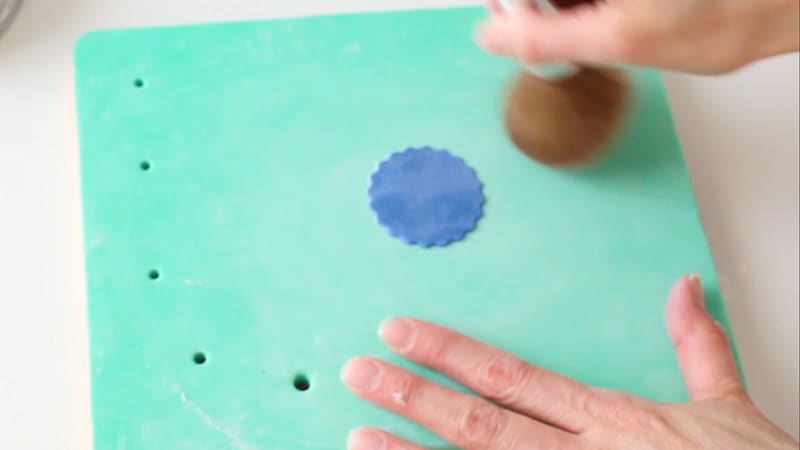
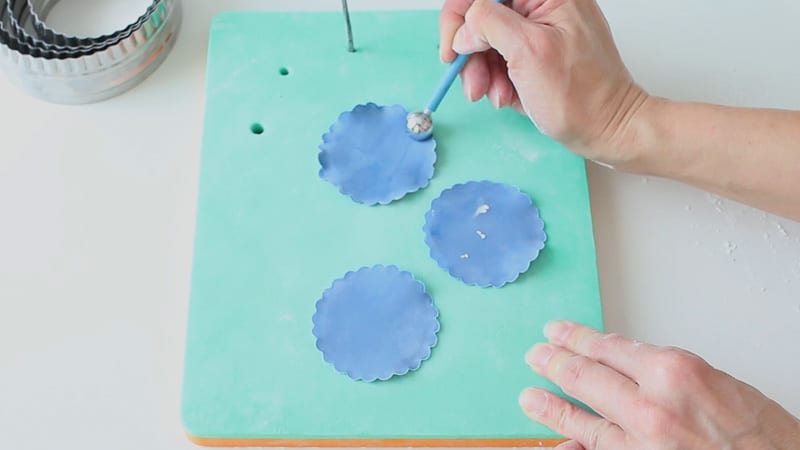
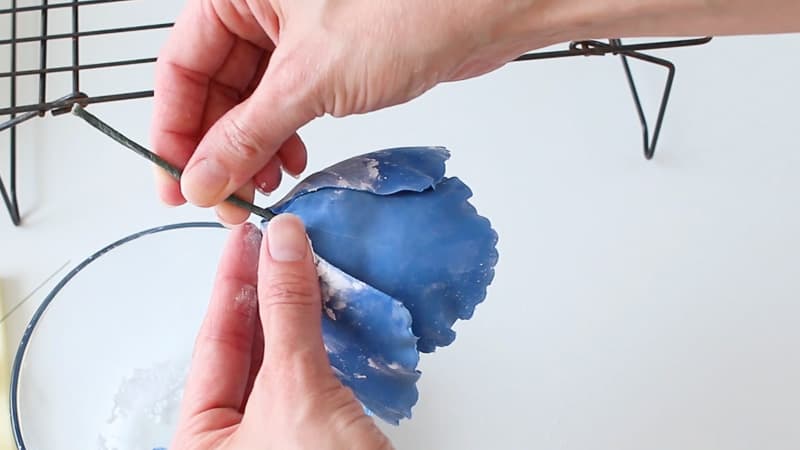
Use a medium sized ball tool to thin around the edges of the circle. Go all the way around the edges, then hold it like a pencil and go back and forth (like you’re erasing slowly) around the edges. This will give it a ruffled look.
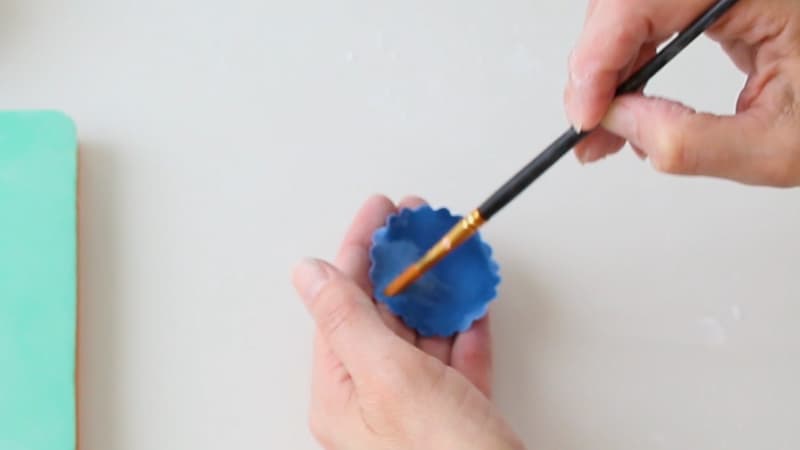
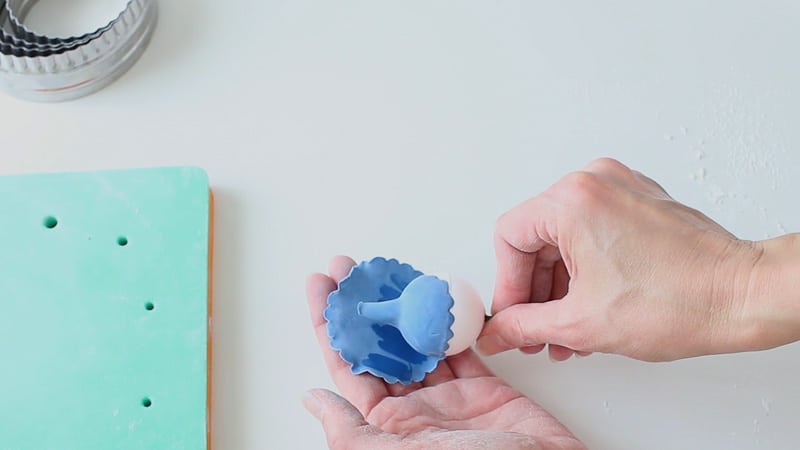
Now just add some water. You’ll just add it about half way up.
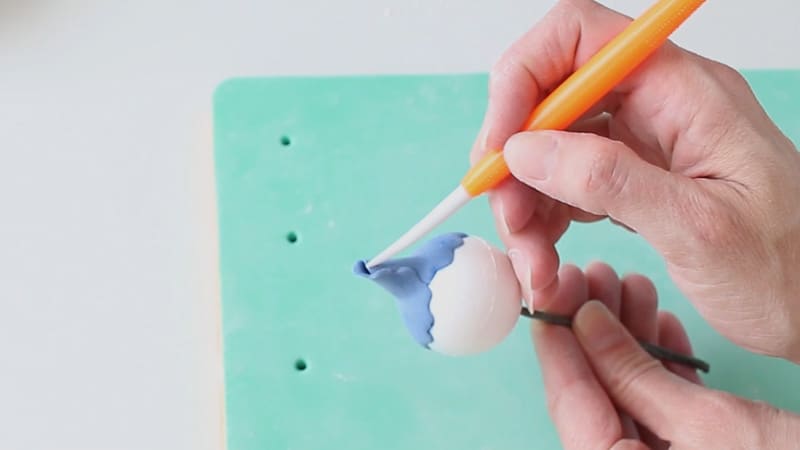
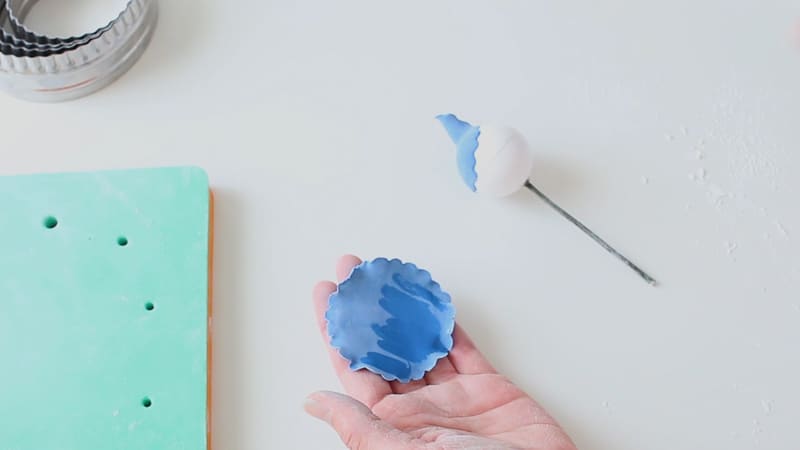
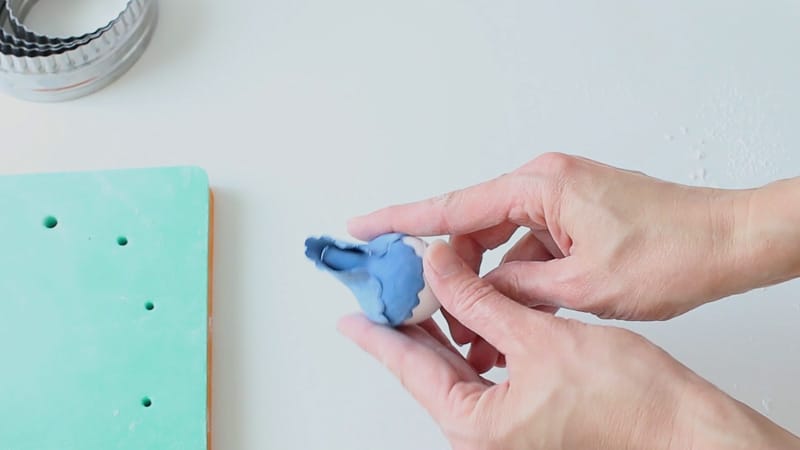
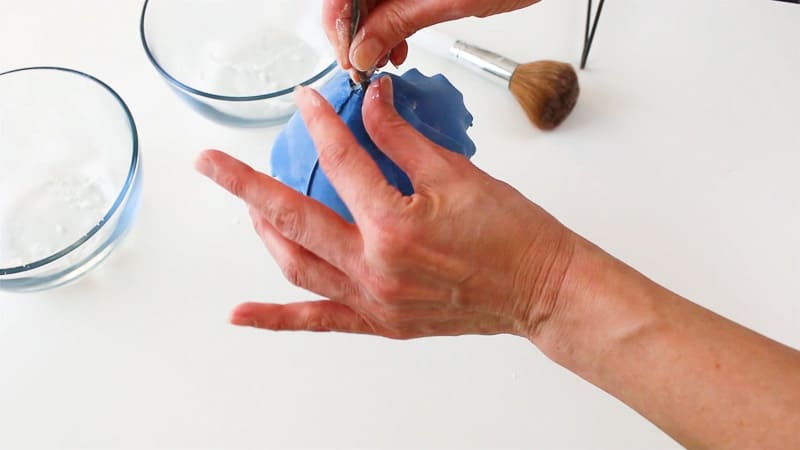
Attach the petal to the top of your styrofoam ball. Just wrap it around, but you want a ⅓ of the gumpaste petal sticking up from the ball.
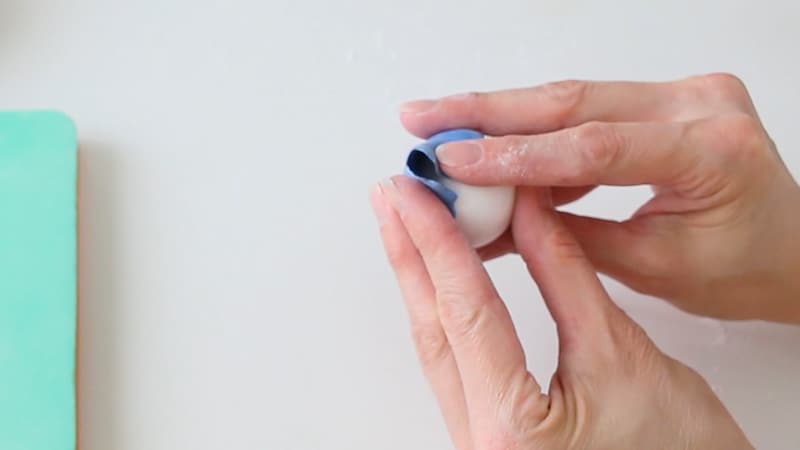
Make sure to wrap it around well.
Set that to the side. You can insert the wires in a piece of foam to keep it all upright.
Now, roll out more gumpaste. Roll it out very thin. Cut out three circles from the second size circle cutter.
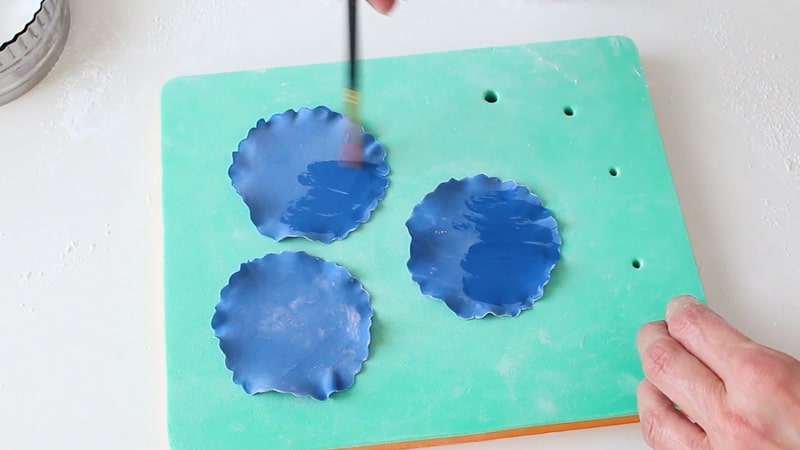
Place on your foam board and brush off any excess cornstarch.
Thin and ruffle the edges of the petals.
Add water about half way up the petals.
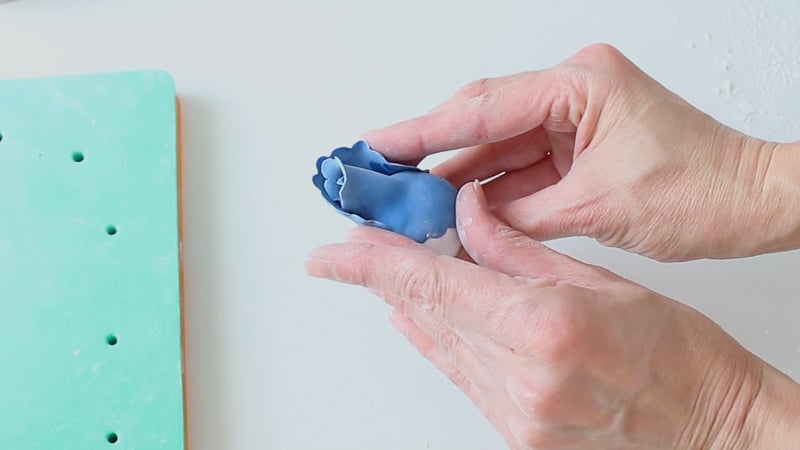
Attach the petals around the bud. The first petal should cover the seam of the previous petal you just added to the cone.
You want the tops of these petals to be a bit higher than the bud.
Wrap the petal around.
Now add on the other two petals.
Try to make sure they’re spaced evenly around the cone.
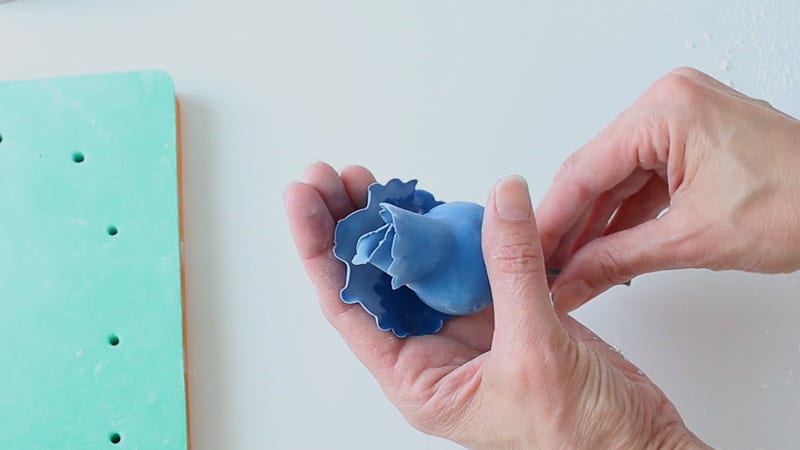
You’ll want to adjust the edges and frill them out a bit.
Set this to the side by sticking the wires into some styrofoam while you work on the other petals.
Now you’ll take the third size cutter and cut out three circles.

Brush off excess cornstarch, thin and ruffle the edges of your petals
Add water half way up the petals.
Attach to your flower. You want the tops of these petals to be a bit higher than the previous row of petals.
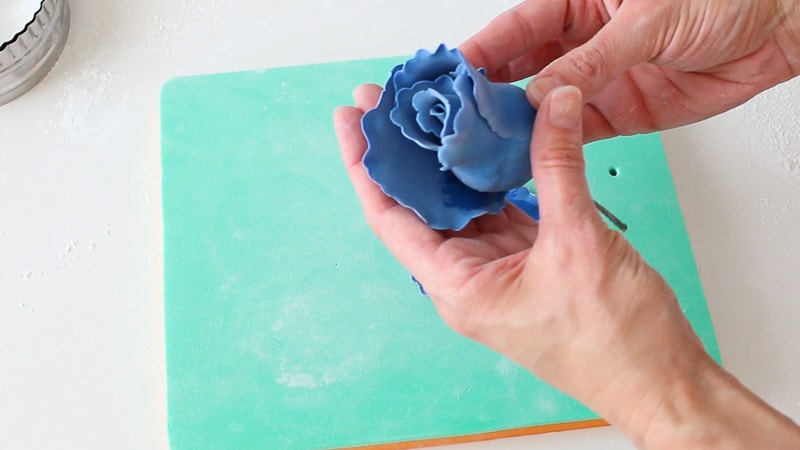
Once you get the petals on, frill out the edges a bit.
Now set it aside in some foam while you work on your next petals.
Roll out more gumpaste and use the next cutter up (the fourth size up) and cut out three circles.
Thin and ruffle the edges.
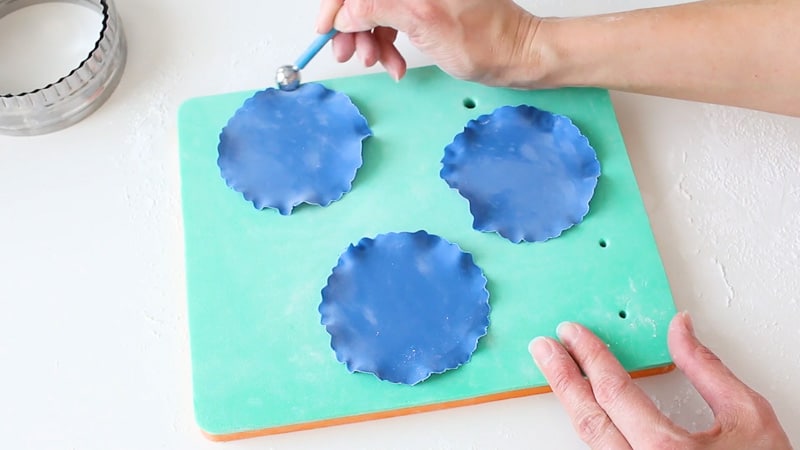
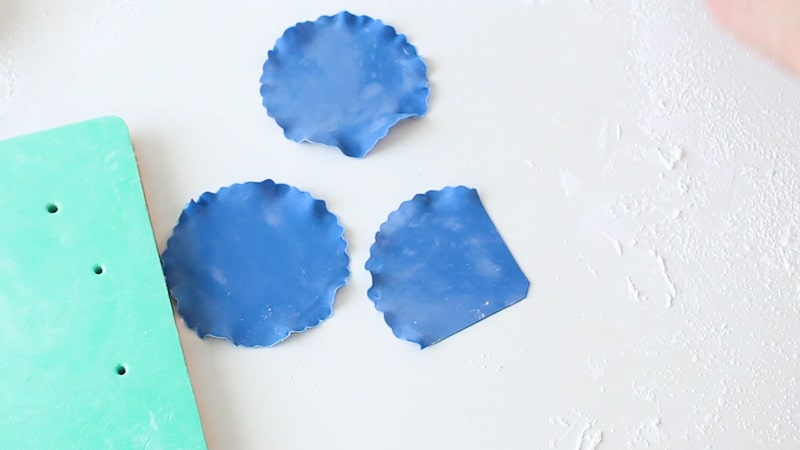
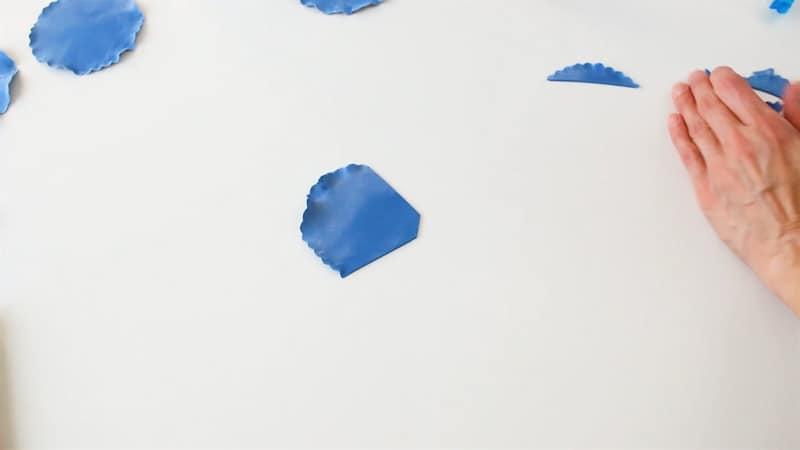
Cut one side of your circles into a ‘V’ shape. You’re just making the circles look more like petals at this point and it’ll cut down on the bulk at the bottom of your flower.
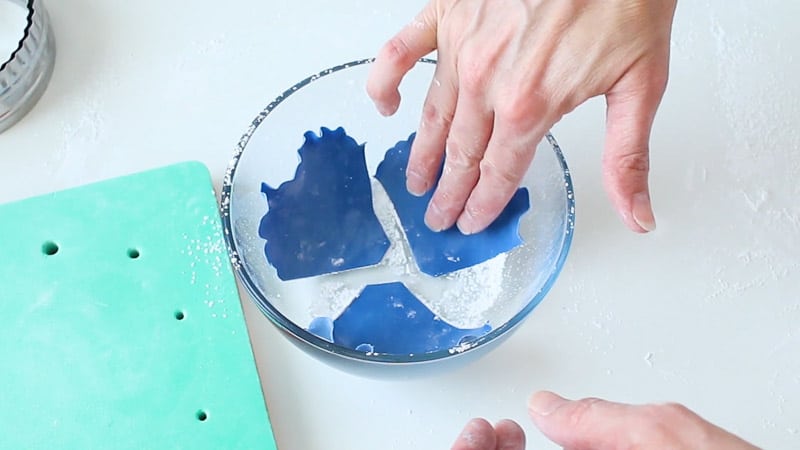
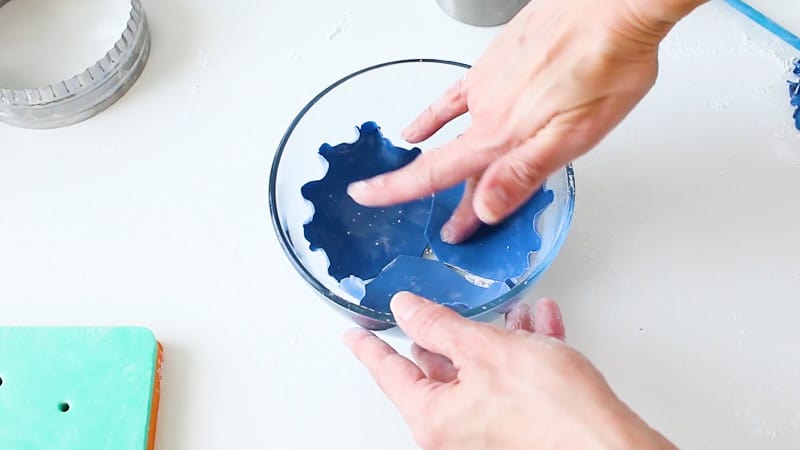
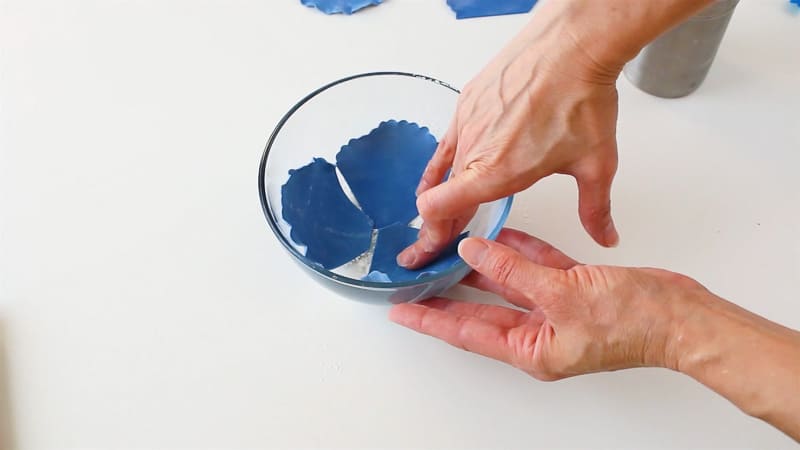
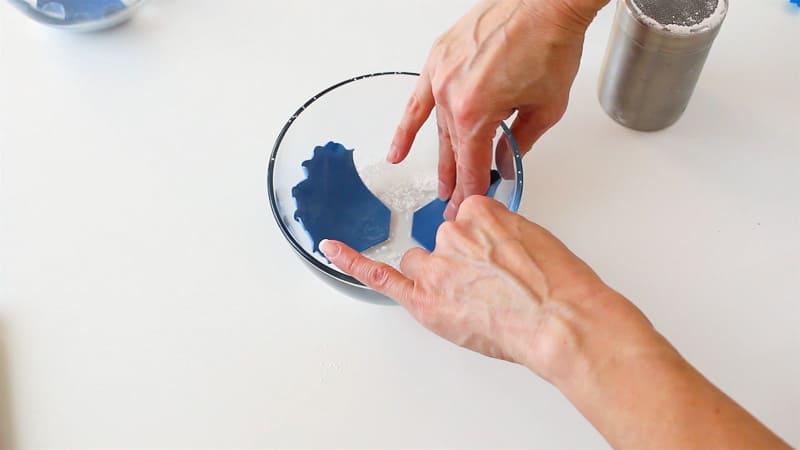
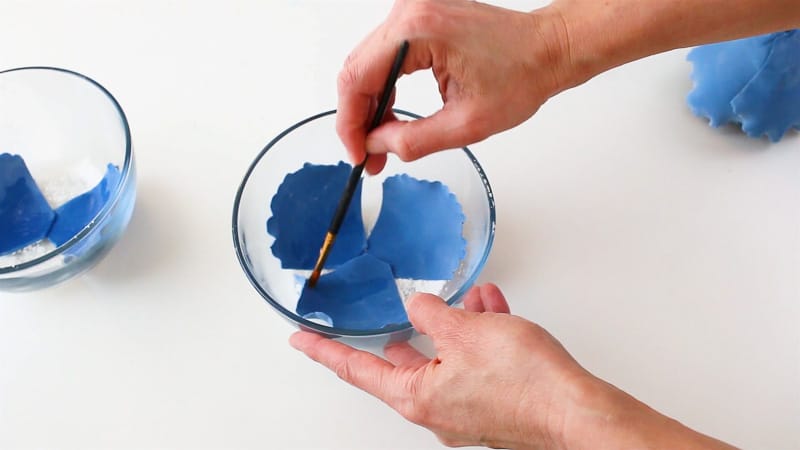
Add cornstarch into your rounded bowl and place your petals in the bowl.

Let them sit in the bowl for about 20 minutes. You want them to firm up a bit, but NOT completely.
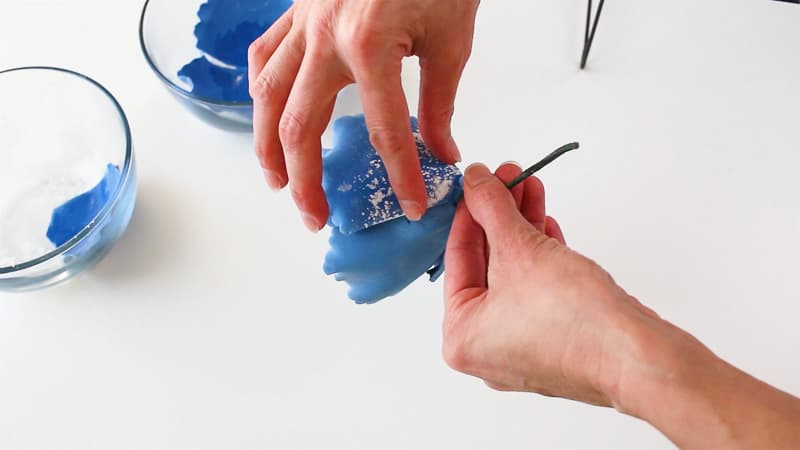
Once they’ve firmed up for about 20 minutes, add water about half way up.
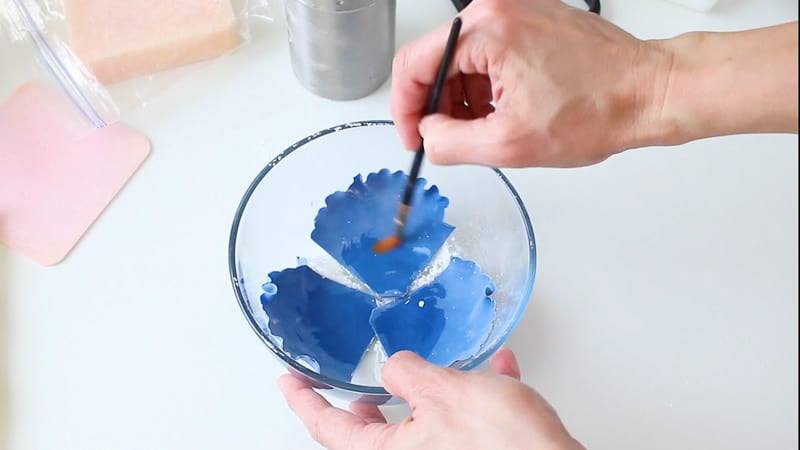
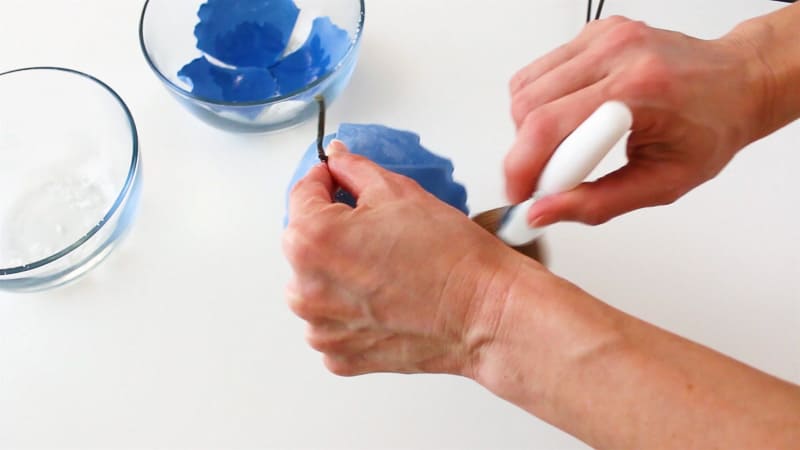
Attach the petals to your flower.
You want the tops of these petals to be slightly higher or the same height as the previous row of petals.
Sometimes it helps to attach these with your flower upside down.
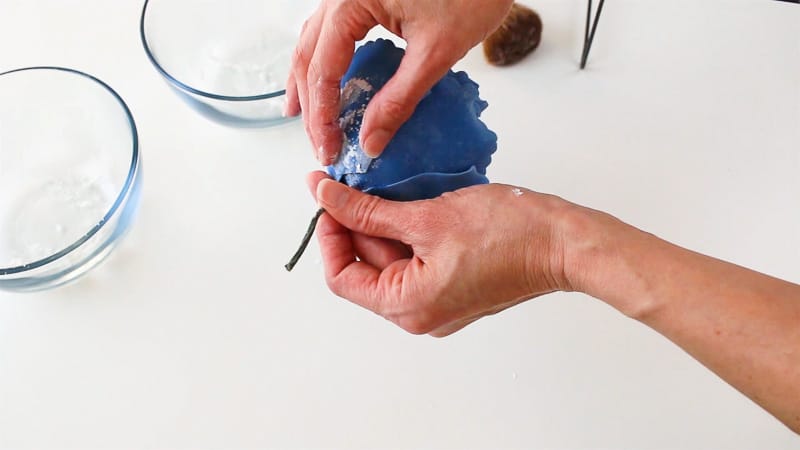
You’ll need to brush off the excess cornstarch as you go.
Once they’re attach, just adjust them as needed.
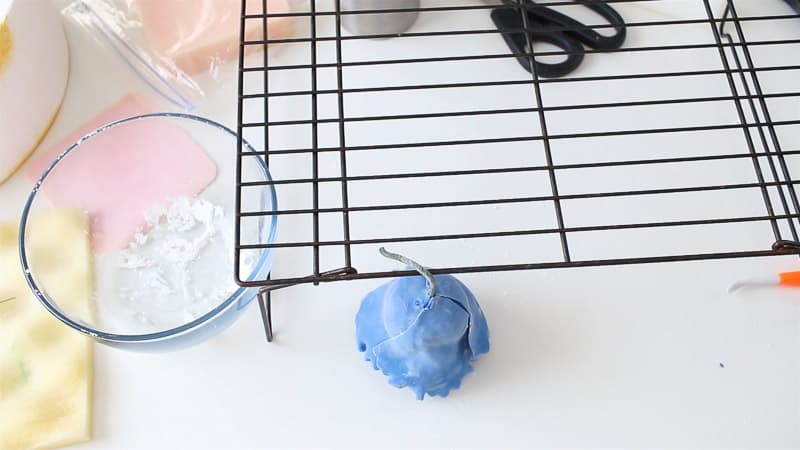
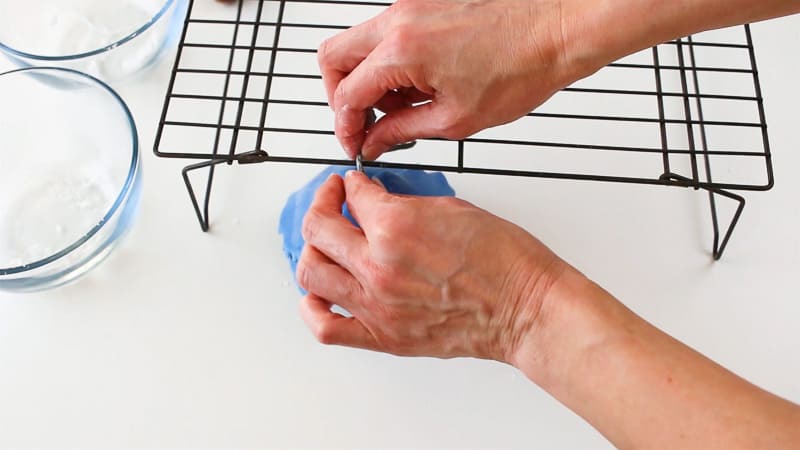
At this point, it’s good to just hang your flower upside down while you work on your other petals. If you don’t, the petals can just fall back on you.
So just bend the wire of your flower and hang on a rack.
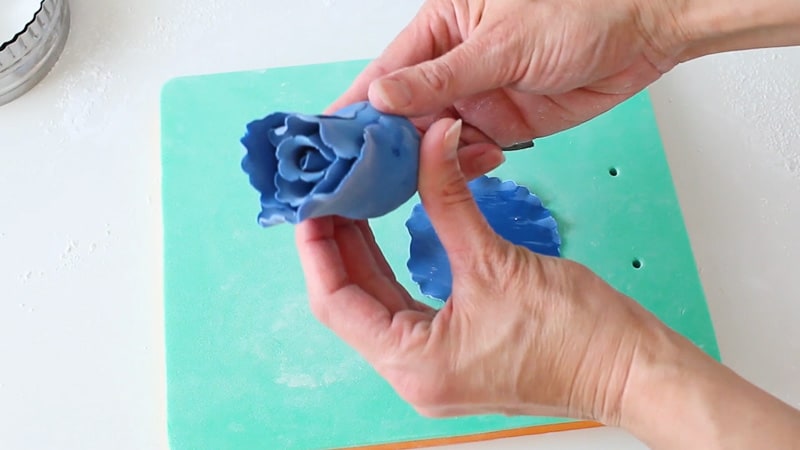
Now roll out more gumpaste and cut out three petals using the next cutter size up (the fifth size).
Ok are you seeing my weird looking hands in this pic? Anyway, once these are cut out, place them on your foam board, brush off the cornstarch, then thin and ruffle the edges like you’ve done the others.
Cut one side of the circles into a ‘V’ shape like you did in for the previous row.

Sprinkle a bowl with cornstarch. Shape the petals to the bowl and let them sit for about 20 minutes to firm up. You don’t want them to dry completely.
Add a bit of water to the petals.

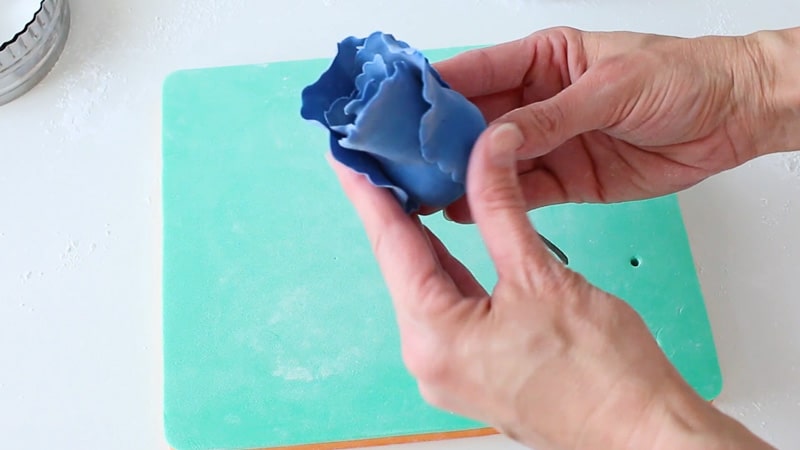
Add to the flower. It’ll help to add these holding the flower upside down. You’ll want the top of these petals to be about the same height of the previous row of petals.

Once you get the petals attached, you’ll want to hang it upside down while you work on the last round of petals.
Ok, now you’ll roll out more gumpaste very thin. This will be your last row. Yay!
Now you WON’T use the 6th and largest petal cutter. You’ll actually be going down a size from the previous row. So, you’ll be using the 4th size cutter and you’ll need to cut out 5 petals this time.
Next just thin and ruffle the edges of your petals.
Cut one side of each circle into a ‘V’ shape like you did in the previous row.
Sprinkle both rounded bowls with cornstarch and form the petals in each. Set aside to firm up for about 20 minutes. Don’t let them firm up completely, or when you go to attach them, they can shatter.
Next add some water to your petals.
Add to your flower. It helps to add them while holding your flower upside down. Also you’ll want the tops of these petals to be a bit lower than the previous row.
Adjust the petals if you need to.
Bend the wire and hang from a rack. You’ll need to let this dry at least overnight…preferably at least 24 hours.
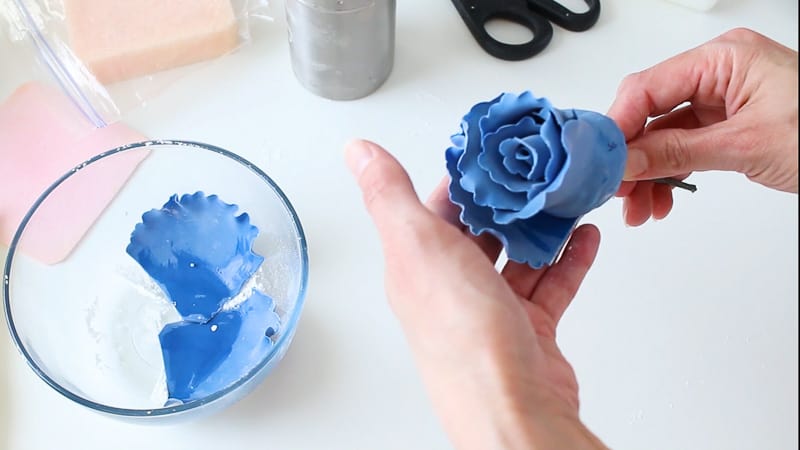
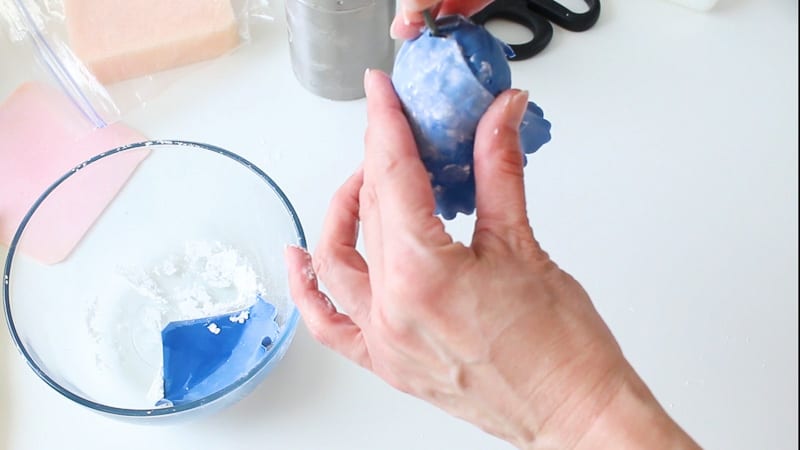
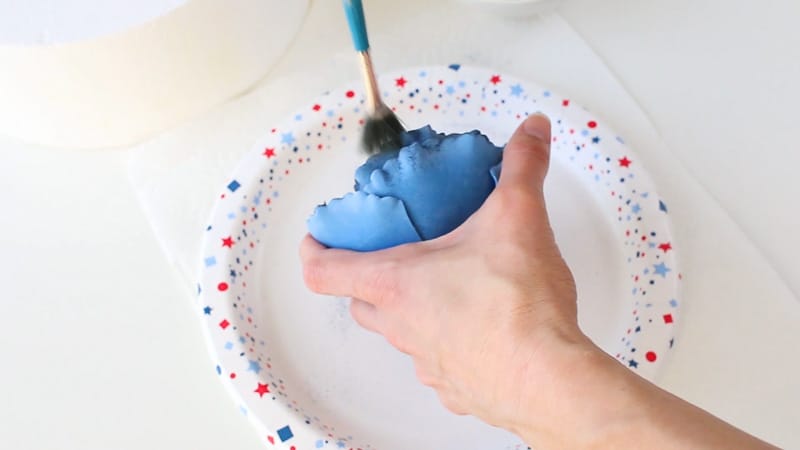
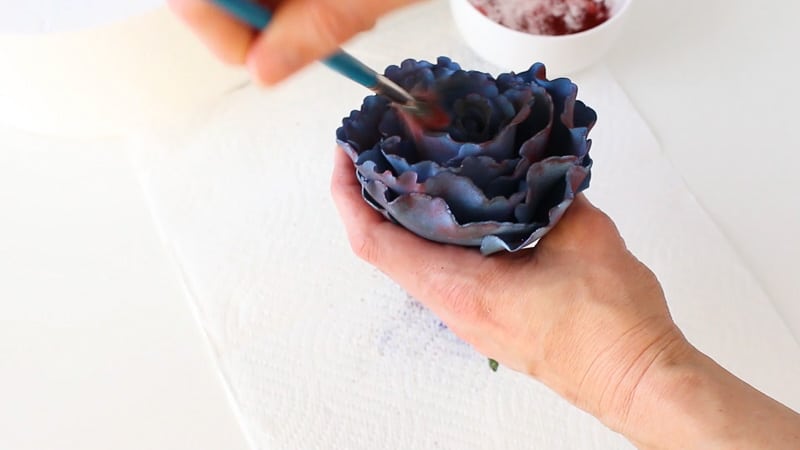
After your flower has fully dried, you can dust it with color.
I mixed blue glitter dust with a little bit of black petal dust to give it a blue smokey look.
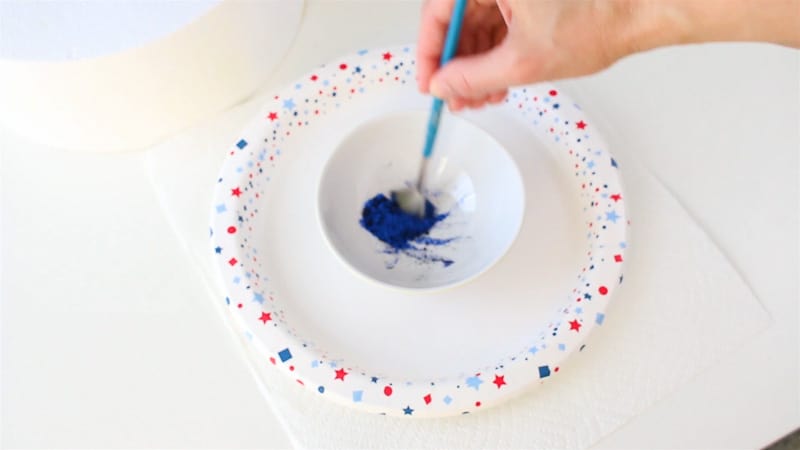
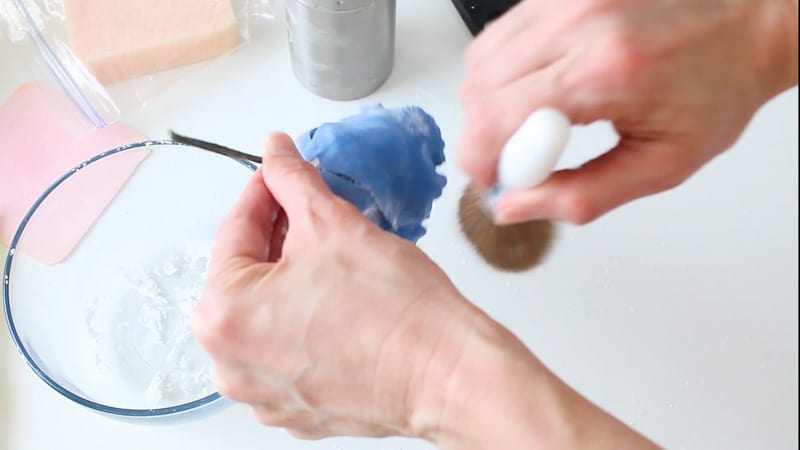
Just take a brush (used only for caking) and just add it to your rose in various places. I tried getting the edges more because I wanted the rose to have a sort of smokey look.

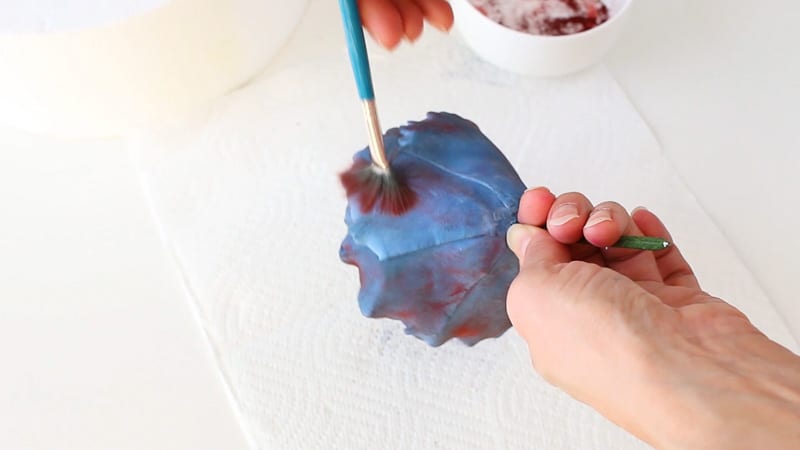
Once that was done, I added some burgundy here and there. Adding another color, especially an unexpected color, really gives the rose some depth.
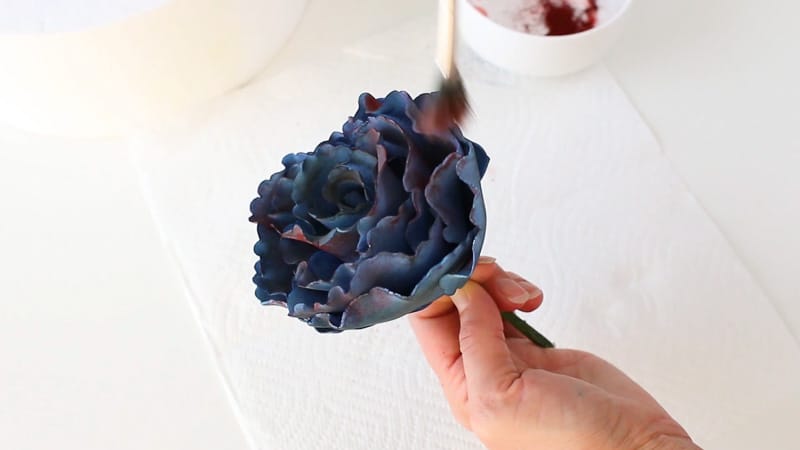
Finally, I had to add in some gold luster dust. I just brushed that on random areas for some sparkle.
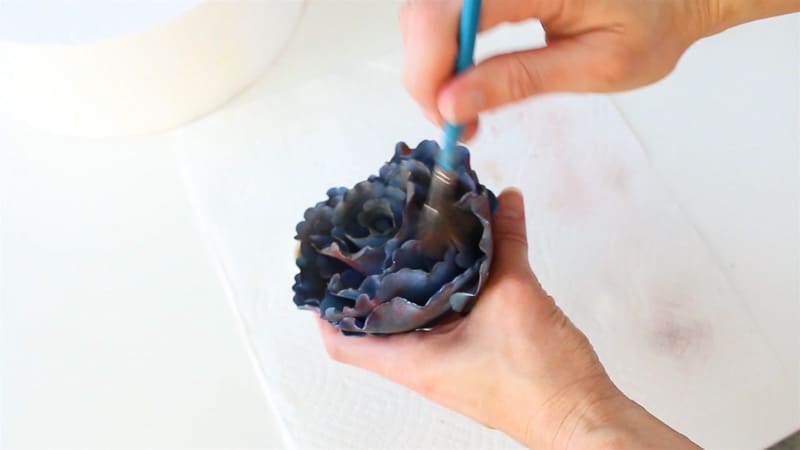
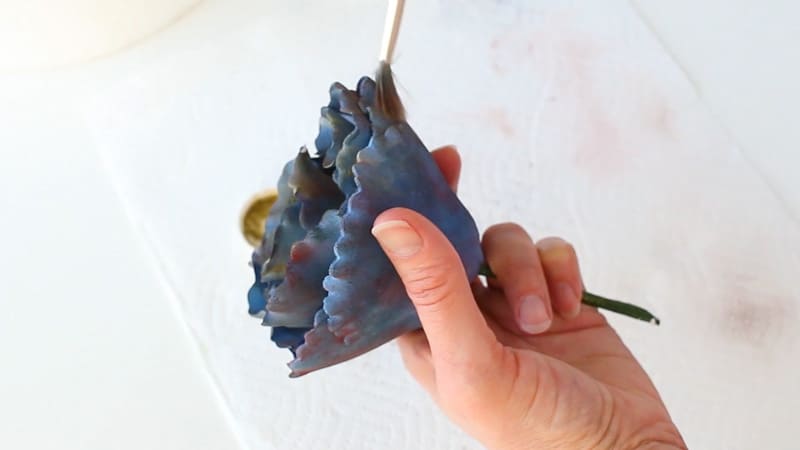
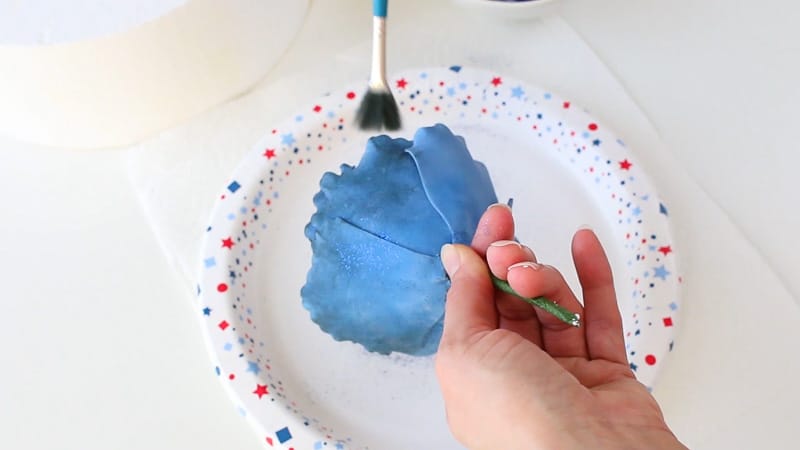
When you add dust to your flower, make sure to get the inside and outside of the petals.
Once you’ve dusted it, you can twirl your flower in front of a steamer, but just for a few seconds. This sets in the color and gives it a little sheen.
If you want to make some gumpaste rose leaves to go with it, you’ll want to check out this tutorial: How to Make Gumpaste Rose Leaves
Once I made the leaves and they were dry, I just mixed gold luster dust with a little lemon extract and painted the leaves a couple of coats.
You can then add dry gold luster dust to really make them shine, then steam them.
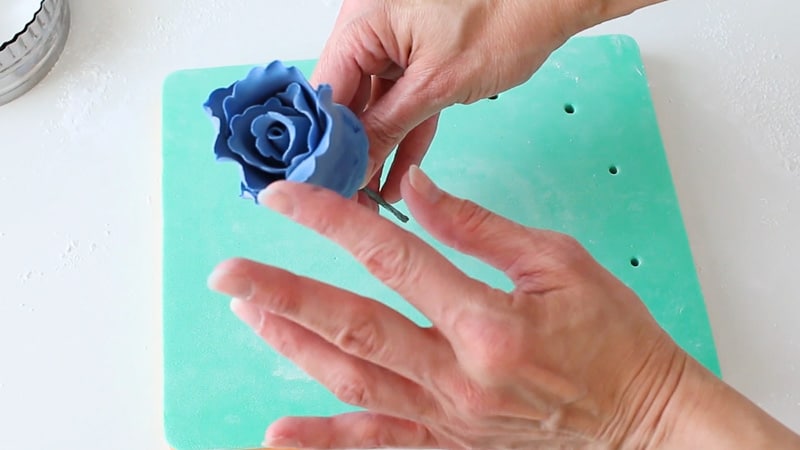
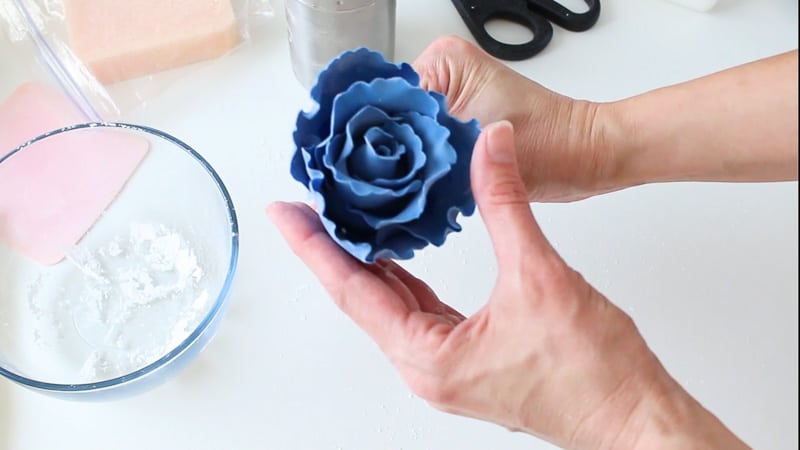
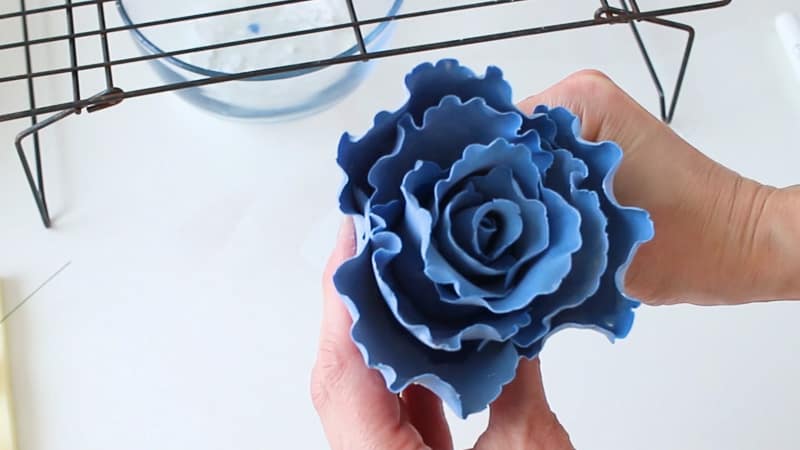
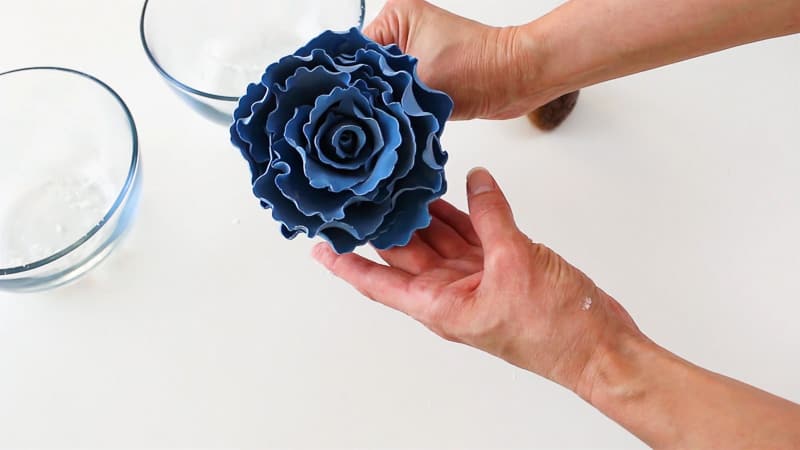
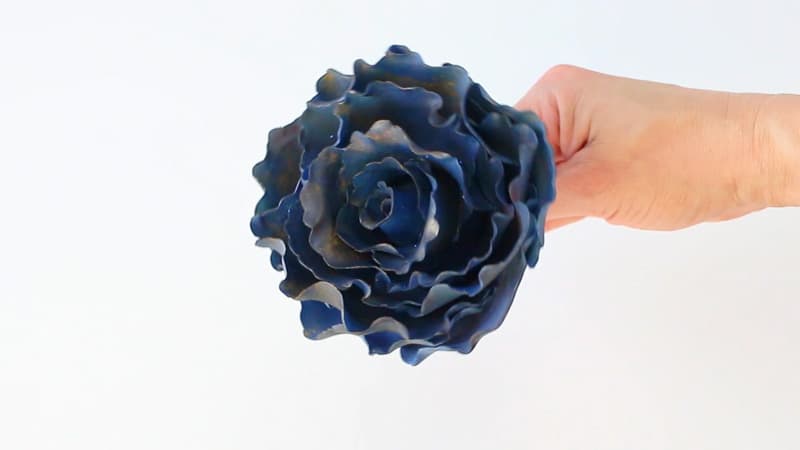
And you’re all done and ready to add to your cake!

So pretty right? And it’s not the ‘normal’ gumpaste rose either!
And here’s the video to show how it’s done:
Don’t forget to grab the printable reference guide below!

Related & Helpful Links:
- How to Make a Large Gumpaste Rose
- How to Make Gumpaste Rose Leaves
- How to Make a Gumpaste Rainbow Peony
Ok let me know what you think and if you try it!
Don’t Forget to Pin it for Later!
ss
Hi
This looks absolutely beautiful! I’m hoping to attempt it this weekend, are you able to let me know approx how much gumpaste you used?
Kara Jane
I used about a good handful. I know that’s not really a true measurement, but I hope it helps! Let me know how it goes! 🙂
Ss
Thank you so much for responding. I’m sorry to bother you, but I have one more question. I don’t have a hot glue gun. Can I use super glue instead?
Kara Jane
It’s no bother at all! Yes I think super glue would work fine. Just make sure that part is covered with fondant and it doesn’t touch the cake in any way and I think that should work fine. Oh and also that no one tries to actually eat the flower. You would be surprised how many people try to eat them. Most gumpaste flowers have wires and some have styrofoam, like this one, but sometimes people will try to sneak in a bite!
Ss
Lol thanks so much for the tip!
Kara Jane
You’re so welcome!
Ss
Thank you so much for your help! I was really happy with how it turned out. Just one question, I had no idea how heavy it would be.. Lol do you have a tutorial on how to insert it into the cake??
Kara Jane
I’m so glad it turned out well for you and oh yeah, those gumpaste flowers can get a bit heavy. I don’t have a tutorial on the blog for inserting them. I do have several videos in my basic cake course for inserting sugar flowers and faux flowers, but it’s inside my course. I’ll explain a little here and hopefully it’ll help. Normally what I do is make sure the stem is trimmed if it’s too long. I just use wire clippers for that. I also cover the wires with floral tape. You don’t want to stick that directly into the cake, so what I do is just use a regular straw, or a bubble tea straw if the wires are really thick. I trim the straw, so it’s not taller than the cake, then insert the straw into the cake. Sometimes I even squirt in some melted chocolate or candy melts into it, but just a small amount because that’ll squish out when you insert the stem of the flower. Next I just hold the flower (a bit lower than the base) with some needle nose pliers and then push it into the straw. This method seems to work for me. Hope it helps!
ss
Thanks so much for your response, I did something similar to that. Glad to know I was on the right track!!
Kara Jane
Oh good! Hope it went well enough for you and didn’t crush the cake!