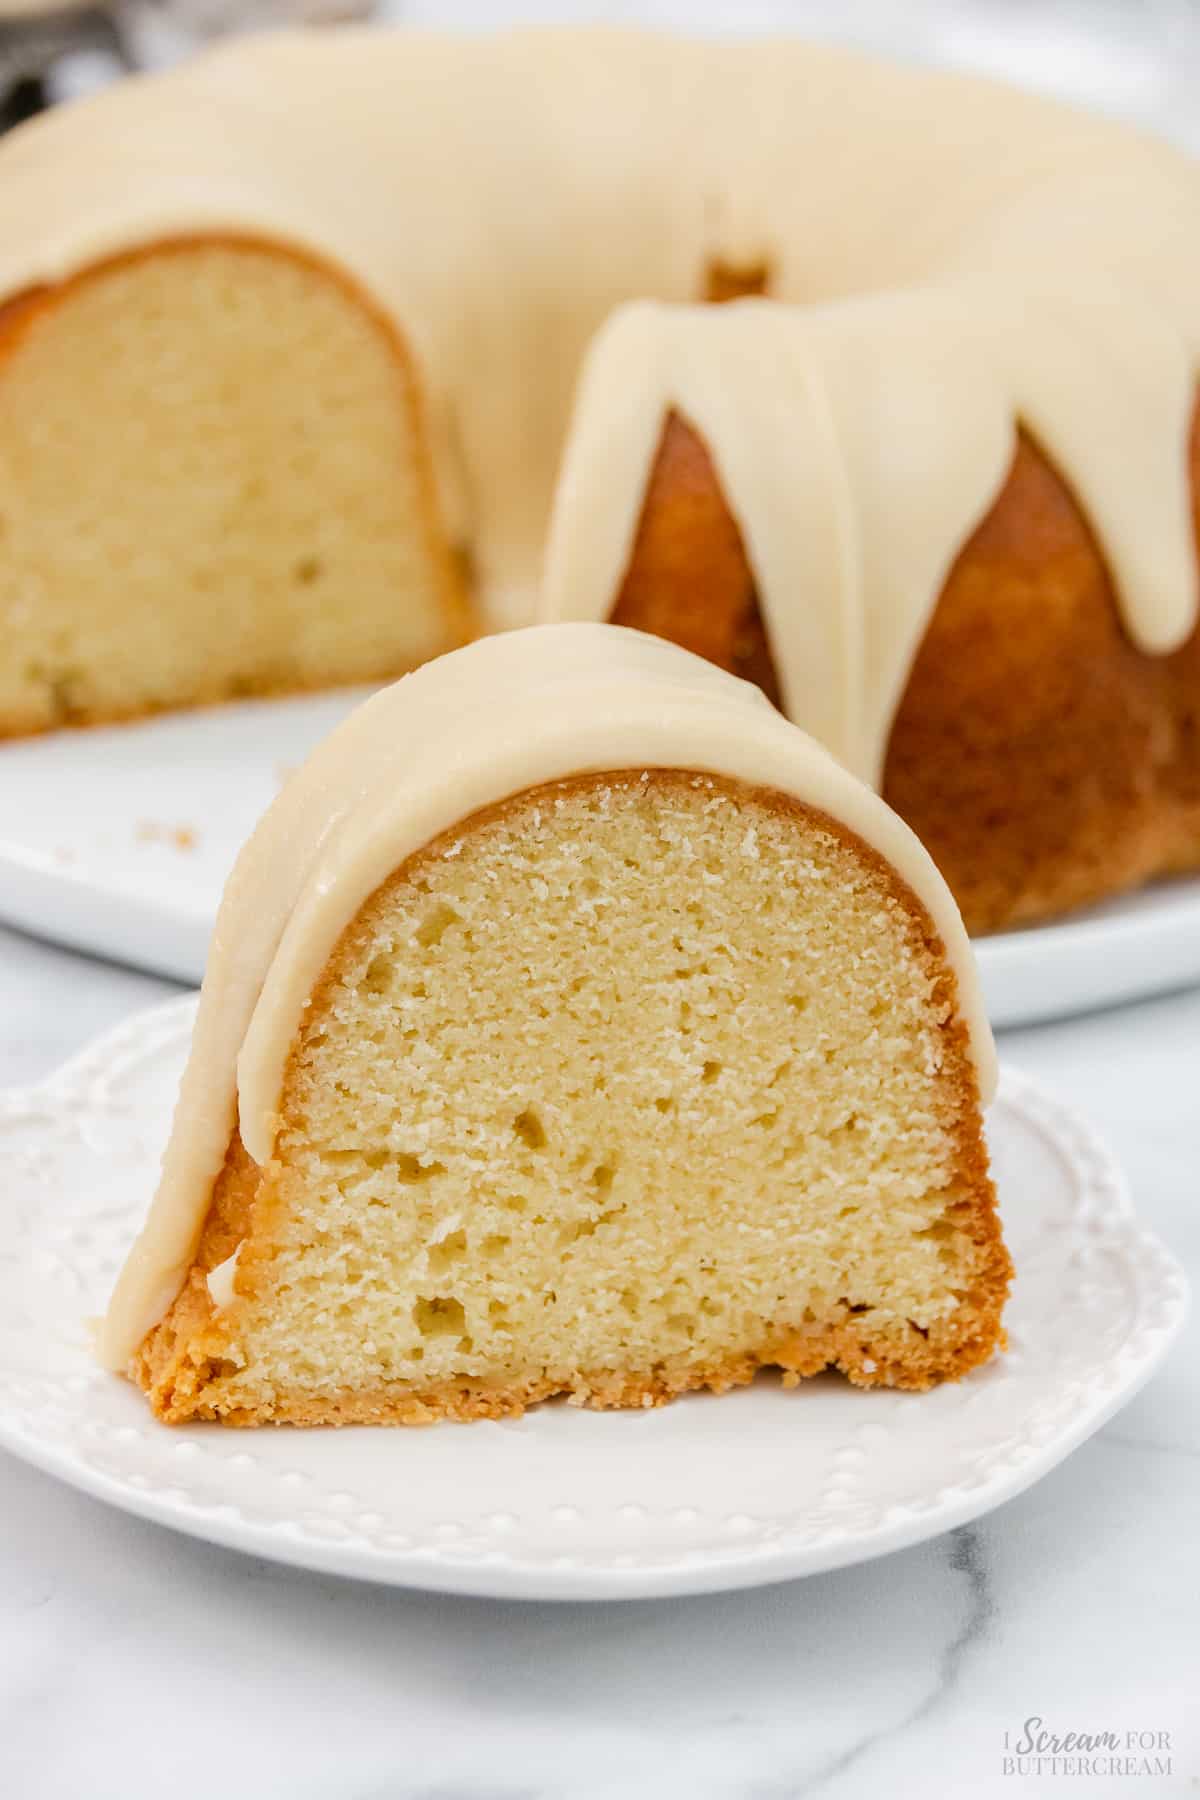
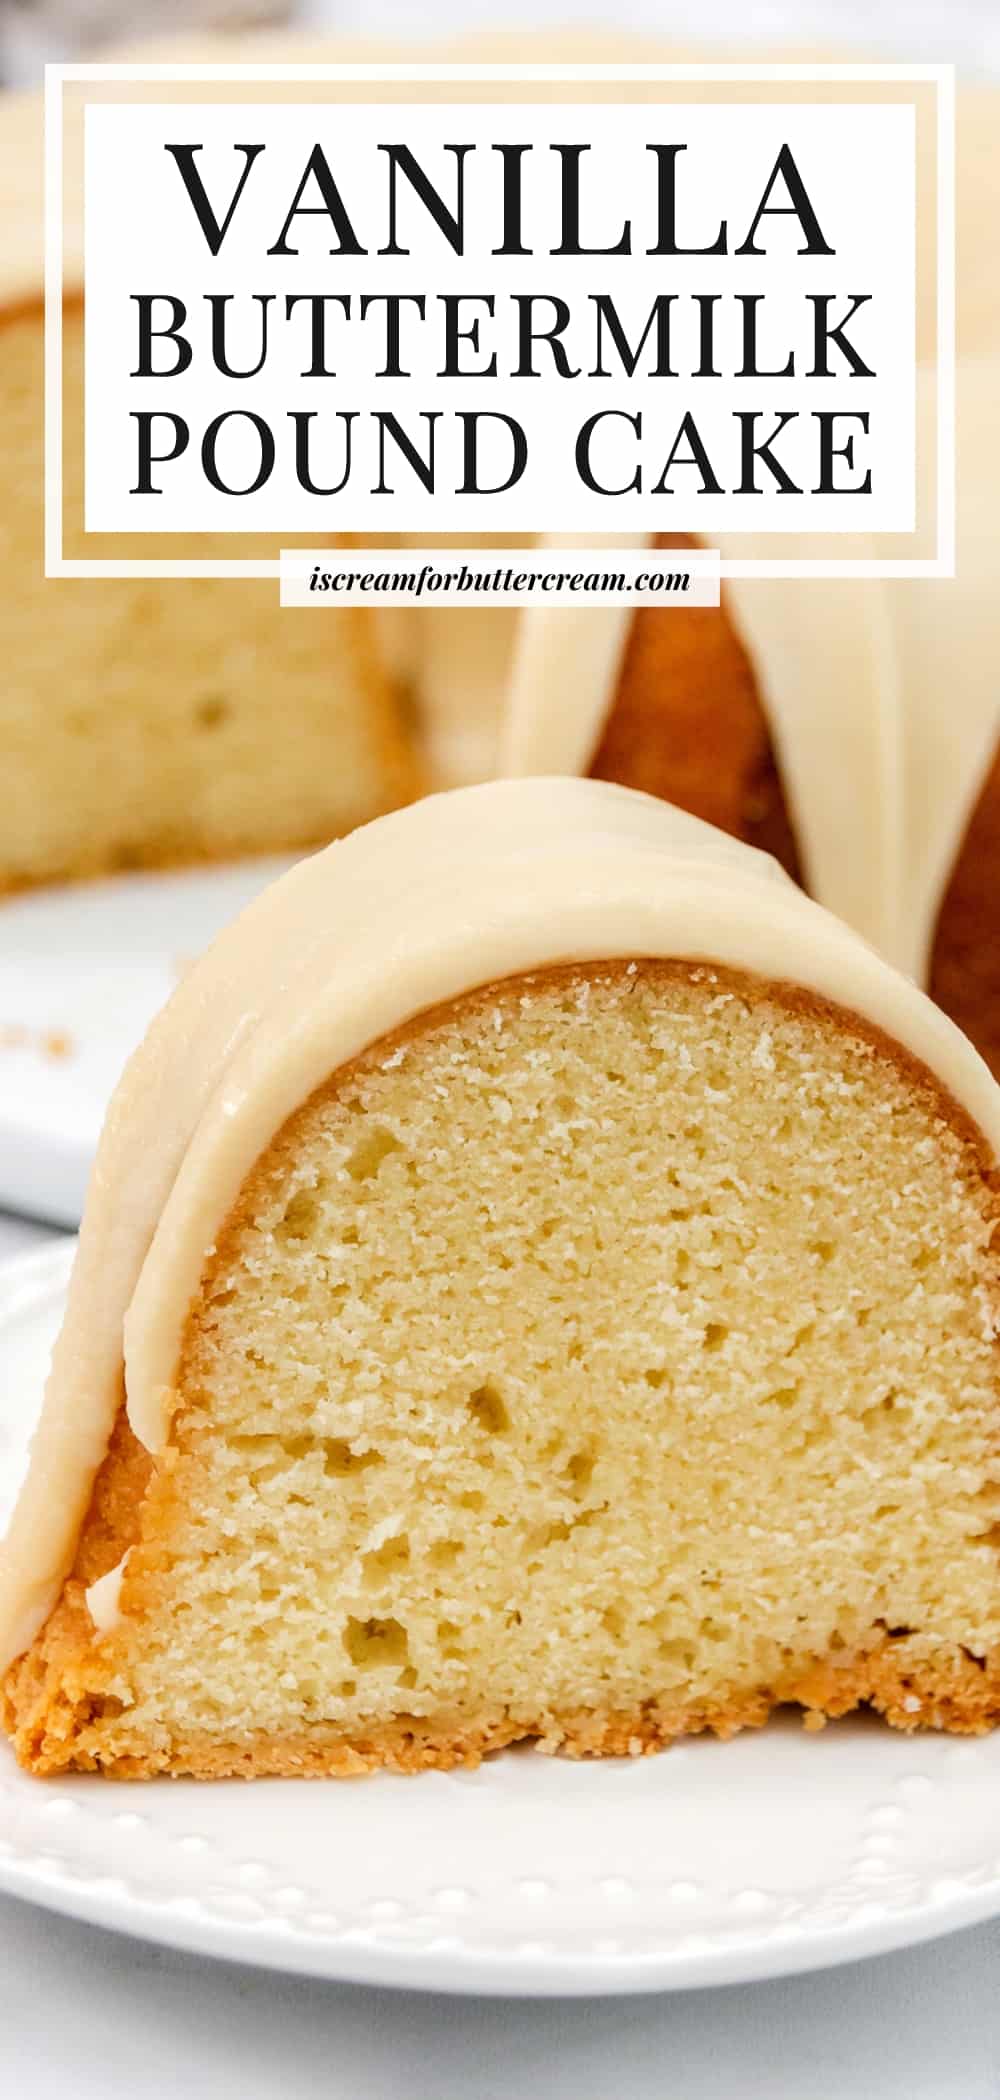
This vanilla buttermilk cake is the perfect combination of the classic pound cake texture that’s more richly dense with a full vanilla buttery flavor, topped with a vanilla buttermilk glaze.
It’s a homemade scratch pound cake that’s just the perfect combination of the classic pound cake texture with a full vanilla buttery flavor, topped off with a rich vanilla buttermilk glaze.
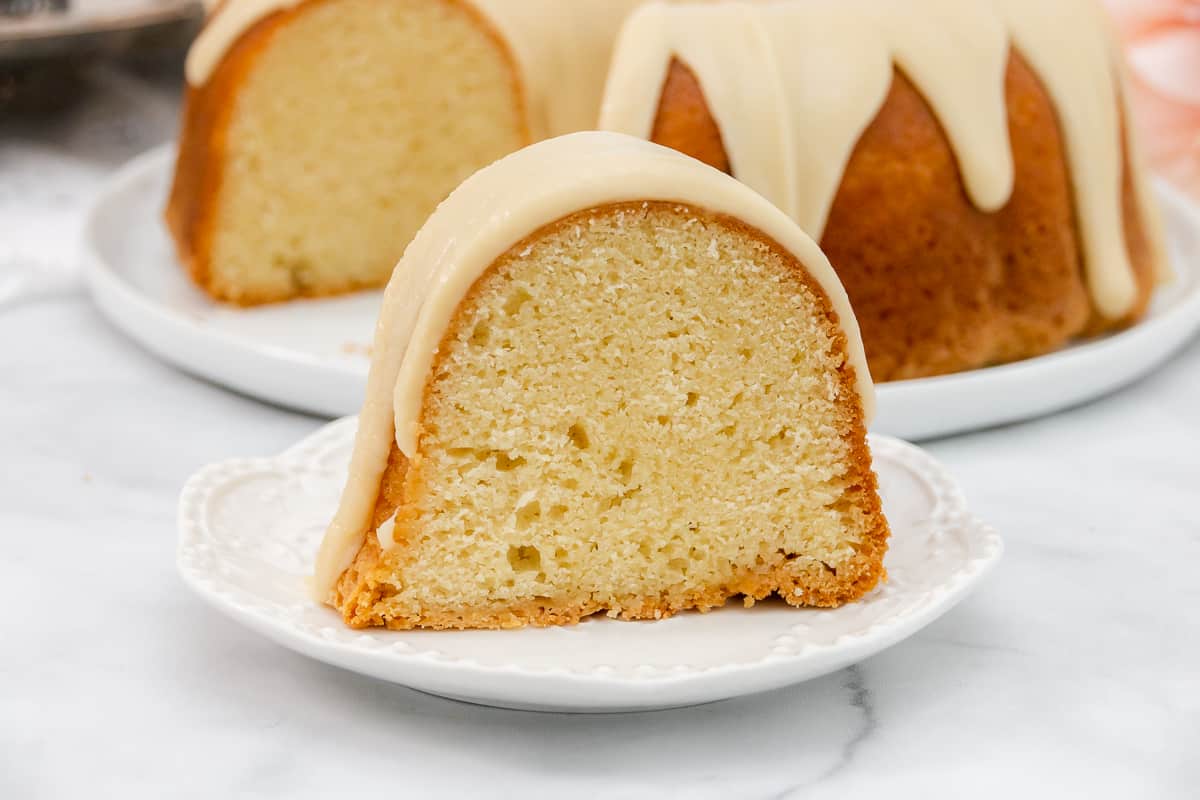
Now, if you’re looking for a light and airy, or a more fluffy type of cake, this one isn’t for you. This one is a classic Southern buttermilk pound cake that’s moist, but with a more dense texture, like pound cakes are meant to be.
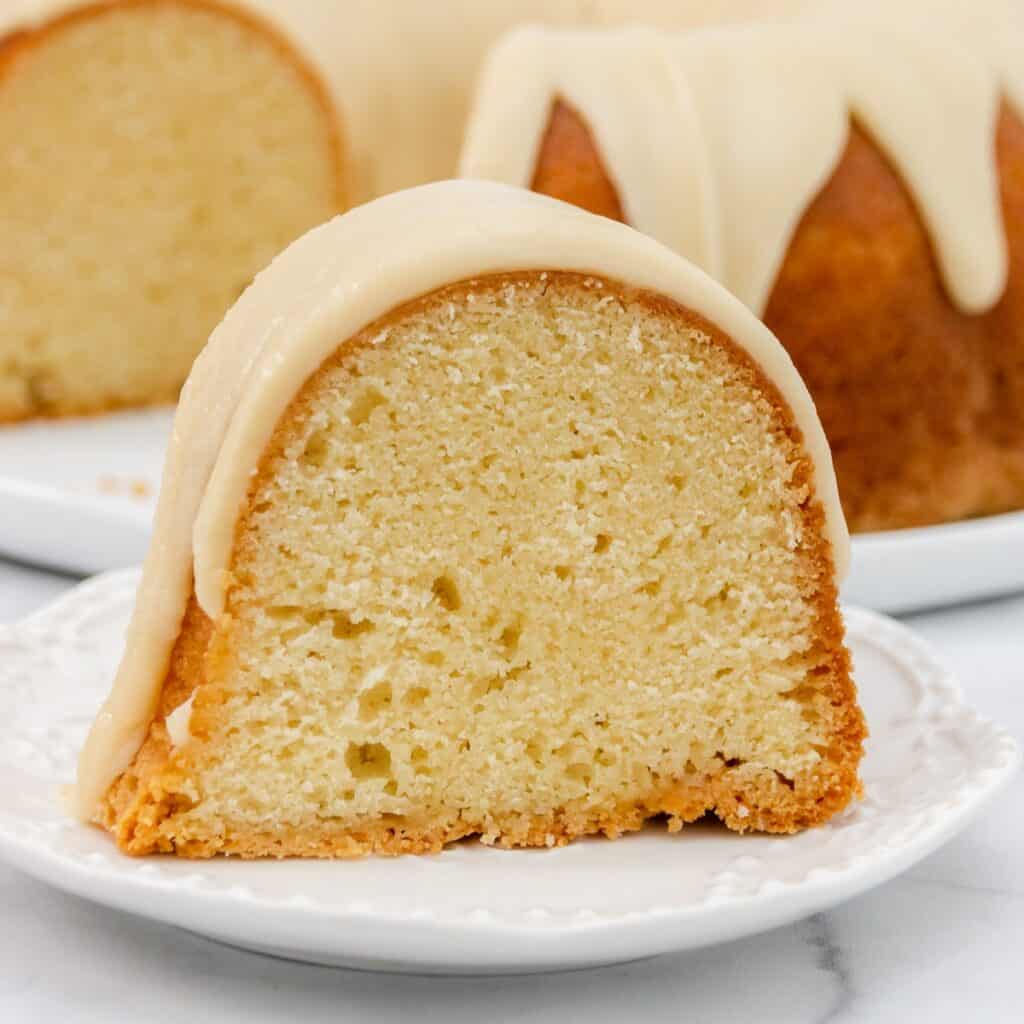
What’s great about this cake?
- It’s a simple old-fashioned pound cake, but full of vanilla flavor.
- It looks beautiful on your table.
- It’s customizable. If you don’t want to use the buttermilk glaze, you can just add a sprinkling of powdered sugar, maybe a cream cheese glaze, or with fruit and whipped cream.
- It’s also perfect to use for strawberry shortcake.
Main ingredient notes:
Now let's talk a little about just some of the ingredients in this pound cake recipe. (The printable list of all ingredients are in the recipe card below.)
All-Purpose Flour: This provides the structure and texture for the cake.
Buttermilk: This is the star ingredient and adds a tangy richness and ensures a moist crumb.
Vanilla Extract: This gives the cake a nice warm vanilla flavor.
Unsalted Butter: Butter gives richness and flavor to the cake and the fat helps keep it moist.
Eggs: Eggs give the cake its structure and overall texture.
Sugar: Sugar adds sweetness and it actually contributes to the cake’s tender and moist texture.
Salt: Don’t omit the salt! It balances the flavors and enhances the overall taste.
(Make sure to check out the FAQ section below in this post for ingredient and substitution questions.)
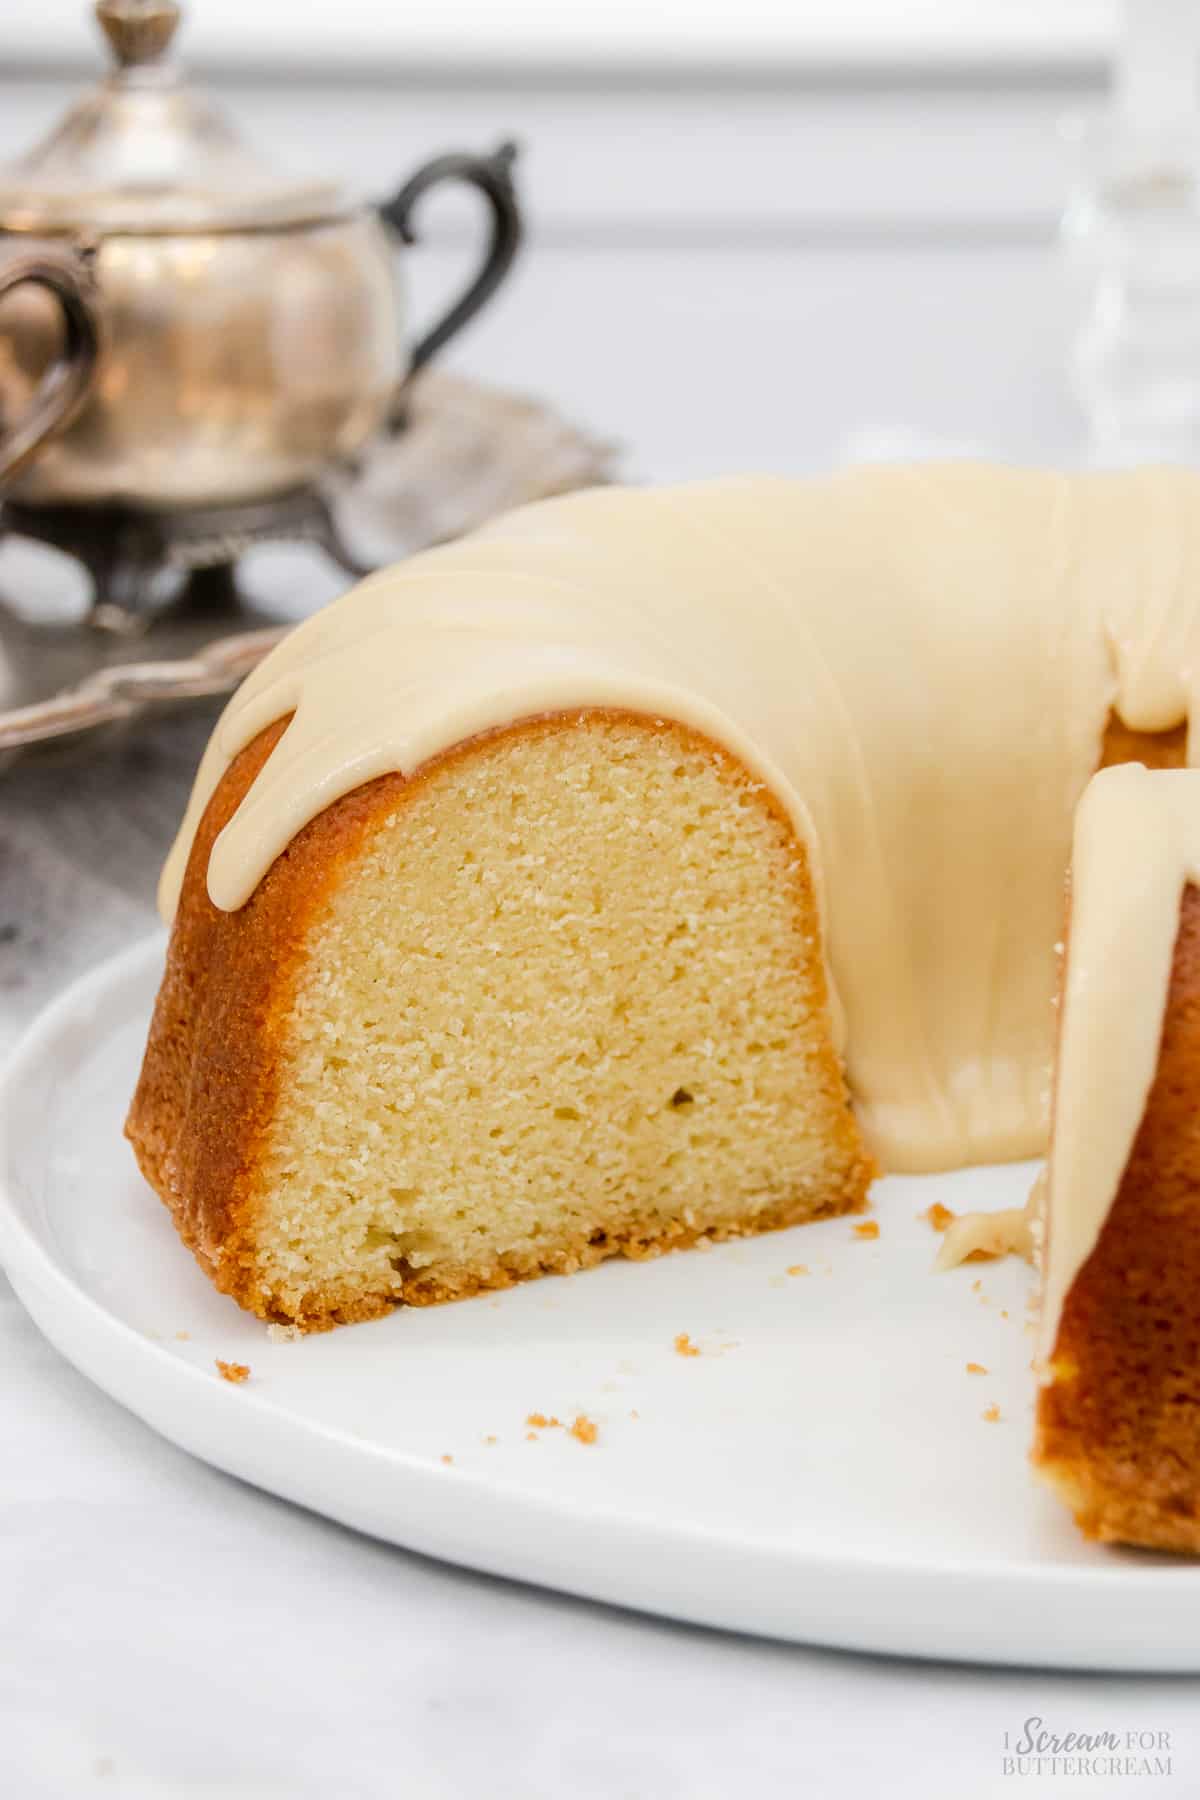
How to make this cake:
Let's talk a little about how to make this Southern vanilla buttermilk pound cake. (The printable instructions are in the recipe card below.)
Step 1:
The first thing you want to do is to grease and flour a bundt pan well and set the oven to 325 degrees F.
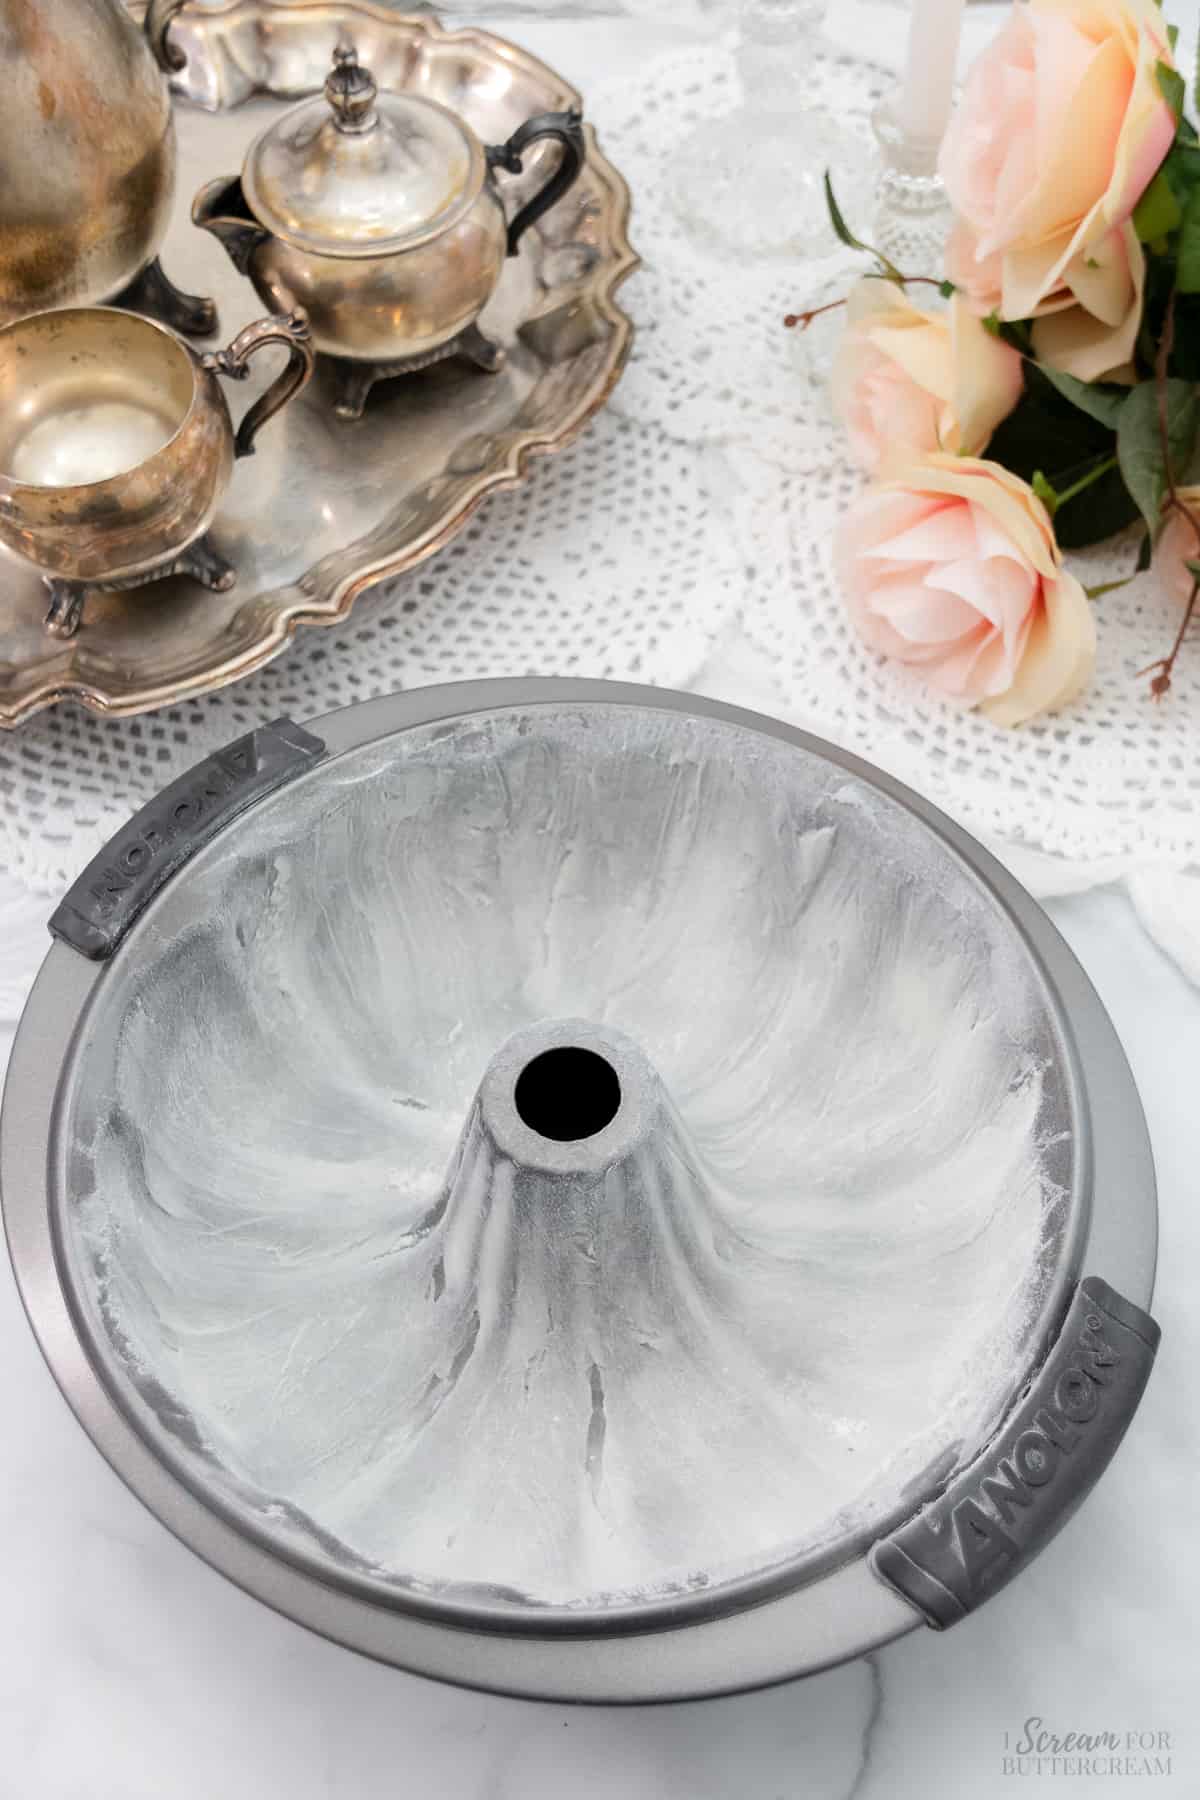
Step 2:
Next, in a large mixing bowl, add the flour, salt, baking powder and baking soda. Whisk well and set aside.
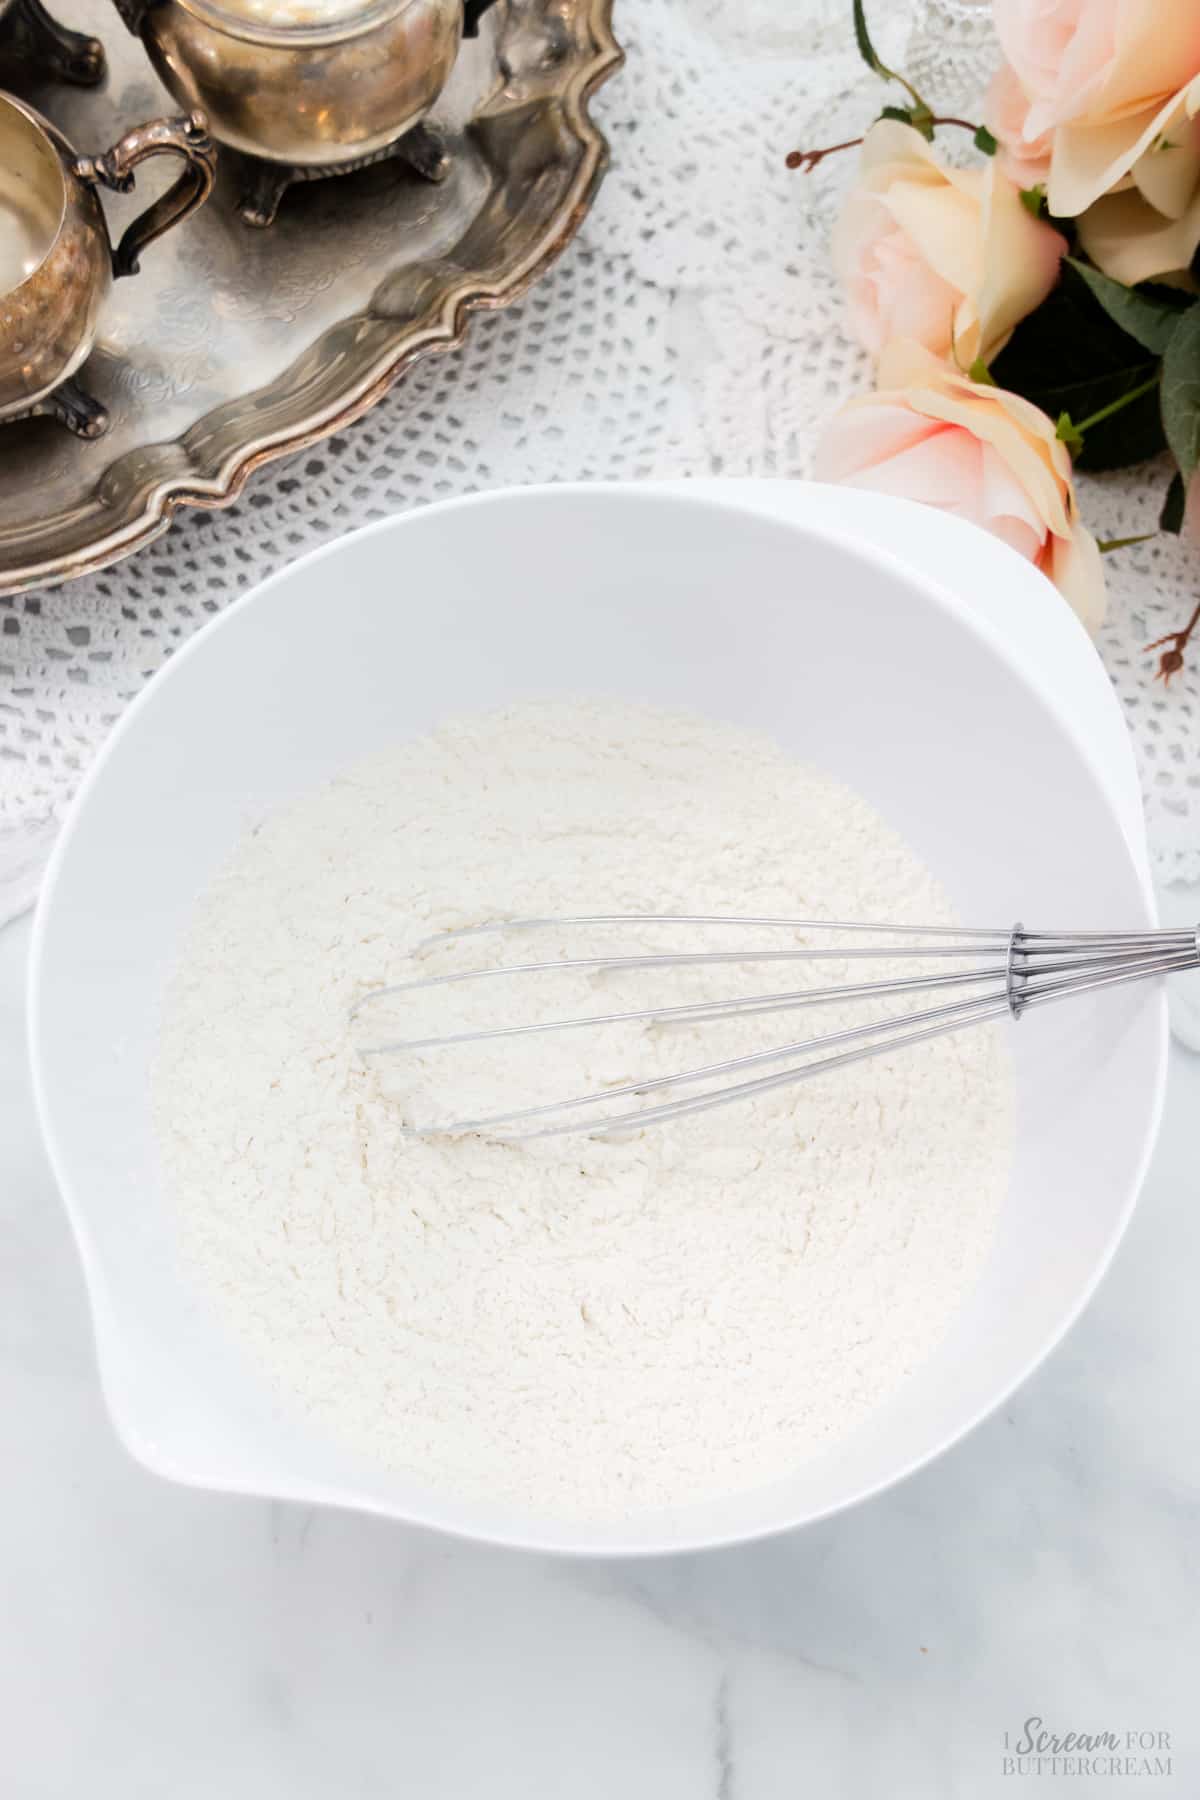
Step 3:
Now, in another bowl, add the buttermilk, vanilla extract and vegetable oil. Whisk well and set aside.
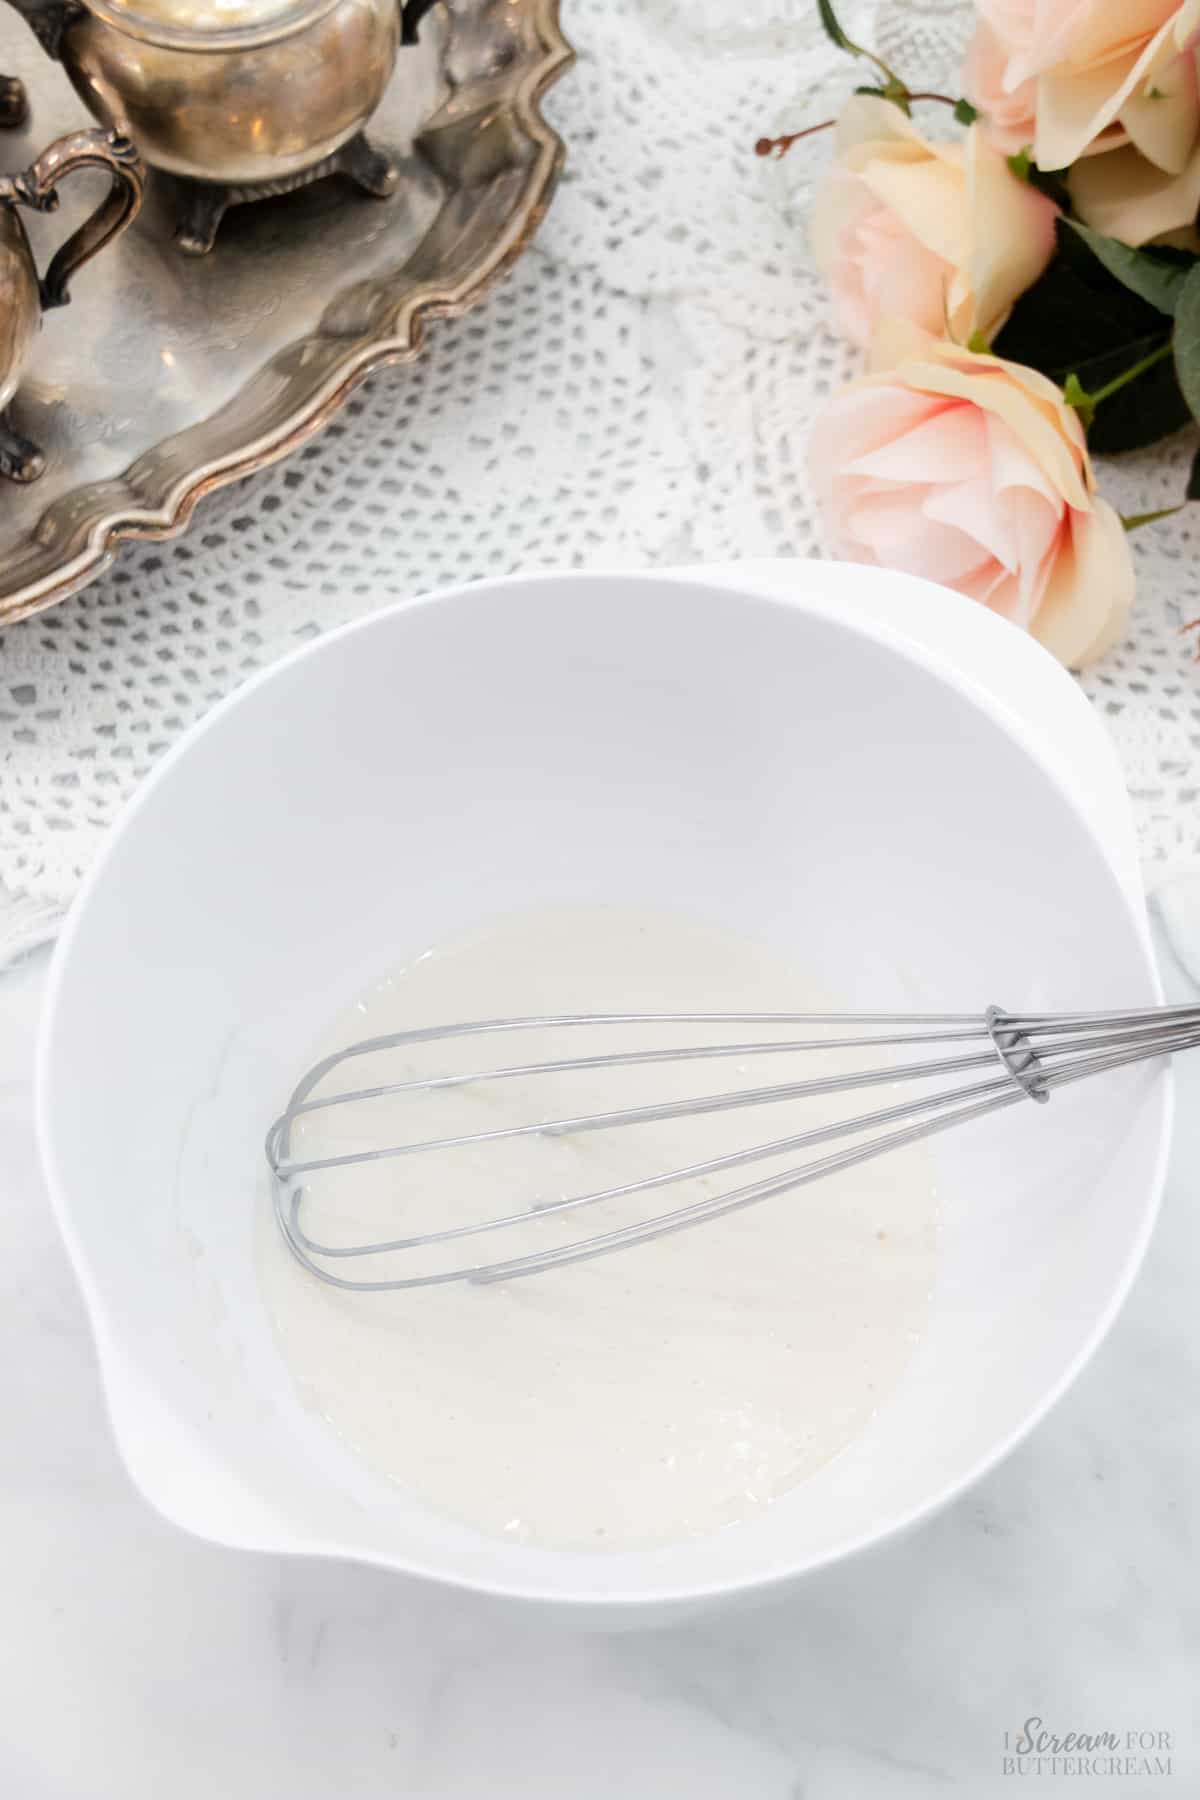
Step 4:
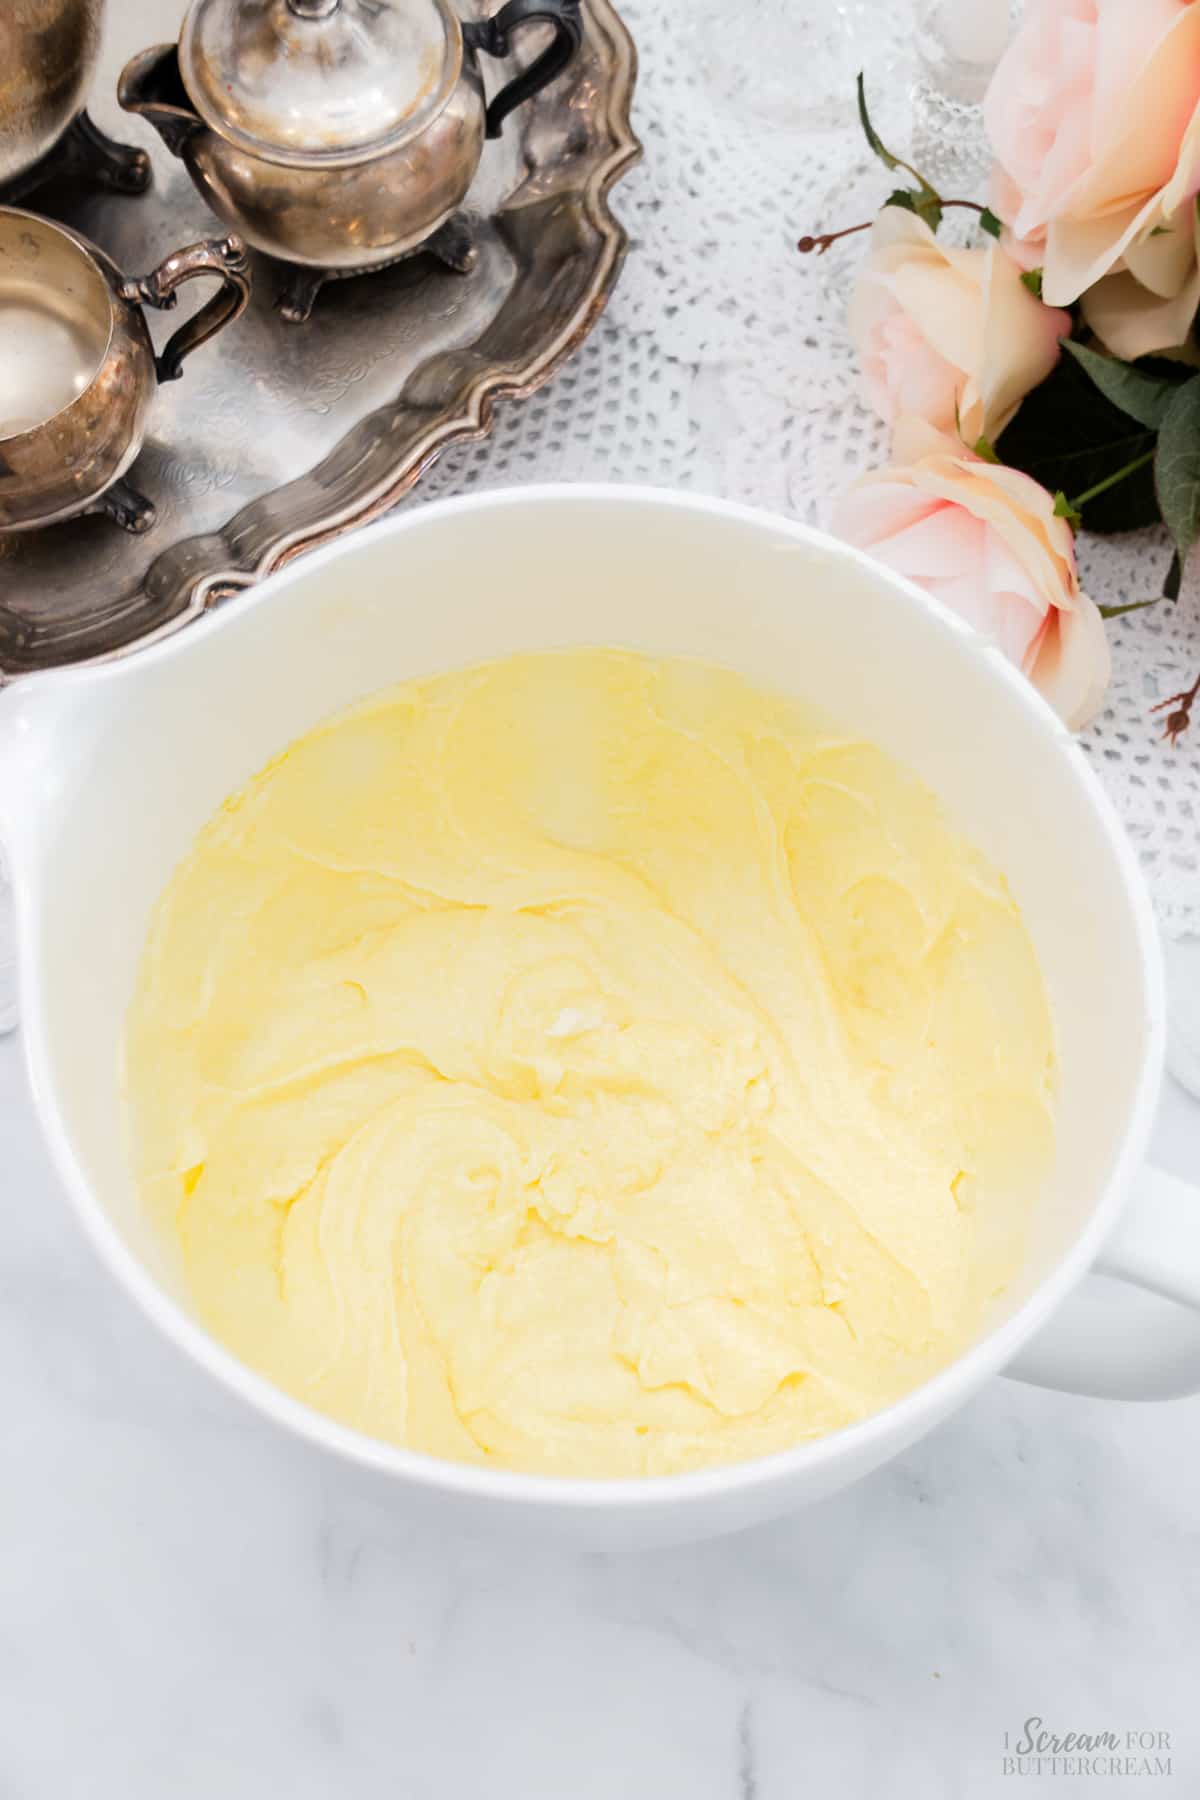
Next, add the butter and sugar to a large mixing bowl and mix on medium-high for 3-4 minutes until light and fluffy.
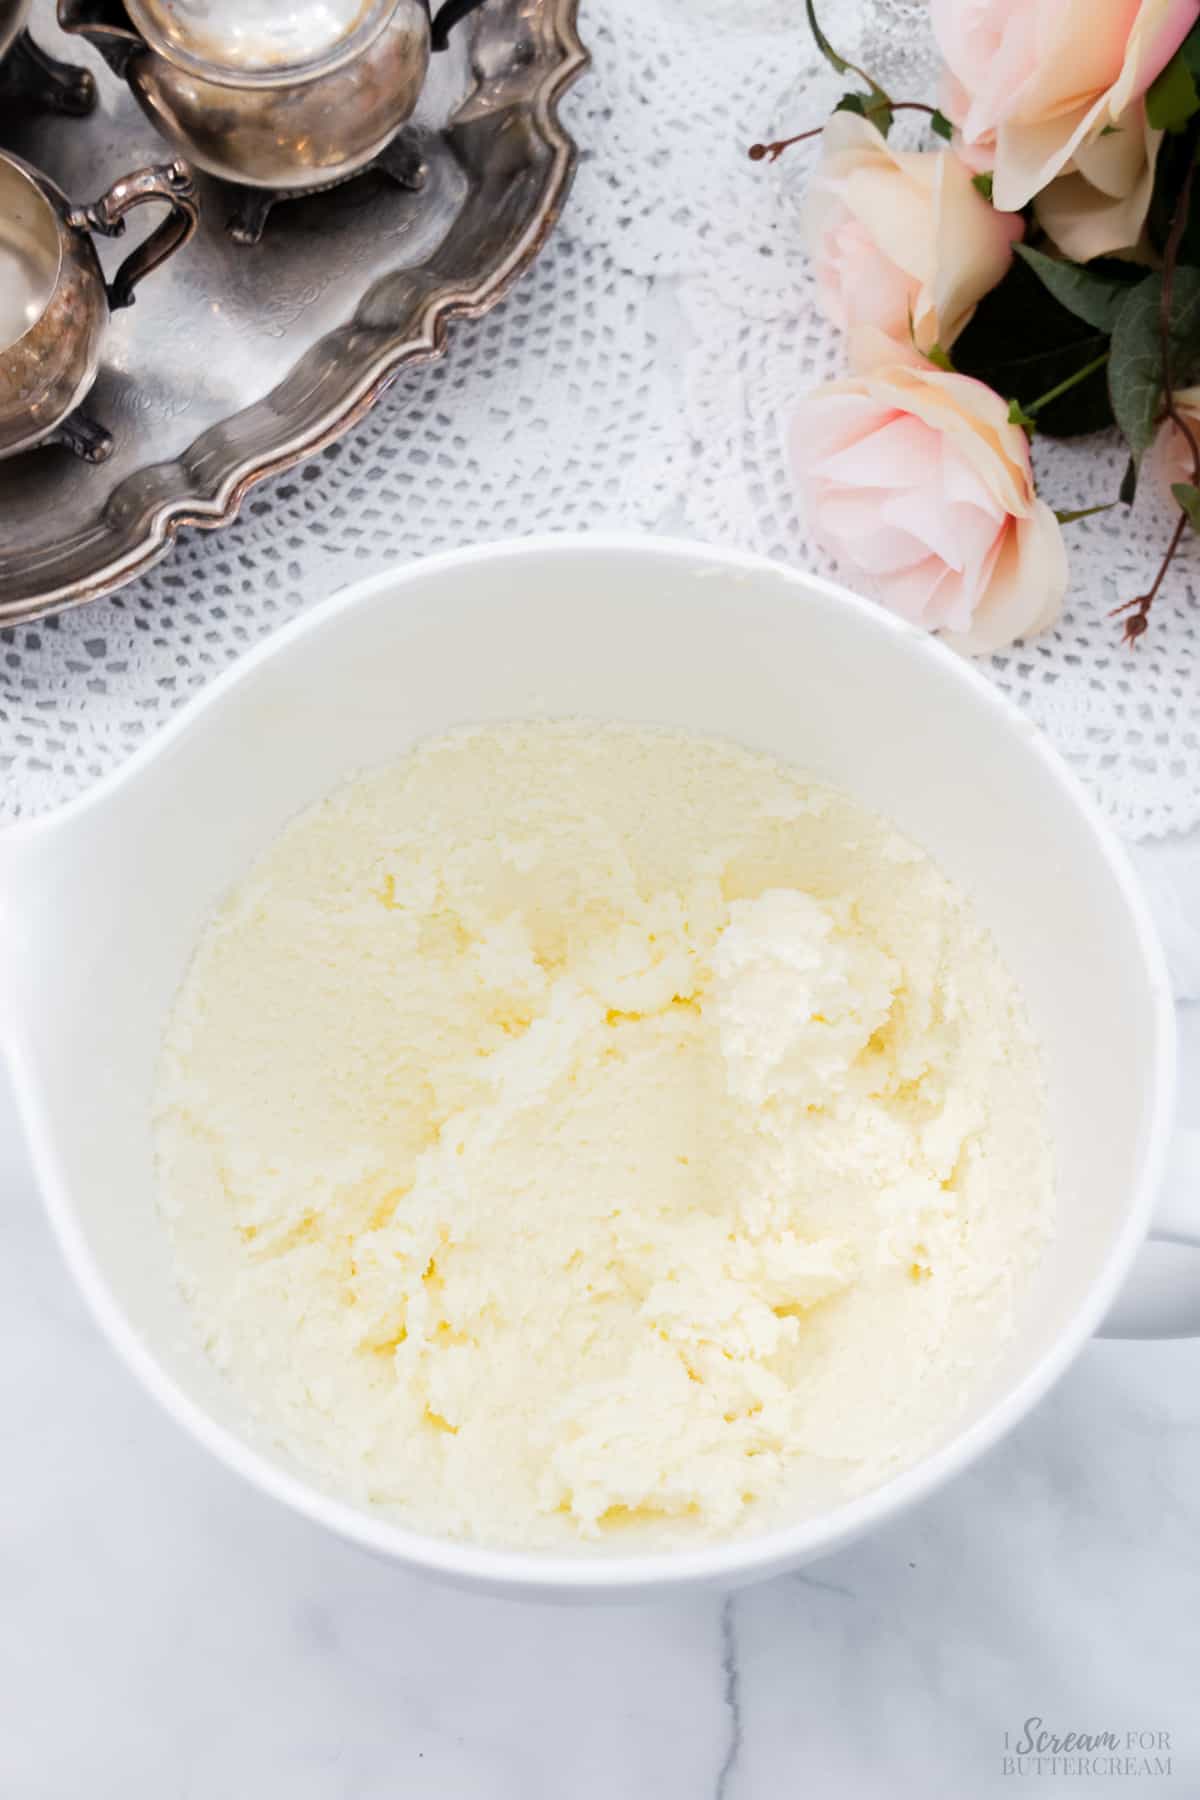
Step 5:
Now, add the eggs, one at a time, mixing on medium speed for about 15-20 seconds after each egg.
Step 6:
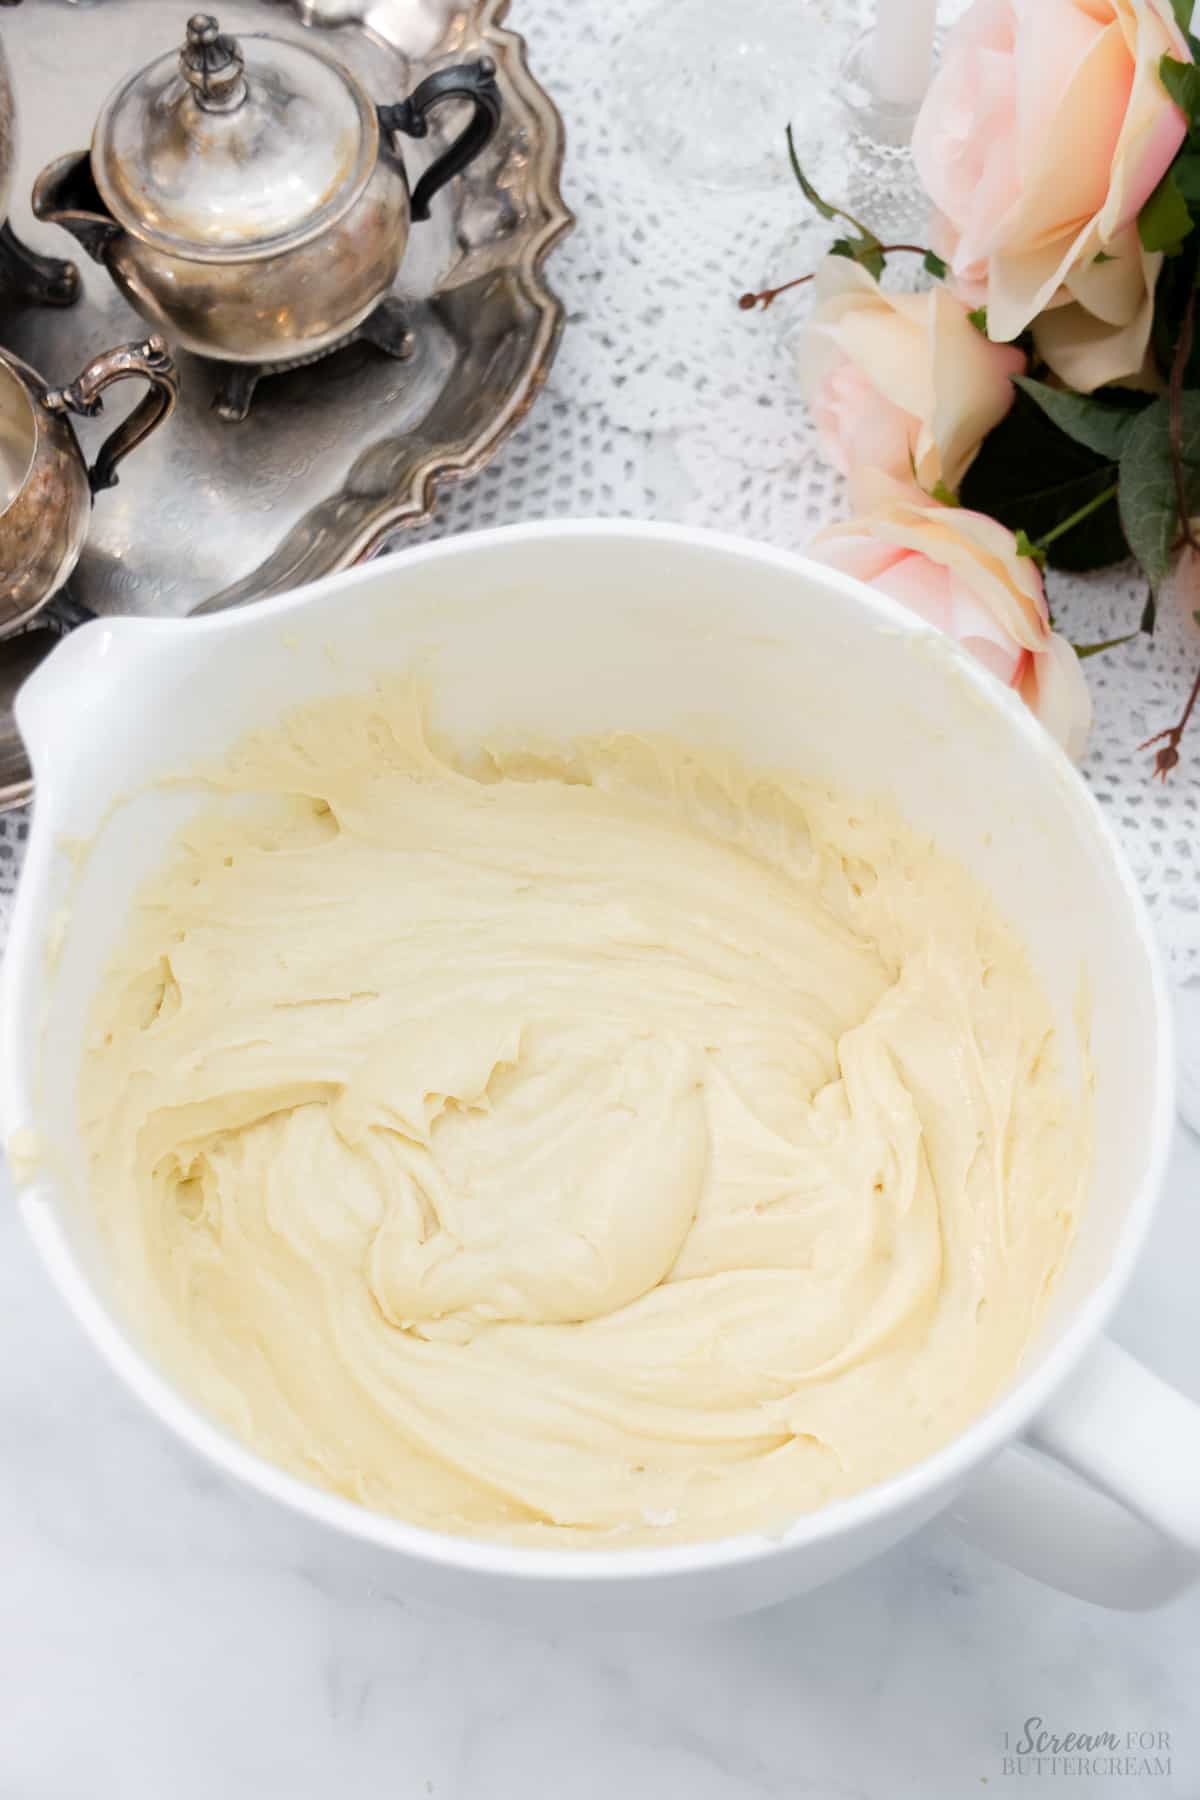
Alternately add in the dry mixture and the liquid mixture to the butter mixture, starting and ending with the dry mixture.
You want to start and end with the dry mixture. The recipe card will give you specific amounts and instructions on how to do this.
You also want to be very careful not to mix the batter very long or the cake will turn out super dense, dry and rubbery.
Step 7:
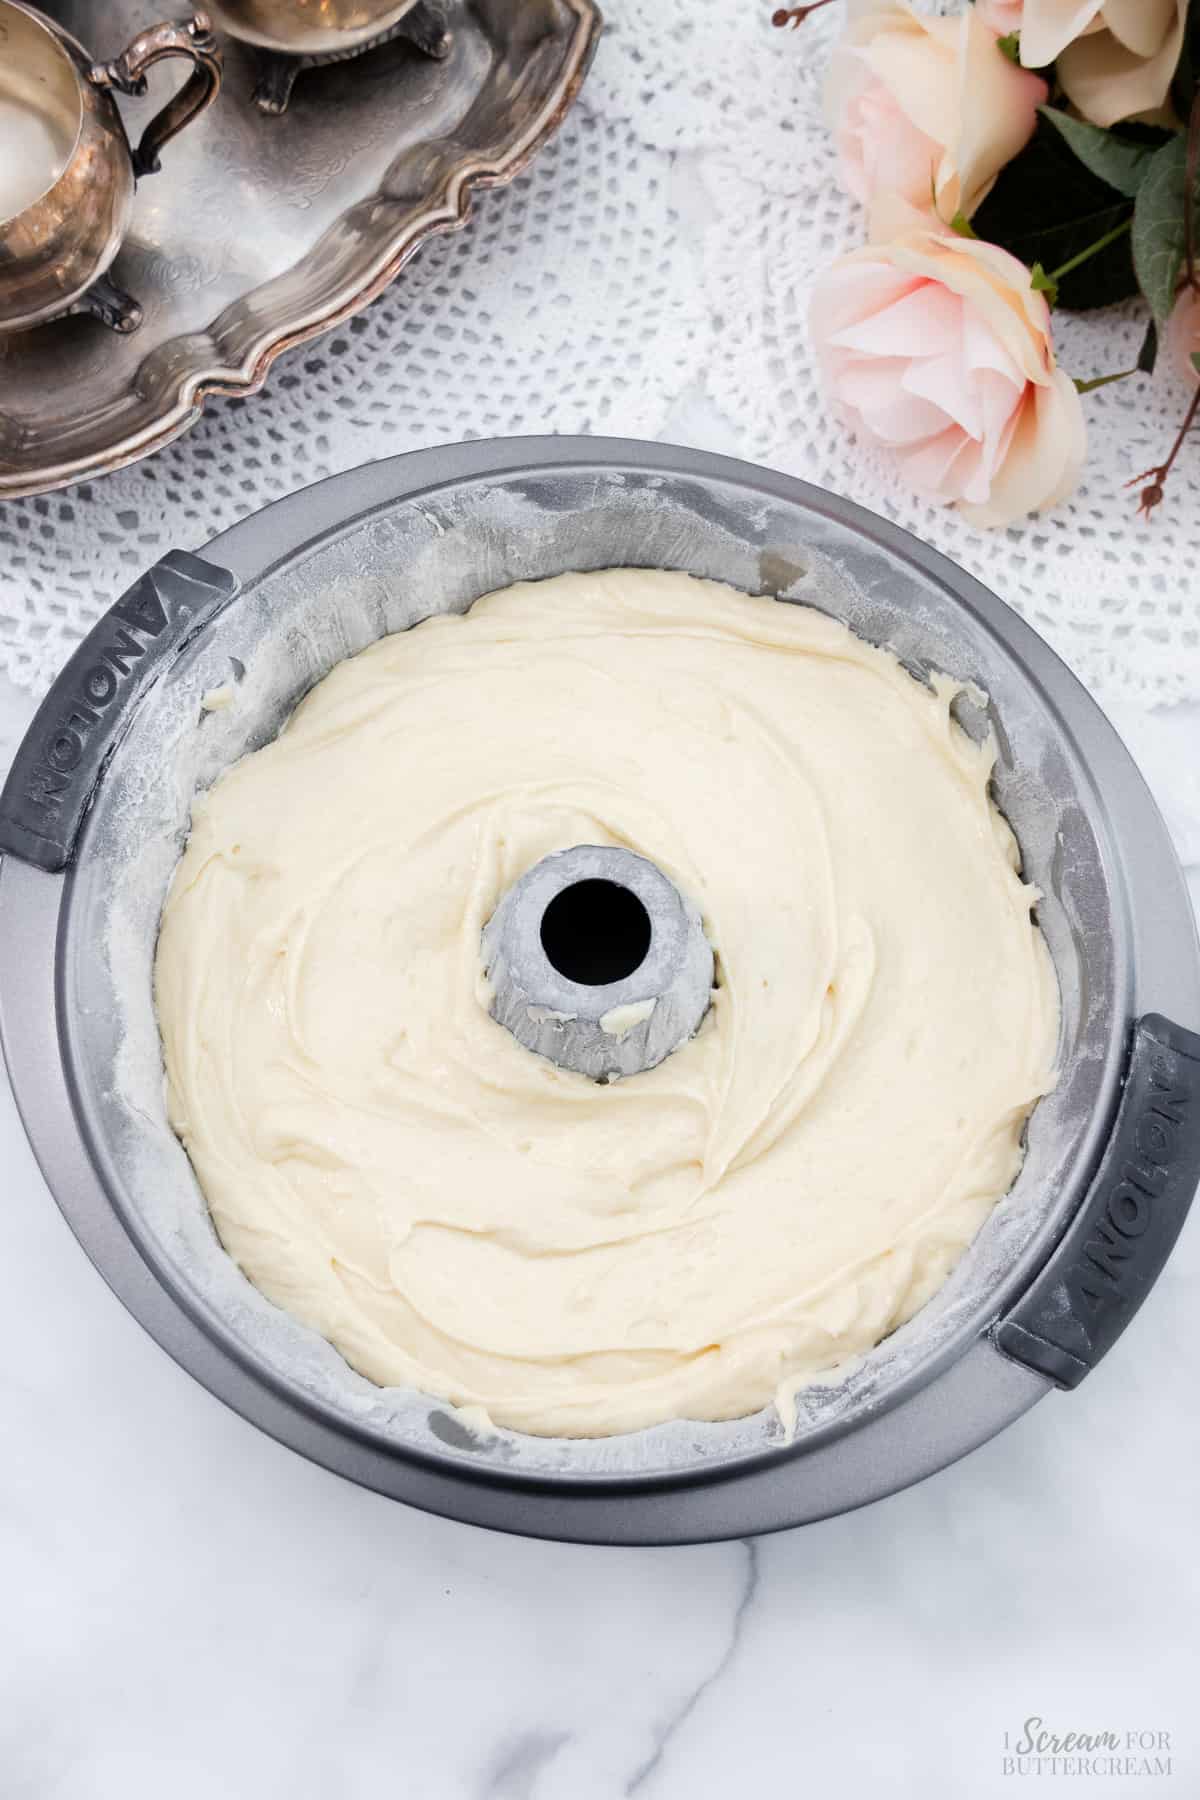
Now, pour the prepared batter into the prepared pan and bake at 325 degrees F for approximately 1 hour to 1 hour 10 minutes. Please note that ovens vary.
Step 8:
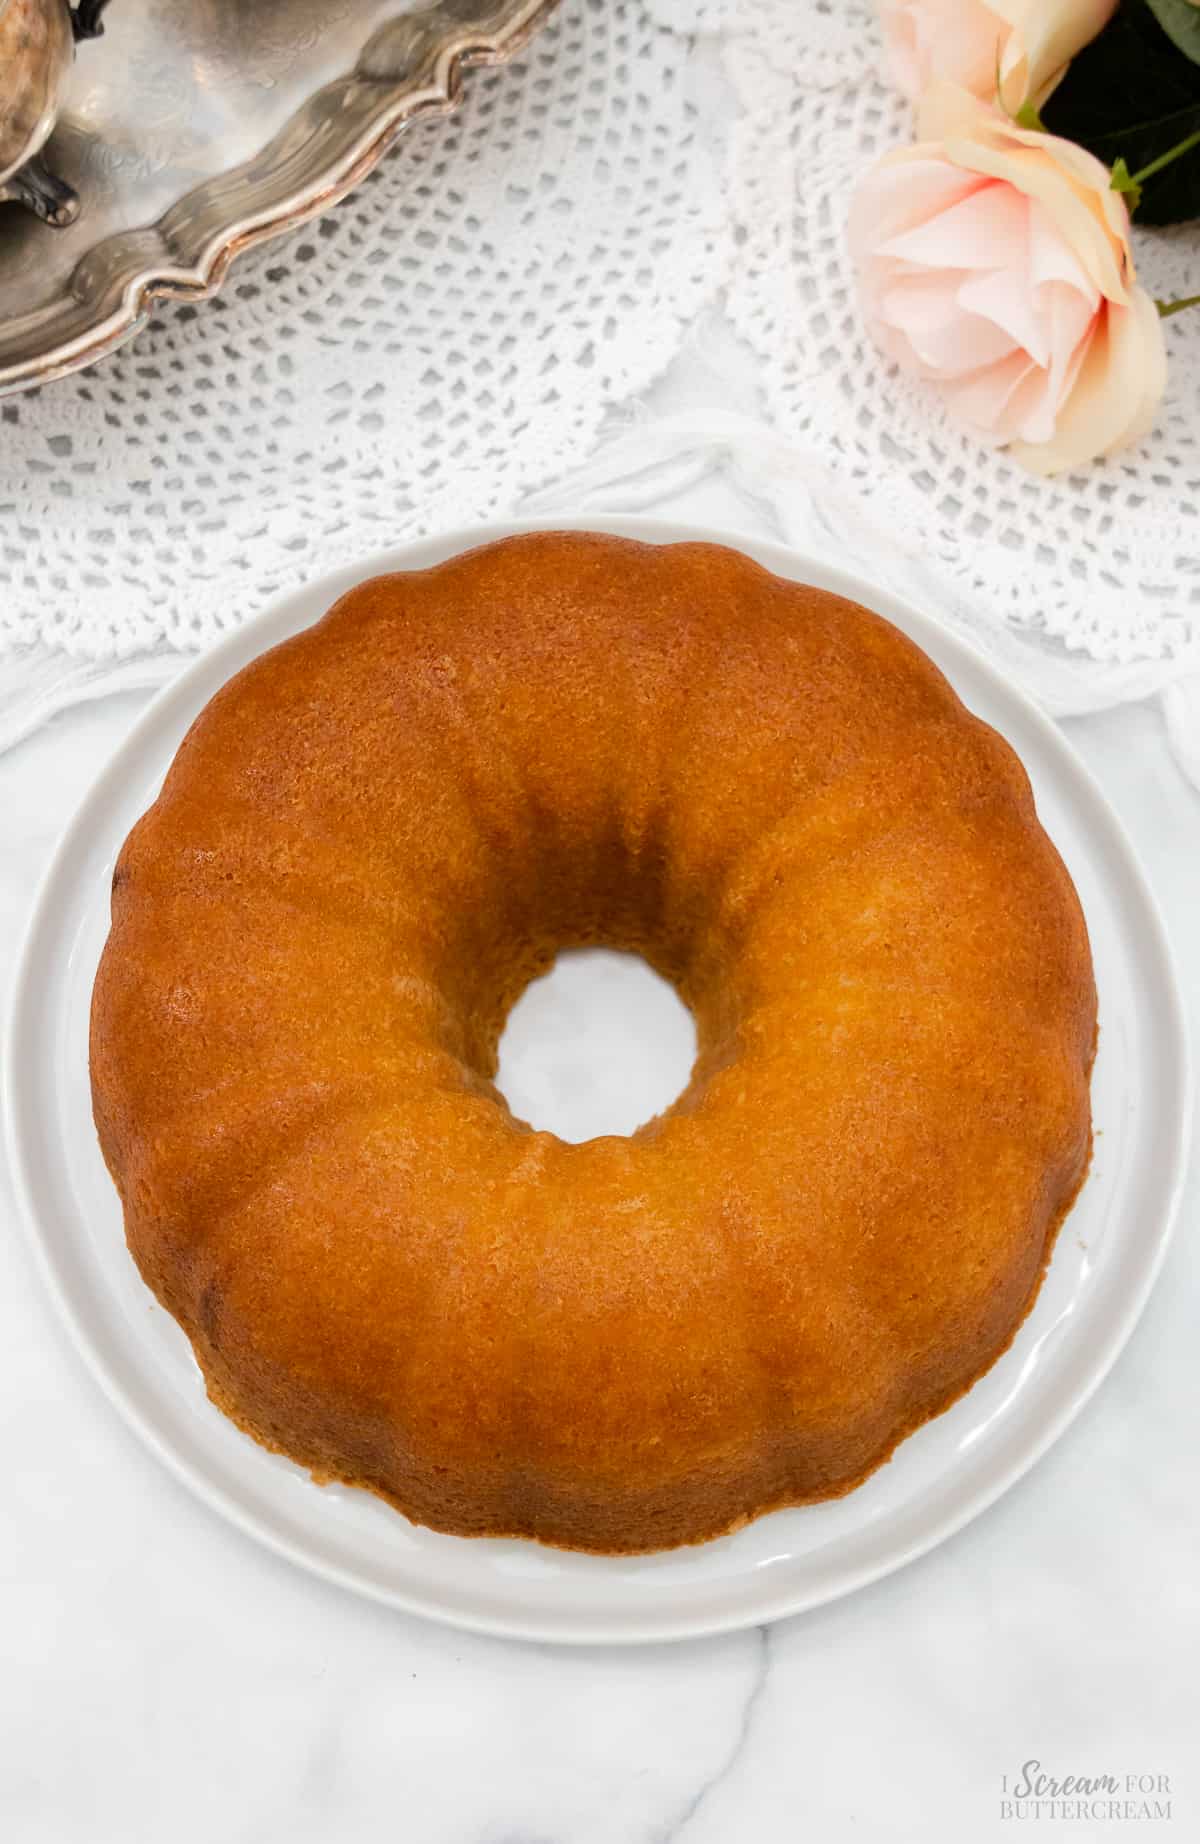
Once the cake is baked, set it, still in the pan, on a wire rack to cool for about 10 minutes, then remove from the pan and allow it to cool completely on the cooling rack or a cake plate.
Step 9:
Now you can make the glaze if desired. This is optional, but I personally think it’s really good.
So, to make the glaze, melt the butter and brown sugar in a saucepan over medium heat. When everything melted, turn off the heat and add the vanilla and buttermilk, then stir.
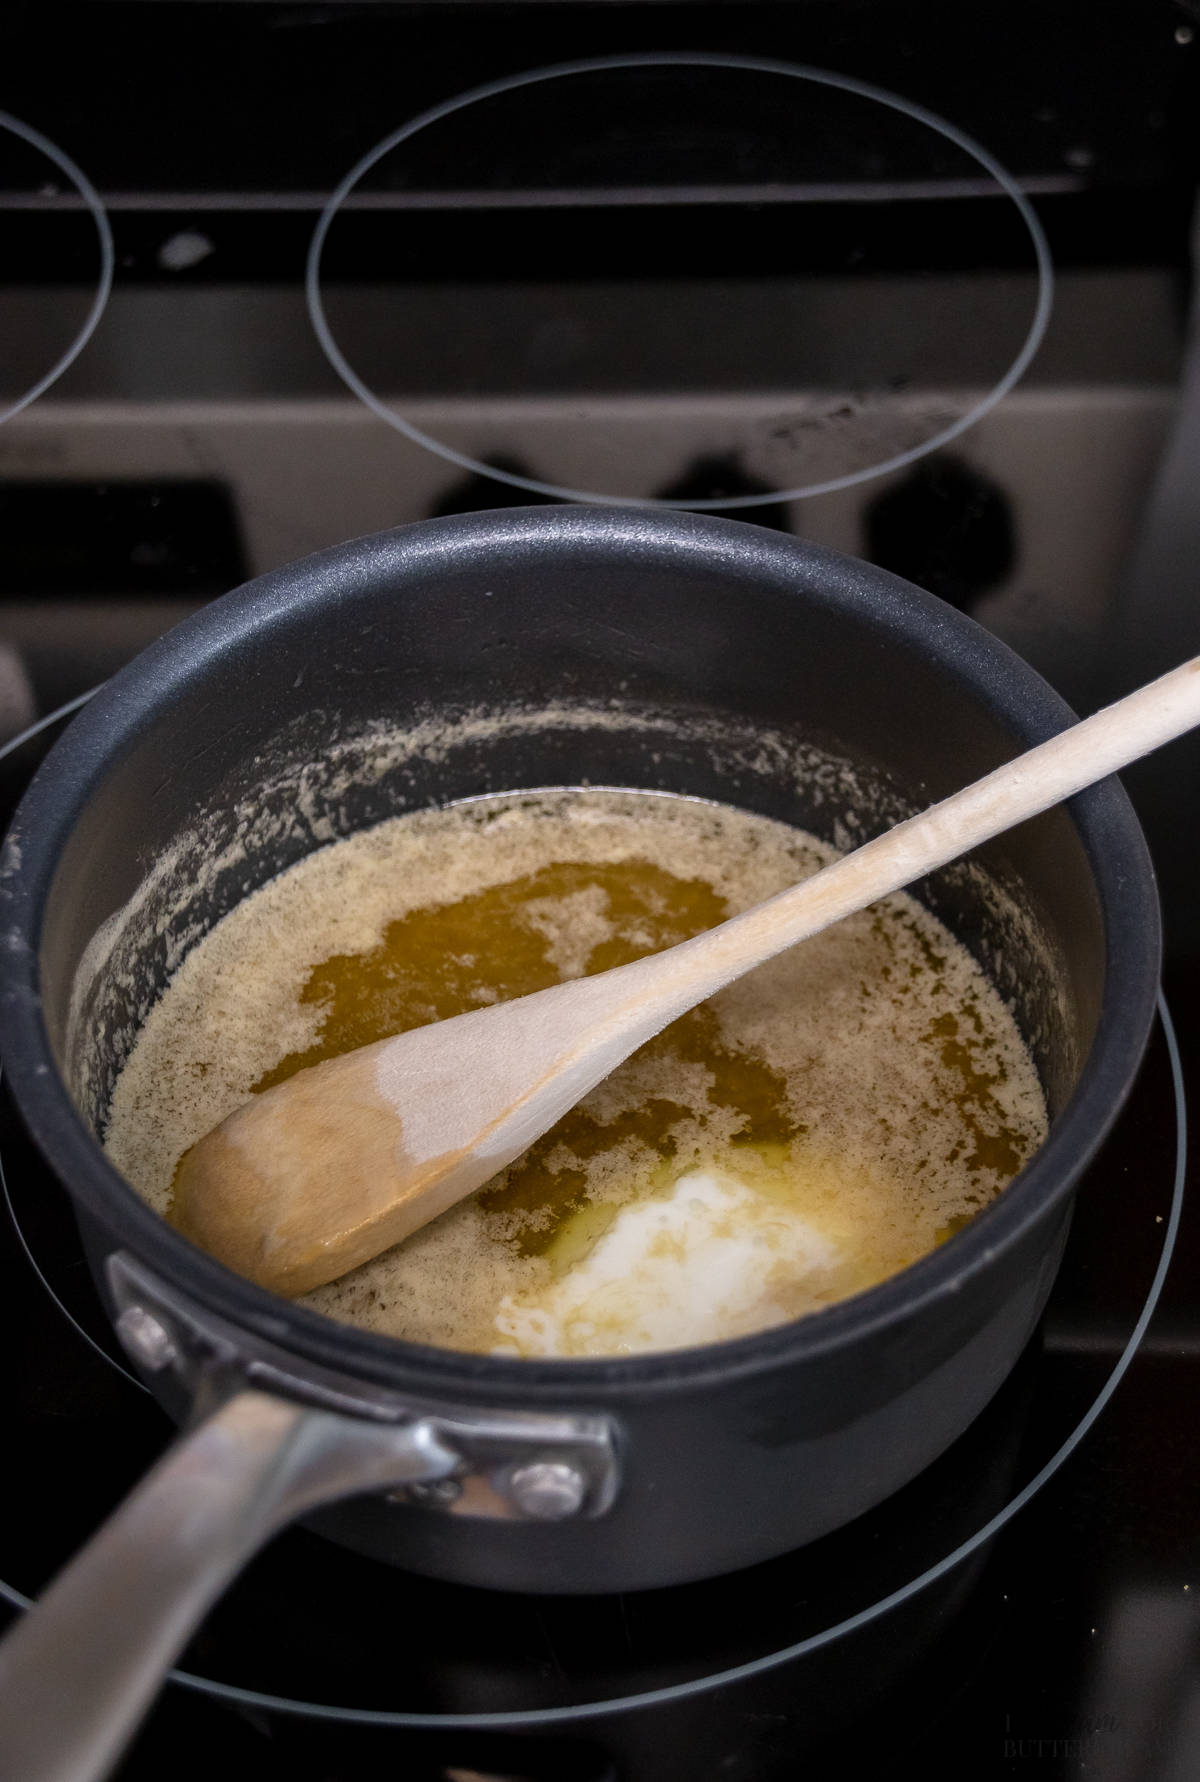
Step 10:
Add the confectioner’s sugar and stir well. If it’s clumpy, just keep stirring until most of the clumps are dissolved. The rest will dissolve as it sits for a bit.
Set the glaze aside (not in the fridge) until it cools down a bit (about 15-20 minutes or so). Stir it every now and then.
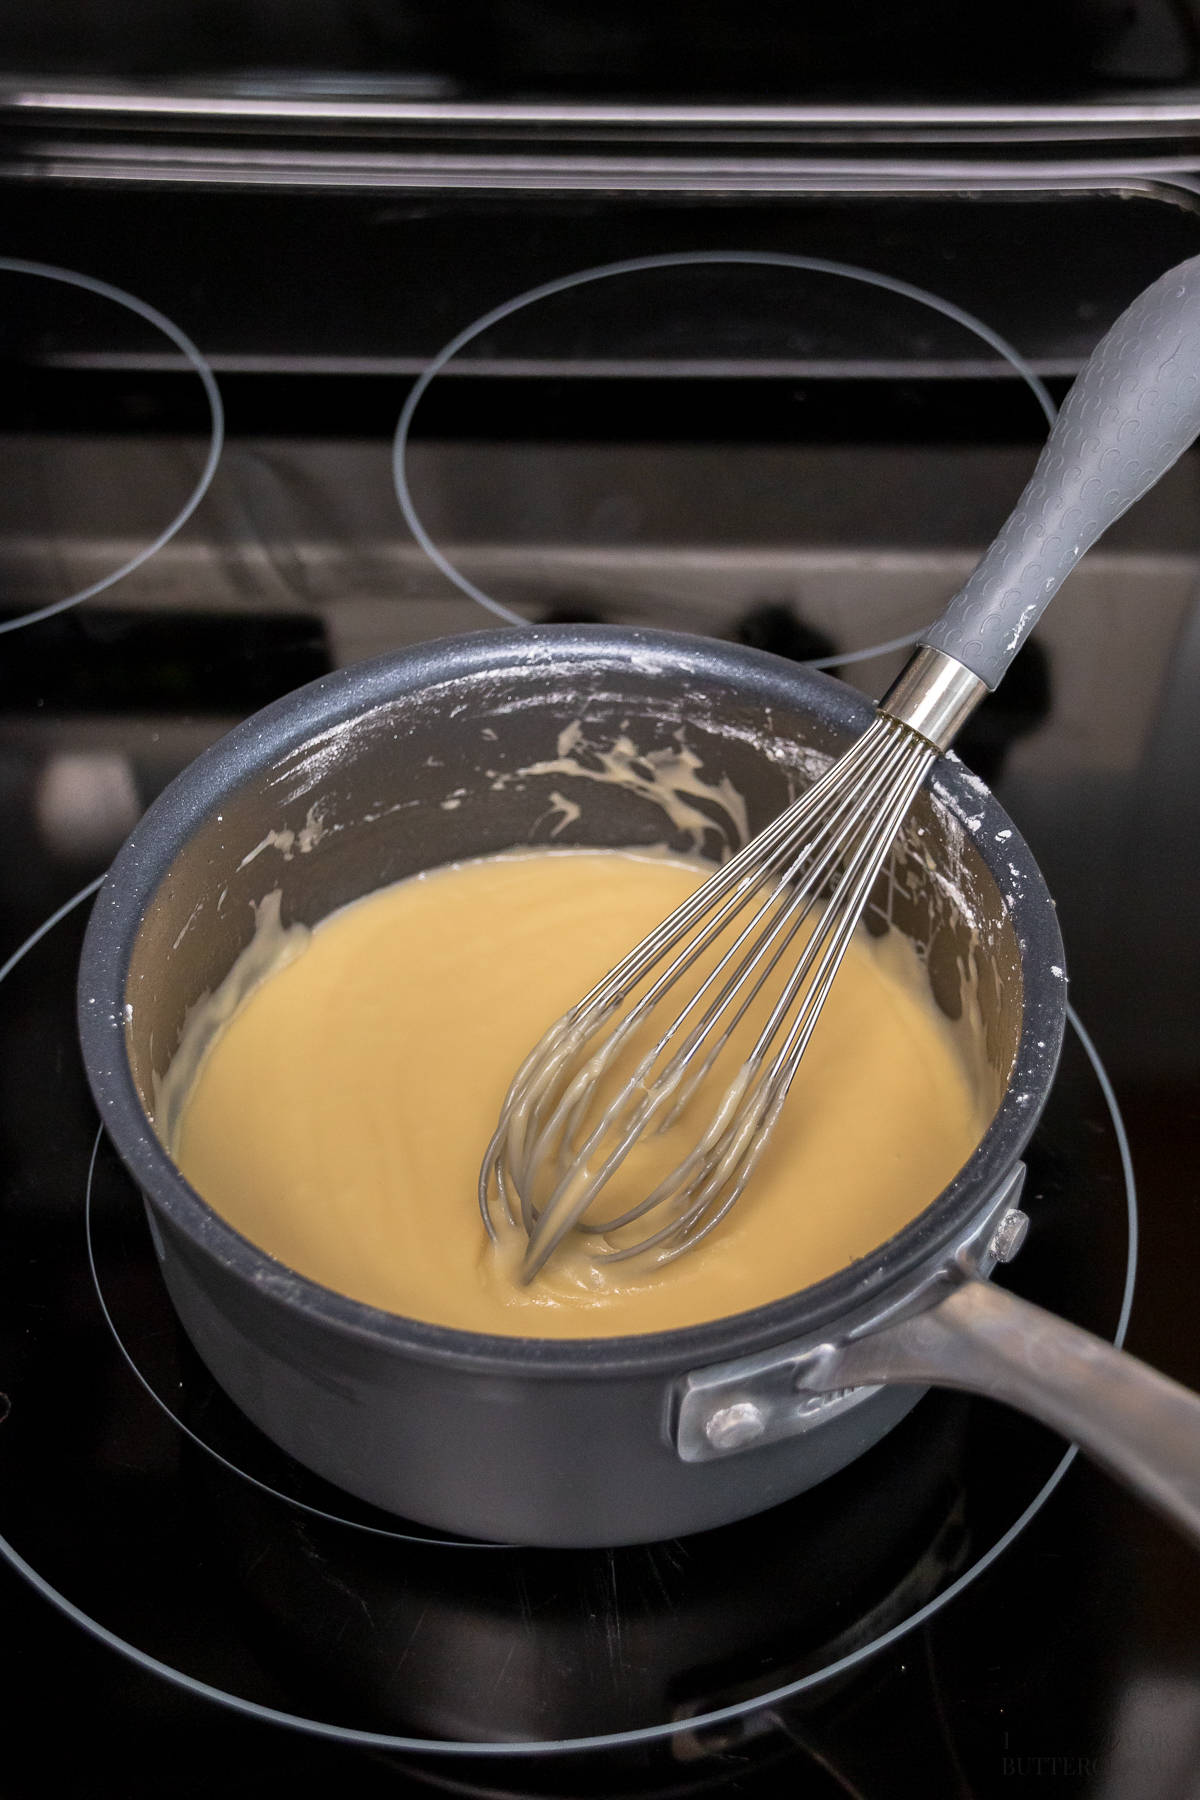
Step 11:
Once the glaze has cooled a bit, add it to the top of the cake. You can use a spoon or a squeeze bottle to do this.
Let the glaze set up for about 10-15 minutes or so before cutting and serving the cake.
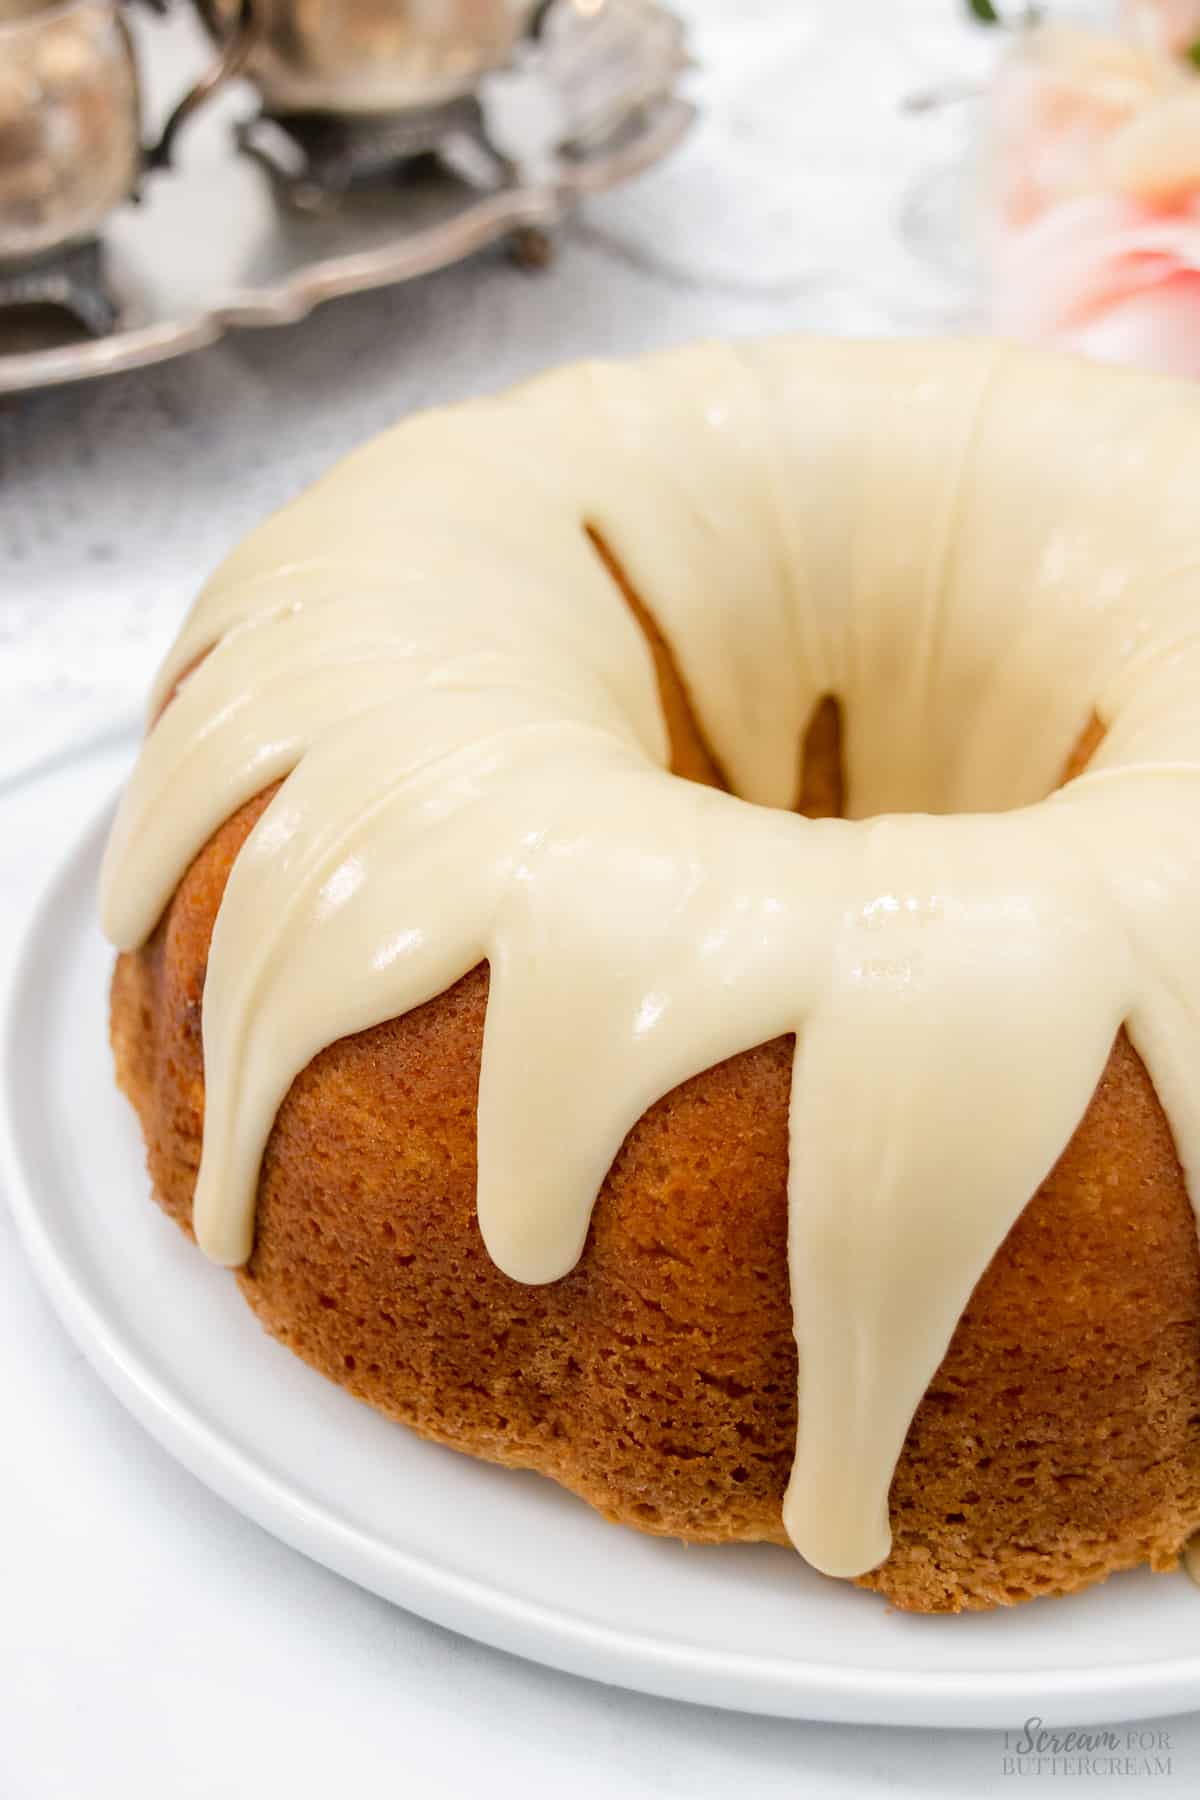
(Remember that the instructions will also be in the recipe card below.)
Note About Recipe Measurements: I write recipes using volume (cups) measurements because here in the U.S., this is what people are more familiar with and I don’t want anyone to feel intimidated when baking. For metric/weight measurements, click the ‘metric’ button under the ingredients in the recipe card below. The weights are converted by a program, not me, and it’s just a best guess. I can’t guarantee that weighing the ingredients will produce the exact same results, since I test recipes using volume measurements.
Recipe
Vanilla Buttermilk Pound Cake
Ingredients
For the cake:
- 3 cups all-purpose flour (Measured correctly: Spooned into the measuring cup and leveled off - don't scoop and pack the flour into the cup, that will add too much flour.)
- ½ teaspoon salt
- ½ teaspoon baking powder
- ½ teaspoon baking soda
- 1 cup buttermilk, near room temperature (full fat is best, but low fat will work as well)
- 1 tablespoon vanilla extract
- 1 tablespoon vegetable oil
- 2 ⅔ cups sugar
- 1 cup unsalted butter, room temperature (2 sticks) (do not microwave; let it come to room temp on its own)
- 5 large eggs, near room temperature
For the glaze:
- ½ cup unsalted butter (1 stick)
- ¼ cup packed light brown sugar
- 1 teaspoon vanilla
- 2 tablespoons buttermilk
- 2 cups sifted confectioner's sugar (sift after measuring)
Instructions
For the cake:
- Preheat the oven to 325 degrees F. Grease and flour a large bundt pan very well.
- In a large mixing bowl, add the flour, salt, baking powder and baking soda. Whisk well and set aside.
- In another bowl, add the buttermilk, vanilla extract and vegetable oil. Whisk well and set aside.
- Add the butter and sugar to a large mixing bowl and mix on medium-high for 3-4 minutes until light and fluffy.
- Add the eggs, one at a time, mixing on medium speed for about 15-20 seconds after each egg.
- Alternately add in the dry mixture and the liquid mixture to the butter mixture, starting and ending with the dry mixture.(Add in ⅓ of the dry mixture and mix on medium just until combined. Add in ½ the liquid mixture, mixing on medium only until combined. Add in another ⅓ of the dry mixture, mixing on medium only until combined. Add in the last of the liquid mixture, mixing on medium only until combined, then the last of the dry mixture and mix until combined.)
- Be very careful only to mix until well combined. Mixing too long and at too high of a speed can cause the cake to come out dense, rubbery or to fall in the middle.
- Scrape down the sides of the bowl and mix again only for 7-10 seconds or so.
- Pour the batter into the prepared pan and bake at 325 degrees F for approximately 1 hour 10 minutes to 1 hour 20 minutes. (Mine takes about 1 hour 15 minutes.) Please note that ovens vary so you may need to bake a little more.
- Cake is done when it is golden brown on top and a toothpick inserted into the cake, comes out with a few moist crumbs on it or clean, but no raw batter. Be careful not to over-bake or the cake could turn out dry. If the toothpick comes out with a few moist crumbs on it and no raw batter, go ahead and take it out. It's not necessary for the toothpick to come out completely clean. Sometimes waiting for that can cause an over-baked cake. Moist crumbs on the toothpick are fine, it just should not have any raw batter on it.
- Once the cake is baked, set it, still in the pan, on a wire rack to cool for about 10 minutes, then remove from the pan and allow it to cool completely on the cooling rack or a cake plate.
- See note section for how to store this cake, how long it should last, more ways to serve this cake plus other FAQs.
For the glaze:
- (You do not have to make the buttermilk glaze. You can leave the cake plain, dust the top with confectioner's sugar, or even add whipped cream and berries. This glaze is on the sweet side, so if you don't like sweet glazes then try some of the other options I just mentioned.)
- Once the cake has cooled, make the glaze.
- Melt the butter and brown sugar in a saucepan over medium heat. When everything melted, turn off the heat and add the vanilla and buttermilk, then stir.
- Add the confectioner's sugar and stir well. If it's clumpy, just keep stirring until most of the clumps are dissolved. The rest will dissolve as it sits for a bit. You can also use a whisk to help break up any clumps as well.
- Set the glaze aside (not in the fridge) until it cools down a bit (about 15-20 minutes or so). If you add the hot glaze to the cake, it will just slide down and drip completely off the cake. It needs time to cool down a bit. While it's cooling, make sure to stir the glaze every now and then to keep it from forming a film on it.
- Once the glaze has cooled a bit, add it to the top of the cake. You can use a spoon or a squeeze bottle to do this.
- Let the glaze set up for about 10-15 minutes or so before cutting and serving the cake.
- See note section for how to store this cake, how long it should last, more ways to serve this cake plus other FAQs.
Notes
Nutrition
How to Share
I’d love for you to share this recipe link or tag it, but please do not share screenshots or copy/paste the recipe to social media as the content and photographs are copyright protected and we (bloggers) work really hard on our content. Sharing the link, tagging us on socials and pinning it is super appreciated though!
Video:
Tips & FAQS:
Yes, low-fat buttermilk can be used as a substitute. It’s best to use the full-fat version if you can find it, but lots of times that is hard to find. I’ve made this cake with the lower fat buttermilk and it still turned out great.
Well, you can, but then it really wouldn’t be a vanilla buttermilk pound cake. Real buttermilk is best and will give you the best texture, but if you can’t get it, you can substitute it with this sour milk recipe:
For every one cup of buttermilk called for, fill a measuring cup with 1 cup regular milk, take out 1 tablespoon and replace it with 1 tablespoon lemon juice or white vinegar and stir well. Let sit for five minutes, then it’s ready to use.
This will not work exactly the same as buttermilk, but can work in a pinch.
Maybe, but I haven’t tested that out.
Unsalted is always best because you can estimate the proper amount of salt that will be added plus salted butter has a different water content than unsalted. However, if you’re unable to get unsalted butter, you can use salted in the cake and the buttercream, but omit the additional salt that each recipe calls for.
No, you don’t want to do that. Those are different and cannot be substituted for each other. If you’d like more information on the difference, check out this blog post: Baking Powder vs Baking Soda
Make sure not to pack the flour down into the measuring cup when you’re measuring. Spoon the flour into the cup and level it off, but don’t scoop the flour with the measuring cup as that can end up adding too much flour to the batter and will make the cake dry and/or dense.
Avoid microwaving butter to soften it; let it come to room temperature naturally.
The butter needs to be at room-temperature so that it will emulsify (mix) better with the sugar.
In my non-scientific explanation, basically, all the molecules need to really get in there and intermingle.
The other ingredients are best used at the same temperature as adding cold milk and eggs to the warmer butter and sugar mixture, can sometimes make the butter cold again and cause it to clump up.
It’s not the end of the world if this happens, but it’s better if you can prevent it.
Be very cautious not to overmix the batter. Stop mixing once it’s well combined. Mixing longer for minutes is way too long. that will cause a very dense, dry and rubbery cake.
No, you can skip the glaze.
I understand, but I promise that the glaze does not taste like buttermilk. If it did, I wouldn’t eat it as I do NOT like the taste of actual buttermilk. It does add creaminess to the glaze and it really just enhances the flavor.
The cake is ready when it’s golden brown on top and a toothpick comes out with a few moist crumbs or clean.
Yes, it can be frozen for up to three months. Wrap it tightly in plastic wrap and place it in an airtight container.
If glazed, store it in the refrigerator; otherwise, at room temperature in an airtight container for about 6 days.
Technically yes, but this cake is a pound cake and the texture is more dense and not as fluffy as a layer cake would be. In my opinion, this recipe should be baked in a bundt pan or loaf pan since it’s a pound cake.
Yes, it can be adapted to a loaf pan, but adjust the baking time accordingly. Watch it closely as it will finish baking quicker in a loaf pan than in a large bundt pan. I do not have an exact time for you as I bake this in a bundt pan, but you could start checking at around 30 minutes, but may need to make it longer.
This cake is best served close to room temperature or warm. Butter cakes, like this one, tend to firm up quite a bit when chilled. The texture is softer and more moist when at room temperature, so if the cake is cold, set it out to come closer to room temperature for about 20-30 minutes before serving, or microwave slices for about 15 or so seconds.
As an Amazon Associate, I earn from qualifying purchases.
Supplies used:
- Mixing bowls
- Measuring cups and spoons
- Electric hand mixer or stand mixer
- Silicone spatulas
- Whisks
- Oven mitts
- Cooling racks
- Small saucepan
- Bundt pan (This is my favorite and all my cakes come right out.)
- Cake saver
Don’t forget to pin it below!


Leave a Reply