
Have Questions or Need More Details?
Don't forget to check out the Tips & FAQ section in the post!

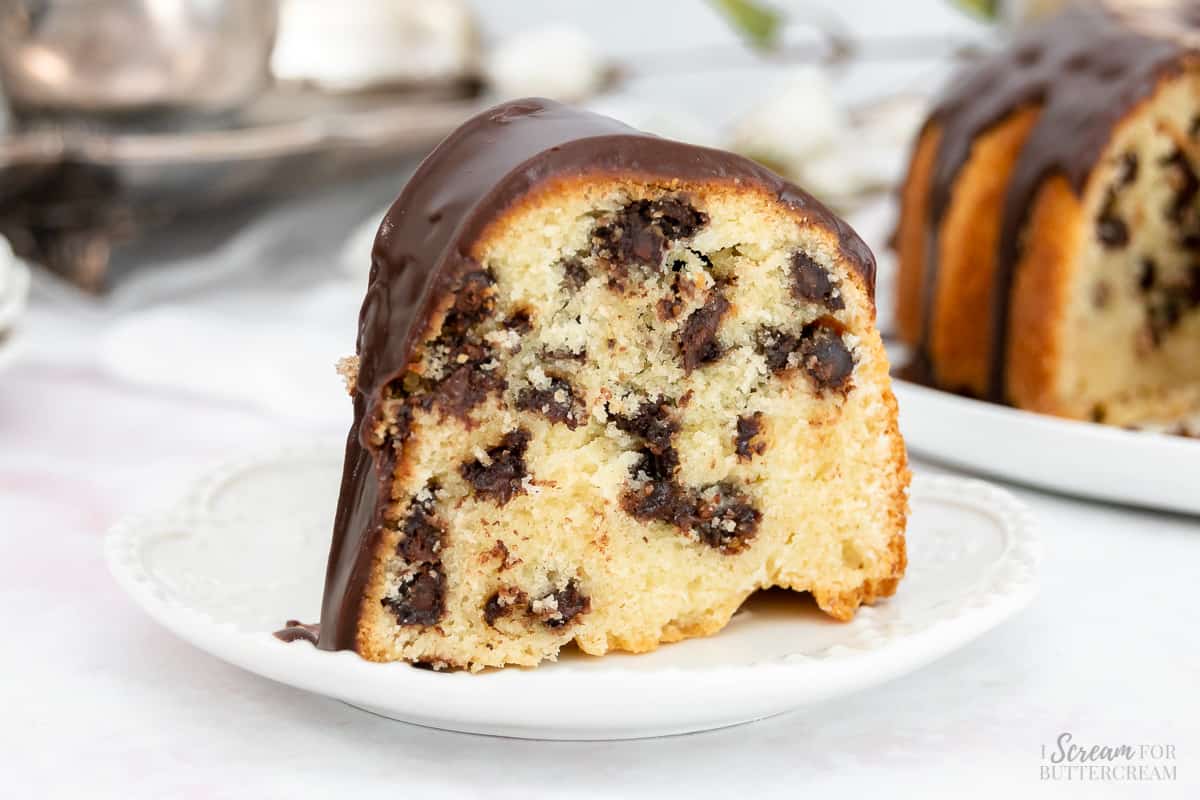
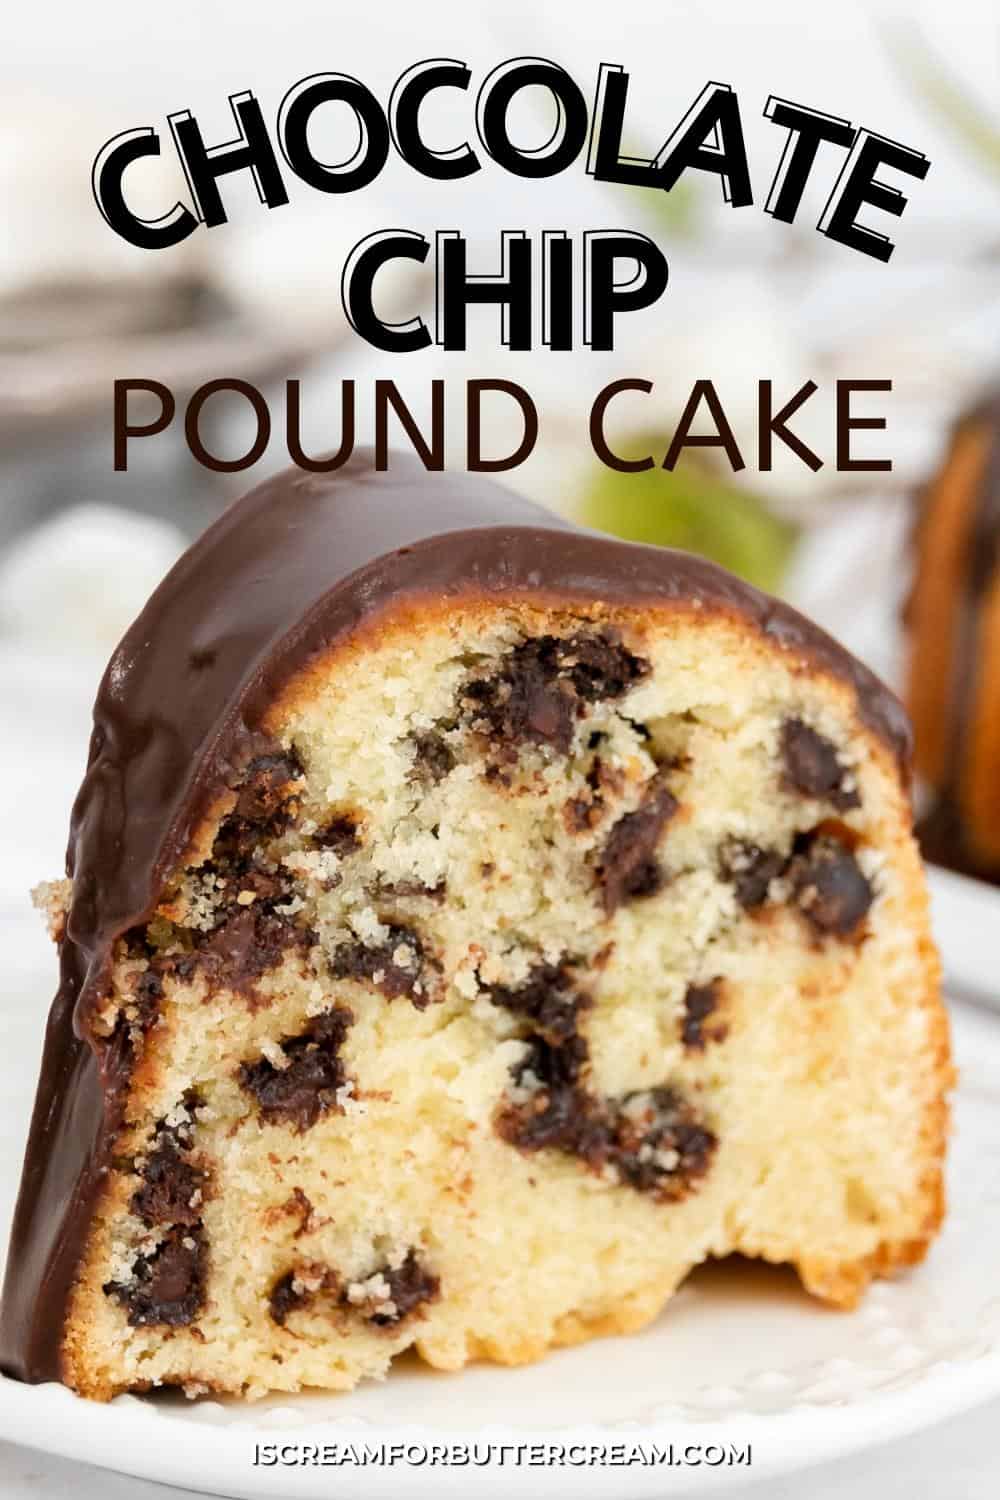
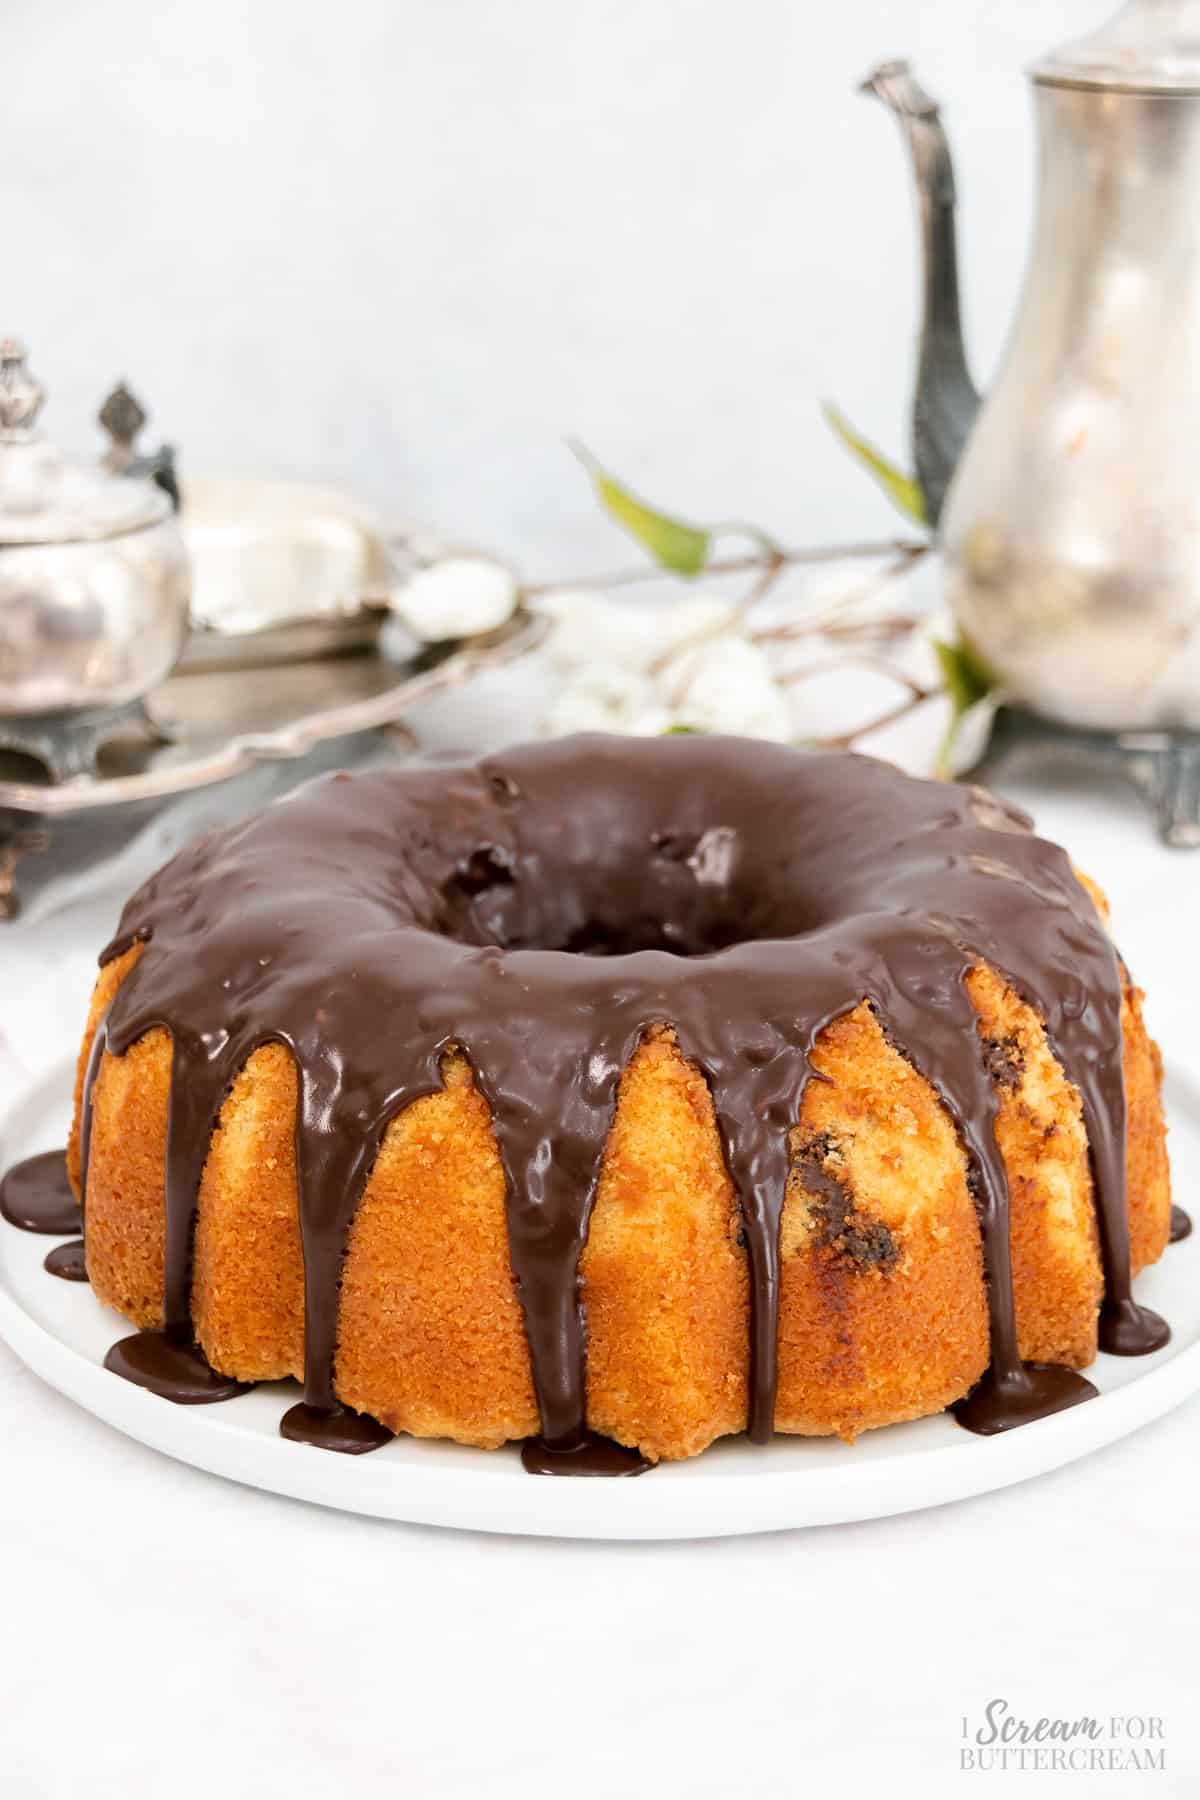
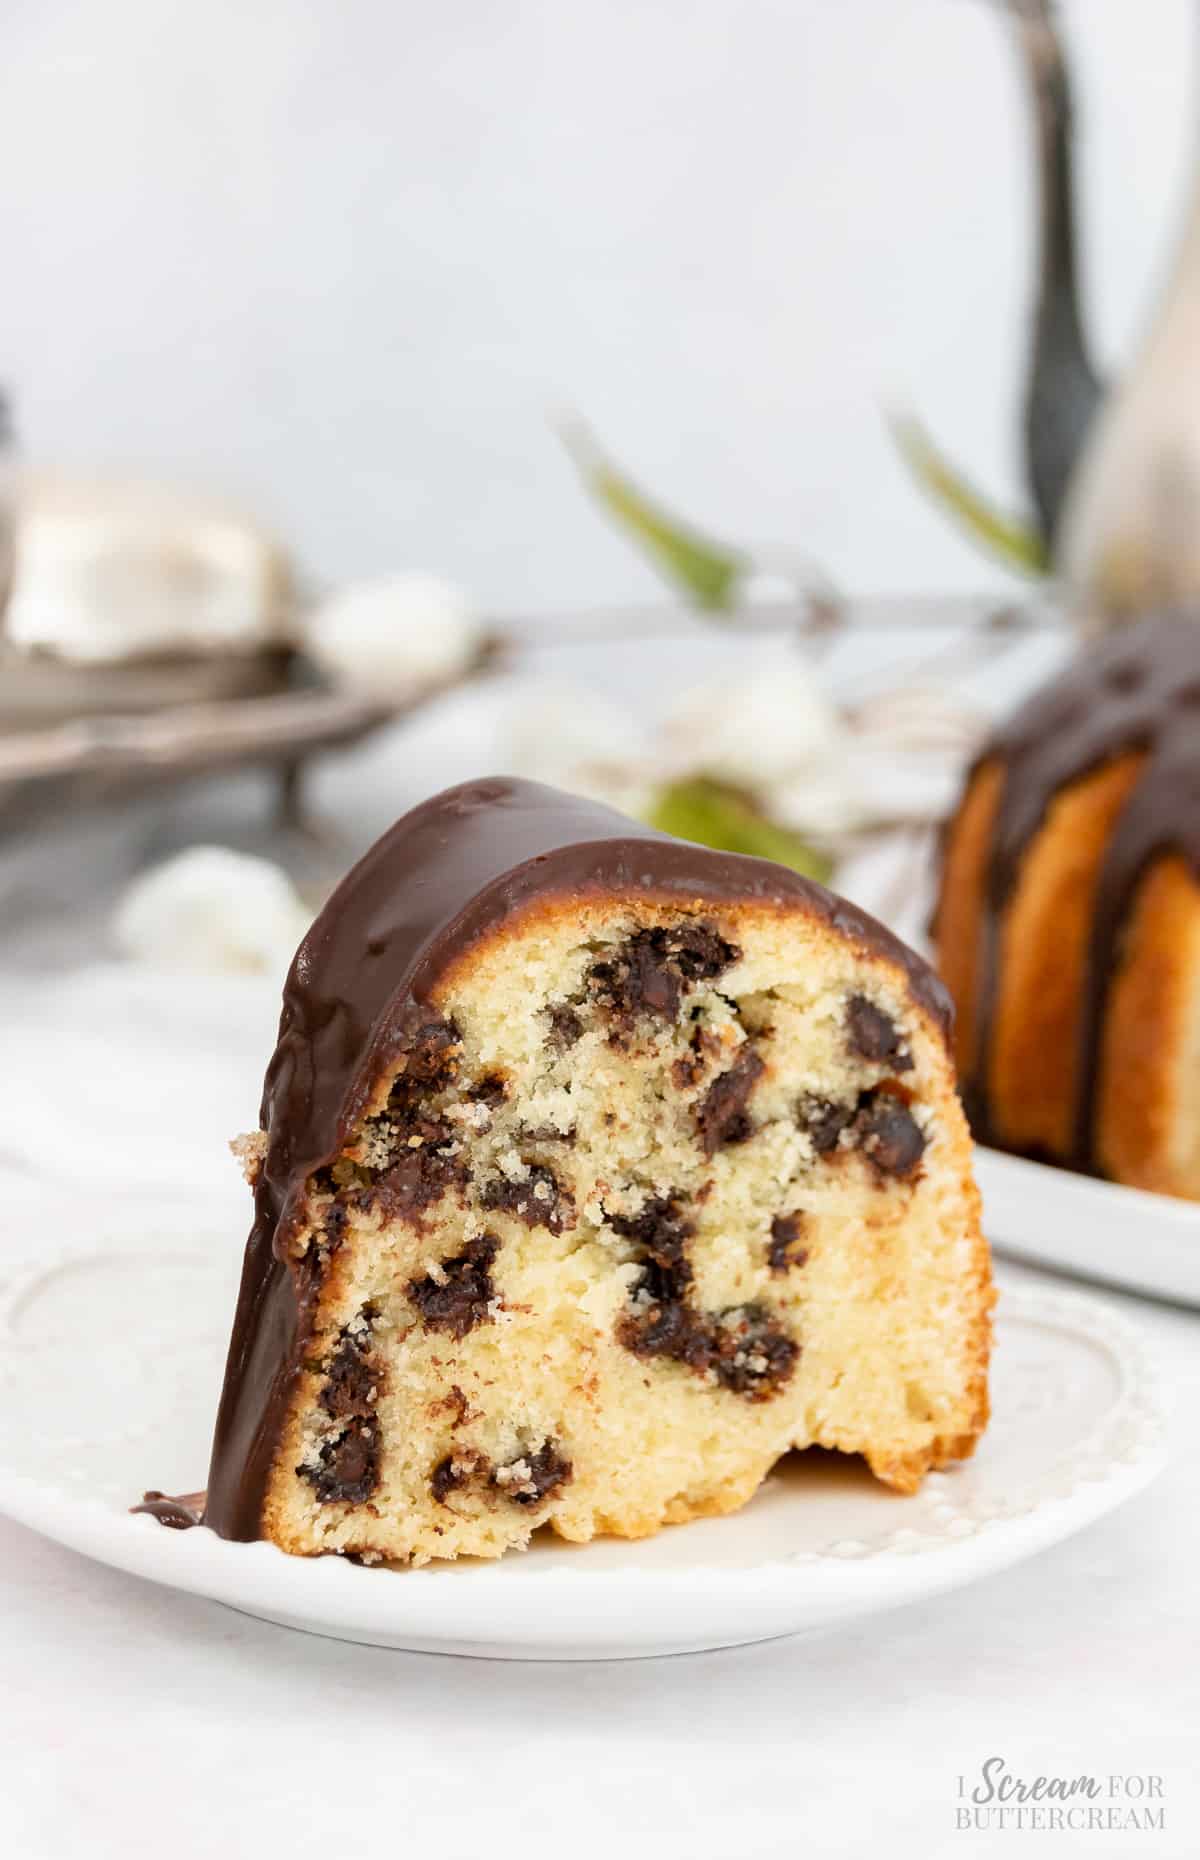
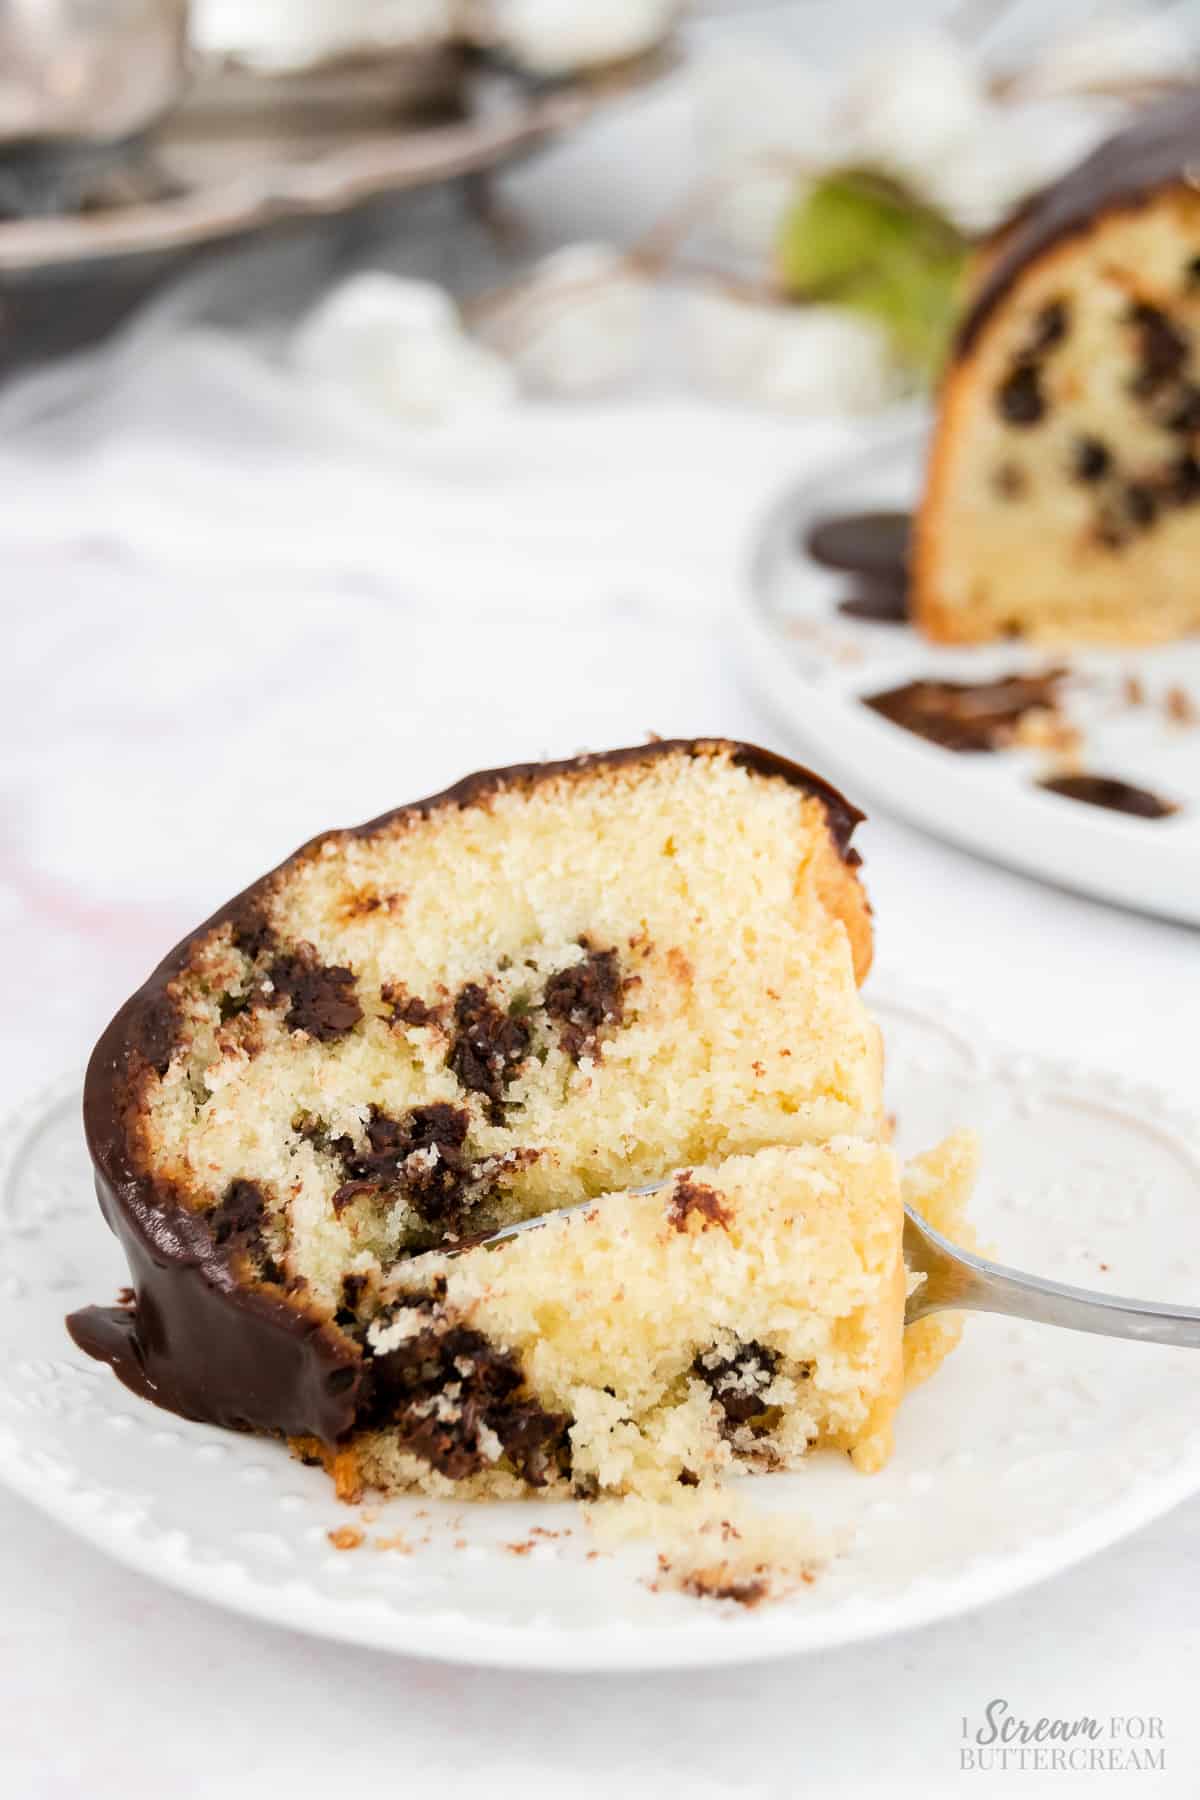
This scratch chocolate chip sour cream pound cake is super moist, buttery and delicious and topped with a rich chocolate glaze.
This cake is also super convenient and it’s perfect to take to potlucks or get-togethers because it’s a bundt cake and can easily fit into a cake carrier.
Hey there! Before you scroll, there’s lot’s of important stuff in the post!…including the FAQ section, which may answer any questions you might have about this recipe. Enjoy!
Jump to:
What you’ll love about this recipe:
- Moist and buttery
- Filled with chocolate chips
- Chocolatey glaze
- Perfect for potlucks and get-togethers
Main Ingredient Notes:
Now let's talk about just some of the ingredients that are in this cake. (The list of all ingredients are in the recipe card below.)
All-purpose flour: You’ll just use plain all-purpose flour for this cake, so there’s no fancy flour to buy.
Sour cream: Sour cream is amazing in cakes. It just makes them so moist and enhances the flavor.
Eggs: Since this cake is a pound/bundt cake, it calls for 4 eggs (an extra one) to give it more stability.
Vanilla extract: This will give the cake a delicious slight vanilla flavor. It sounds like vanilla wouldn’t go with chocolate chips, but it really does.
Unsalted butter: I love a buttery cake and this one fits the bill. Real butter is best here and will give the best flavor.
Chocolate chips: I used semi-sweet chocolate chips, but you can use any flavor that you like. I think milk chocolate chips would also work well.
How to make this cake:
Let's talk about how to make this chocolate chip pound cake. (The exact instructions are in the recipe card below.)
Step 1:
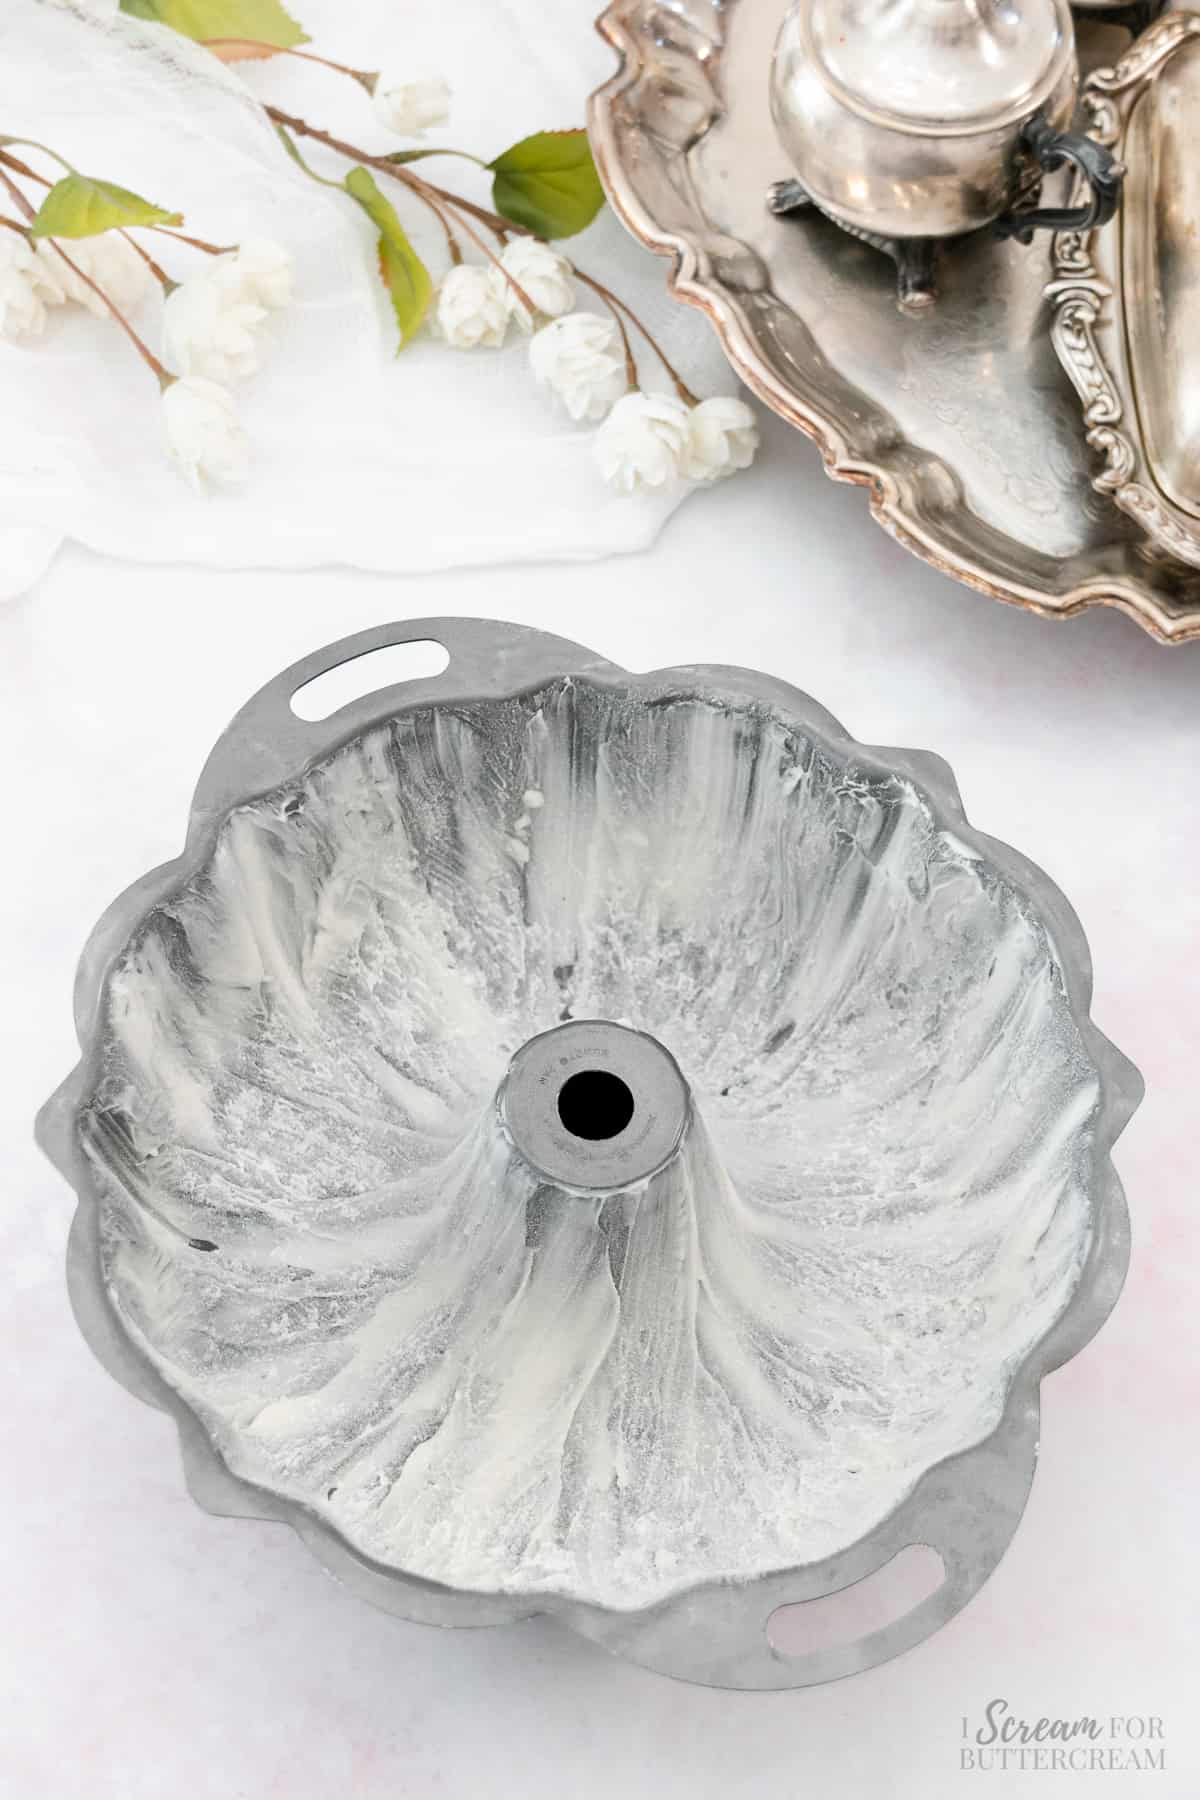
The first step is to preheat the oven to 325 degrees F and grease and flour a 9-inch-sized bundt pan very well.
Step 2:
Next add the sour cream, milk, oil, vanilla and eggs to a medium-sized mixing bowl.
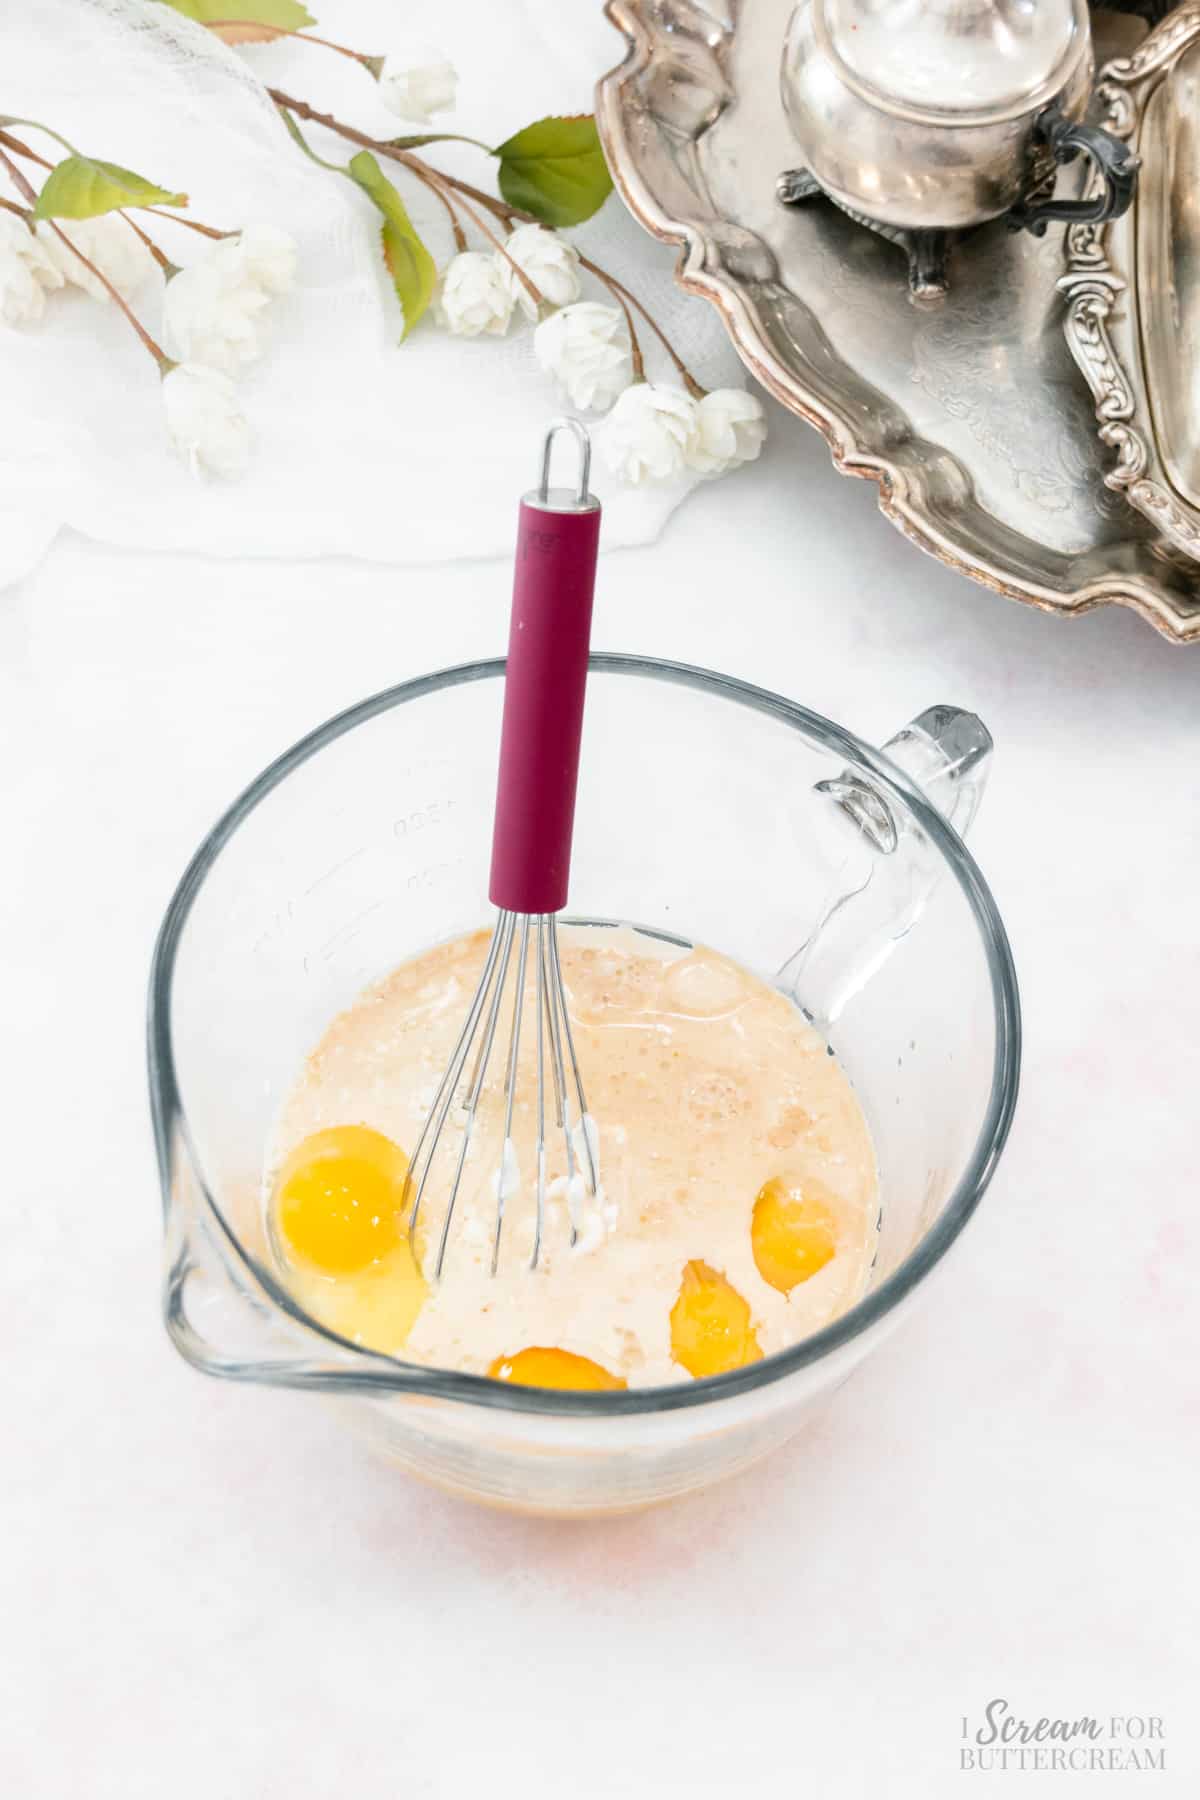
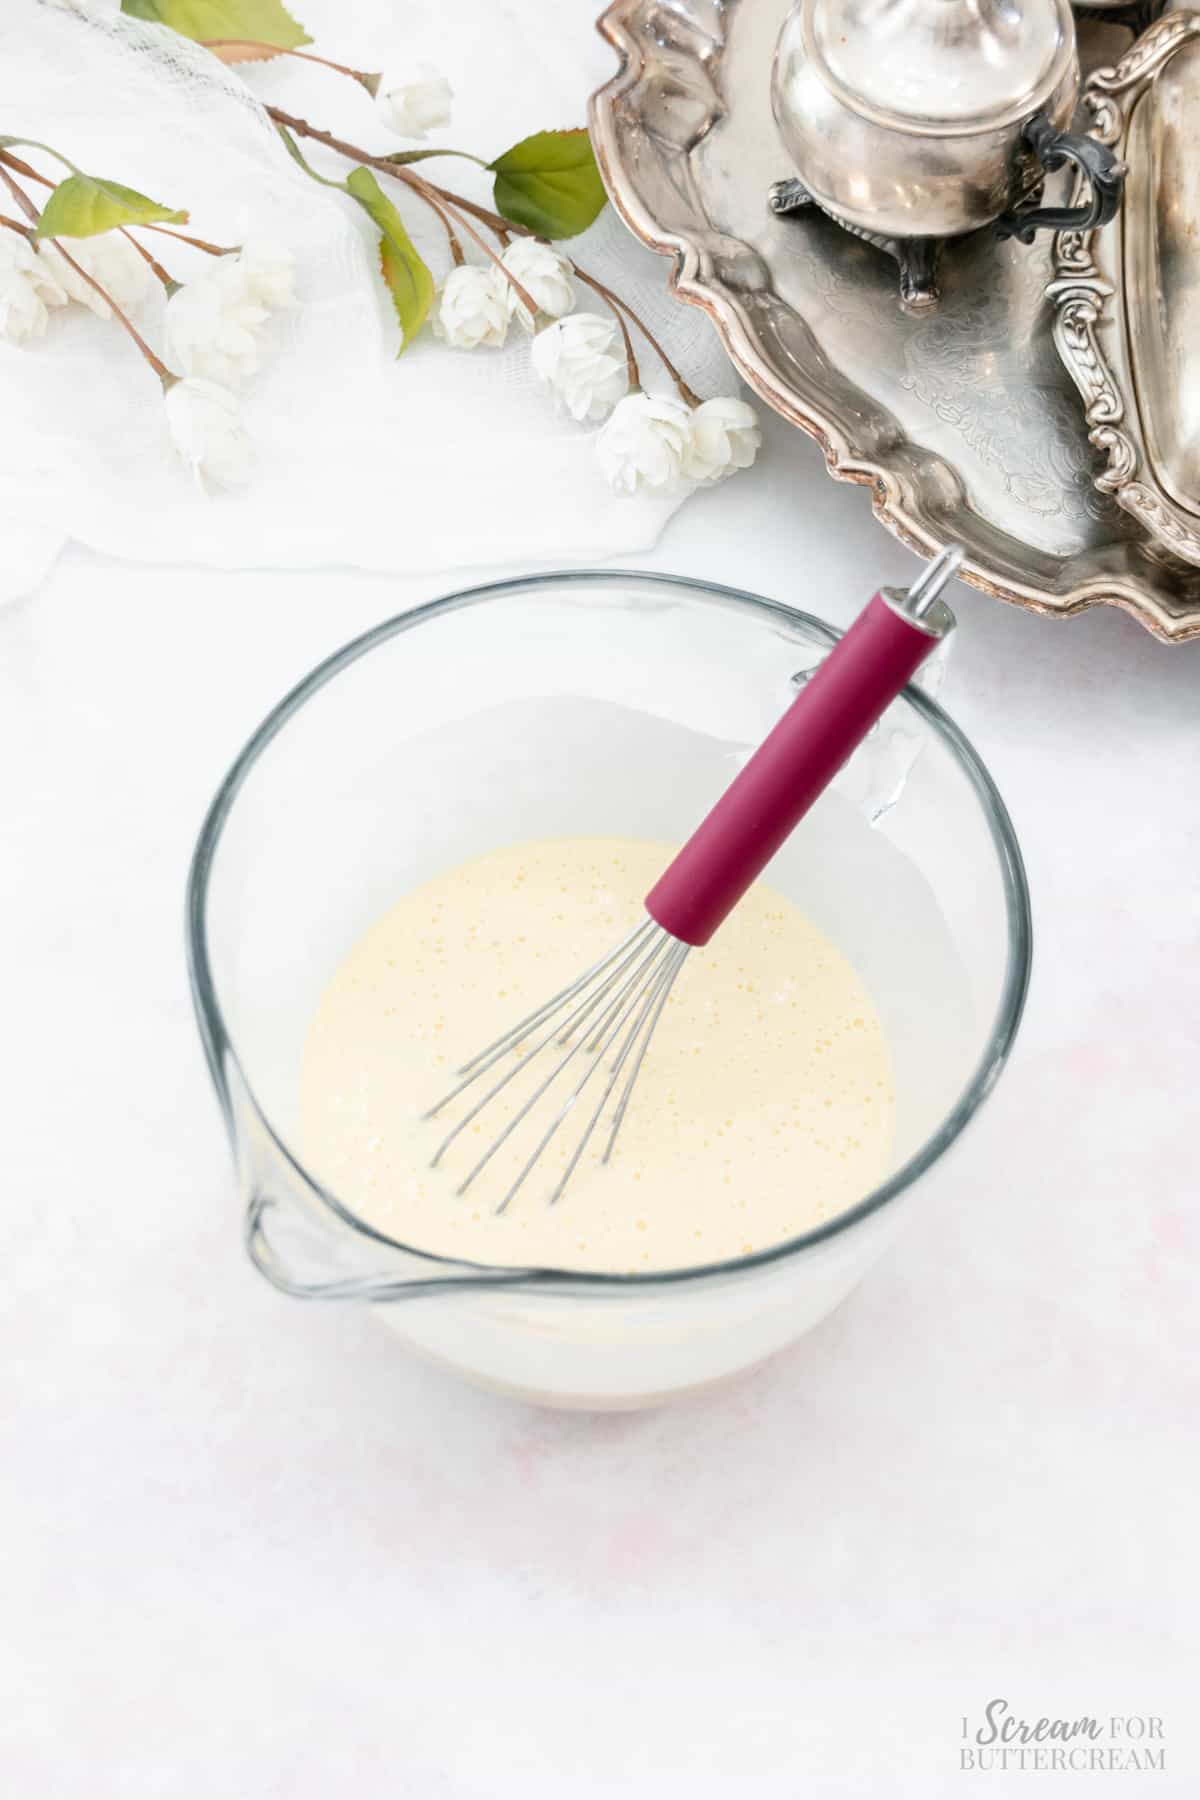
Step 3:
Mix the liquid ingredients well with a whisk and set aside.
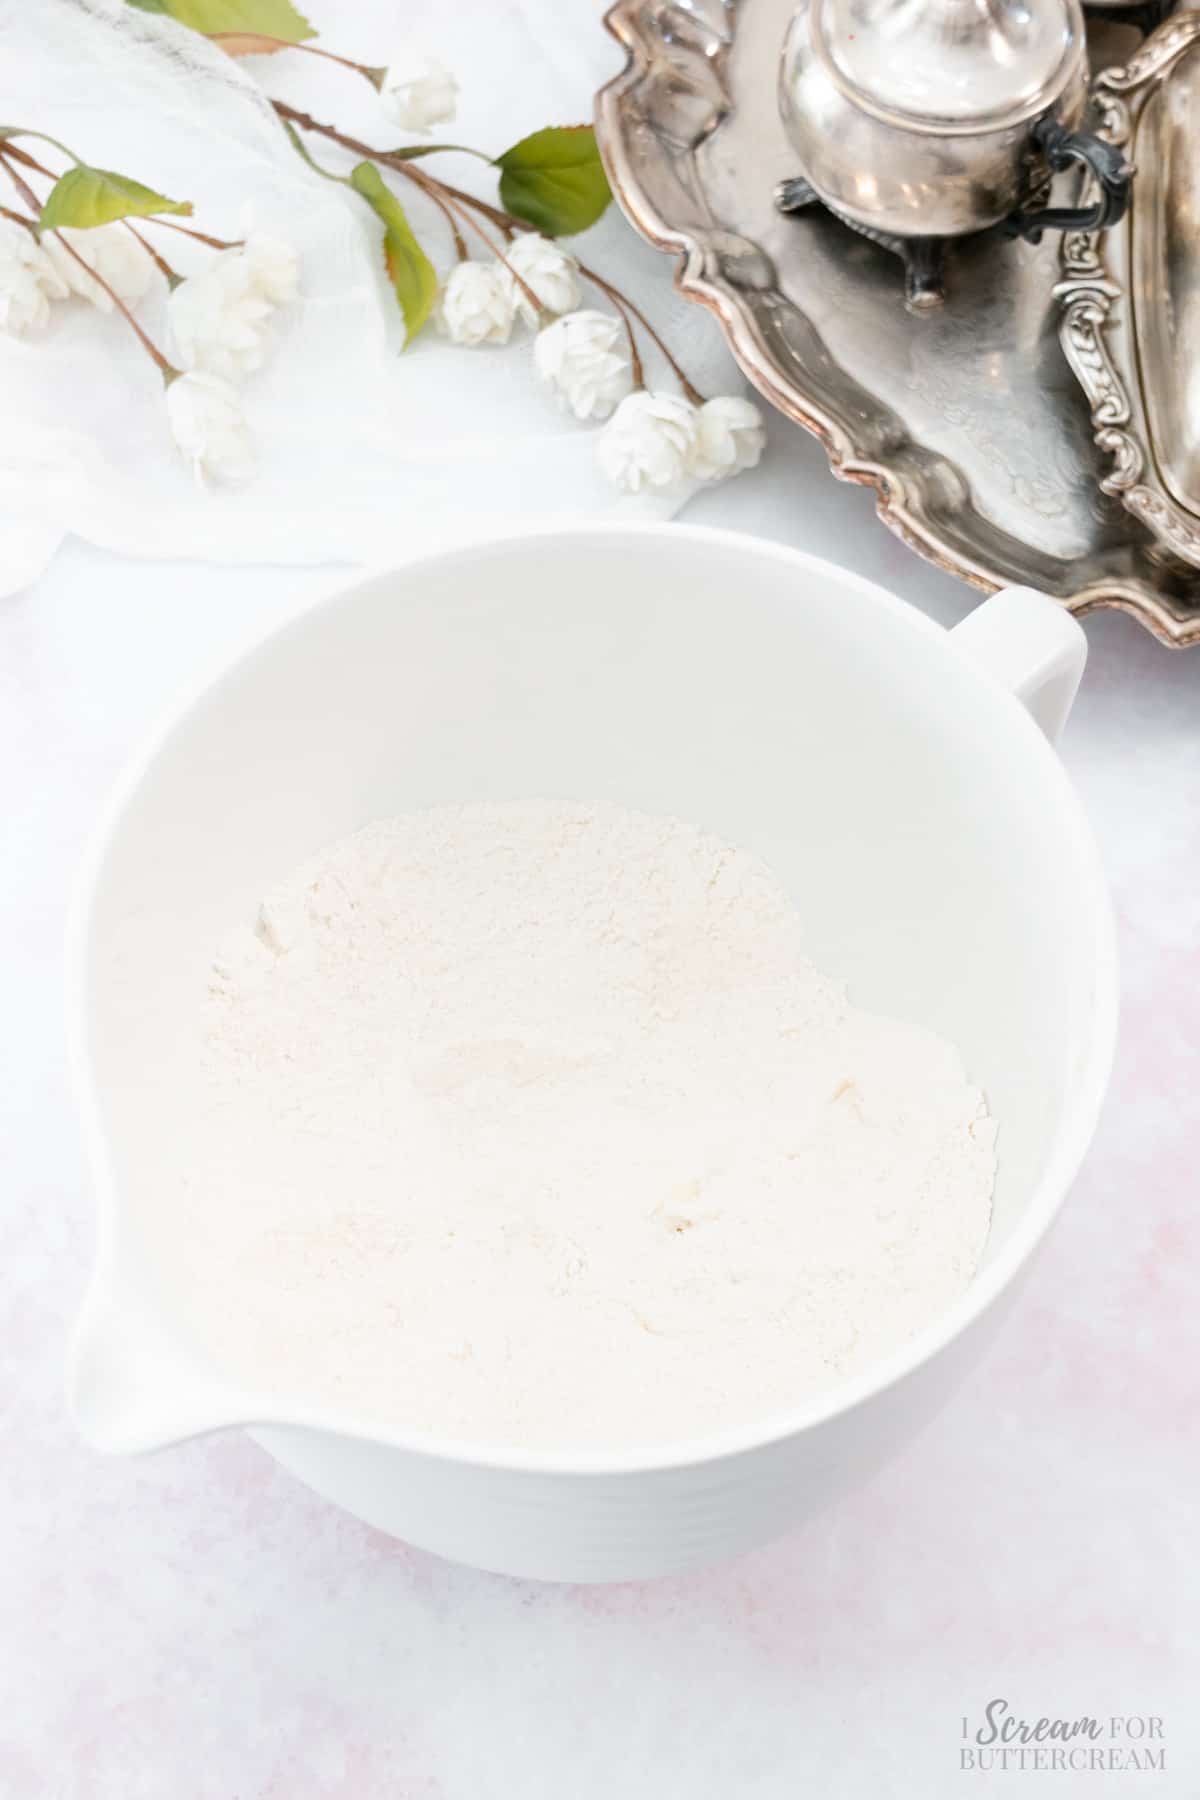
Step 4:
In a larger bowl, combine the flour, sugar, baking powder, baking soda, and salt in a large mixing bowl and whisk well.
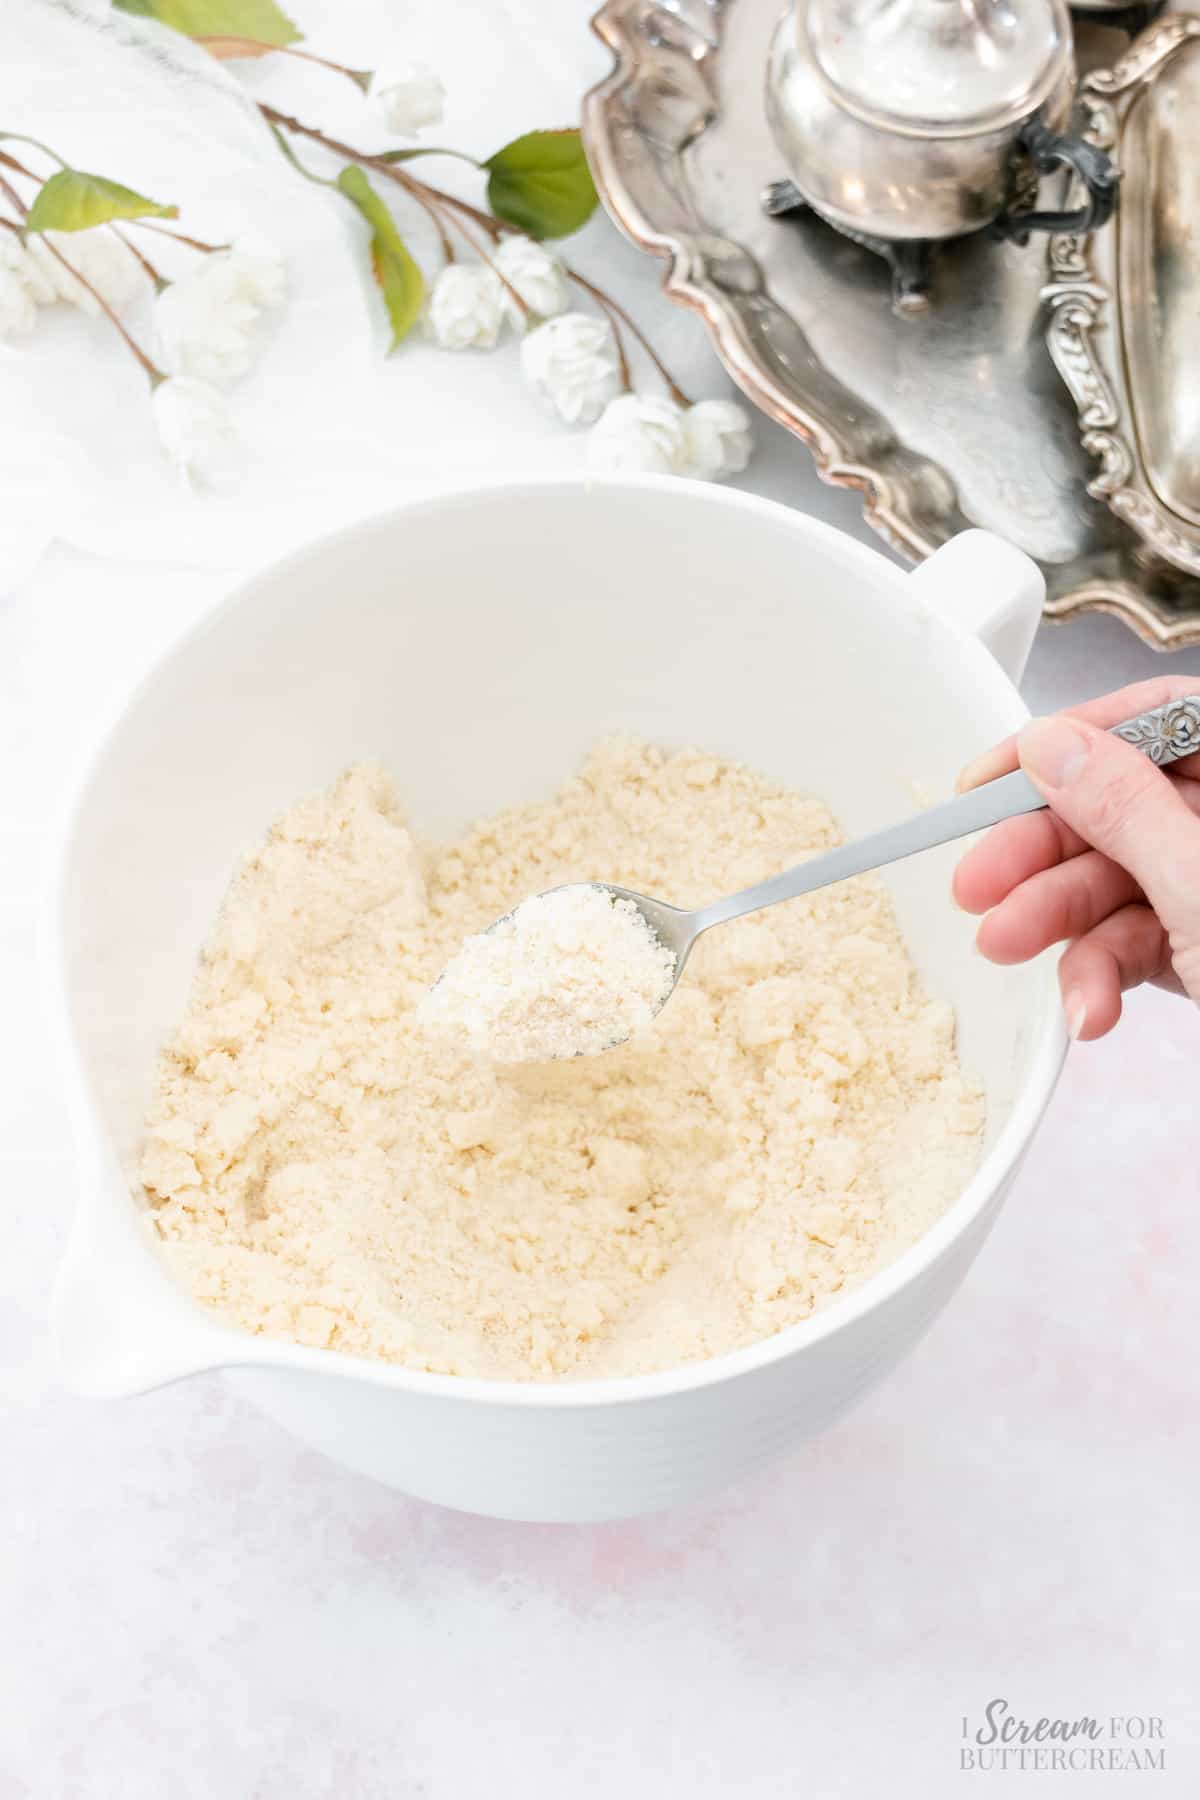
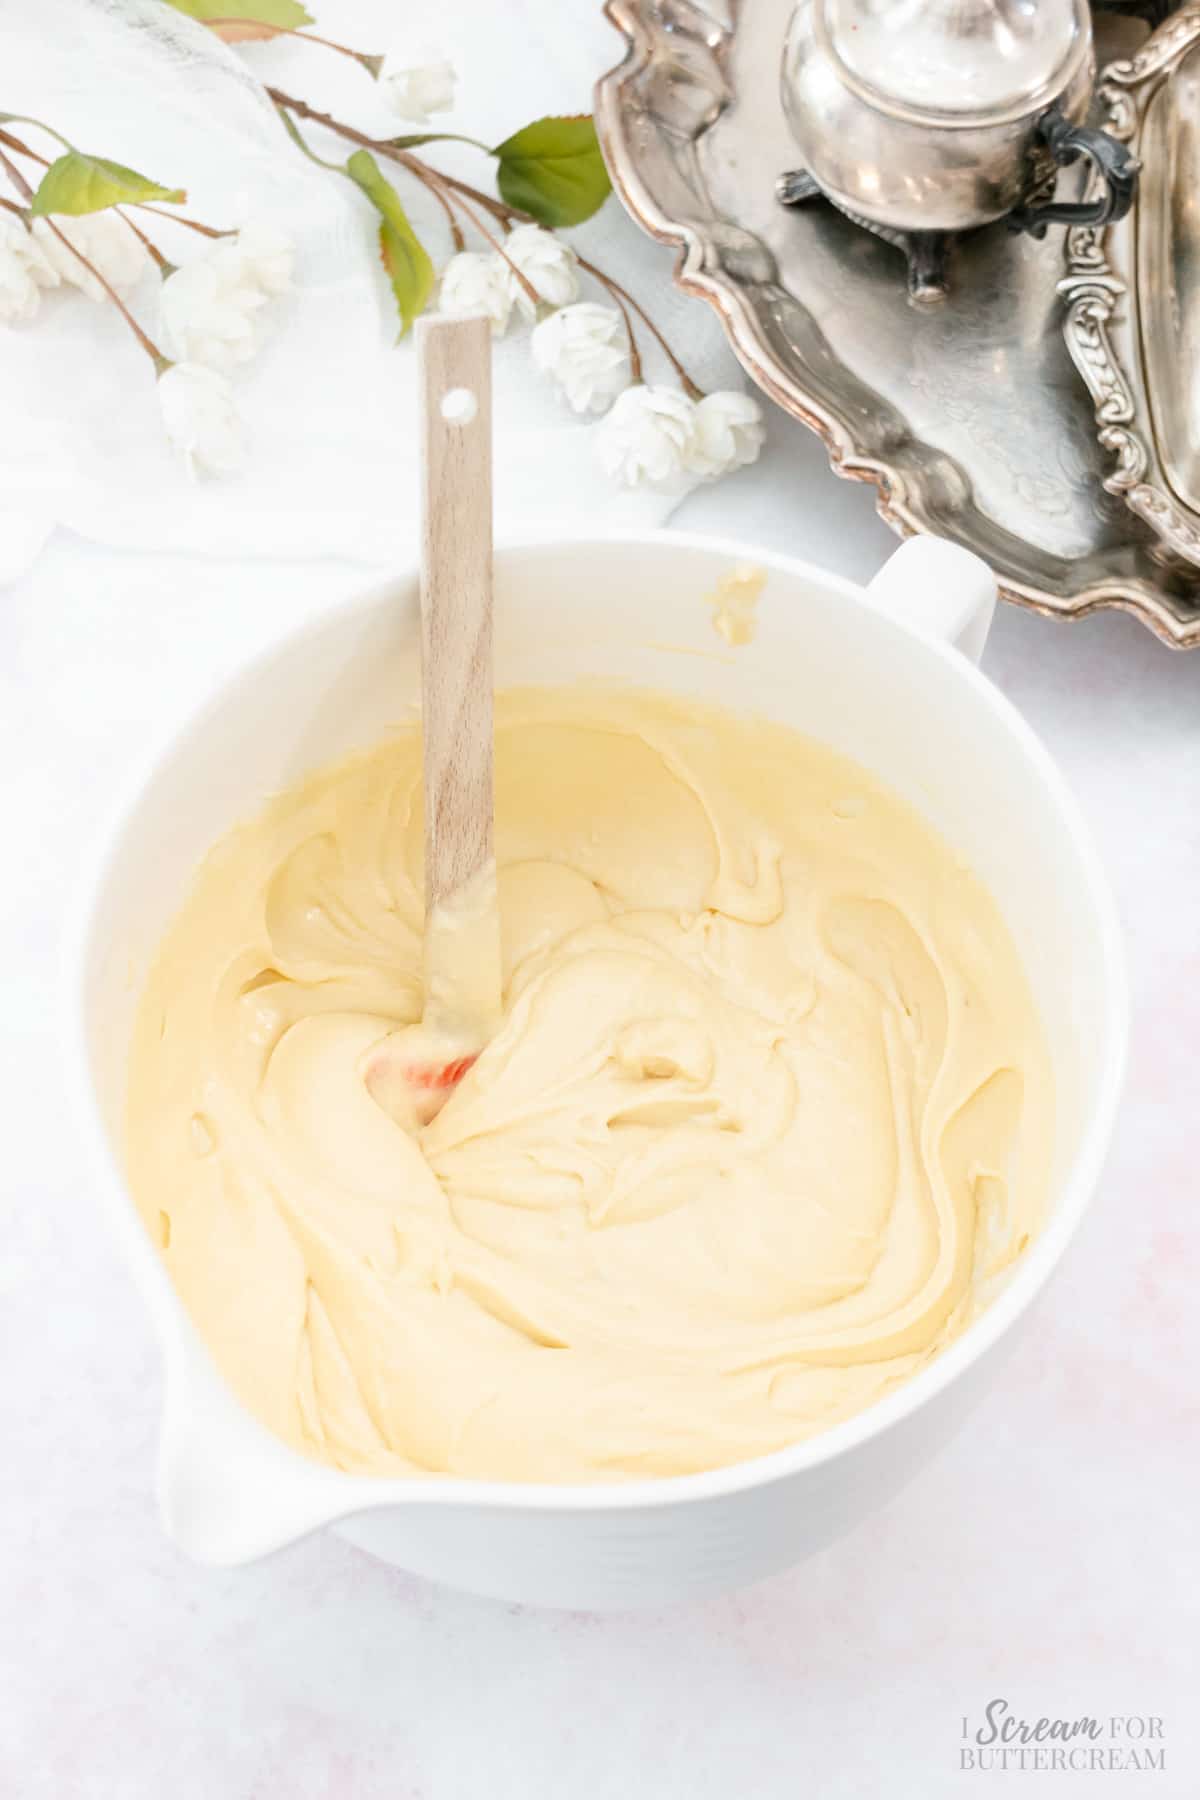
Step 5:
Turn the mixer on low and add the room-temperature butter chunks slowly to the dry ingredients.
Mix on medium to medium-high until all the flour has coated the butter and the mixture is crumbly with a sand-like texture.
Step 6:
Now, pour in about half of the liquid mixture. Mix on medium speed until just combined. Only about 30 seconds.
Then, pour in the last of the liquid mixture and mix on medium speed again until well combined. Be careful not to over-mix the batter. Only mix until everything is combined.
Scrape the sides of the bowl and mix again for only about 10 to 15 seconds.
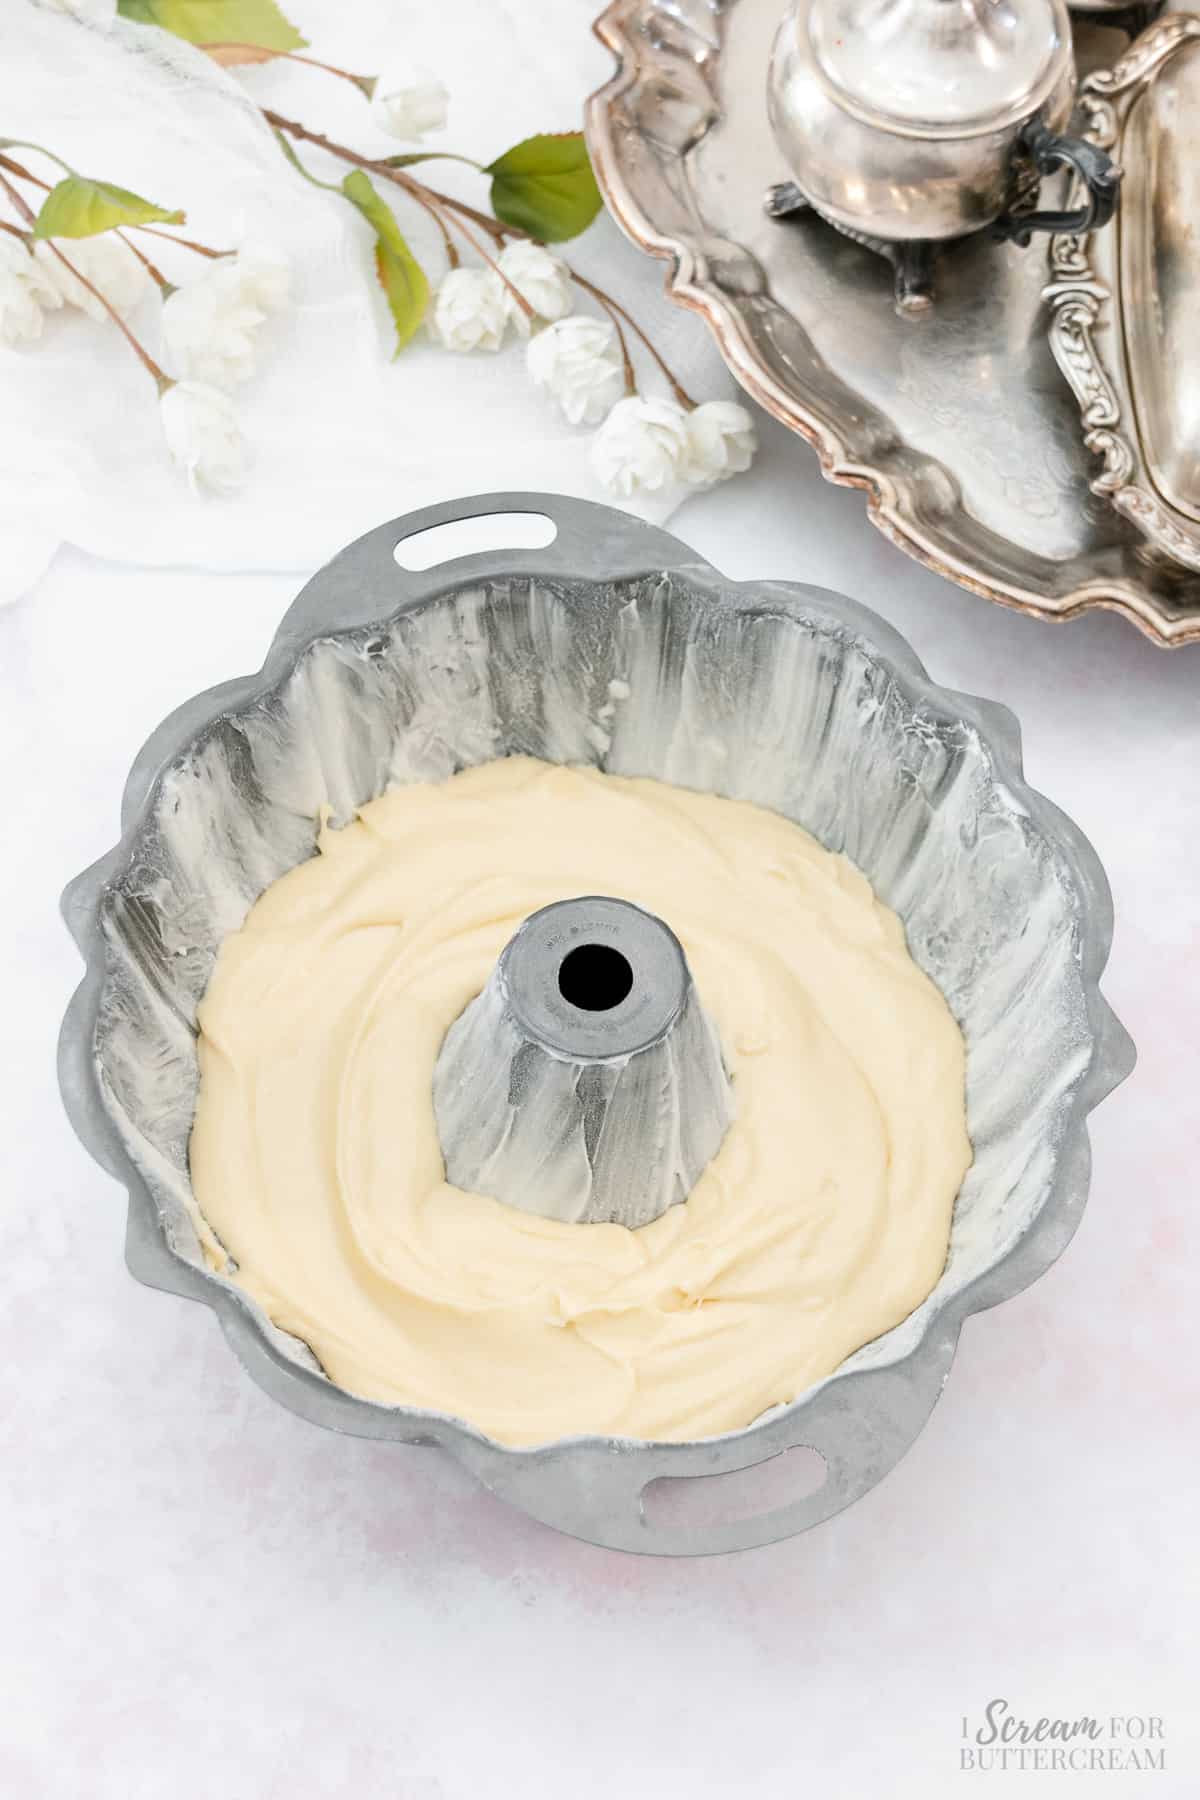
Step 7:
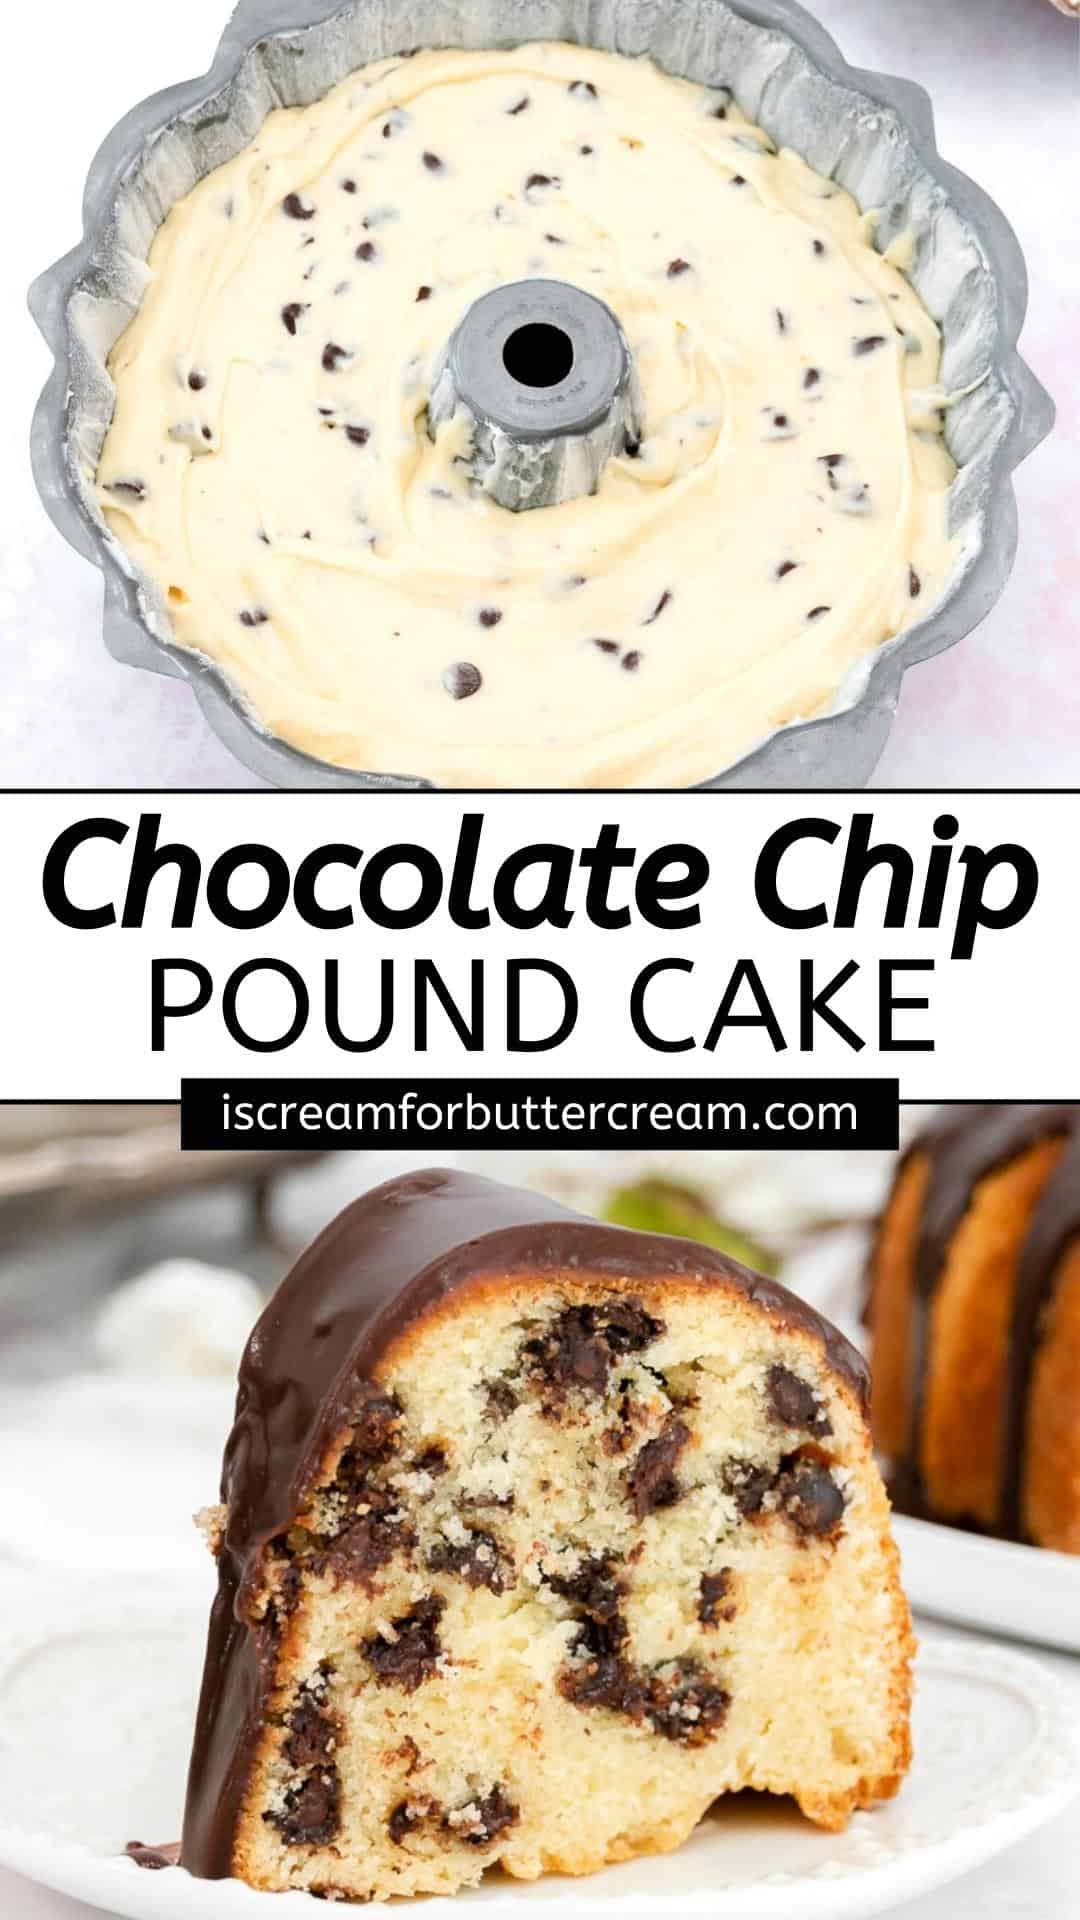
Before adding in the chocolate chips, add about ⅓ of the cake batter to the prepared pan.
This is the trick to not having all of the chocolate chips end up at the bottom.
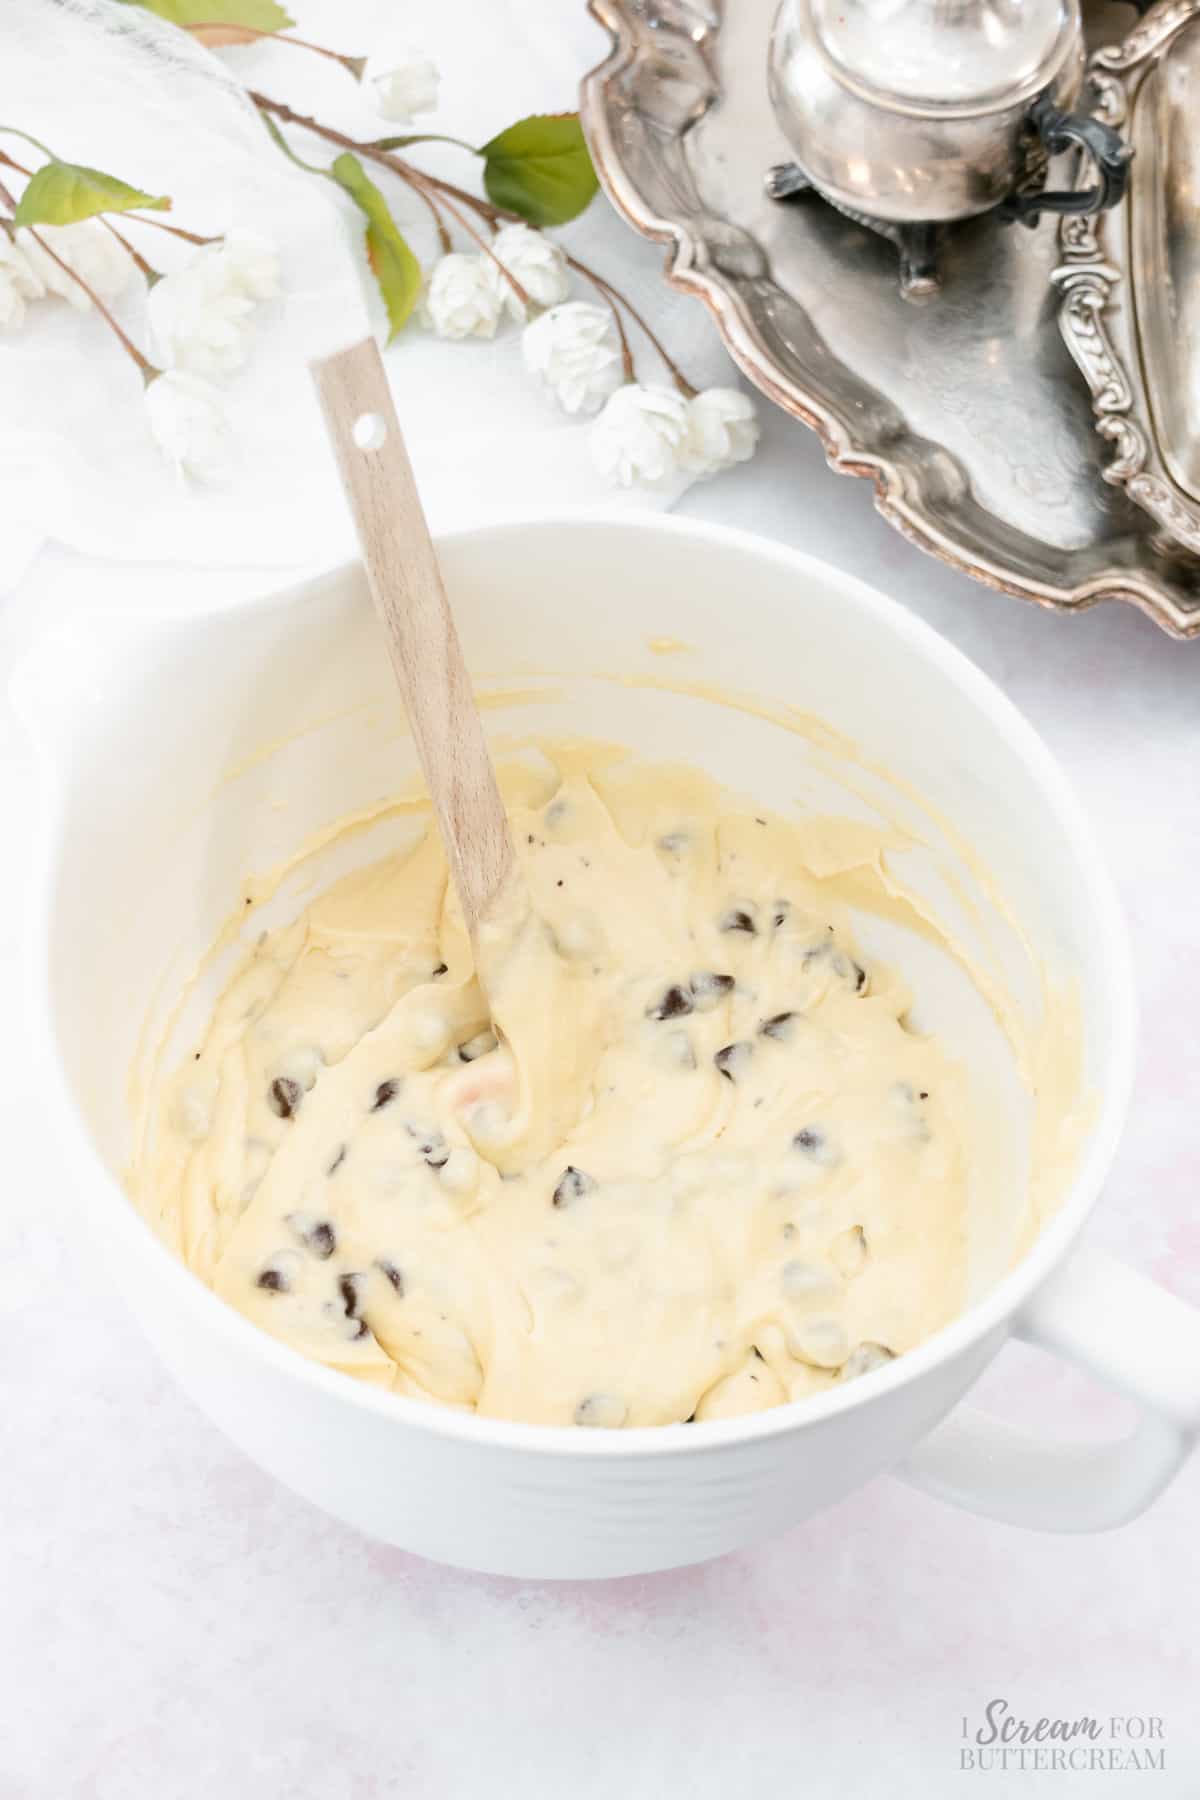
Step 8:
Now add the chocolate chips to the remaining batter in the bowl and stir by hand.
Step 9:
Next, add the rest of the batter to the pan and smooth.
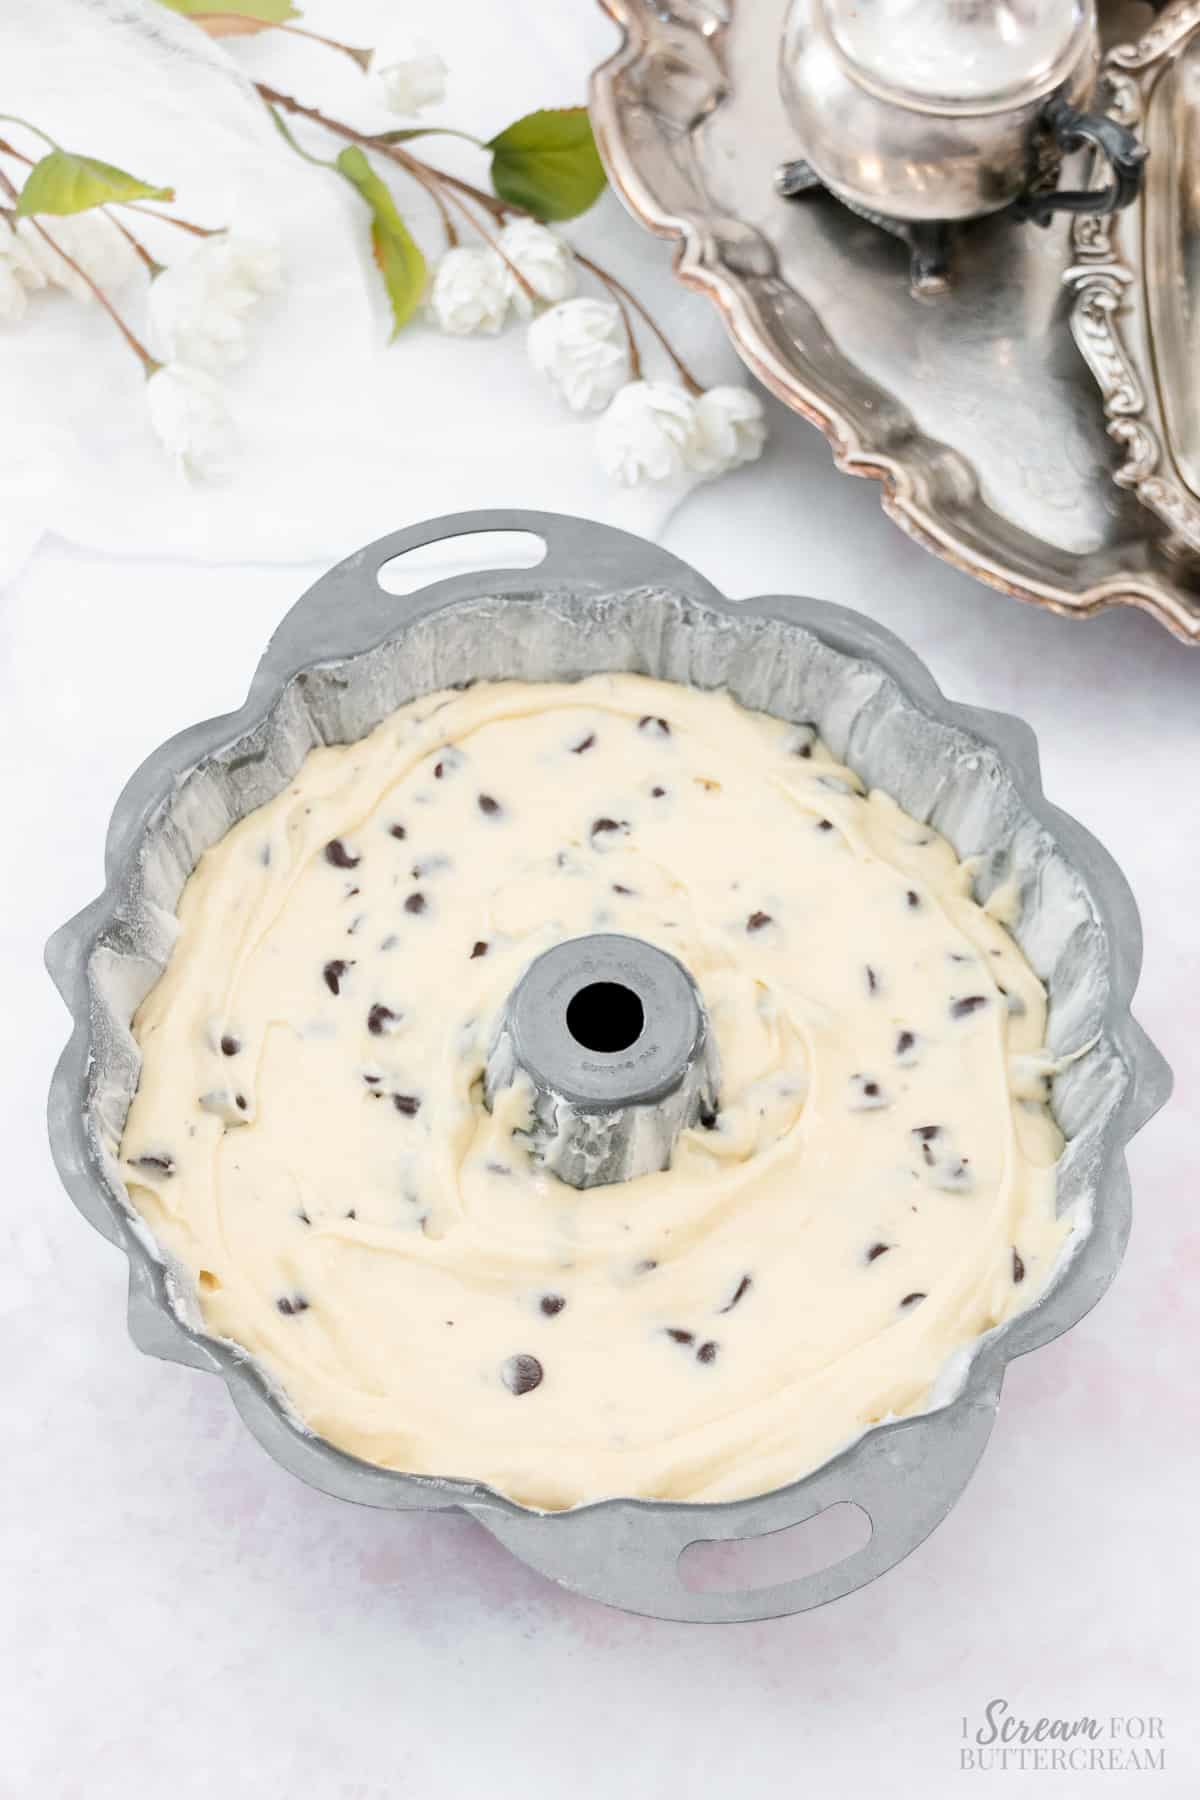
Step 10:
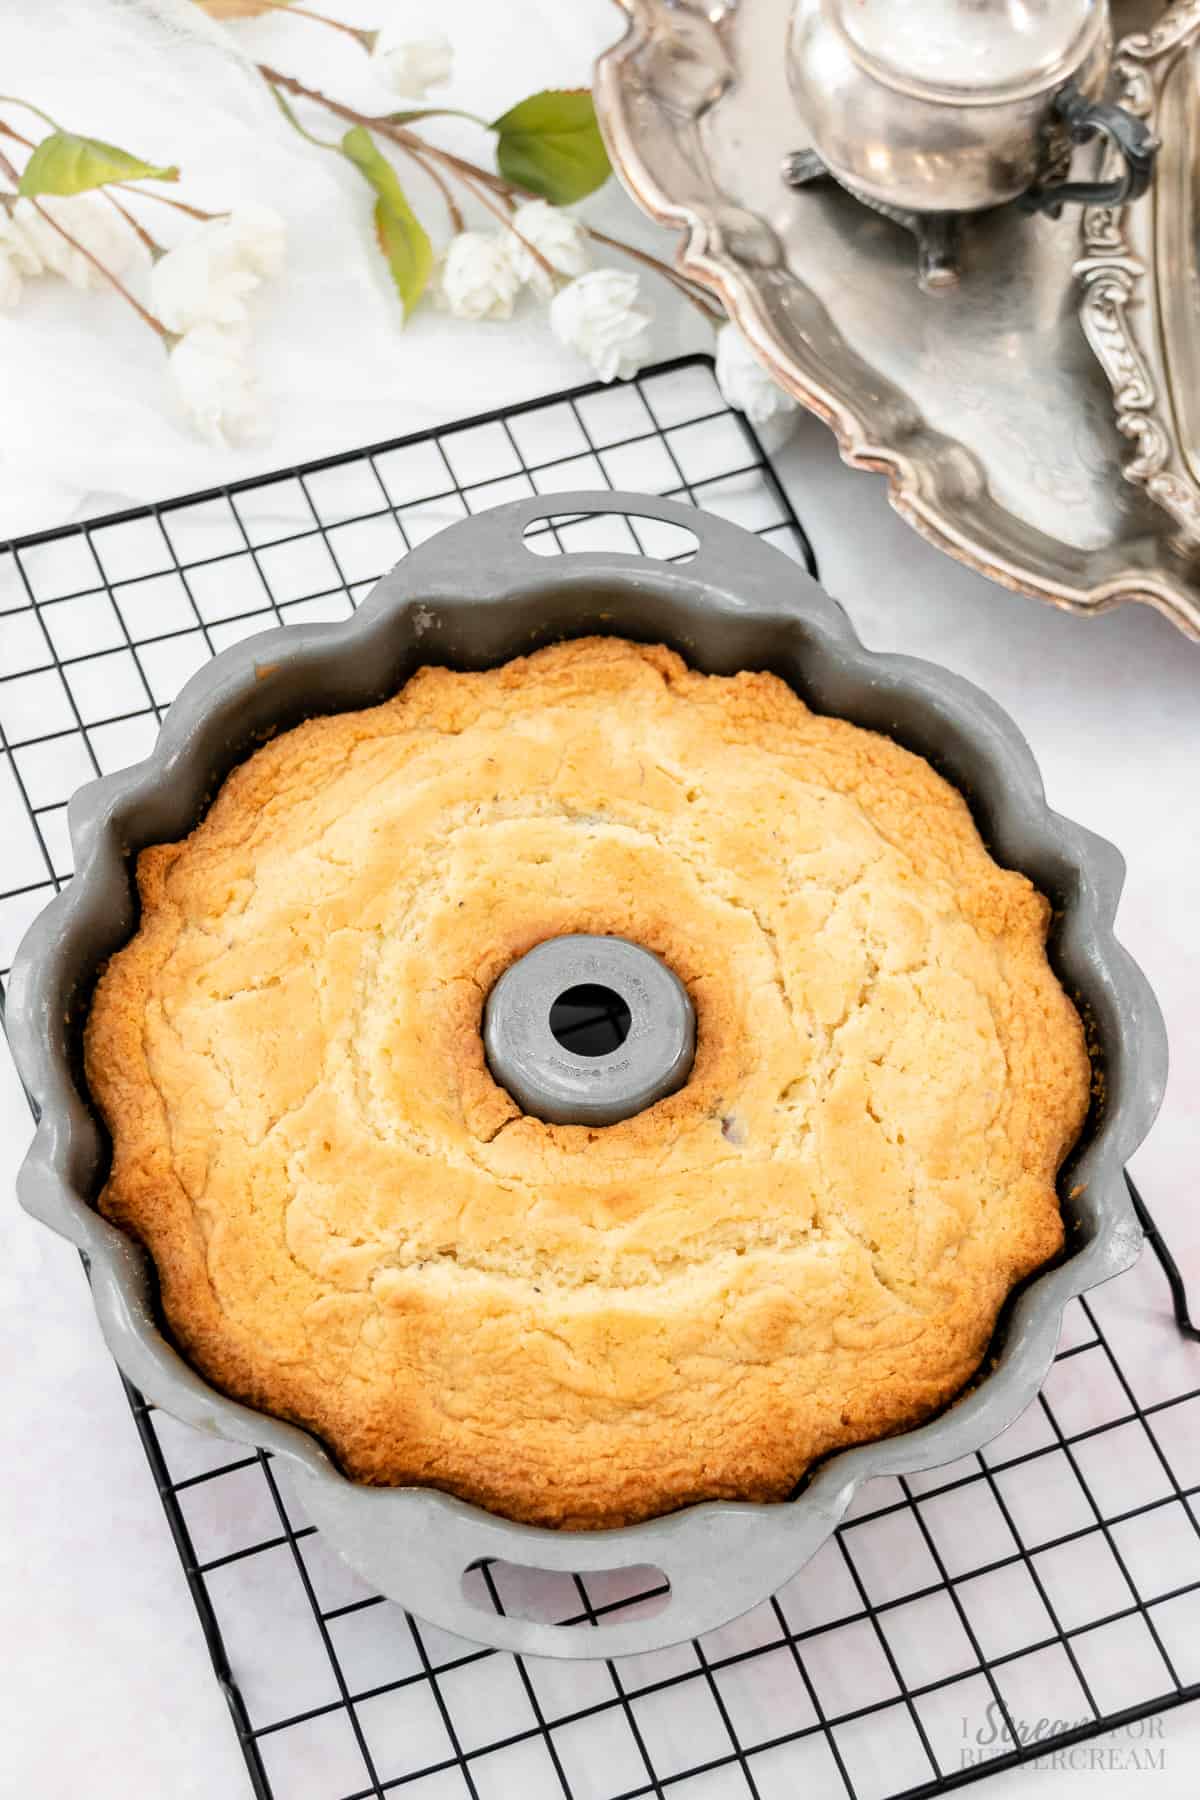
Bake for approximately 60-65 minutes. A toothpick inserted into the cake will come out with a few moist crumbs on, or clean, but no raw batter.
Set the cake on a wire rack to cool in the pan for at least 30 minutes.
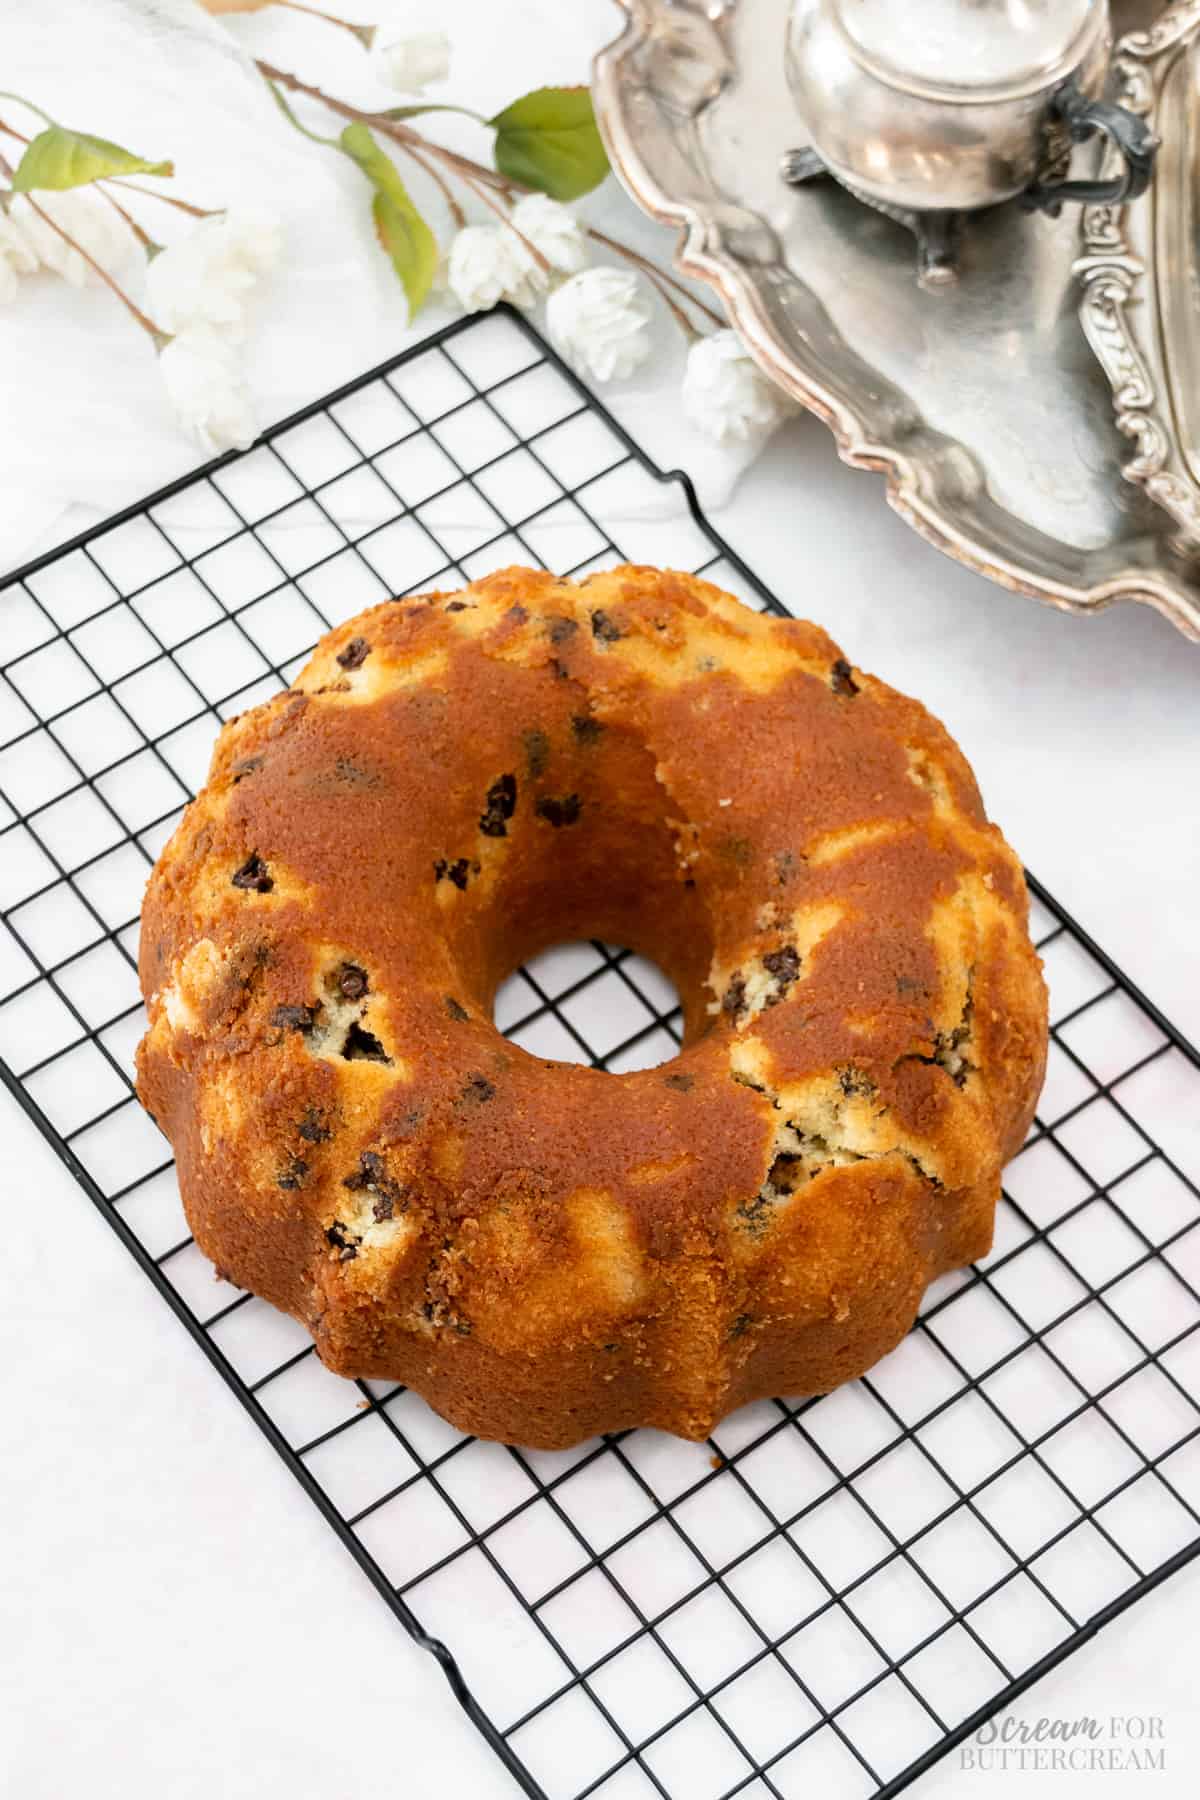
Step 11:
Next, turn the cake out onto the rack and let cool out of the pan completely before adding glaze.
Just know that if you try to remove the cake from the pan when it is very warm, it will likely stick. You may still have areas of the cake that stick to the top due to the chocolate chips.
You can always scrape the stuck cake areas from the pan and add them back to the top of the cake if this happens.
This is just the nature of a very moist, chocolate chip cake. If you have any bits that stick like that, the glaze will cover them.
Step 12:
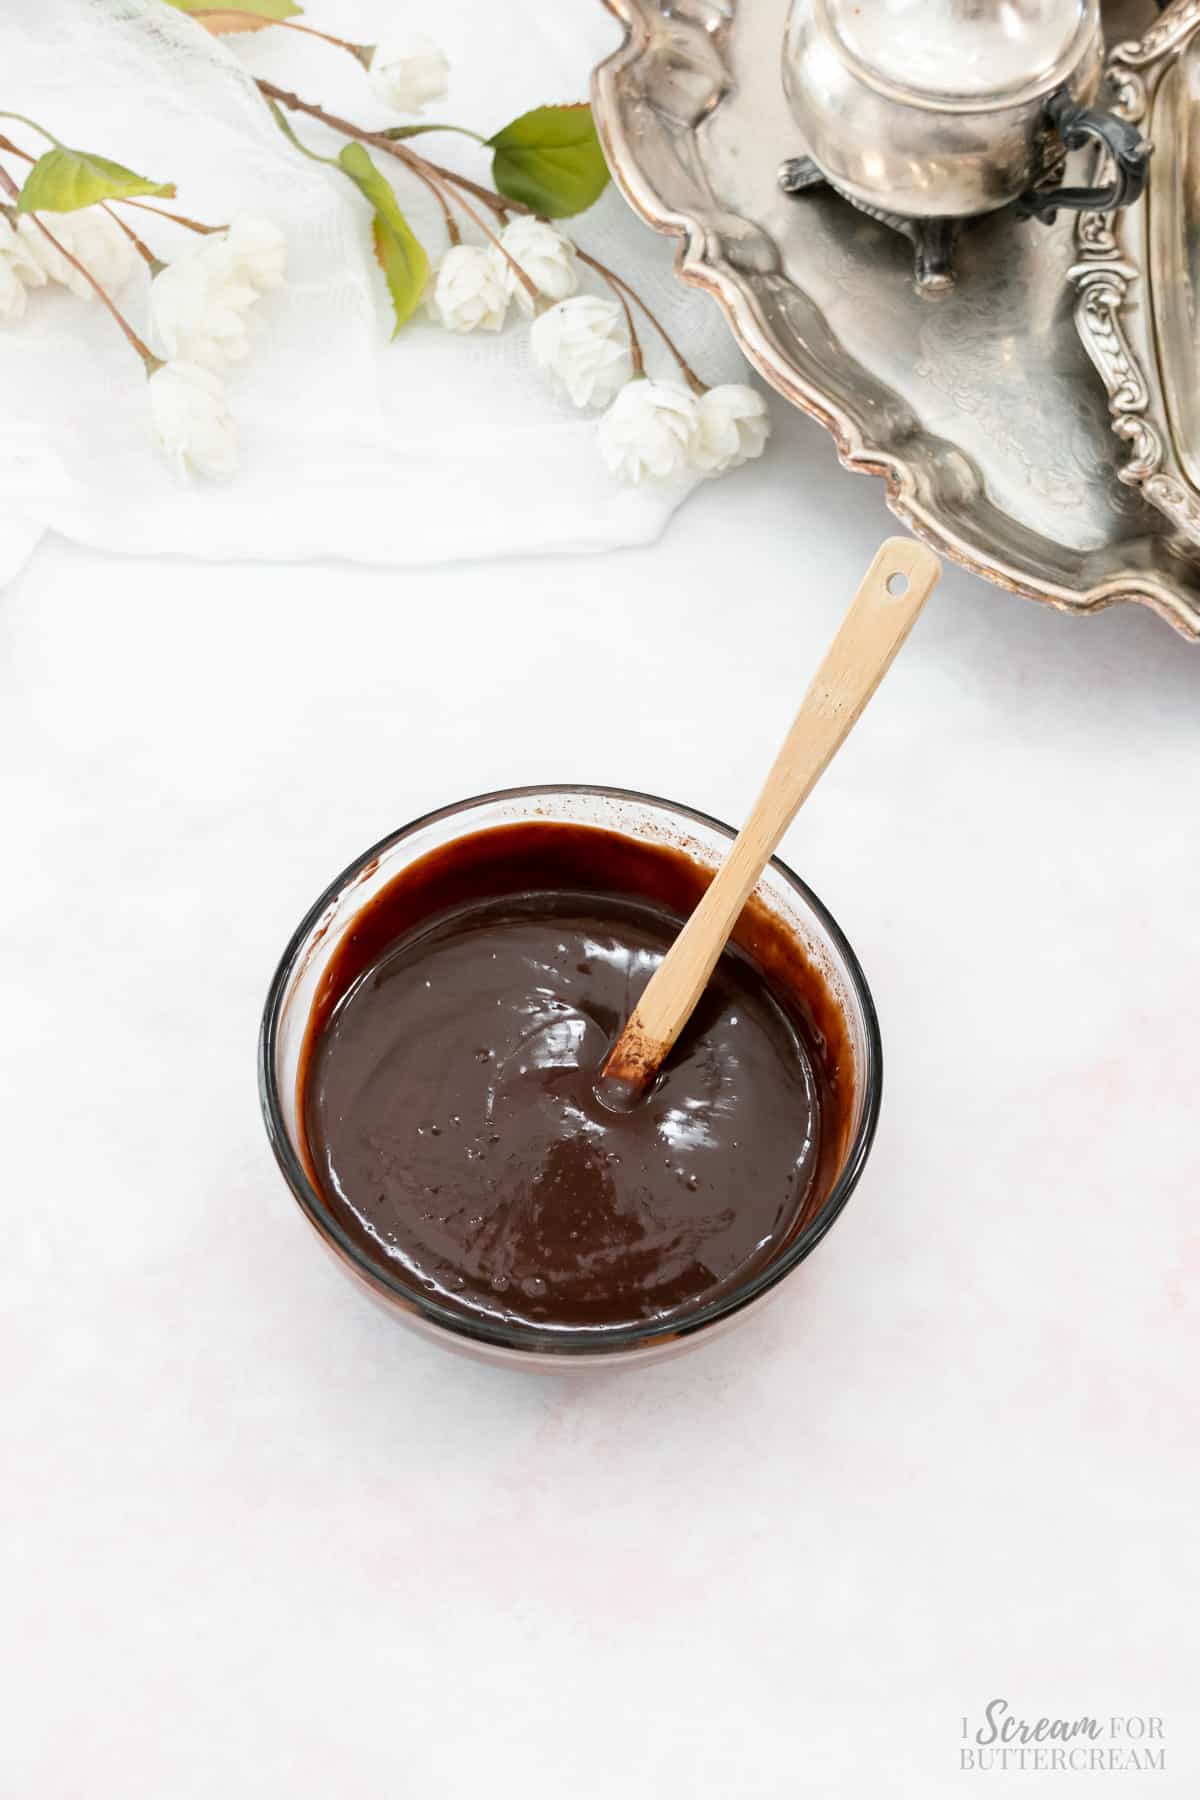
While the cake cools, you can prepare the glaze.
In a bowl, add the chocolate chips, butter and cream. Melt in the microwave for about 45 seconds to a minute. Once melted, mix until smooth.
Add in the corn syrup and mix until smooth.
Step 13:
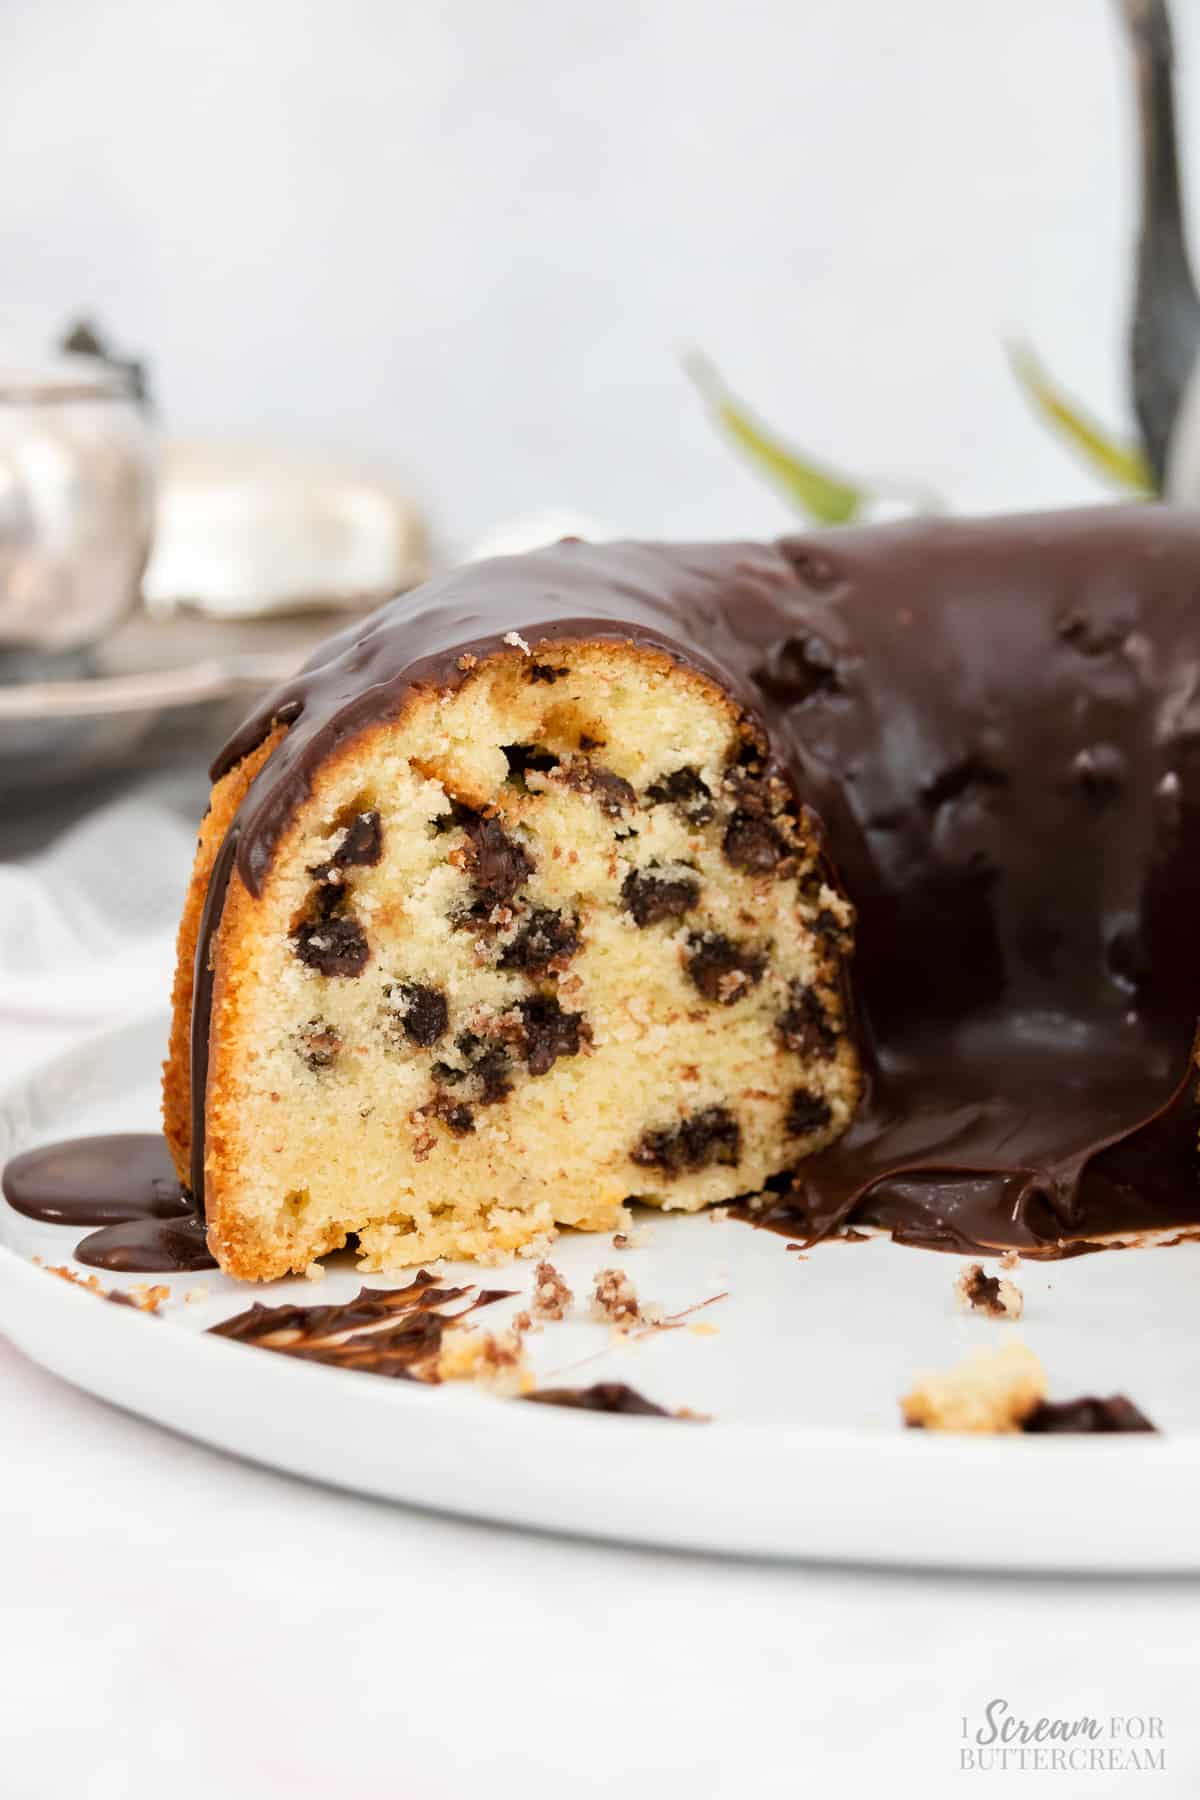
Let the chocolate glaze set up for about 45 minutes or so while the cake cools.
Either spoon the glaze onto the cooled cake or add it to a squeeze bottle and then squeeze it onto the top of the cake.
Note About Recipe Measurements: I write recipes using volume (cups) measurements because here in the U.S., this is what people are more familiar with and I don’t want anyone to feel intimidated when baking. For metric/weight measurements, click the ‘metric’ button under the ingredients in the recipe card below. The weights are converted by a program, not me, and it’s just a best guess. I can’t guarantee that weighing the ingredients will produce the exact same results, since I test recipes using volume measurements.
Recipe

Chocolate Chip Sour Cream Pound Cake
Ingredients
For the cake:
- 3 cups all-purpose flour
- 2 cups sugar
- 2 teaspoons baking powder
- ¼ teaspoon baking soda
- ½ teaspoon salt
- 1 cup sour cream
- ½ cup milk
- 2 tablespoons vegetable oil
- 2 teaspoons vanilla extract
- 4 large eggs
- 1 cup unsalted butter, room temperature and cut into chunks (2 sticks)
- 1 ½ cups semi-sweet chocolate chips (or milk chocolate chips)
For the glaze:
- 1 cup semisweet chocolate chips
- 2 tablespoons unsalted butter
- 1 tablespoon light corn syrup (optional, but helps to add shine and to firm up the glaze)
- ¼ cup cream (heavy cream or half-n-half)
Instructions
For the cake:
- Preheat oven to 325 degrees F.
- Grease and flour a 9 inch sized bundt pan very well. This is important as this cake will easily stick to the pan unless it's greased and floured extremely well.
- Combine the flour, sugar, baking powder, baking soda, and salt in a large mixing bowl. Whisk and set aside.
- In another bowl, combine the sour cream, milk, oil, vanilla and eggs. Mix well with a whisk and set aside.
- Turn the mixer on low and add in the butter chunks slowly to the dry ingredients. Mix on medium to medium-high until all the flour is coated with the butter and the mixture is crumbly with a sand-like texture.
- Pour in about half of the liquid mixture. Mix on medium speed until just combined. Only about 30 seconds.
- Pour in the last of the liquid mixture and mix on medium speed again until well combined. Be careful not to over-mix the batter. Only mix until everything is combined.
- Scrape the sides of the bowl and mix again for only about 10 to 15 seconds.
- Before adding in the chocolate chips, add about ⅓ of the cake batter into the prepared pan.
- Add the chocolate chips to the remaining batter in the bowl and stir by hand.
- Add the rest of the batter to the pan. (This is to help keep all the chocolate chips from sinking to the bottom of the pan when baking.)
- Bake approximately 60-65 minutes. A toothpick inserted into the cake will come out with a few moist crumbs on, or clean, but no raw batter.
- Set the cake on a wire rack to cool in the pan for at least 30 minutes up to an hour, then turn the cake out onto the rack and let cool out of the pan completely before adding glaze. If you try to remove the cake from the pan when it is very warm, it will likely stick. You may still have areas of the cake that stick to the top due to the chocolate chips. You can always scrape the stuck cake areas from the pan and add them back to the top of the cake if this happens. This is just the nature of a very moist, chocolate chip cake. If you have any bits that stick like that, the glaze will cover it.
- Prepare the glaze and add to cooled cake.
For the glaze:
- In a bowl, add the chocolate chips, butter and cream. Melt in the microwave for about 45 seconds to a minute. Once melted, mix until smooth. Add in the corn syrup and mix until smooth. Let the chocolate glaze set up for about 45 minutess or so while the cake cools. Either spoon the glaze onto the cooled cake or add to a squeeze bottle and then squeeze onto the the top of the cake.
Notes
This cake can be stored wrapped well or in an airtight container (like a cake carrier) at room temperature for about 3-4 days. After that, to prolong freshness, it can be stored in the refrigerator for a few more days for a total of about 6 days.
This cake is best served at room temperature or slightly warmed up. If the cake is cold, warm slices in the microwave for about 10-15 seconds.
Nutritional values are an estimate.
Make sure to check out the TIPS & FAQs for this recipe in the blog post, which may answer questions you may have.
*This recipe card may contain affiliate links. As an Amazon Associate, I earn from qualifying purchases.
Nutrition
How to Share
I’d love for you to share this recipe link or tag it, but please do not share screenshots or copy/paste the recipe to social media as the content and photographs are copyright protected and we (bloggers) work really hard on our content. Sharing the link, tagging us on socials and pinning it is super appreciated though!
Video:
Tips & FAQs:
Make sure not to pack the flour down into the measuring cup when you’re measuring. Spoon flour into the measuring cup and level off, but don’t scoop the flour directly into the cup as that can end up adding too much flour to the batter and will make the cake dry and/or dense.
No, you don’t want to do that. Both of these are important and needed for this recipe. Also, baking powder and baking soda are different and cannot be substituted for each other. If you’d like more information on the difference, check out this blog post: Baking Powder vs Baking Soda
Sour cream is best in this recipe as it helps make a very moist cake and gives a little flavor. If you don’t have access to it, you can use plain yogurt, but use the full-fat yogurt instead of the low fat or fat-free type.
Unsalted is best here because you can estimate the proper amount of salt that will be added plus salted butter has a different water content than unsalted. However, if you’re unable to get unsalted butter, you can use salted in the cake and the buttercream, but omit the additional salt called for in the recipe.
Make sure this pan is greased and floured or at least sprayed very, very well. This cake is moist and due to the chocolate chips, it can easily stick. If part of it still sticks, just pull that part off the cake pan and add it back to the cake. It’s okay and the glaze will cover it just fine.
The mixing method for this cake is called the reverse creaming method because instead of creaming the butter with the sugar, you’ll add the butter, in chunks, to the dry mixture which will coat it.
This method helps produce a softer cake and helps reduce the chance of over-mixing which can over-develop the gluten. Personally, I find it easier to mix cakes this way and once you get the hang of it, I think you will too. Just make sure that the butter has sat out long enough to reach almost room temperature but that it’s not too warm.
Be very careful not to mix the batter too long. Scratch cakes should not be mixed for minutes at a time, or they will become dense. Stop mixing once the ingredients are well incorporated.
This cake is done baking when a toothpick inserted into the center comes out with a few moist crumbs on it or clean, but no raw batter.
For muffins, keep the recipe as is and fill 2 muffin tin pans (should make about 24 muffins) with cupcake liners or grease or spray generously. Fill with batter about ⅔ of the way full. Bake at 350 degrees F (instead of 325) and start checking for doneness at around 20-25 minutes, but may need to be baked longer.
For cupcakes, omit one of the eggs (only use 3) and fill 2 cupcake pans (should make about 24 cupcakes) with cupcake liners. Fill with batter about ⅔ of the way full. Bake at 350 degrees F (instead of 325) and start checking for doneness at around 20-25 minutes, but may need to be baked longer.
For a layer cake, omit one of the eggs (only use 3) and fill two, 8-inch round cake pans that are greased and floured generously. Bake at 325 degrees F and start checking for doneness at around 40 minutes although the layers may need to be baked a little longer.
This cake can be made ahead of time and frozen if desired. Let the baked cake cool completely, then wrap in plastic wrap and foil and place in the freezer for up to two months.
To thaw, place the wrapped cake on the counter at room temperature and let thaw completely, then remove the wrapping. Once defrosted, add the glaze.
This cake can be stored wrapped well or in an airtight container (like a cake carrier) at room temperature for about 3-4 days. After that, to prolong freshness, it can be stored in the refrigerator for a few more days for a total of about 6 days.
This cake is best served at room temperature or slightly warmed up. If the cake is cold, warm slices in the microwave for about 10-15 seconds.
This cake would be wonderful warmed up with a scoop of vanilla ice cream.
Feel free to add a cup of chopped nuts to the cake batter and bake.
Supplies Used:
As an Amazon Associate, I earn from qualifying purchases.
Don’t forget to pin it below!
Jen
Any recommendations making this a 10 inch round 2 layer cake? I’m actually making this for a wedding cake, 2 tiers, 10 inch 2 layer bottom and 6 inch 2 layer on top… my concern is the center rising and cracking and gooey.
This cake is delish, I made an 8 in test cake!
Kara
So for two, 10-inch round layer cakes, I’d probably mix up a recipe batch and a half. I think that would be enough batter, although I haven’t tried it out so can’t say 100%. I can’t think of a reason that the center would rise and crack though, but if that does happen, just slice the dome off with a knife or a cake leveler. The cake layers generally need to be evened out anyway before they’re stacked and lots of them will come out with some type of dome on them. That’s not too unusual. I wouldn’t worry about baking flat layers. Just even them out if there ends up being a slight dome.
As far as it being gooey in the middle, that would be under-baking I would image. So, just make sure to bake at 325 degrees F (not 350 degrees) so that the middle has time to fully bake and not much slower than the outside (which would be the case if you baked it at 350 degrees.) You could also use a heating core or a flower nail in the middle of the pan when it’s baking to make sure it bakes evenly. Also, some pans are just better at baking things more evenly. Magic Line pans are my favorite. The layers just bake up more evenly in those versus my Wilton pans. Hope this helps!
Taylor
I made this today and it is very good! It is a little dry, should I add a little more of something or cut down the baking time the next time I try it? I cooked it right at an hour. Thank you!
Kara
Hi Taylor, I wouldn’t add anything to it as that might throw off the baking ratios and then the texture may not come out right or it may fall. I would try baking it a bit less. Even just a small amount of over baking can make a cake dry. Let me know how that goes if you try it again!