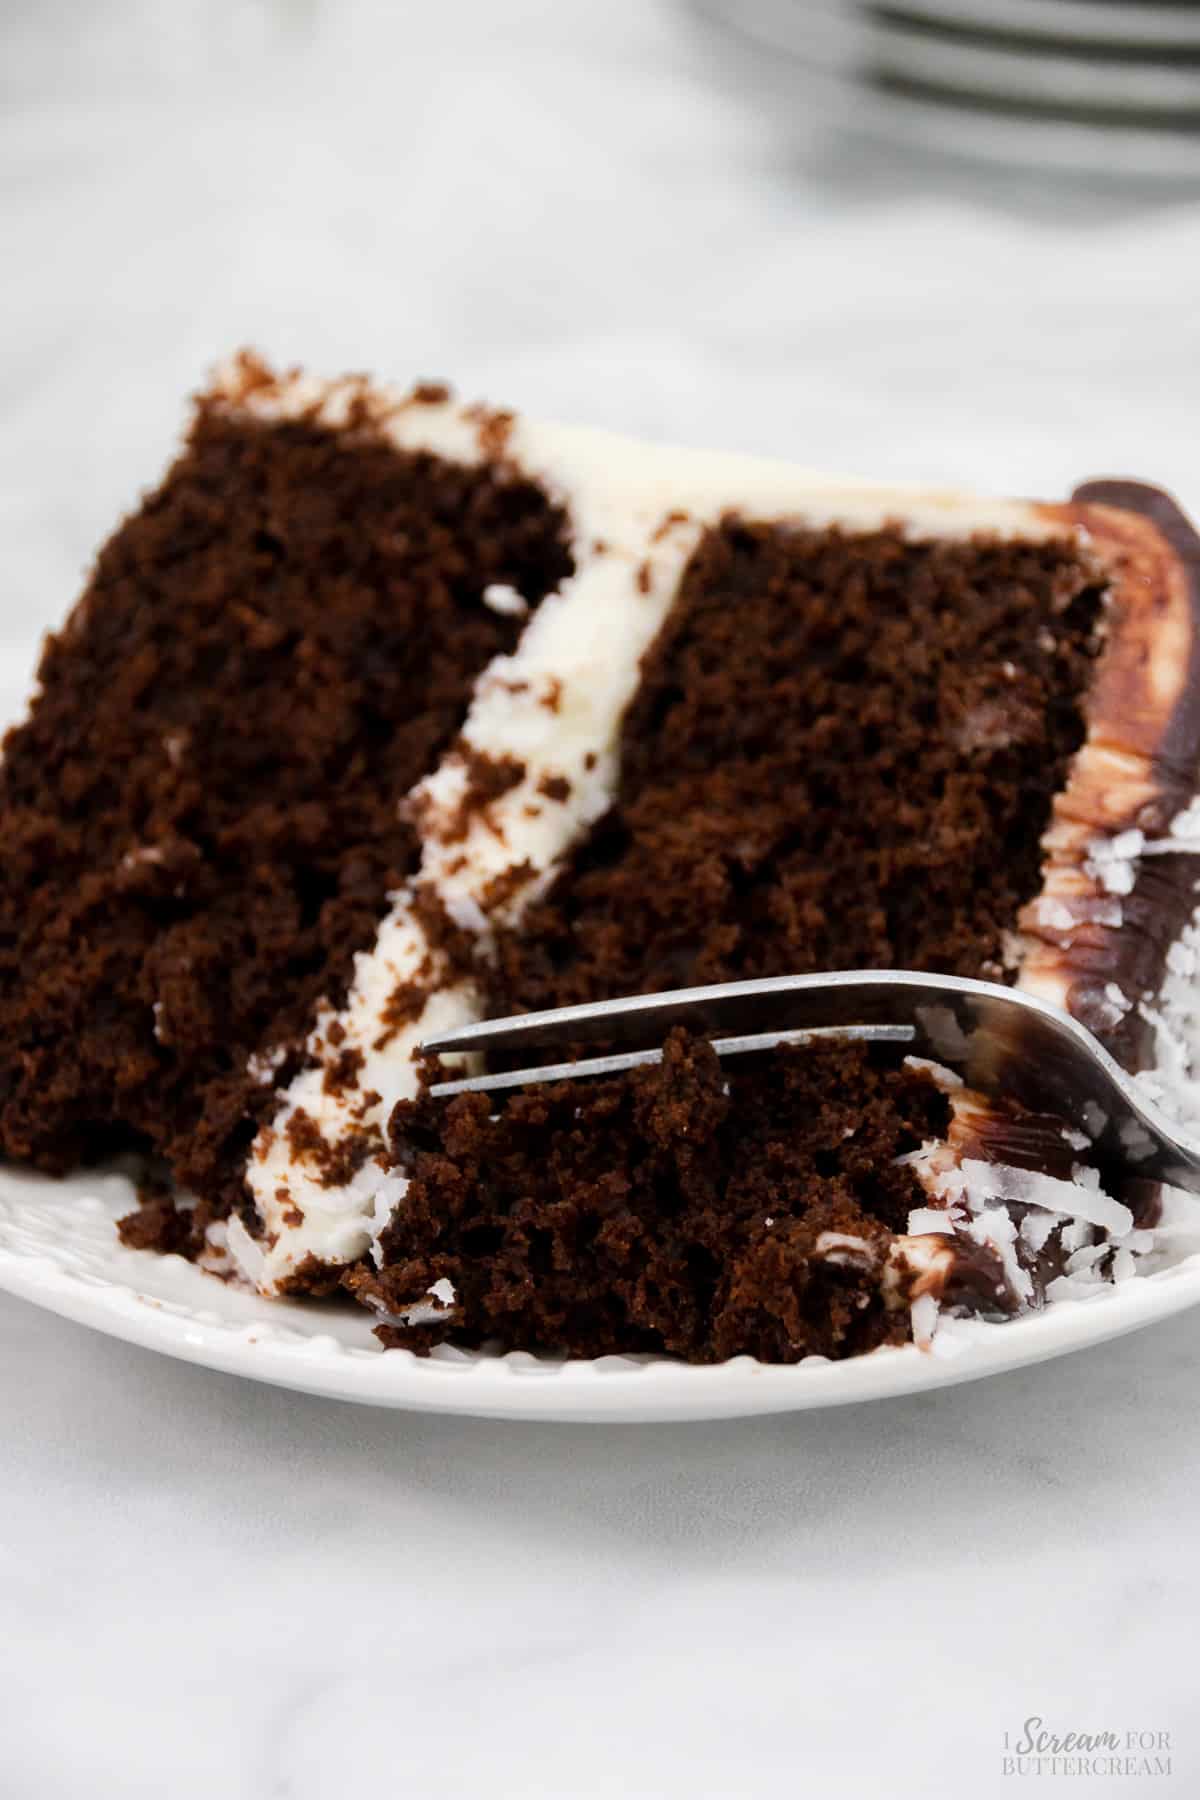
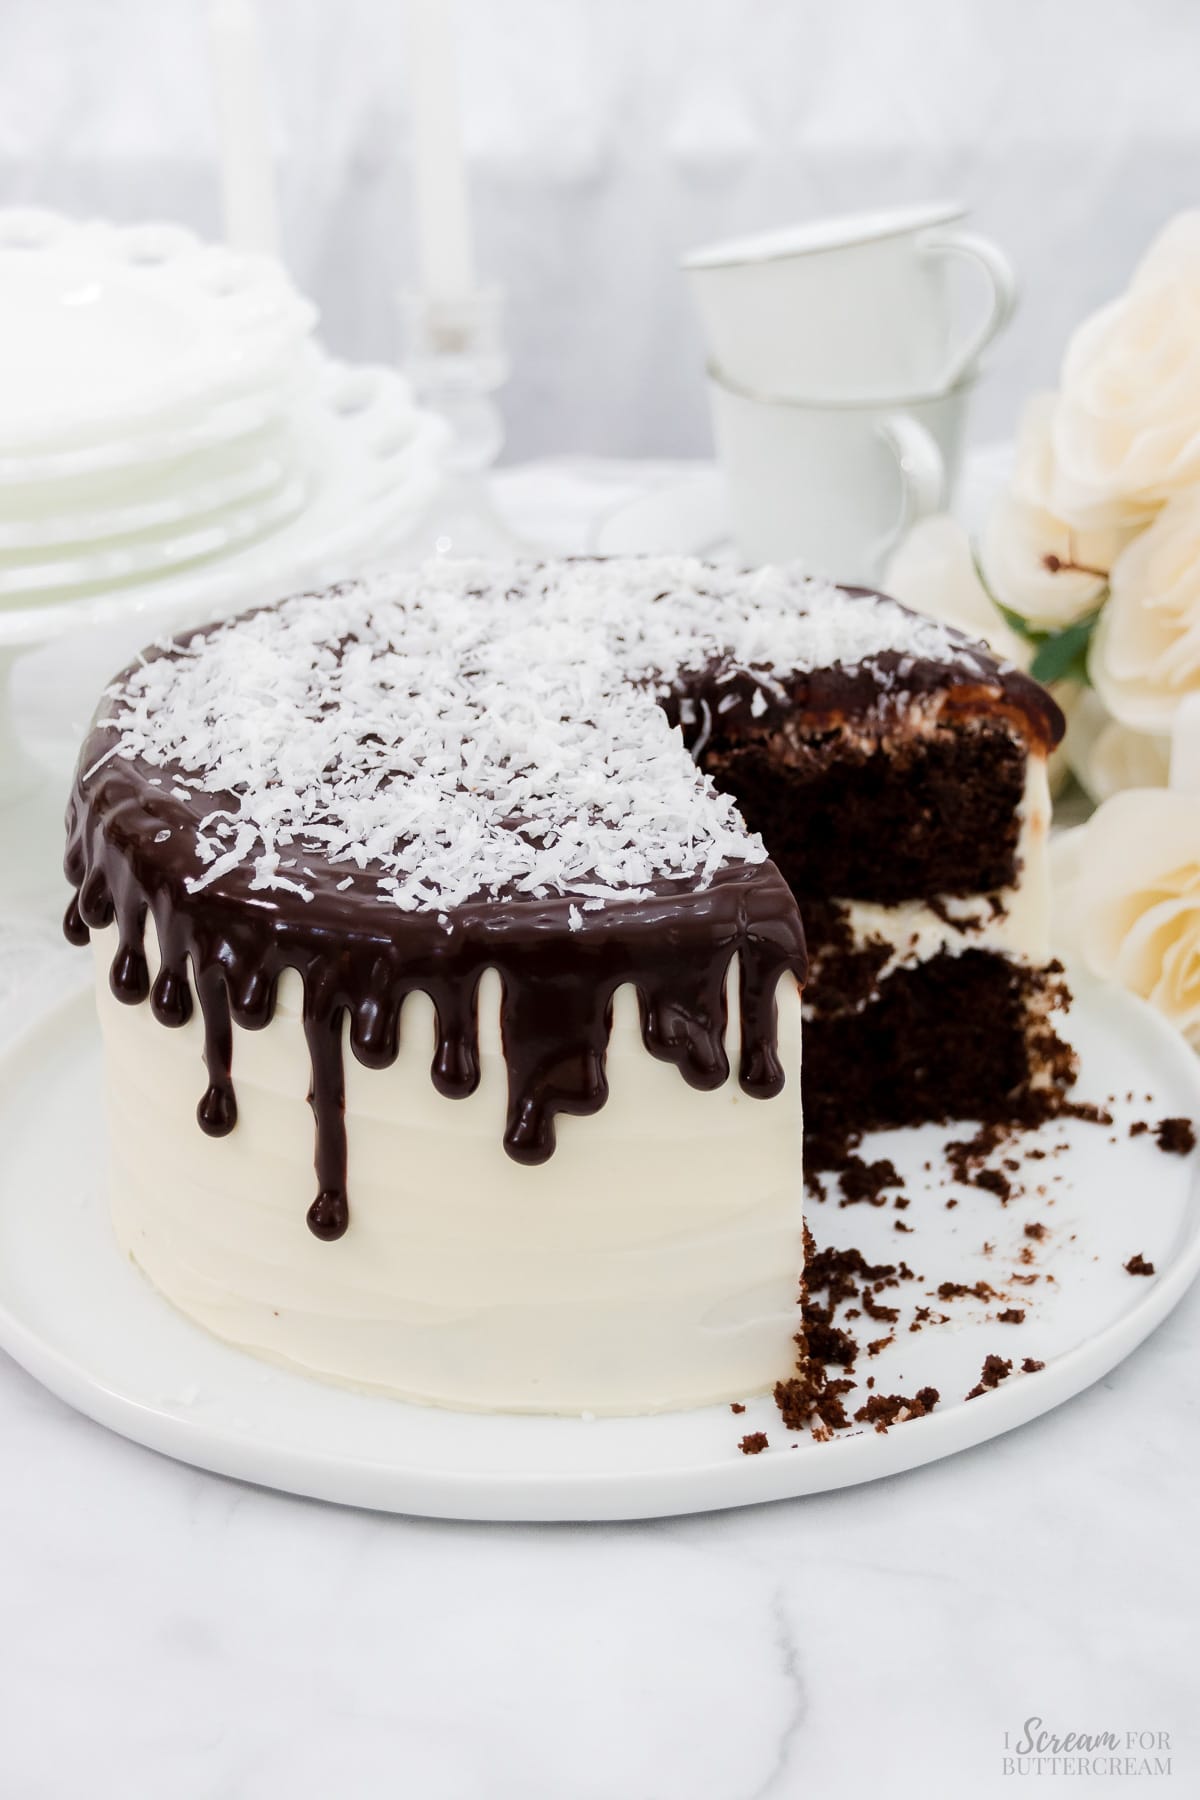
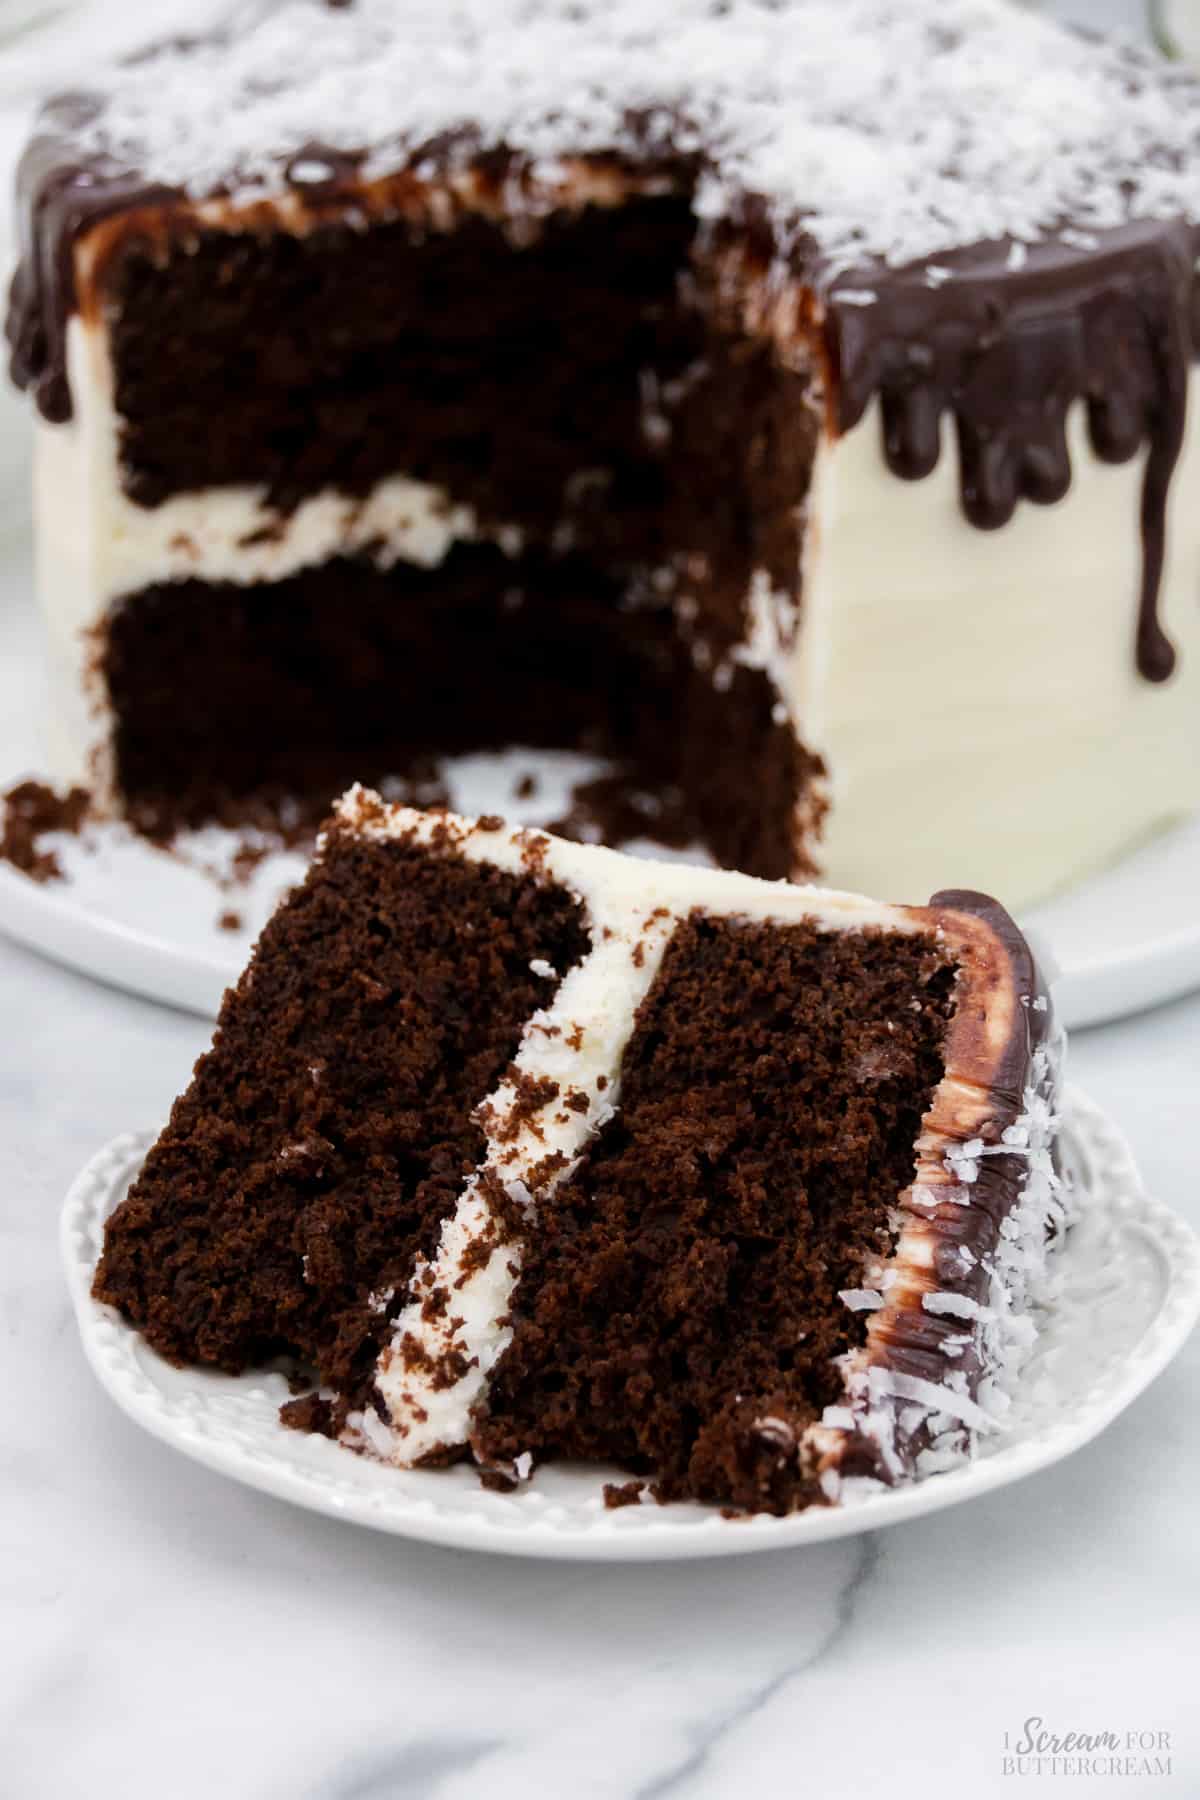
This moist chocolate coconut cake has rich chocolate cake layers that are covered with coconut cream cheese buttercream frosting, then with a chocolate ganache drip and shredded coconut.
This cake is a great pairing of two classic flavors – chocolate and coconut. It’s like they were meant to be together. The chocolate is rich and comforting and the coconut adds a touch of sweetness and tropic flavor.
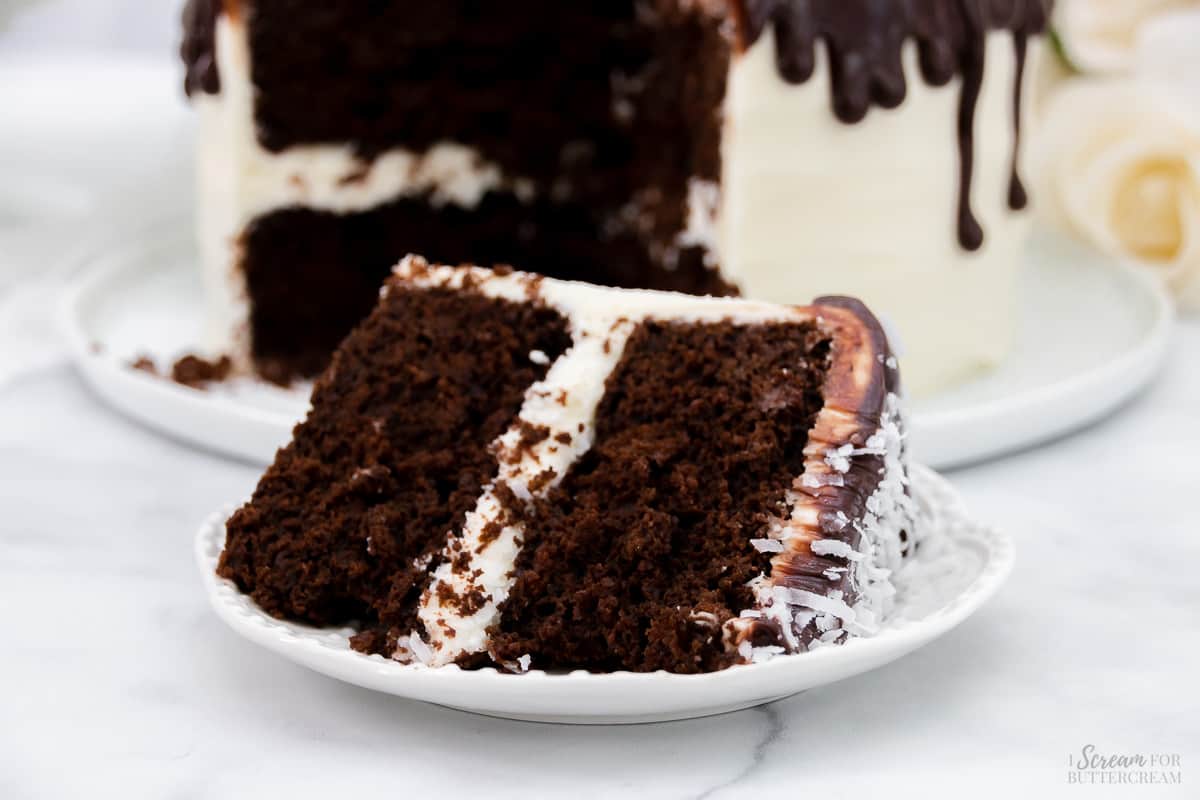
With each bite, you get moist, chocolatey goodness and a hint of coconut that makes this cake truly unique. This cake is just so flavorful and it’s both easy to make and a true crowd-pleaser.
Hey there! Before you scroll, there’s lot’s of important stuff in the post!…including the FAQ section, which may answer any questions you might have about this recipe. Enjoy!
What’s great about this cake:
- Cake layers that are amazingly moist and tender.
- Easy preparation with straightforward instructions.
- The perfect hint of coconut flavor combined with rich chocolate cake.
- Eye catching with the chocolate drip and shredded coconut.
Main ingredient notes:
(The printable list of all ingredients are in the recipe card below.)
All-Purpose Flour: Flour provides the structure to the cake layers.
Unsweetened Cocoa Powder: This gives the cake a deep chocolate flavor.
Coconut Milk: Adds a ton of moisture and a subtle hint of coconut to the cake.
Coconut Extract: This really pumps up the coconut flavor, giving the cake a delightful hint of coconut.
Cream Cheese: This will make the frosting super creamy and gives it a nice hint of tanginess that pairs perfectly with the chocolate and coconut cake.
Sweetened Shredded Coconut: Add extra coconut flavor to the cake and adds a nice texture.
(All of the ingredients are in the recipe card below.)
How to make this cake:
(The printable instructions are in the recipe card below.)
Step 1:
First, you’ll want to make the cake. Preheat the oven to 325 degrees F and grease and flour two 8-inch round cake pans.
Step 2:
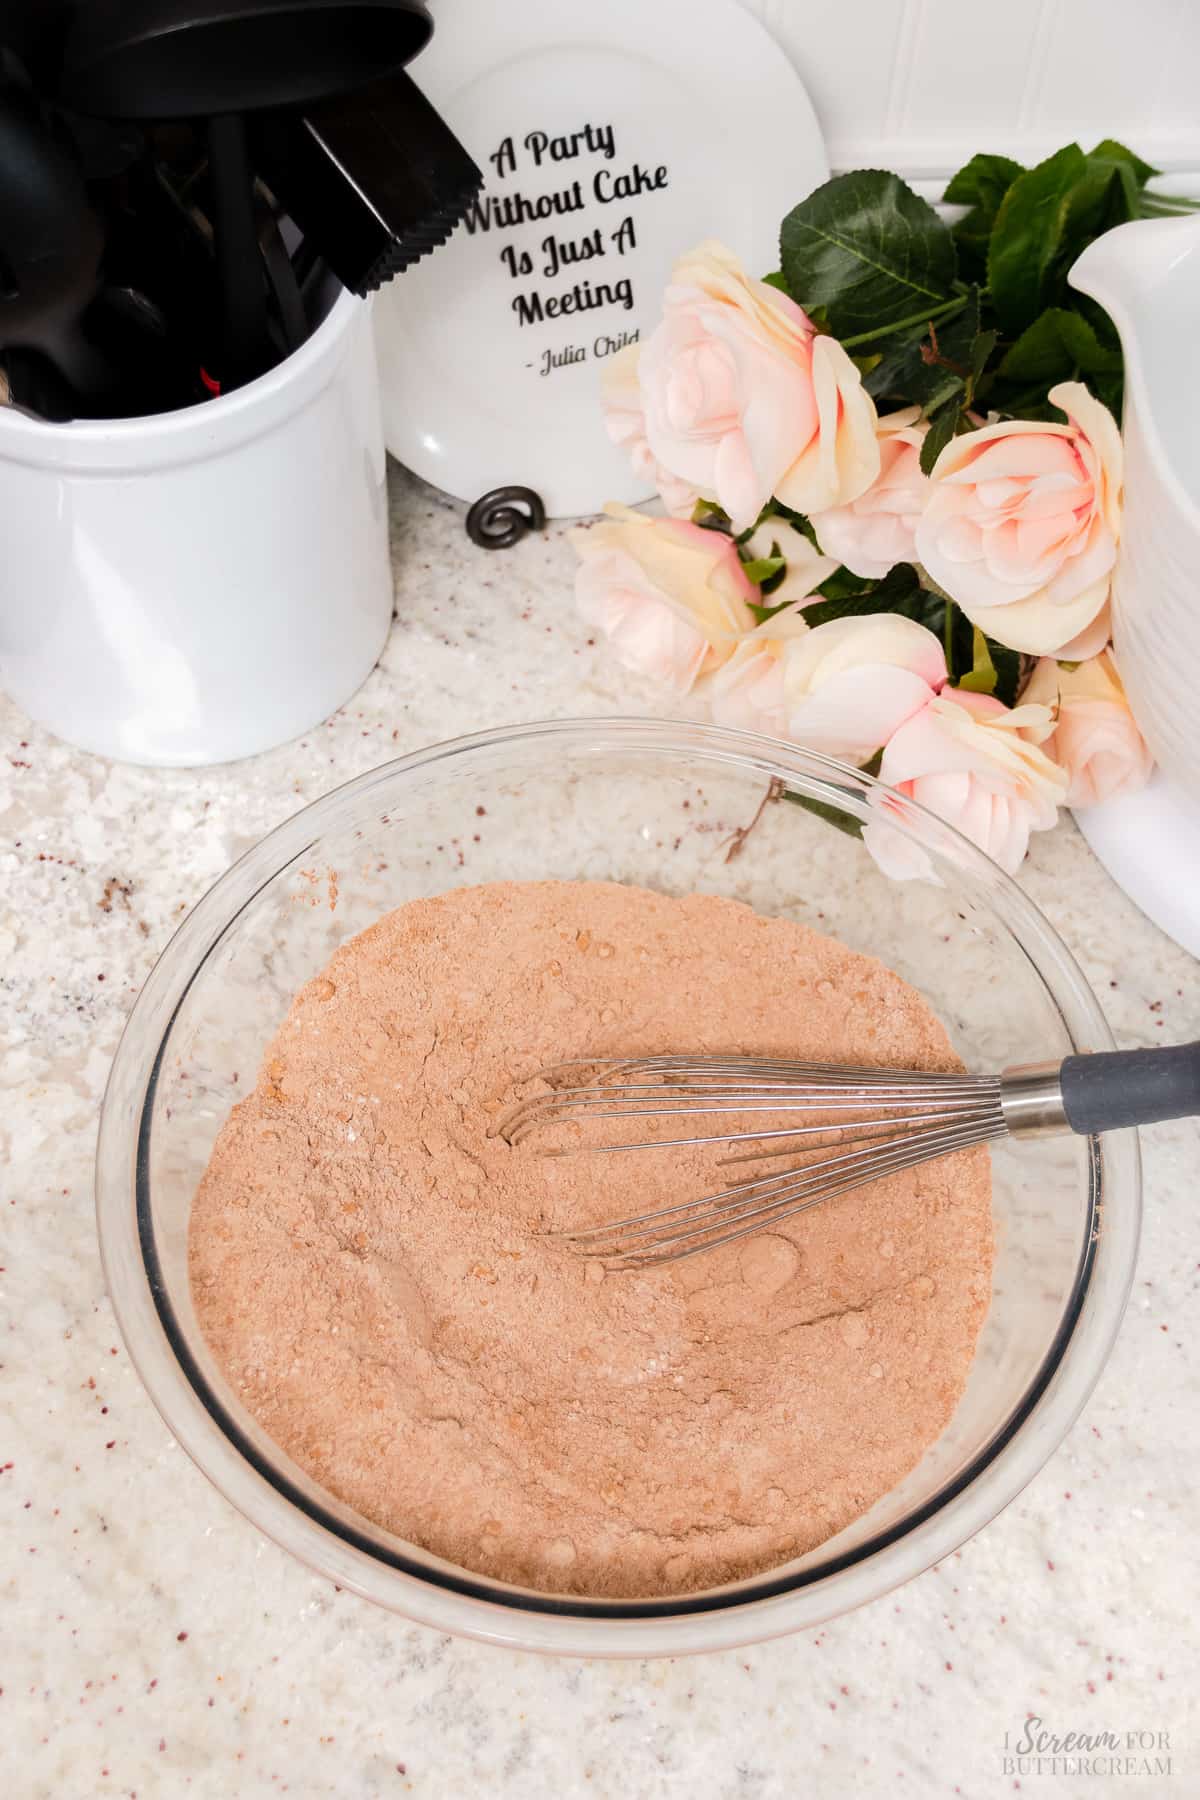
Next, in a large mixing bowl, add the flour, cocoa powder, baking powder, baking soda, salt and both sugars. Whisk well and set aside.
Step 3:
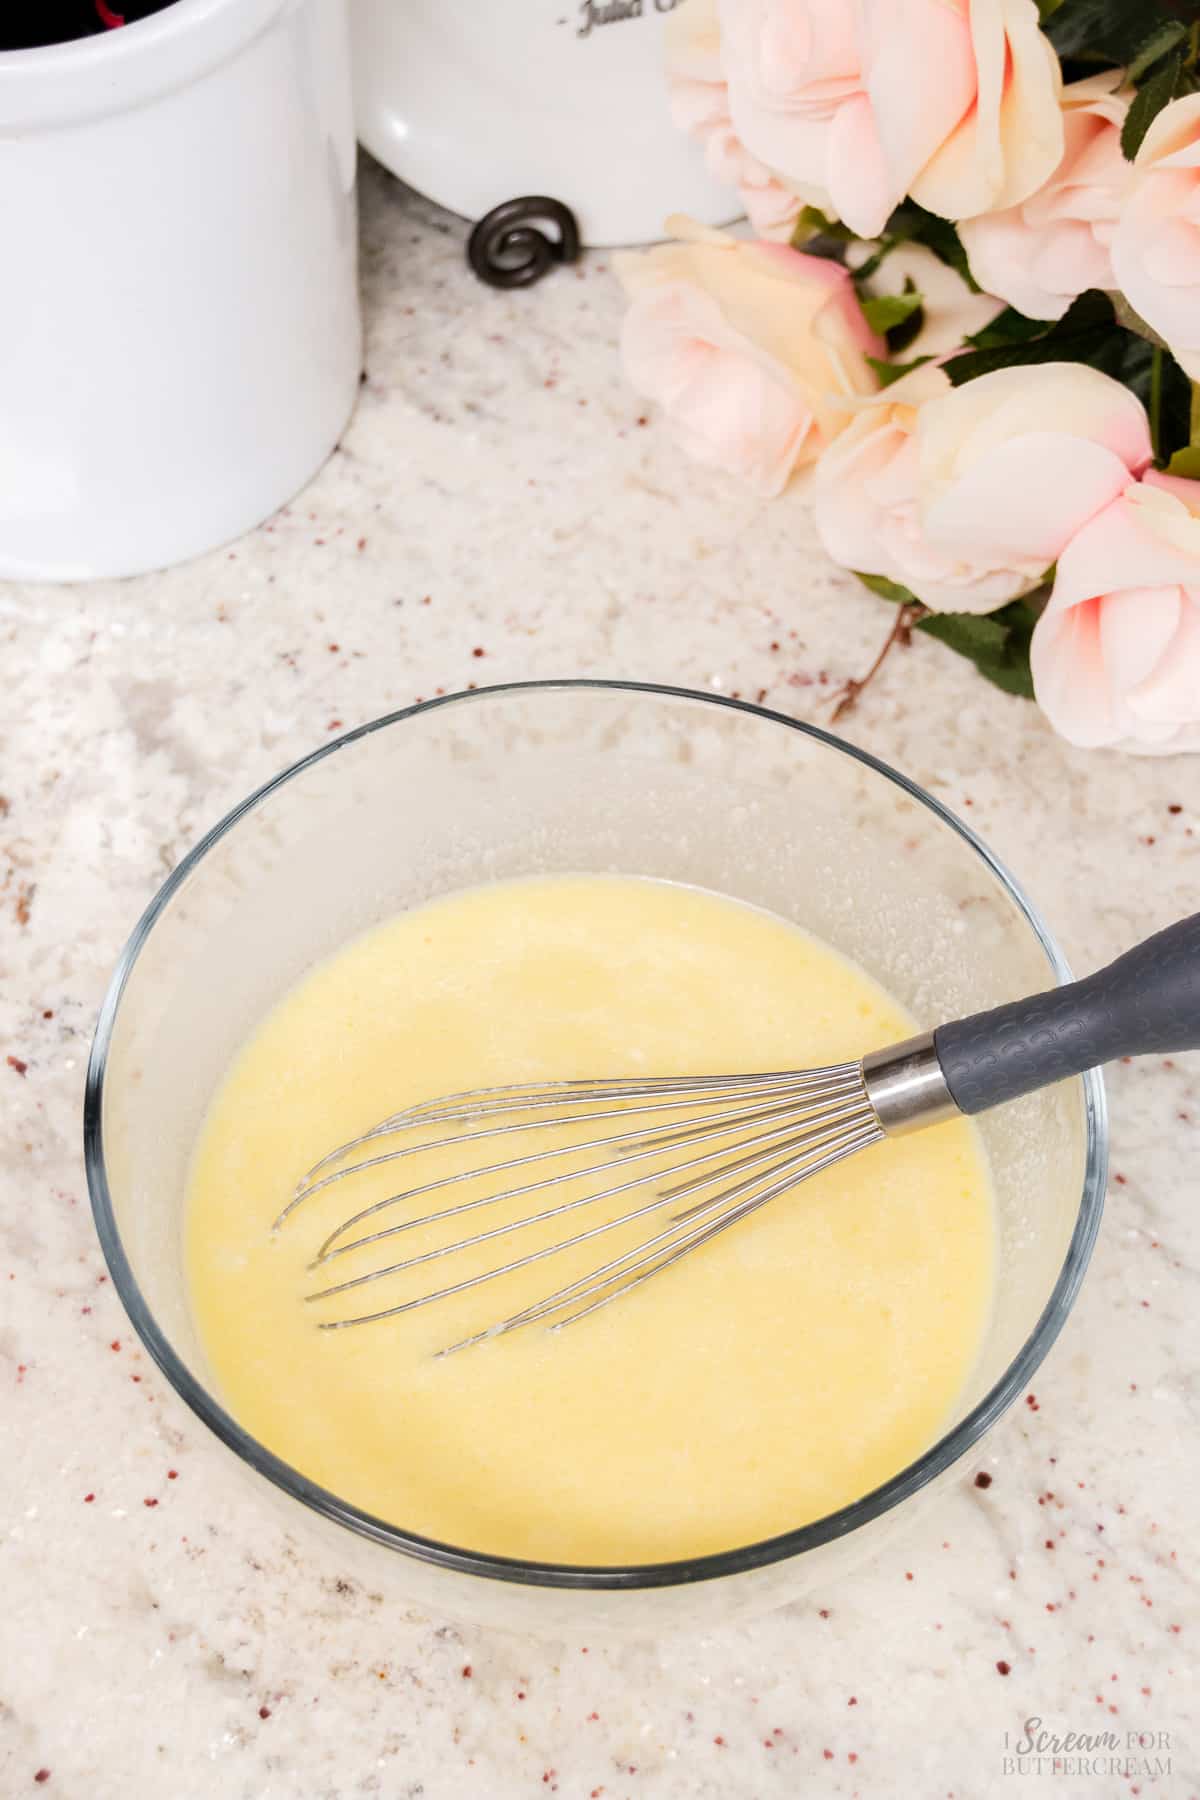
Then, in a medium-sized bowl, add the oil, vanilla, coconut milk, extracts and eggs. Mix well with a whisk.
Step 4:
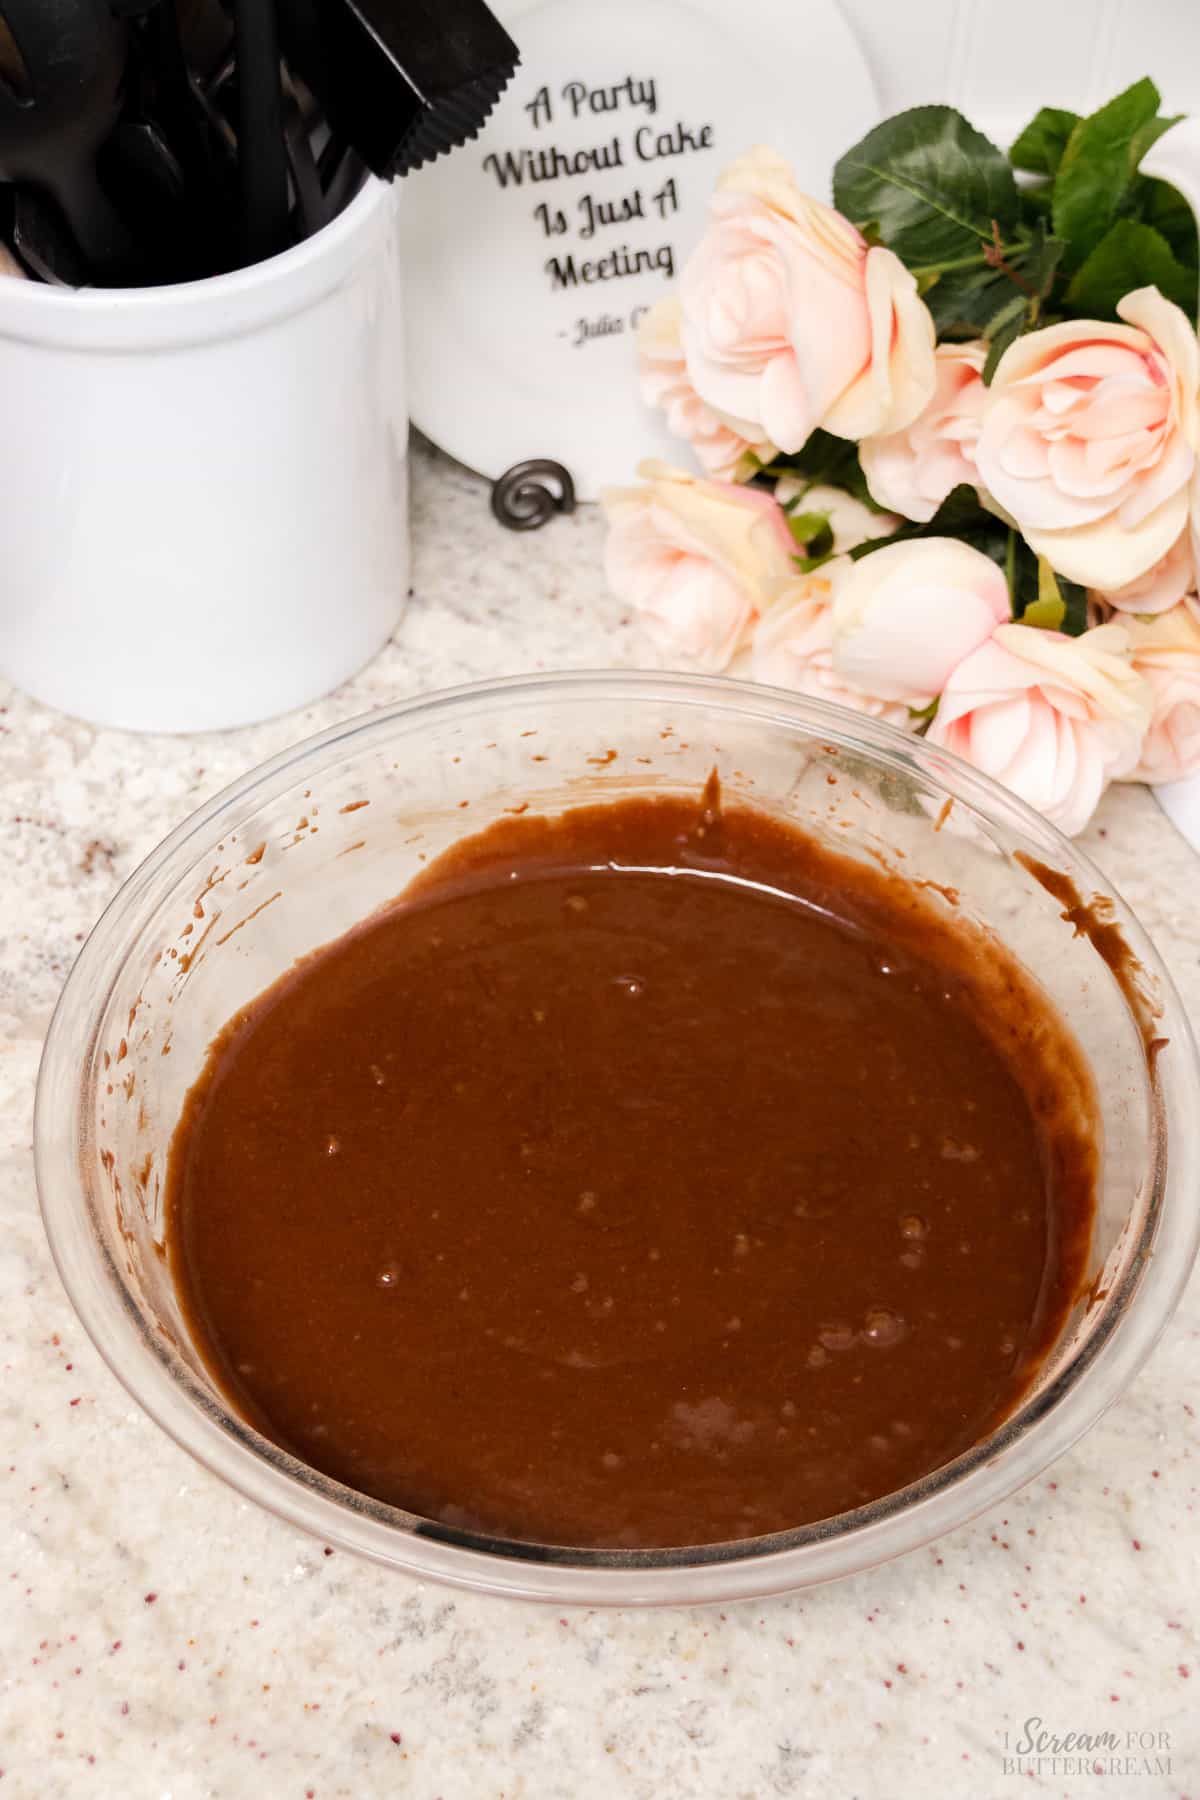
Now, add the liquid ingredients to the dry ingredients and mix on medium speed, then on medium-high speed only until well combined. Be very careful not to mix very long or the cake will turn out very dense and dry.
Step 5:
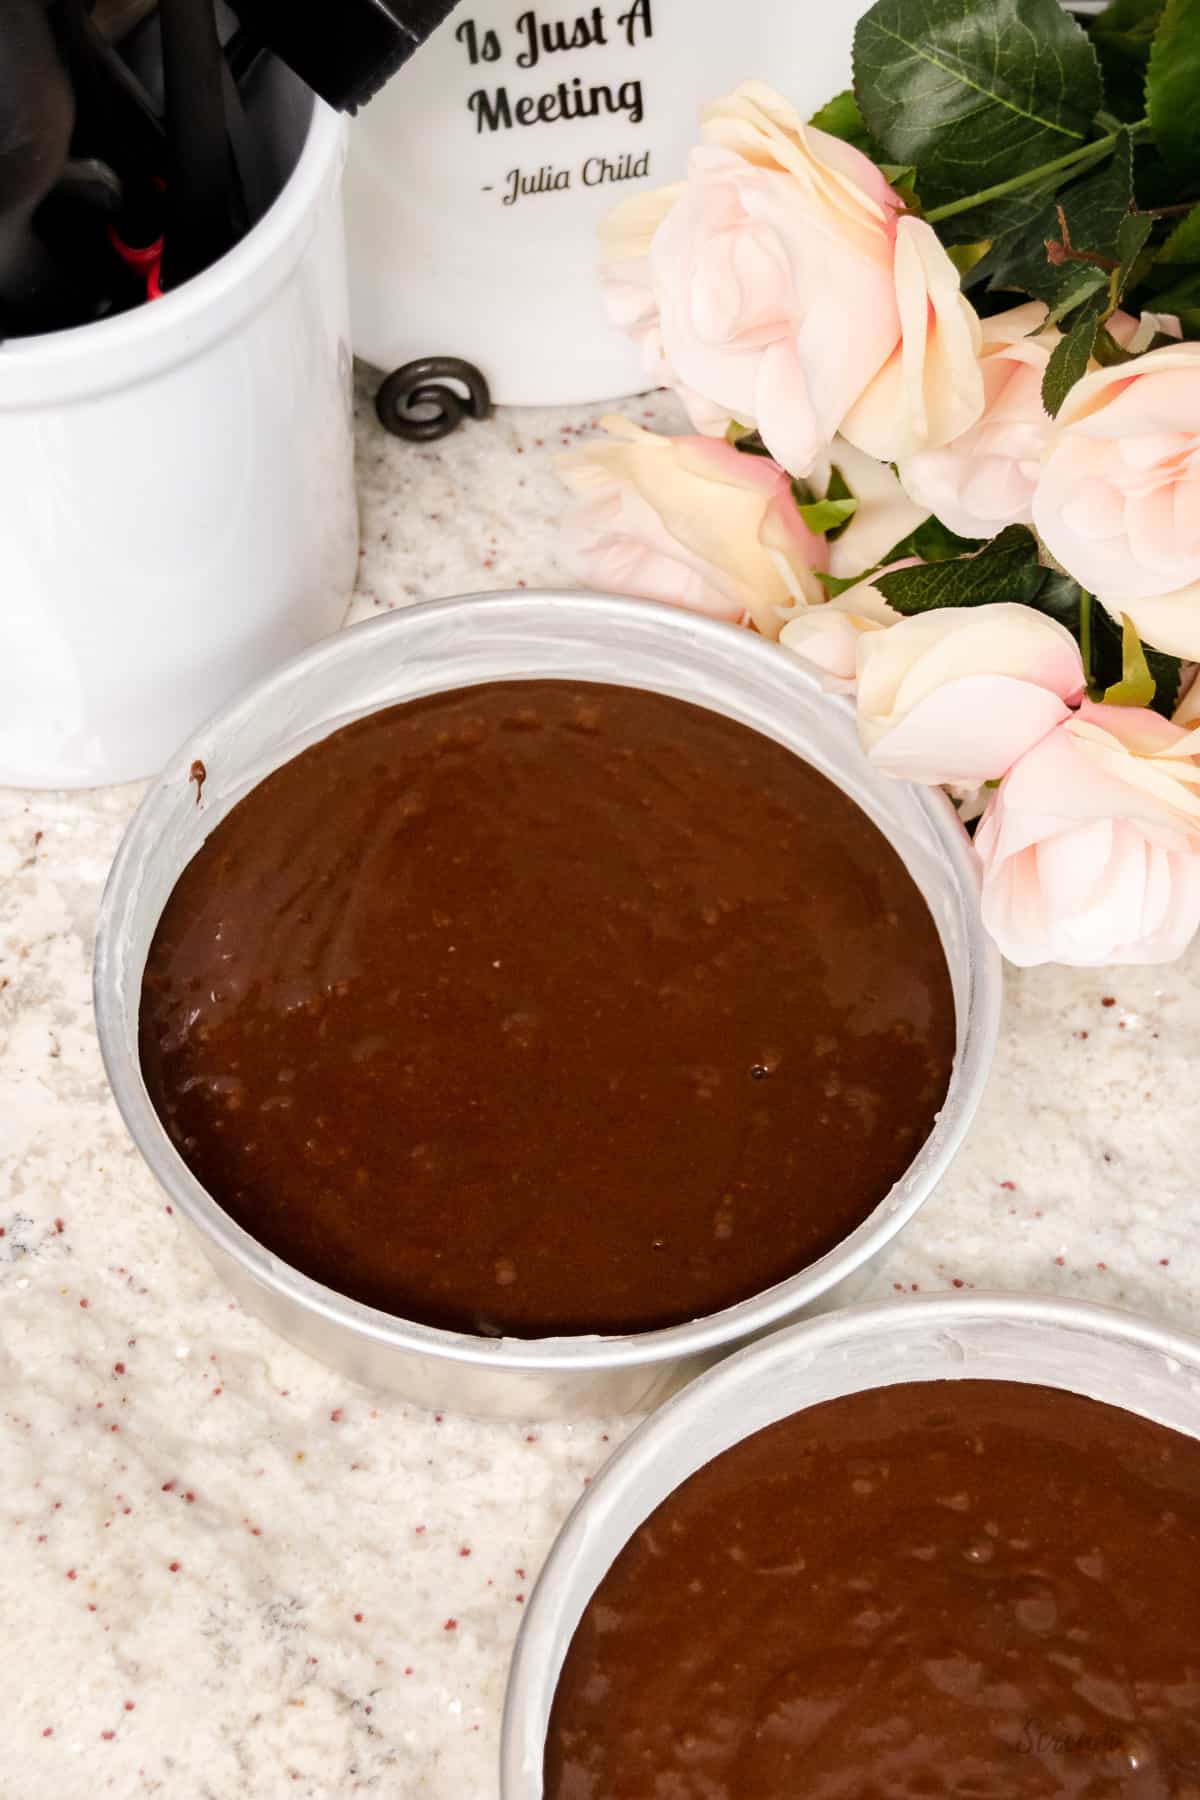
Add the batter into the prepared pans and bake at 325 degrees F for approximately 45-55 minutes. (Ovens will vary.)
Step 6:
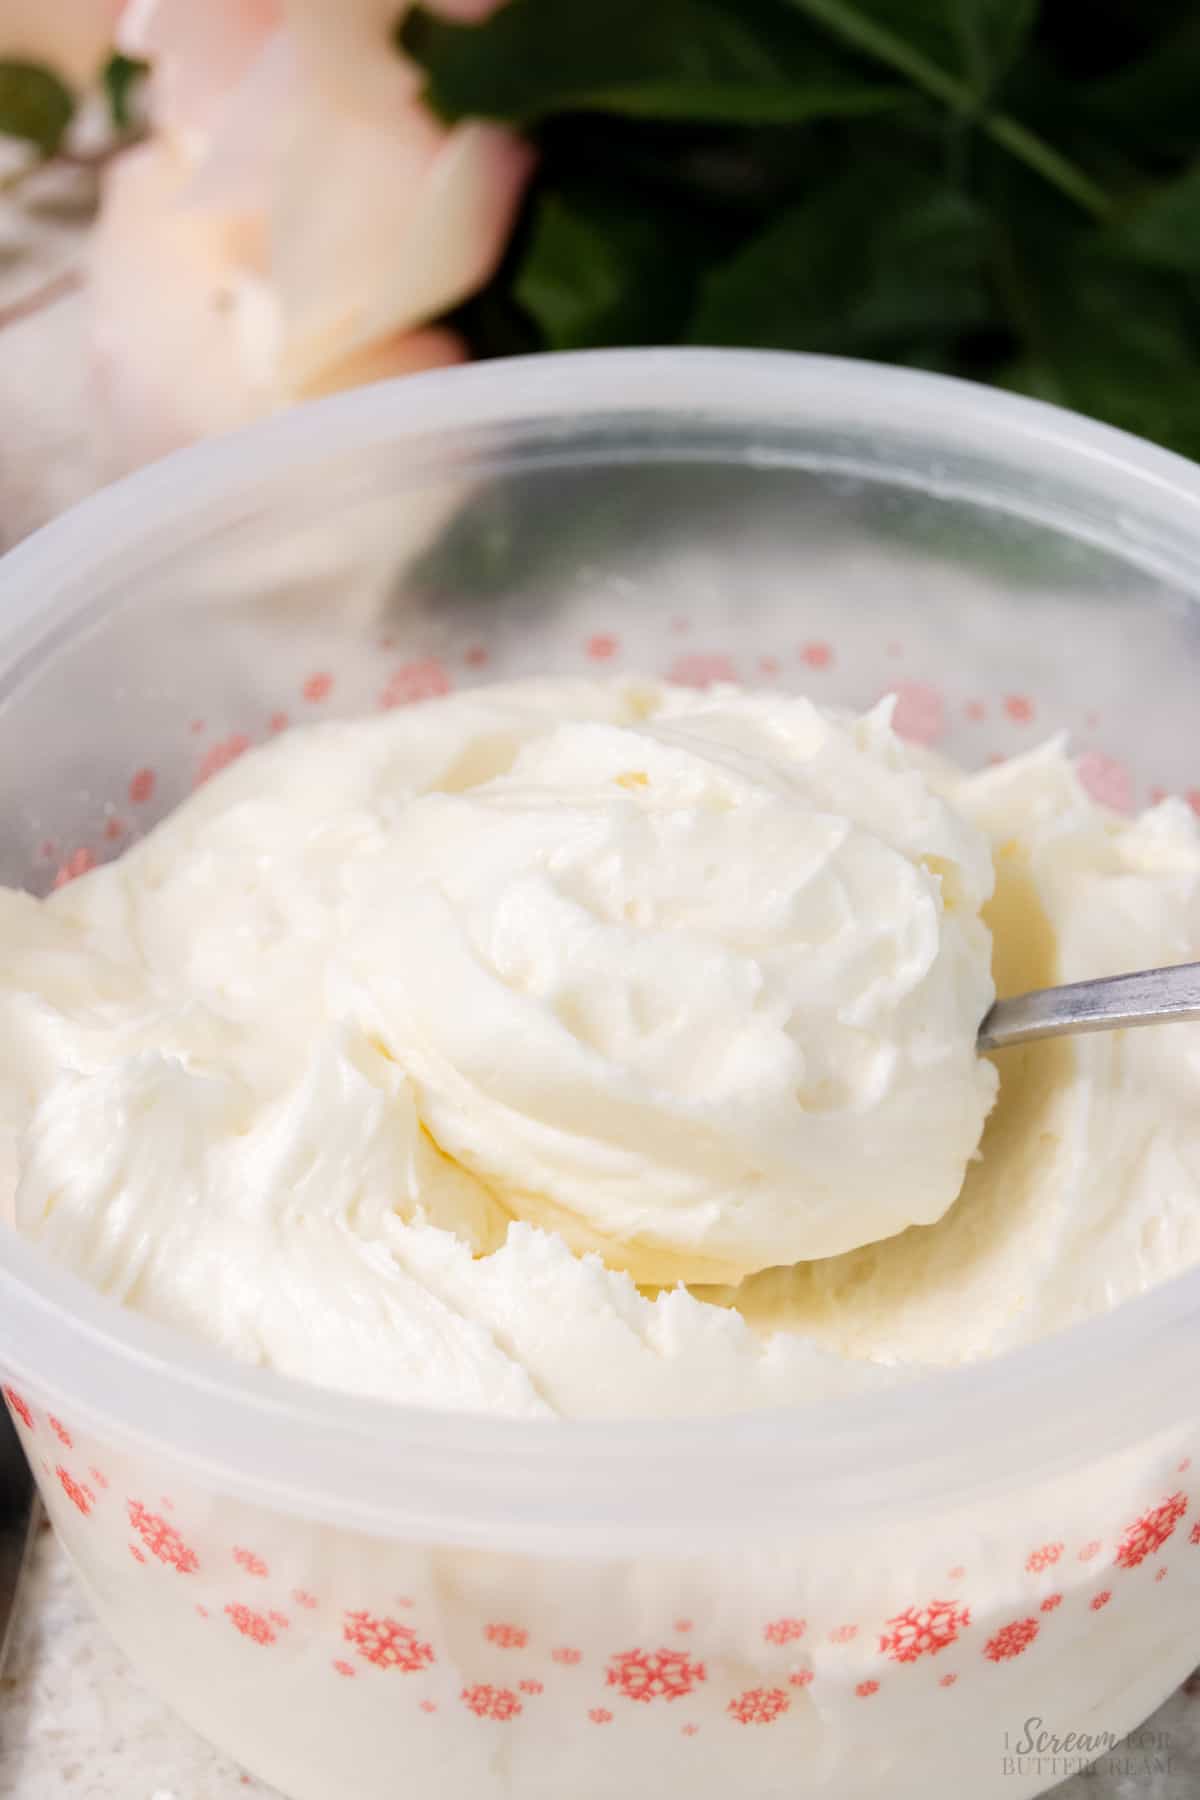
While the cakes are cooling, make the frosting. In a large mixing bowl, add the room temperature butter and cream cheese and mix well with an electric mixer on medium to medium-high speed until smooth.
Add three cups of confectioner’s sugar and extract, mix, then add the last three cups of confectioner’s sugar and mix well. Add milk if needed.
Step 7:
Next, make the chocolate ganache drip. This part is optional but does add nice flavor to the cake.
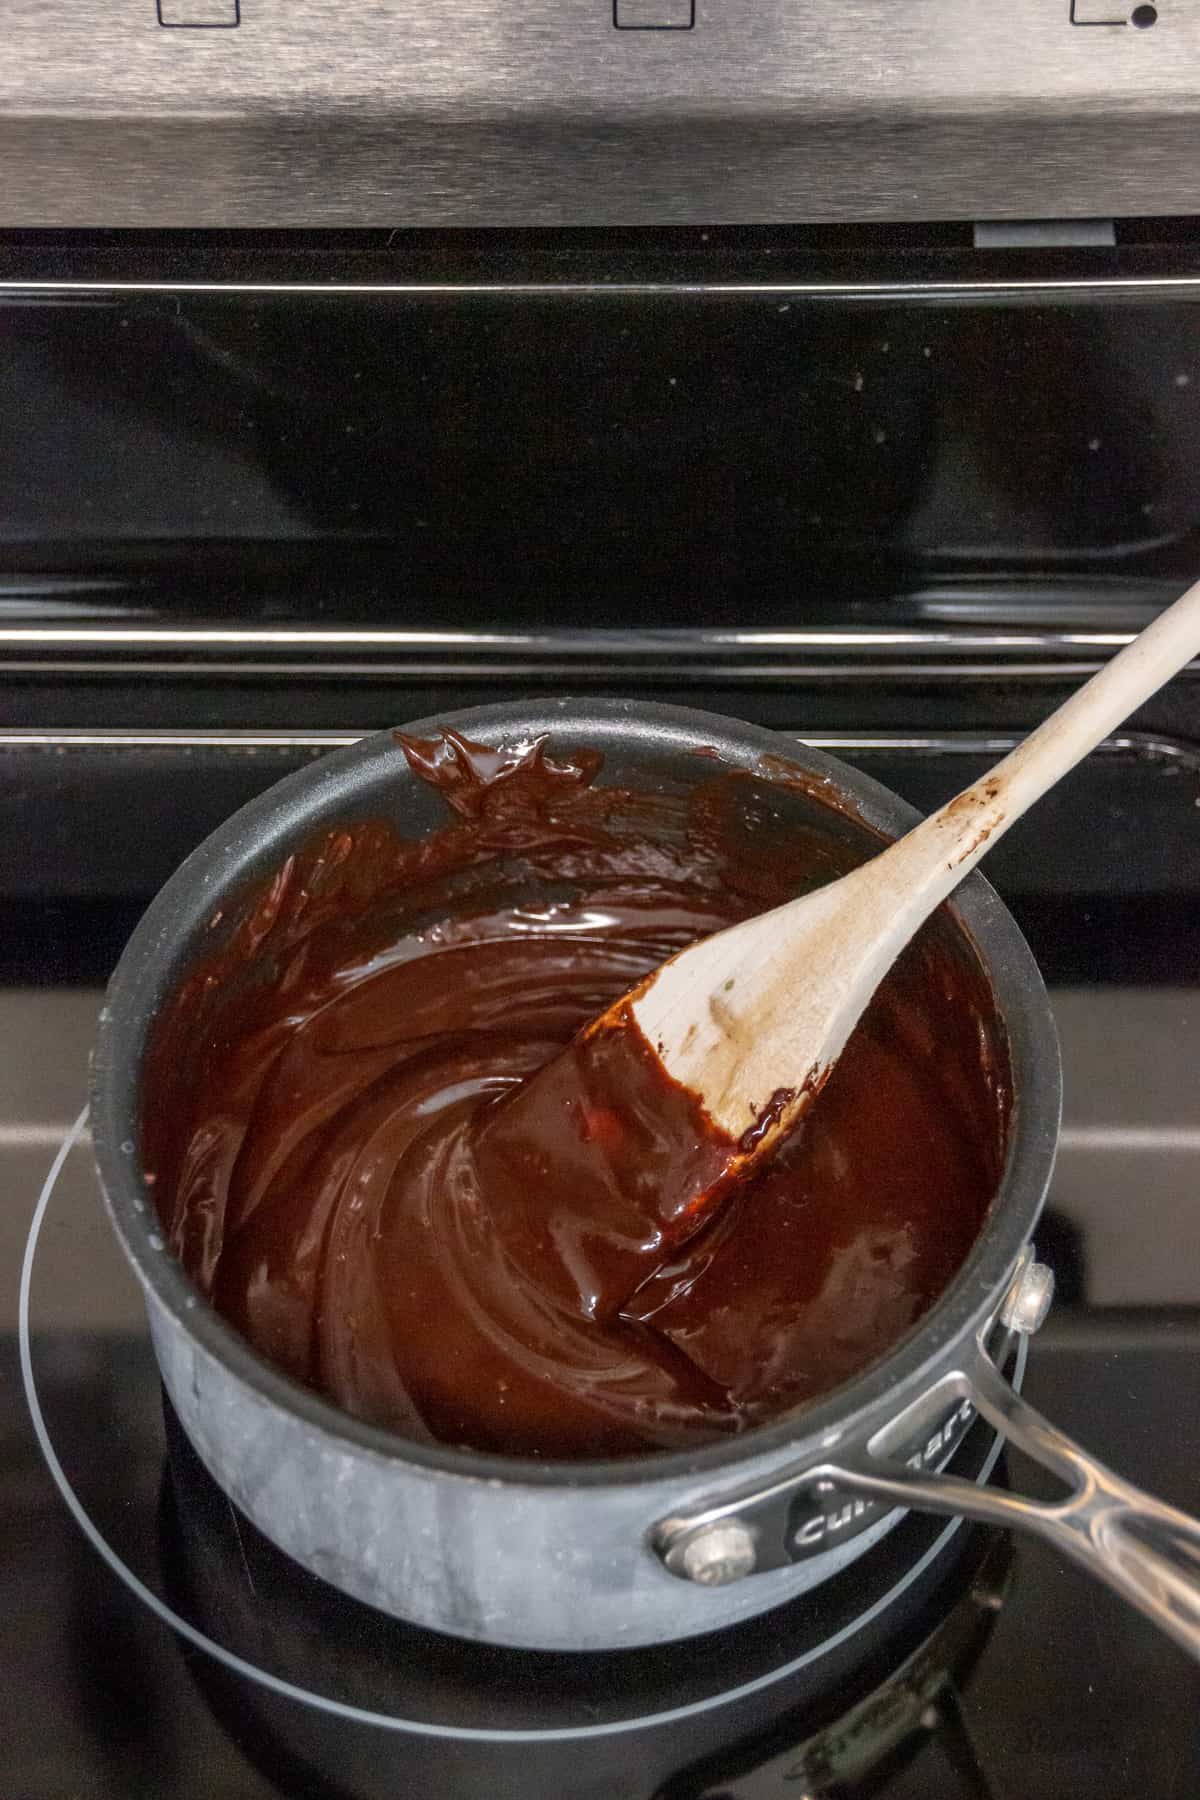
In a saucepan, add the chocolate chips and cream, then melt over medium heat. Melt and stir until smooth.
Take the saucepan off the heat and let it sit until it thickens up a bit more and is not super hot.
Step 8:
After the cake layers have cooled, add a cooled cake layer to a cake plate or cake stand.
Add frosting on top of the cake layer, then sprinkle with ½ cup of shredded coconut.
Add the second cake layer, then add frosting to the top and sides of the cake.
Set the cake in the fridge to chill while you make the drip.
Once the drip has cooled a bit and the cake is chilled, drizzle or spoon the drip over the sides and onto the top of the chilled cake.
Sprinkle the last half of the shredded coconut on top of the drip before it sets up.
(The detailed instructions will be in the printable recipe below.)
Note About Recipe Measurements: I write recipes using volume (cups) measurements because here in the U.S., this is what people are more familiar with and I don’t want anyone to feel intimidated when baking. For metric/weight measurements, click the ‘metric’ button under the ingredients in the recipe card below. The weights are converted by a program, not me, and it’s just a best guess. I can’t guarantee that weighing the ingredients will produce the exact same results, since I test recipes using volume measurements.
Recipe
Chocolate Coconut Cake with Coconut Cream Cheese Buttercream
Ingredients
For the cake:
- 2 cups all-purpose flour (measured correctly: spooned into the measuring cup and leveled off – don't scoop and pack the flour into the cup)
- 1 cup unsweetened cocoa powder (not Dutch processed-see why in the post FAQs)
- 1 ½ teaspoon baking powder
- 1 teaspoon baking soda
- 1 teaspoon salt
- 1 cup packed light brown sugar
- 1 cup granulated sugar
- ¾ cup vegetable oil
- 1 teaspoon vanilla extract
- 2-3 teaspoons coconut extract
- 1 (13 ounce) can unsweetened coconut milk, room temperature – make sure to mix the contents, do not discard the fat
- 3 large eggs, room temperature
For the frosting:
- 1 cup unsalted butter, room temperature (2 sticks)
- 1 (8 ounce) package cream cheese, room temperature
- 6 cups confectioner’s sugar
- 1-2 teaspoons milk or coconut milk
- 2-3 teaspoons coconut extract
- 1 cup sweetened shredded coconut (feel free to toast the coconut if you want)
For the chocolate ganache drip: (optional)
- 1 cup semi-sweet chocolate chips
- ¾ cup heavy cream
Instructions
For the cake:
- Preheat the oven to 325 degrees F. Grease and flour two 8-inch round cake pans.
- In a large mixing bowl, add the flour, cocoa powder, baking powder, baking soda, salt and both sugars. Whisk well and set aside.
- In a medium-sized bowl, add the oil, vanilla, coconut milk, extracts and eggs. Mix well with a whisk.
- Add the liquid ingredients to the dry ingredients and mix on medium speed, then on medium-high speed only until well combined. Be very careful not to mix very long or the cake will turn out very dense and dry. Stop mixing once it's well combined. It does not have to be perfectly smooth.
- Scrape down the sides and the bottom of the bowl and mix again for only about 10 seconds.
- Pour the batter into the prepared pans and bake at 325 degrees F for approximately 45-55 minutes. (Ovens will vary.) A toothpick inserted into the center of each cake layer will come out either clean or with a few moist crumbs on it, but no raw batter. The cake layers will bake up with flat tops.
- Set the pans on a wire rack to cool for about 10 minutes, then turn them out onto a cooling rack to cool completely before assembling the layer cake.
For the frosting:
- In a large mixing bowl, add the room-temperature butter and cream cheese and mix well with an electric mixer on medium to medium-high speed until smooth.
- Add three cups of confectioner’s sugar and mix on low until incorporated, then on medium-high until well mixed.
- If the mixture seems very thick, add a teaspoon of milk and mix again. If it’s not very thick, don’t add any milk yet as you may not need any.
- Add the last three cups of confectioner’s sugar and mix on low until combined, then on medium-high until well mixed.
- Check the consistency. If it’s very thick, add a teaspoon of milk. It may not need any milk at all due to the cream cheese.
- Add 1 teaspoon of the coconut extract, mix and then taste. If you'd like more coconut flavor, add another teaspoon or two until you get the taste you like.
- Once the desired consistency and taste are reached, mix on medium-high speed for a couple of minutes to make it fluffy.
For the chocolate ganache drip: (optional)
- Make sure to chill the cake in the refrigerator before you add the drip and make sure that the drip isn't still hot.
- In a saucepan, add the chocolate chips and cream, then melt over medium heat. Melt and stir until smooth. Be very careful not to heat it on high heat or the chocolate will burn.
- Take the saucepan off the heat and let it sit until it thickens up a bit more and is not super hot. This could take anywhere from 20 minutes to an hour depending on the temperature of the kitchen or the weather where you are located.
To assemble:
- Add a cooled cake layer to a cake plate or cake stand.
- Add frosting on top of the cake layer, then sprinkle with ½ cup of shredded coconut.
- Add the second cake layer, then add frosting to the top and sides of the cake.
- Set the cake in the fridge to chill while you make the drip.
- Once the drip has cooled a bit and the cake is chilled, drizzle or spoon the drip over the sides and onto the top of the chilled cake.
- Sprinkle the last half of the shredded coconut on top of the drip before it sets up.
- See the notes section for best ways to store this cake, serve it and for more questions. Also see the video below this recipe to see how to assemble.
Notes
Nutrition
How to Share
I’d love for you to share this recipe link or tag it, but please do not share screenshots or copy/paste the recipe to social media as the content and photographs are copyright protected and we (bloggers) work really hard on our content. Sharing the link, tagging us on socials and pinning it is super appreciated though!
Video:
Tips & FAQS:
Don’t use Dutch processed cocoa as it isn’t acidic like cocoa powder and using it would cause the other ingredients to need to be adjusted. If you want more information about the different types of cocoa powder, see this post: Why Do Recipes Say Not to Use Dutch Processed Cocoa Powder?
You can, however, there won’t be much coconut flavor in the cake or the frosting. The coconut milk will not add enough to get a full coconut flavor.
I have not tried this cake recipe with any other type of substitute. A combination of milk and sour cream would most likely work though.
Yes, you can omit the shredded coconut. It does add more coconut flavor though, so keep that in mind, but I do realize there are a lot of people who do not like the texture of shredded coconut, but do really like the taste of coconut. If that’s you, just omit the shredded coconut and you may want to consider adding an extra teaspoon or so of the coconut extract.
Absolutely, yes. You can use any frosting that you prefer. I have a recipe for vanilla buttercream here: Vanilla Bean Buttercream
And here is my recipe for chocolate buttercream: Chocolate Buttercream
No, you can totally leave that off.
I actually have a chocolate layer cake recipe on the site that’s written specifically for that. You can check it out here: Chocolate Butter Cake
A toothpick inserted into the center of each cake layer will come out either clean or with a few moist crumbs on it, but no raw batter. The cake layers will bake with flat tops.
This cake can be made ahead of time and frozen if desired. Let the baked cake layers cool completely, then wrap them each in plastic wrap and foil and place in the freezer for up to a month.
To thaw, place the wrapped cake layers on the counter at room temperature and let thaw completely, then remove the wrapping. Once defrosted, assemble the cake.
Since this cake is covered in cream cheese frosting, it should be stored in an airtight container or covered well in the refrigerator and can last up to 6 days.
This cake can be served chilled, at room temperature, or slightly warmed.
The frosting is made with cream cheese and therefor is a softer type of frosting. It’s not really made for piping. You could probably pipe simple borders, rosettes and swirls with this frosting, however since it is a softer frosting it’s not good for piping flowers or intricate designs.
Yes, this cake works well for stacking as long as you use proper supports as you would stacking any cake.
Probably, but you would need to bake them at 350 degrees F, instead of 325. They will also take a lot less time to bake, so start checking at about 15 minutes or so.
If you want a regular chocolate cupcake recipe written specifically to bake as cupcakes, check out that recipe here: Best Chocolate Cupcakes
Probably although I haven’t tried it out. If you do try it, pour the batter into two prepared loaf pans and bake at 325 degrees F and start checking at around 30 minutes or so, although it may need a bit more time.
Probably although I haven’t tried it out. If you do try it, make sure to grease and flour the bundt pan very well so that it doesn’t stick. Bake at 325 degrees F for the same amount of time although it will likely take longer to bake since a bundt pan is deeper. Do not pull it out until the cake is fully baked. The cake will be firmer to the touch and not jiggly and a toothpick inserted into the cake will come out either with a few moist crumbs on it or clean.
Yes, however if you want to bake this recipe in two, 6-inch pans, you don’t want to use all the batter as it might overflow the pans since you’ll be using smaller pans. Pour the batter about ⅔ of the way up each 6-inch pan and use any leftover batter to make a couple cupcakes.
Make sure to start checking for doneness about 15 minutes earlier, since the pans are smaller. It may not be done that early, but that’s when you want to start keeping an eye on it.
If you have three, 6-inch pans, then just divide all the batter between the three 6-inch pans. The layers will be a bit thinner than usual, so you will want to start checking for doneness about 15-20 minutes earlier, just in case.
Yes, however the layers might be a little thinner than if you’d baked the batter in two, 8-inch round pans. Also, start checking the cake for doneness about 10 minutes earlier or so, since the batter won’t be as deep in the pans and will bake quicker.
Probably although I haven’t tried it out. If you do try it, make sure to grease and flour or spray the pan, then bake at 325 degrees F for about 40 minutes although that time may need to be adjusted slightly. Keep an eye on it a little earlier and know that it may need to bake a little longer. The cake is done baking when a toothpick inserted into the cake comes out either with a few moist crumbs on it or clean.
As an Amazon Associate, I earn from qualifying purchases.


Alicia
Hi!
Gorgeous cake! I want to give it a try.
Just a question: if I don’t have natural cocoa, can I use Dutch processed cocoa and add an acidic ingredient, such as lemon juice or vinegar?
Thanks in advance!
Regards!
Kara
If you want to try using Dutch processed cocoa instead, I’d probably just omit the baking soda and use 2 1/2 teaspoons of baking powder instead of the amount that recipe calls for. I think it’s easier to just use more baking powder and omit the baking soda rather than adding an acid. That’s just my best guess though, so I can’t guarantee it to be perfect as I haven’t tried that out, but I think it will work. Just know that Dutch processed cocoa powder has a different taste to it than natural cocoa powder. It isn’t quite as chocolatey and tastes more like Oreo chocolate than regular chocolate. Personally, I LOVE the taste of it, but just wanted to give you a heads up that it might be a slightly different taste than if you use regular cocoa powder. Hope this helps!
Alicia
Thanks a lot!
I’ll try making it that way.
Regards! 🥰
Alicia
Hello!
I made it yesterday evening. Now, there’s no cake left.
Delicious cake! I found natural unsweetened cocoa and I could make it with no need of adjustments.
Love it! My new favourite, together with your pineapple coconut cake.
Thanks for sharing yor recipes.
Regards! 🙂
Kara
Oh yay!!! So glad you liked it!