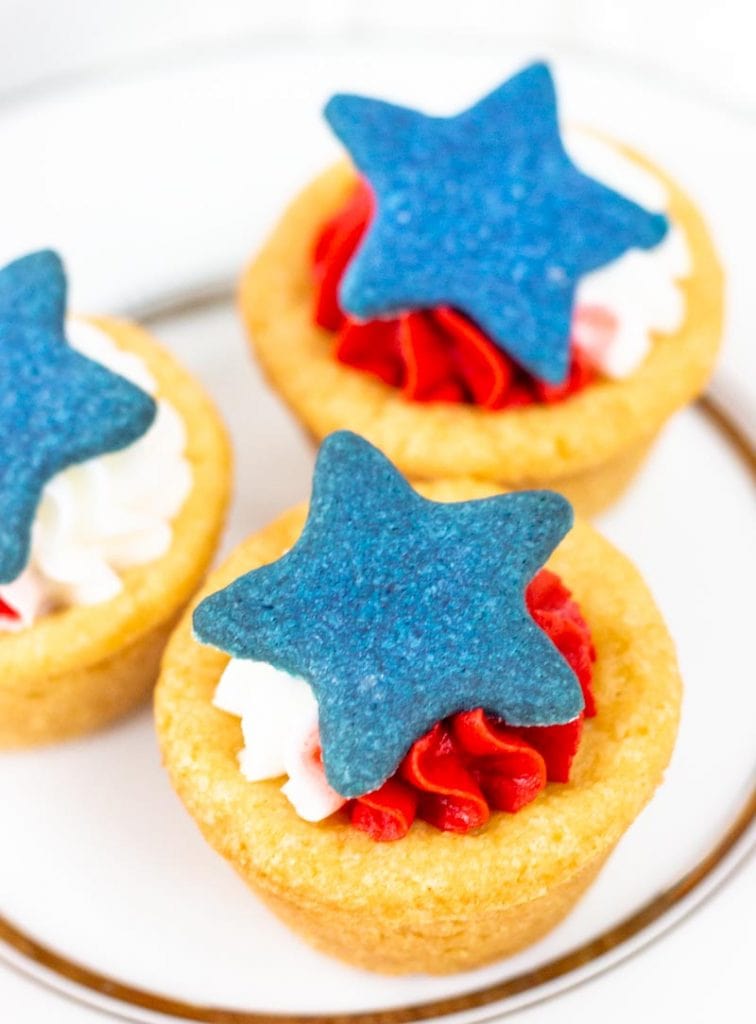
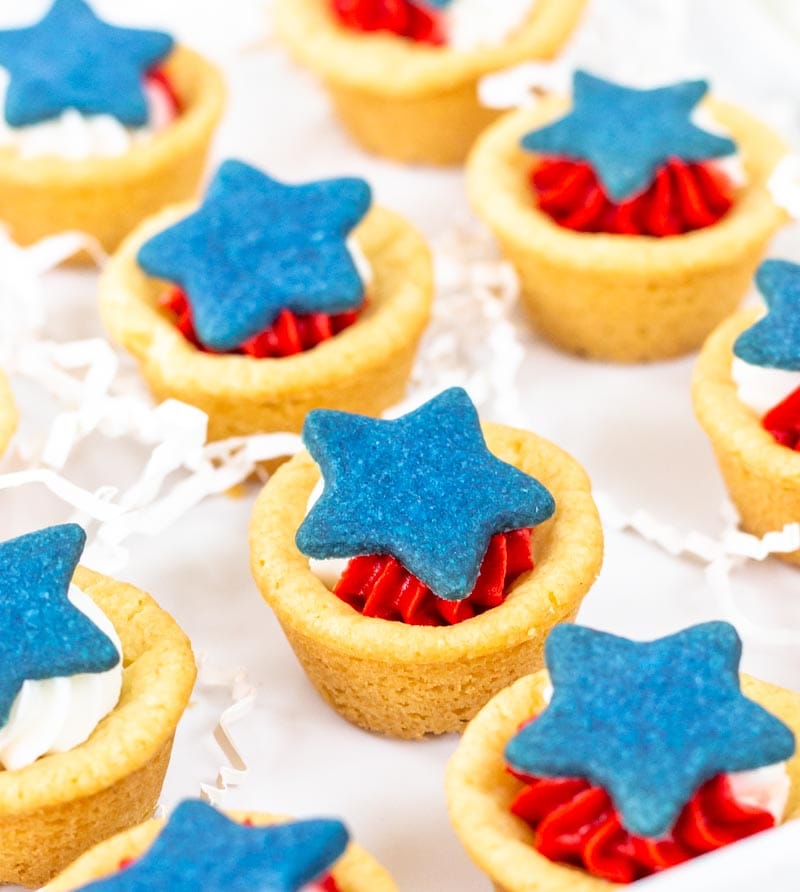
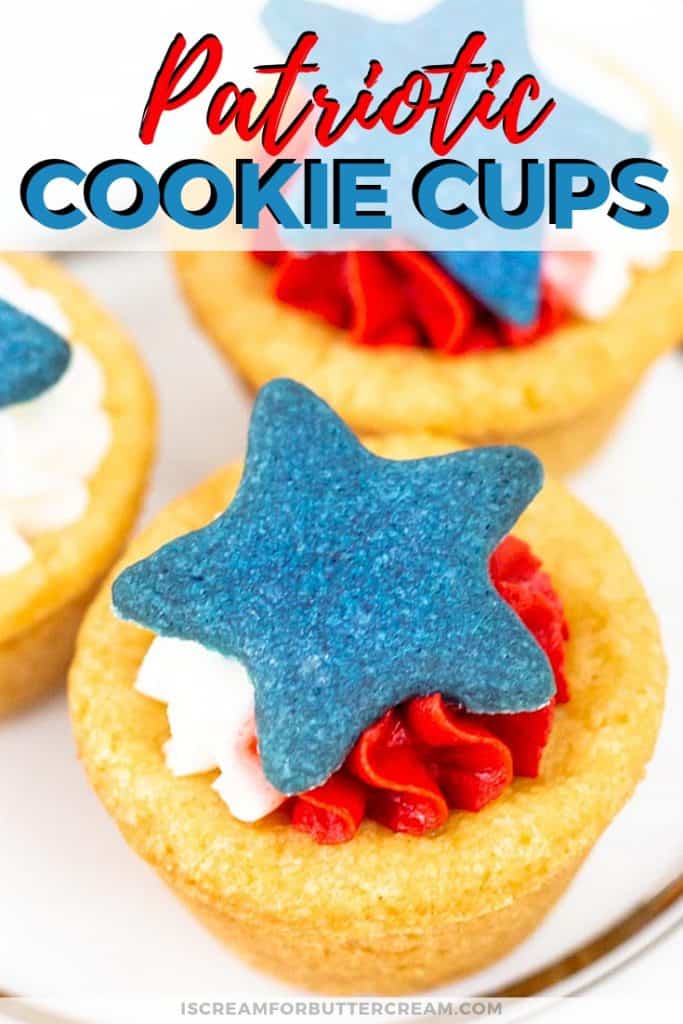
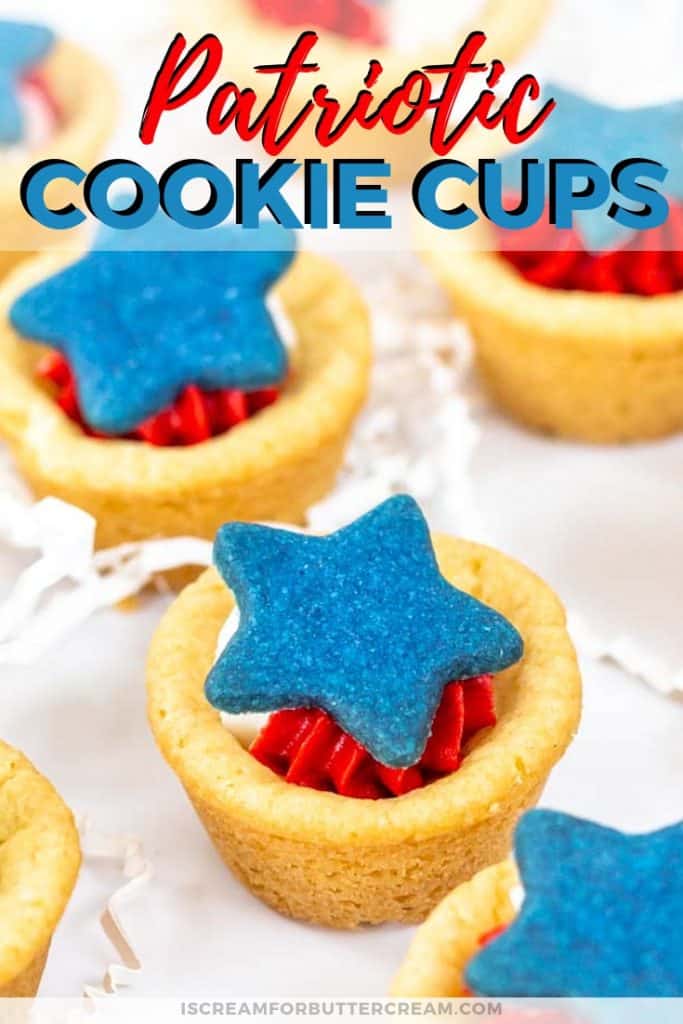
Bite sized, easy to put together, tasty AND patriotic…these patriotic cookie cups are the perfect way to celebrate Independence Day.
These things are super cute and really make a statement. They’re so easy to put together, since really you’re just working with cookie dough and buttercream.
Once you know the trick to getting your cookie dough into the mini muffin pan, it’ll go quick. (Psst… I’ll show you the trick below in the tutorial and the video.)
Ok, I’ve broken down this post into four different parts.
- Supplies you’ll need for the patriotic cookie cups
- Putting together the Cookie Cups with pictures
- The video to show how it’s done
- The ‘recipe’ (Now since we’re essentially just using ready made cookie dough and buttercream for these, there’s not really a ‘recipe’ per se, but more of a tutorial. I went ahead and made a printable recipe card for this, but also provided a detailed tutorial plus a video below.)
As an Amazon Associate, I earn from qualifying purchases.
Supplies for the Patriotic Cookie Cups:
- 1 regular package of refrigerated cookie dough or your own recipe. (I used store bought sugar cookie dough to make these, because it’s super easy, but if you’ve got a favorite cookie recipe you make, then feel free to use that instead.) Using one refrigerated package of cookie dough will give you about 32 – 36 cookie cups.
- Navy Blue Gel Food Coloring
- Mini Muffin Pan
- Measuring Spoons (specifically round teaspoon and tablespoon measuring spoons) These will be for measuring the cookie dough for each mini muffin cup and for molding the dough to the cups.
- Small amount of flour
- Small fondant roller or rolling pin
- Silicone Rolling Mat
- Star Cutter
- Cookie Sheet
- Palette Knife
- Icing Bags
- Wilton 6B Icing Tip
- Saran Wrap
Buttercream Recipes:
- You’ll need to make Red and White Buttercream (Vanilla Bean Buttercream Recipe) (Bright White Heat Stable Buttercream Recipe)
Putting Together the Patriotic Cookie Cups:
Alright, the first thing to do is to take your chilled cookie dough (I just used one regular sized tube of refrigerated sugar cookie dough) and you’ll cut off about a ¼ of the cookie dough.
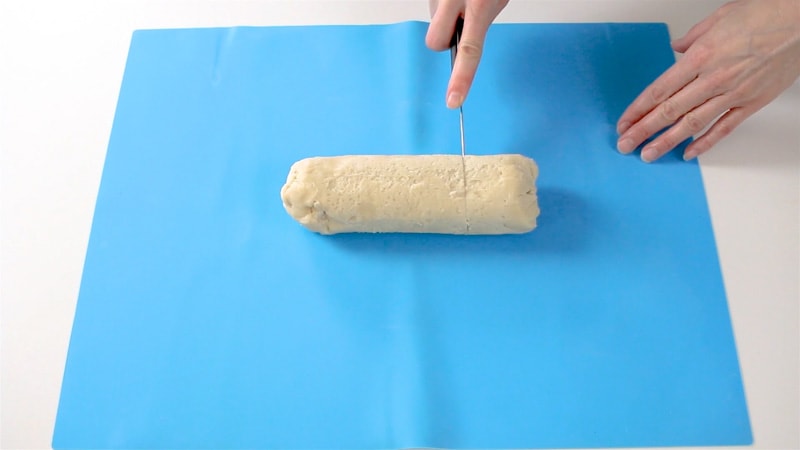
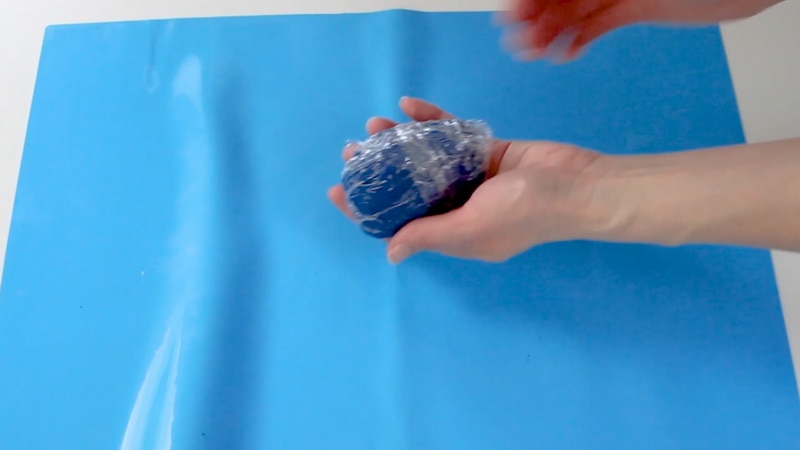
Take the large section, wrap it up with saran wrap and chill it while you work on the other section.
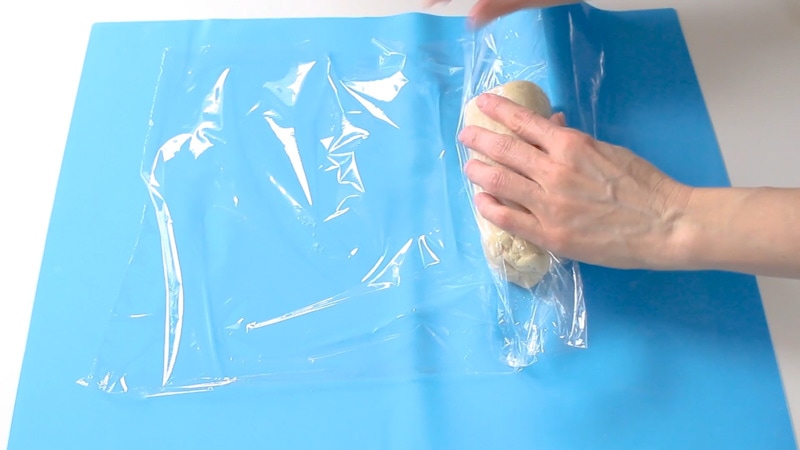
Now take the smaller amount of cookie dough and add your navy gel food coloring. Add in a bit at a time and just knead it in.
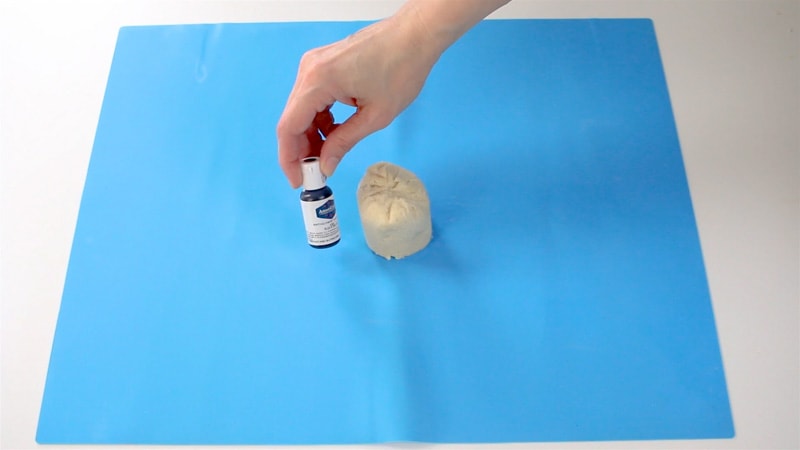
You’ll need to make it a littler darker than you think. When it’s baked, it’ll lighten up.
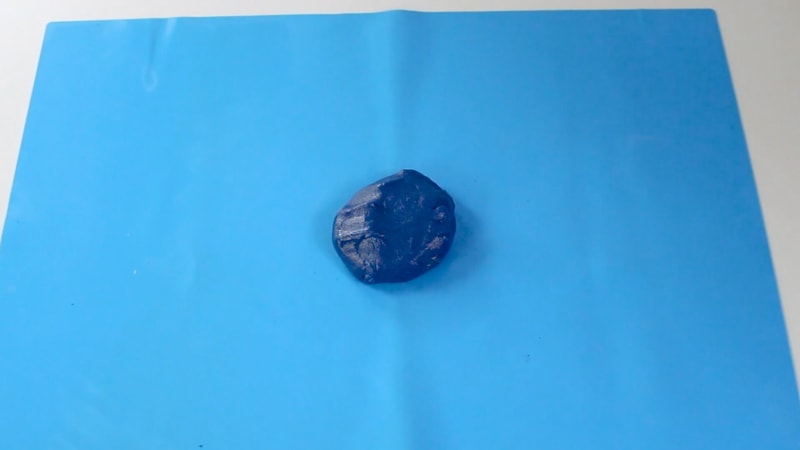
Wrap it up in saran wrap and chill in the fridge while you work with the other section of dough.
Now, take the larger portion of the cookie dough and measure about a tablespoon full of dough per mini muffin. When you measure out the tablespoon of dough, you’ll want to roll it into a ball and then push it into each muffin tin.
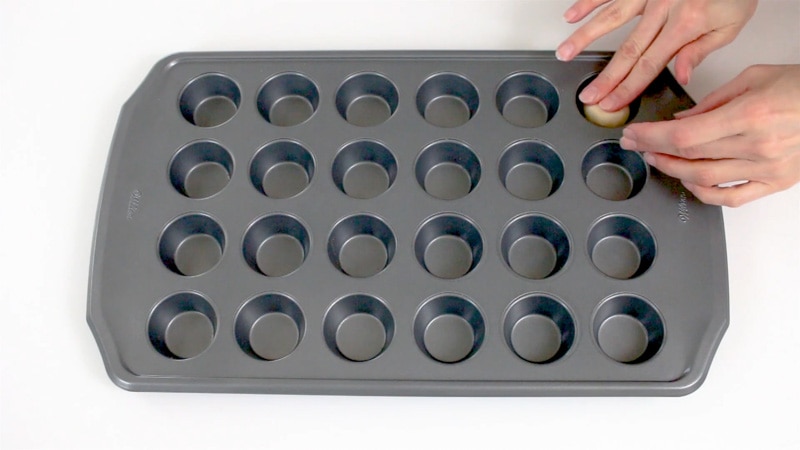
You don’t need to push down hard, just get it into each muffin tin.
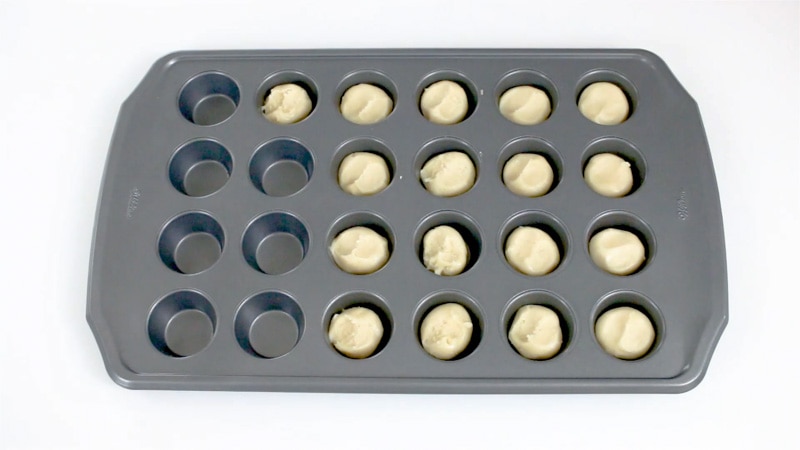
Now take a small bowl of flour and then coat the back of a round teaspoon measuring spoon into it and press down on each roll of dough in your mini muffin tin. You’ll need to coat the back of the measuring spoon after each one. This will keep the dough from sticking to it.
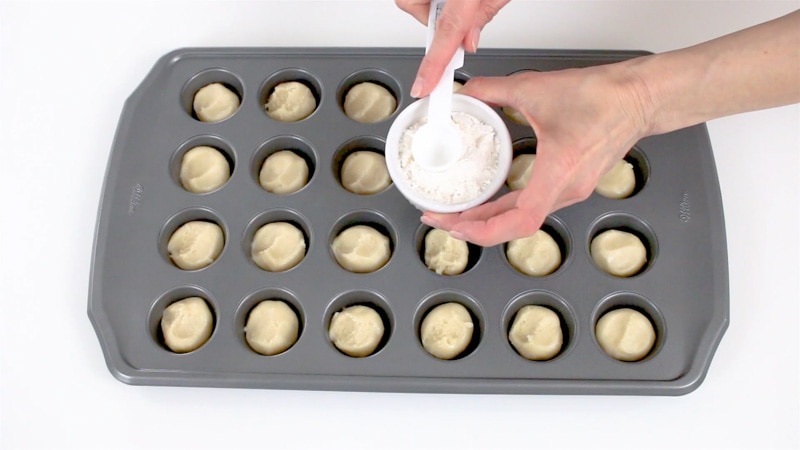
Just press down on the dough and lightly twist a bit to form them to each muffin cup.
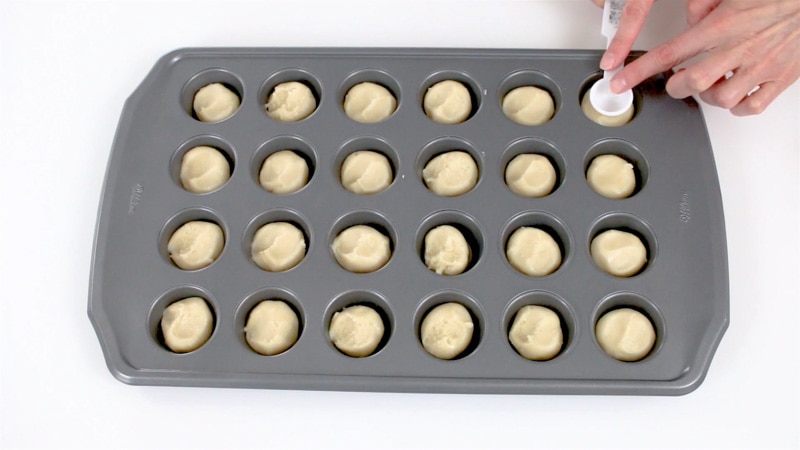
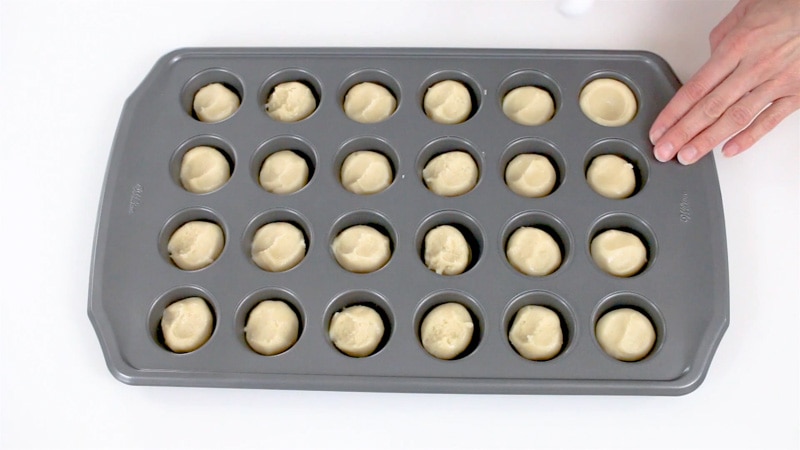
Make sure not to press all the way down to the bottom of the pan and make sure your dough isn’t as tall as the top of the pan, or it’ll puff up too much when it bakes.
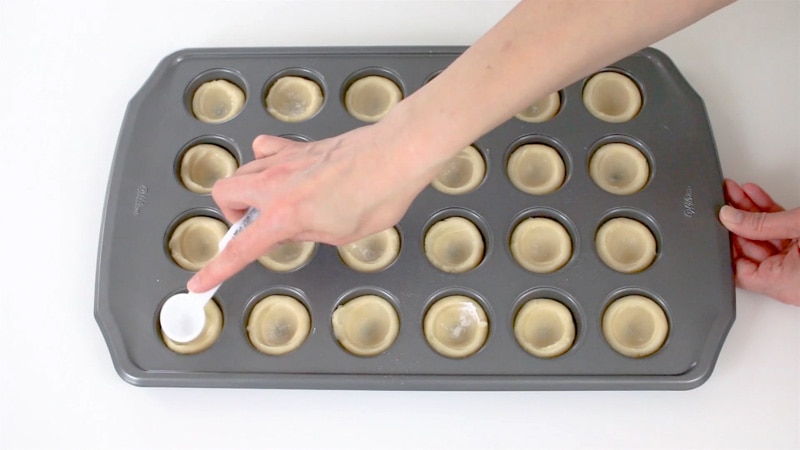
Ok, once that’s done, place it in a preheated oven at 350 degrees for about 10 minutes. Then cool it completely on a wire rack. Once they’re mostly cool, you can twist them to loosen them from the pan.
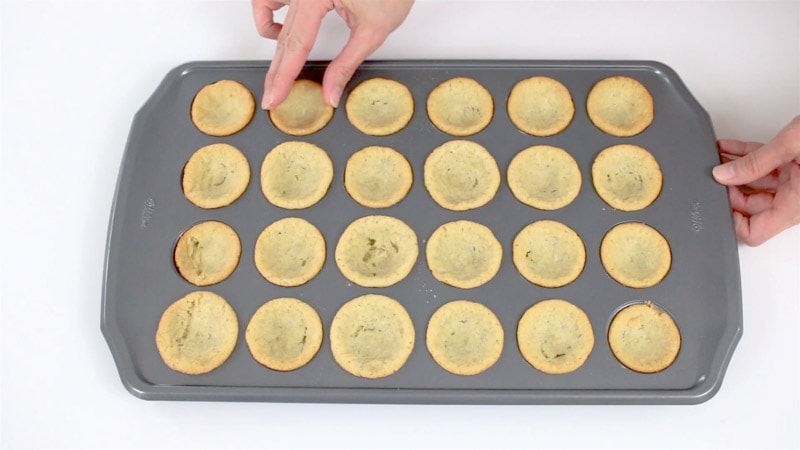
Ok, now you’ll work on the stars while your cookie cups are cooling.
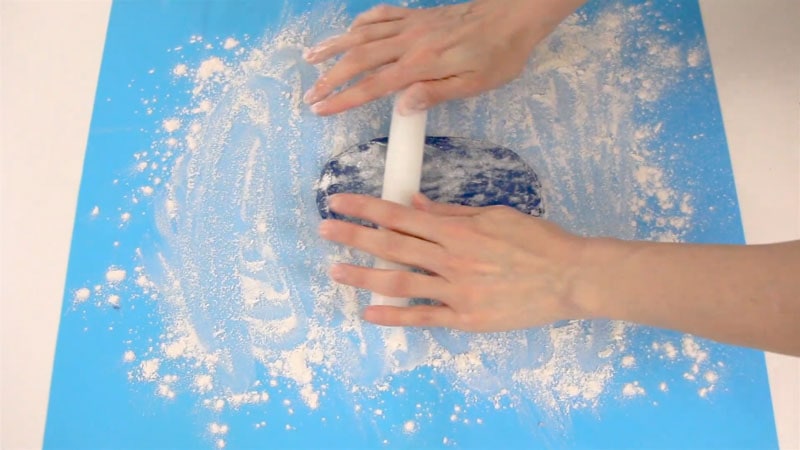
Roll out your chilled blue cookie dough. You’ll need to use alot of flour for this and you’ll want to roll the dough out fairly thin so that the star shape doesn’t get too misshapen once it’s baked.
Now just use your small star cutter and cut out your shapes.
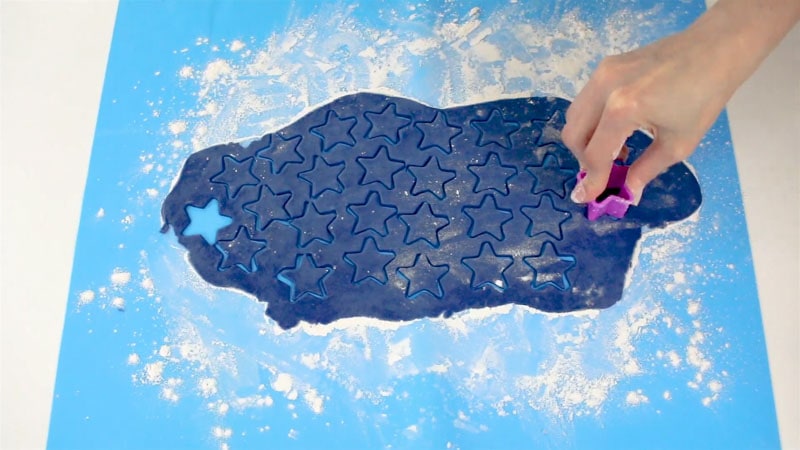
Now at this point, they’ll be delicate because they will have come to room temperature, so just take your rolling mat, set it on a cake board or cookie sheet and pop the whole thing in the fridge to chill until they’re firm.
Once they’re firm, use your palette knife to transfer them to a cookie sheet.
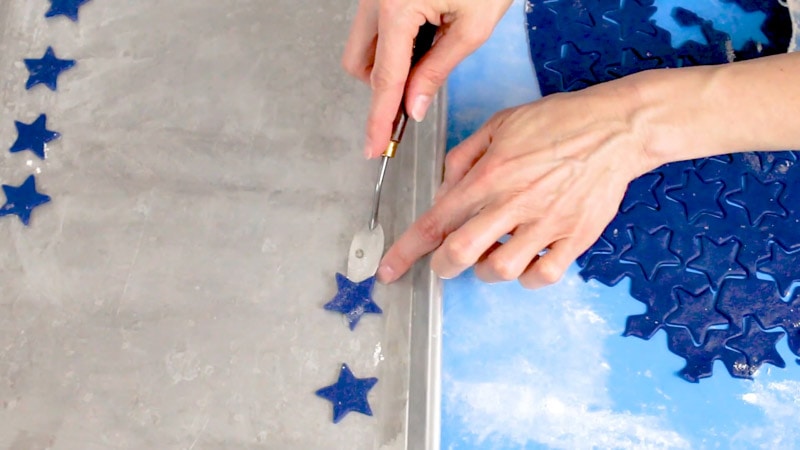
You’ll then bake them in a preheated oven at 350 degrees for about 7 minutes.
Let those cool and work on your buttercream.
Prepare your buttercream (grab the recipes above in the supplies section) and color half red and half white. You won’t need a ton of buttercream. One recipe will be enough.
Place each color into a pastry bag. You won’t need an icing tip in these.
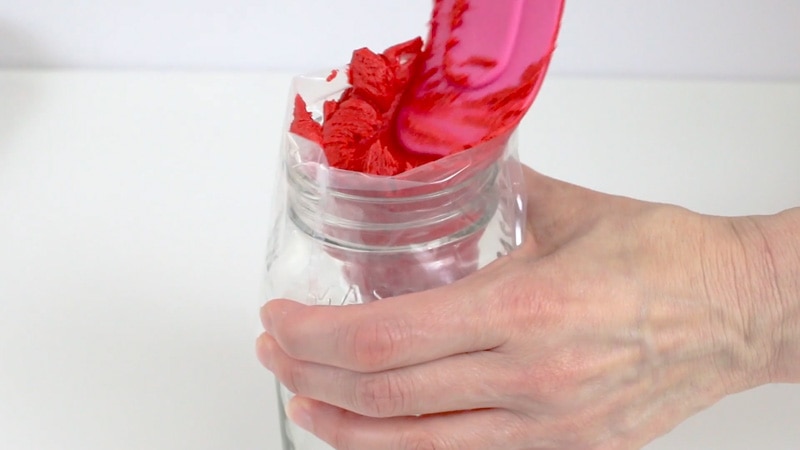
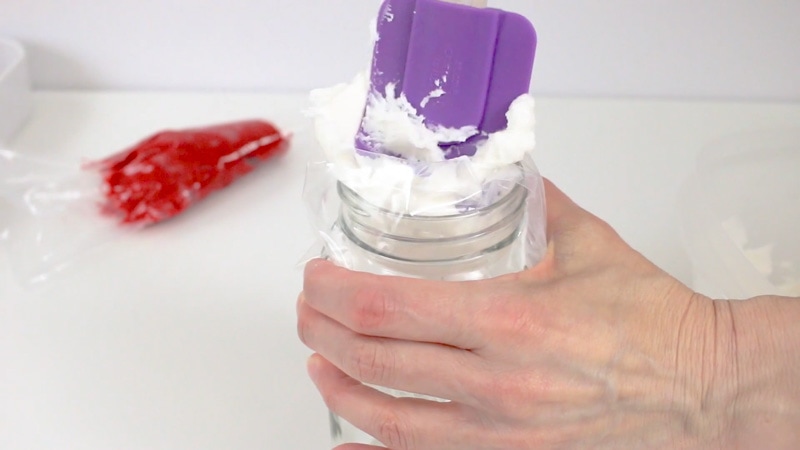
Twist the tops of each and cut off the bottom corner for piping.
Now just place a piece of saran wrap down on your table for each color and pipe several lines of buttercream onto them.
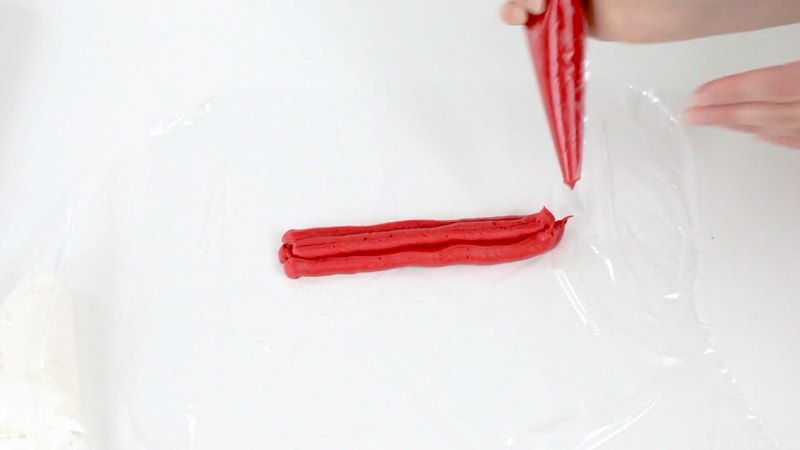
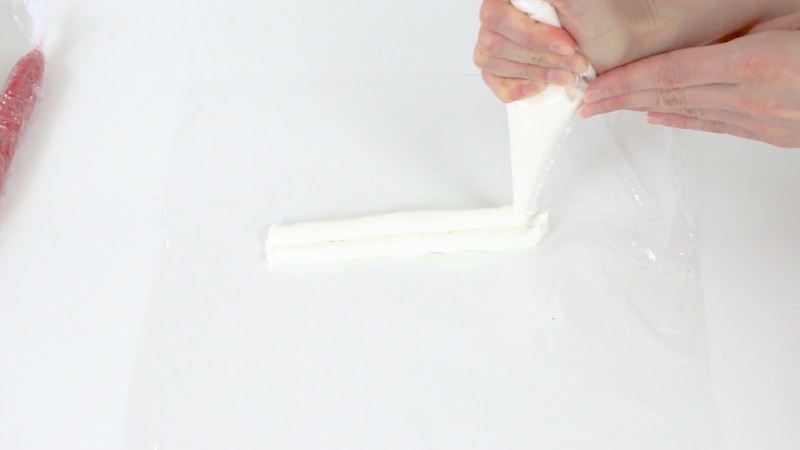
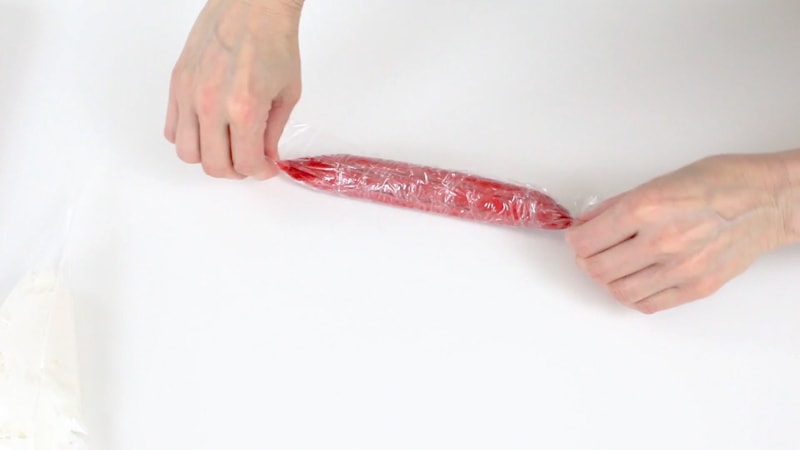
Roll the saran wrap around each and twist the ends. This will make little buttercream logs.
(We are doing things this way to keep the white and red buttercream completely separate from each other when piping so they don’t combine to make pink.)
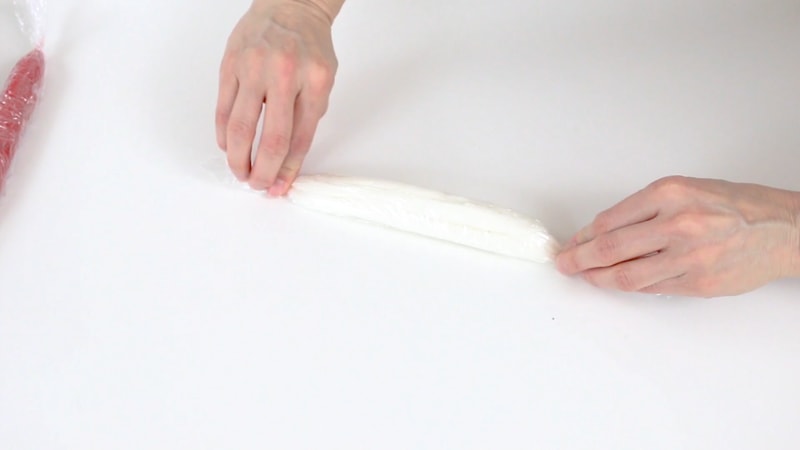
Now use another piping bag, cut off the bottom corner and insert the 6B icing tip (or another large icing tip).
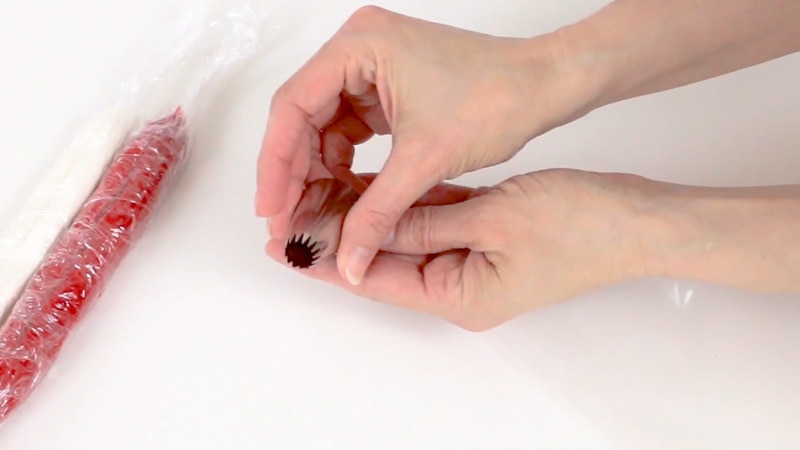
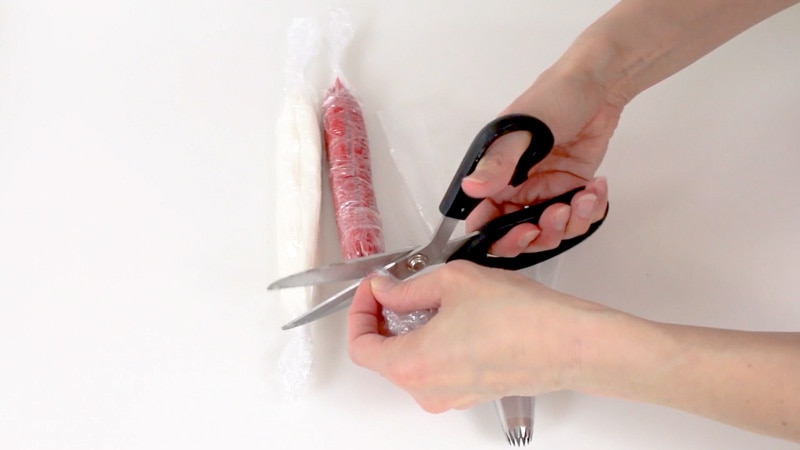
Grab your two saran wrapped buttercream logs and cut off one end of each.
Then add those to the piping bag and twist the top.
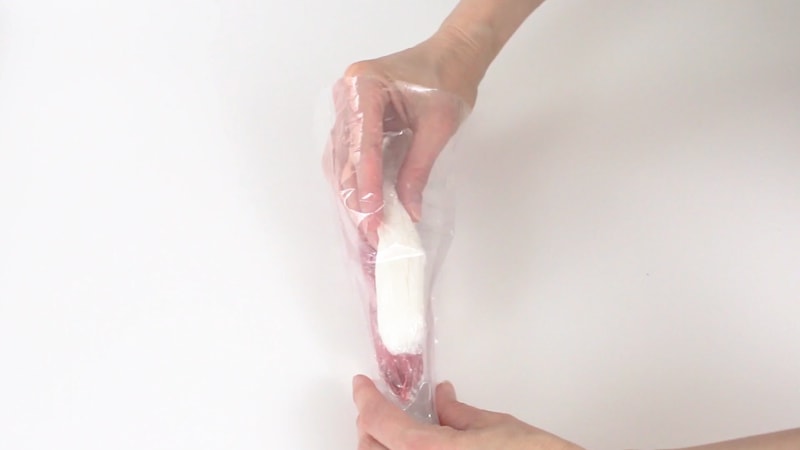
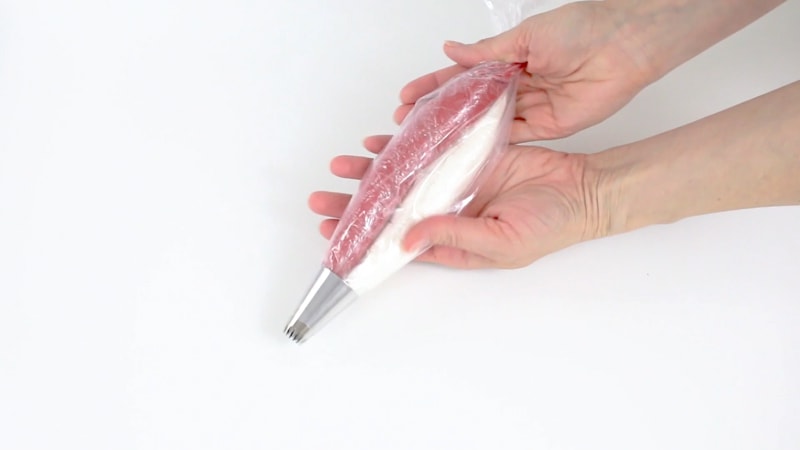
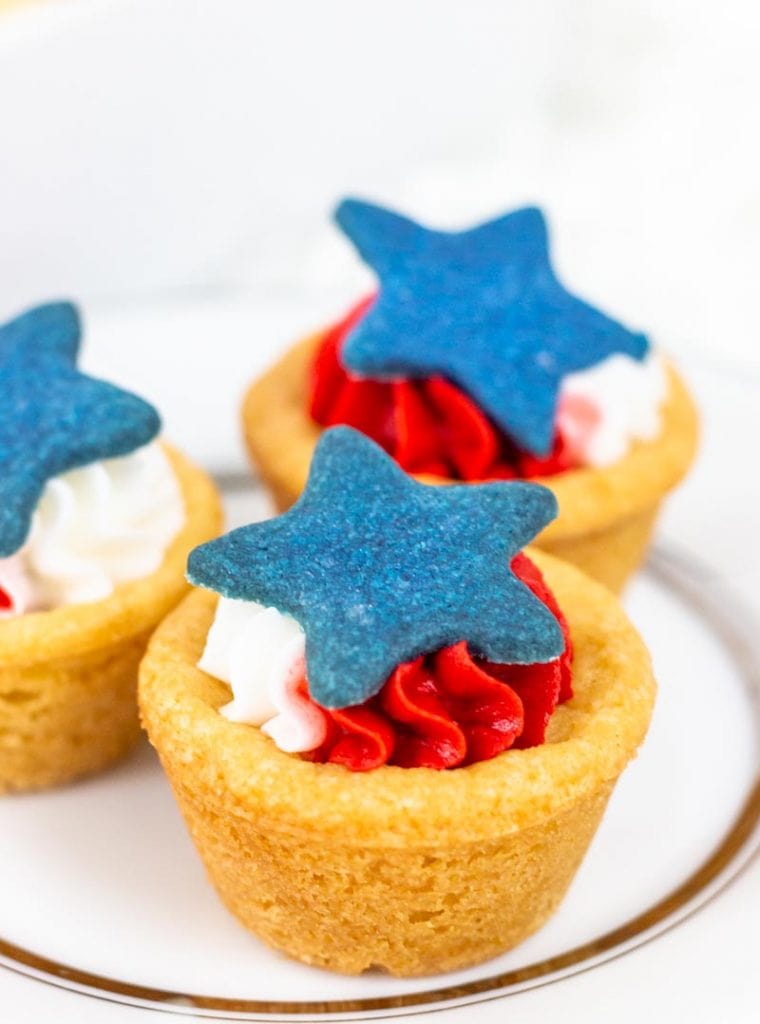
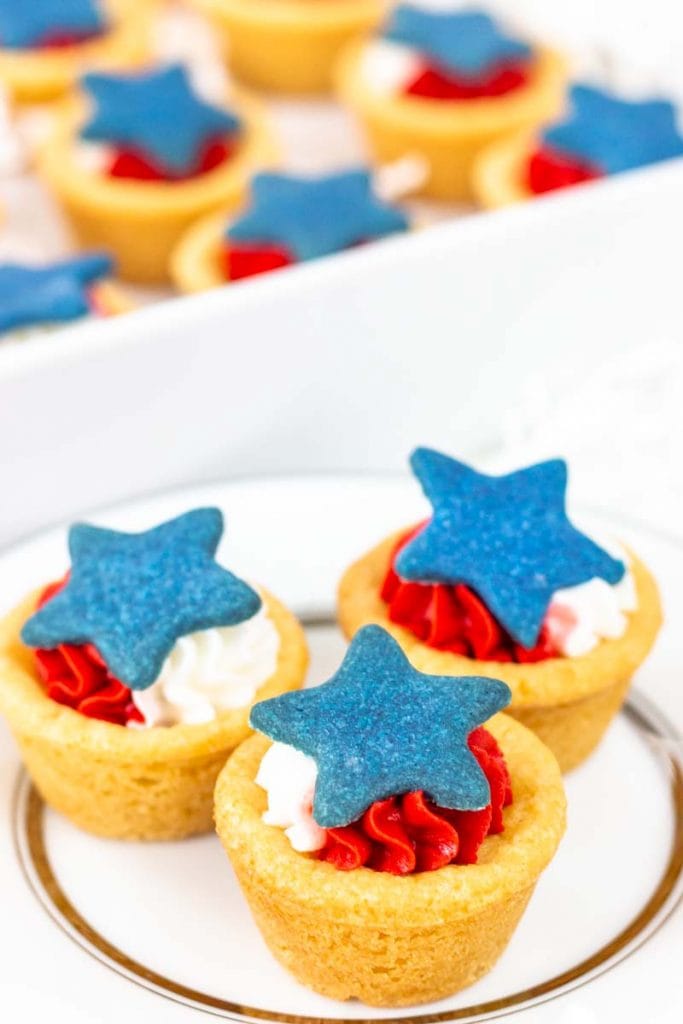
Now all you’ve got to do is pipe the buttercream into the cookie cups…
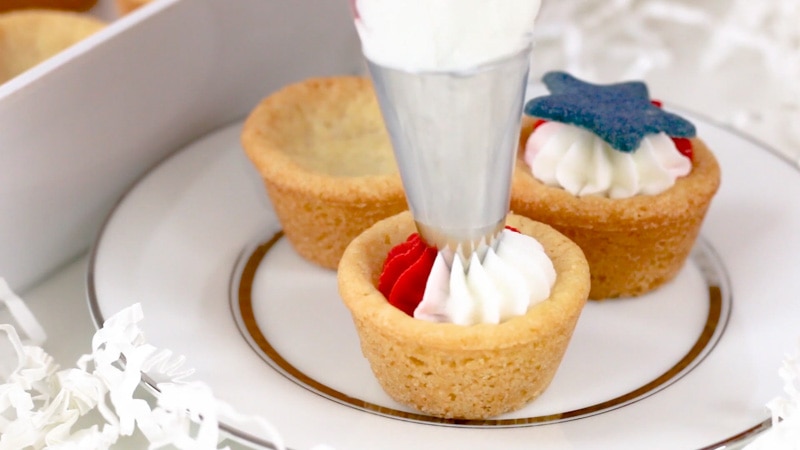
…and top with a blue star!
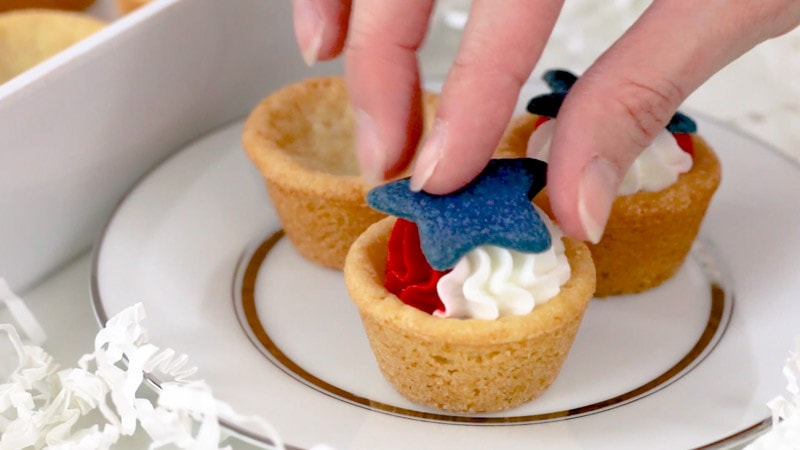
There you have it! Super cute, right?
And here’s the printable ‘recipe’ & tutorial:
Recipe
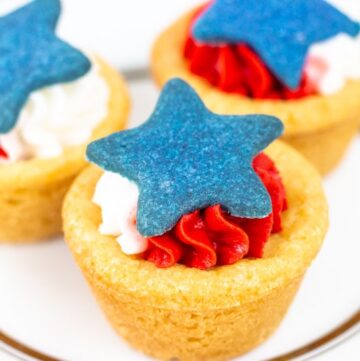
Patriotic Cookie Cups
Ingredients
- 1 pkg. premade refrigerated cookie dough (I used sugar cookie dough)
- 1 recipe buttercream (find buttercream recipes on the blog!) (half white and half tinted red)
Instructions
- Preheat the oven to 350 degrees. Take your cookie dough out of the package. Cut off about ¼ of it, and then wrap up the larger section and place in the fridge.
- Take the smaller portion you cut off and add in dark blue gel food coloring. Knead the coloring in really well and make it a little darker than you think you need it to be. Wrap this up and chill it while you work on your cookie cups.
- For the cookie cups, grab about a tablespoon of the plain (uncolored) dough and roll it into a ball. Press one into each section of a mini muffin pan. You don’t really need to press it down yet, just set them in there for now.
- Take a teaspoon measuring spoon and dip the back of it in flour, then press down into each ball of dough to press it into each mini muffin cup. You’ll need to twist it a bit, that’ll help to form each cookie cup. Make sure to dip the back of your measuring teaspoon into the flour each time, so the dough doesn’t stick.
- Bake the cookie cups at 350 degrees for about 10 minutes. Let them cool completely. Once cool, twist the cookie cups to loosen them from the pan.
- Now prepare your cookie stars. Take your blue cookie dough out of the fridge and roll it out using flour. You’ll want to roll it out a little thin.
- Cut out the stars using a small star cutter. Chill the dough until they’re firm and then transfer to a cookie sheet.
- Bake at 350 degrees for about 7 minutes. Let cool completely.
- Prepare you buttercream using your favorite recipe. (You can find some on the blog here.) Once prepared, leave half of it white and color the other half red.
- Place some white in a piping bag and some red in a piping bag. Cut off the end corners and pipe a couple lines onto some saran wrap. Roll them up into logs. You’ll have a white buttercream log and a red buttercream log. Cut off the ends of the saran wrap and then place both buttercream logs into a new piping bag fitted with a Wilton 6B piping tip, or other large piping tip. (You’re doing all this in order for the red and white buttercream to stay separated and not mix to make pink while piping it.) You’ll probably have to do this a couple times to fill up all of the cookie cups.
- Pipe in a small amount into each cookie cup and then pop on a blue cookie star.
- Enjoy!
Video
Notes
How to Share
I’d love for you to share this recipe link or tag it, but please do not share screenshots or copy/paste the recipe to social media as the content and photographs are copyright protected and we (bloggers) work really hard on our content. Sharing the link, tagging us on socials and pinning it is super appreciated though!
Don’t Forget to Pin it for Later!


Leave a Reply