
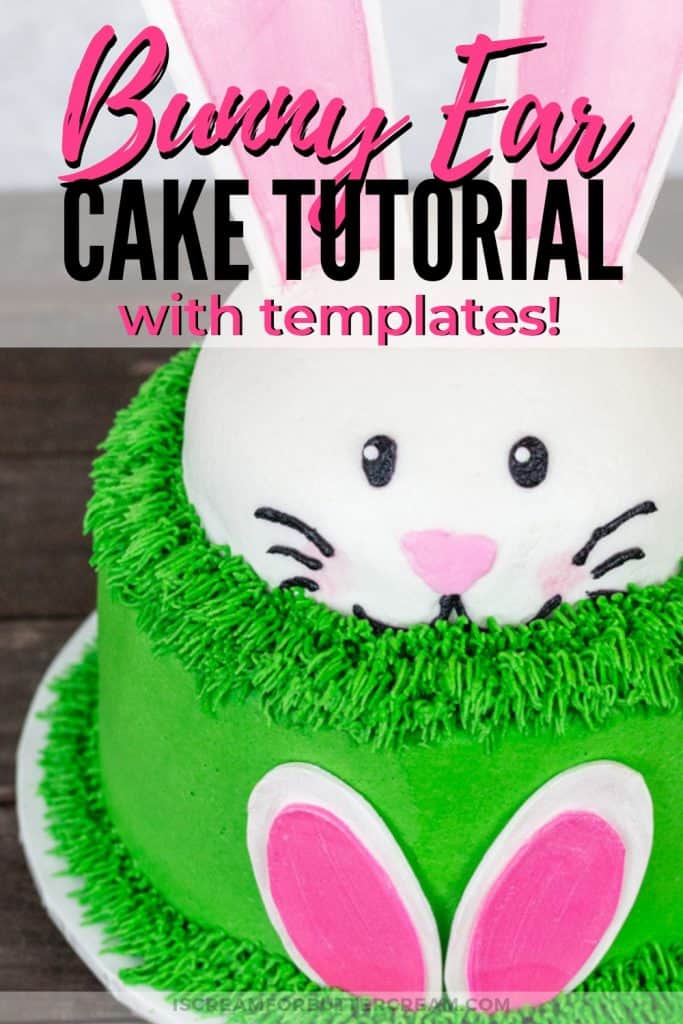
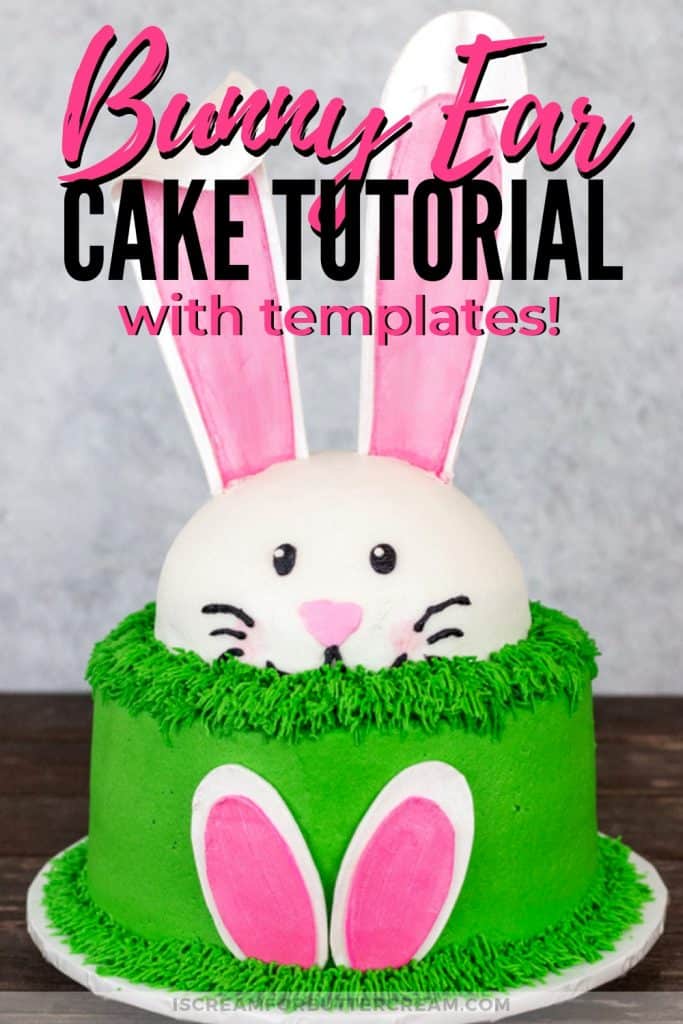
This cute bunny ears cake with bonus template is just perfect for Easter. Plus you’ll even get a free printable template for the bunny ear cake topper and the cute bunny feet and tail.
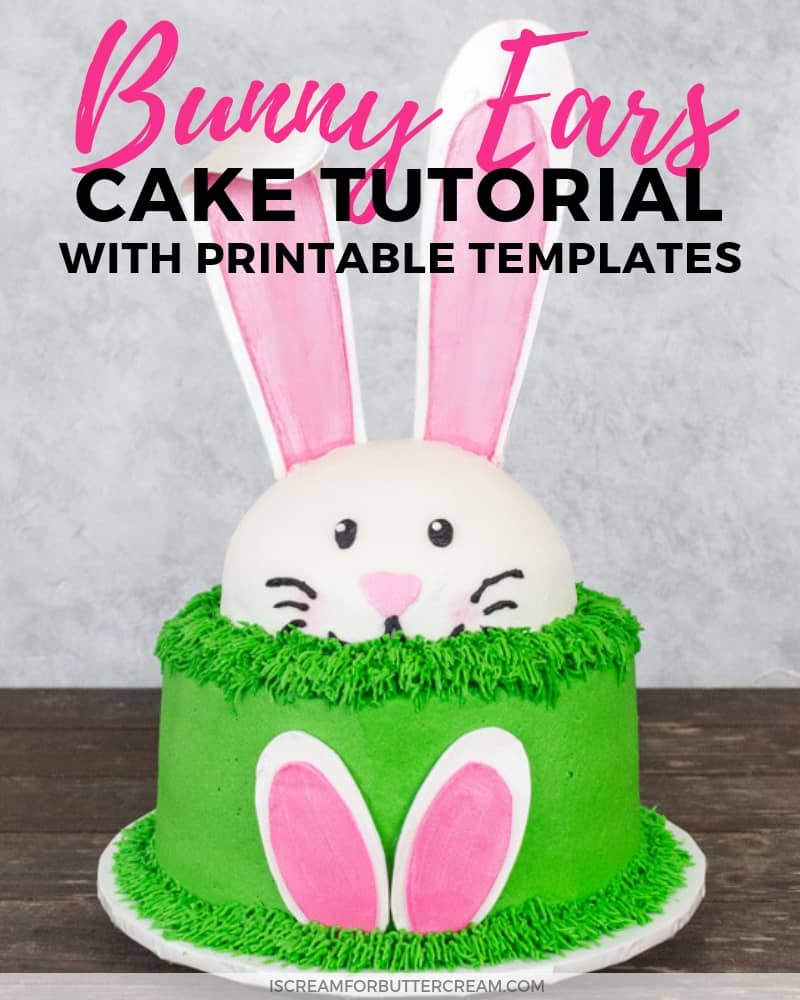
This cake is a really fun project for Easter. You can get the kids involved in some of it, but there are a couple places you’ll need to handle yourself.
You’ll want to start ahead of time for this cake because the bunny ears will need to dry and firm up for at least 24 hours before inserting them into the cake.
You’ll definitely want to use gumpaste, not fondant for the ears. Fondant just isn’t going to dry hard enough.
Those bunny ears are NOT hard to make, but they do take a bit of time.
It’s also a good idea to go ahead and make the buttercream. You’ll need a bit extra than what you’d normally use just covering a cake, because you’ll be adding on some buttercream grass as well.
Below I’ve listed out the supplies you need, instructions with screen shots and don’t forget the video at the end that will show everything as well.
As an Amazon Associate, I earn from qualifying purchases.
SUPPLIES FOR THE BUNNY EARS CAKE:
- 6″ sphere cake pan
- cake recipe or cake mix (I used vanilla) (I used three 8″ round cakes plus the 6″ sphere cake…that’s basically two cake mixes, or two cake recipes.)
- green buttercream (here’s my recipe) (You’ll also need white to cover the 6″ sphere on top and a tiny amount of black for the eyes and whiskers and pink for the nose.)
- cake turntable
- Piping Bags
- Icing tips: Wilton #233 Grass Tip (for grass), Wilton #4 Round Tip (for eyes and whiskers), Wilton #5 Round Tip (for nose), Wilton #2 Round Tip (for eyes)
- Bunny Ears Template Download
- scalloped cookie cutter (optional…if you don’t have this, you just use the tail template I provided.)
- pink and white gumpaste (for the ears)
- white and pink fondant (for the feet and tail)
- small fondant roller
- mini pizza cutter or knife
- wooden skewers (You can find these at Walmart or even most dollar stores…they’re super cheap most of the time.)
- cornstarch (for sprinkling)
- small paint brushes used only for caking
- pink luster dust (optional, but really makes the ears and feet pop)
- super pearl dust (optional, but really makes the ears and feet pop)
- lemon extract (for mixing the dusts)
- 8″ cake board
- 10″ foam core cake base or drum
- icing spatula
- buttercream smoother (plastic or metal)
HOW TO MAKE THE BUNNY EARS CAKE:
PREPARATION:
First you’ll want to bake your cakes. I used 3, 8″ round cake layers.
You’ll also want to bake your 6″ round sphere cake. Important: If you get a size that is different than 6″ here, you’ll want to adjust the bottom cake sizes. (For example, if you can only find a sphere cake that is 8″ round, then you’ll need to make your bottom cake layers 10″ instead of the original 8″.)
You can go ahead and bake all your cakes and make your buttercream ahead of time if you want. It really saves time and stress.
For tips on freezing cakes, go here. And I’ve also got a post about freezing buttercream here.
Now that your cakes are baked and the buttercream is made, you’ll want to download your templates.
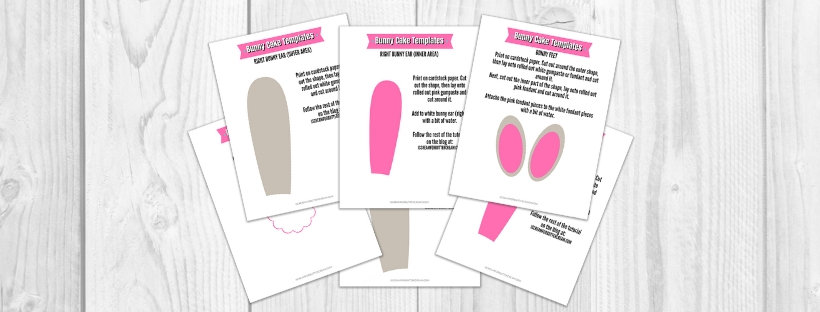
MAKING THE BUNNY EARS:
Print your templates on cardstock (it’s easier if the paper is a thicker paper) and cut out everything.
Now take the gray parts of the ears (the larger outside ear area), roll out some white gumpaste and cut around the template. Do this for the left and for the right bunny ear.

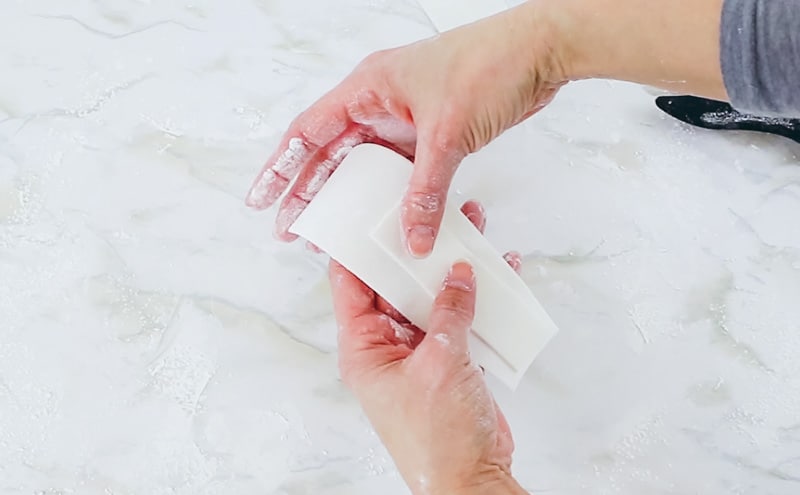
Now roll out more white gumpaste and cut two strips. These will act like bandaids to hold the skewer onto the bunny ear.
Note: You want to make the strip for the left ear shorter, since this is the ear that you’ll be curling over.
Just hold up the ‘ears’ and size up the strips. (left ear)
(right ear)

Now you’ll take two wooden skewers and cut the one for the left ear a bit shorter…probably several inches shorter. You’re doing this because this is the ear that will be folded over.
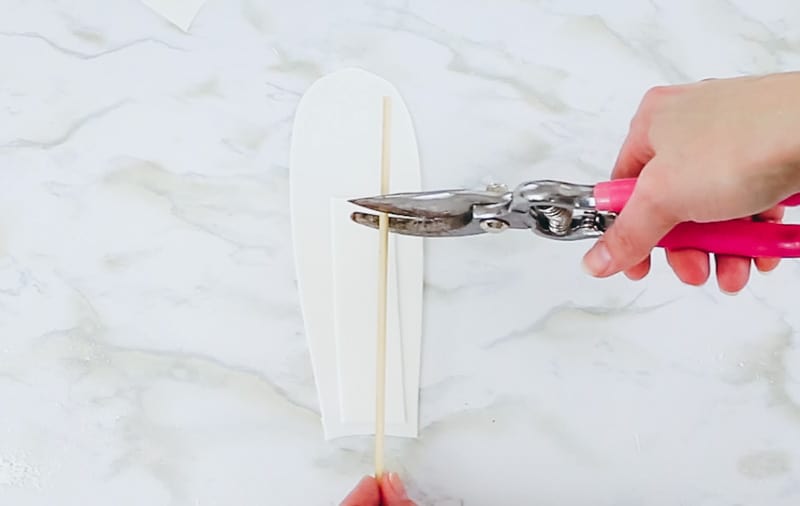
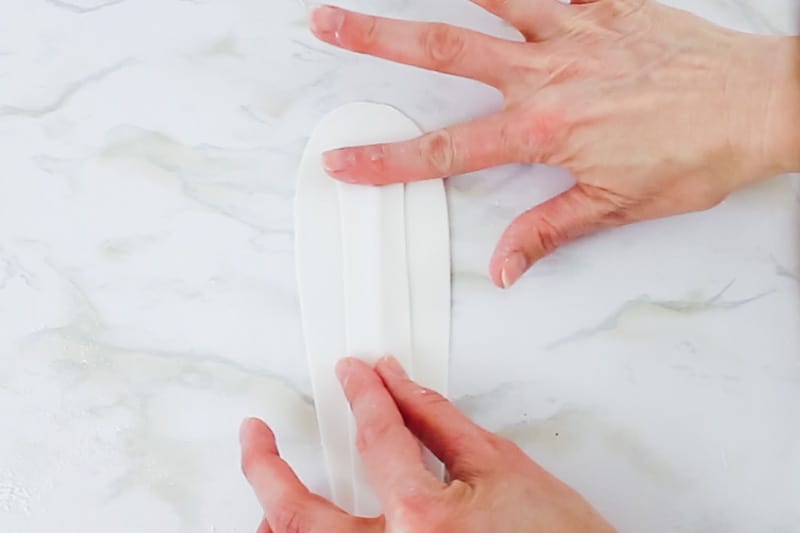
Now add some water, with a food only paint brush, lay down the wooden skewer and the lay the strip of gumpaste over it and smooth it down.
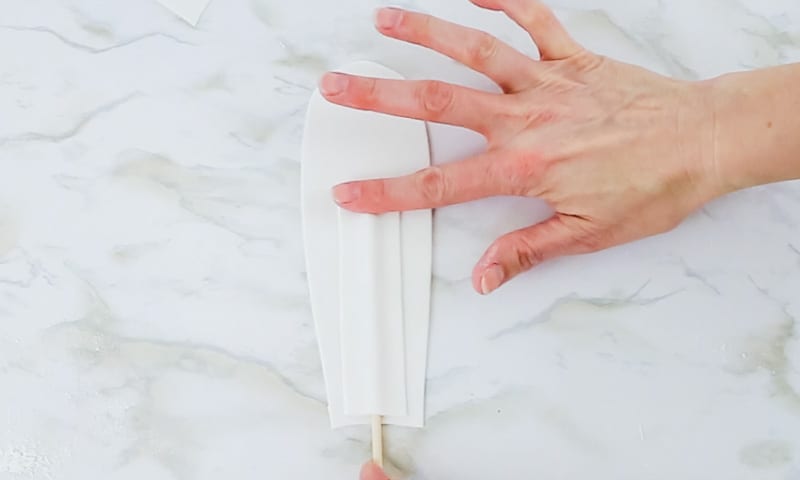
Do the same thing for the right bunny ear, except you don’t need to cut the skewer any shorter…just let it come almost all the way up the ear.
Note: Make sure you’re leaving the bottom of the skewer pretty long as they’ll need to go pretty far into the cake in order for the ears to be stable.
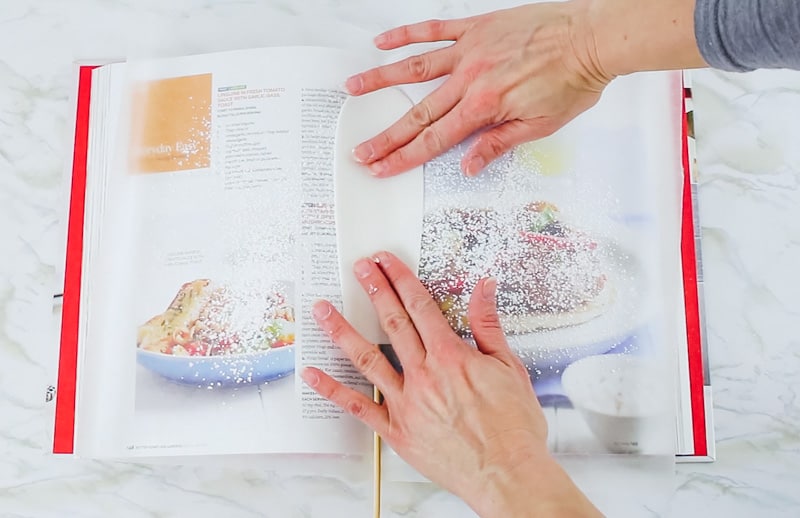
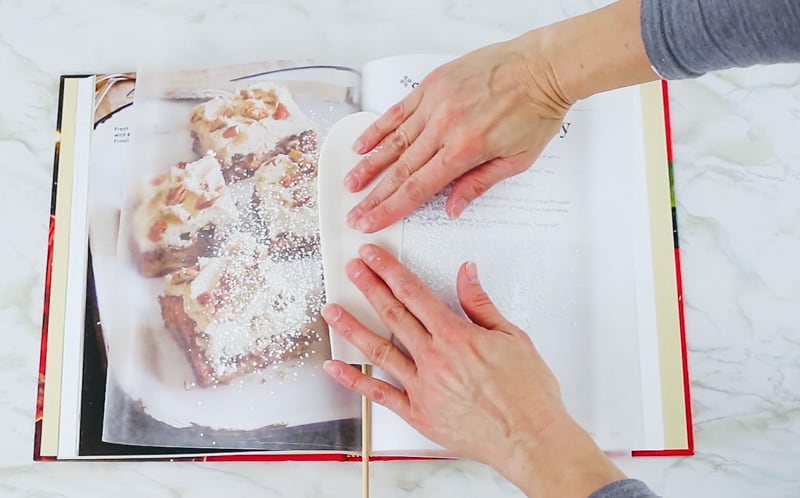
Now take two large books. (I just used some large hardback cookbooks). On a side note…I don’t even like to cook, so why do I have a gazillion cookbooks?
Anyway, open up your books and add a piece of wax paper to them and sprinkle that with some cornstarch. Now make sure your books lay flat when they’re open and don’t want to close up on you…that’ll totally mess up your bunny ears.
Now lay a bunny ear on each book and sort of press in the middle just a bit to give the ears some curve to them.
For the left ear, curl down the top and add a piece of paper towel behind it to hold its shape.
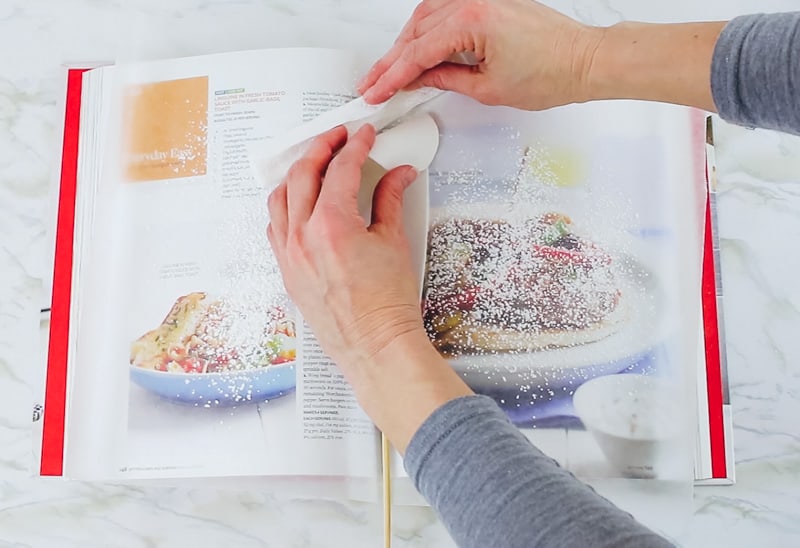
Just leave the right ear as is…don’t curl it down.
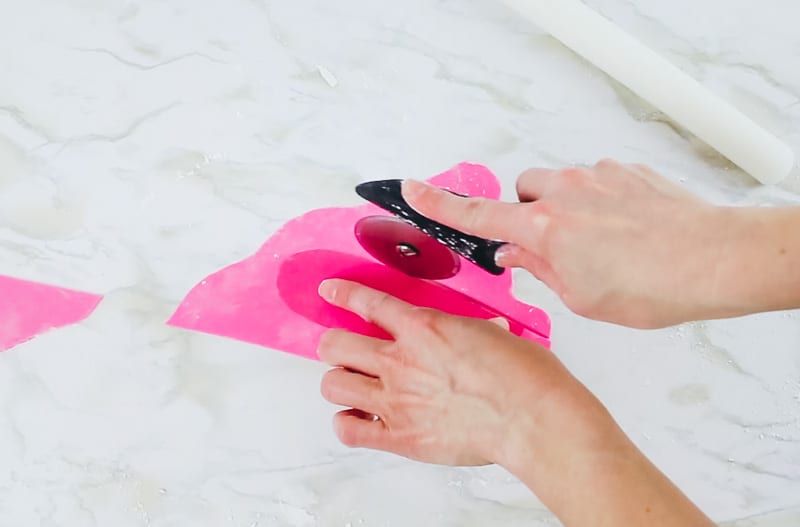
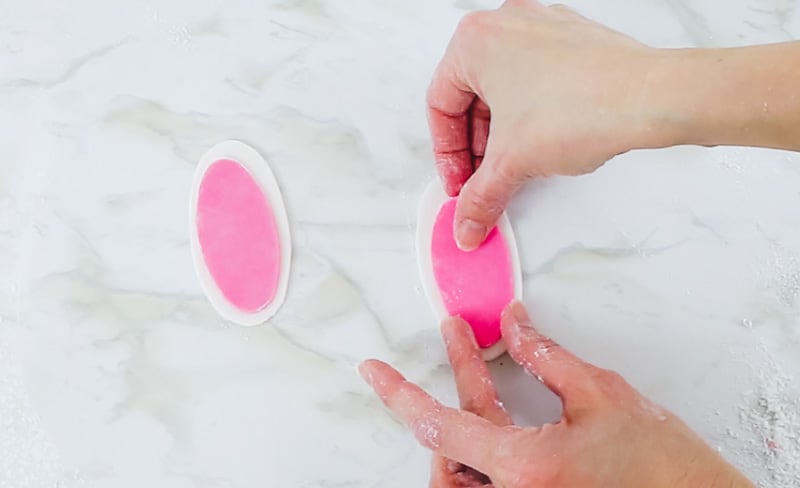
Ok, now you’ll work on the pink inner areas of the bunny ears. Just roll out your gumpaste. Try to roll it out pretty thin.
Use the pink bunny ear templates and cut around them.
Add some water to the back of each and then attach to the white bunny ears.
Do the same for the right bunny ear.

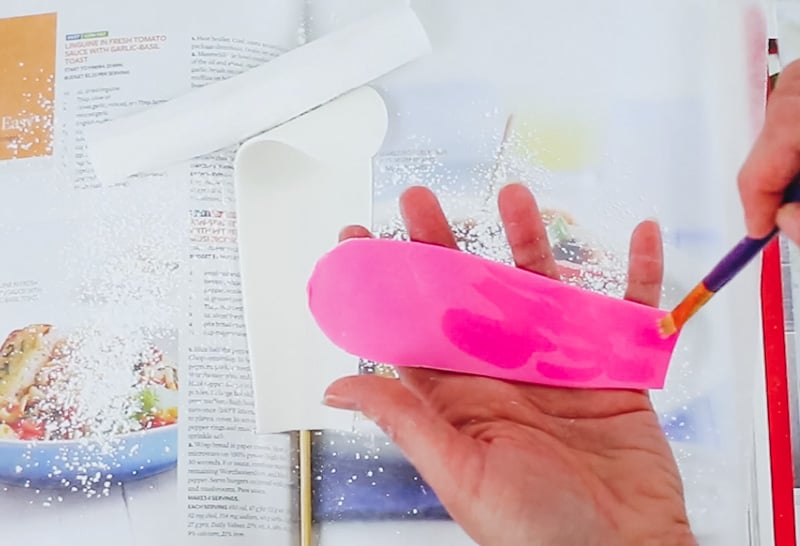
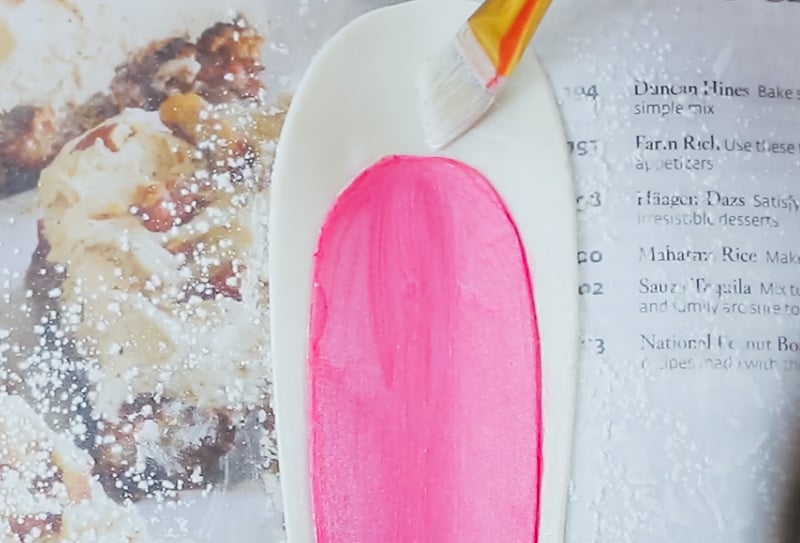
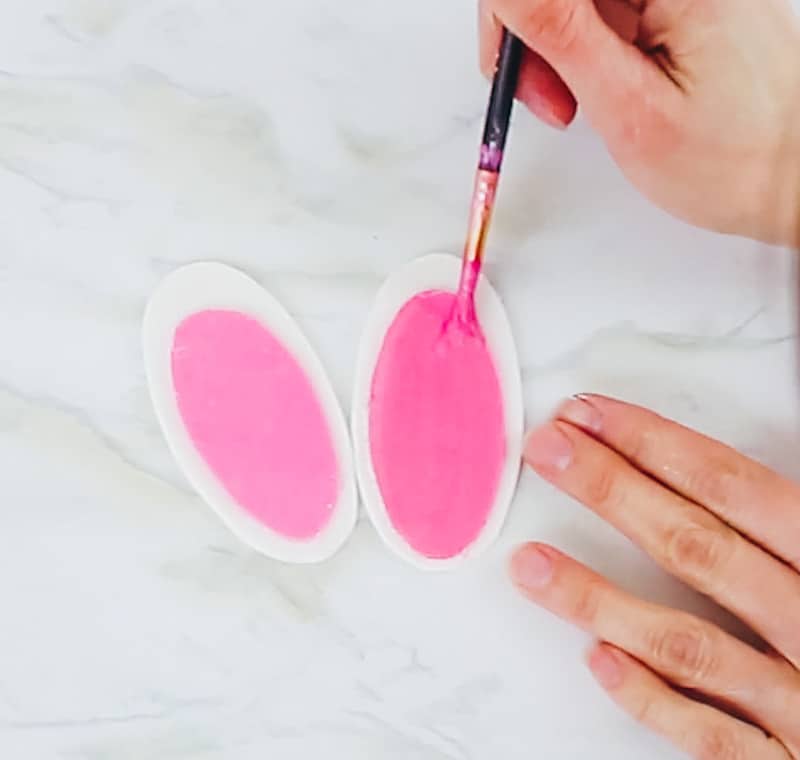
This next part is optional, but if you want to really give them some pop, you can paint them with some pink and pearl luster dust.
Just mix some pink luster dust with a bit of lemon extract.
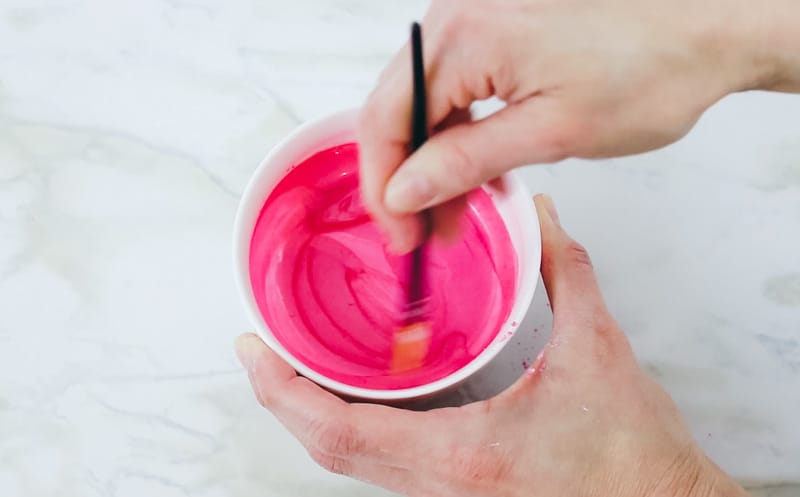
Next just paint that onto the pink areas of the bunny ears. For the left ear, you’ll just have to go as far as you can, but no one will be able to see under the curved part anyway.

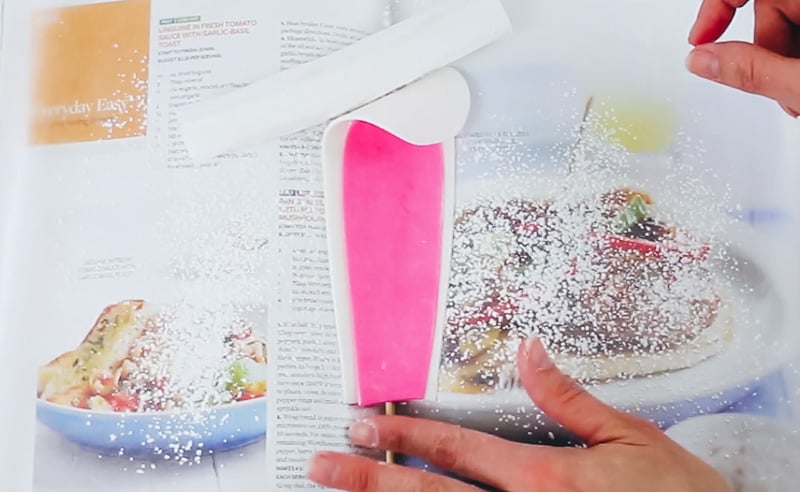
Next you can add some super pearl dust with some lemon extract.
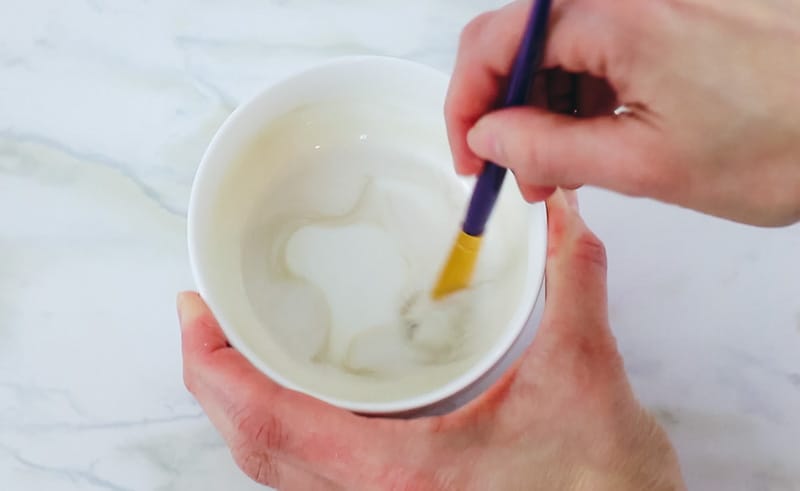
You can then paint the white part of the bunny ears with that. This will give it a pretty sheen. You don’t have to paint the backs of the ears though.
Ok, now just set those aside to dry and firm up for at least 24 hours. They need to be really hard before adding them into the cake.
MAKING THE BUNNY FEET:
Take the templates and cut them out. Cut one around the gray and one around the pink.
Roll out some white gumpaste or fondant (fondant is better for this part because you’ll need it to remain pliable) and cut out around the gray bunny feet template. Do this twice…cuz you want that bunny to have two feet, don’t ya?

Now roll out some pink fondant and cut out around the pink portion of the bunny feet. Do this twice.
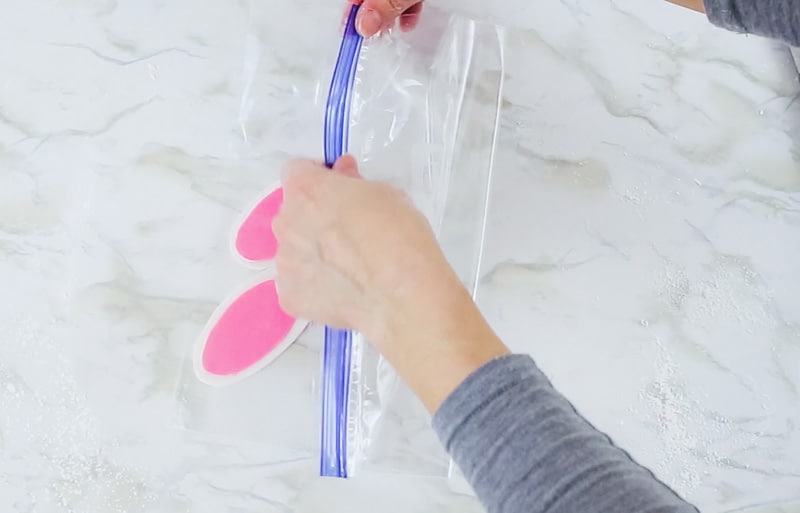
Now just attach the pink bunny feet onto the white bunny feet with a bit of water.
Put them into a ziplock bag and seal out all the air. This will keep them pliable until you’re ready to add them to the cake.
PUTTING THE BUNNY EAR CAKE TOGETHER:
Now take your three layers of cake and stack them, filling them with buttercream as you go.
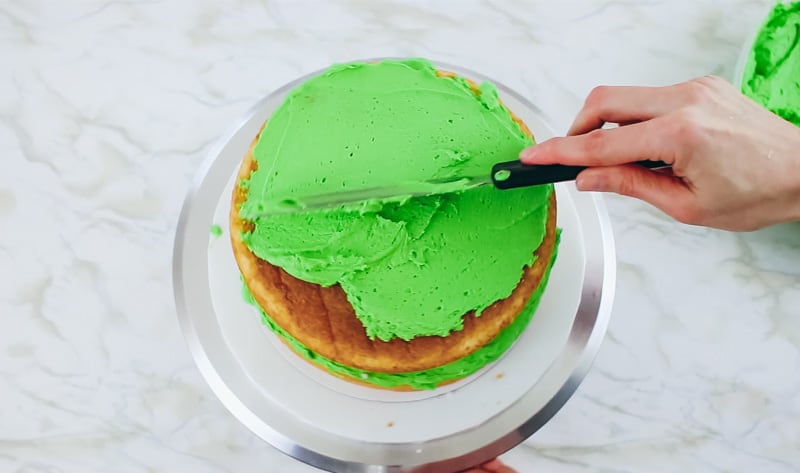
Add two coats of buttercream and go around with your buttercream smoother to smooth it all out.

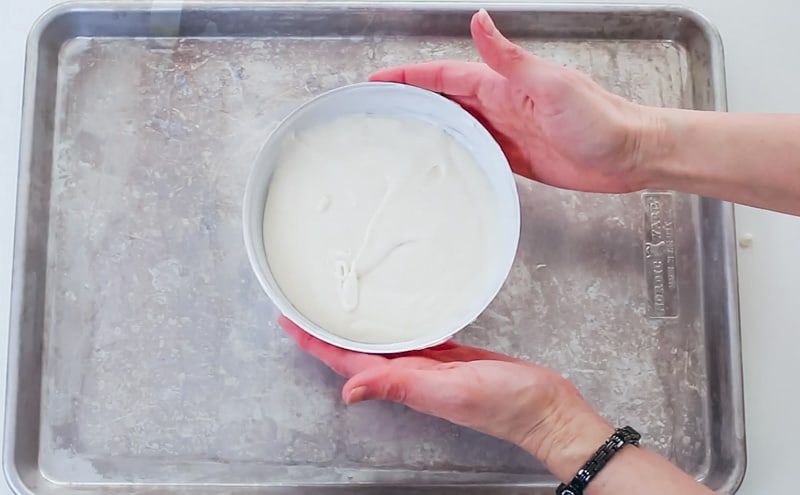
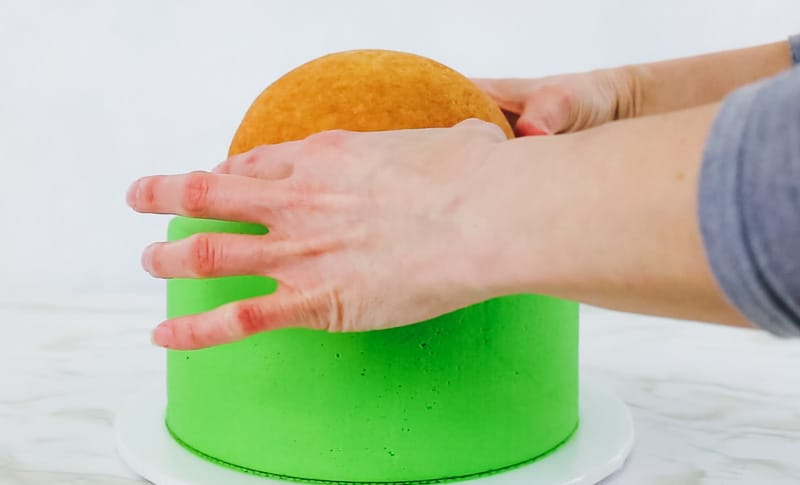
Now just set your 6″ half sphere cake on top and make sure it’s centered. You don’t need a cake board under it or any dowels. It’s not really heavy enough to need a lot of support.
Now just coat it twice with some white buttercream. To get your buttercream super white, you’ll want to grab this recipe.
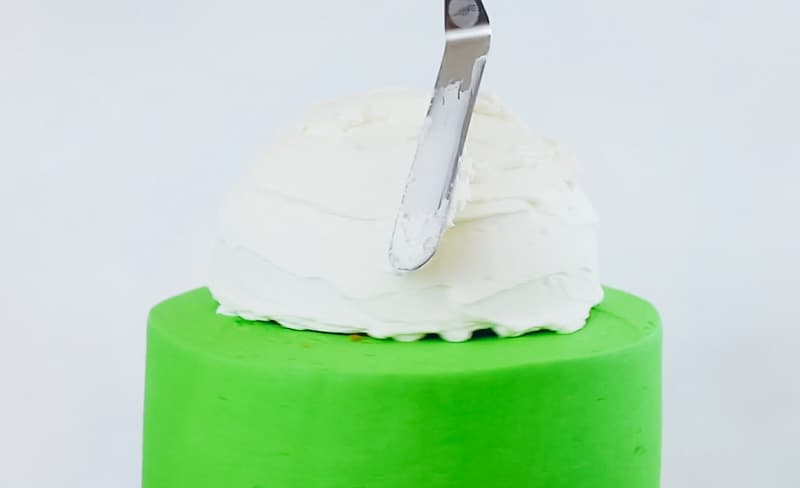
Once you get it covered, you’ll want to smooth it really well. I just cut a square piece out of a plastic/acetate folder and just curved it in my hand and used that to smooth it.
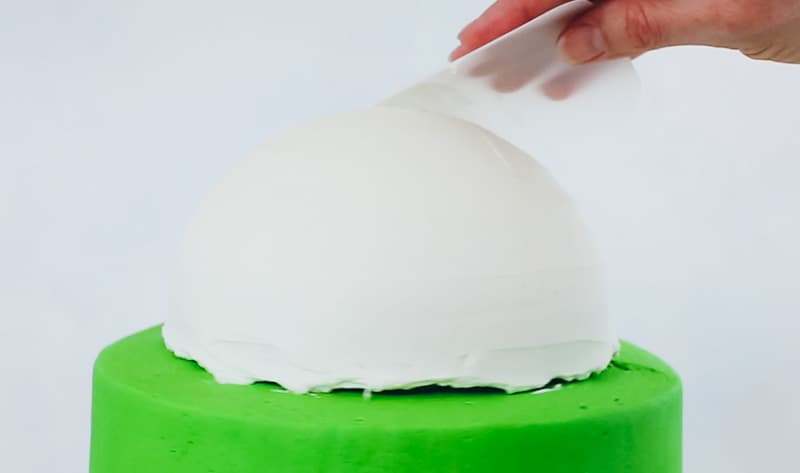
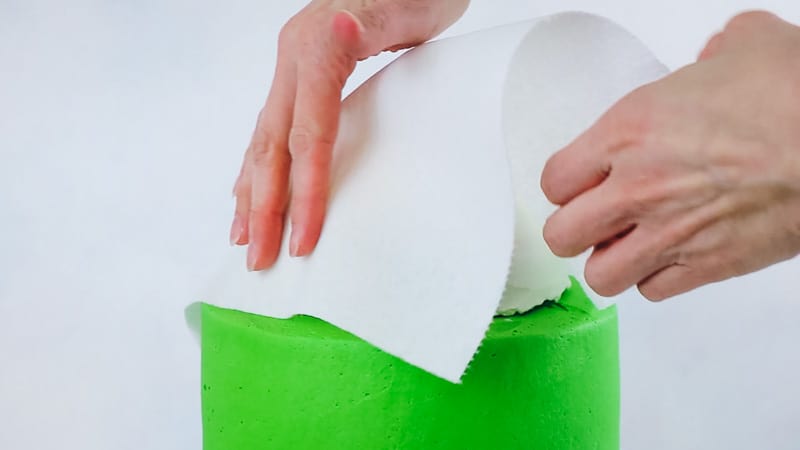
If you’re using a crusting buttercream (basically a buttercream made with shortening), you can let it firm up a bit, then take a Viva paper towel and use it to smooth it even further.
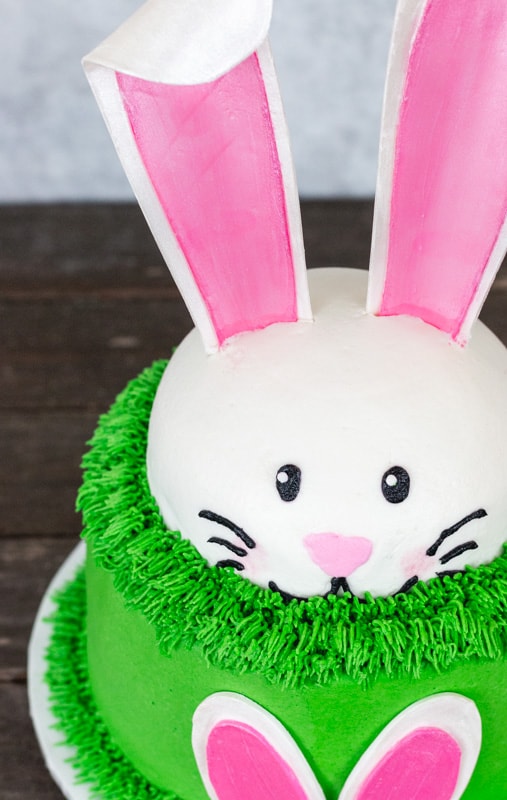
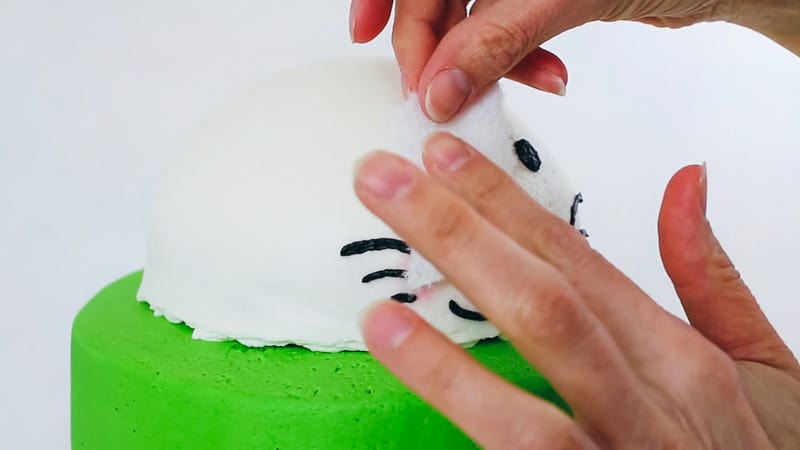
Now take a toothpick and draw yourself a guide for the bunny’s eyes, nose and mouth.

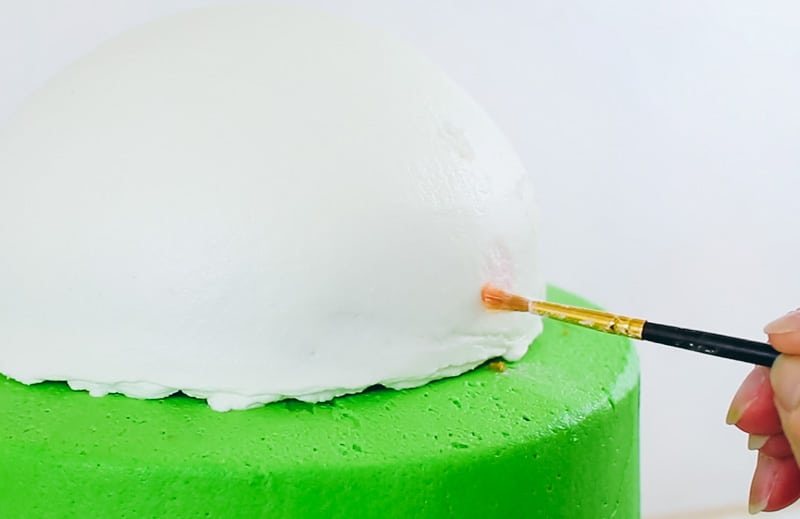
Take a bit of your pink luster dust and lightly add a bit to the bunny’s cheeks. You might want to mix in some cornstarch with the luster dust, so that it doesn’t come out so dark.
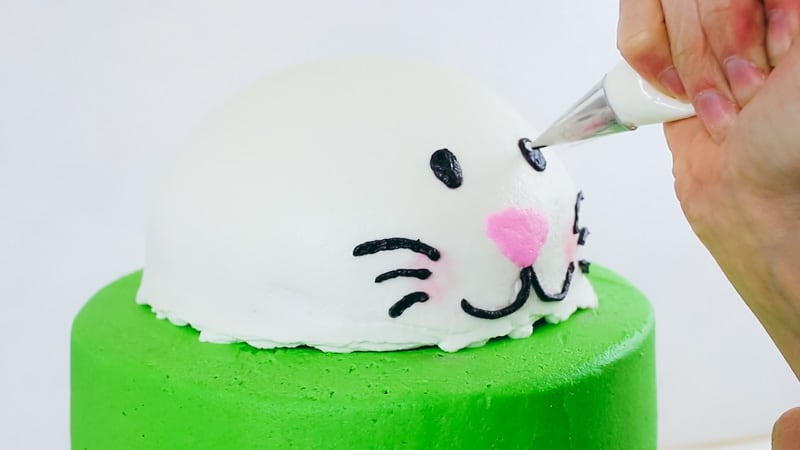
Now just pipe on the eyes, nose, mouth and whiskers. Let it set up and then take a piece of the Viva paper towel and smooth over the eyes and nose.
Then pipe on some tiny white dots on the eyes.
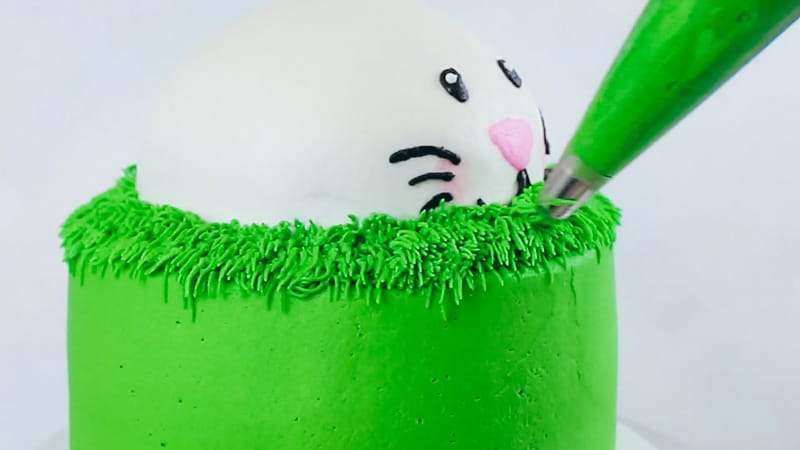
You’ll want to pipe the buttercream grass all around the bottom of the bunny’s head. I did several rounds of it.
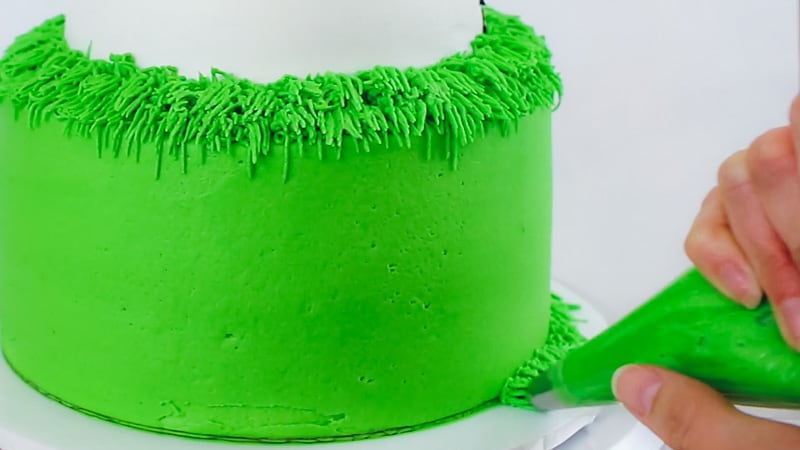
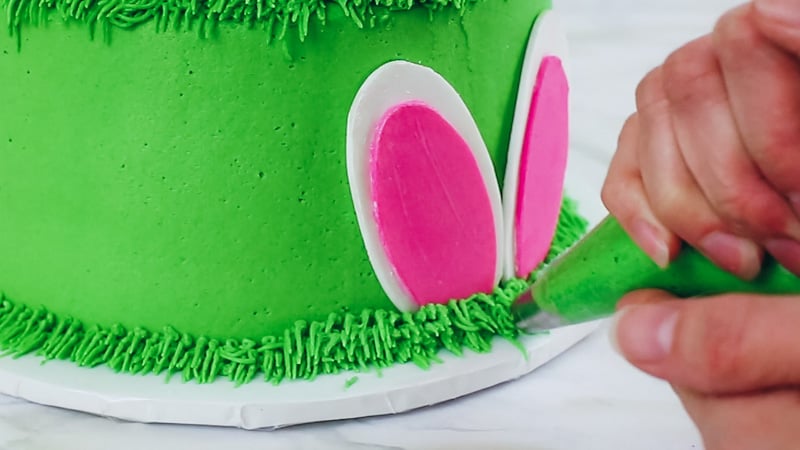
And go ahead and pipe a round of buttercream grass along the bottom of the cake.
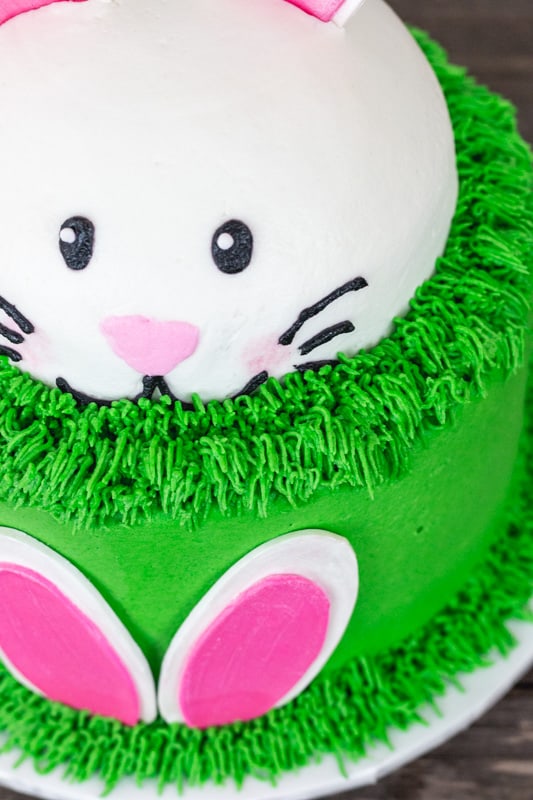
Now you’ll want to finish off the bunny feet. Take them out of the ziplock bag and you can paint them with the luster dust the same way you did the bunny ears.
Add a bit of buttercream to the backs of the bunny feet and then just attach them to your cake.
Go ahead and pipe on a bit more grass in front of the bunny feet.
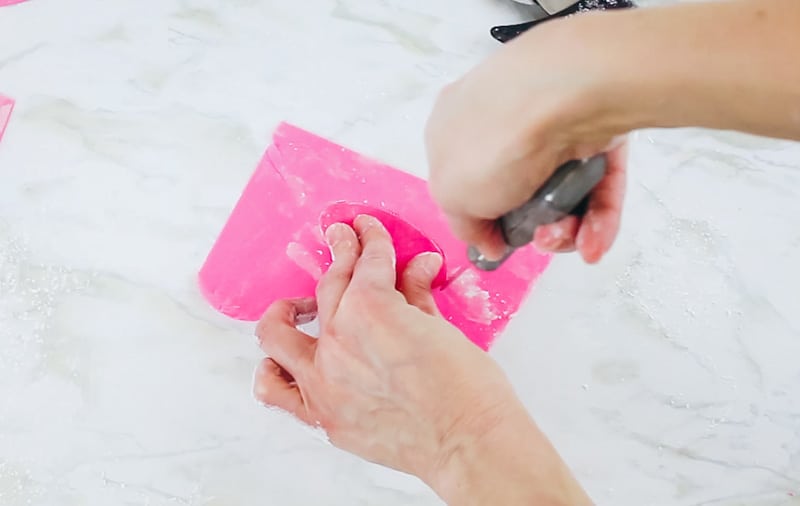
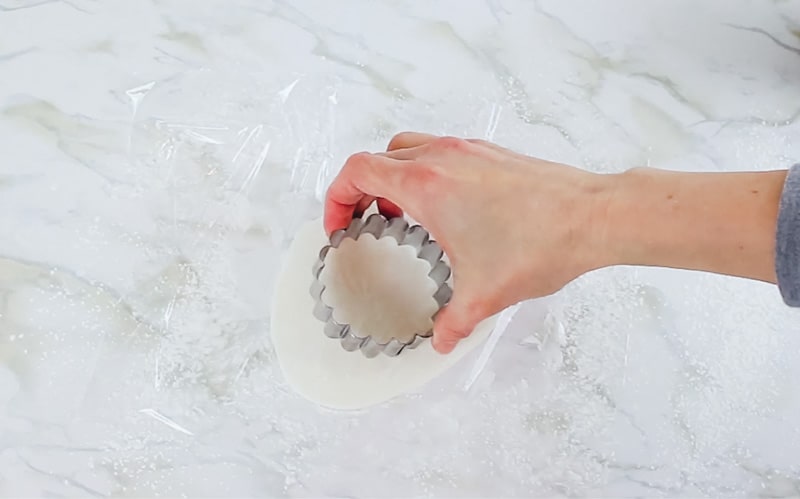
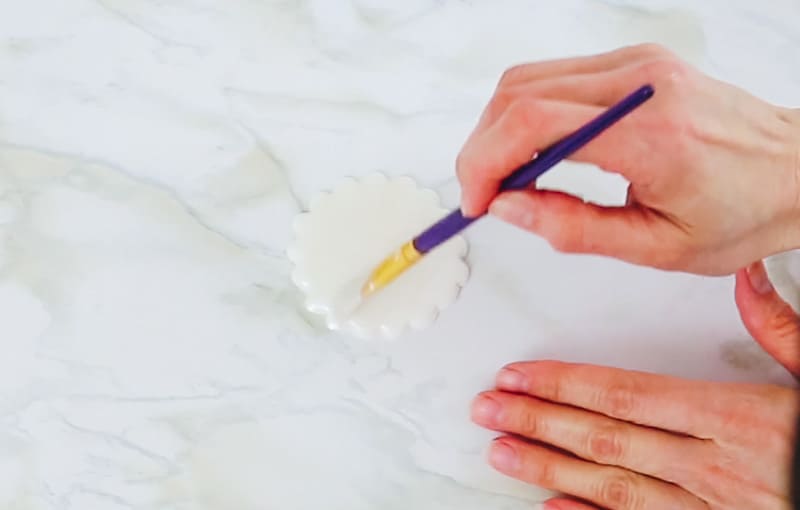
Now you’ll want to make the bunny tail. You can use the template if you don’t have a scalloped cutter, but if you do have a cutter, just roll out some white fondant, place a bit of plastic wrap over it and then cut out the tail.
You’re using the plastic wrap because it gives some curve to the bunny tail when you cut it out. It gives it more of a ‘puffed’ look.
Now you can go ahead and paint it with some super pearl dust and lemon extract to give it some sheen.
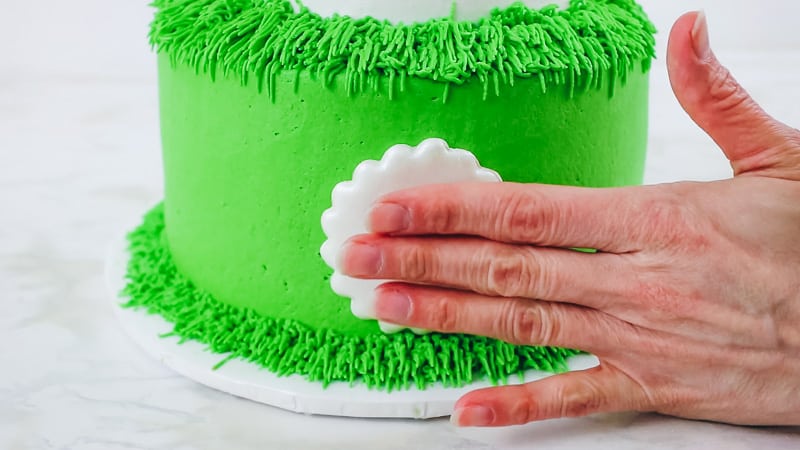
Add a bit of buttercream to the back and then attach to the back of the cake.
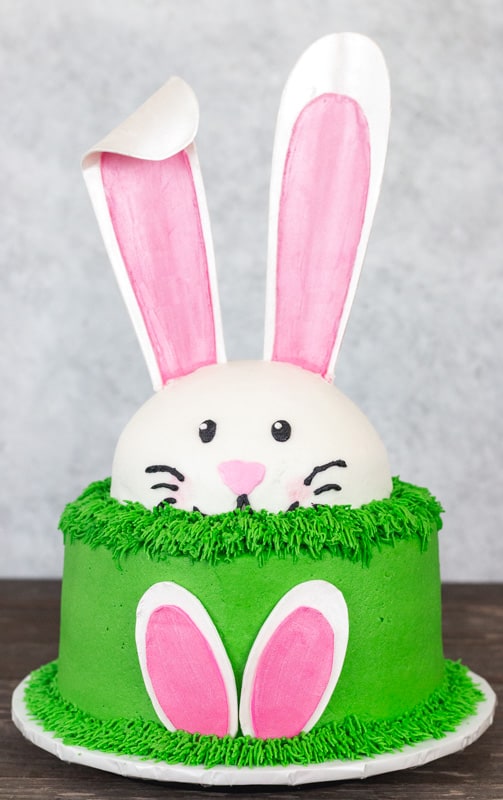
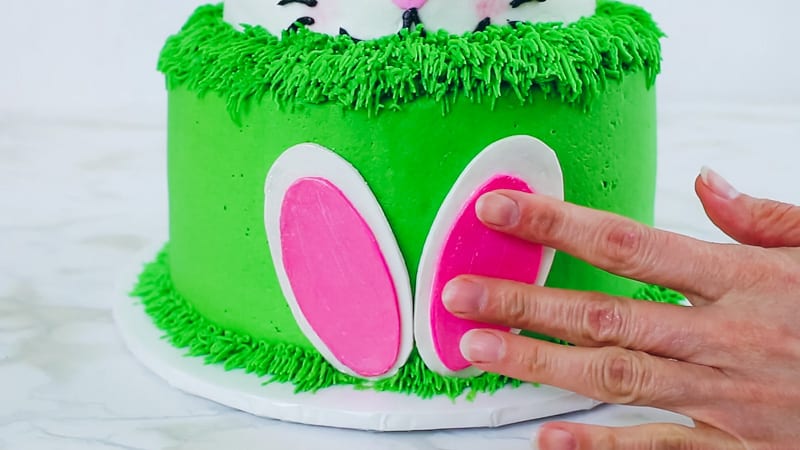
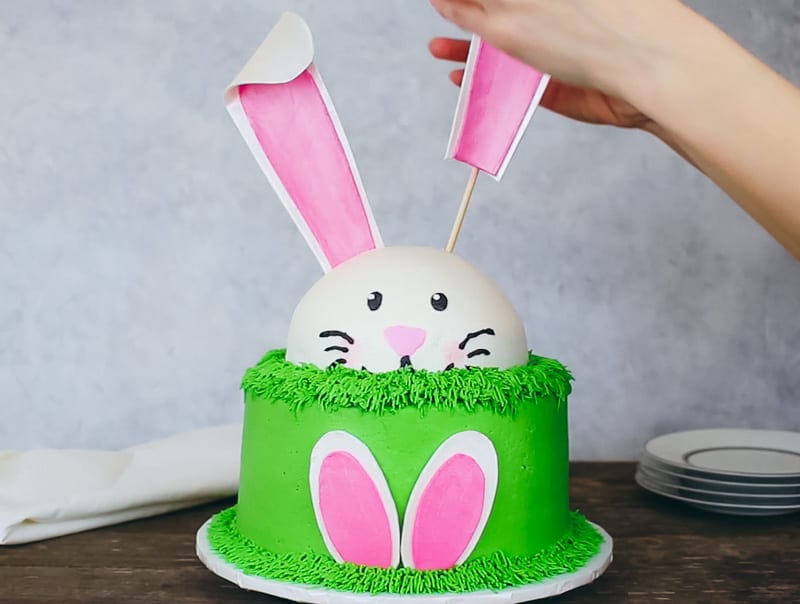
Almost done! Now all you’ve got to do is insert your bunny ears!
I think this bunny cake turned out super cute, right? And the cool thing is it’s mostly buttercream, so you’re not having to cover an entire cake with fondant.
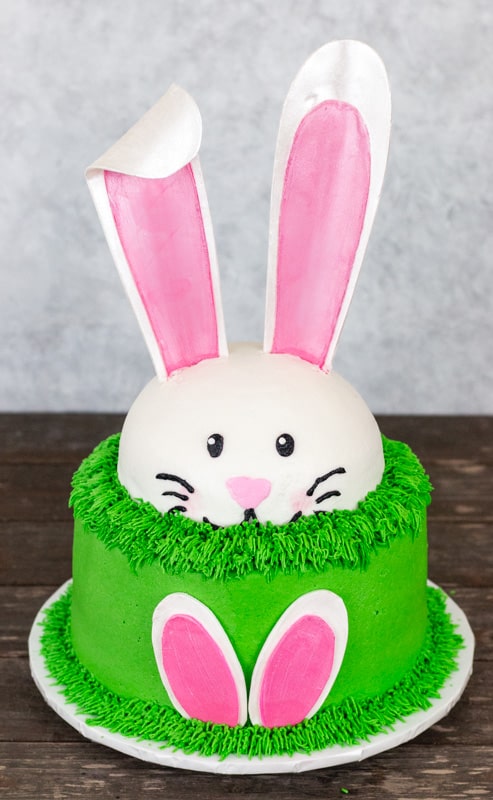
I hope you have fun with this one!
DON’T FORGET TO PIN IT BELOW!
Leave a Reply