Here are my best tips to decorate cakes using DIY templates. You can do so much using your own imagination without having to buy tons of cake decorating supplies
I’m a DIY’er to the extreme. If I can figure out a way to do something without spending a bunch of money by buying a special tool, then that’s what I’ll do. Now, I’m not crazy…I know when it’s worth it to buy a cake decorating tool, but usually I try to figure out a way to make it work without it. In this post, I wanted to give you my tips to decorate cakes using DIY templates and all the different ways I like to make and use templates.
There are a multitude of ways to use DIY templates for cake decorating. In this post I’m going to give you some ideas and examples of how I’ve used templates in the past. I’ve also decided to put these into categories, because I think it’s a little easier when things are categorized.
As an Amazon Associate, I earn from qualifying purchases.
The categories are:
- Templates made in a word processing program like Word or in PowerPoint
- Templates made from clipart and Google images
- Templates from coloring book pages
- Templates from real life objects
Templates made in Word or Powerpoint:
Word processing programs are great for making number, letter, shape and word templates. Just type in what you want and then adjust the font size from there.
Here are a couple of examples:
Number Topper Template:
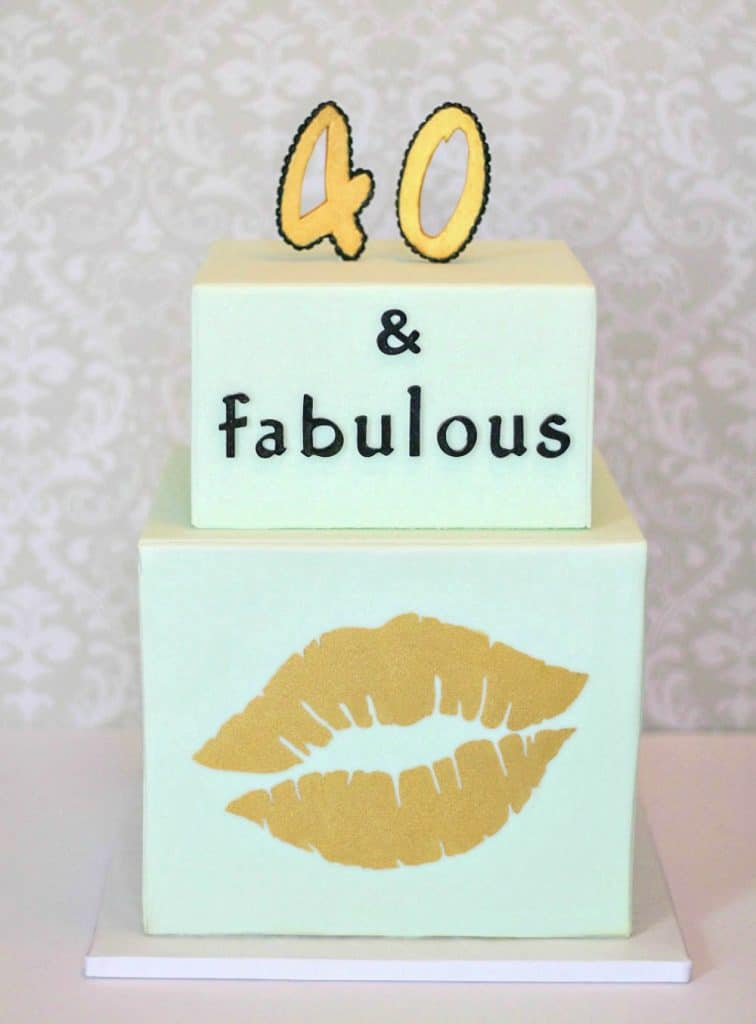
For this number topper, I just typed in the number I wanted and adjusted the font size. You’ll need to print it out, so you get a good look at what size it really is. I like to print these templates on card stock paper.
Once printed, you just lay it over rolled out fondant and cut around it with an exacto knife, then decorate or paint however you’d like. You can see the full tutorial for this cake here: 40 & Fabulous Cake
You can use your Word program to type in full names, initials or other sayings. Just make sure to print them on card stock paper because it’s much easier to handle.
Chocolate Heart Cake Ball Cake:
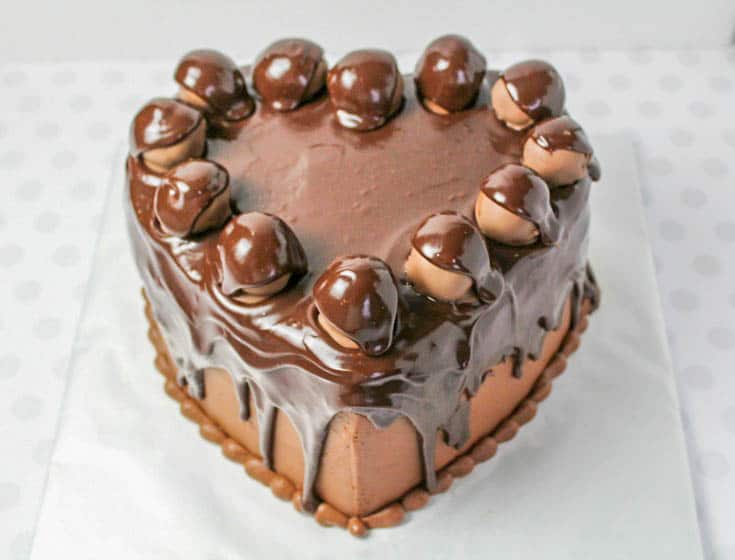
When I made this cake, I didn’t have a heart shaped pan. Sometimes you just have to make do with what you’ve got. I went into my PowerPoint program and inserted a heart shape. I blew it up over the course of a couple pages. I use PowerPoint to do this because it’s much easier to blow up the shape as large as you want and span it over the course of several slides.
Here’s how you do that: You can just copy and paste the shape into a slide in Powerpoint and blow it up as large as you need it. Then copy that shape you just blew up and then paste it into more slides. Move the shape around so that a different part of the large shape will show on each slide.
Print out all the slides, cut out the shape and then tape all the parts together to form one large shape. I use this method when I don’t feel like taking a picture to a copy store and having them blow it up. You may have to print it out a couple times to get the size you want though.
To see this cake’s tutorial, click here: Chocolate Heart Cake Ball Cake
Here’s another example of blowing up a large shape:
Patriotic Buttercream Star Cake:
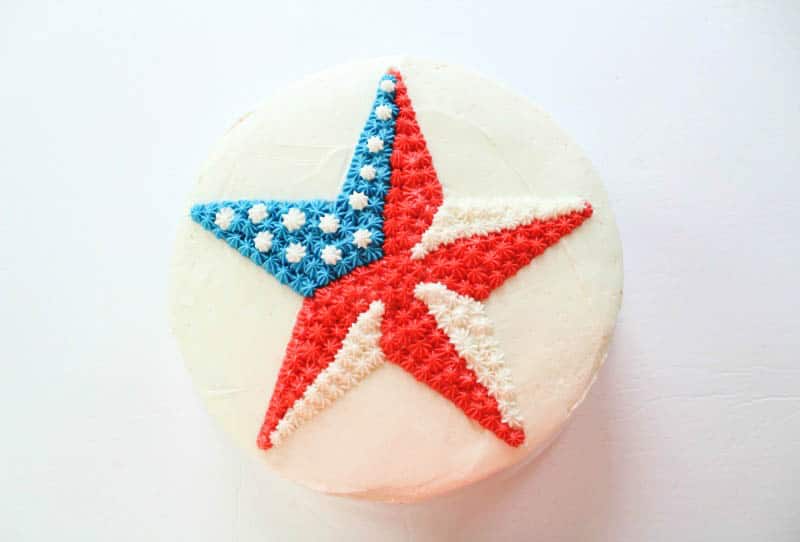
So in this one, I didn’t use the shape to cut out the cake, I just used it as a piping guide for the top of the cake. If you’d like to see what kind of template spans across two pages, here’s the link to the detailed cake tutorial where you can download the actual template: Patriotic Buttercream Star Cake
Templates made from clipart and Google images:
You can do a search online for clipart or search on google images and you’ll find an endless amount of search results. For this one though, we’ve got to be really careful and not use images that are copyrighted. Here’s the deal though, sometimes you’re just looking for a shape or a guideline to print out. Now, I’m not a lawyer or anything, but if I’m just looking for the shape of a pair of sunglasses or the shape of a fidget spinner for example, I feel okay going to google images.
So let’s get to the examples of this.
Summer Cupcakes:
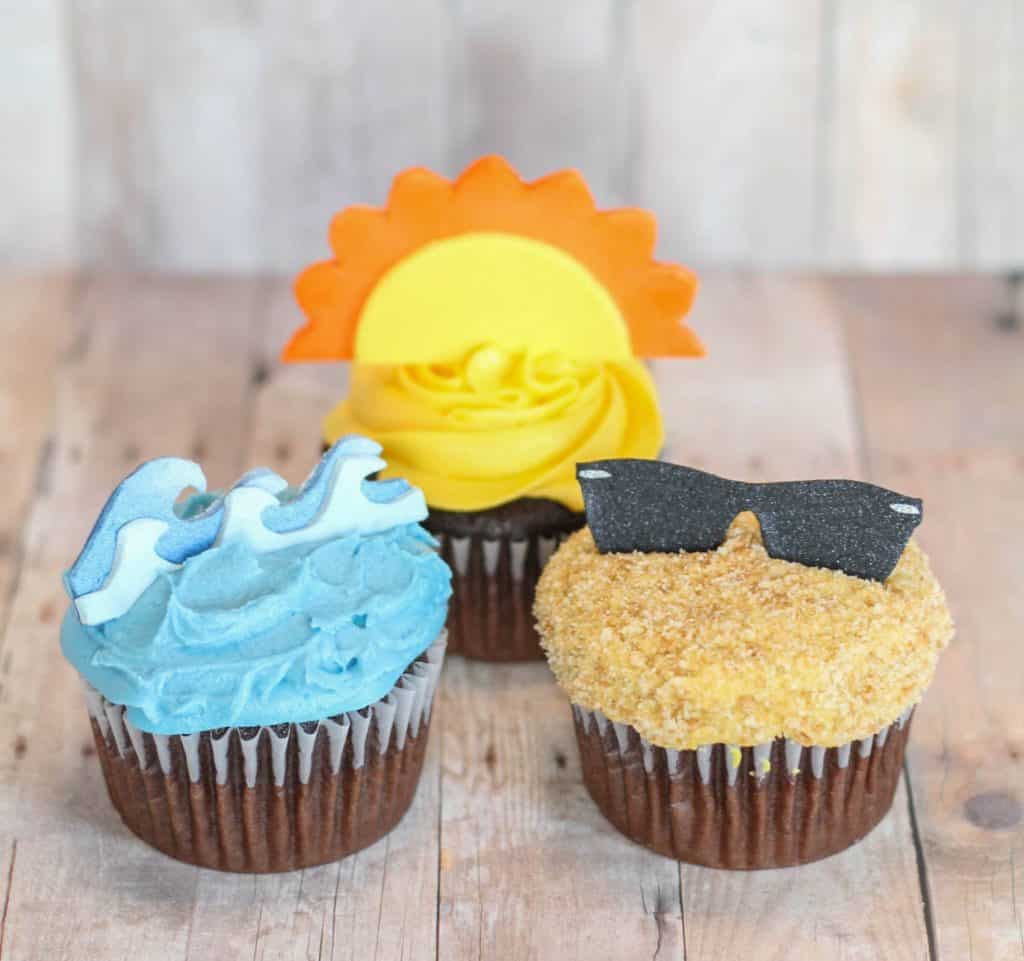
For these, I just went online and looked up clip art for waves and sunglasses. The suns are easy since you can use a round cutter, then cut them in half.
What I do is copy and paste the clipart into my Word program and adjust the size how I’d like it, then print on cardstock.
You can even cut your templates into sections and cut each section out individually like I did for the ocean waves.
To see this detailed tutorial, click here: Summer Cupcakes
Fidget Spinner Cake:
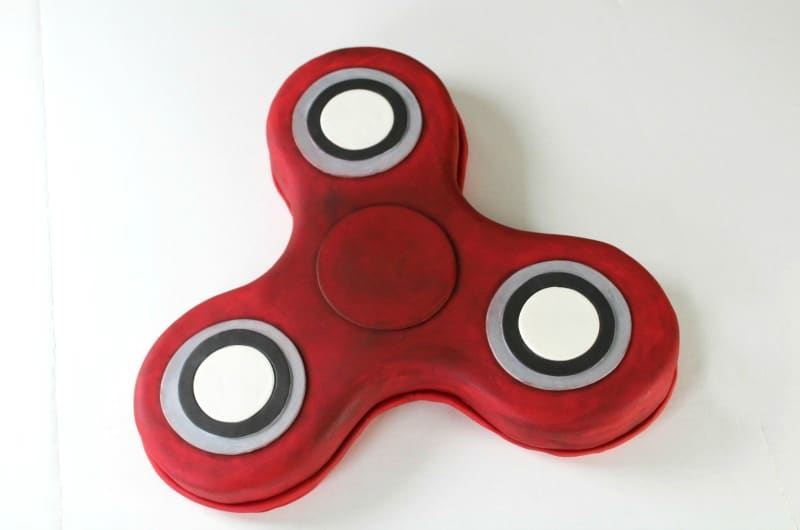
For this one, I just did a google search for a fidget spinner, added it into Power Point, blew it up over the course of a couple slides, printed it out, cut out the shapes and taped them together.
You can always just print out the shape, take it to a copy store and have them blow it up for you. Sometimes I’m just lazy though and don’t want to drive to town to have something blown up. 🙂
I used the template to make the cake board and the shape of the cake. For the cake board, I made the template just a bit larger.
You can see the full tutorial here: Fidget Spinner Cake
Here are some other examples of cakes I did in my ‘pre-blog’ days.
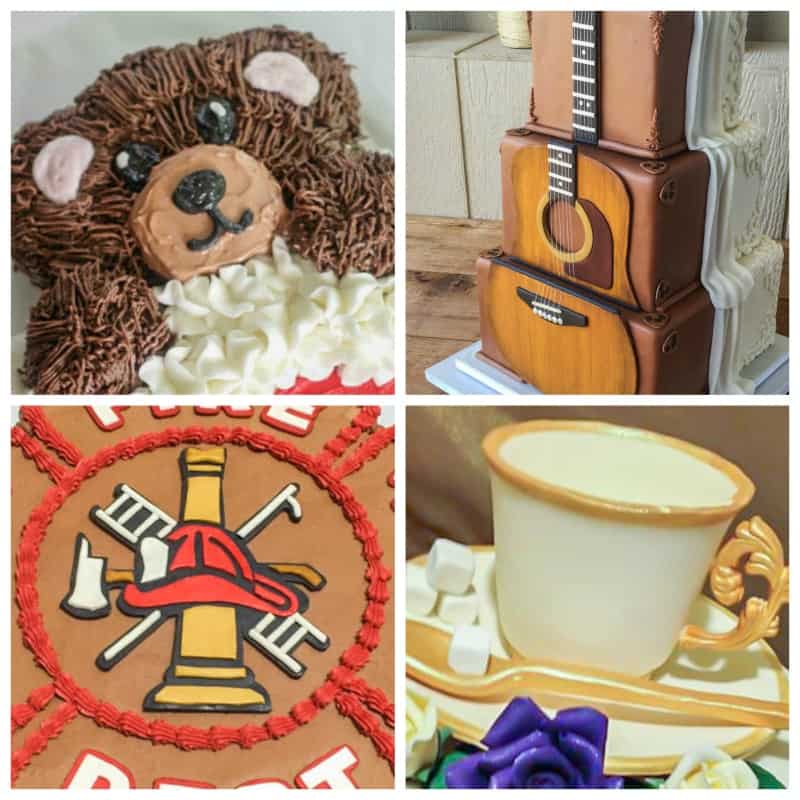
Fireman Crest Cake:
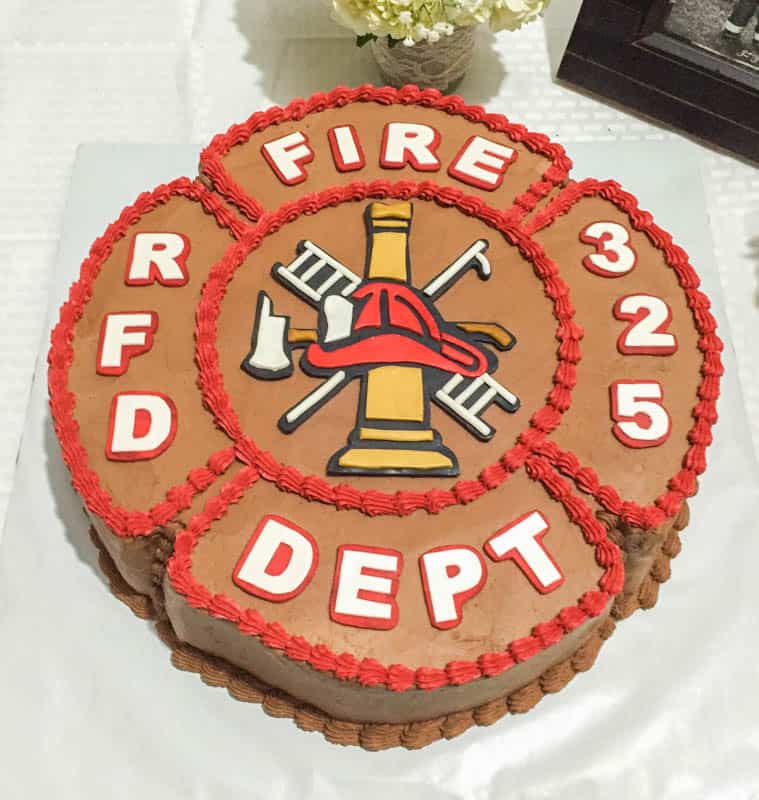
For this one, I used all DIY templates…literally from the shape of the cake to the letters and on to the center image.
For that center image, I printed and then cut out multiples of the same image, then cut out the individual pieces from card stock. That allowed me to cut out the individual pieces from different colors and sort of stack everything together to give it a sort of 2D effect.
Two sided guitar cake:
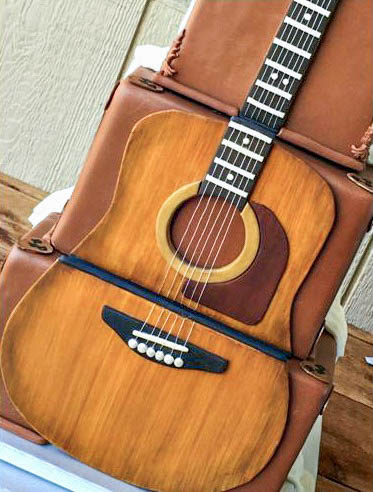
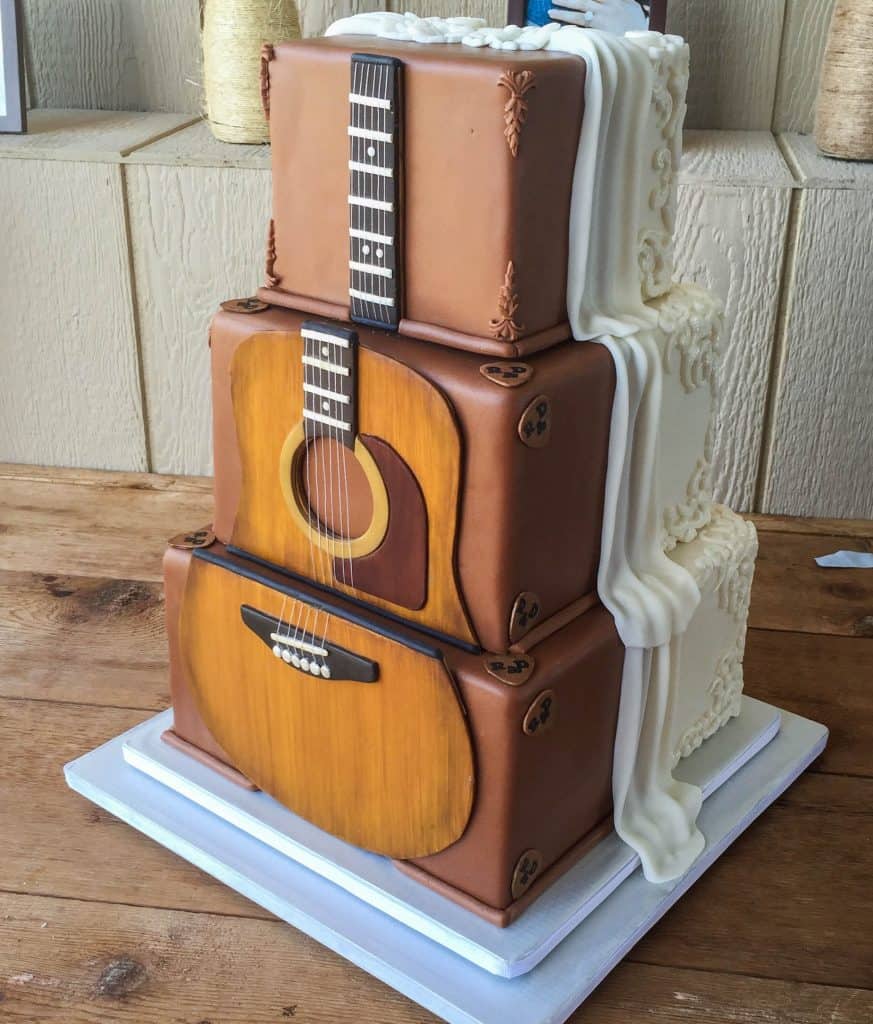
This one is one of my absolute favorites. It was a two sided wedding cake. Once side was white with scroll work and wafer paper flowers and the other side was, as you can see, a large guitar spanning all three tiers.
I received a picture of the groom’s guitar by the bride and I also asked for the make and model. I went online and found a ‘face on’ picture of the exact guitar, copy and pasted into PowerPoint and then pieced together from there. I made one large template and then cut it into three sections…one for each tier. It’s good to estimate the size of each tier, so you know how big to cut each section.
I then used that as a template when cutting out the gumpaste.
Templates from Coloring Book Pages:
Using coloring book pages is such an easy and quick way to decorate cakes. There are tons of options here especially for kids’ birthday cakes. Really the options are endless from princess cakes to farm animals etc.
Here’s an example of a Christmas cake I did using a coloring page as a template:
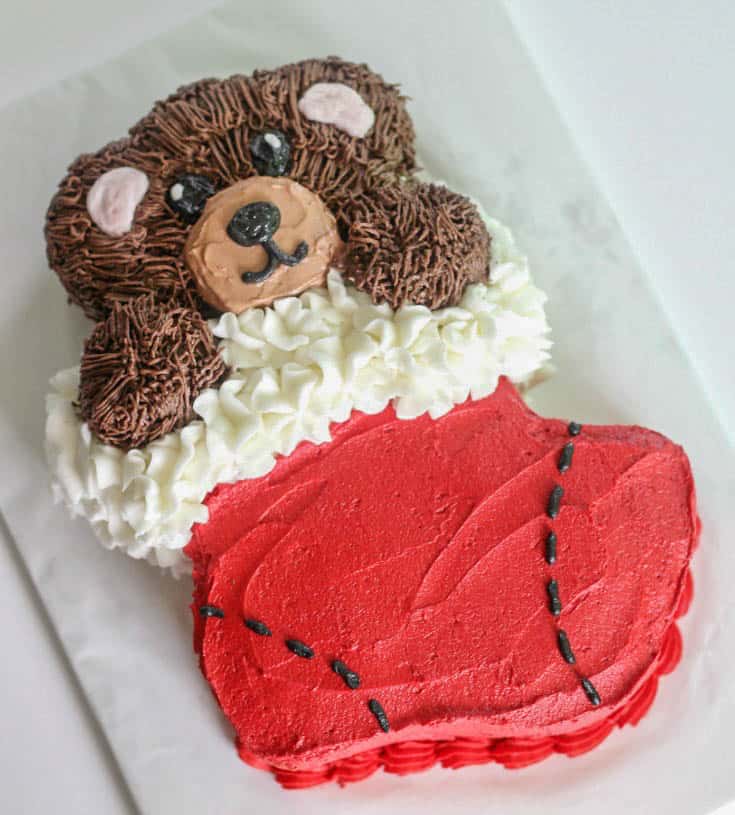
You can use the shape of the picture to cut out the shape of your cake, like I did for the cake above, or you can just cut around the shape on the page and use it as a guide for piping.
You can find the detailed post for the Teddy Bear cake above here: Christmas Buttercream Cake
Templates from Real Life Objects:
My final tip for you is to use real objects. My example for this is my teacup cake. Now, don’t judge my photo here…this cake was made before my blogging days and when I was using an old iphone to take pictures.
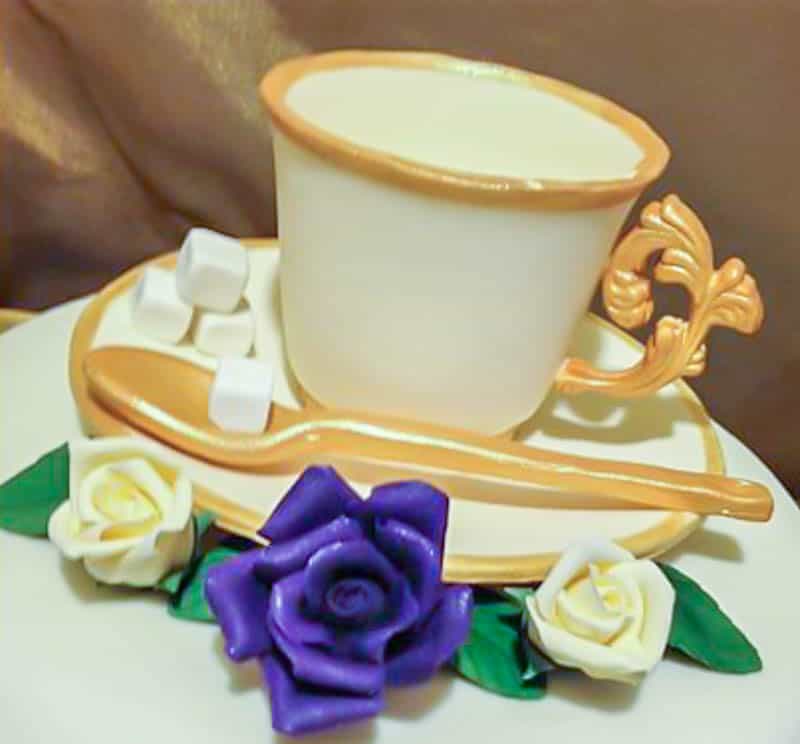
For this one, I needed to make an actual teacup out of gumpaste, so I used a real teacup and saucer as a template. I just placed gumpaste into the teacup itself and molded it around the inside.
For the saucer, I added gumpaste to the top of the saucer, shaped it and cut around the edges. I was also careful to sprinkle cornstarch all over the inside of the real teacup and the saucer, to keep the gumpaste from sticking to it.
Alright, there you have it! Lots of ideas for making your own templates for cake decorating! Now I’m sure there are many more ways to use DIY templates, but these will get you started. Use them as a jumping off point and let your imagination go crazy! 🙂
Don’t Forget to Pin it for Later!

Leave a Reply