
You know those cute little fabric flowers with the buttons in the middle? People put them in little girls’ hair, they wear them on hats and clothing and use them for various crafts. So, I figured, why not put them on a cake!
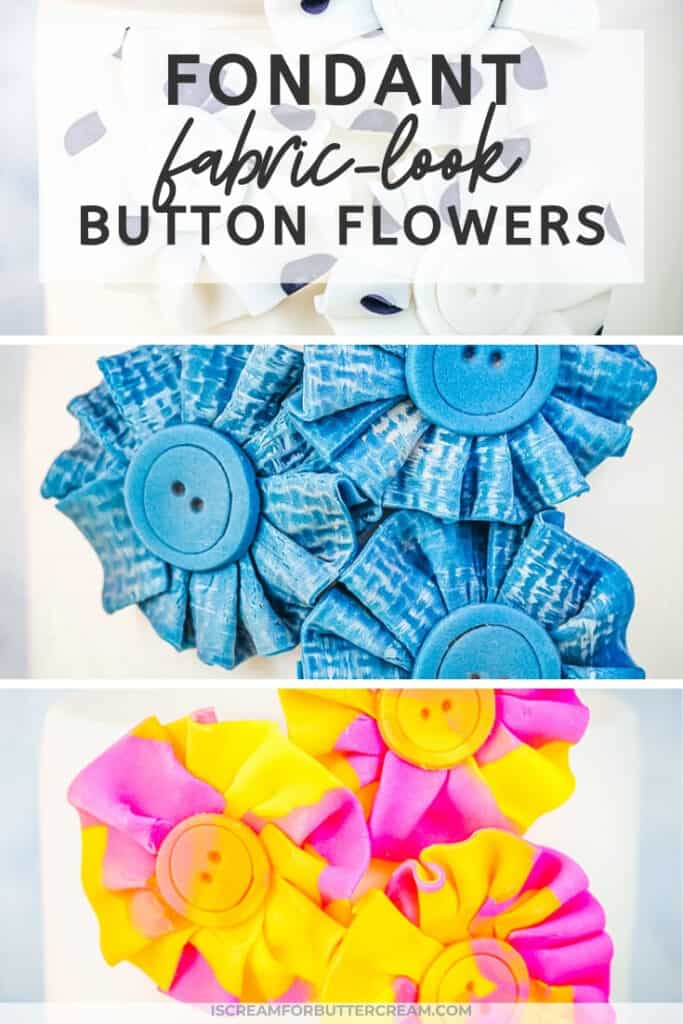
It’s not hard to put these fondant fabric-look flowers together and they really make your cake look super cute.
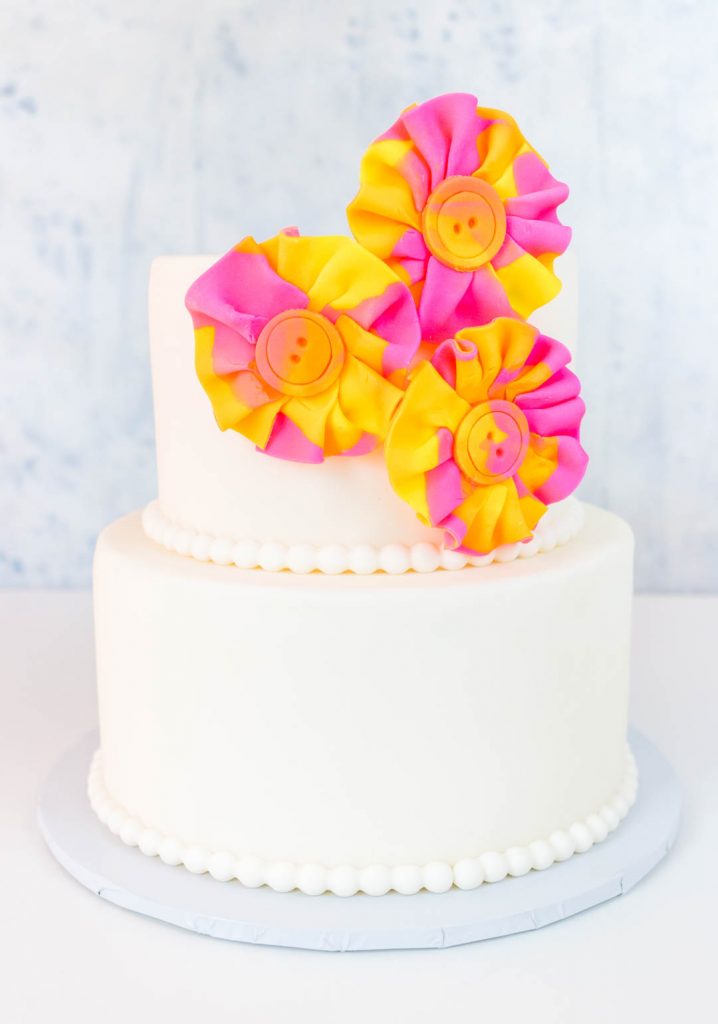
I was having so much fun with these, that I decided to do three different designs.

Now, these fondant fabric-look flowers are best used on fondant covered cakes because they’re a little too heavy to go on a buttercream cake.
But, if you really want to use them on a buttercream cake, you could attach some cake pop sticks to the back of each flower with a bit of melted candy melts, let it firm up and then insert them into the top of your cake. That’s an option for you.
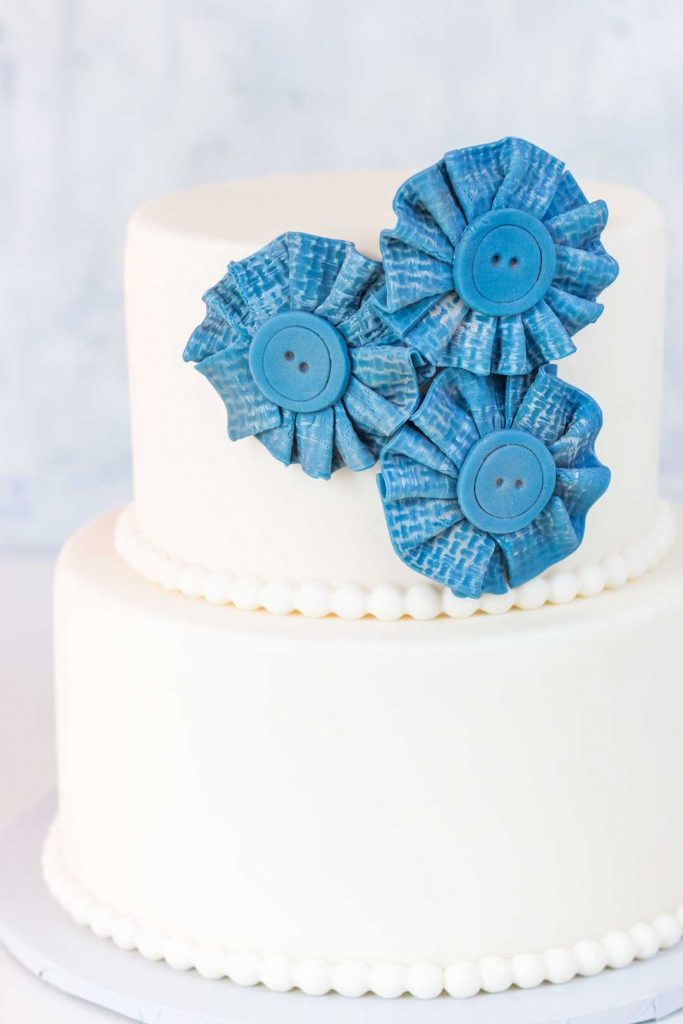
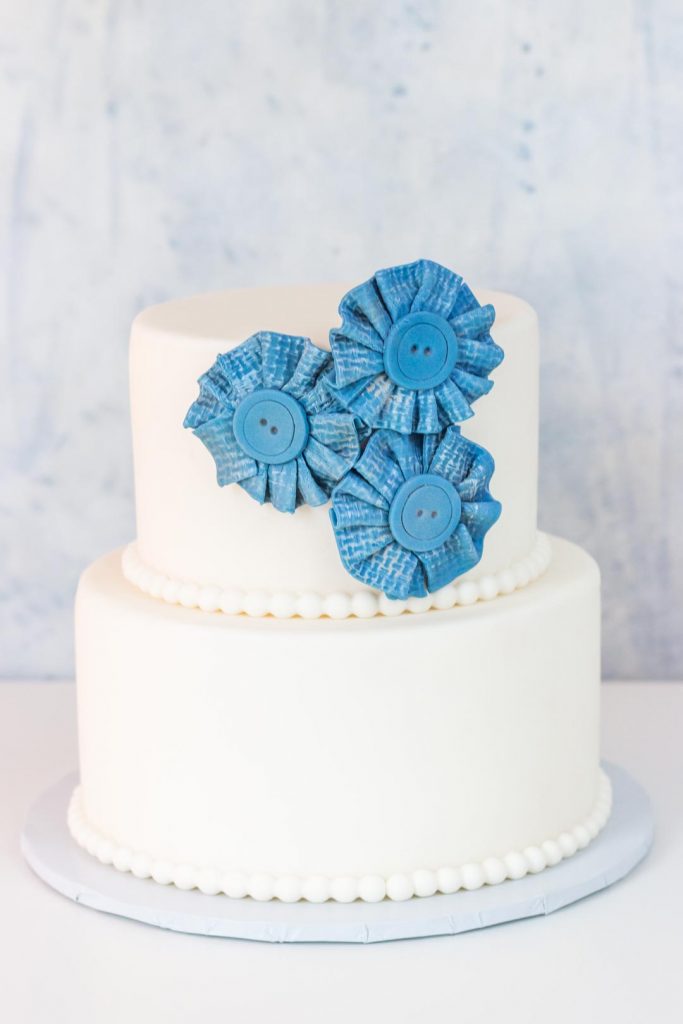
There’s the blue jean fabric-look flower:
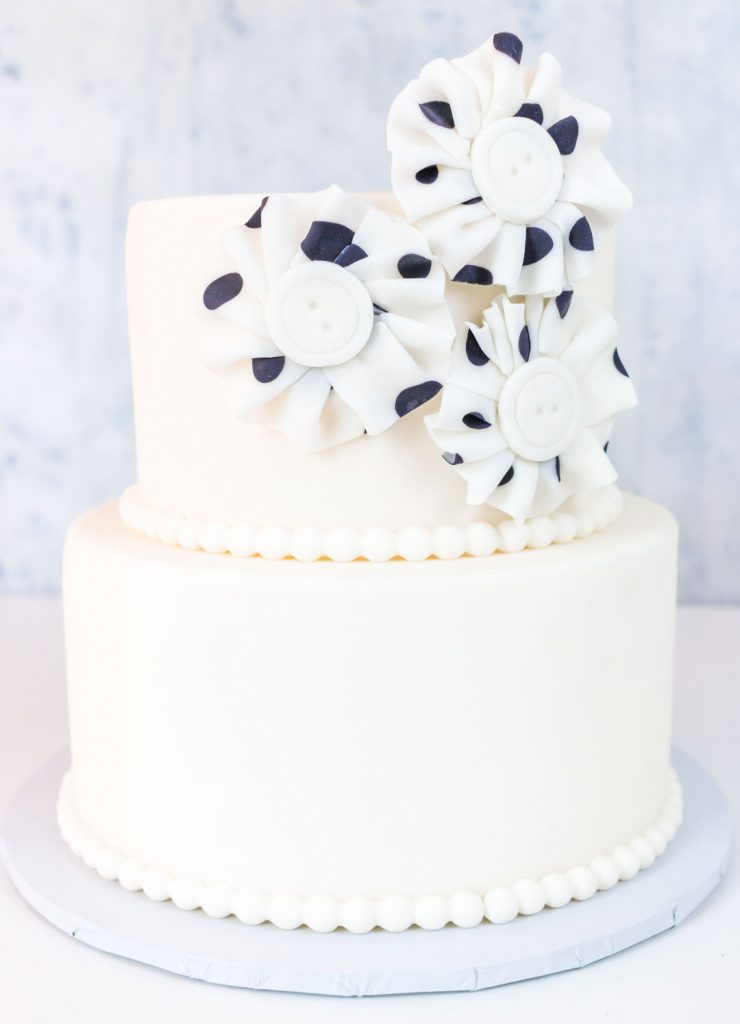
The polka-dot fabric-look flower:

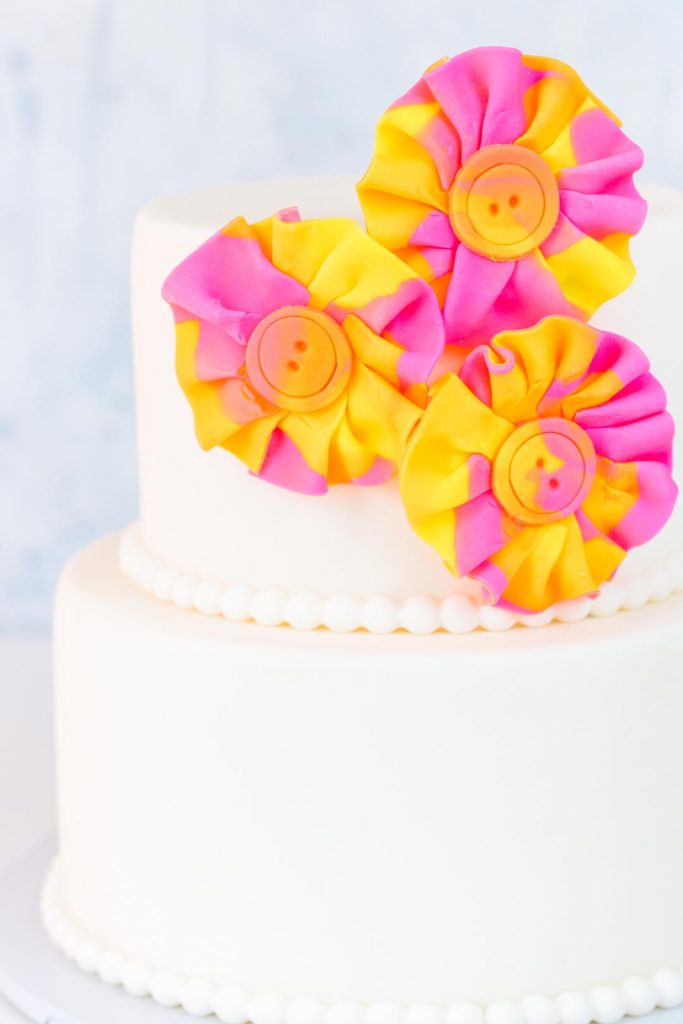
And the watercolor fabric-look flower:
The great thing about these is that you’ve got so many options. You can truly customize these for any color scheme. There are just so many possibilities.
Ok, so let’s get on to the tutorial!
How to Make the Fondant Fabric-Look Flowers:
I’ve put together some screenshots of the process of making each one. If you scroll toward the bottom of the post, there’s also a video that will show you how to make each one as well.
As an Amazon Associate, I earn from qualifying purchases.
Supplies Needed for this Tutorial:
- Fondant ( I used about a fist full of fondant for three flowers)
- Gel coloring (Blue mixed with Black for the Blue Jean, Black for the polka dots, Yellow and Hot Pink for the watercolor)
- Circle Cutters (For the flower base and for the buttons) (I used 1 ¾″, 1″ and ¾″ round cutters)
- Mini Fondant Roller
- Mini Pizza Cutter (for cutting your fondant into strips)
- Fabric Texture Mat (make sure to check the one for ‘weave’ if you get it from this link) (for the blue jean flower)
- White Petal Dust (for the blue jean flower)
- Lemon Extract (for the blue jean flower)
- Cocoa Powder (for the blue jean flower)
- Paint brushes (for the blue jean flower & for adding water to assemble the flower)
- White Candy Melts (for attaching the flowers to your cakes)
- And obviously you’ll need a good cake recipe and these are my favorites from the blog: Favorite Vanilla Bean Cake, Moist White Cake, Chocolate Butter Cake
The Blue Jean Flower:
The first thing you want to do is color you fondant. I just used a regular blue color gel color and added a bit of black in (a small amount at a time) until I got that blue jean color.
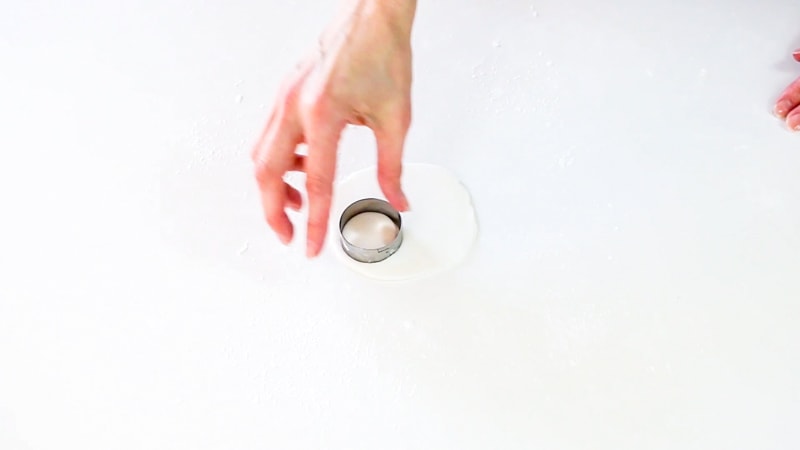
Once you get the coloring right, you’ll want to first make your flower bases. Just roll it out using a small fondant roller, but roll it on the thick side. Now use the largest circle cutter (the 1 ¾″ round cutter) to cut out several bases. I always like to make extra as backups. Set these aside and work on your fabric strips.
Next, roll out your fondant pretty thin to make the fabric strips.
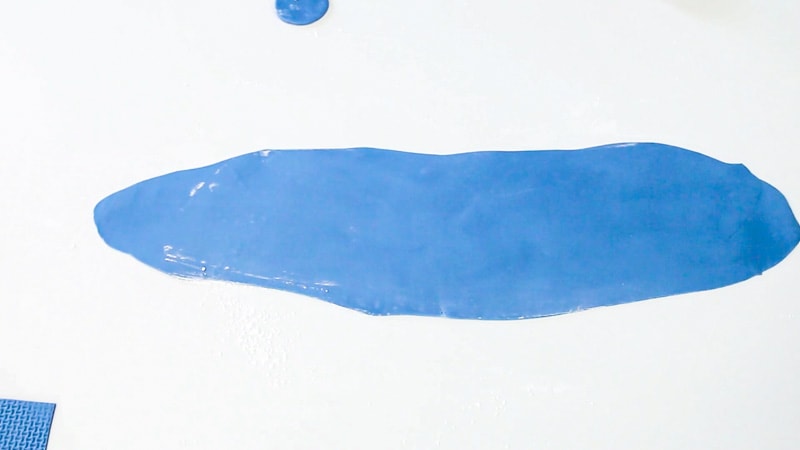
Now cut your fondant into a long rectangle.
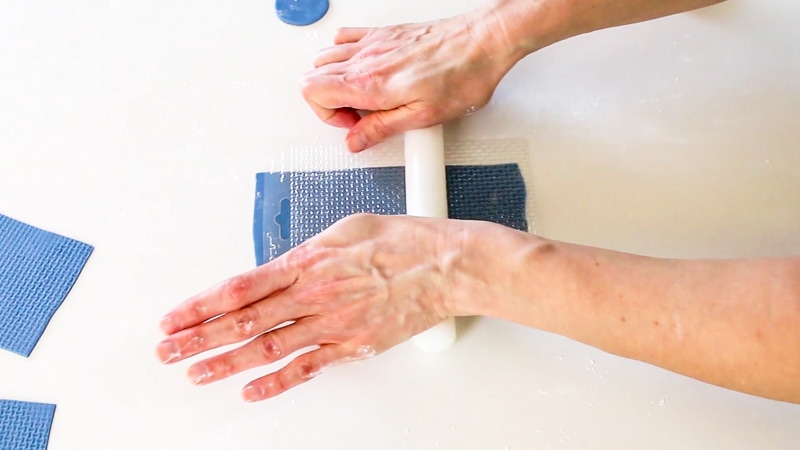
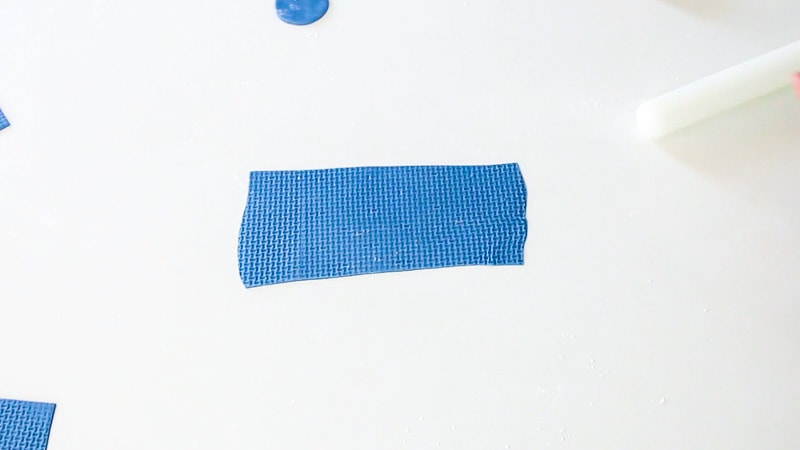
Use your texture mat to imprint the texture onto the fondant. This will give it the texture of blue jeans.
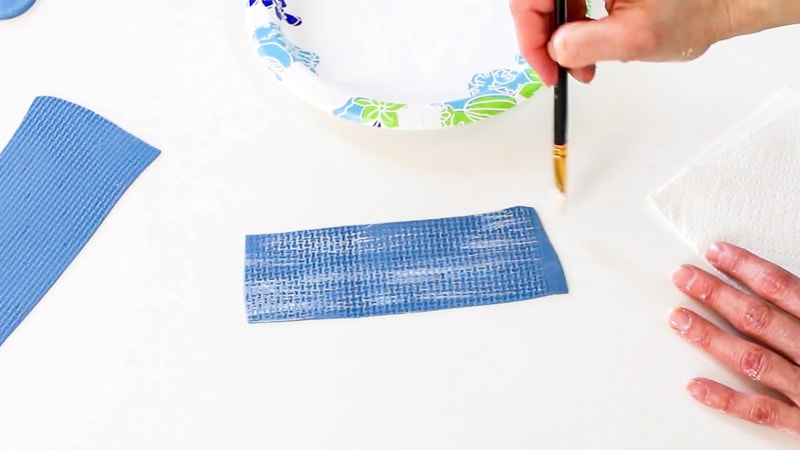
Take your white petal dust and mix in a bit of lemon extract.
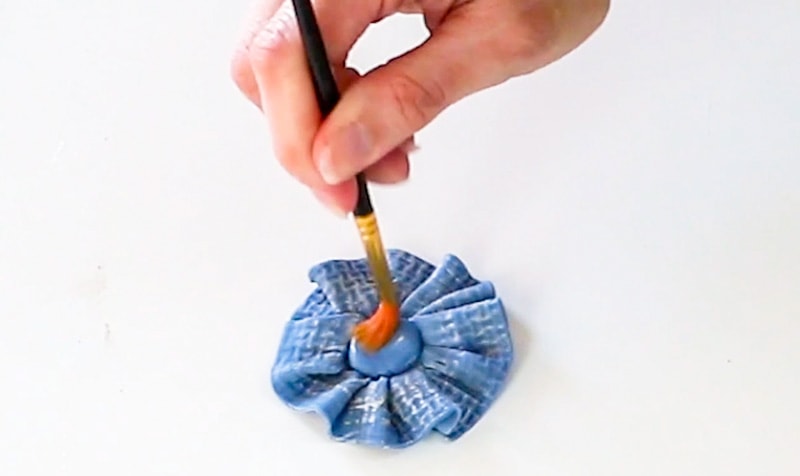
Dip your paint brush into it, but then wipe off most on a paper towel. You want to just dry brush it onto the blue fondant.
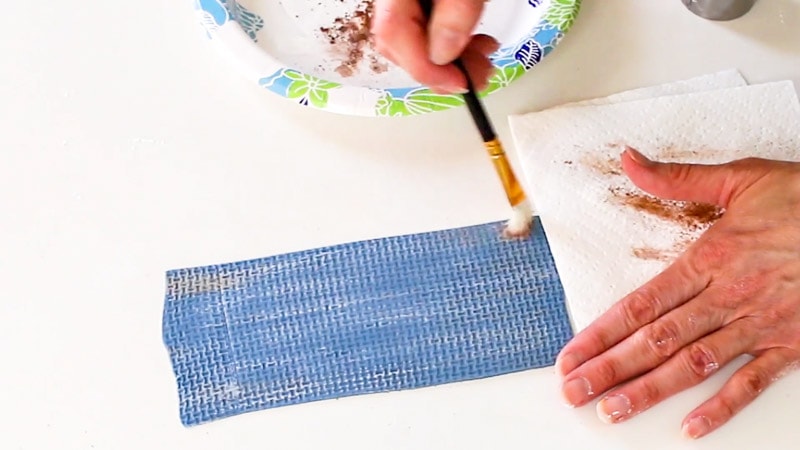
Now you’re going to add in a bit of brown to your blue jean fondant to give it a little variation. I just use dry cocoa powder for this. Just brush it on lightly to random areas.
Now cut the fondant into strips. I cut strips about an inch wide. I just eye-balled it.
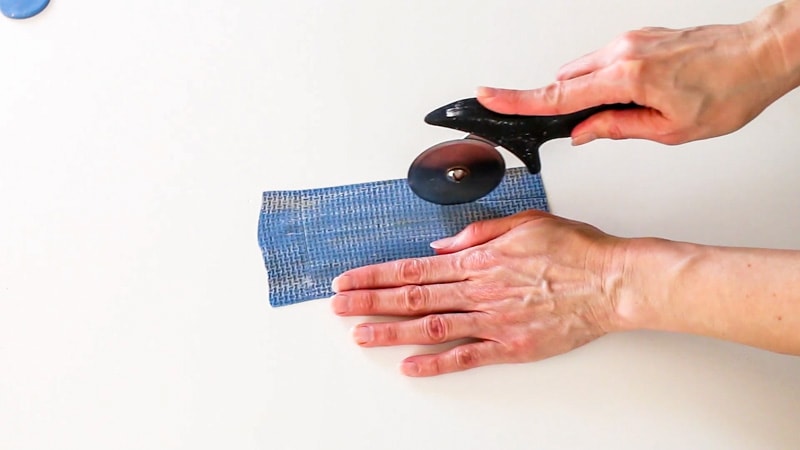
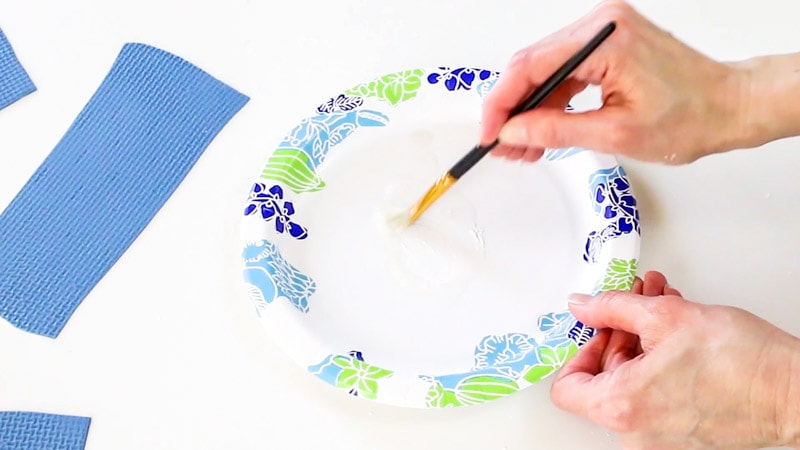
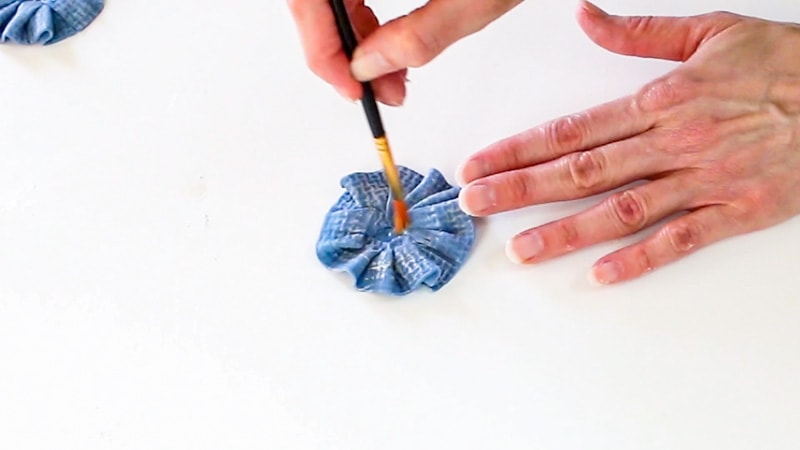
Now take your circle bases you cut out earlier and add a bit of water to them with a brush. Take your fondant strips and attach them around the base. Just kind of fold the strip as you go.
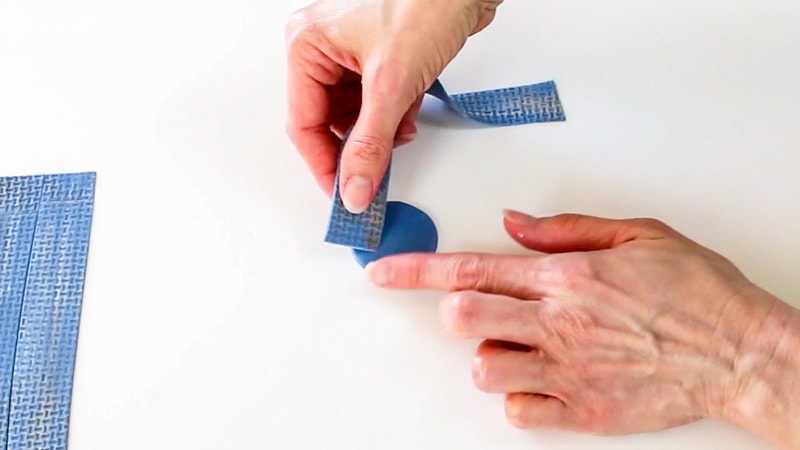
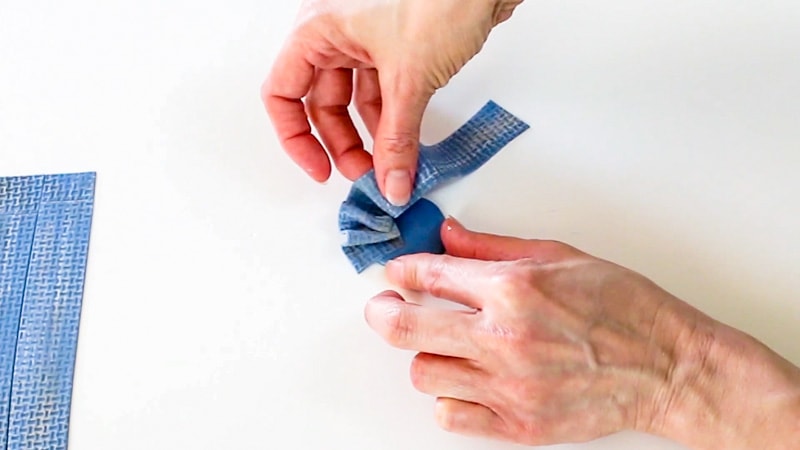
You’ll need to keep adding strips until the ruffles go all the way around. I used two strips.

When you get to the end, just take some scissors and cut it.
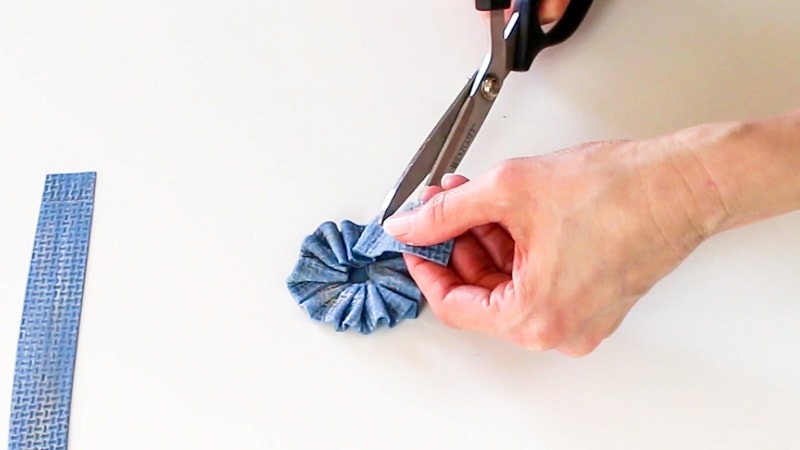
Ok, set that to the side and we’ll make the buttons.
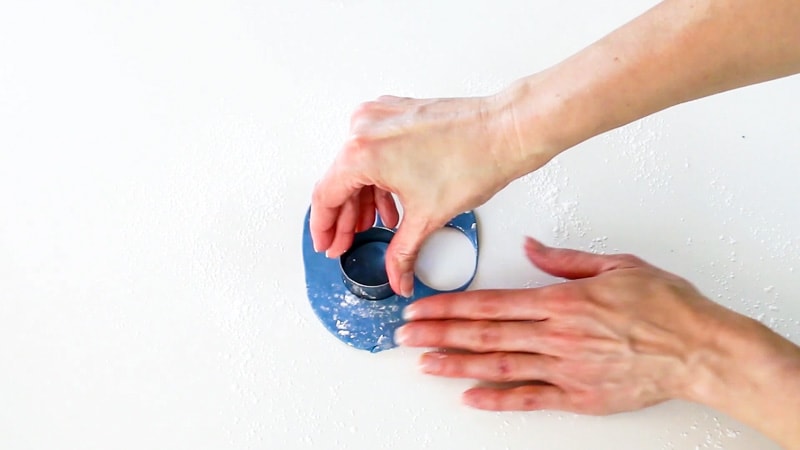
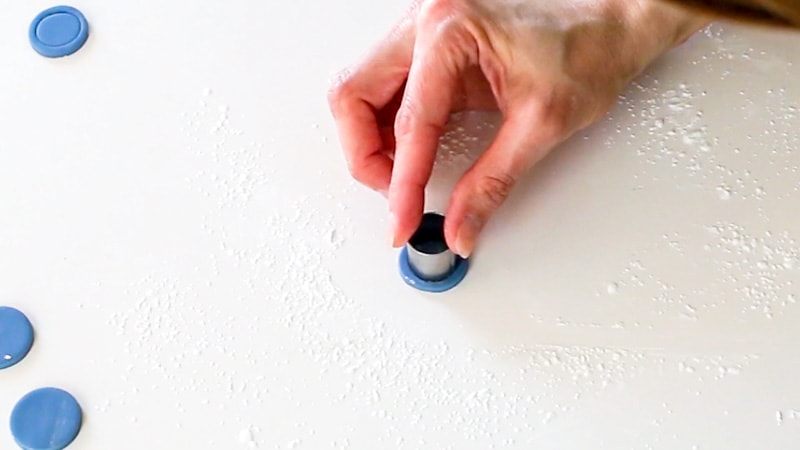
Roll out more fondant, on the thick side and use the second size of round cutters (the 1″ size) and cut out the buttons.
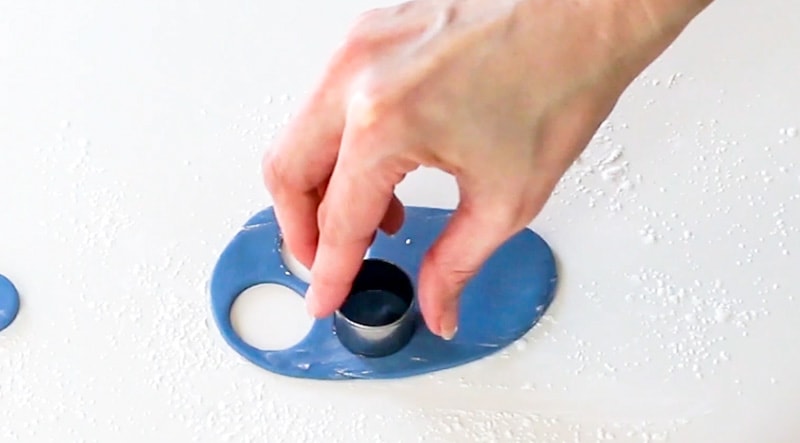
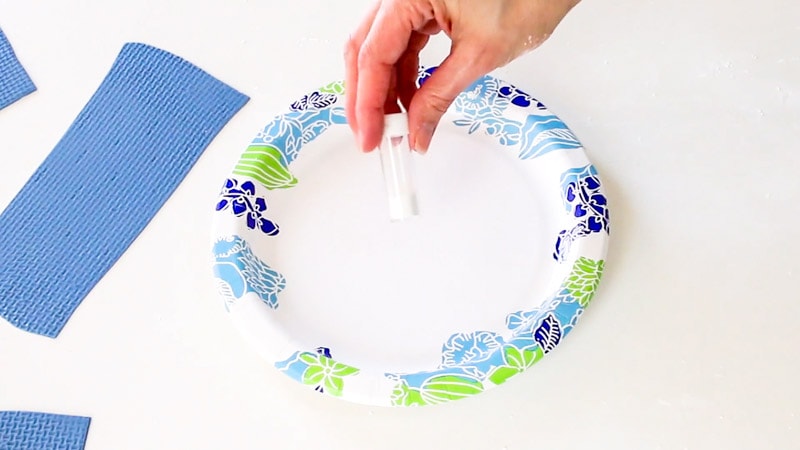
Now take your smallest circle cutter (the ¾″ one) and just press down to make an indention. Don’t press all the way down, just make an impression.
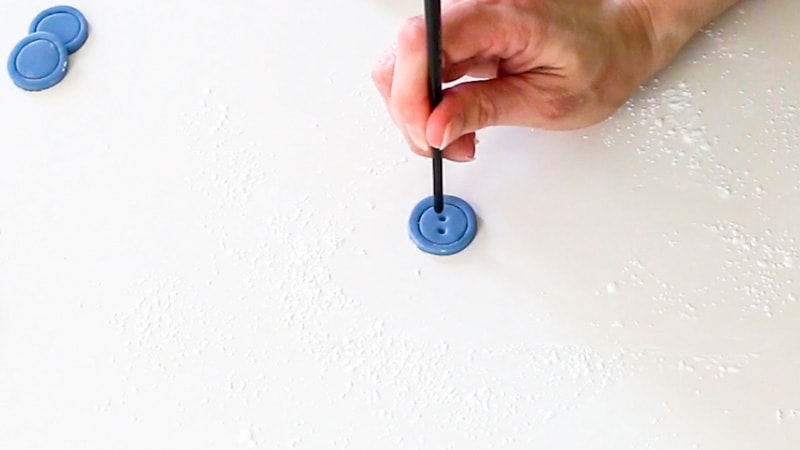
Now use the back of your paint brush and imprint two little thread holes. Don’t press all the way through the fondant though.
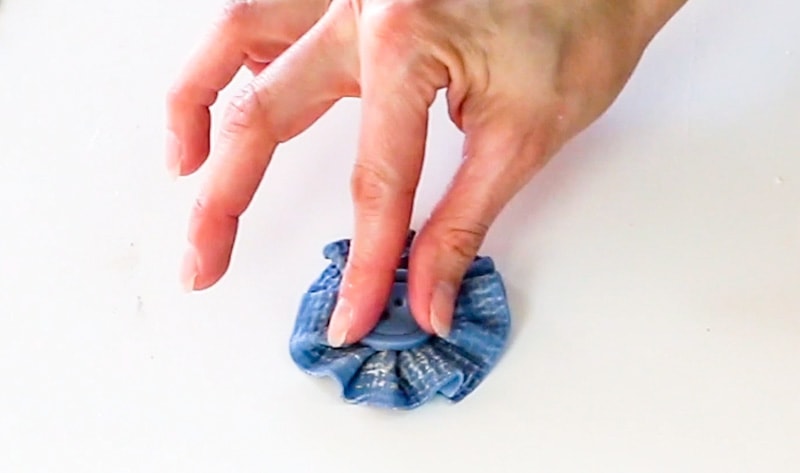
Alright, now we’ll add the buttons, but before you do that, add in a small flattened ball of fondant. We’re doing this because we need to lift up the middle a bit, so the middle of the button doesn’t sink down.
Add a tiny bit of water to the middle…
And then attach the flattened ball of fondant.

Now just add some water to the middle again.
And attach the fondant button.
Ok, now you’ve got some cute blue jean fondant fabric-look flowers! To attach them to the cake, just melt a bit of candy melts, add to the back of the flowers and stick them to your fondant covered cake. You’ll need to hold them there for a minute, so the candy can firm up.
Yes, these are a little too heavy to add to a buttercream cake. You could attach a cake pop stick to the back with melted candy melts and stick them into a buttercream cake if you wanted to though.
The Polka Dot Flower:
Ok, you’ll make this one the same as the blue jean flower. Roll out fondant to make the bases. You’ll use the larger of the circle cutters…the 1 ¾″ cutter.
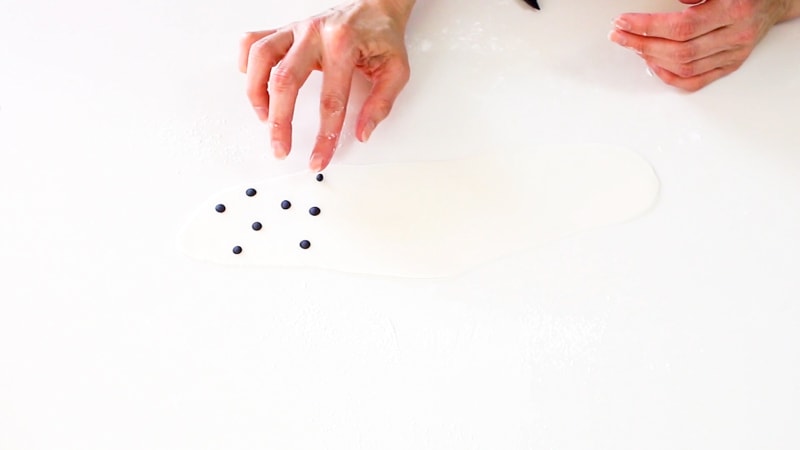
Once you’ve got several bases cut out, then roll out a longer strip of white fondant. (Now you can use any colors here, but I just chose black and white.)
Once you roll out a longer piece of fondant, roll tiny balls of black fondant and then push them gently into the white fondant. Just gently push them into the fondant for now, you’ll roll them in a bit.
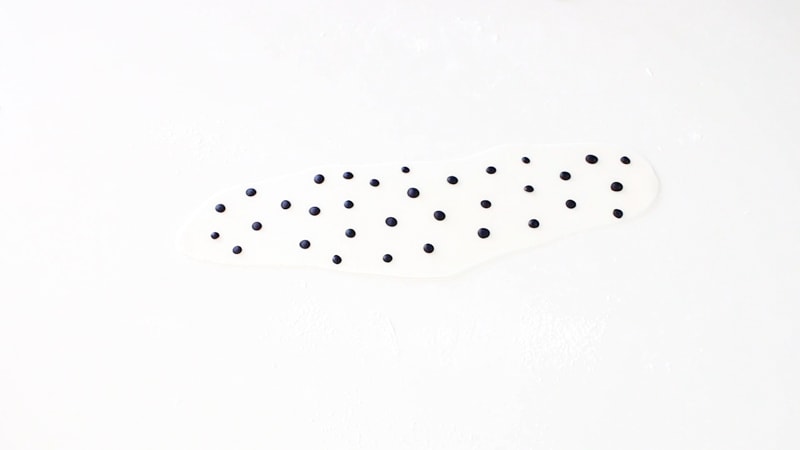
Now take your mini fondant roller and roll in one direction, then in another. You don’t want to press down super hard here and you want to make sure that if you roll it one way, that you then roll it the other way. This helps to keep the polka dots in a circle shape instead of them elongating too much. (The video shows this part better.)
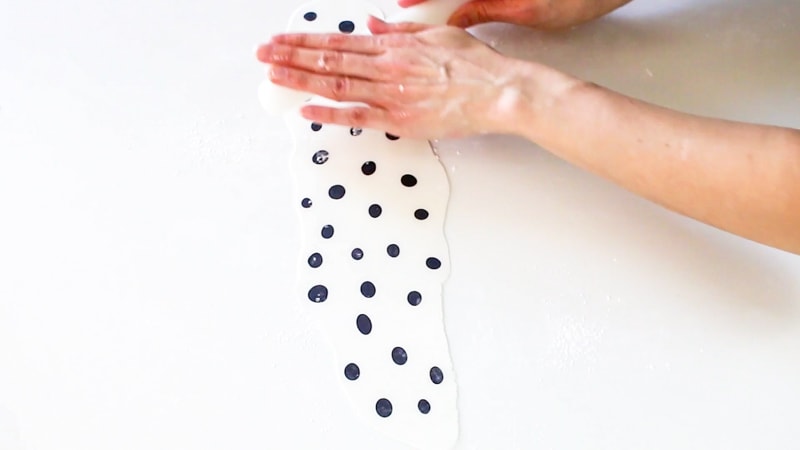
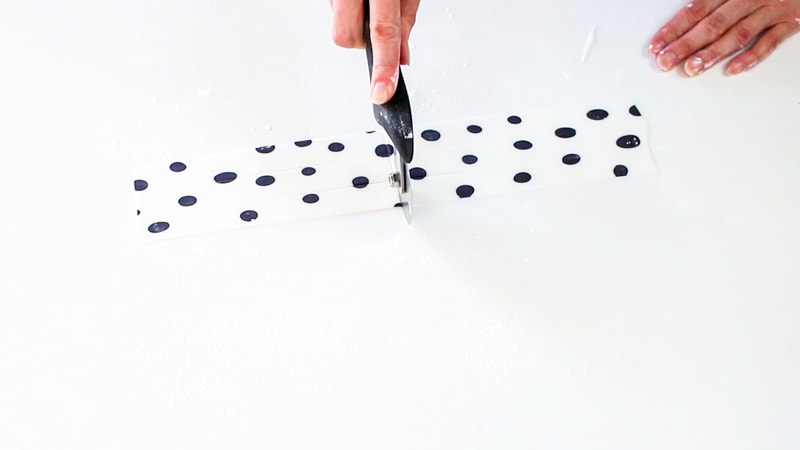
Now just cut it into strips. I cut my strips about an inch wide.
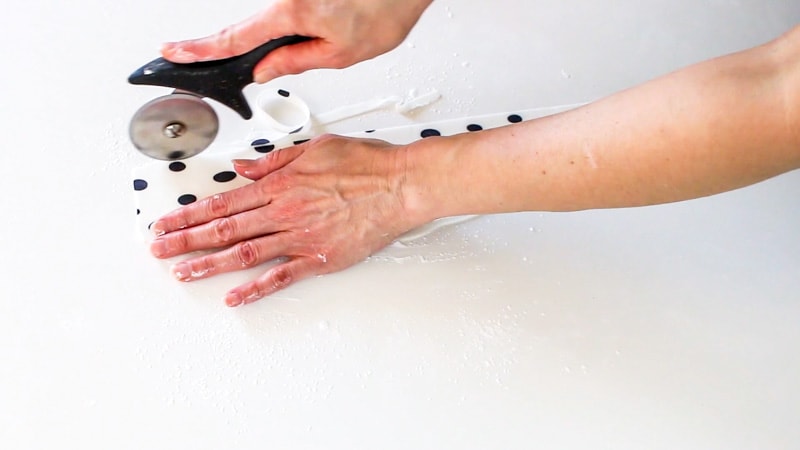
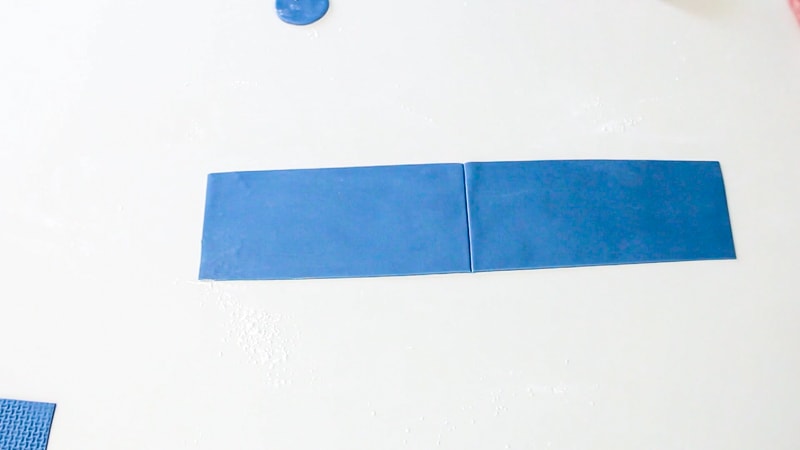
Then just cut the whole thing in half if it’s a little long. This just makes the strips easier to work with.
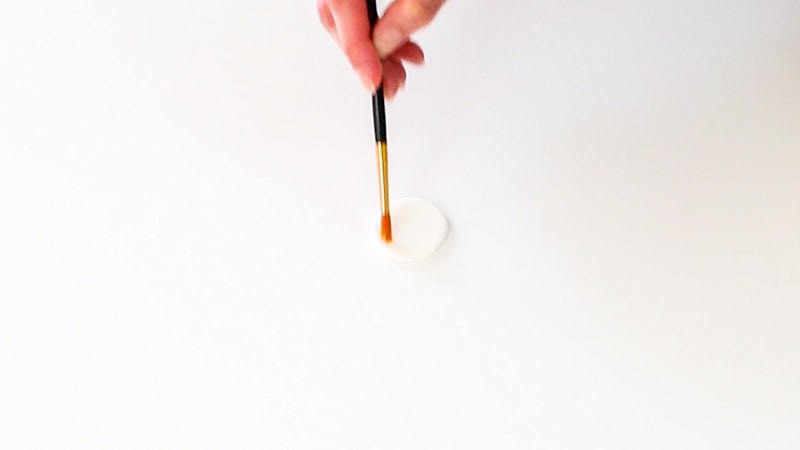
Now just add a bit of water to your flower base you made earlier.
Add the strips to the base. Just make sure to ruffle them as you add.
Once you’ve got ruffles all the way around the base, set it aside while you work on the button.
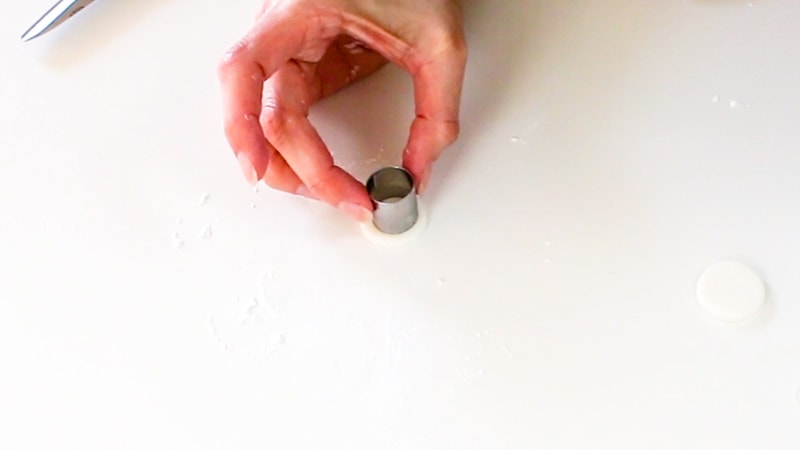
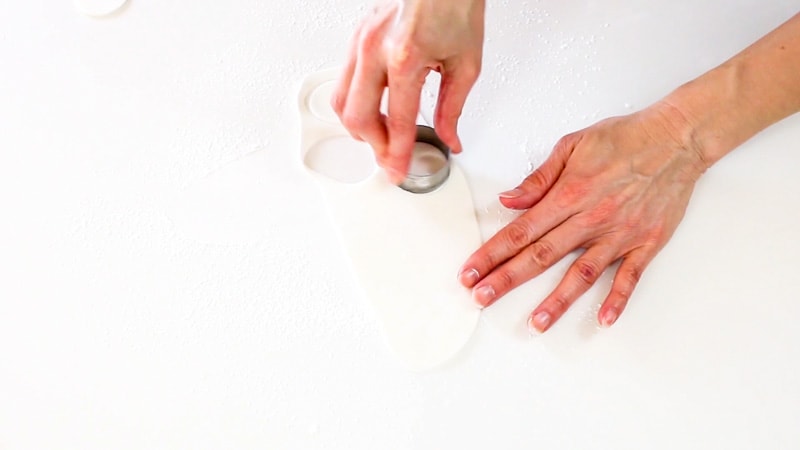
Roll out some white fondant on the thick side and cut out circles with the medium circle cutter (the 1″ size).
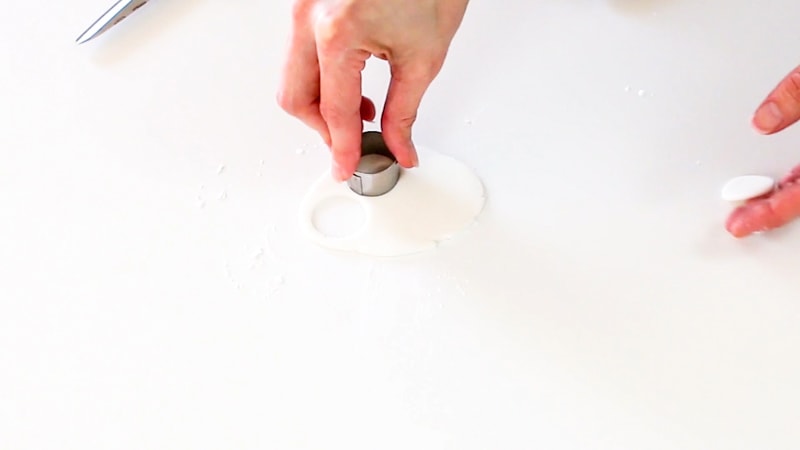
Take the smallest circle cutter (the ¾″ size) and imprint it into the circle you just cut out. You just want a ridge around it.
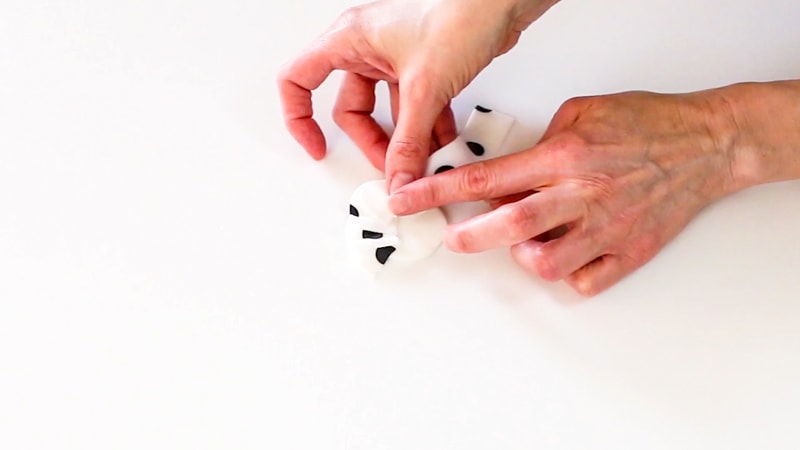
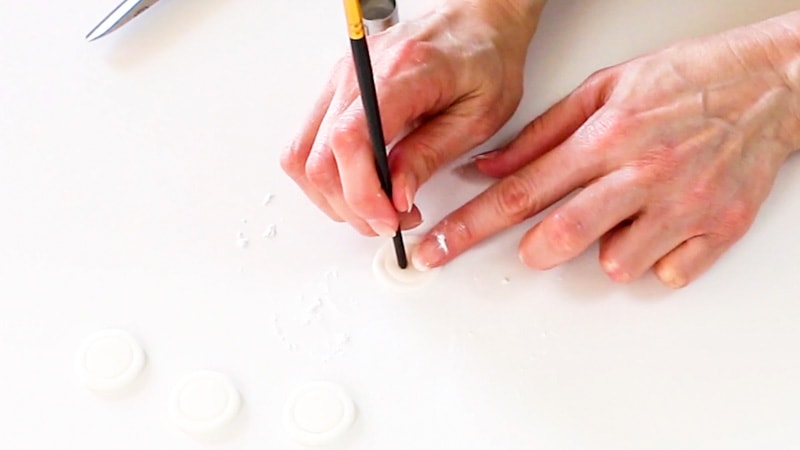
Now use the back of your paintbrush and add in two button holes.
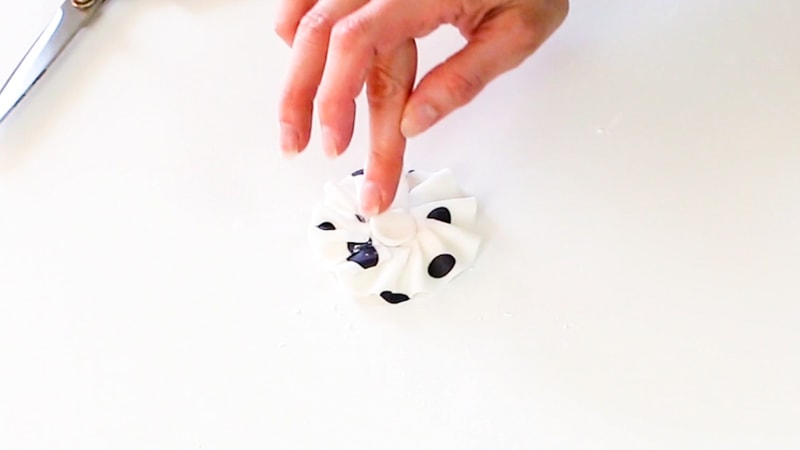
Ok, now you’ll want to take a small piece of your white fondant and roll it into a ball. Add a tiny bit of water to the middle of your flower and add that piece of fondant, flattening it out a bit. This piece is to lift up the middle of the flower, so that when you attach your button, it won’t sink in the middle.
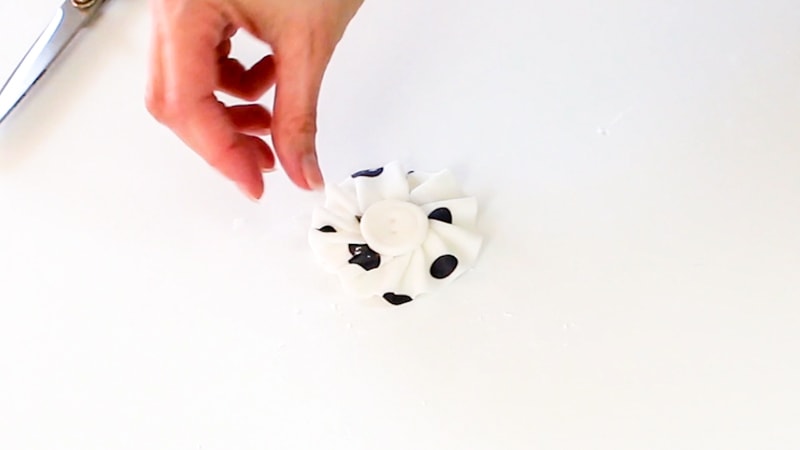
Now, just add a bit of water on top of that and add your button.
To attach them to the cake, just melt a bit of candy melts, add to the back of the flowers and stick them to your fondant covered cake.
The Watercolor Flower:
This one comes together the same as the others, but there’s a bit of a difference in how you roll the fondant.
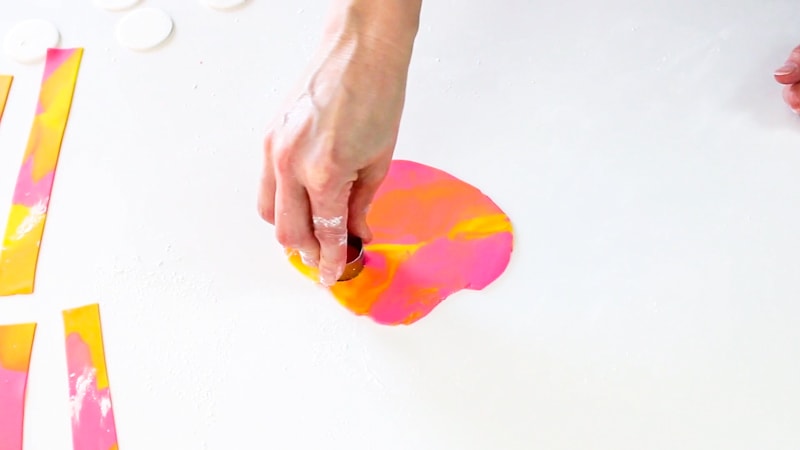
First you want to roll out some fondant to make the bases for the flowers. Just roll it out on the medium side and cut with the larger circle cutter (the 1 ¾″ cutter).
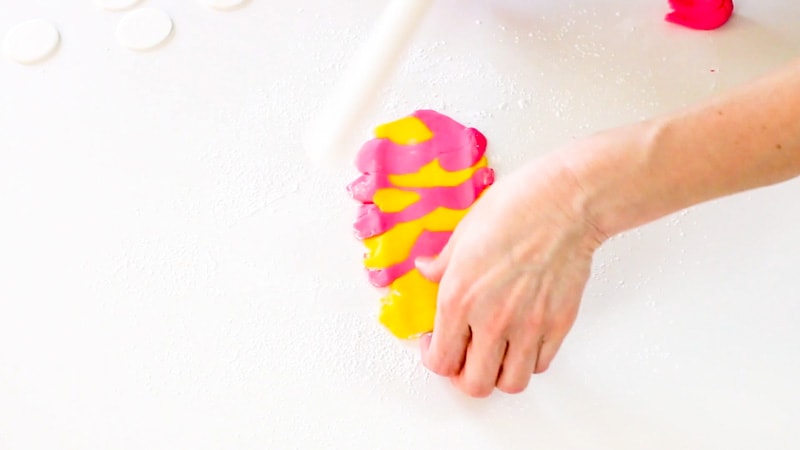
Now you’ll need to choose two colors (or three if you want) and just pull off bits and pieces of each color and smash them into each other just a bit. (Don’t worry, you’ll roll it all out in a bit.) You’ll want to add your pieces of fondant in the shape of a rough rectangle.
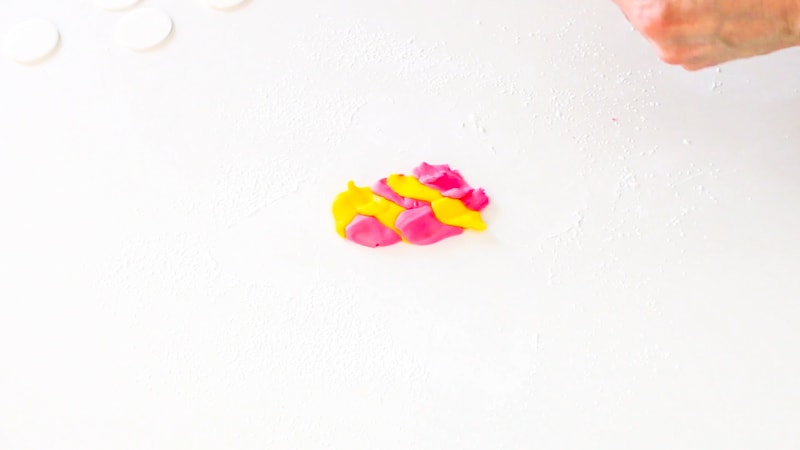
Smash it all down just a bit.
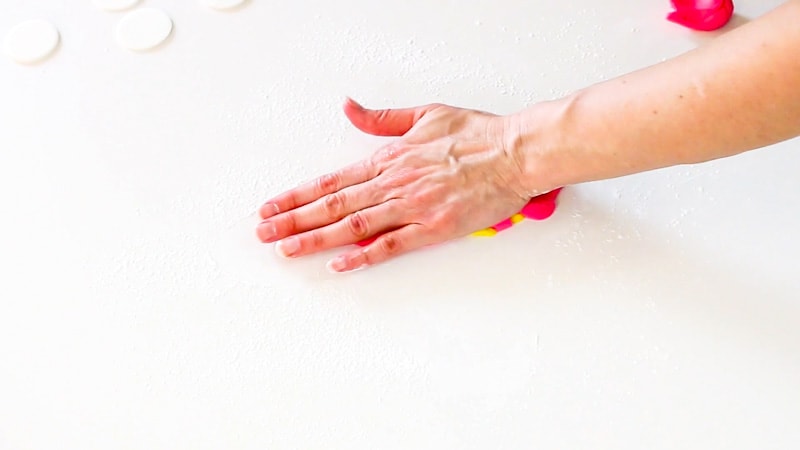
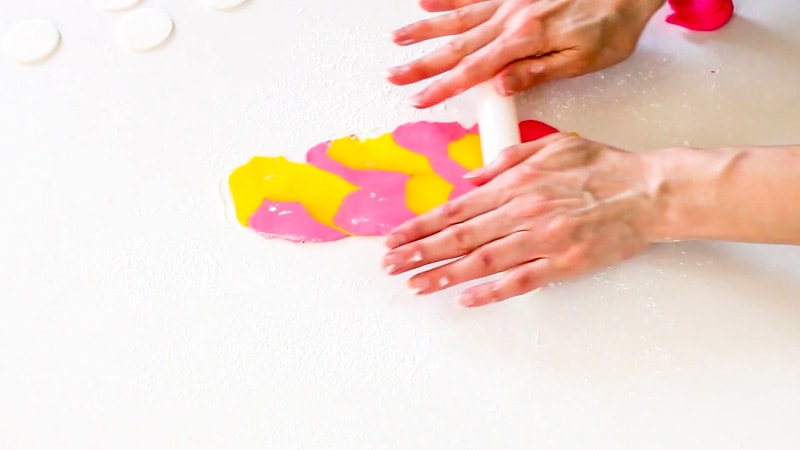
Then start rolling it out. Roll it one way a bit, then turn and roll the other way. (The video shows this better.)
The colors will meld together and form newer colors.
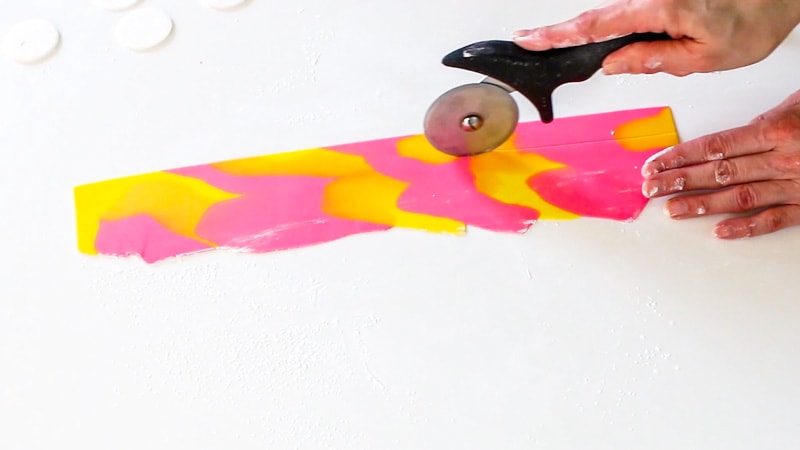
Cut it into strips.
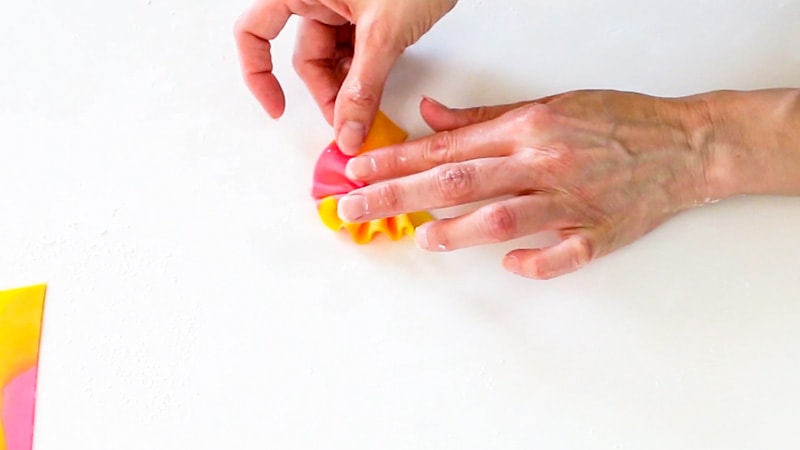
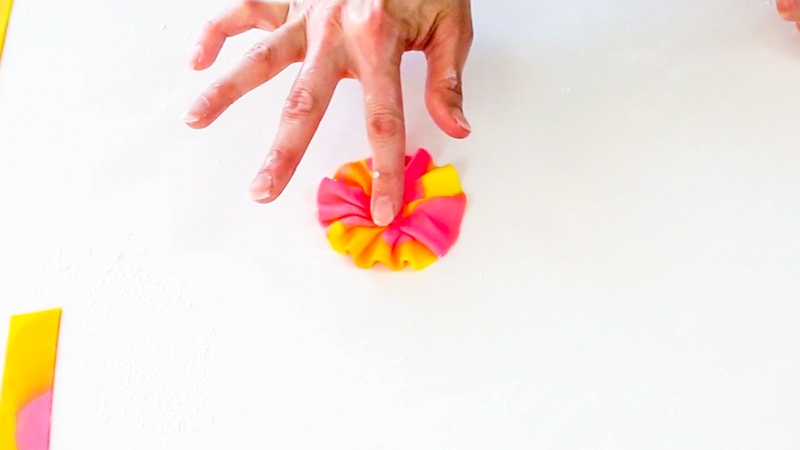
Add some water onto your bases and attach the strips of fondant. Make sure to ruffle them as you attach.
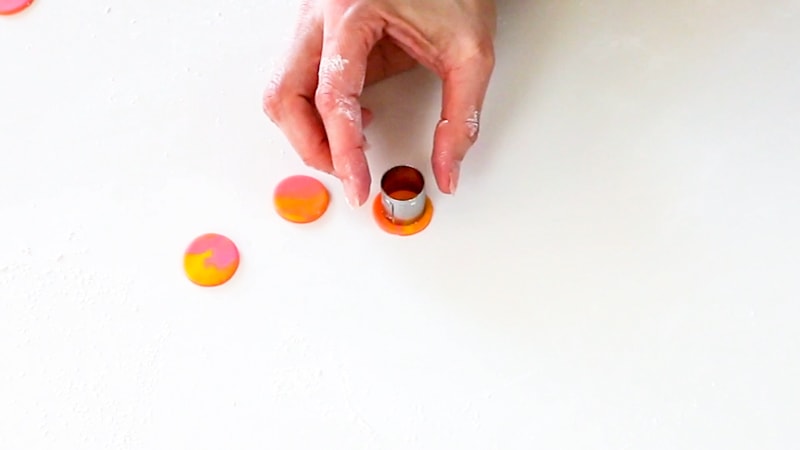
Take some of the left over fondant, roll it out on the thick side and then cut out circles for the buttons (use the medium 1″ cutter).
Now use the smaller circle cutter and press down on the buttons to make a ring just inside the button.
Add in button holes with the back of your paint brush.
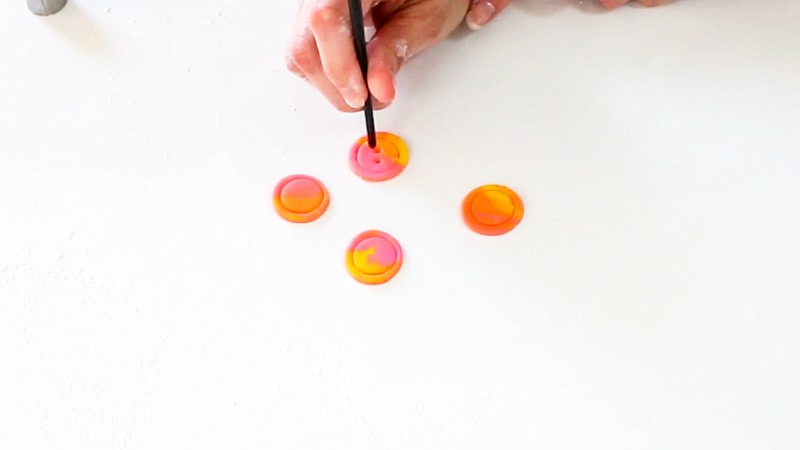
Add a bit of water to the middle of your flower and then press in a bit of fondant. You want to lift up the middle of the flower, so the button won’t sink in once you add it.
Now just add a bit of water in the middle and add your button.
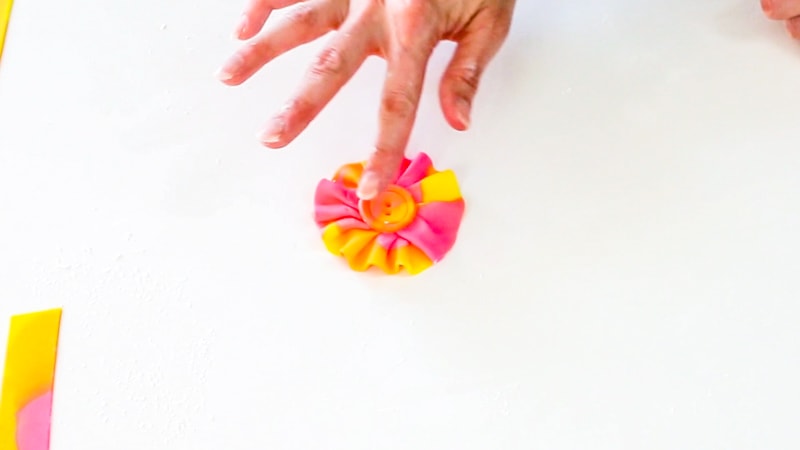
To attach them to the cake, just melt a bit of candy melts, add to the back of the flowers and stick them to your fondant covered cake.
Ok that’s it! Aren’t they cute?! Now you can go crazy making them in tons of different color combinations!
And here’s the video that will show how to make each one:
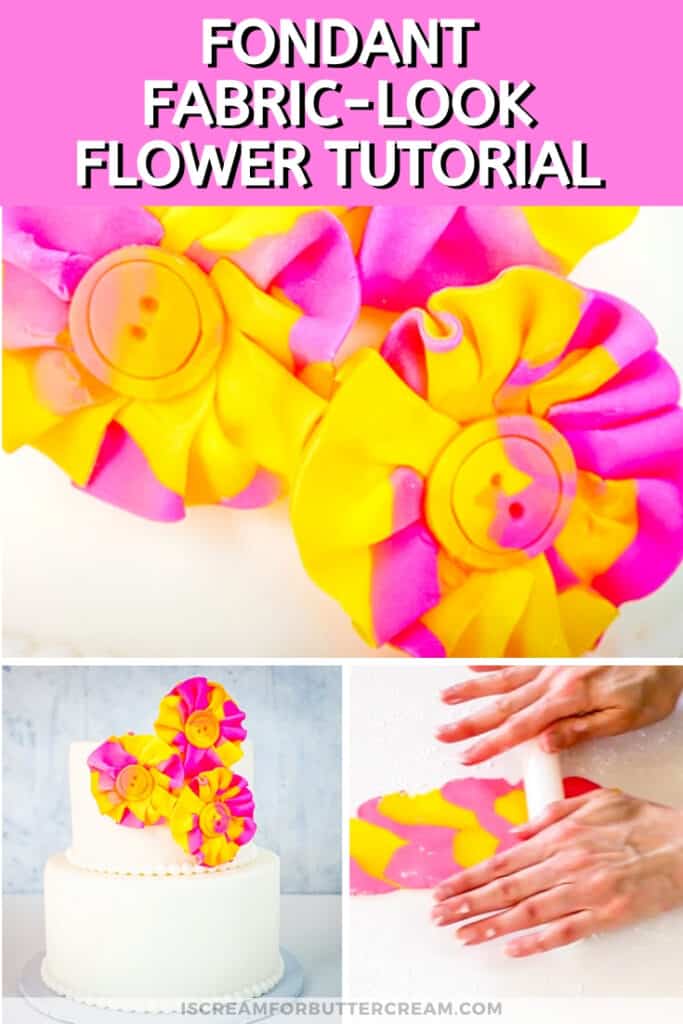
Don’t Forget to Pin it for Later!


Leave a Reply