
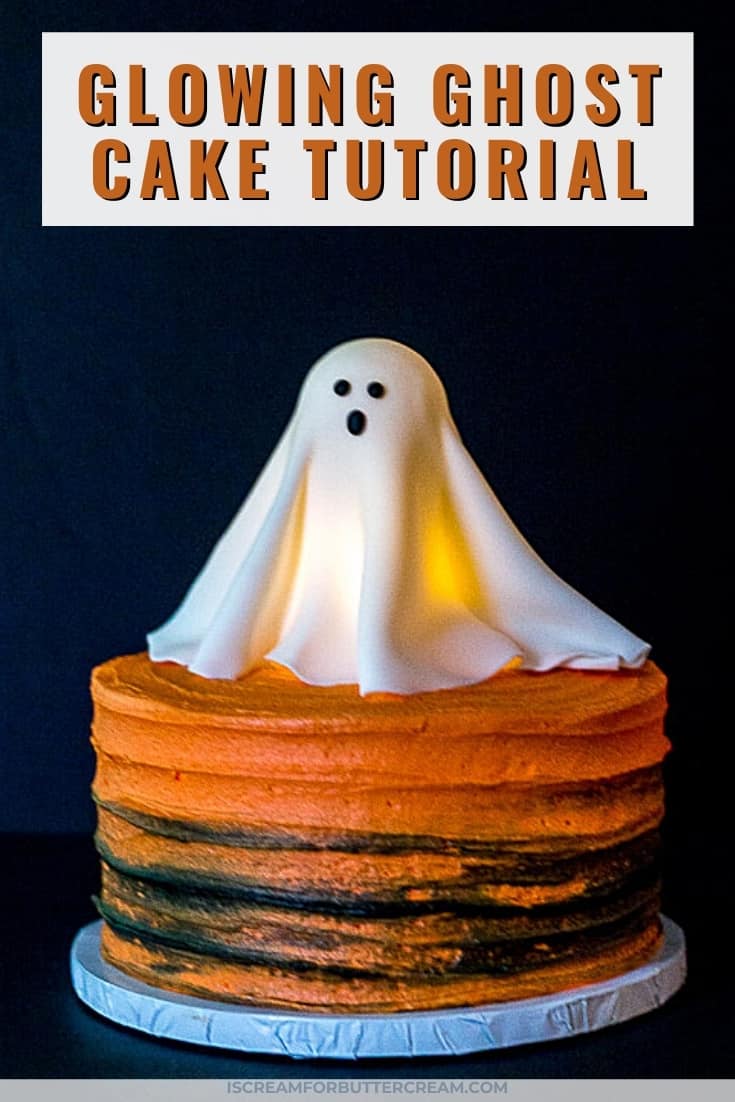
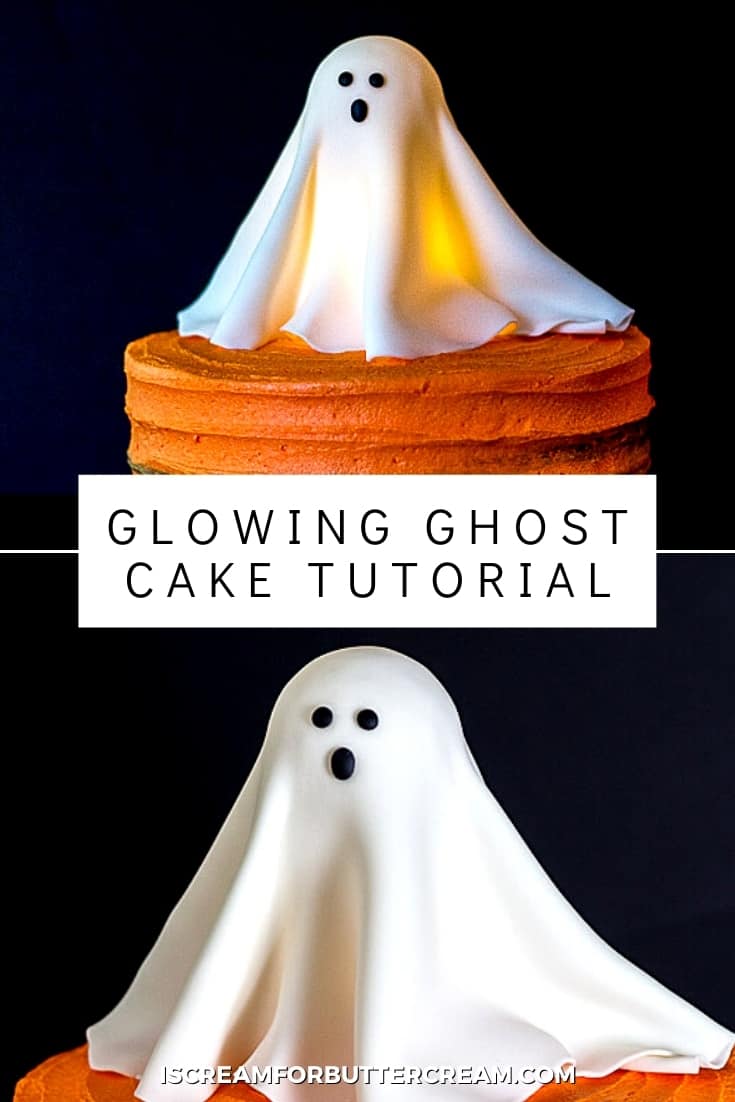
This Halloween, go all out with this Glowing Ghost Cake. It’s a real show stopper that looks hard to make, but is surprisingly easy. It’s really eye-catching and the kids will love it. It’s perfect for your next Halloween party and yes, it’s really lights up from within.
Ok, I’m curious, do you believe in ghosts? I haven’t had any ghostly experiences, so I happen to be in the ‘don’t believe’ camp, but that doesn’t mean I still can’t have some ghostly fun, right?
For Halloween this year, I decided to do a fun tutorial and went all out with this glowing ghost cake.

The ghost is actually hollow inside, which allows you to light it up from within. It looks like it would be difficult, but it’s actually quite easy. It just takes a little fiddling to get your fondant draping the way you want it.
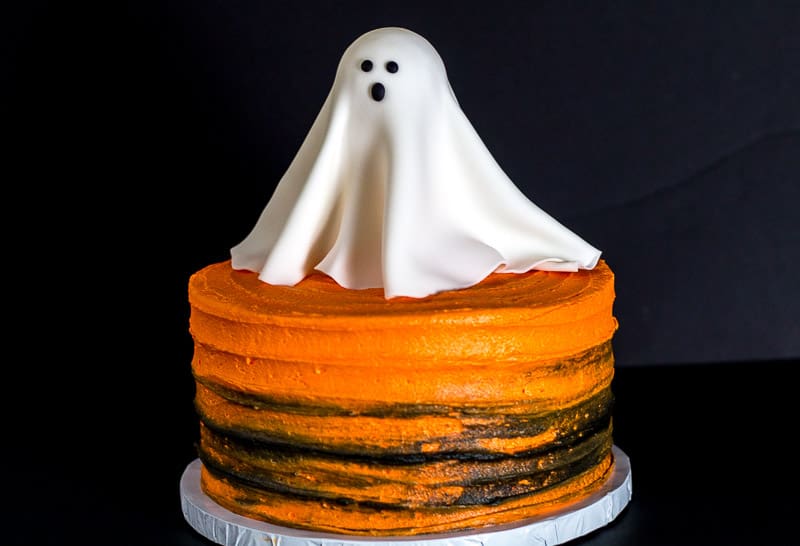
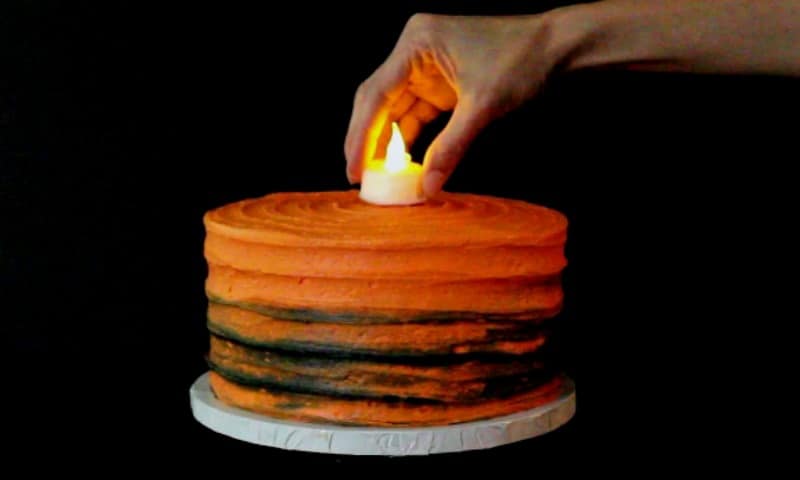
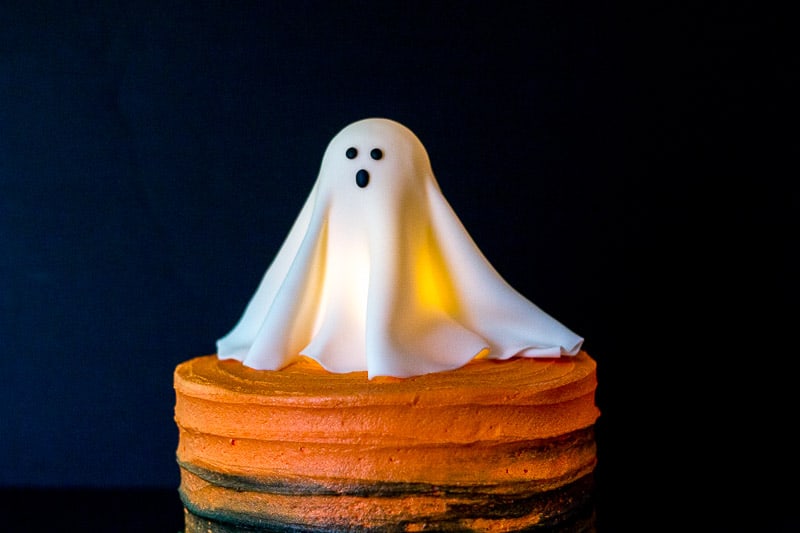
The actual cake is an 8″ round cake that’s covered with orange tinted buttercream and I’ve added in some black along the bottom. I then just took a small icing spatula and made ridge lines around the entire thing. I wanted to keep the cake a bit more simple, so that it didn’t compete with the glowing ghost on top.
You’ll just use an LED tealight to get the ghost to glow. The cool thing is that you can even use one of those colored LED lights if you wanted to and end up with a red ghost or even a green one. I just went with a plain LED light.
I also tested this out to make sure it was okay to leave on a long time under the fondant. I left it on for hours and there’s really no emitted heat from the LED light, so it had no effect on the fondant.
Ok, let’s get to the tutorial.
By the way, there’s also a video close to the end of this tutorial.
As an Amazon Associate, I earn from qualifying purchases.
Supplies needed for the glowing ghost cake:
- Baked 8″ round cake. Use three layers of cake to make your tier a bit higher. My favorite recipes are: Favorite Vanilla Bean Cake and Easy Double Chocolate Cake
- Orange and black buttercream. Here’s my buttercream recipe: Vanilla Bean Buttercream
- Buttercream Smoother
- Assorted Spatula Set
- Wooden skewer
- Press-n-seal wrap or other plastic wrap
- 1 ½ inch styrofoam ball
- A block of foam (to stick your ghost base in)
- White fondant or gumpaste
- Small amount of black fondant (for the eyes and mouth)
- Small fondant roller
- Cornstarch
Preparing the Ghost:
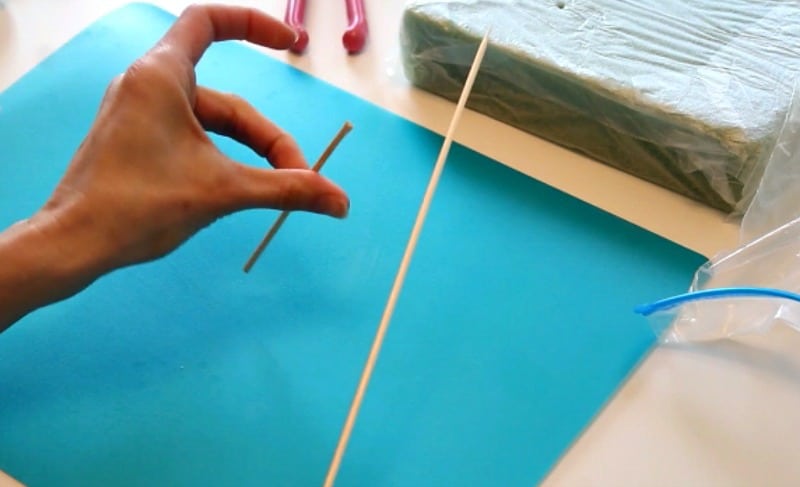
First you want to take your wooden skewer and cut out a piece about three to four inches long. It needs to be long enough to stick one end in the styrofoam ball and one end in the block of foam, but enough area in between for the fondant to drape down. That’ll make more sense later.
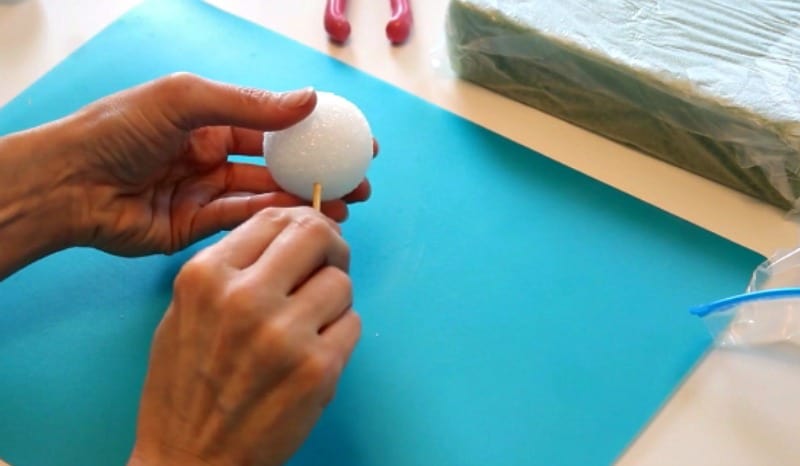
Now just stick the end of the skewer piece into the styrofoam ball. It doesn’t need to go all the way to the top, just far enough in where it’s stable.
Now take a piece of press-n-seal (y’all know how I love that stuff), or you can use any type of plastic wrap, but the press-n-seal will stick better..and cover the styrofoam ball in it. Just wrap it around. You’re just making a barrier between the non-food safe item (the styrofoam ball) and the fondant.
Pop that into the block of foam while you work on the ghost.
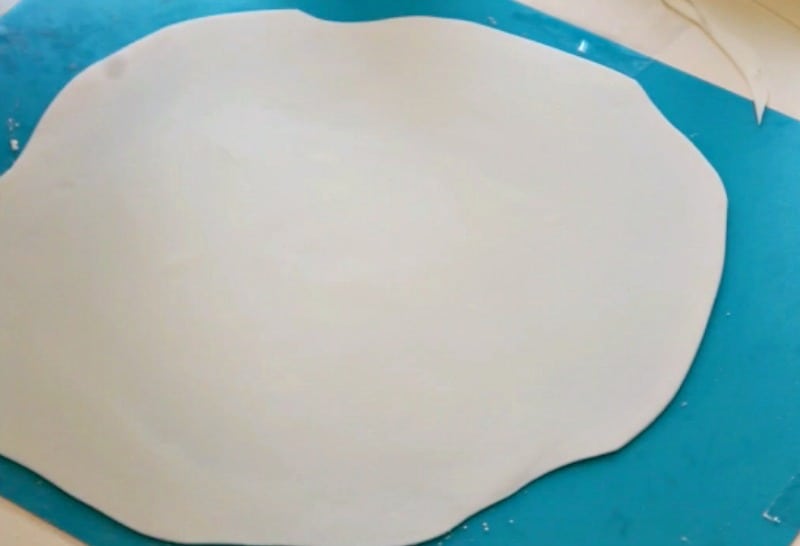
Now, roll out your white fondant or gumpaste. I used straight fondant, because I found that fondant with tylose or gumpaste was drying out on me too fast and it may take you a couple tries at draping.
You want to roll out a large circle. It doesn’t need to be a perfect circle though, so don’t stress about that. My circle was about a 14″ – 15″ circle. How big you need it, will depend on how much skewer is between the styrofoam ball and your block of foam.
If your fondant doesn’t drape correctly in the next step, just roll out your fondant once more and try again. No biggie.
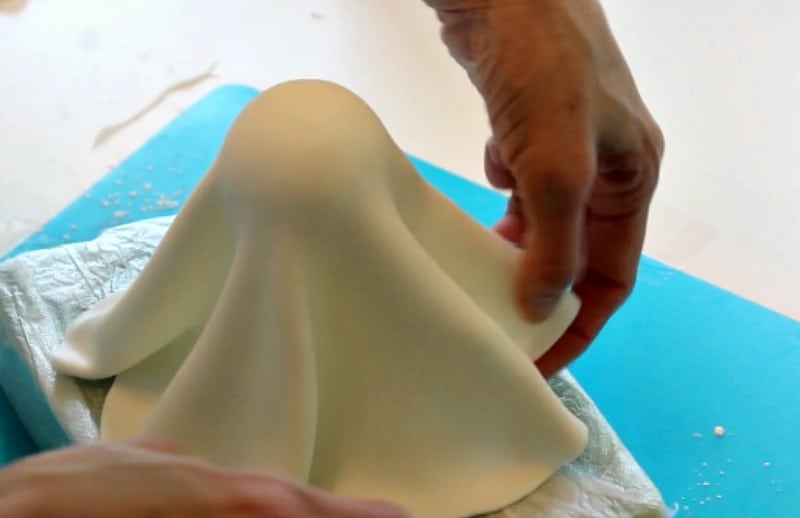
Dust both sides of the fondant with cornstarch. you don’t want anything sticking to anything. Now, drape your fondant over the styrofoam ball. You’ll have to fidget with it to get the draping to look right. If you’re having trouble, your circle may not have been rolled out large enough. you need it larger, so it’ll drape correctly.
Important: Make sure the bottom of your ghost is draping outward and not straight down. Pull the bottom of the ghost out, or you’ll have trouble getting your styrofoam ball out later on.
Once you’ve got the draping how you want it, just set it aside overnight to dry. Don’t wait more than 24 hours to do this next part, but the fondant does need to be set up and firm before you do this.
Carefully pick up your ghost. I just grabbed mine by the top. Grab the skewer and slowly pull out the styrofoam ball. If the skewer comes out of the ball, just grab the press-n-seal or plastic wrap and pull the styrofoam ball out by that. Just do it slowly and carefully, so you don’t break or crack your ghost.
Once you’ve pulled the styrofoam ball out, just set your ghost back onto the foam to firm up completely for another 24 hours.
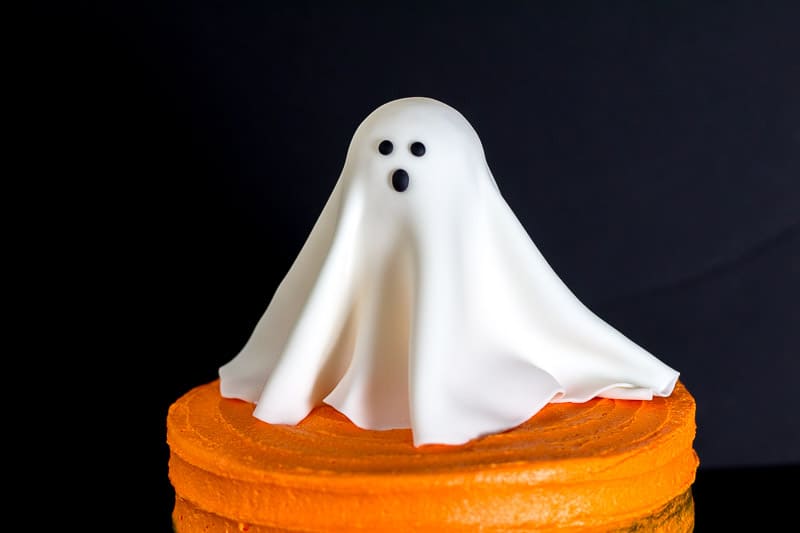
Making the eyes and mouth:
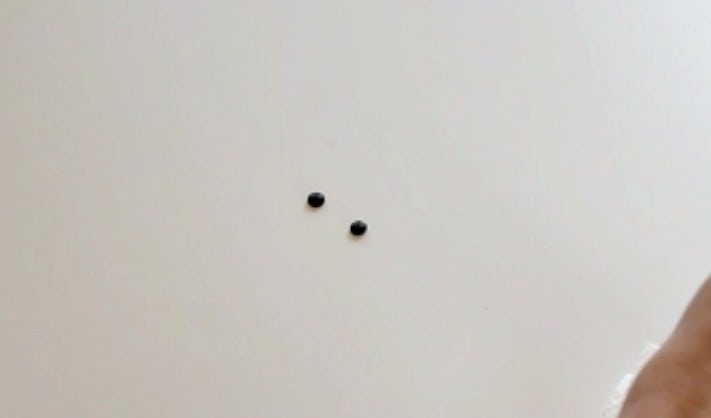
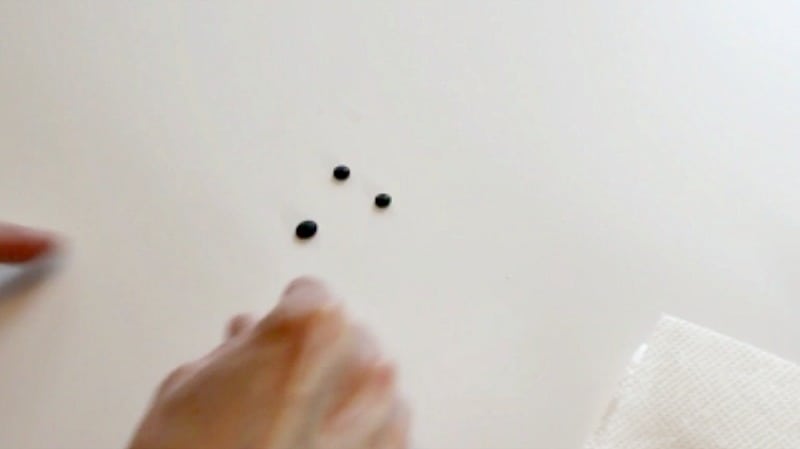
This part is easy. Just grab your black fondant. Roll two tiny balls of fondant and flatten only slightly with your finger. These will be the ghost’s eyes.
Now take a slightly larger amount of the black fondant, roll and elongate it a bit. Press down with your finger to flatten it out slightly.
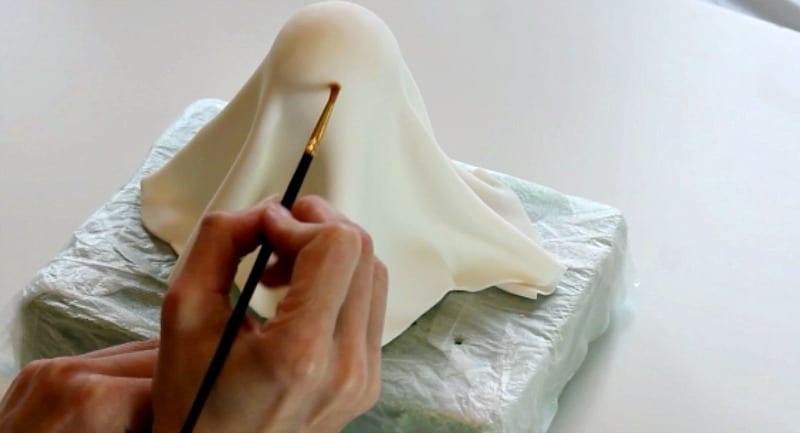
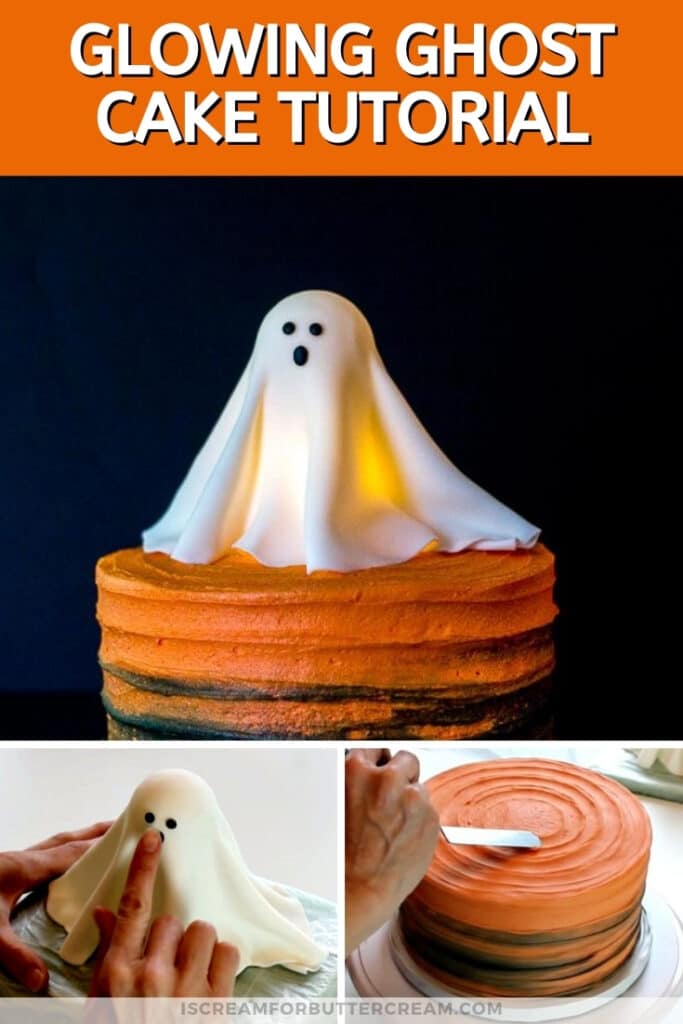
Once your ghost is completely firm, paint on a bit of shortening where you want the eyes and mouth.
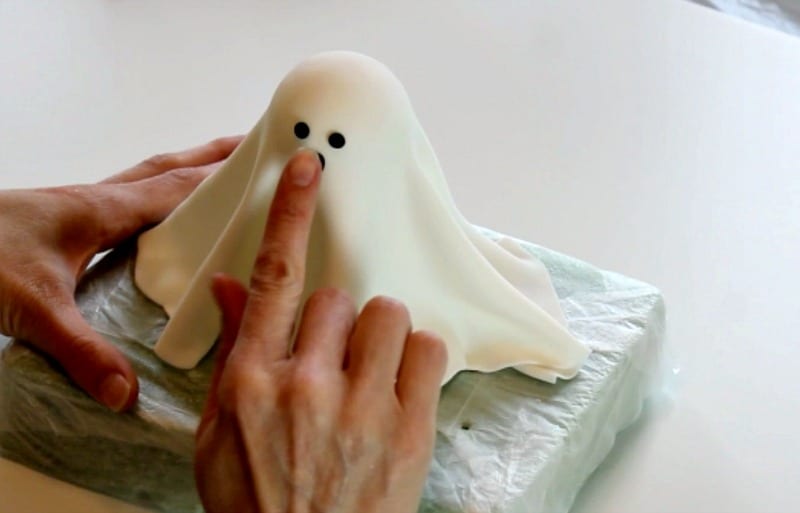
Now just pop them on.
Preparing the cake:
Cover your cake in orange buttercream. Add in some specks of black buttercream.
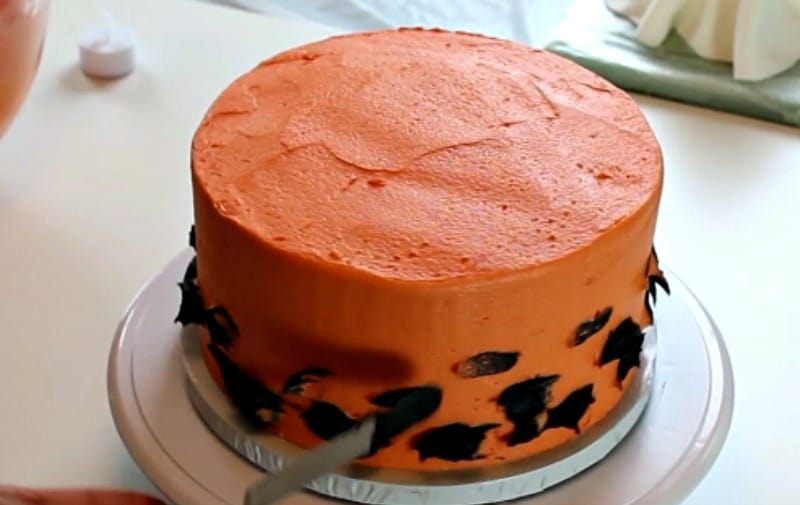
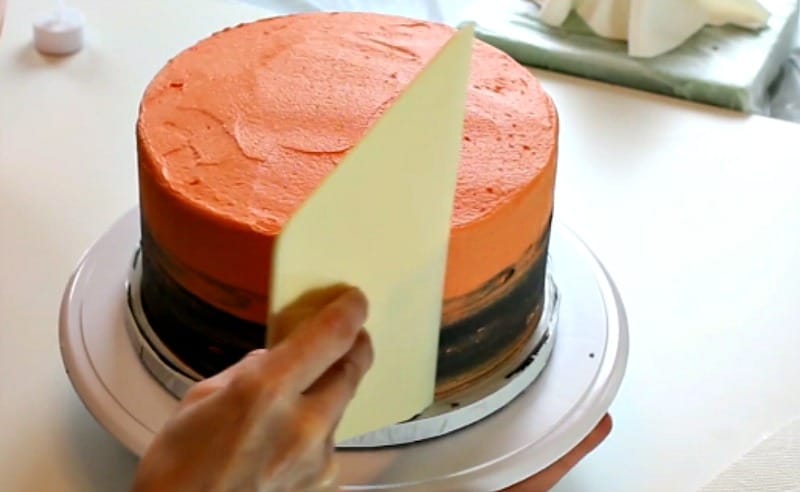
Now use your buttercream smoother to smooth around the cake.
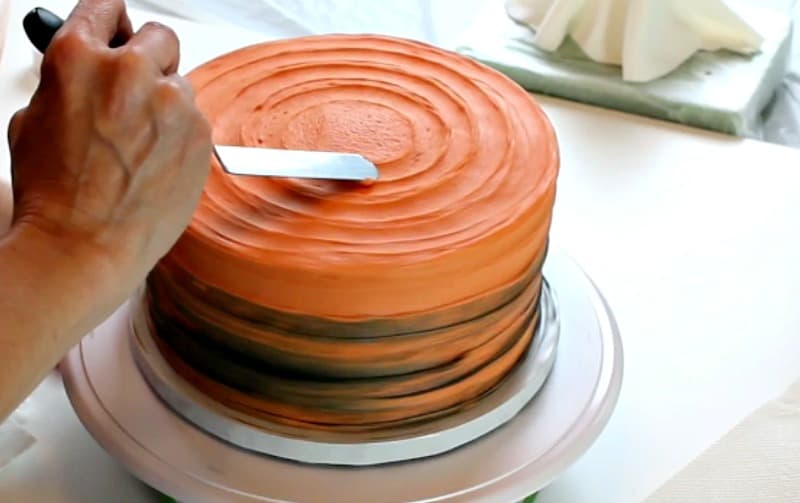
Take your small icing spatula and go around the entire cake to make ridge lines. Make sure to clean off the spatula periodically, so the black buttercream doesn’t go all the way up the cake.
Putting it All Together:
Alright, we’re almost done! This is the fun part. You can wait to do this until you’re ready to serve, that way, you know you have plenty of battery life in your LED light.
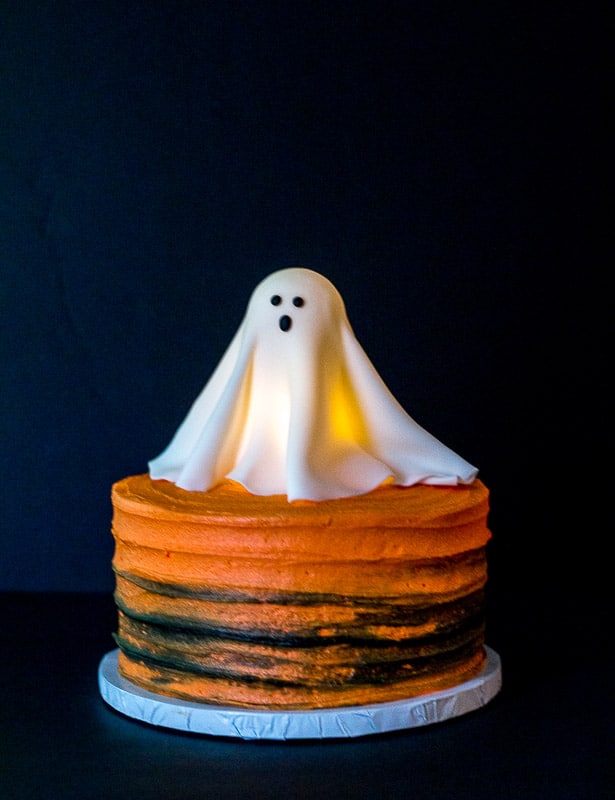
Turn on your light and then wrap it up with some press-n-seal or plastic wrap. Since it’ll be sitting directly on the cake, you need a barrier. Now just pop it on the top of your cake and you’ll have a fun Halloween ghost cake to wow the kids!
Now all you’ve got to do is gently set your finished ghost on top!
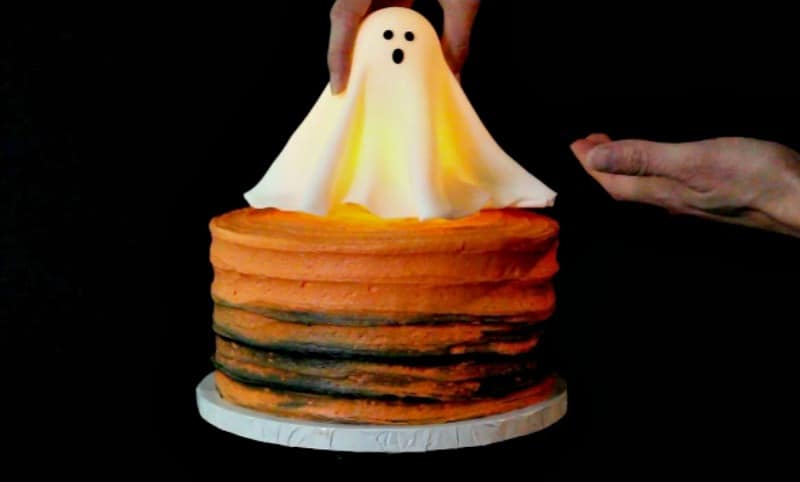
Turn out the lights to get an even brighter glow. So cool, right?
Video for the Glowing Ghost Cake:
I hope you have fun with this one and I really think the kids will love it.
Don’t Forget to Pin it for Later!
Eerika
Hello.
I tried making the ghost but my fondant tears everytime i try to put it on the ball, why is this happening? Sorry if my english is bad! 🙂
Kara Jane
Your English sounds perfectly fine, so no worries! The trouble you’re having with the ghost could be a number of things. If you’ve tried it several times with the same fondant, I’d try a different batch of it. Once you’ve kneaded it, rolled it out and then re-rolled it several times, it tends to crack on you while trying to smooth it around the ball, or when you take the ball out of it. Grab some fresh fondant and try again. It did crack on me the first couple times I tried it and when I used a new batch of fondant, it worked fine. Also I noticed that if I rolled it too think, it would crack easily. Try rolling it a little thicker. You could also add a bit of shortening to your fondant and knead it in to make it a little more malleable…that might help. One other thing is that you could pop the fondant in the microwave for just a couple seconds to warm it up a bit and see if that helps.
I’d start off with a new batch of fondant though and try not to add too much cornstarch when rolling it out and roll on the thicker side, so it doesn’t get too dry. Sometimes Satin Ice fondant is a little drier than other brands. I used a combination of marshmallow fondant and Wilton and it seemed to work well.
Make sure once you get it on the ball, you want to make sure the bottom of the ghost is flared out so that the ball has plenty of room to come straight down out of it, once it’s firmed up for at least 24 hours. Hope this helps!
Folashade
Thanks for the tutorial. The ghost is amazing
Kara Jane
Thanks and you’re so welcome! 😉
Natalie Dawn
Pinned ready for spooky season thanks for the great tutorial x
Kara Jane
Wonderful! You’re so welcome! 🙂
Gale
Love this! I enjoy your blog so much!
Kara Jane
Oh I’m so glad you like it! Thanks so much. 🙂
Ally
Hi! Was this a 2 or 3 tier cake? Can’t wait to make it!
Thanks!!
Ally
Kara Jane
This one is just a single tier cake. You’ll want to use about three layers of cake though, so it will be a bit taller.
CB
hello! what are your thoughts on doing 4 layers, alternating chocolate and vanilla cake?
Kara
That should work just fine! I probably wouldn’t go over four layers as it would start getting unsteady, but you should be fine at four. I think it’s perfectly fine to do both vanilla and chocolate.
Anne
Can I make this ghost a week ahead of time? It sure would give me some extra time closer to a party that I have so much other stuff to do… lol
Kara Jane
Anne, oh yes…you can make the ghost weeks ahead if you wanted to. It will just continue to harden which is what you want it to do. Just remember to try to take the ball out before it hardens too much though.
CB
perfect, thank you!
CB
I had been putting off making this cake because I’ve never worked with fondant before, and I was intimidated. Well… I’m happy to report that I did it! Instead of the skewer and block method, I wrapped the styrofoam ball with cling wrap, then twisted the wrap together and formed a long “tail” at the bottom of the ball. I then placed the ball on a glass with an opening that was big enough to support the ball, but not big enough for it to fall in. (The tail of cling wrap was inside the glass.) I used a bubble shaped wine glass, which allowed the ghost to fan out a bit and provided support. When I pulled the glass out the next day, the ball came right out with it. I wish I could attach a photo, since it’s difficult to explain. Anyway, this was really fun- thank you for helping me get over my fondant phobia! Now, on to the cake…
Kara
This is awesome! I’m so happy you got over the fondant phobia and I loved how you adjusted the method to work for you. Those are fantastic ideas and I’m so glad it worked out! Thank you so much for sharing this with me. 😊