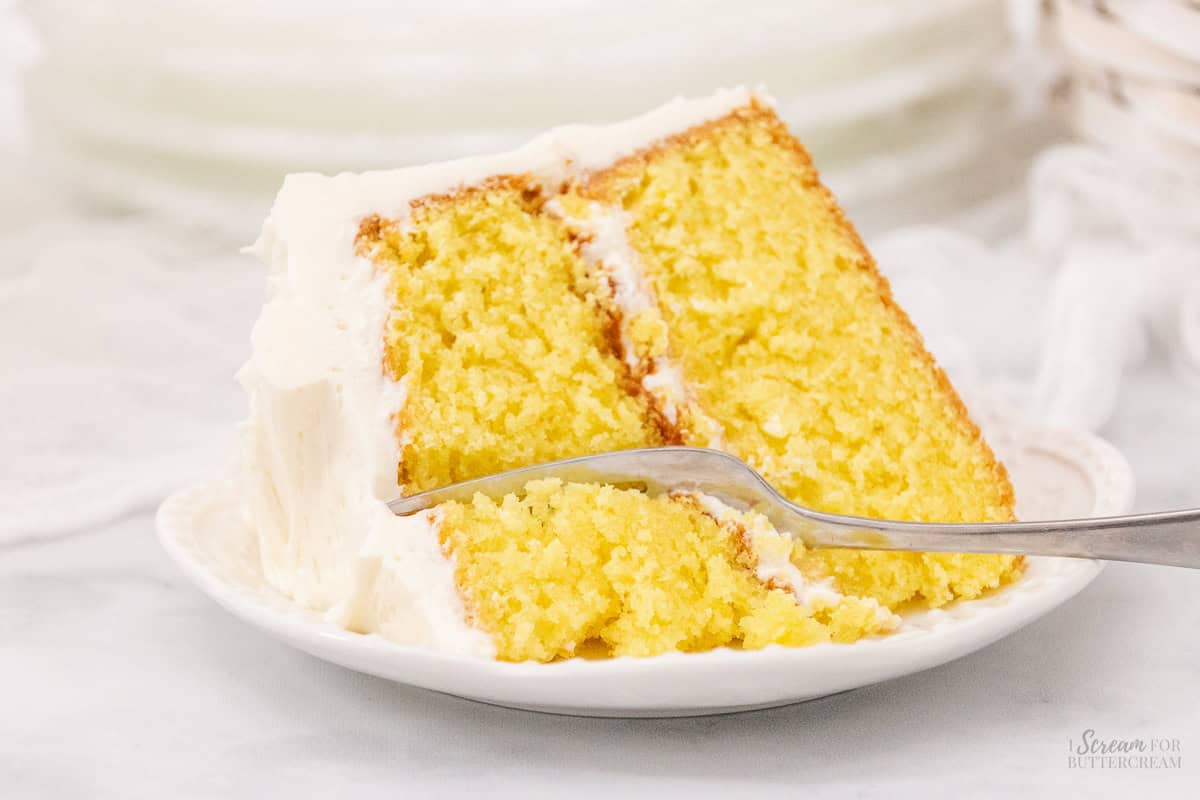
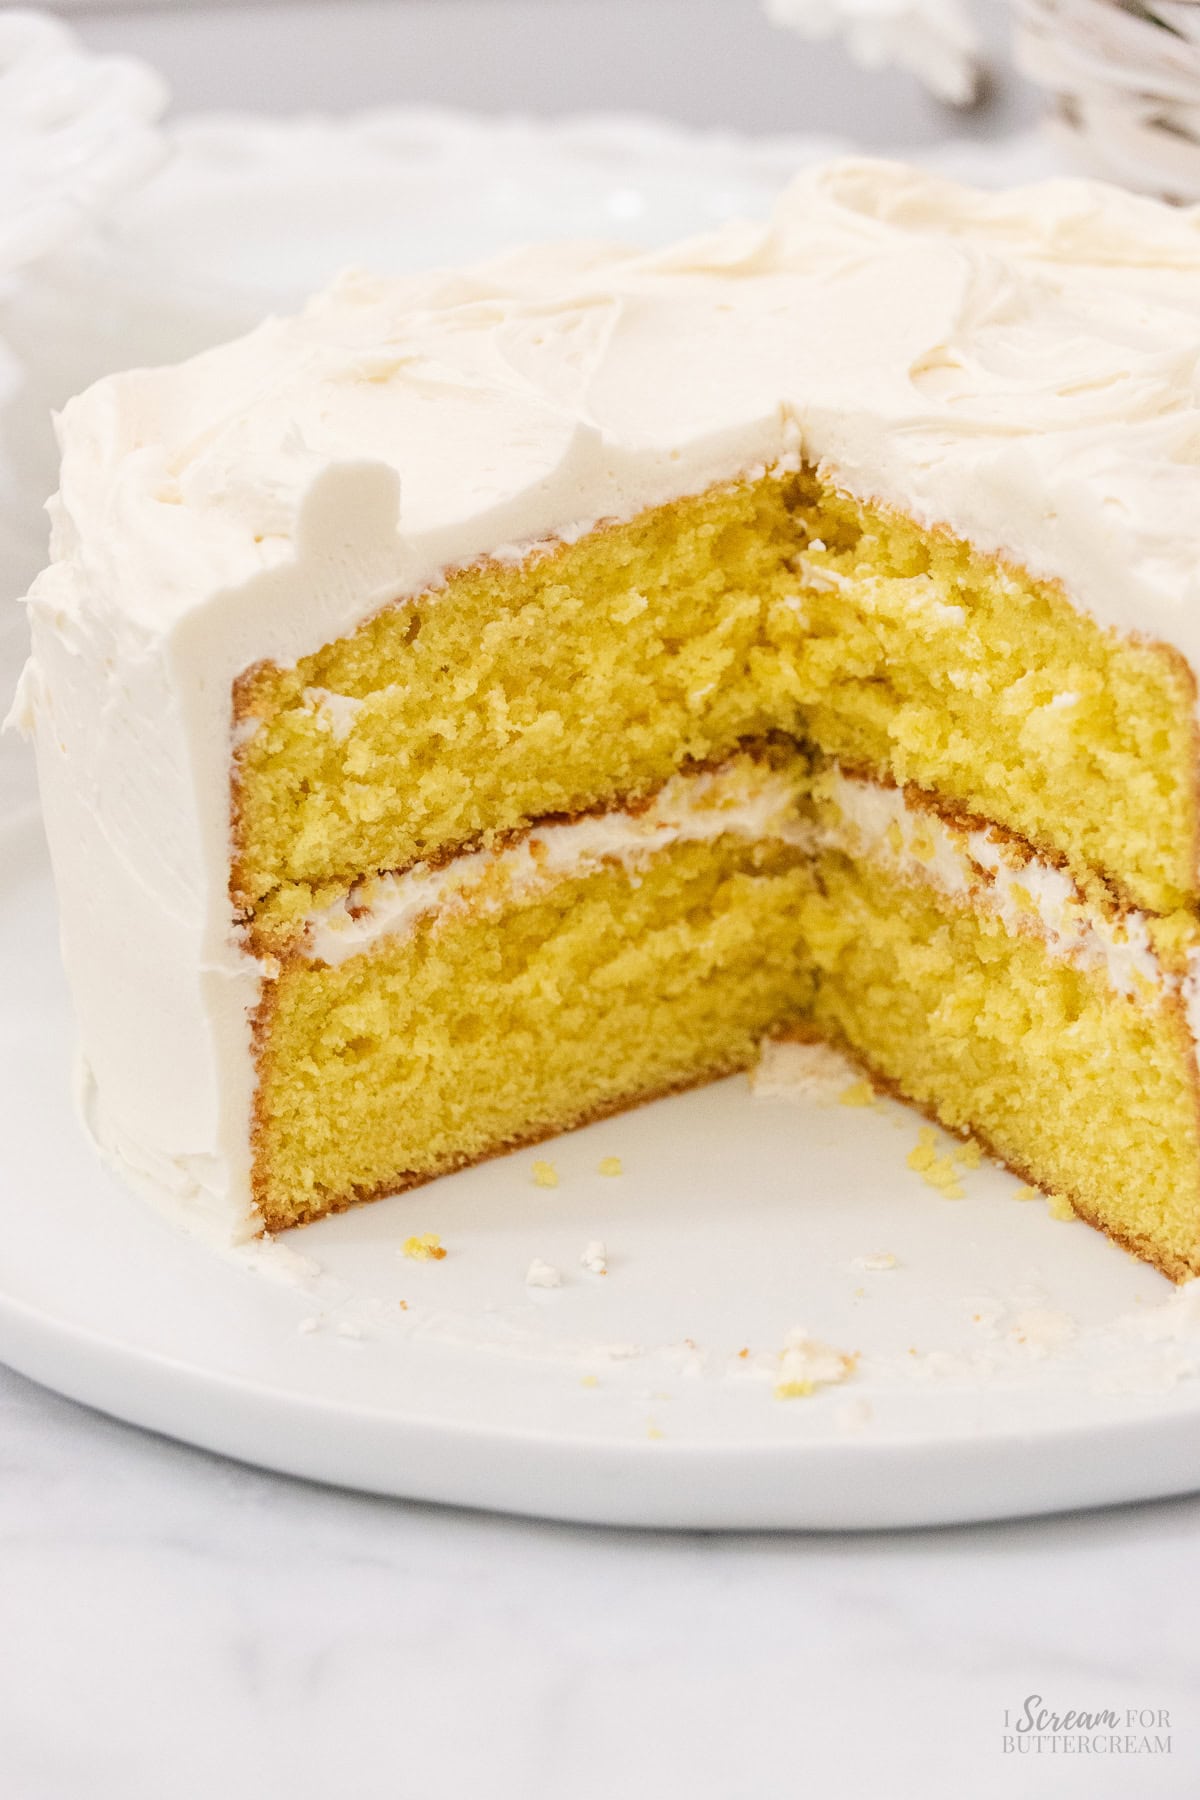
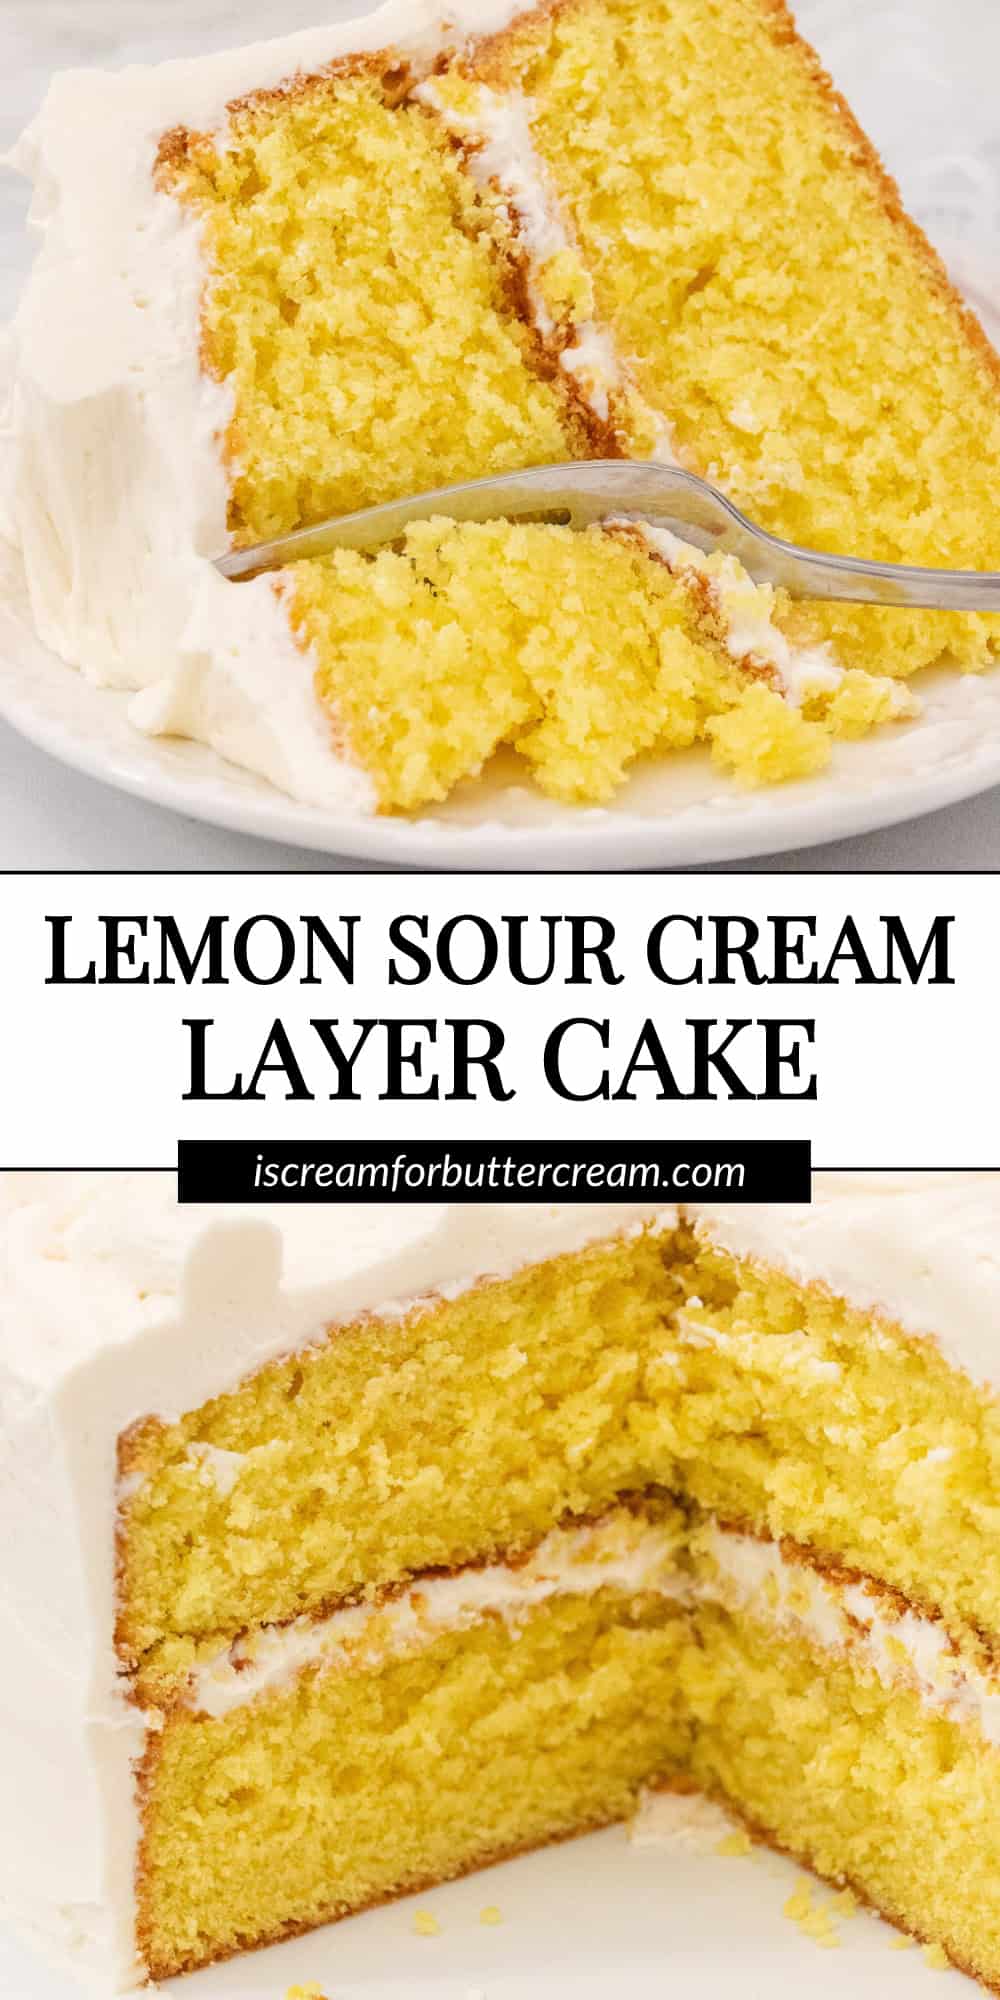
Tangy lemon and rich sour cream make this lemon sour cream layer cake a delightful treat, with moist, flavorful cake layers that are great topped with cream cheese or lemon frosting.
This cake is great for any occasion, whether you’re celebrating a birthday a get-together or just indulging yourself.
Hey there! Before you scroll, there’s lot’s of important stuff in the post!…including the FAQ section, which may answer any questions you might have about this recipe. Enjoy!
This cake took a few iterations to get just right, but it was worth the wait. I used this cake recipe to make the top tier of my son and daughter-in-law's baby shower cake. Everyone really liked it.
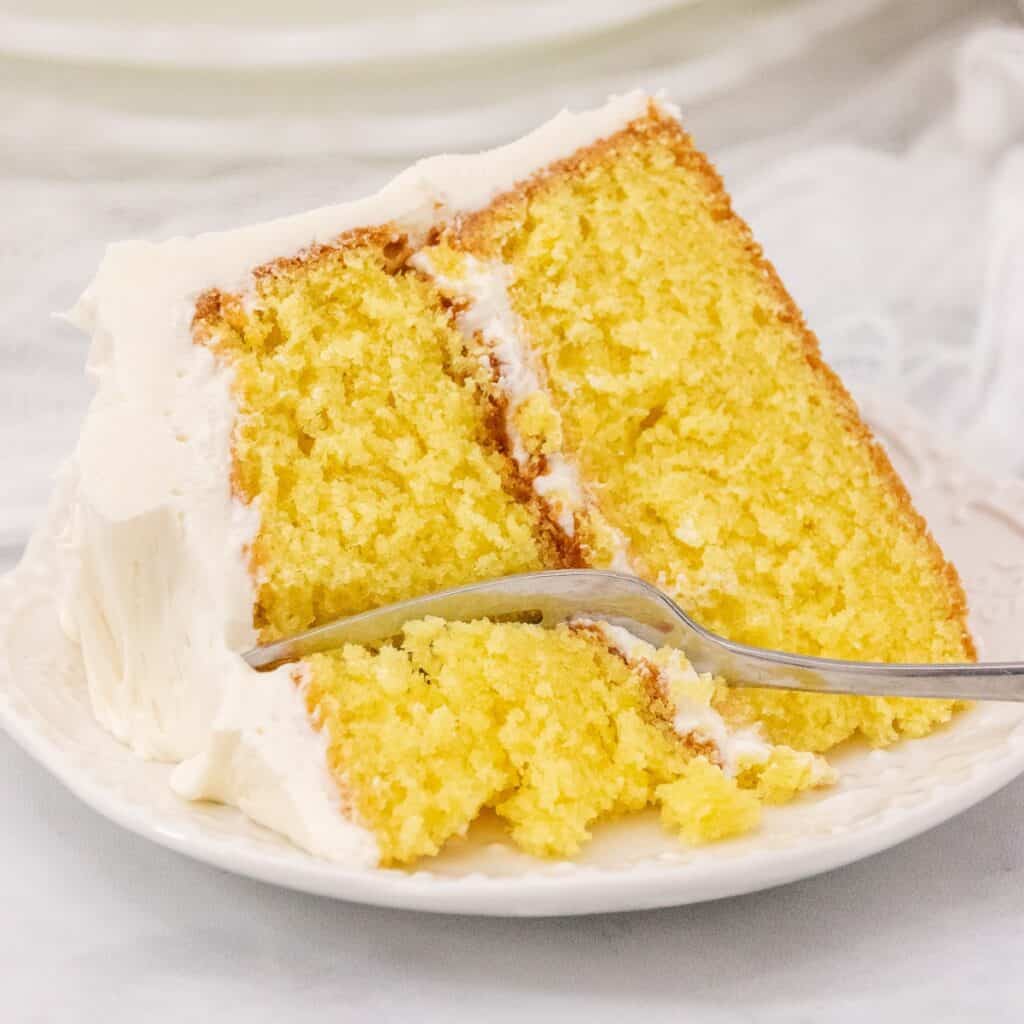
What’s special about this cake?
- Perfect Balance of Lemon Flavor
- Moist and Tender Texture
- Versatility - Can Choose Lemon, Vanilla or Cream Cheese Frosting
- Easy to Get Ingredients
How to make this lemon cake:
(The full printable instructions are in the recipe card below.)
Step 1:
Preheat the oven to 325 degrees F and grease and flour two 8″ round cake pans.
Step 2:
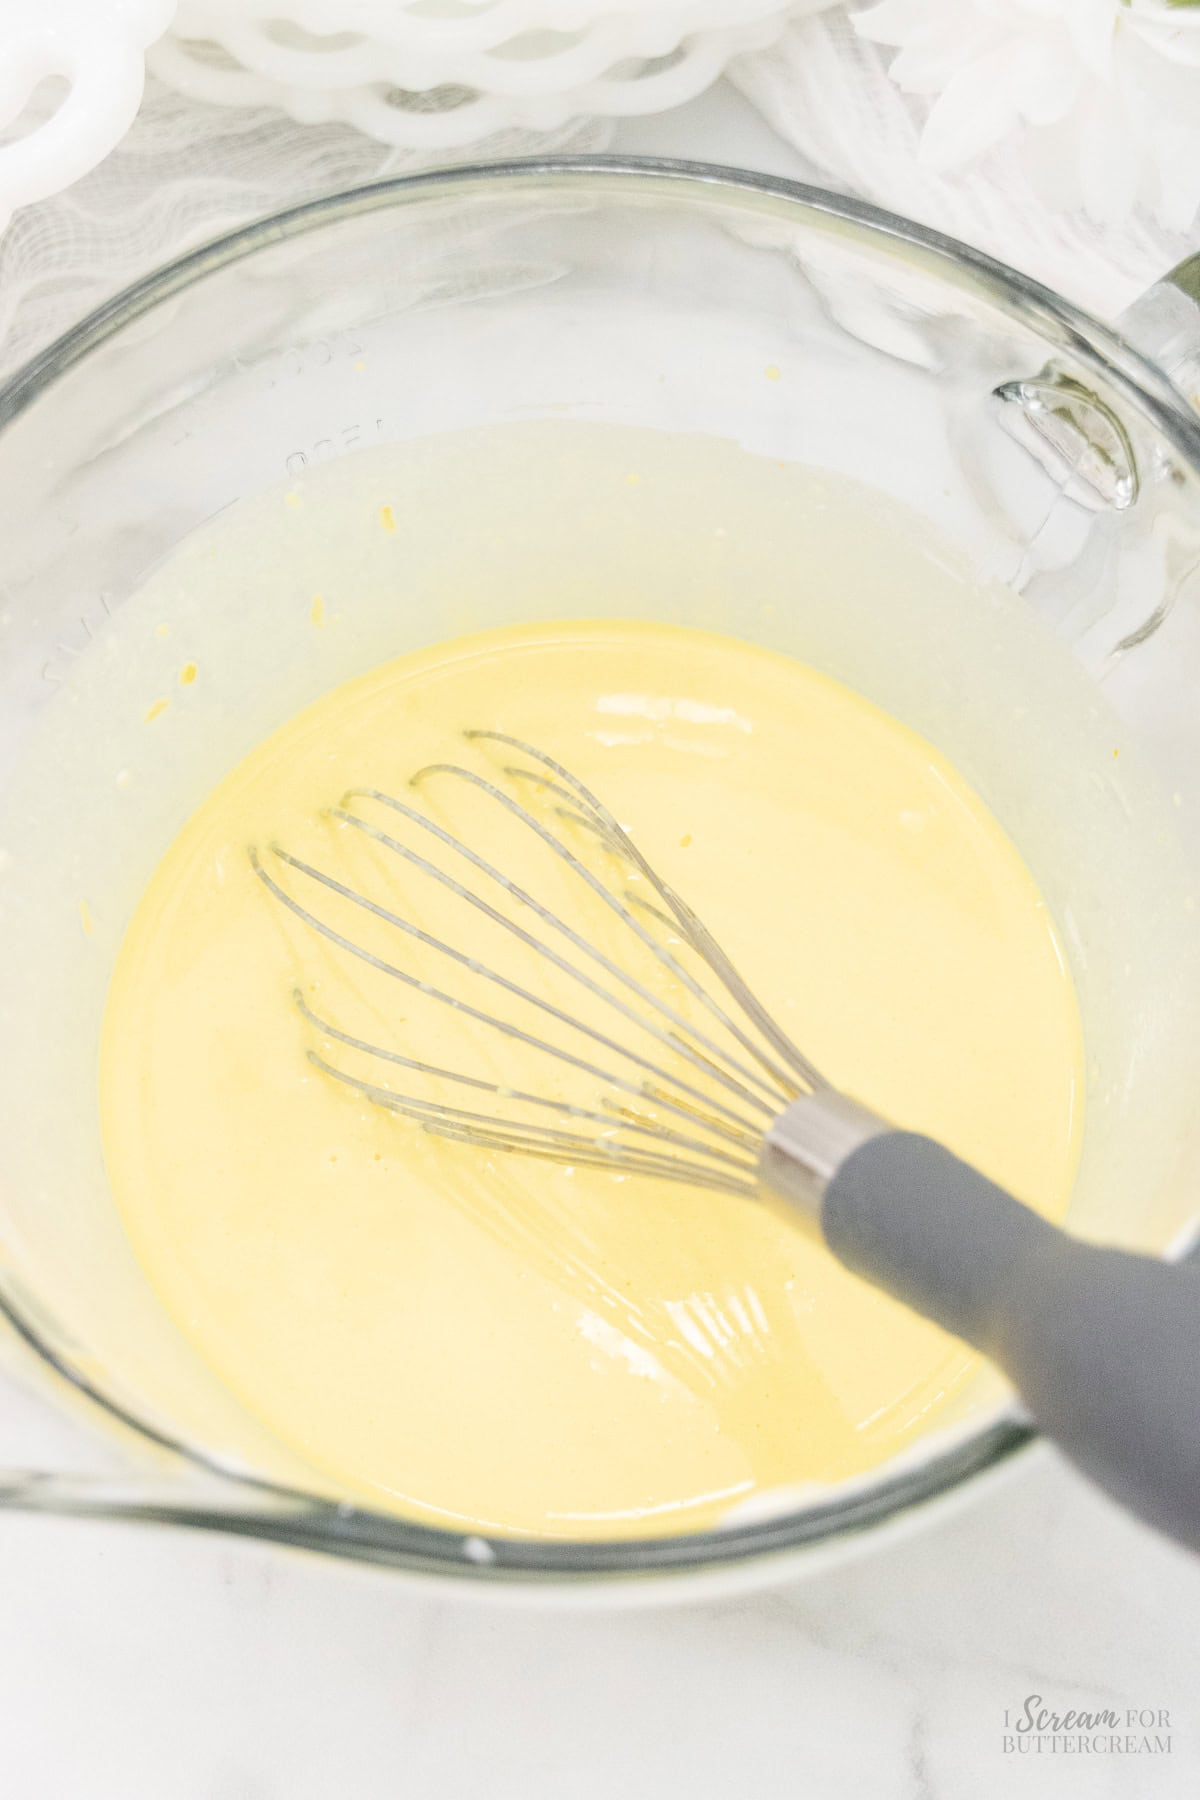
In a medium-sized mixing bowl, add the sour cream, lemon zest, lemon juice, vanilla extract, lemon extract, eggs and gel food coloring. Mix well with a whisk and set aside.
Step 3:
In a large mixing bowl, add the flour, sugar, baking powder, baking soda, salt and lemon pudding mix.
Step 4:
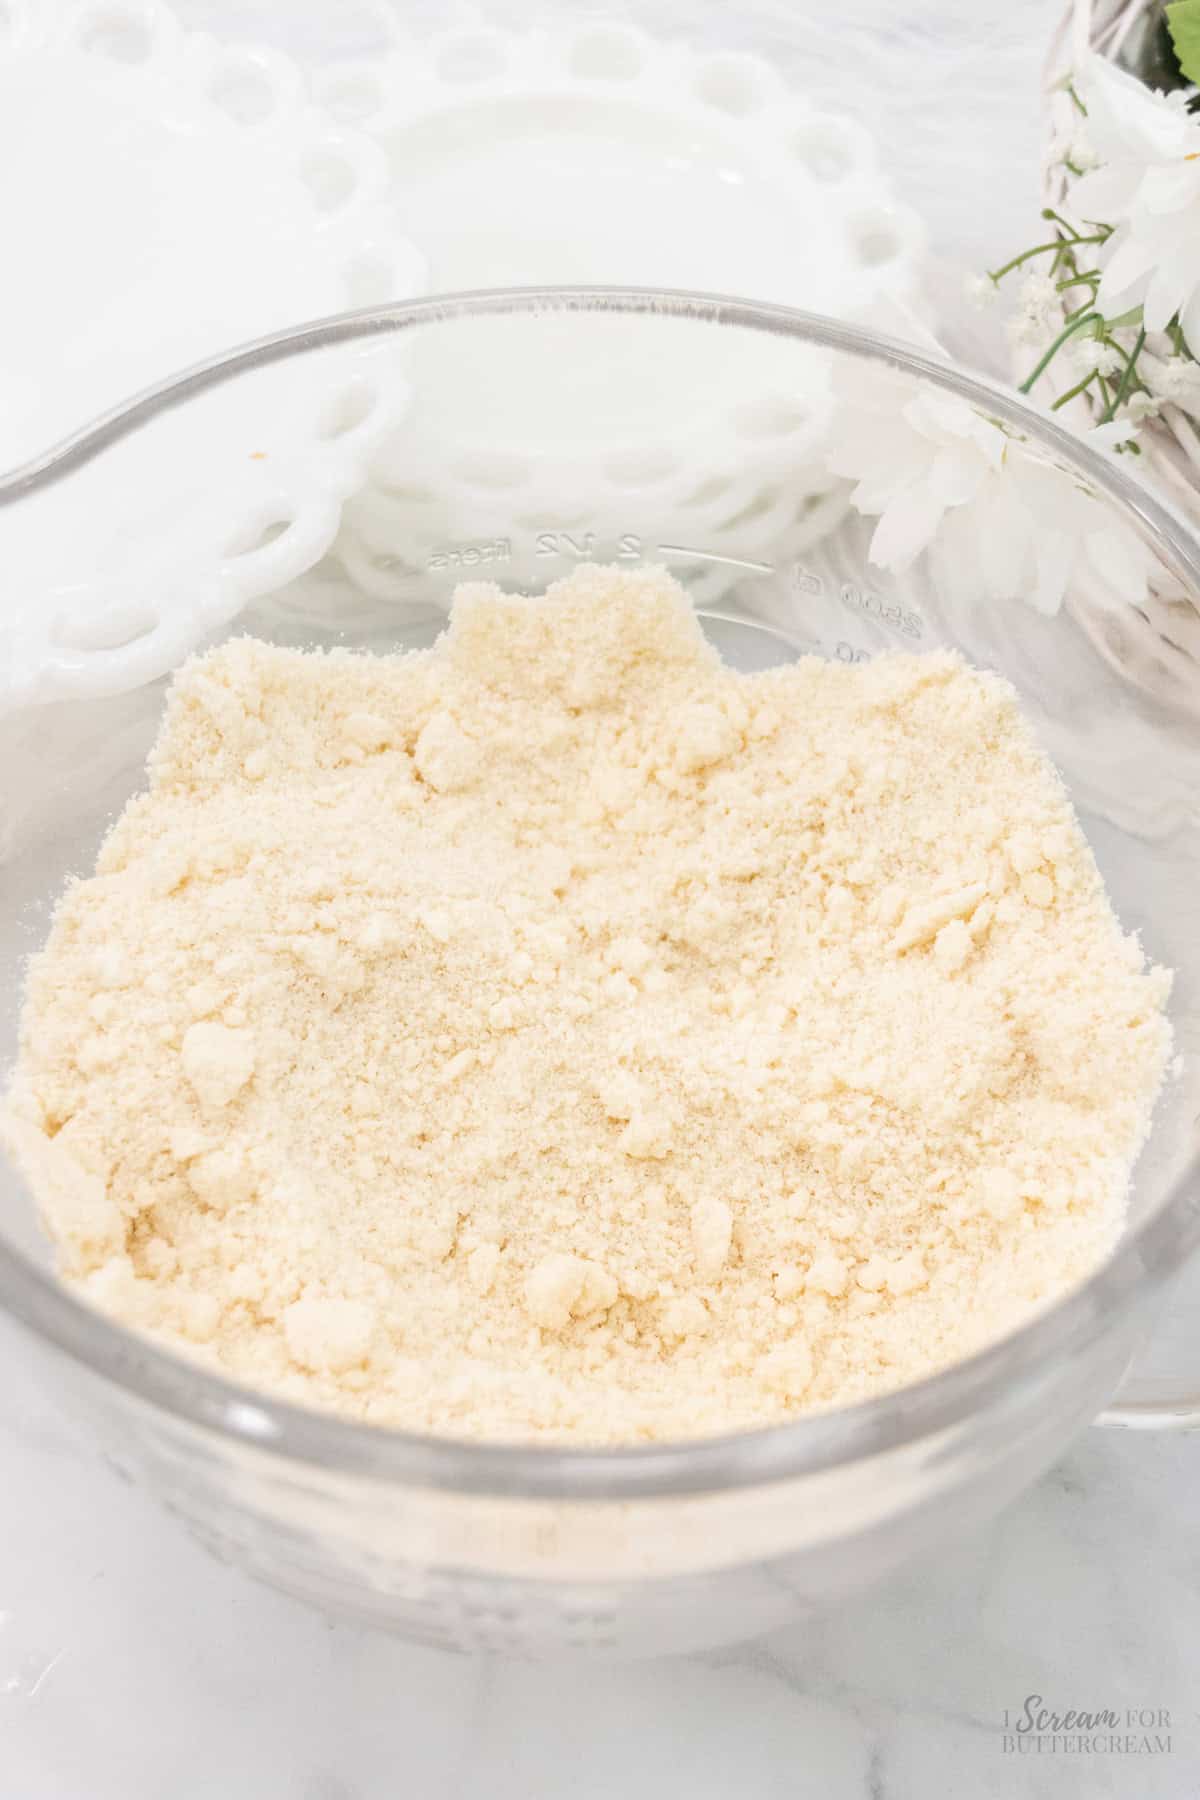
Cut the almost room-temperature butter into chunks. Turn the mixer on low and slowly add the butter, a bit at a time, to the dry ingredients. Once all the butter has been added, mix on medium to medium-high until all the flour is coated with the butter and the mixture is crumbly. It should have a sand-like texture.
Step 5:
Pour about a third of the liquid mixture into the dry mixture and mix on low to medium until well combined…about 30 seconds to one minute.
Pour the last of the liquid mixture into the dry mixture and mix again only until well combined. Don’t overmix the batter at this point. Stop mixing once everything is well incorporated, usually no more than about 20-30 seconds.
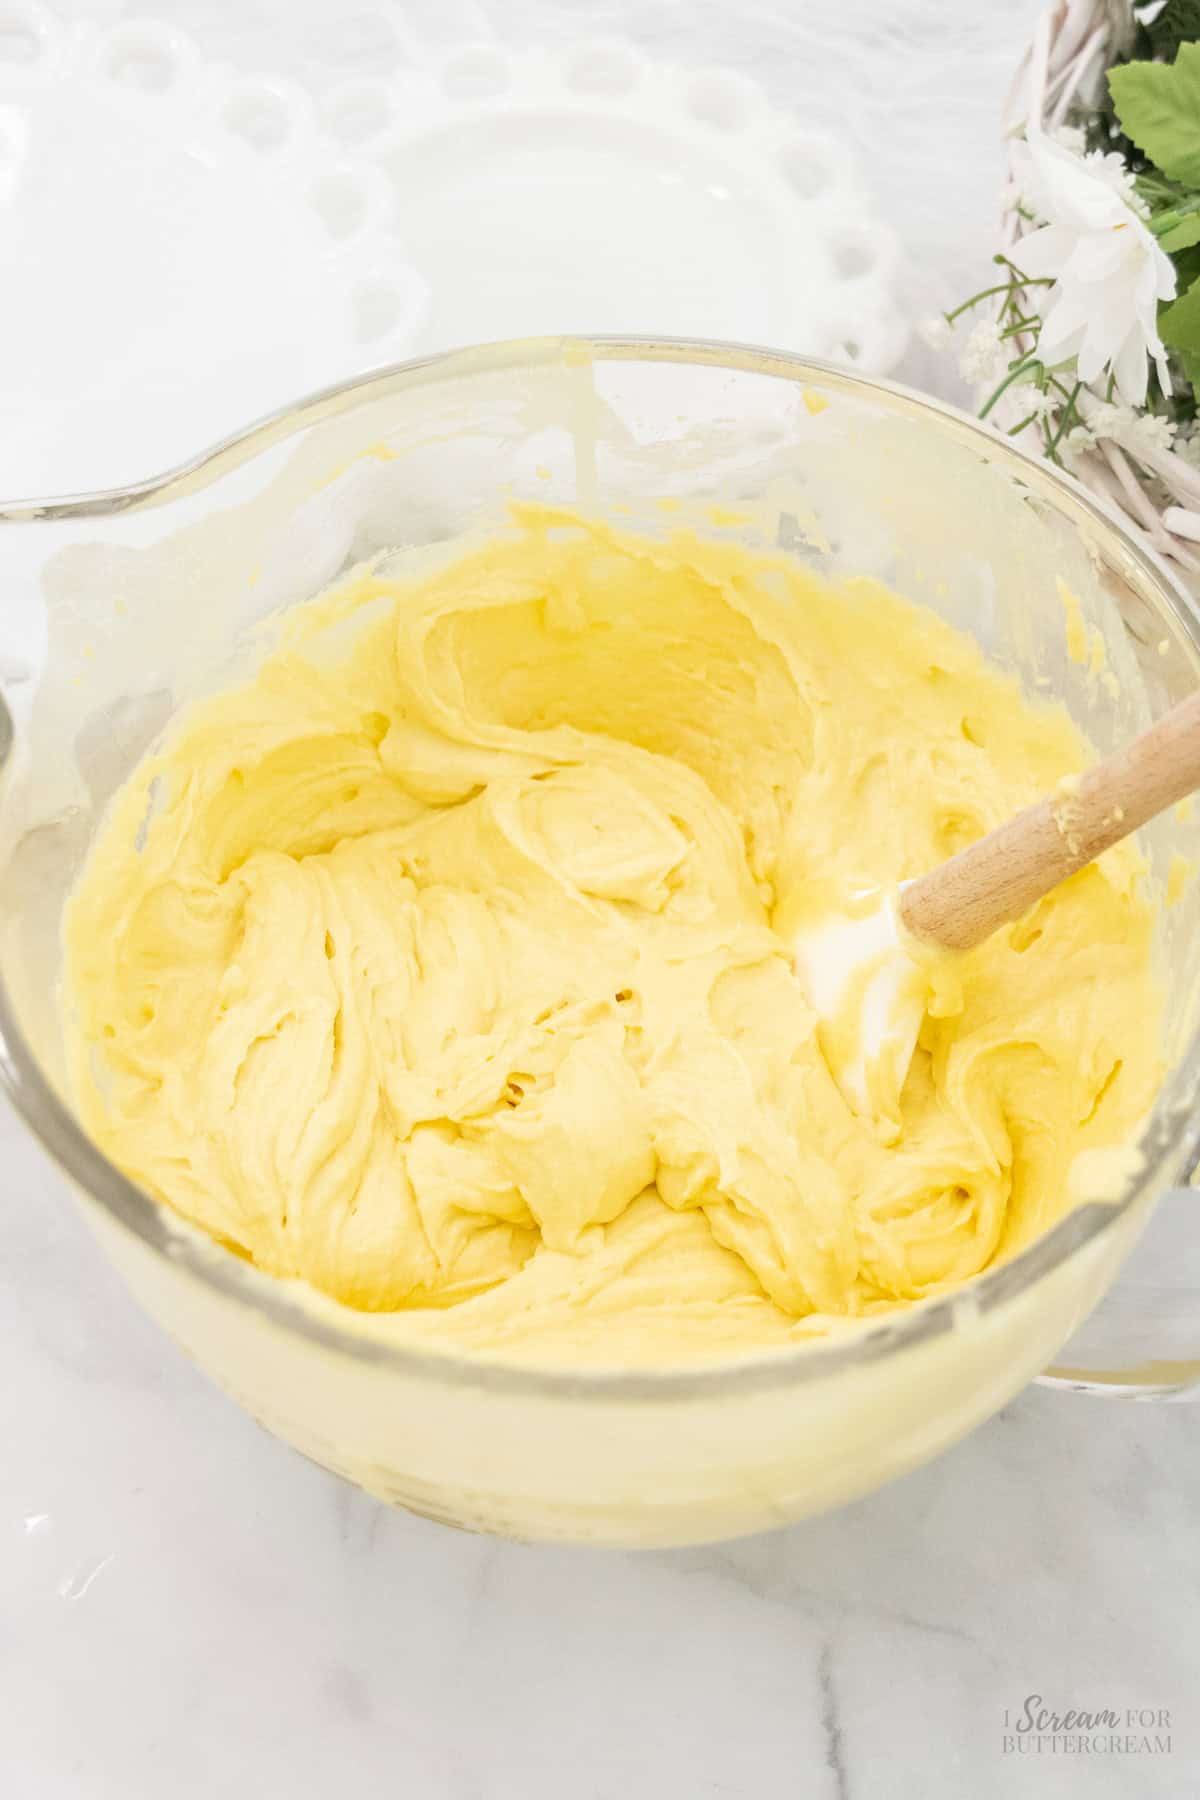
Step 6:
Pour the cake batter into the prepared pans and bake at 325 degrees F for about 35-45 minutes ovens vary.
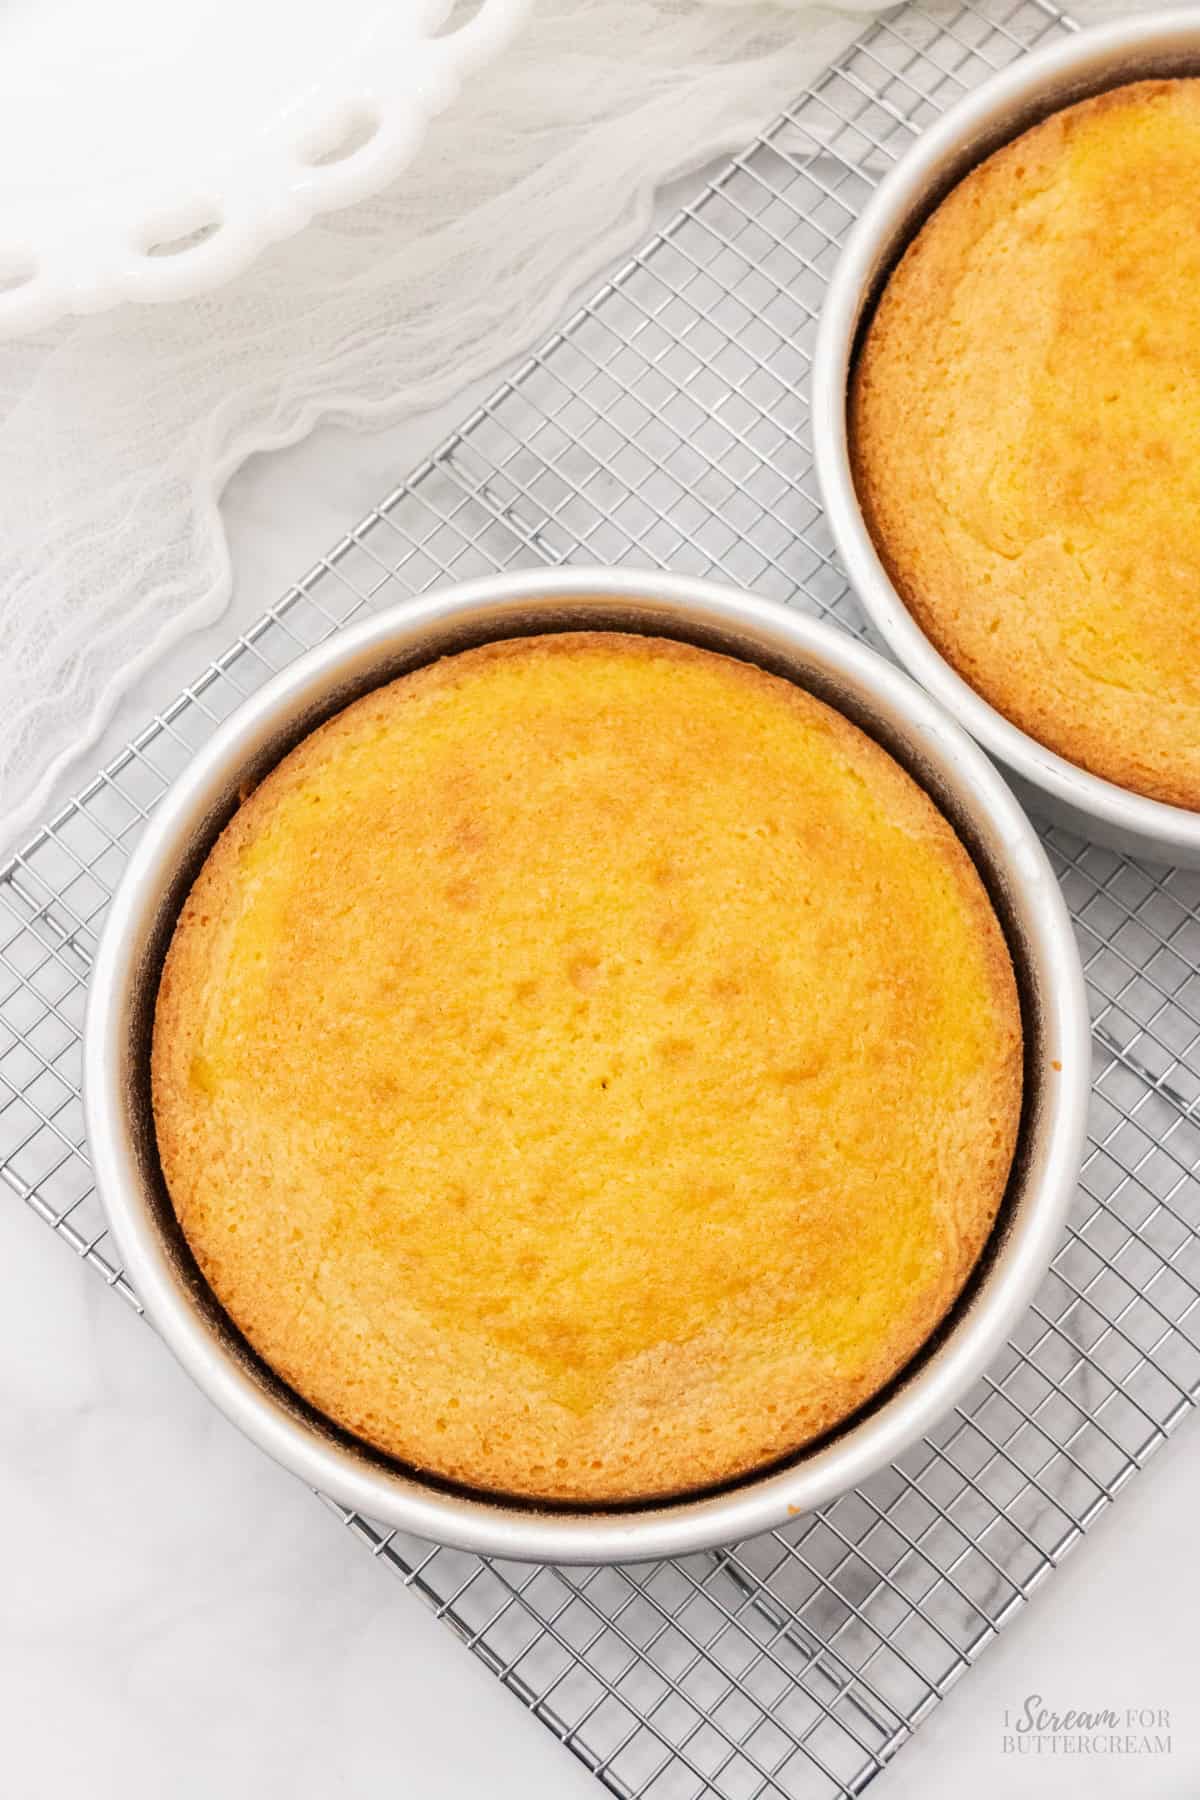
Step 7:
Once baked, set the pans on a cooling rack for about 20 minutes, then turn the cake layers out of the pans and let cool completely on the cooling racks before adding any frosting.
Note About Recipe Measurements: I write recipes using volume (cups) measurements because here in the U.S., this is what people are more familiar with and I don’t want anyone to feel intimidated when baking. For metric/weight measurements, click the ‘metric’ button under the ingredients in the recipe card below. The weights are converted by a program, not me, and it’s just a best guess. I can’t guarantee that weighing the ingredients will produce the exact same results, since I test recipes using volume measurements.
Recipe
Lemon Sour Cream Layer Cake
Ingredients
For the cake:
- 2 ⅔ cups all-purpose flour (Measured correctly: Spooned into the measuring cup and leveled off - don't scoop and pack the flour into the cup, that will add too much flour.)
- 1 ⅔ cups sugar
- 2 teaspoons baking powder
- ½ teaspoon baking soda
- ½ teaspoon salt
- 1 tablespoon instant lemon pudding mix dry (if you add the entire packet, sometimes that can make the cake sink)
- 1 tablespoon vegetable oil
- 1 cup sour cream, close to room temperature
- 1 ½ tablespoons lemon zest, from about two lemons
- ¼ cup lemon juice
- 1 teaspoon vanilla extract
- 2 teaspoons lemon extract
- 3 large eggs, close to room temperature
- 2-3 drops yellow gel food coloring (optional)
- 1 cup unsalted butter, room temperature
For the frosting:
- See links in the notes section below for multiple options.
Instructions
For the cake:
- Preheat the oven to 325 degrees F.
- Grease and flour two 8" round cake pans.
- In a medium-sized mixing bowl, add the oil, sour cream, lemon zest, lemon juice, vanilla extract, lemon extract, eggs and gel food coloring. Mix well with a whisk and set aside.
- In a large mixing bowl, add the flour, sugar, baking powder, baking soda, salt and lemon pudding mix.
- Cut the almost room-temperature butter into chunks. Turn the mixer on low and slowly add the butter, a bit at a time, to the dry ingredients. Once all the butter has been added, mix on medium to medium-high until all the flour is coated with the butter and the mixture is crumbly. It should have a sand-like texture.
- If the butter is too warm or if it's mixed for too long, it will form a paste and this will not produce a good cake texture.
- Pour about a third of the liquid mixture into the dry mixture and mix on low to medium until well combined…about 30 seconds to one minute.
- Pour the last of the liquid mixture into the dry mixture and mix again only until well combined. Don't overmix the batter at this point. Stop mixing once everything is well incorporated, usually no more than about 20-30 seconds.
- Use a silicone spatula to scrape down the sides and bottom of the bowl. Mix again for only about 10 to 15 seconds.
- Pour the cake batter into the prepared pans.
- Slide the cake pans into the oven and bake at 325 degrees F for about 35-45 minutes ovens vary. A toothpick inserted into the center of each layer should come out clean or with a few moist crumbs on it, but no raw batter.
- Once baked, set the pans on a cooling rack for about 20 minutes, then turn the cake layers out of the pans and let cool completely on the cooling racks before adding any frosting.
For the frosting:
- See links in the notes section for multiple options.
Notes
Nutrition
How to Share
I’d love for you to share this recipe link or tag it, but please do not share screenshots or copy/paste the recipe to social media as the content and photographs are copyright protected and we (bloggers) work really hard on our content. Sharing the link, tagging us on socials and pinning it is super appreciated though!
Tips & FAQs:
Unsalted is always best because you can estimate the proper amount of salt that will be added plus salted has a different water content than unsalted. However, if you’re unable to get unsalted butter, you can use salted in the cake and the buttercream, but omit the additional salt that each recipe calls for.
No. You can omit it, but it does add a bit more lemon flavor if you can add it.
No, just add in a tablespoon of the dry mixture.
Sour cream is best in this recipe, but if you can't get it, you can try using full fat plain yogurt in place of the sour cream.
You can, but the cake will not be very lemony. It's best if you can use the lemon zest.
It's best to use the lemon extract as it gives the cake a nice lemon flavor. You can omit it, but the cake may not has as much lemon flavor.
No, you can omit it, however the cake will not have a yellow look.
Make sure the butter isn't too warm. If it is, then it may turn into paste when mixed with the dry ingredients and then the cake texture may turn out very dense.
This cake is done baking when a toothpick inserted into the center of each layer comes out with a few moist crumbs on it or clean, but no raw batter.
This cake can be made ahead of time and frozen if desired. Let the baked cake layers cool completely, then wrap in plastic wrap and foil and place in the freezer for up to a month.
To thaw, place the wrapped cake layers on the counter at room temperature and let thaw completely, then remove the wrapping. Once defrosted, add frosting.
This cake should be stored in an airtight container or covered well in the refrigerator and can last up to 6 days.
For the tried and true cupcake version of this recipe, see it here: Sour Cream Lemon Cupcakes
Probably although I haven’t tried it out. If you do try it, pour the batter into two prepared loaf pans and bake at 325 degrees F and start checking at around 30 minutes or so, although it may need a bit more time.
Probably although I haven’t tried it out. If you do try it, make sure to grease and flour the bundt pan very well so that it doesn’t stick. Bake at 325 degrees F for the same amount of time although it will likely take longer to bake since a bundt pan is deeper.
Do not pull it out until the cake is fully baked. The cake will be firmer to the touch and not jiggly and a toothpick inserted into the cake will come out either with a few moist crumbs on it or clean.
Yes, however if you want to bake this recipe in two, 6-inch pans, you don’t want to use all the batter as it might overflow the pans since you’ll be using smaller pans. Pour the batter about ⅔ of the way up each 6-inch pan and use any leftover batter to make a couple cupcakes. Make sure to start checking for doneness about 15 minutes earlier, since the pans are smaller. It may not be done that early, but that’s when you want to start keeping an eye on it.
If you have three, 6-inch pans, then just divide all the batter between the three 6-inch pans. The layers will be a bit thinner than usual, so you will want to start checking for doneness about 15-20 minutes earlier, just in case.
Yes, however you will need more batter as this recipe only makes enough batter to fill two, 8-round pans. To get enough batter for the two, 10-inch round pans, just mix up a recipe and a half and then divide the batter between the two 10-inch pans. The cake may need to bake up a bit longer, but just keep an eye on it.
Yes, however the layers might be a little thinner than if you’d baked the batter in two, 8-inch round pans. Also, start checking the cake for doneness about 10 minutes earlier or so, since the batter won’t be as deep in the pans and will bake quicker.
Probably although I haven’t tried it out. If you do try it, make sure to grease and flour or spray the pan, then bake at 325 degrees F for about 40 minutes although that time may need to be adjusted slightly. Keep an eye on it a little earlier and know that it may need to bake a little longer. The cake is done baking when a toothpick inserted into the cake comes out either with a few moist crumbs on it or clean.
Most cakes are best served close to room temperature, especially when made with butter like this one. If the cake is cold, set it out to come closer to room temperature for about 20-30 minutes before serving. You can also pop a slice in the microwave to warm up a bit.
Yes, this cake works well for stacking as long as you use proper supports as you would stacking any cake.
As an Amazon Associate, I earn from qualifying purchases.


Blessing
An absolute five out of five 😘I enjoyed the tanginess the lemon brings to the cake
Kara
Oh awesome! So glad you love it and thanks so much for the great review Blessing!
Janet
When do we add the vegetable oil? I presume with the liquid ingredients, but it isn’t lsted there..
Kara
Hi Janet, oh my goodness yes! I totally missed adding that to the instructions! Thank you for bringing that to my attention. I’ve added it the the instructions now, but you are correct. 🙂
Janet
What a marvelously deeeelicious cake that was!! The lemon flavor in the cake and lemon buttercream was to die for. I am a huge fan of lemon by the way. The other big winner is your cinnamon roll cake – my sister LOVES it! I just want to give you a huge THANK YOU! Since I found your website, I only use YOUR recipes for my cakes and buttercream and have had recurring success, and just as important is the smiles on my family’s faces everytime they see that I am making another one of your cakes – those are priceless 😀
Kara
Oh awesome! I am so happy you loved this one! I wrote this recipe for my grandbaby’s baby shower and spent many days in the kitchen testing out different versions, so I am so glad to hear that you loved it. 🙂
And thank you for the great compliments on the cinnamon roll cake as well! This comment has just made my day. It makes me so happy that your family loves the cakes!
Addison Markert
It was very moist and a great cake for the summer!
Kara
Thanks so much for the great review! So glad you liked it!