
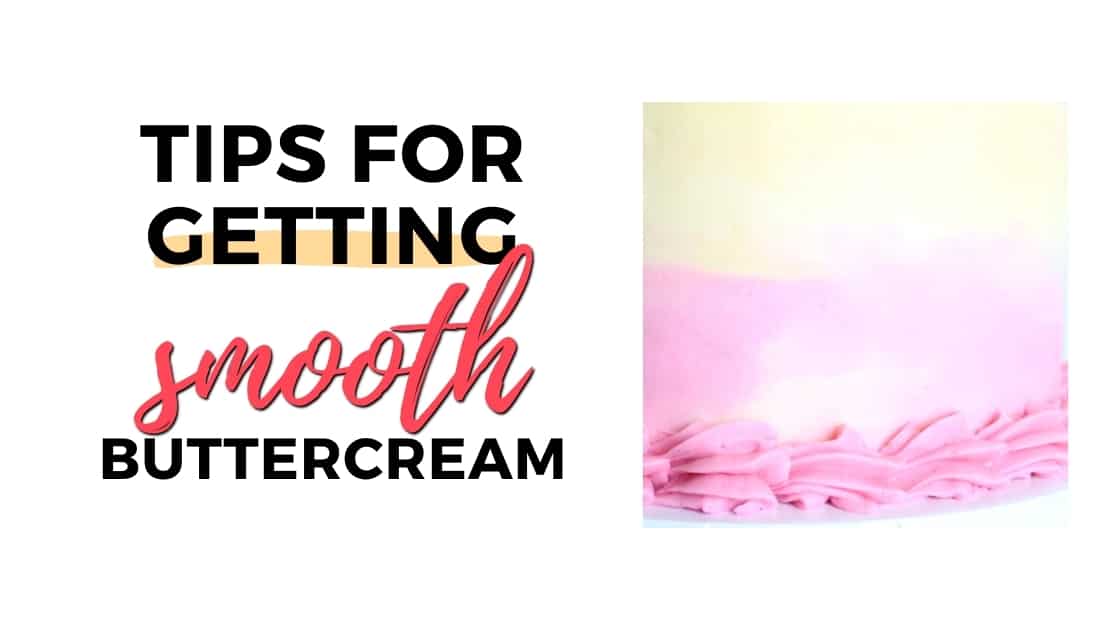
The best cake decorating tips on how to get smooth buttercream frosting on your cakes without those pesky air bubbles.
I’ve gathered my best tips and tricks here to help you get the cake decorating results you want and finally get smooth edges and sides to your cakes, icing without texture and bubbles in it and a silky smooth finish.
A lot of people have trouble getting their buttercream smooth. I hear you…sometimes buttercream just doesn’t want to cooperate and it can really be frustrating.
In this post, I hope to help with those issues and give a bit of a guide to what has helped me in the past and hopefully will be the turning point for you too.
Jump to:
- A word about these tips:
- Buttercream recipes:
- Tip 1 – Use the right mixer attachment:
- Tip 2 – Don’t beat on high:
- Tip 3 – Try using cream instead of just milk or water:
- Tip 4 – If using vegetable shortening, get it very smooth before adding the other ingredients:
- Tip 5 – Smash out the bubbles in a shallow container:
- Tip 6 – Make sure the buttercream isn’t too thick of consistency:
- Tip 7 – Make the filling a thicker consistency
- Tip 8 – Use a good buttercream smoother:
- Tip 9 – Use boiling water:
- Tip 10 – Slow down when smoothing:
- Tip 11 – Try the paper towel method:
- Tip 12 – Keep the buttercream container covered:
- Tip 13 – Use a turntable:
- Tip 14 – Try not to get discouraged
- Video on getting smooth buttercream:
- The Cake Blueprint:
- Other posts you might like:
A word about these tips:
First, these tips are generally for American buttercream, which is what I work with the most. Some of the tips can also be used for other types of buttercream as well.
Second, these tips are in no particular order. Feel free to try all of these out, or a pick a few to start off with and see how they work for you.
In cake decorating, different methods work for different people, so feel free to experiment.
Don’t give up. Getting smooth buttercream does take practice and you will get there.
Buttercream recipes:
To get things started, here are some links to the buttercream recipes I use the most:

Tip 1 – Use the right mixer attachment:
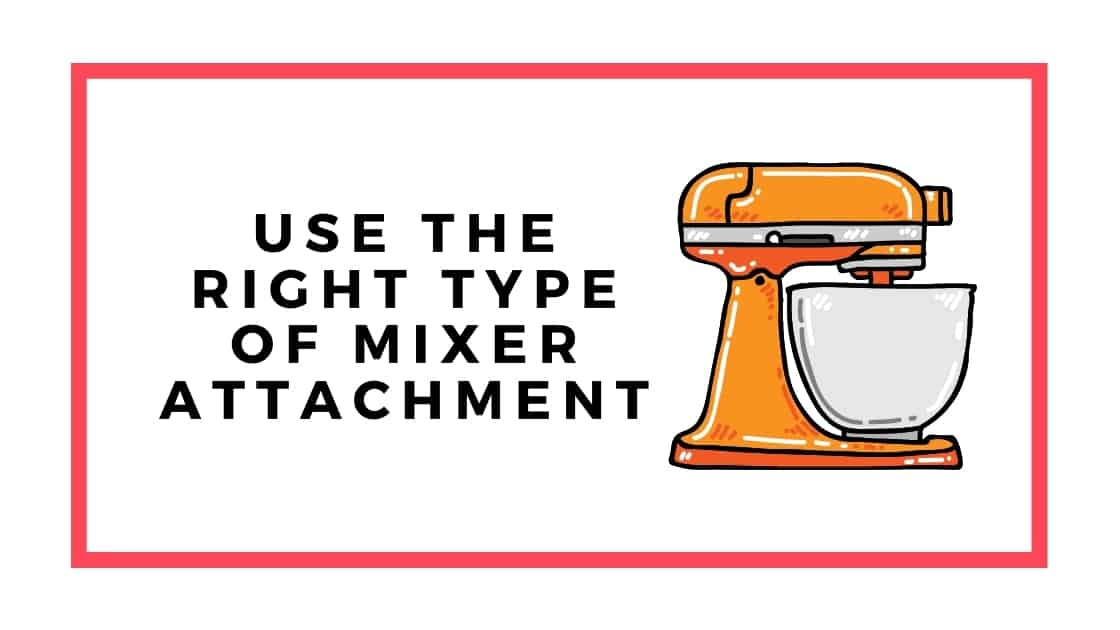
If you use a stand mixer, you really want to use the paddle attachment. Now, I call it the paddle attachment, but really I think it’s called the beater attachment.
It’s the flat mixer attachment and NOT the whisk. (Tip: I also use this attachment when making cake batter.)
Here are some examples with links:
- Beater Attachment
- Flex-Edge Beater Attachment (This one skims along the bowl to get all the ingredients mixed well.)
These mixer attachments are great because they don’t beat in extra air like the whisk attachment. The buttercream just seems to come out smoother.
Now, if you don’t have a stand mixer…it’s really okay. Don’t panic. We’ll talk about other things you can do to get smooth buttercream even if you’re using a hand mixer.
Tip 2 – Don’t beat on high:

Try not to beat the buttercream on super high speed unless you’re going for a very air-filled, fluffy frosting that you don’t mind having air bubbles throughout.
If you’re going for a super smooth buttercream, once all the ingredients are well mixed, you can actually turn the mixer on low and let it run like that for a few minutes to smooth everything out.
Tip 3 – Try using cream instead of just milk or water:

Instead of just adding in milk or water to thin the frosting, try using half & half cream or even heavy cream.
Most of the time, I use milk when I make buttercream, but there are times when I go for the half & half and it seems to make the buttercream creamier and more smooth.
Tip 4 – If using vegetable shortening, get it very smooth before adding the other ingredients:
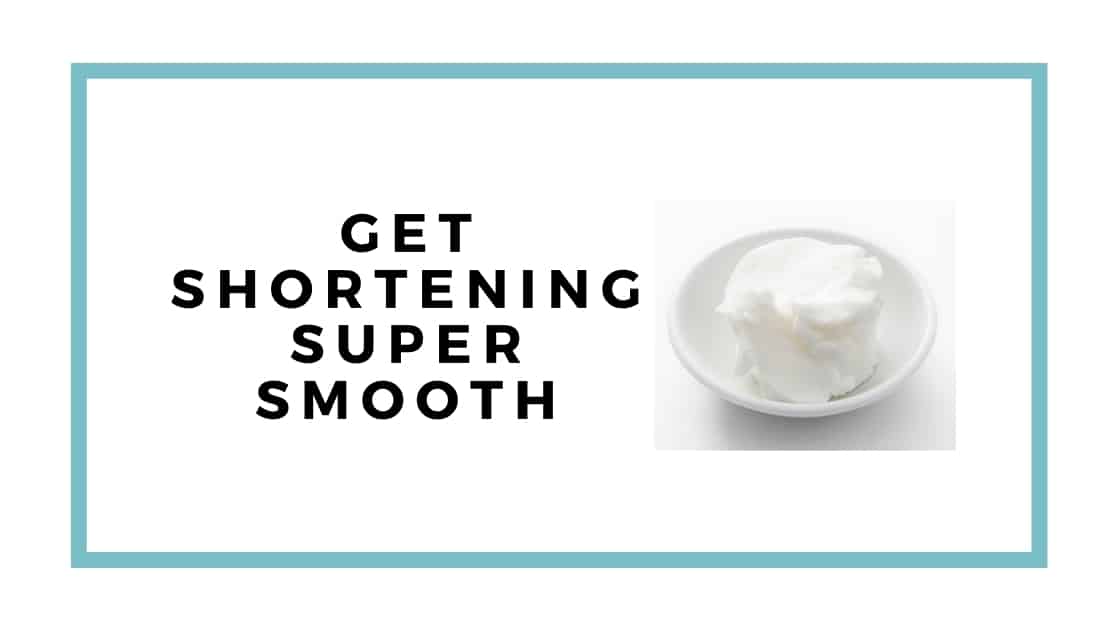
When you’re making heat stable buttercream or pipeable buttercream, you’ll want to sub out either half of the butter or all of the butter for vegetable shortening. This will make it more heat stable and a better piping consistency.
Now, just so we’re clear, I mean vegetable shortening…which is NOT the same thing as lard. I generally only use this when I have to make piped flowers or need the icing to withstand a hotter temperature.
So, when you use vegetable shortening, try to mix the shortening as smoothly as possible first, before adding any other ingredients. You don’t want that clumping up on you.
Some brands of vegetable shortening work better than others. Weirdly enough, I find that Walmart’s store brand works better than the name brand.
Tip 5 – Smash out the bubbles in a shallow container:

Alright, this tip may sound a little weird and if you’ve read my 7 Tips to Make Your Cakes Look Professional printable, then you’ve seen this one.
Transfer the buttercream into a shallow container (like a large plastic food storage container) kind of like this one linked here: Snapware 8-Cup Airtight Rectangle Food Storage Container, Plastic
I also like using those McCormick plastic containers (with the red lids) that you can get at the Dollar Tree. You can find pretty large and shallow containers there and they’re good for this purpose.
So, what you’ll do is to use a flat rubber (silicone) spatula and sort of smash the icing down with it.
Here’s a link to the type of spatula I’m referring to silicon spatula with wooden handle
So stir the buttercream around with the spatula first, then mash the buttercream to smash out any bubbles that might be in it.
I know this may sound weird, but it works for me and it gets the buttercream super smooth.
You can check out my Youtube short below to see what I mean.
Tip 6 – Make sure the buttercream isn’t too thick of consistency:
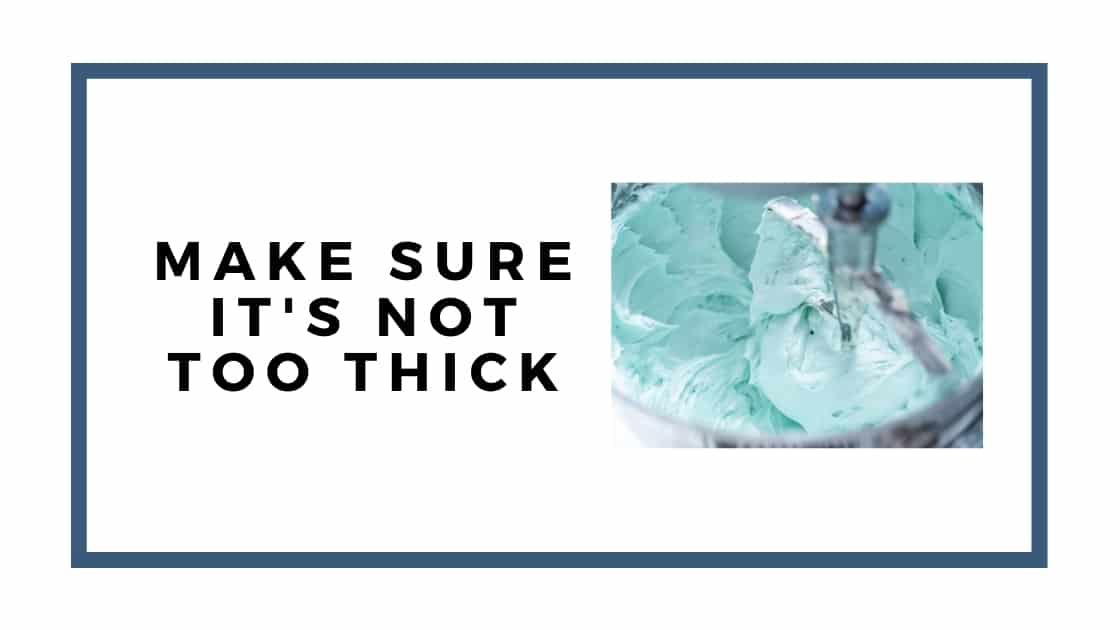
This is a biggie here. You don’t want the buttercream to be too thick of a consistency.
This isn’t scientific, but I’ve found if the buttercream is a little too thick in consistency when you try to smooth it, you’ll get some bubbles.
Try adding a bit more milk or cream and mix it well again to see if it gets smoother. Now, don’t go adding in a lot of milk or cream because it can make the buttercream too thin real quick.
Just add in about a teaspoon of milk or cream at a time and check after that.
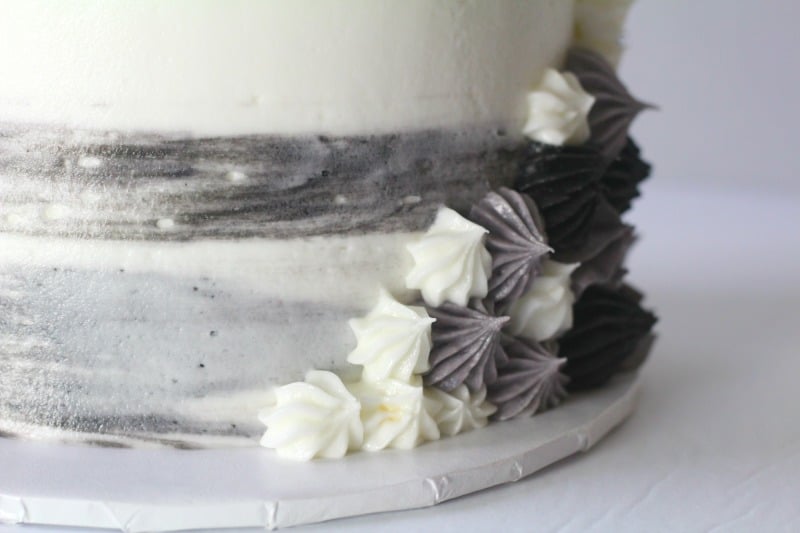
You can see what I mean in the cake below. The buttercream is just a little too thick a consistency and it would have been better had I added a tad bit more milk or half & half and worked at mixing it with my rubber spatula.
Tip 7 – Make the filling a thicker consistency
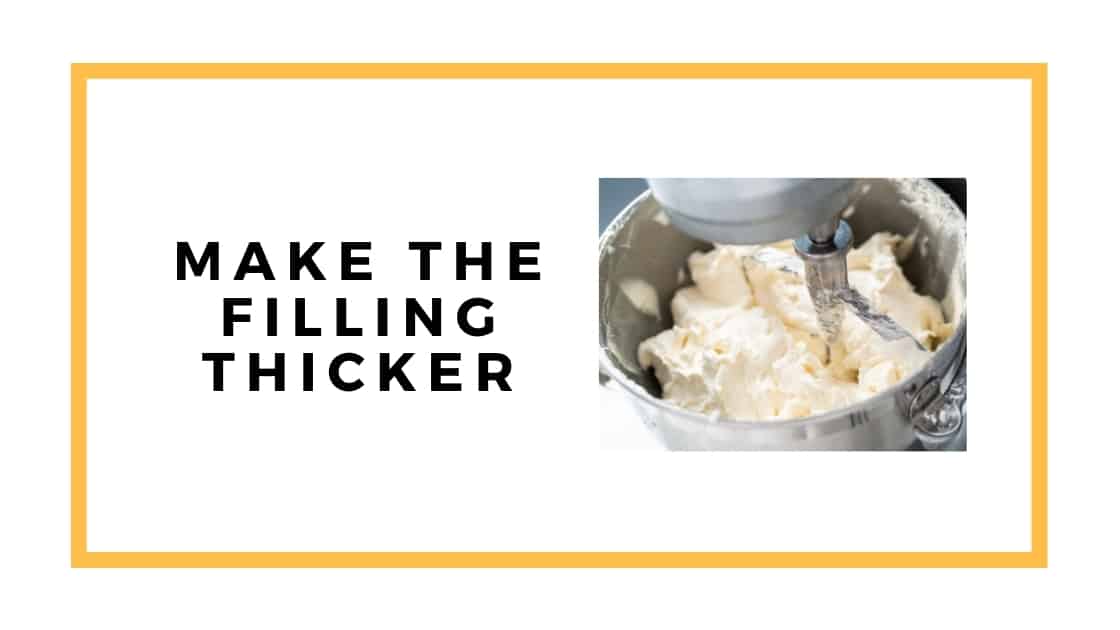
This tip will actually help keep you from getting those dreaded icing ridges around the cake. You know those rings that show after you’ve smoothed your cake where the icing sort of smooshed out between the cake layers.
To help keep this from happening, you can make the filling between the layers a little thicker consistency than the icing around the cake.
In addition, to doing that, you also want to let the cake settle before icing the outside of the cake.
To see more on how to do that process, you’ll want to check out this post: Should I Refrigerate My Cake Before Frosting It?
That will also keep you from getting those icing ridges around your cake once you’ve iced it completely. That will all help you get a smooth finish to your cake.
Tip 8 – Use a good buttercream smoother:
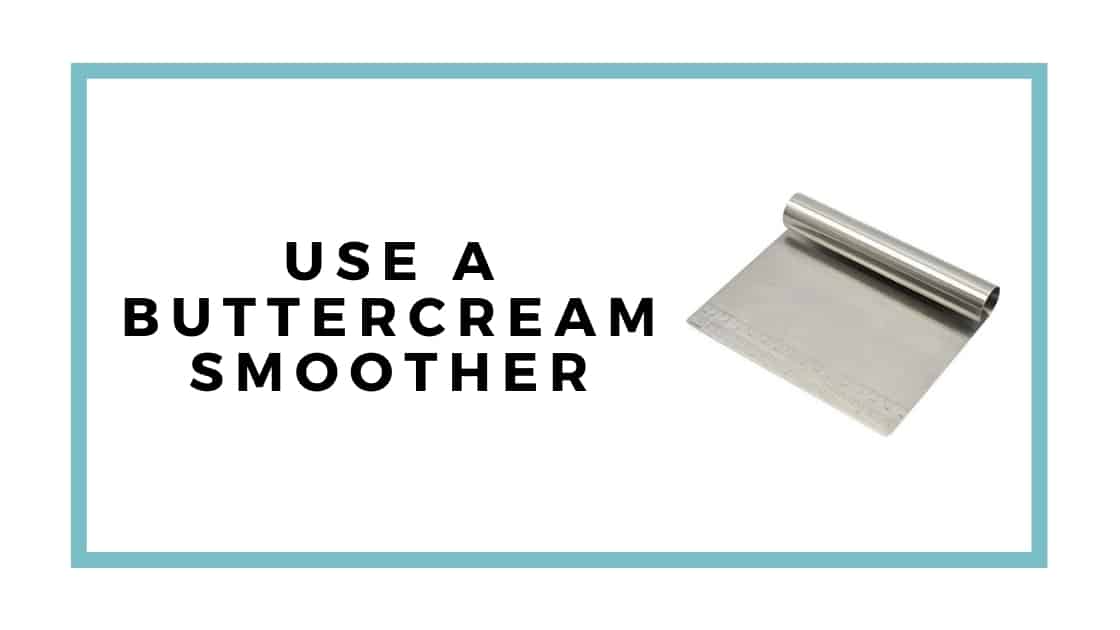
You definitely want to use a good smoother. Now, a good smoother might be different for you than it is for me. Everyone has their preferences.
(By the way, I have tried one of those acetate smoothers and while they seem to work great for others, they’re not my favorite.)
I personally have a plastic and metal smoothers. Both work well for me. The great thing about the metal smoother though is that you can heat them up with boiling water, dry them off and use that to smooth your icing. (More on that in a bit.)
Here are some buttercream smoothers to get you started:
Tip 9 – Use boiling water:
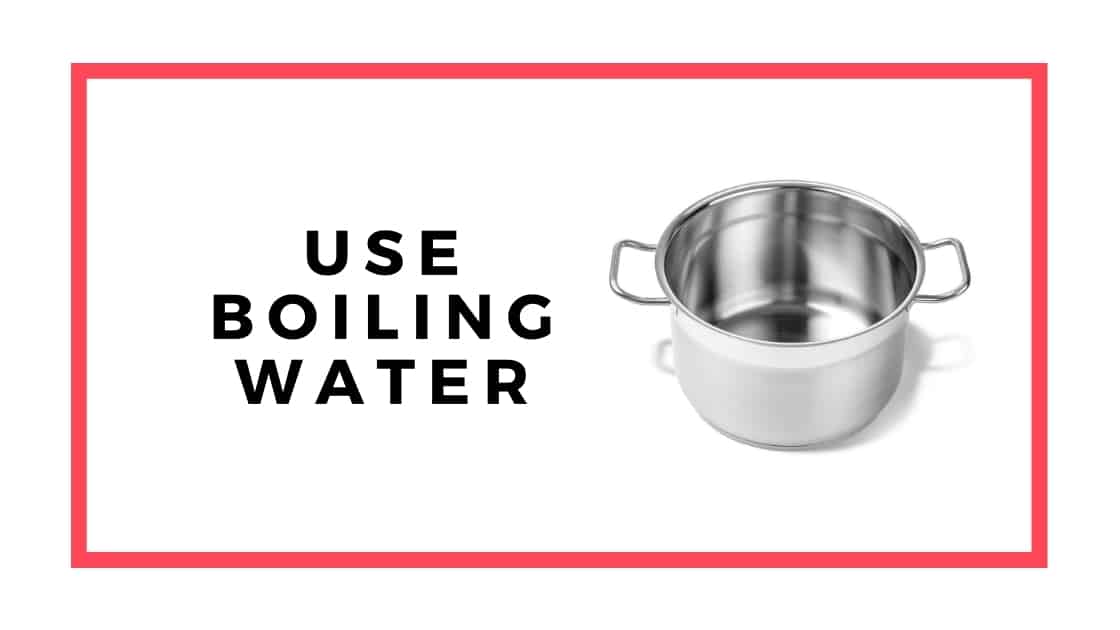
You can use boiling water to heat your smoother, wipe it off and then smooth it around the cake to get a smooth surface.
Obviously, you’ll have to use the metal smoother for this tip though as the plastic or acetate ones, just won’t get hot enough.
This also helps if you have bubbles in the buttercream. One quick note though, I generally only like to use this method if the buttercream is white. It sometimes discolors dark buttercream.
Tip 10 – Slow down when smoothing:

This is a big one. Don’t try to smooth around the cake super fast.
Sometimes that causes more bubbles. Try actually going around a little slower and see how that works for you.
Tip 11 – Try the paper towel method:
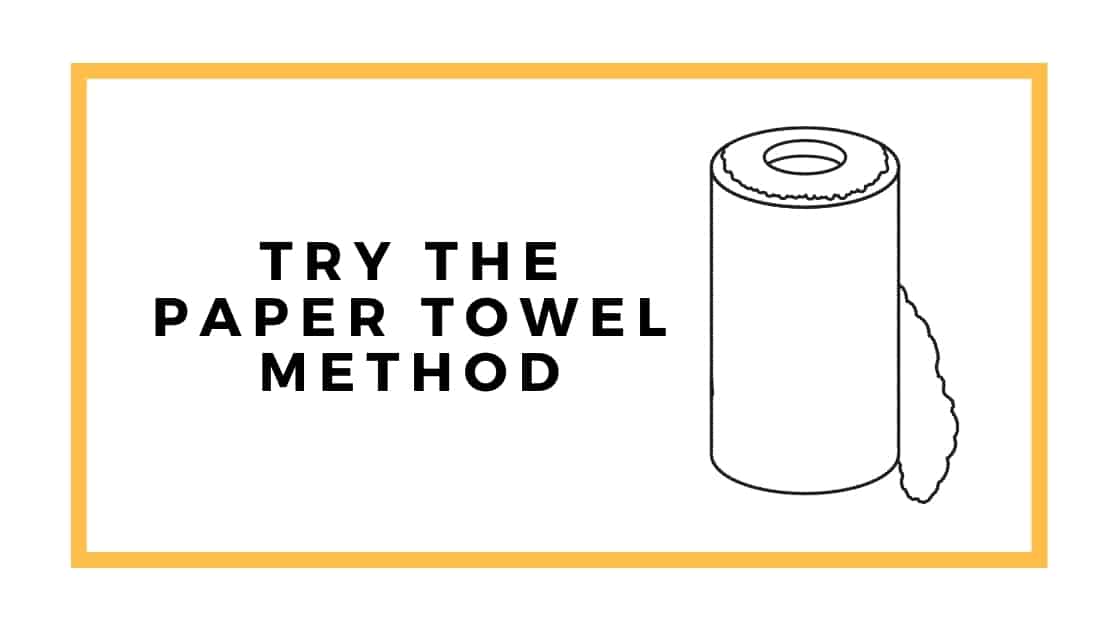
Once the icing is set (and you’ve let it dry if you used the hot water technique) you can try the Viva paper towel method.
This works particularly well for the tops of cakes to get them super smooth.
You’ll want to use a paper towel that doesn’t have a pattern on it and that’s why most people like Viva paper towels for this technique. Just make sure the icing has crusted over (dried a bit) before you use this method.
Lay the paper towel on the top of the cake and then use a fondant smoother, a buttercream smoother, or your hand and just lightly smooth over the paper towel. This will give the cake a more smooth surface.
Once you get it smooth with the paper towel, you can then use a sheet of plain copy paper if you want. Just use it in the same way.
Tip 12 – Keep the buttercream container covered:
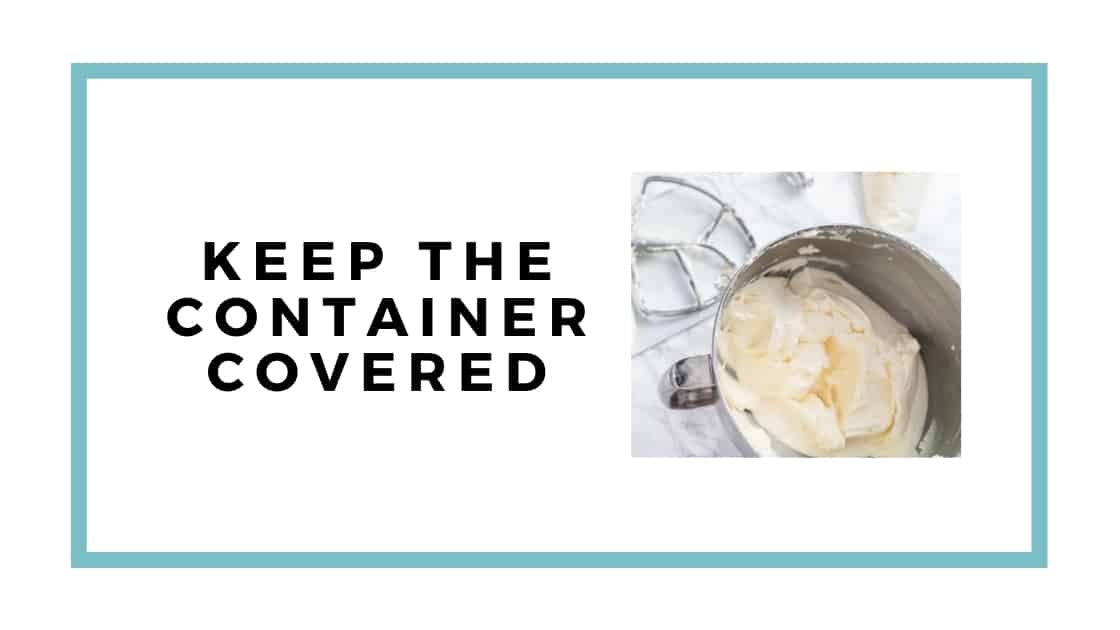
Don’t leave the container of icing uncovered. I know this probably goes without saying, but if you leave it open to air before you spread it on the cake (especially if it’s made with shortening), it’s going to crust, and then when you go to stir it or ice the cake, it won’t be smooth…it just gets grainy.
Tip 13 – Use a turntable:
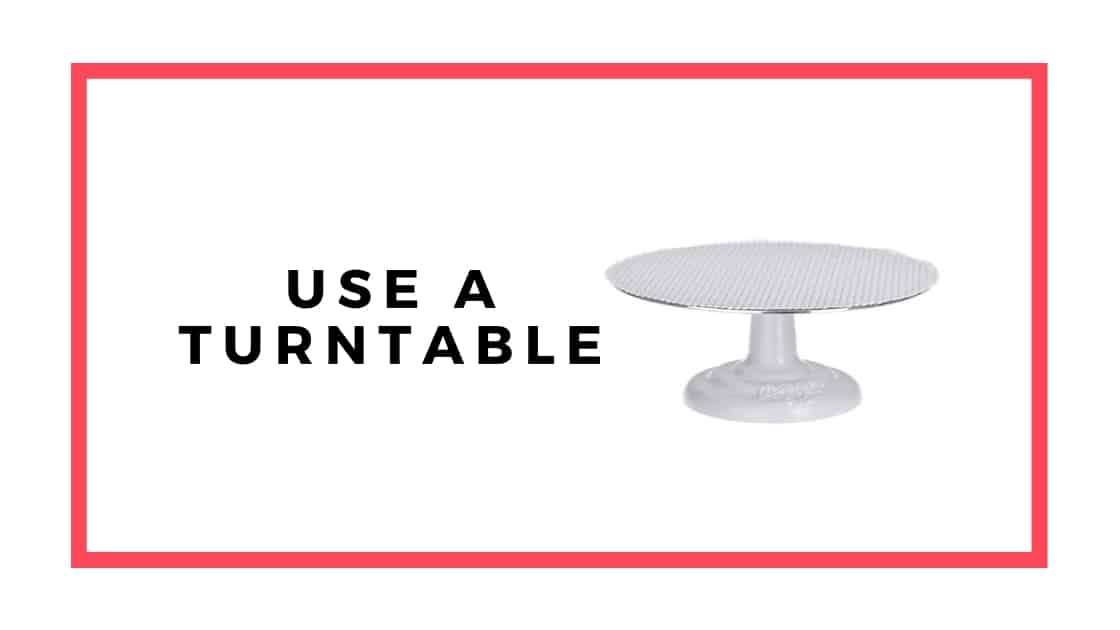
This is the most important tool I use. I could not decorate without a turntable. I actually have two.
If you’re just starting out and don’t want to spend much, you can get an inexpensive plastic turntable to start with. These don’t turn as smoothly, but it’s a good option when starting out with.
Here’s the link to the Wilton turntable: Ateco plastic turntable
I personally prefer the metal turntables. They’re more heavy-duty and tey spin much more smoothly.
Here are some links to several metal turntables:
Tip 14 – Try not to get discouraged
Getting smooth buttercream takes time and patience. No one is going to be good at it right off the bat.
The very first cake I made in which I tried to get the buttercream smooth, I got so aggravated that I just completely gave up and threw the icing spatula down.
The thing is, I kept going and things continually improved. So, what I’m trying to say is to keep going. Try as much as you can to enjoy the process and I promise it will get easier and easier.
Video on getting smooth buttercream:
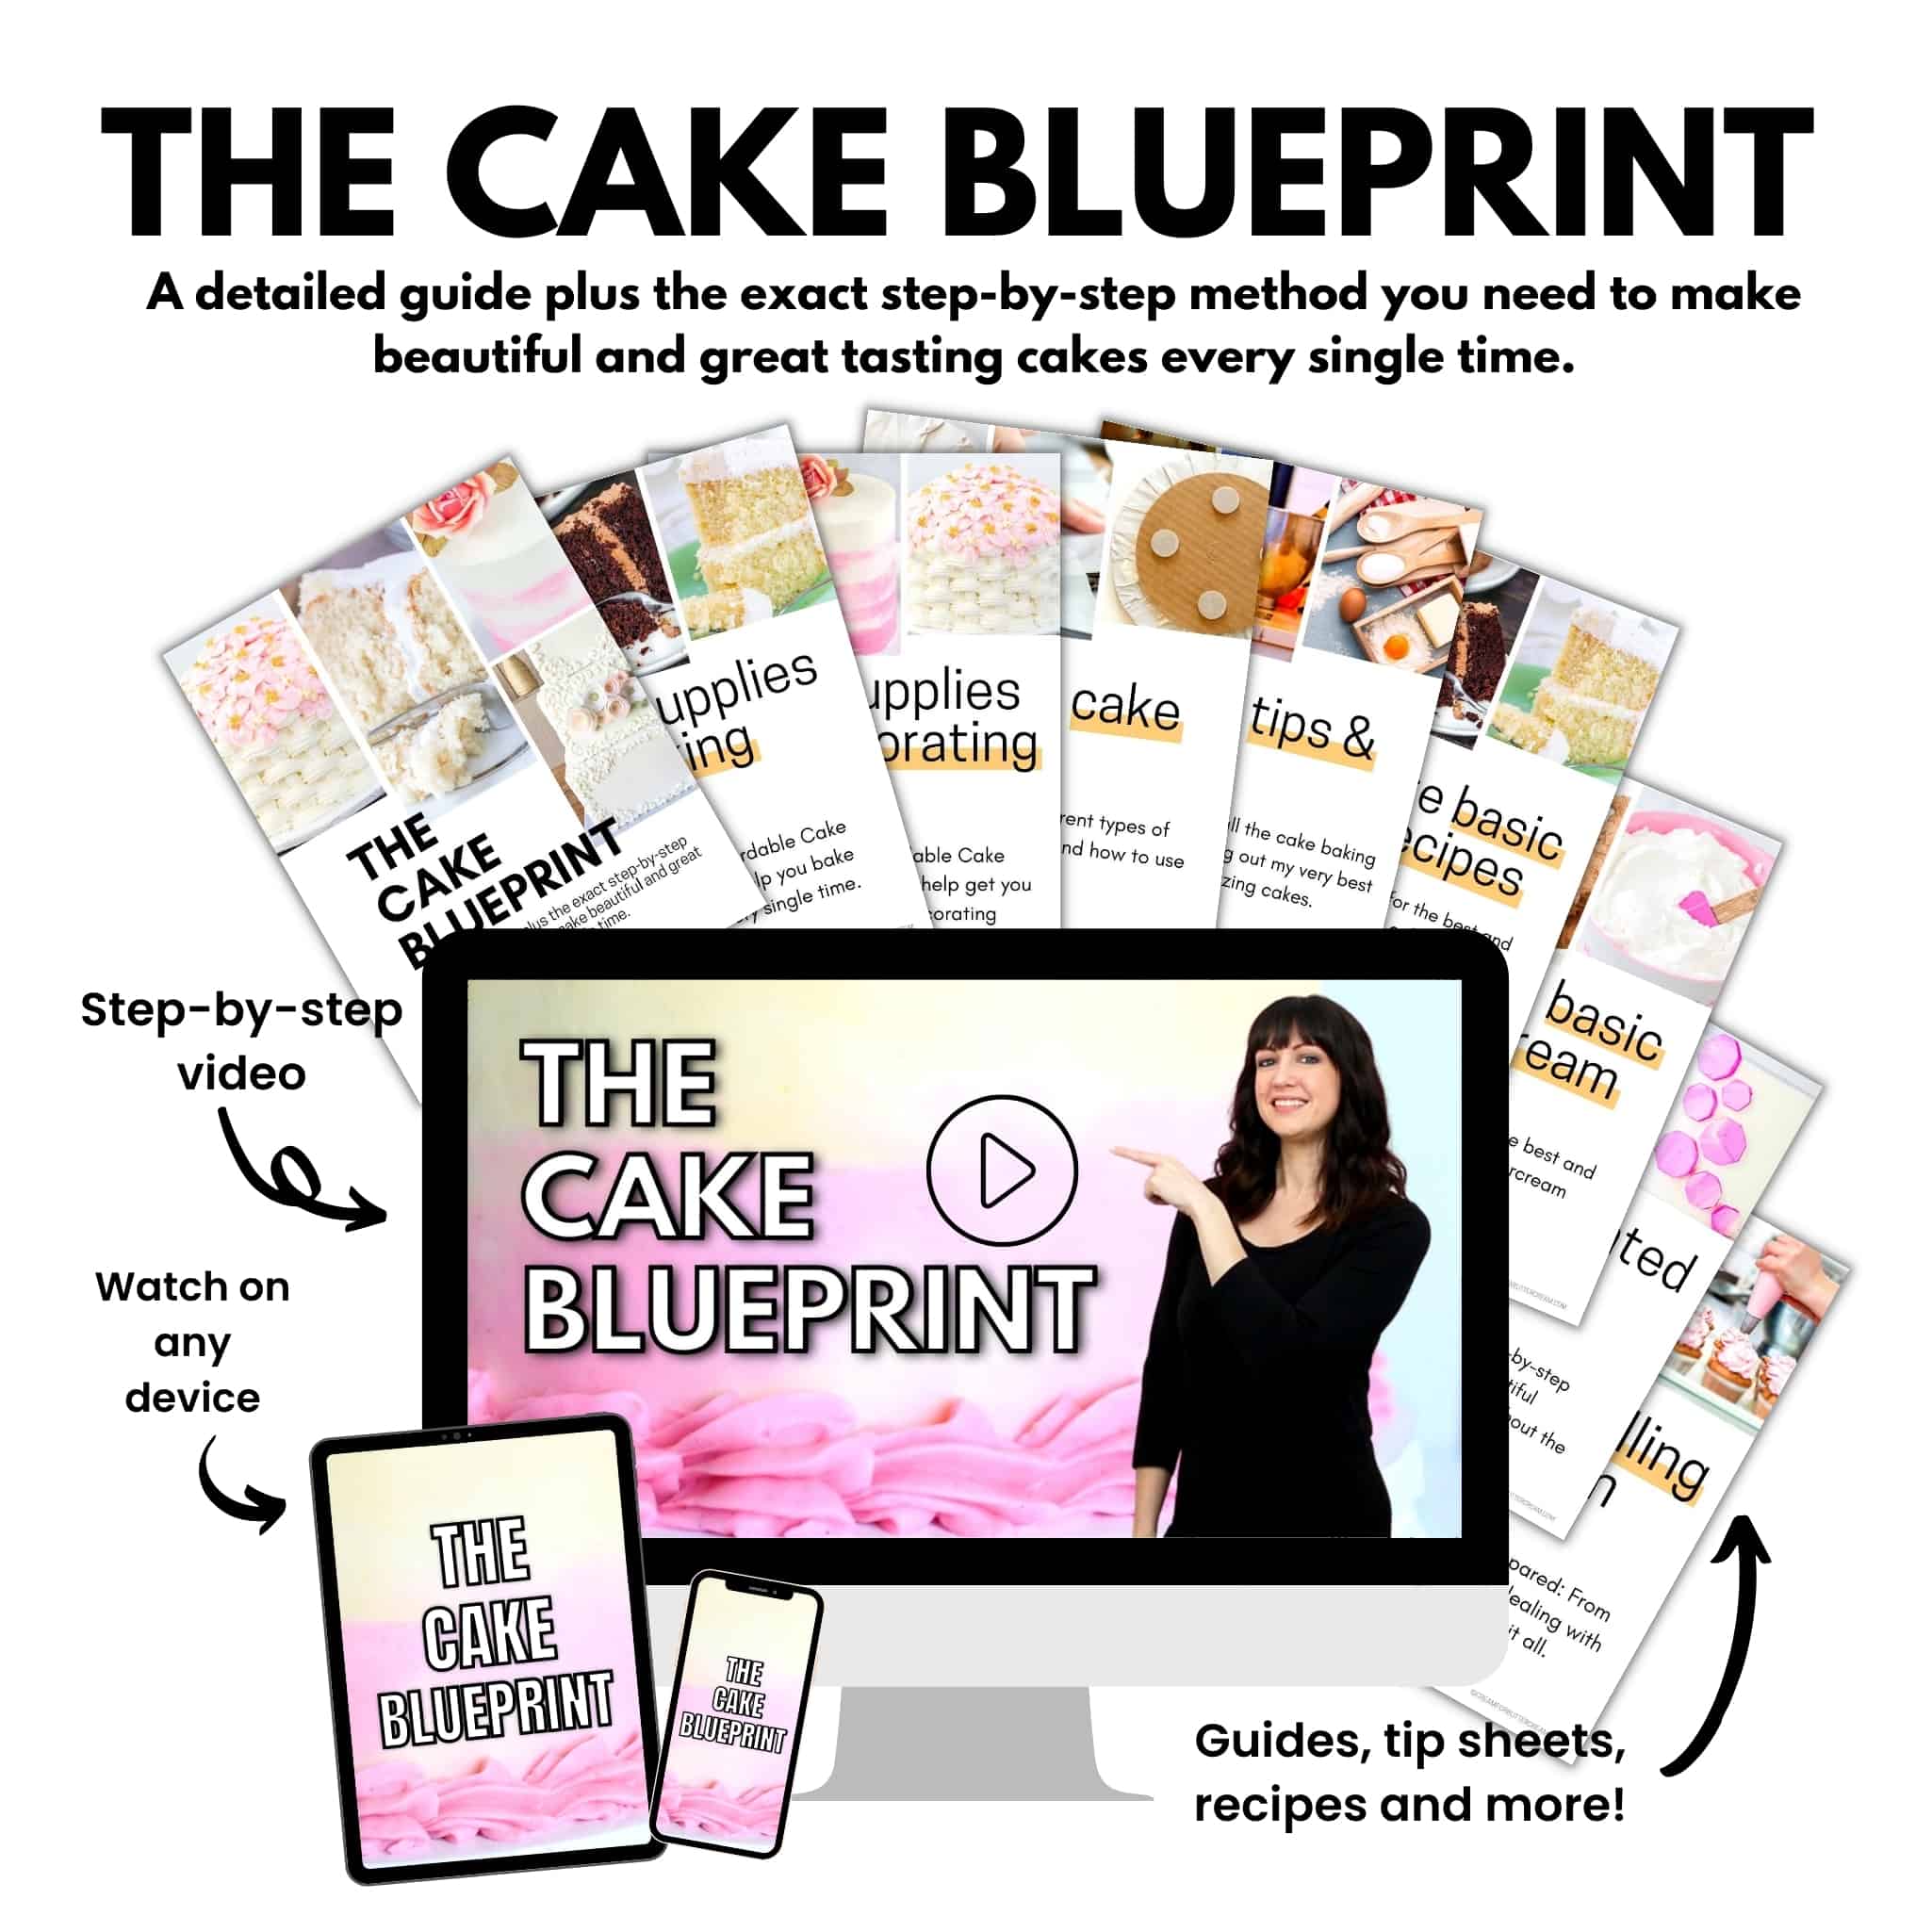
The Cake Blueprint:
If you found this post useful, I’ve got an entire guide plus video for my ‘cheater method’ for getting smooth buttercream on your cakes, without buttercream blowouts and icing ridges in my Cake Blueprint.
This method will show you how to get sharp edges, smooth and straight sides and a smooth top on your cake the easy way.
Now, what if your cakes don’t come out perfect? Don’t you worry about it, because do you know what? NO cake is ever going to be absolutely perfect and that cake is gonna taste delicious either way! 🙂
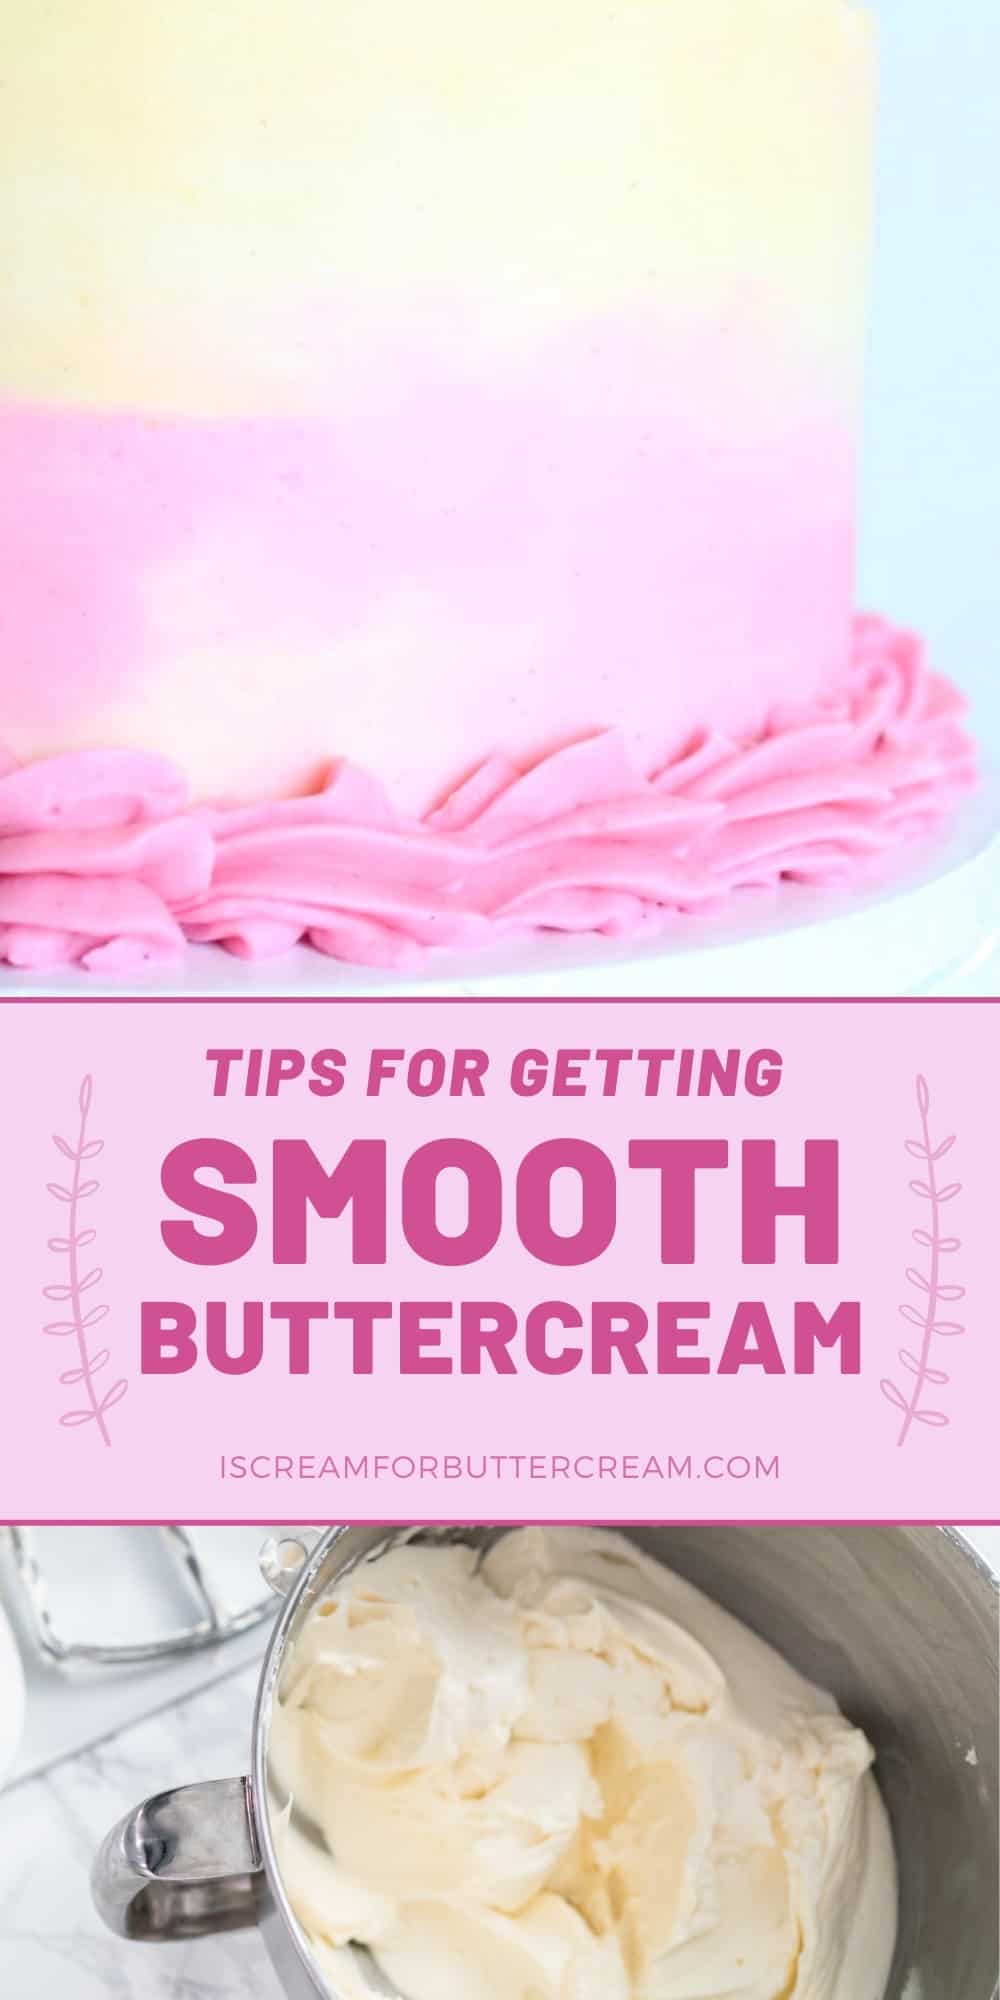
Don’t Forget to Pin it for Later!
Sheena
Thank you for the wonderful tips and tricks. Just what I was looking for!
Kara Jane
You’re so welcome! 🙂
Beebar
Thanks for the most amazing tips.Great job ma’am.???
Kara Jane
You’re so welcome and thanks for the lovely comment. ?
Pamela Bechard
I use a paint roller to smooth the top. Small 4 inch roller.
Kara Jane
Oh yes, I’ve heard of this, but never actually tried it. I’m glad to know it works!
Sharon
Good day, thank you for your really helpful tips. I want to know what I can do to ensure my cake still rises if it’s not baked immediately its mixed. I have a small oven so only one pan can go in at once. Thank you.
Kara Jane
Hi Sharon, some recipes don’t last long after they’re mixed up. If the cake batter calls for baking soda, you may have trouble with your cake rising properly if you don’t bake it right away. It might be okay if you have to pop the batter into the fridge for a short amount of time, but not for too long. Cake mix cakes don’t seem to be as bad though and cakes using mostly baking powder (not baking soda) seem to be able to tolerate not being baked as soon as you mix them up.
Suzanne
I will use a piece of parchment paper just like you use the paper towel method, works just the same. But be sure to let your buttercream set up a bit first before you use this method or else the parchment paper will likely stick to your buttercream. Patience is a virtue, hang in there! ?
Kara Jane
Great tips! It’s really good to know parchment paper works just as good!
Anika
How to get rid of buttercream condensation or moisture? After the first coat I put the cake inside the refrigerator, so that for next coat it’s set. But when I try to scrape the buttercream for smoothness the colour of buttercream changes and leaves different shades of colours.
Kara Jane
Hey Anika, yes I’ve always had the same problem when I chill cakes, which is why I really don’t chill them anymore. The only reason I chill cakes is if I’ve got a perishable filling, or if it’s super hot in the room for some reason. I do have a post that goes into detail about that if you want to check it out. It may help. Here’s the link: https://iscreamforbuttercream.com/should-i-refrigerate-my-cake-before-decorating/
Gena
Fantastic tips! I have no clue why anyone would be so negative about how you choose to prepare your buttercream! Baking is positive and fun and negativity not allowed. Sheesh! To each his own and I believe your tips will help me greatly since I live in a state with strict cottage laws. I can’t use dairy in my home bakery, so butter is OUT! Thanks for this!!
Kara Jane
Hi Gena, thanks so much for that! I really appreciate your positivity and I totally agree!
Adita
Hi I see you use Walmart brand of shortening? I been using the Sweetex brand, I mean isn’t there a difference?
TY
Kara
I use Walmart brand because I feel like it works better than Crisco. With that said, I think Sweetex is even better quality. I just don’t need to buy shortening in bulk so I go with the walmart brand because it’s easier for me to grab when I need it. Sweetex works and a lot of people love it, so if it’s working for you, keep using it. I think it’s actually a higher ratio shortening, which is beneficial to getting smooth buttercream. They banned trans-fats here so the shortening just isn’t the same and where I live, I just don’t have access to higher ratio shortening without ordering it online and I just don’t use enough to do that. I hope that helps.
Doris
Does Walmart brand shortening give the same results and Sweetex high ratio shortening when making heat proof frosting? And does Walmart brand shortening leave a greasy taste in your mouth when making heat proof frosting?
Kara
I’m not sure if I ever used the exact Sweetex brand, but I have used high ratio shortening before. With Sweetex, being a high-ratio shortening, I’m sure it probably works better than the Walmart brand. I can’t get Sweetex or any high-ratio shortening here where I live unless I order it online in bulk. I don’t make enough of the shortening icing to do that, so I just go with the Walmart brand. To me, the Walmart brand is better than the Crisco brand, but it’s not the absolute best you could get. If you have access to a high-ratio shortening, then get that. To me, all shortenings leave a greasy feeling, even the high-ratio ones, but that’s just me. I would agree though that Crisco and probably any store brand shortening would not be as high-ratio and therefore would probably leave a little more of greasy feeling, but that’s just my guess. Hope this helps.
Adita
For those looking for Sweetex I am in the US and finally be getting it on line in small batches at http://www.countrykitchensa.com I am loving the Sweetex brand
Kara
Thanks for that tip Adita!
Adita
You’re very welcome 🙂
Ann
Thank you for the good tips!!!