
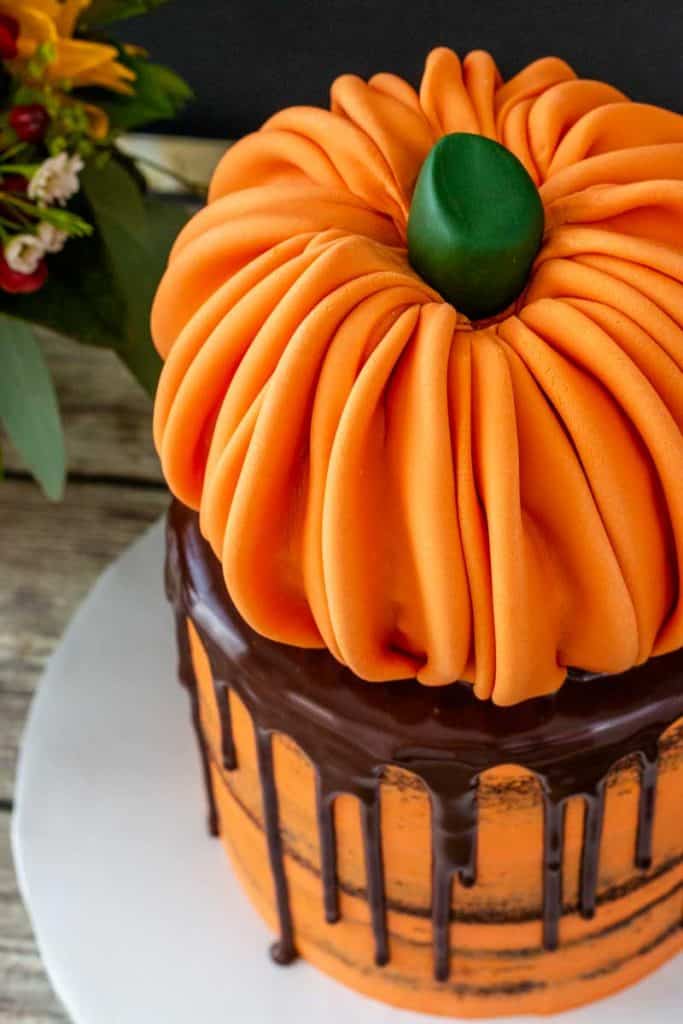
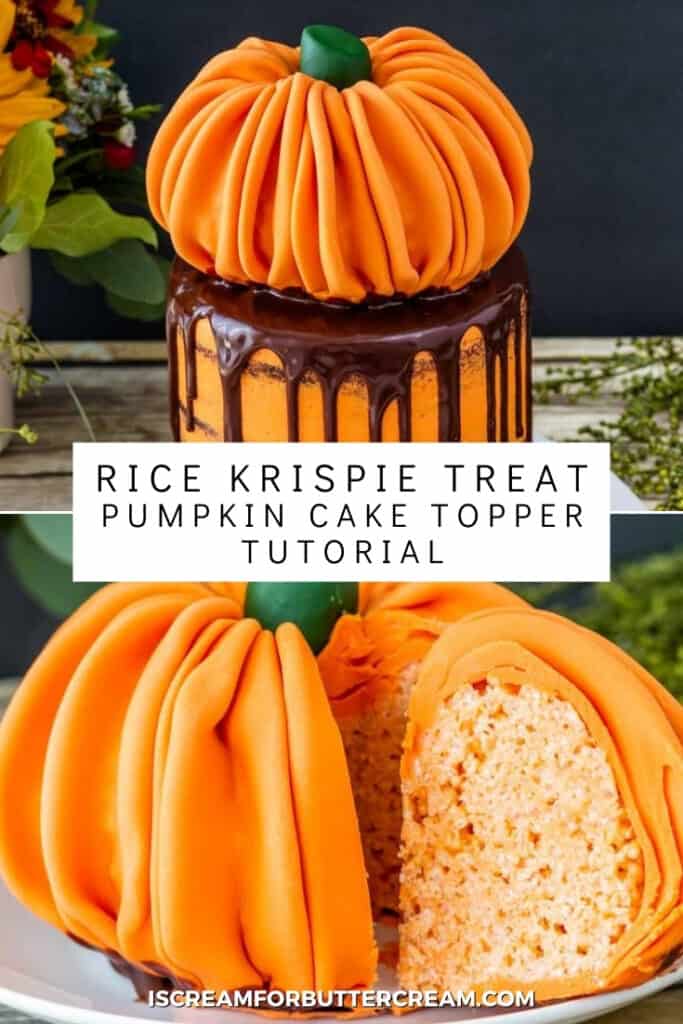
This rice krispie treat pumpkin cake topper is so fun for Halloween or any type of fall occasion. The fun part is you can actually eat the pumpkin! You’ll love making this fall cake with the kids and it’ll make a big statement at your next party.
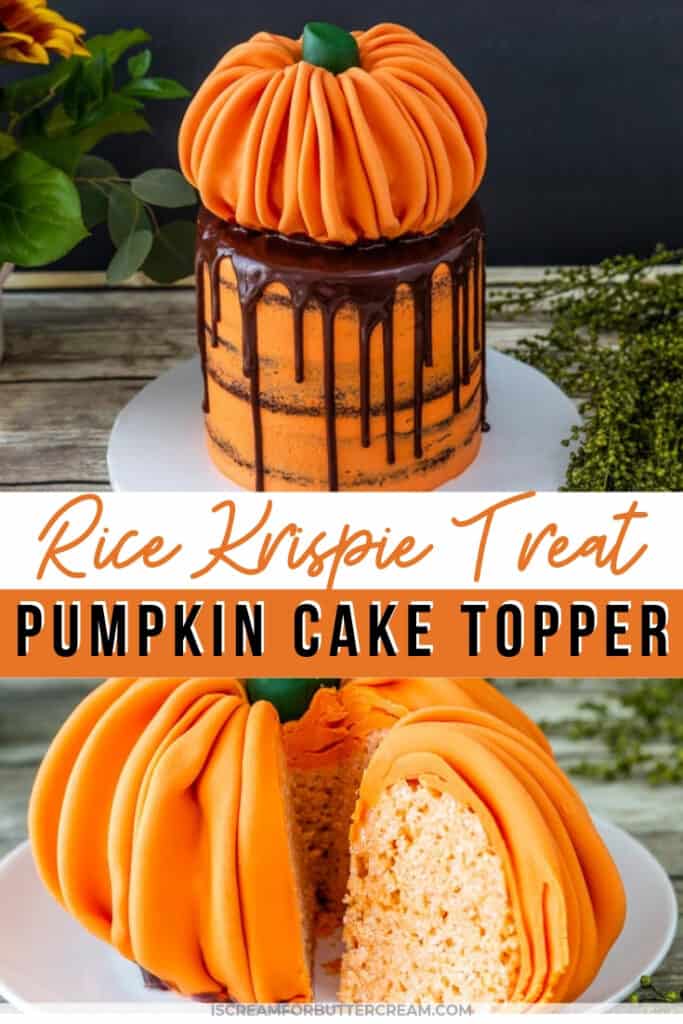
Want a pumpkin cake that’s REALLY fun to eat? This isn’t your normal pumpkin shaped cake. This is a pumpkin cake topper that is actually made from rice krispie treats! No one will expect it, but everyone will want to eat it.
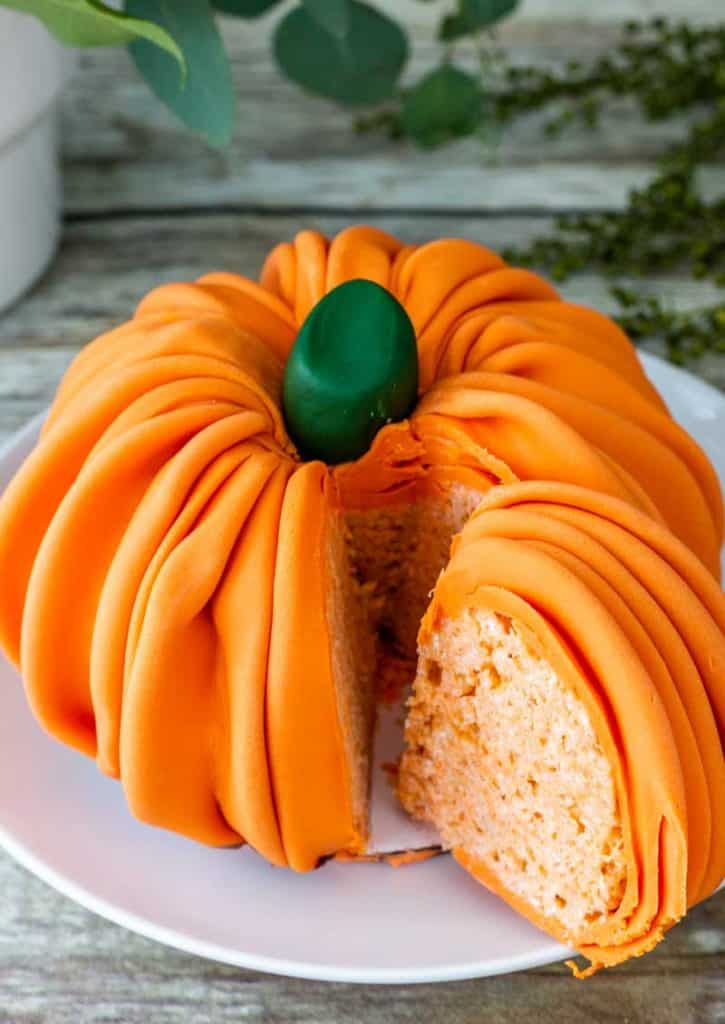
The pumpkin is formed from rice krispie treats with a little added candy melts to strengthen it. Then you’ll roll out orange fondant and drape it around it to get that pumpkin look.
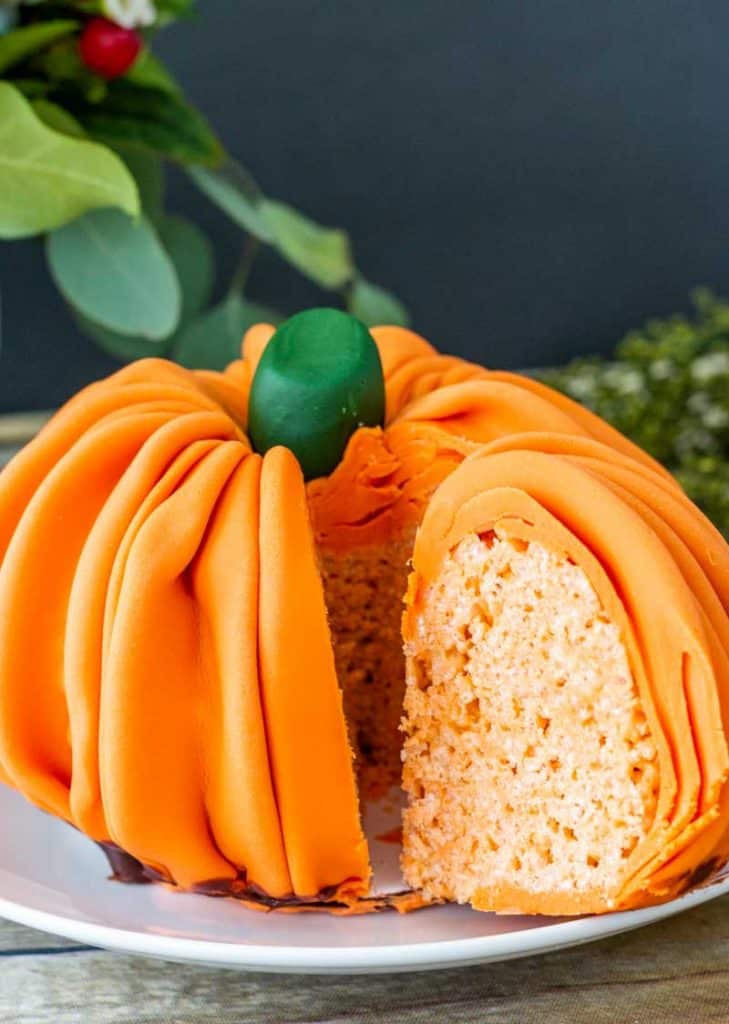
This tutorial is not hard to do, but the pumpkin does take a little time to complete. The finished look is so cute though, and no one will expect that the inside is rice krispie treats.
The pumpkin itself will actually sit on it’s own small cake board, so it can be lifted off the top, cut up into pieces and served.
For the cake, I went with chocolate this time. You can find my go to chocolate cake recipes here: Chocolate Butter Cake and Easy Double Chocolate Cake
I then covered everything with orange tinted buttercream. You can find that recipe here: Vanilla Bean Buttercream
This is really where you can have all the fun and make this in any flavor you want.
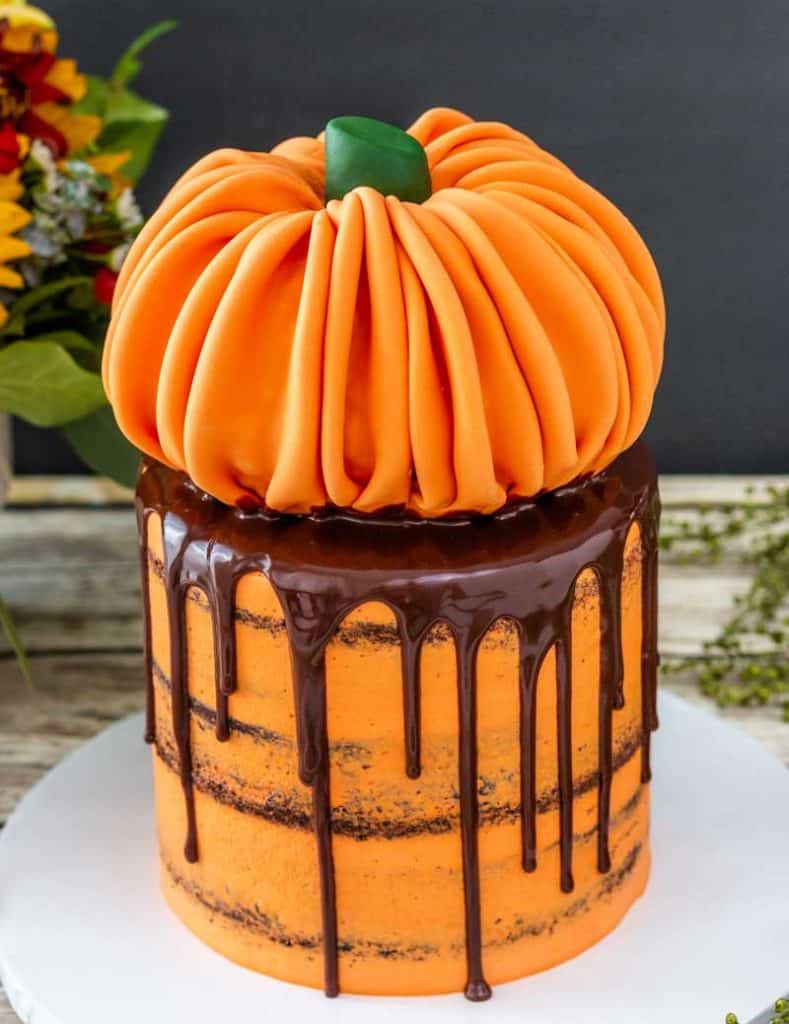
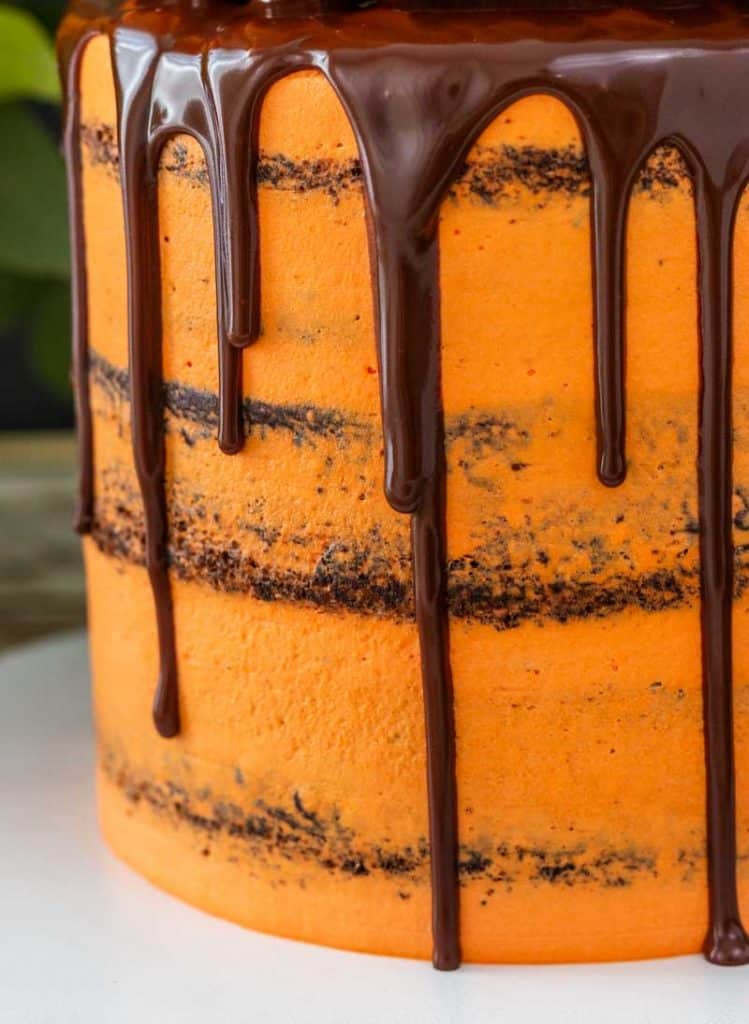
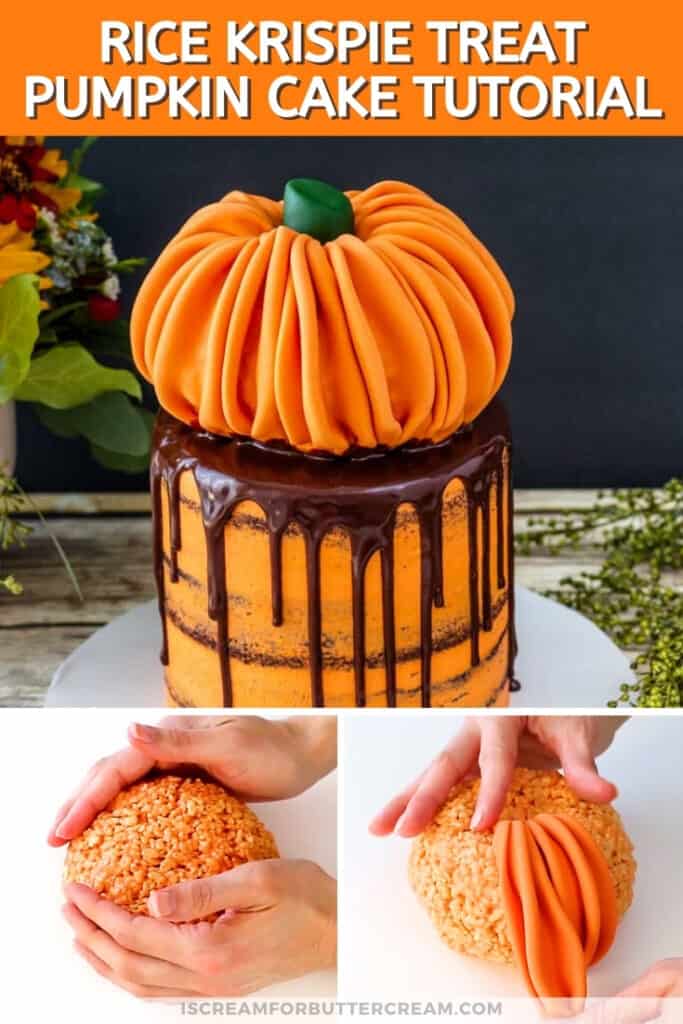
I really wanted to give it a wow factor by adding in some drippy chocolate. It’s so easy to make it…you’re just adding equal parts chocolate and heavy cream and melting it all together. I used 10 oz of each and it gave me plenty.
I’ve included screenshots below of the whole process, but don’t forget to scroll to the end of this post, so you can see the video as well.
Ok let’s get started with the tutorial:
As an Amazon Associate, I earn from qualifying purchases.
Supplies for the Rice Krispie Treat Pumpkin Cake Topper:
- Rice Krispie Treat Ingredients: 2 tablespoon melted butter, 2 cups mini marshmallows, ½ cup orange candy melts, 3 cups rice krispies cereal
- Orange Fondant
- Mini Pizza Cutter or a Knife
- Small Fondant Roller
- Small Cardboard Cake Round
- Small Amount of Green Fondant
- Scissors
- Baked Cake Layers (I used 6″ cake rounds, but my pumpkin ended up larger than I thought, so in hindsight, it would have worked better with 8″ round cake layers.) Recipes: Chocolate Butter Cake & Easy Double Chocolate Cake
- Buttercream (I just made one recipe and tinted it orange) Recipe: Vanilla Bean Buttercream
- Icing Spatula Set
- Buttercream Smoother
- Cake Turntable
- Bubble Tea Straws
- Chocolate Drip Ganache (I used 10 oz. semi-sweet chocolate and 10 oz. heavy cream. Melt them and let set up a bit.)
- Squeeze bottle (This really helps get the ganache onto your cake in the spots you want it to go.)
Making the Rice Krispie Treat Pumpkin:
- 2 tablespoon melted butter
- 2 cups mini marshmallows
- Approximately ½ cup melted candy melts (I used orange)
- 2 cups rice krispies cereal
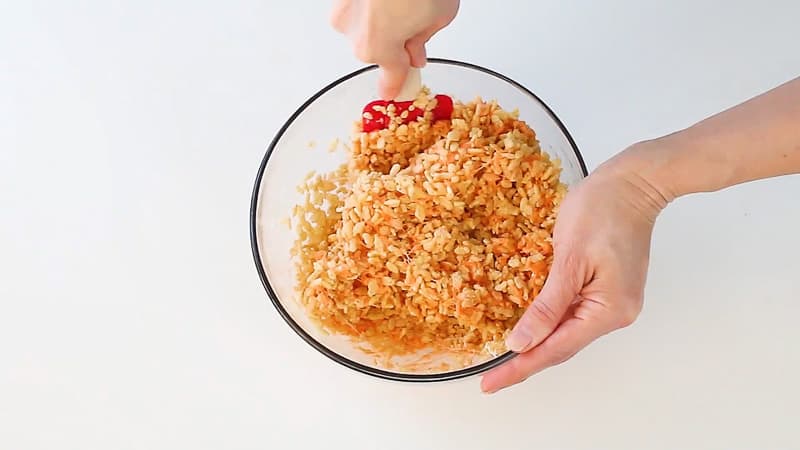
First you’ll want to add your melted butter and the marshmallows into a large mixing bowl. Heat in the microwave in 20 second intervals and stir until it’s all melted and combined.
Add in the melted orange candy melts. This is added to give your pumpkin some stability. it will make it harden up a bit more.
Next, add in the rice krispies cereal and mix well.
You’ll need to get in there with your hands eventually. Just make sure your hands are clean and rub them with a little shortening, so everything doesn’t stick to you.
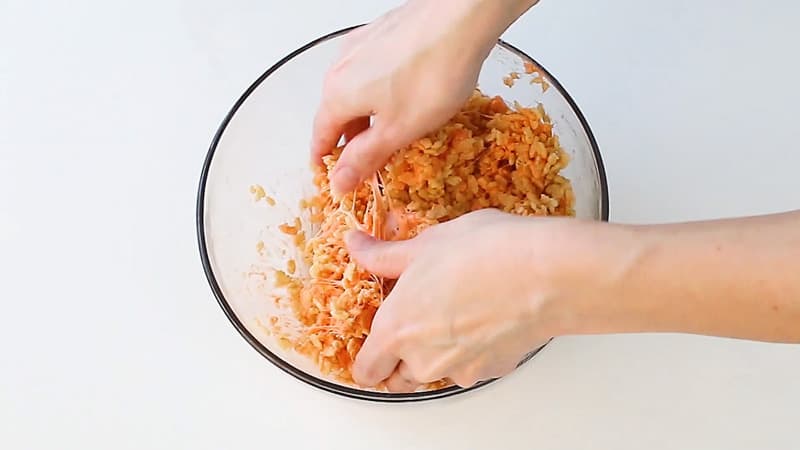
Once it’s all mixed well, pick up the mixture and set it on a work space. It’s good to also grease your work space.
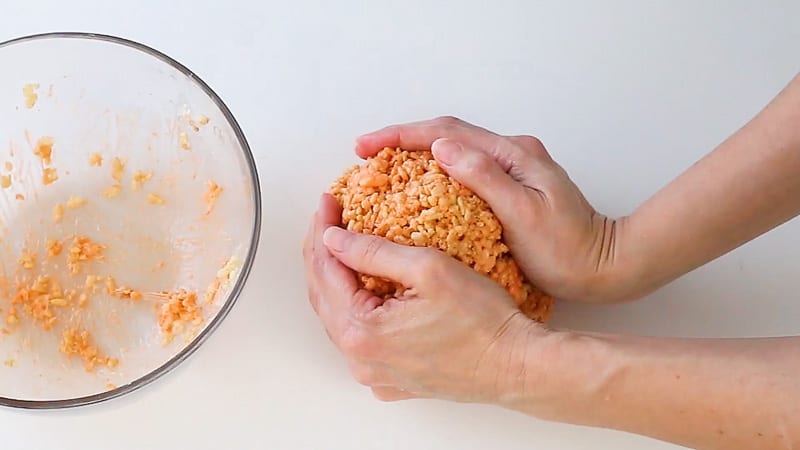
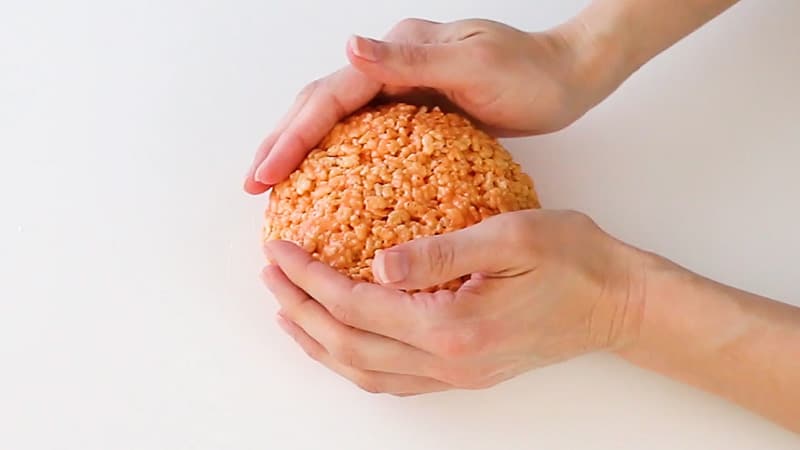
Next you’ll want to really push everything together in the shape of a ball, but kind of a flattened ball. You’ll want everything compact, so really push it all together when you shape your pumpkin.
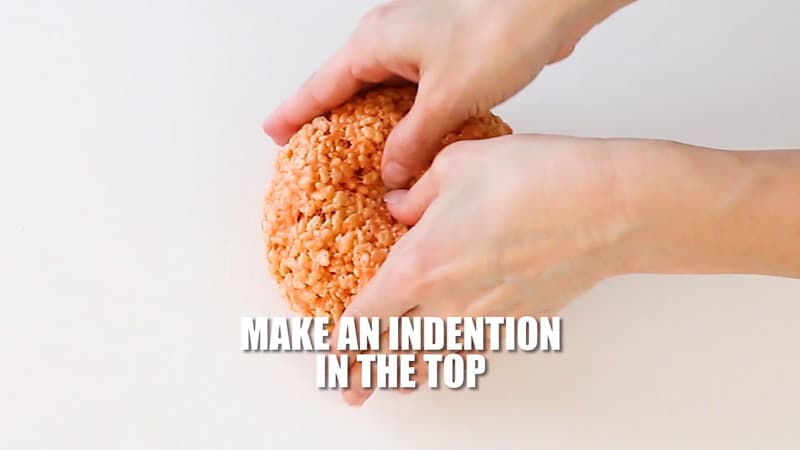
Now you’ll want to add an indention into the top. Just use your fingers or thumbs to push in the top a bit.
Now just set it in the fridge to chill and firm up, while you work on the fondant pieces.
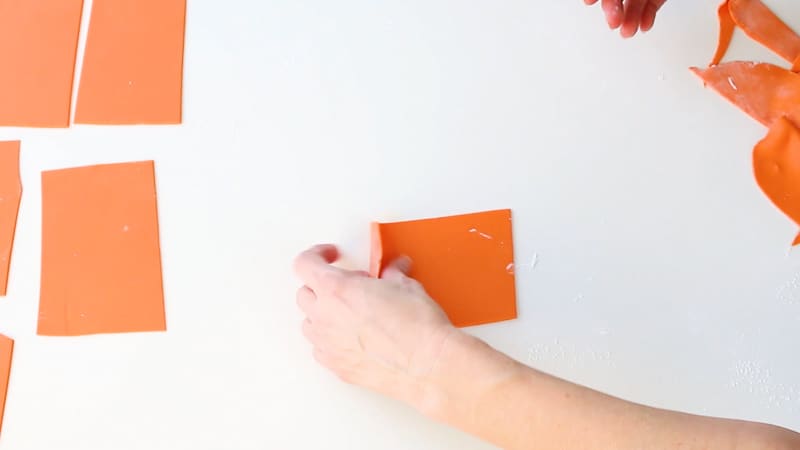
Take your orange fondant and roll it out, then cut it into rectangles.
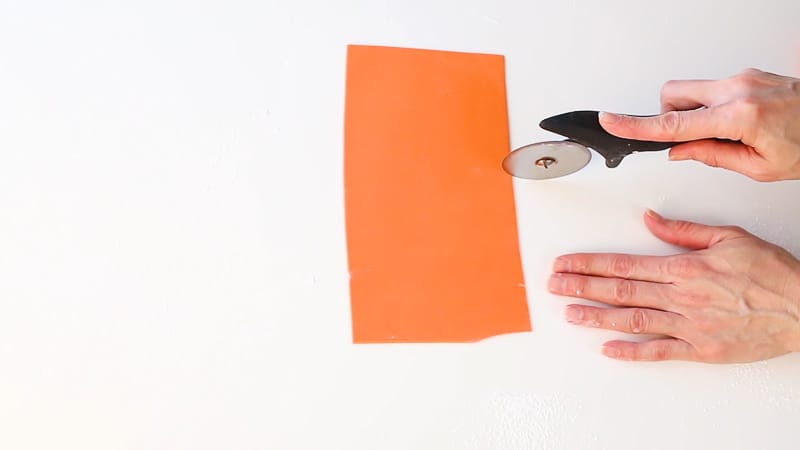
You want your rectangles about the length of your pumpkin from top to bottom.
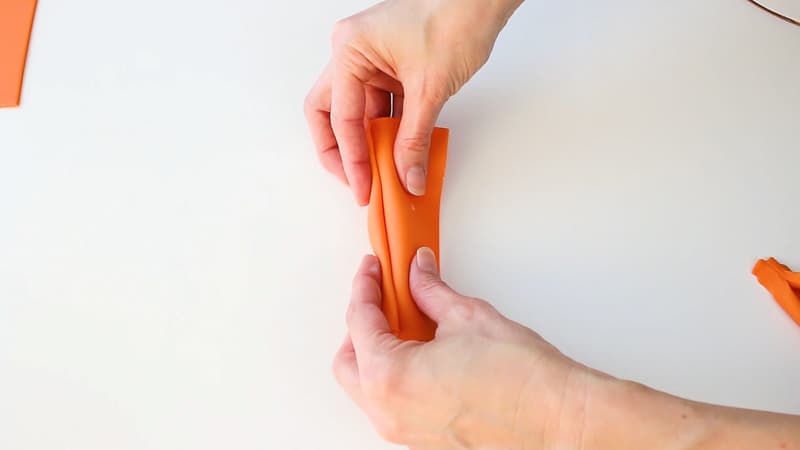
Now you want to fold them up, lengthwise, like an accordion.
Then crimp (smash) the ends.
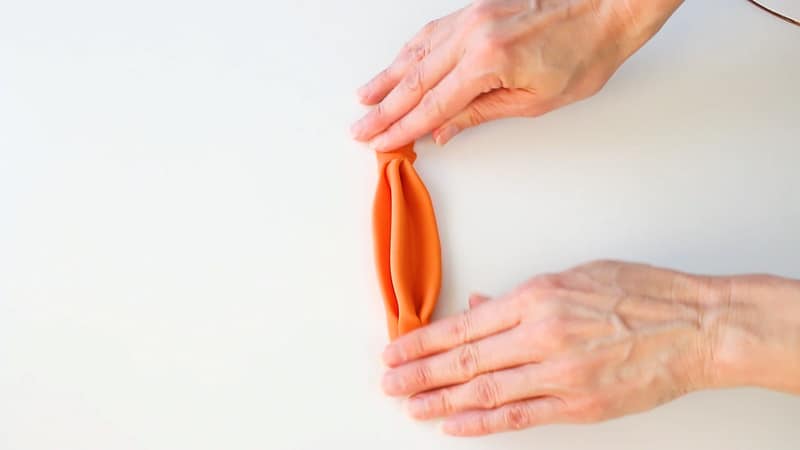
You need to make a bunch of these. I don’t know exactly how many I made, but if you don’t make enough, you can always just make them as you add them to your pumpkin…that’s what I did.
Oh and don’t let these dry or firm up. You need to add them to the pumpkin soon after you make them. They need to be pliable for that.
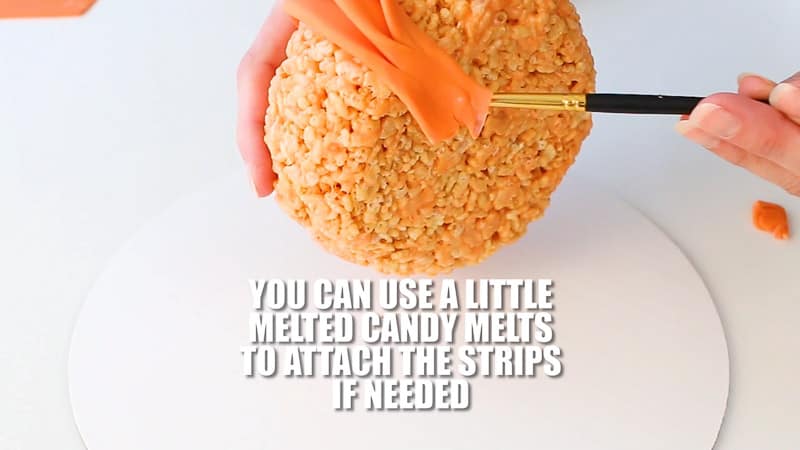
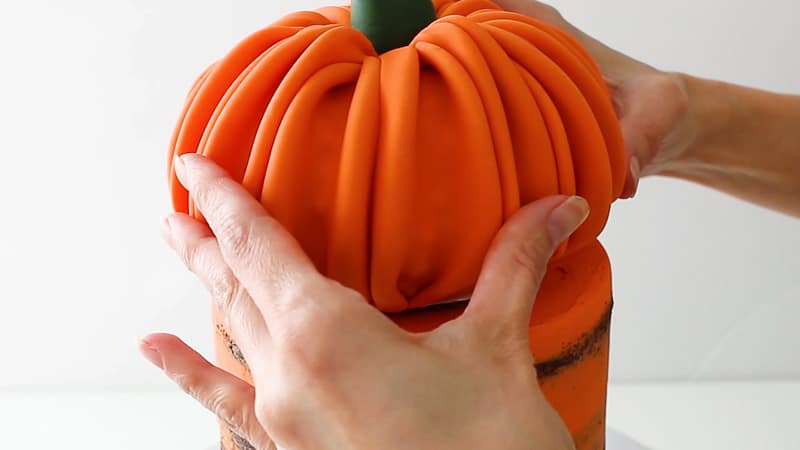
Ok, now you’re going to attach them to your pumpkin. Start by attaching at the top.
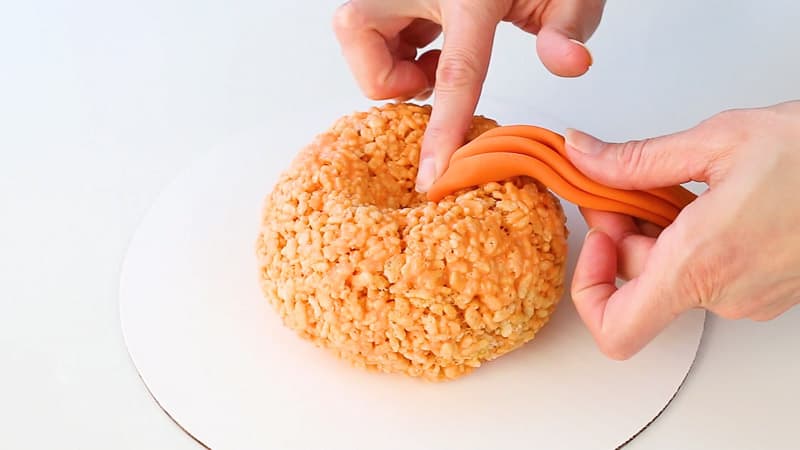
Then attach the other end to the bottom of your pumpkin. You can use a little melted candy melts to help them adhere if you need to.
Now just keep adding the fondant strips. Don’t add them all the way around yet. I’m about to explain why.
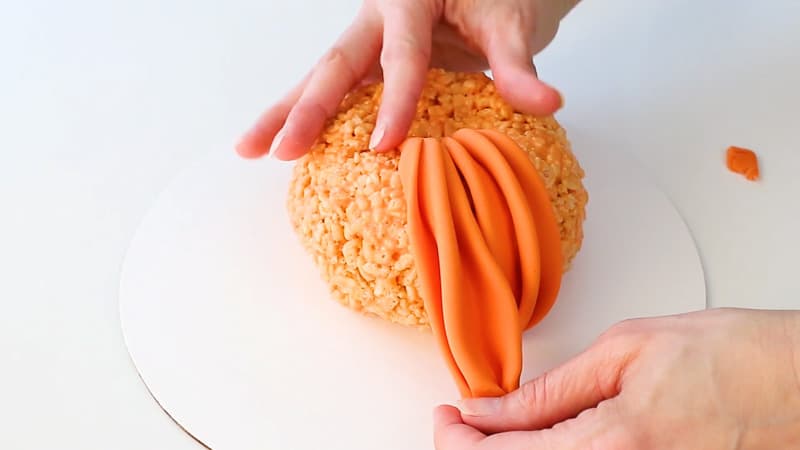
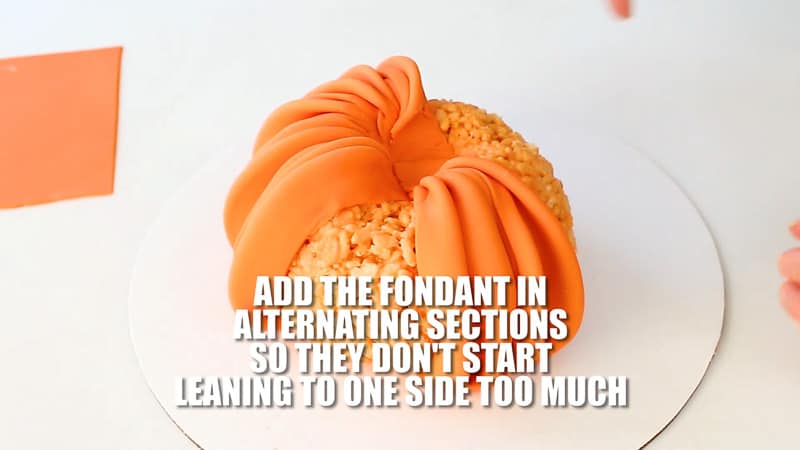
You’ll want to add them in sections around the pumpkin. So add several strips in one section, then move to a different part of the pumpkin and add fondant strips there. This does two things: It helps you better maneuver the pumpkin while you add the fondant and it helps the fondant strips not slant diagonally on you.
If you add them one after another all around the pumpkin…they start slanting on you.
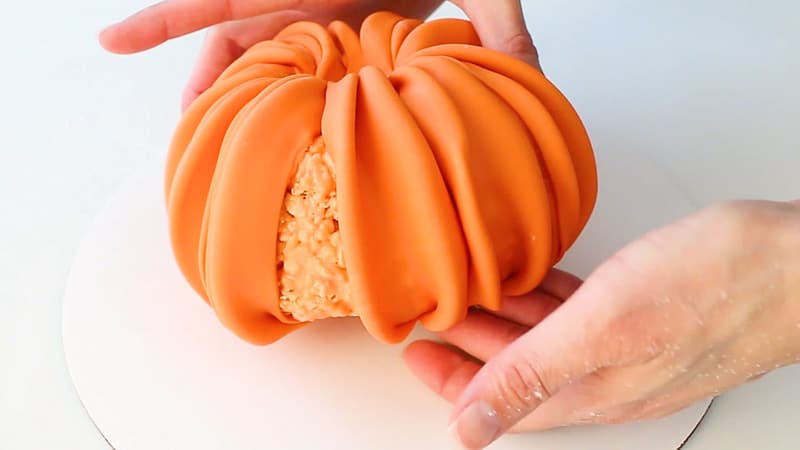
Now just keep filling in any areas you need to until all the rice krispies are covered.
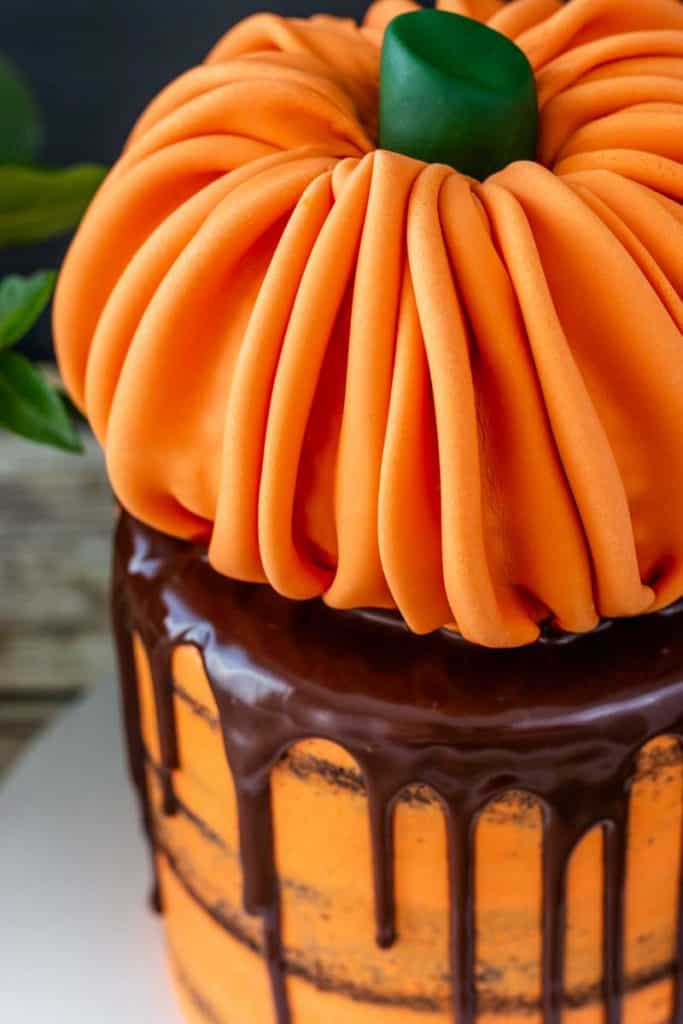
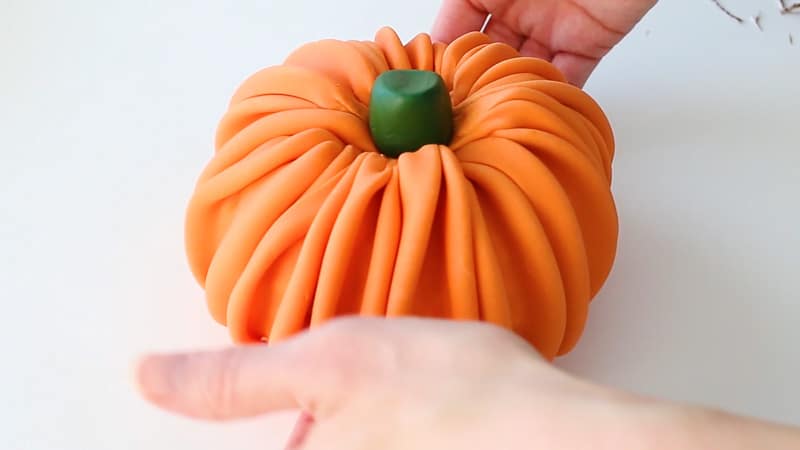
Now just set it to the side and make your pumpkin stem.
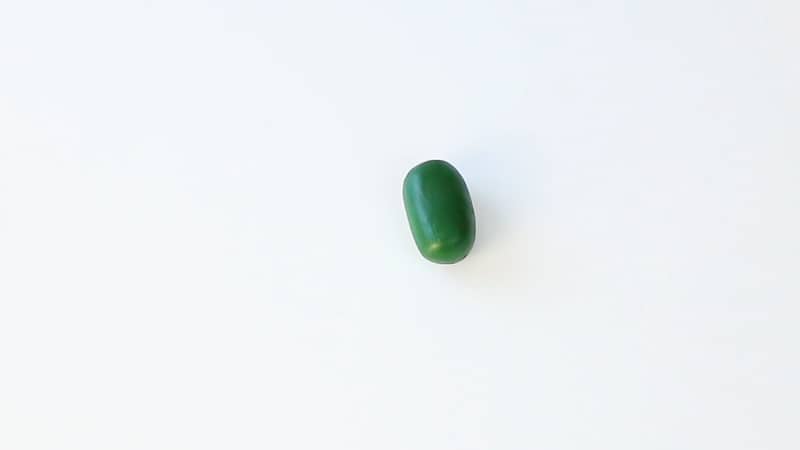
Take a small amount of green fondant and roll it into a ball. Next roll it onto the table to elongate it a bit.
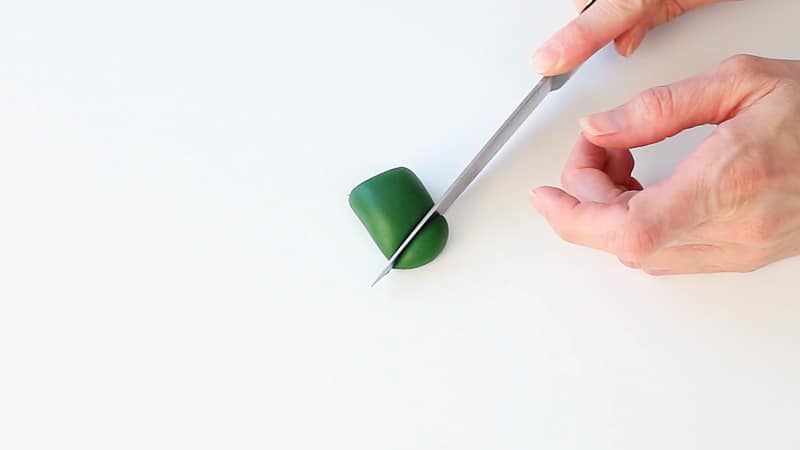
Cut one end straight and the other end slanted.
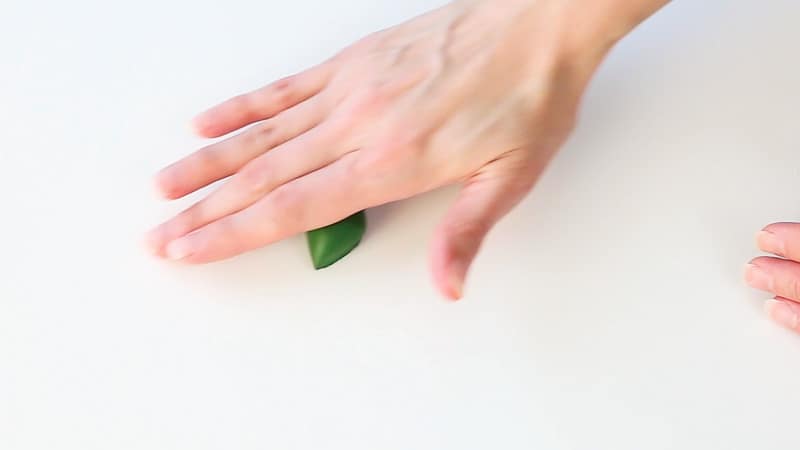
Next smooth it out with your fingers and roll it along the table to elongate it more if you need to.
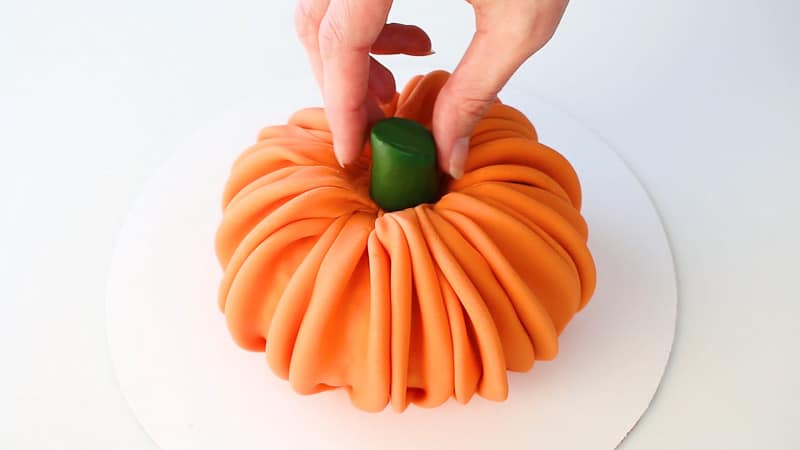
Now just add some water to the bottom and set it onto your pumpkin.
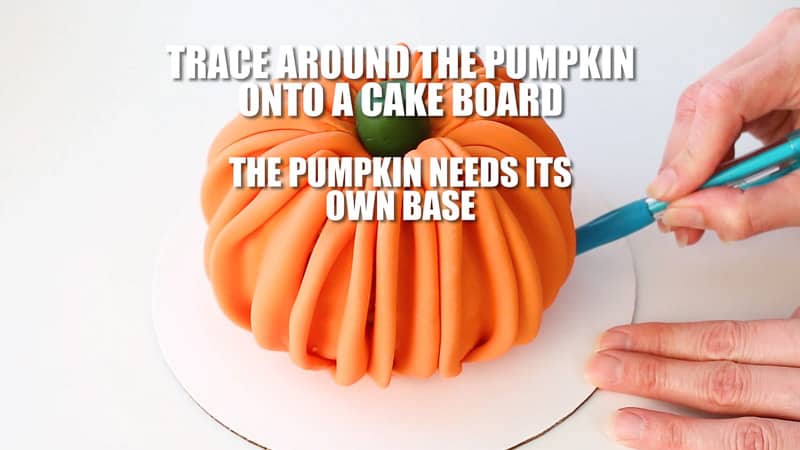
Now you’ll want to make a base for your pumpkin, so you can set it on top of your cake.
Here’s why we’re doing this: The pumpkin is a little heavy and it needs support, so it doesn’t sink into the cake or cause your cake to slide.
We’ll be making a cake board base for it and then adding a little doweling into the cake to support it.
First, just take a pencil and trace around the pumpkin onto a cardboard cake round.
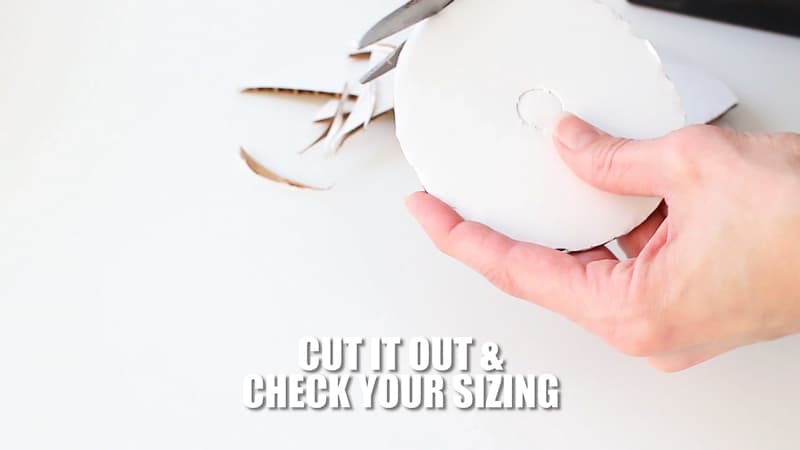
Now just cut out the circle and test it to see if it’s the proper size. You want the base to be a bit smaller than the pumpkin. You don’t want it to show a bunch.
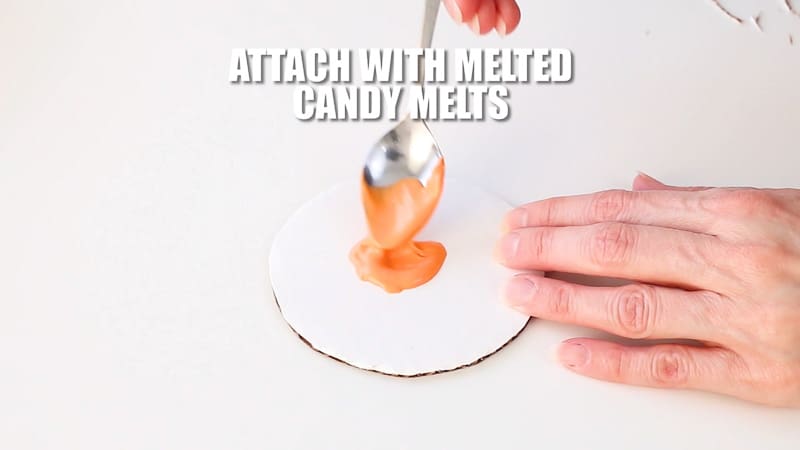
When it’s the correct size, just add some melted candy melts to the middle and set your pumpkin on it. Let it firm up before you handle it.
Now set it all to the side while you work on the ganache and the cake.
Making the Drip Ganache:
- 10 oz semi-sweet chocolate
- 10 oz heavy (or whipping) cream (It must be heavy cream. Regular milk is not gonna do it.)
You must weigh these ingredients to make sure it’s the proper amount. You can do it…I have faith.
Melt your cream in a saucepan on medium/high until it’s almost boiling. Pour it over the 10 oz of chocolate in a bowl. Let it sit for about five minutes and then stir. If there are still some unmelted bits, pop it into the microwave for about 20 seconds and stir again. You may have to do this one more time.
Stir it until it’s smooth.
Now it just needs to sit at room temperature until it thickens a bit and is drip consistency. Test it on the side of the bowl before you add it to your cake. (Oh and your cake must be good and chilled when you add the warm ganache.)
Putting the Cake Together:
Now it’s time to ‘build’ your cake.
I used three layers of chocolate cake. I like using three layers because it really gives a nice tall cake. I used 6″ round cakes, but in hindsight, the pumpkin ended up so big that I think I would go for 8″ round cake layers next time. It’s your choice though.
Stack, fill and do a crumb coat.
I like to let my cakes settle a bit before doing the outside coat. It gives it a chance to squish out any excess filling, so it doesn’t happen later after I’ve already decorated it. You can chill it for about 15 minutes before adding the next coat if you’d like, but I generally don’t chill them while it’s settling.
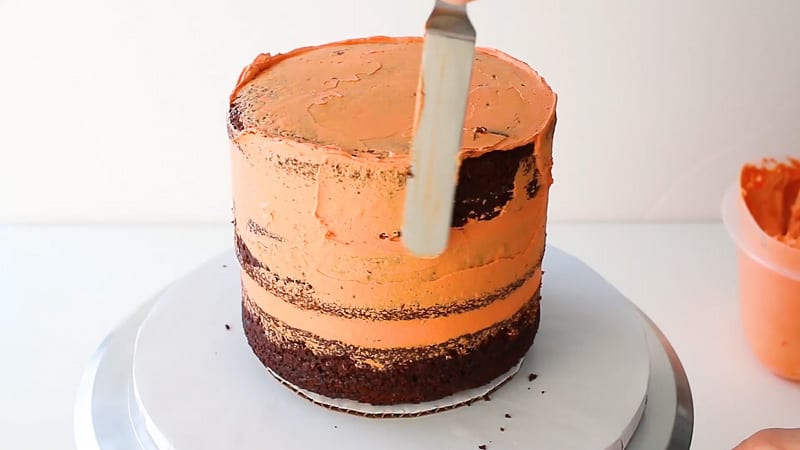
Now add another coat of orange buttercream.

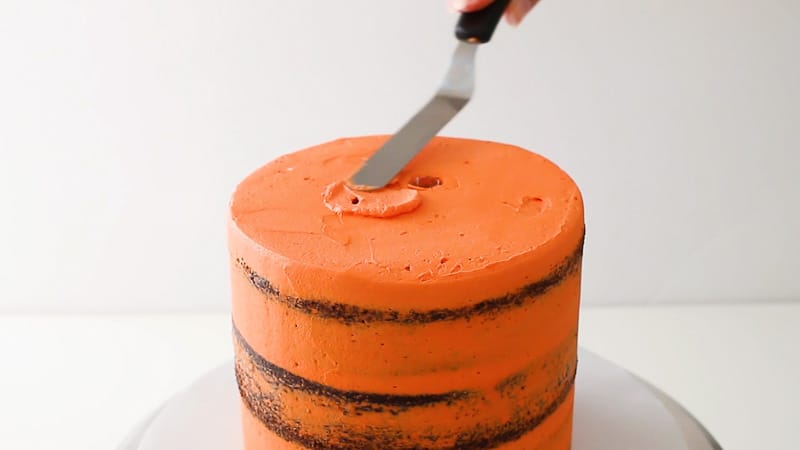
Use your buttercream smoother and smooth the buttercream. I took off a lot because I wanted this to be a semi-naked cake.
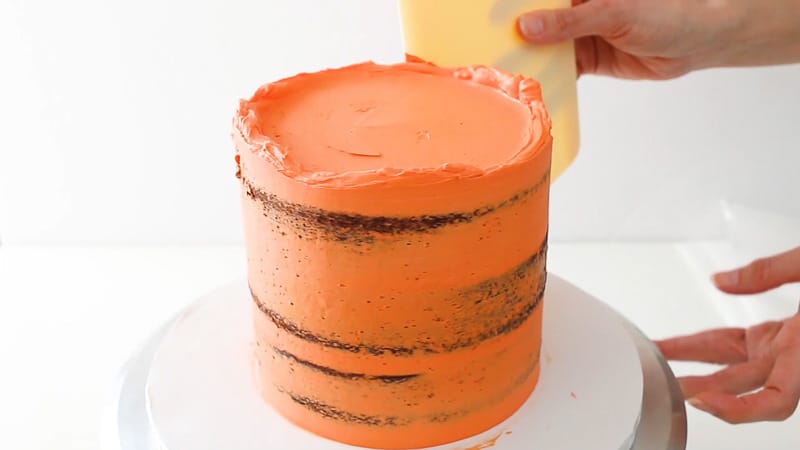
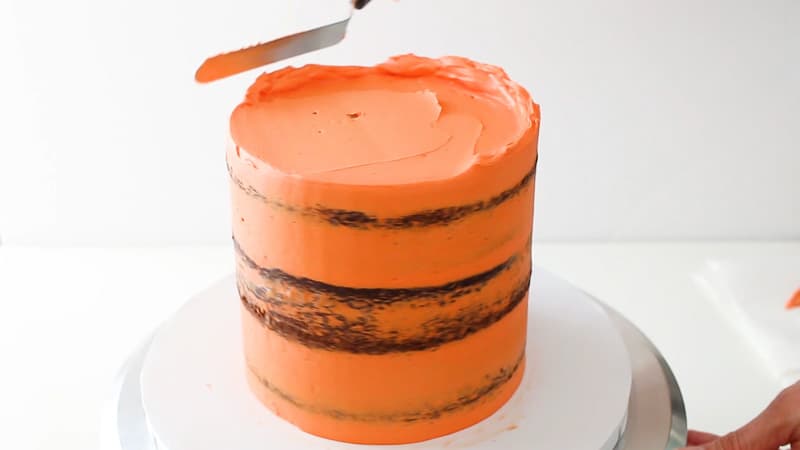
Make sure to smooth off any excess buttercream off the top.
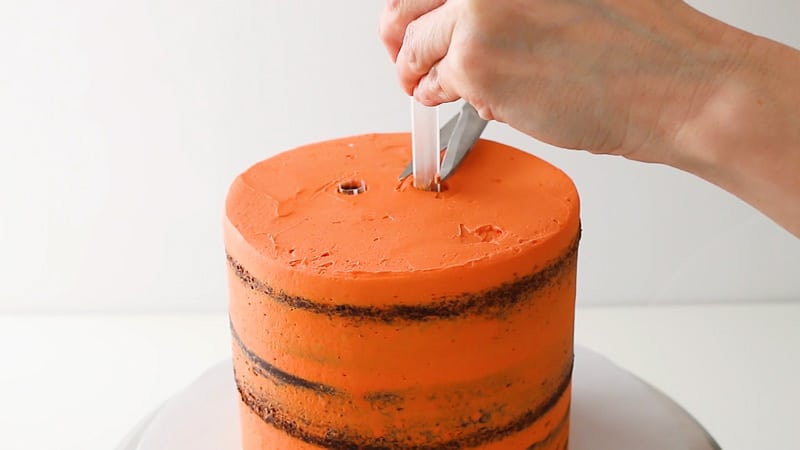
Ok, now’s the time to add some doweling. I use bubble tea straws for this because they’re sturdy enough for this project. I don’t use them on every cake, especially not the super heavy ones, but for this purpose it works.
I’m just using two for this. Just pop in your bubble tea straws and cut off the excess, so it’s flush with the top of the cake.
Next, smooth on a little buttercream over the dowels.
And just pop on your pumpkin and make sure it’s centered.
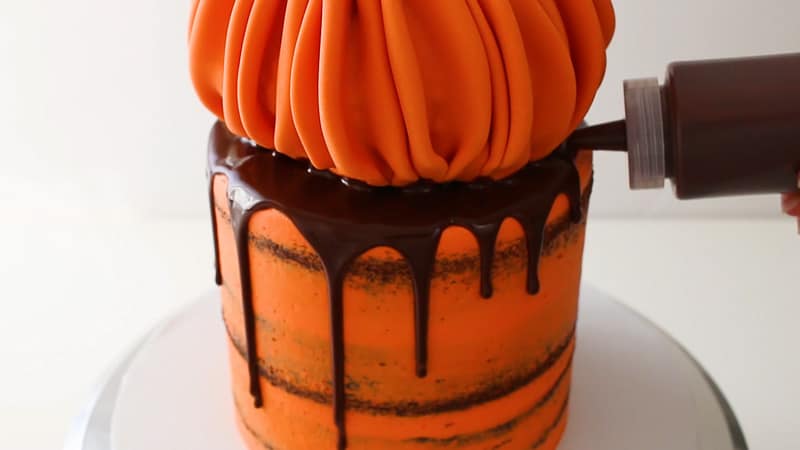
Now, make sure your cake is chilled and then add the drip ganache. I used a squeeze bottle because it makes it so much easier. Go around the cake once, then squeeze in more ganache to fill in any holes or areas you might see the cake board peeking out from under the pumpkin.
Ok, you’ve done it! It’s so fun right and perfect for fall or Halloween.
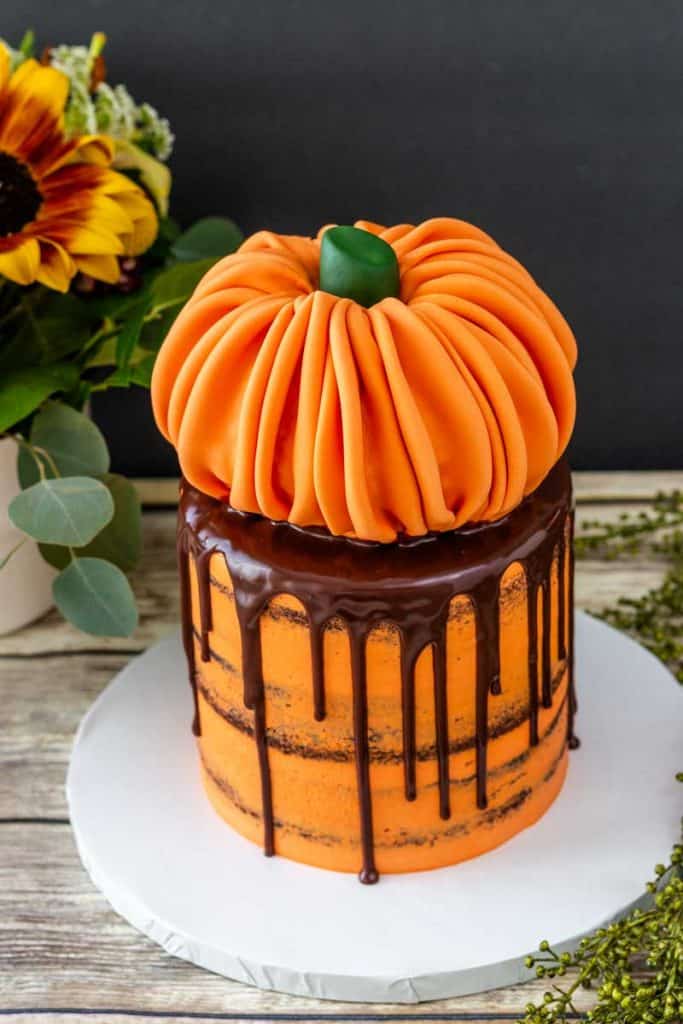
And don’t forget to eat that delicious pumpkin!
And here’s the video!
Don’t Forget to Pin it for Later!
Leave a Reply