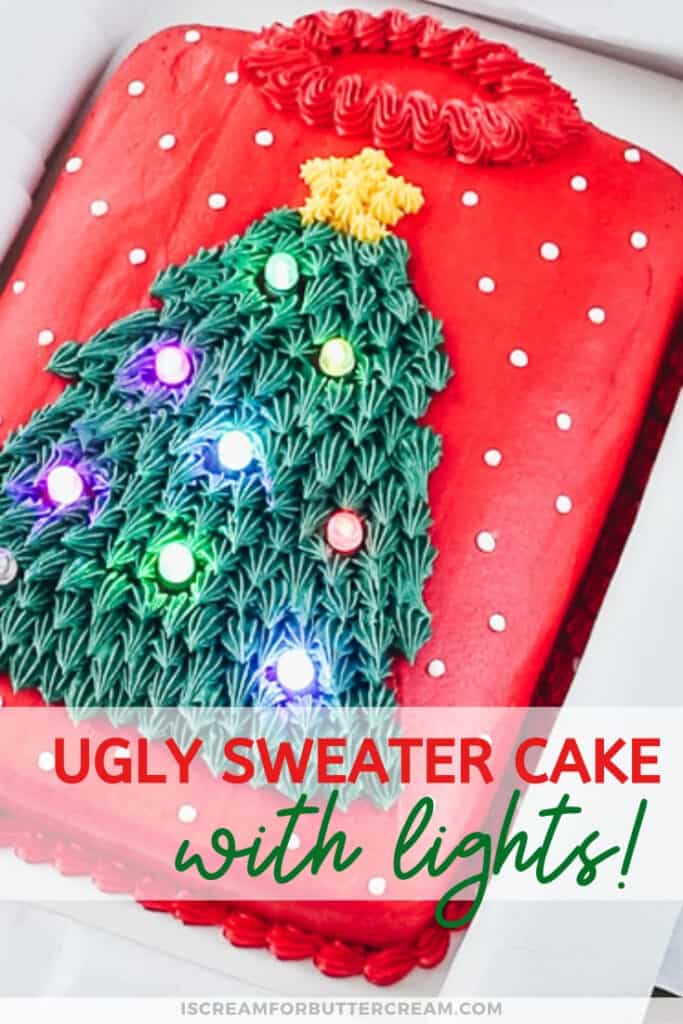
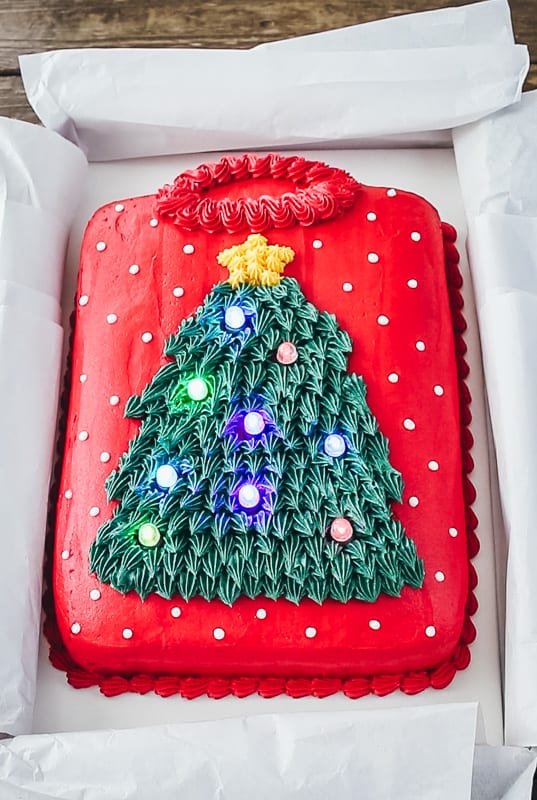
You’ll definitely want to make this ugly sweater cake with lights for Christmas. It’s just so cute and fun, plus it’s really not hard to do. This step-by-step cake decorating tutorial is really easy to follow and you’ll have such a fun cake for your Christmas party.
I LOVE the ugly sweater cakes. They’re just so fun for Christmas, but I really wanted to add a little somethin’ special to mine.
I think it turned out so cute with the lights added to it. I used balloon lights. (I’ll put a link to those in the supply list below.) They actually worked out great and were easy to add to the cake…no wires or anything.
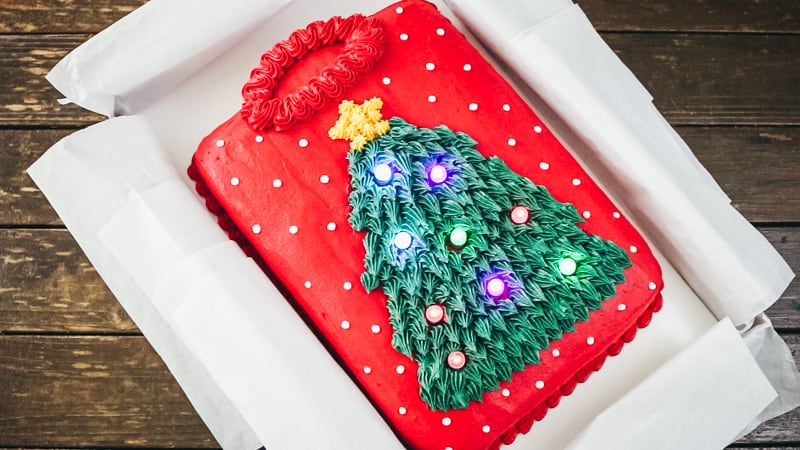
Of course, you could use this idea for basically any design. I used a Christmas tree, but you could even do a reindeer and use red lights for the nose. That would be really cute.
I think adding it to a tissue paper lined box, just really puts the finishing touches on it.
Ok let’s get to the tutorial!
There’s also a video toward the end of this post that will show all the details.
As an Amazon Associate, I earn from qualifying purchases.
SUPPLIES FOR THE UGLY SWEATER CAKE:
- Sweater Gift Box (17″ x 11″) – You can find these on Amazon, or you could check your local dollar store. (I found some at Dollar Tree.)
- Cake board or cardboard covered with fanci foil or contact paper – (The cake board needs to be cut a bit smaller than the 17″ x 11″ box – more on this below.)
- Tissue paper
- 13″ x 9″ Baked Cake – Use any recipe you like – I used a cake mix extender recipe because it gives you a little extra cake batter, so your cake layer is a bit thicker. Here’s the one I used – Cake mix extender recipe with pudding.
- Melted candy melts – optional, but good for attaching the cake to the cake board.
- Knife – for trimming the cake
- Red, green, yellow and white buttercream – You might want to check out my tutorial on how to make dark colored buttercream here.
- Buttercream smoother (more on how I made my own, below) & a small offset spatula
- Piping bags
- #21 piping tip – for the collar, Christmas tree and cake border.
- #18 piping tip – for the star
- #5 piping tip – for the snow
- Free printable Christmas tree template (Just click and it’ll download automatically.)
- Toothpicks & Scissors
- Wooden dowel – for making holes in the cake where the lights will go.
- Balloon lights – multi colored
- Press-n-seal plastic wrap – (Press-n-seal works best because it has a sticky side and covers the lights better.)
HOW TO MAKE AN UGLY SWEATER CAKE WITH LIGHTS:
Alright, first things first, you’ll need a sweater gift box. I used a 17″ x 11″ size box and that seemed to work out well.
Next you’ll want to cut a cake board, or some cardboard to a bit smaller than the sweater box. You need the board to fit easily in the gift box.
You’ll want to also cover that cake board with either some fanci foil (Wilton makes this), or cover it in white contact paper. I actually covered mine with white wrapping paper first and then with clear contact paper.
You can see more tips on covering cake boards here.

Make sure your board fits easily inside your sweater box. It will be a real pain to have to struggle with this once your cake is all done and on the board, so you just want to make sure it’s sized correctly now.
You’re not going to decorate the cake with the board in the box, you’re just checking the size right now.
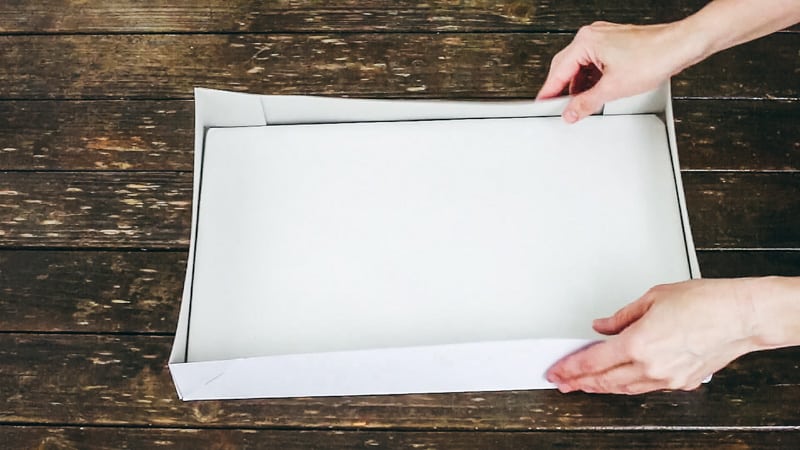
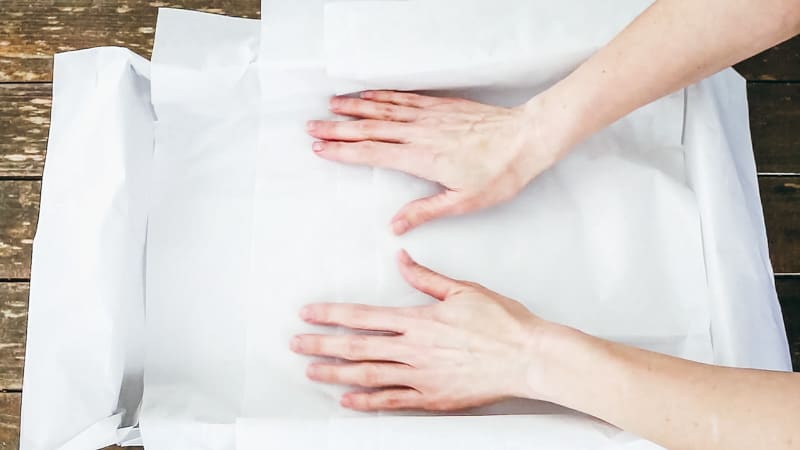
Now take the cake board out of the box and lay in some tissue paper. This will give it the ‘gift’ look. You know, like you’re giving this sweater as a gift.
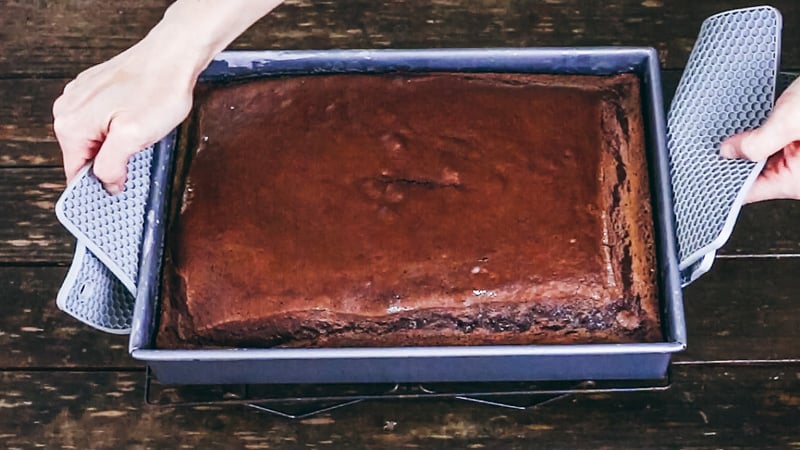
Bake a 13 x 9 inch cake and make sure it’s completely cool. You can find the recipe I used to get a thicker cake layer in the supply list above.
Next you’ll want to curve the sides a bit with a knife. Just cut off the hard corners and edges of the cake to curve it like a folded sweater would look.
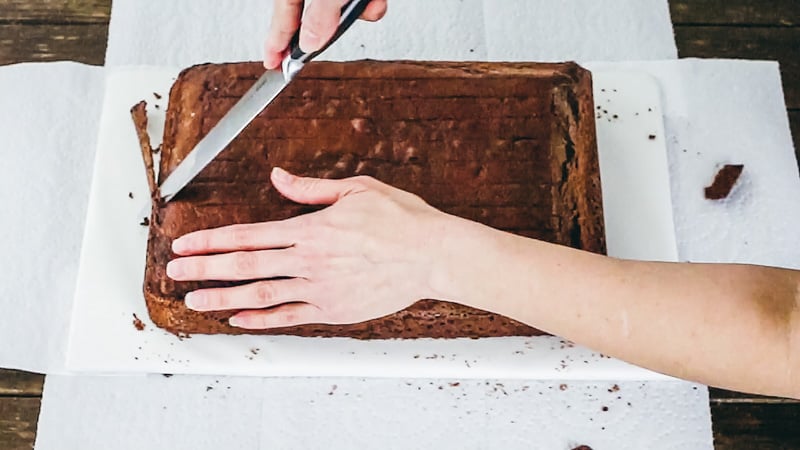
At the top of the cake, cut off about an inch into the cake on both sides, but leave the section in the middle. This will be the collar of the sweater.
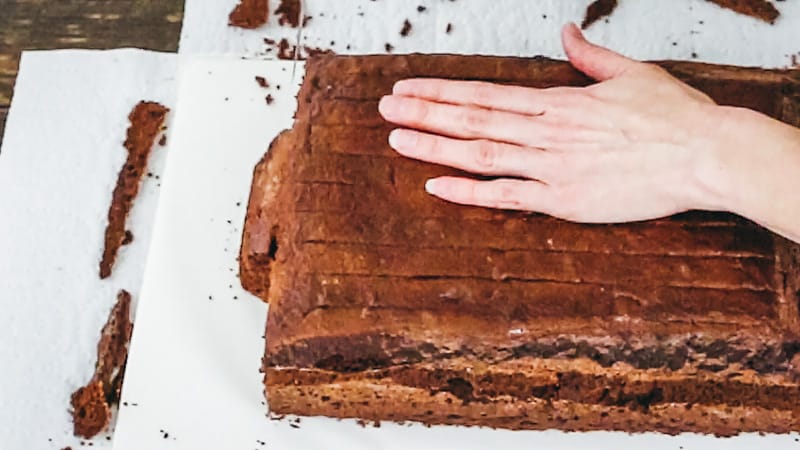
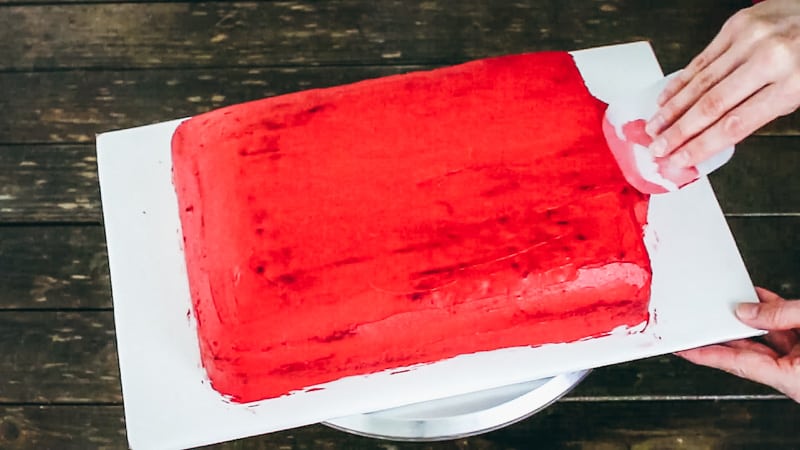
You can chill the cake for about 20 minutes and then cover the cake with a thin crumb coat of red buttercream and smooth it.
I’m only chilling the cake beforehand because I carved it and chilling it helps keep the crumbs from going crazy when you try to crumb coat it.
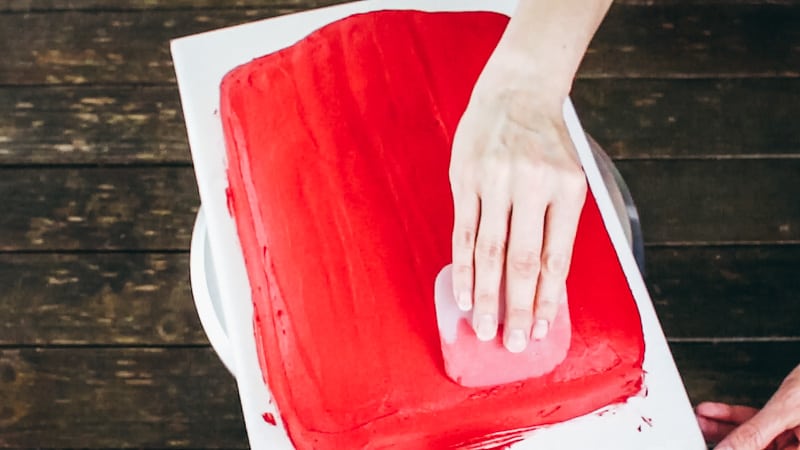
Once it’s smooth, you can either let the buttercream firm up a bit, or pop it in the fridge for about 15 minutes. Next you’ll want to add the final layer of buttercream and smooth it.
Ok, about the DIY smoother I’m using: This is a piece of a plastic (acetate) folder and I’ve just cut it into a square and round the edges with scissors. I use these for smoothing fondant and for smoothing buttercream on carved cakes.
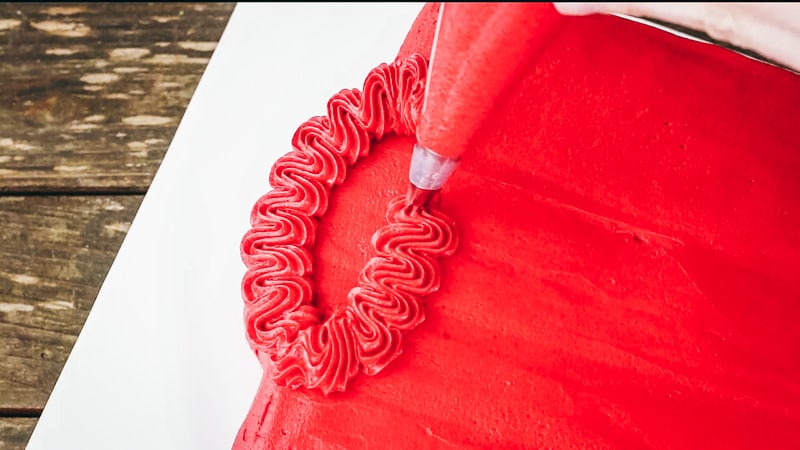
Once the final layer is all smooth, you’ll want to pipe the collar using your #21 piping tip. (This is probably shown better in the video at the end of this post.)
Now take your printable template (it’s in the supply list at the top of the post), cut it out (along with the star) and set it lightly on top of your cake and trace around it with a toothpick. (It works better if you can print your template onto cardstock paper…it’s thicker.)
Now, you don’t HAVE to use the template. If you’re good and free-handing stuff, then go right ahead. I’m not good at that, so I need templates.
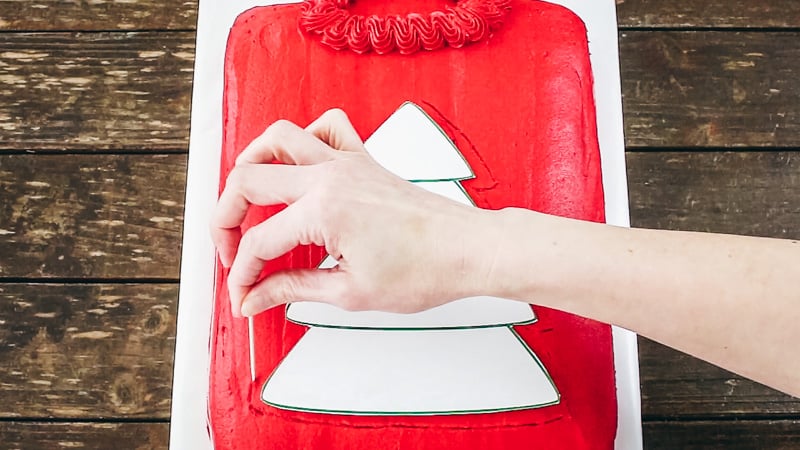
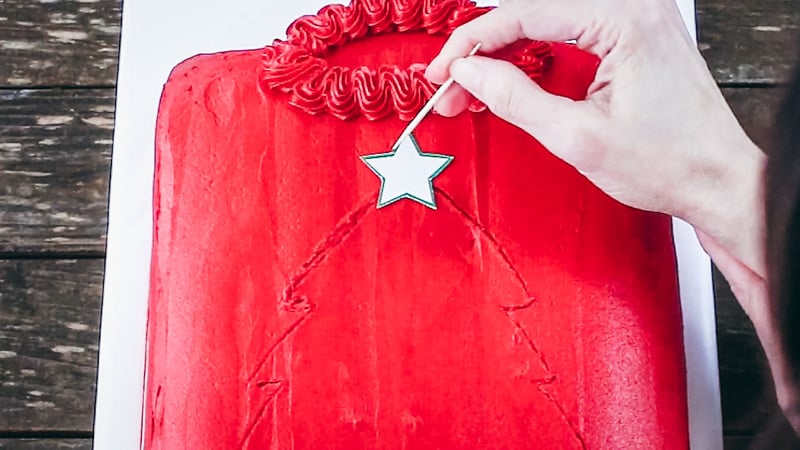
Now take your wooden dowel and poke holes in your cake where you want your lights to go.
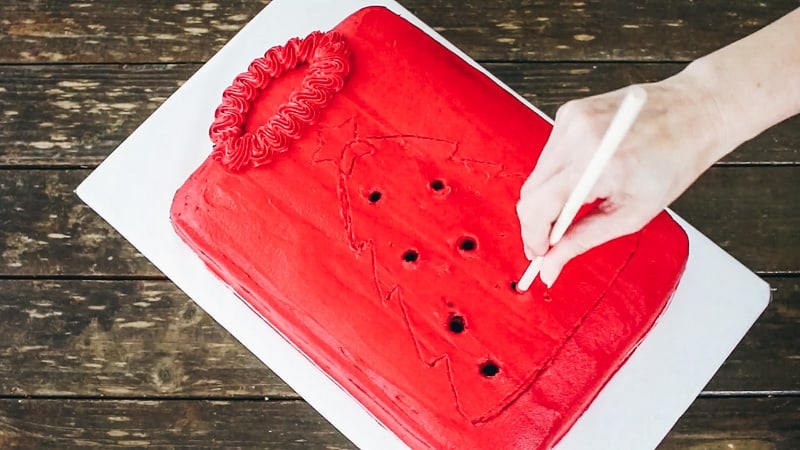
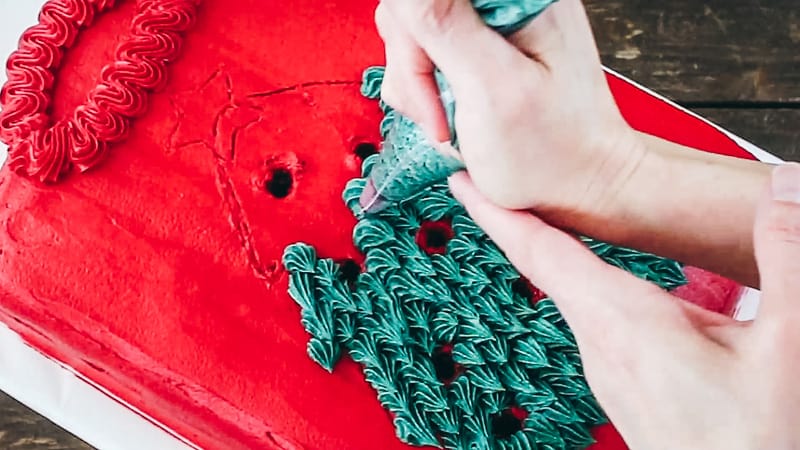
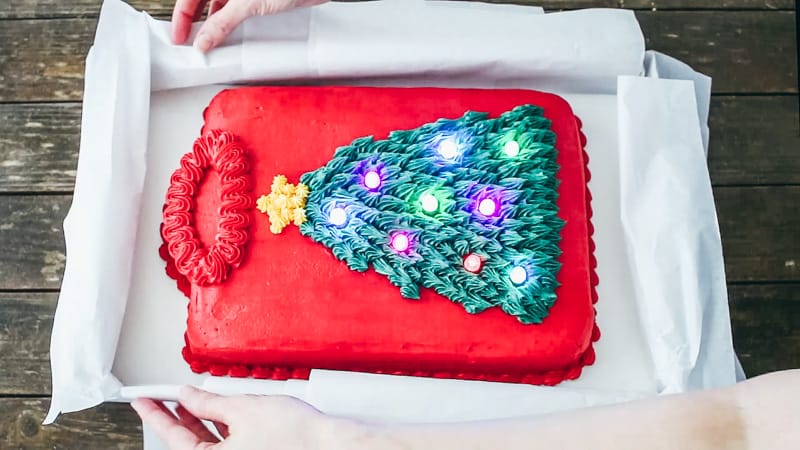
Use your #21 icing tip and pipe on the tree. You’ll want to start at the bottom, so that the ‘leaves’ will overlap correctly.
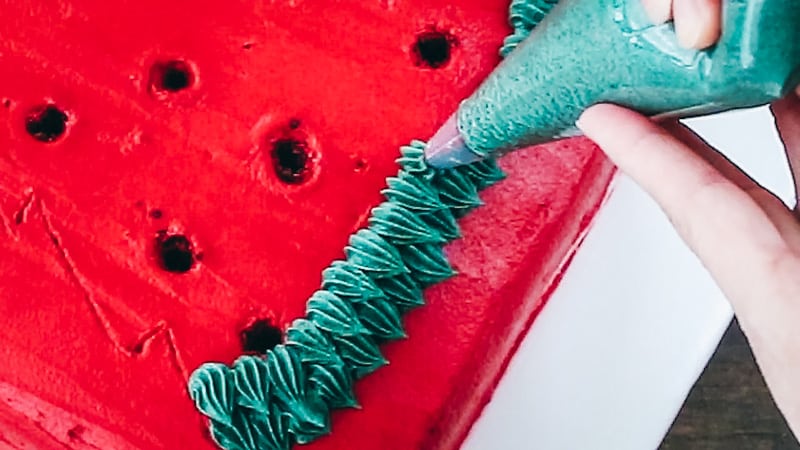
Keep piping making sure to avoid where you poked the holes for your lights, but try to get as close to them as you can.
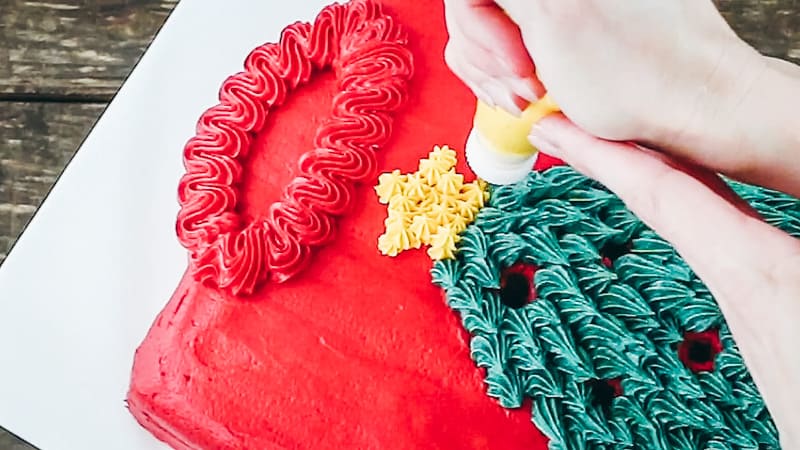
Now use your #18 piping tip and pipe the star. I did two layers of buttercream stars for the star. One seemed kind of sparse.
Now, set your cake aside and work on preparing the balloon lights. These things take some maneuvering to get them to work properly.
Here’s how to get the balloon lights to work properly: Take the plastic ring off of each balloon light you want to use. (You’ll probably only need about 8-10 lights.)
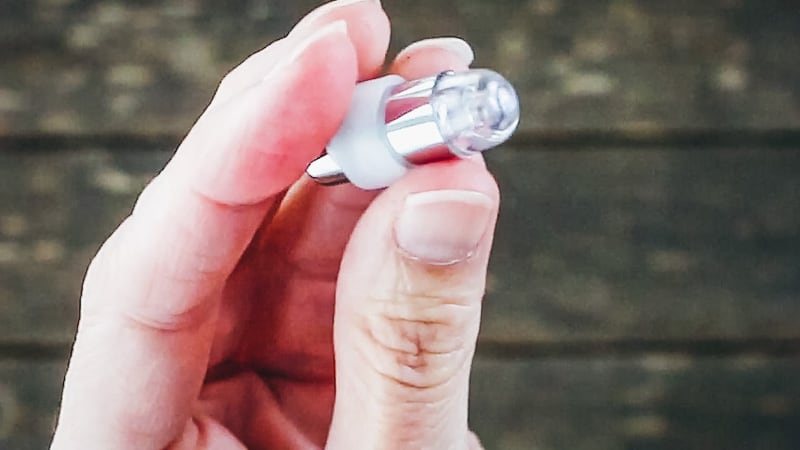
Unscrew the lights and take off the plastic coating around the batteries and take out the little white circles.
You actually have to pull the little batteries out and cut off the plastic wrap from around them. If you don’t do this, your lights won’t turn on. It’s a pain to do, but you only have to do it to the 8-10 lights you’ll use for the cake.
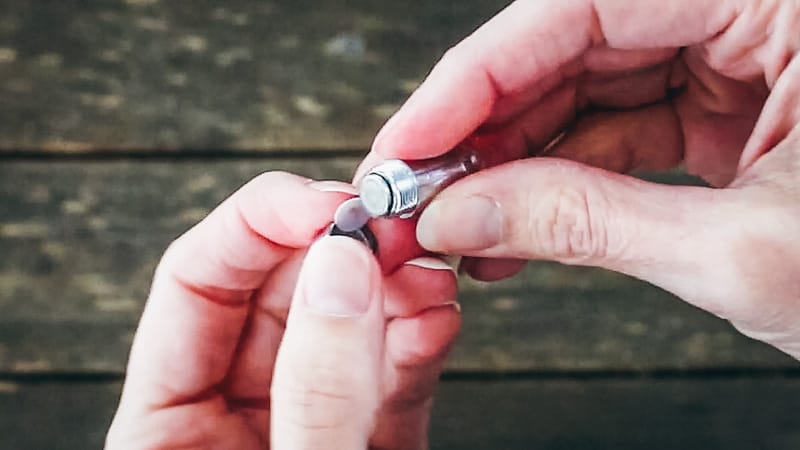
Now put all the parts back into the light and screw it back together. You don’t need to add that round rubber/plastic ring around the outside. That makes it too bulky, so leave that part off.
Now the light should come on. It flashes different colors really quickly and is really bright. Screw them together tightly.
Now, if a light doesn’t work correctly, make sure you took the plastic off the batteries and the little white paper circles are removed from inside. I had a couple that wouldn’t work and so I just picked a different light to use.
Now, if you’re not ready to add the lights to the cake, just unscrew the lights a bit and they will turn off. When you’re ready to add the lights, then just screw them together tightly.
The Amazon description for these lights say they’ll stay lit for 4 hours or so. Mine stayed lit for around 8 hours and reading the other reviews, that seems pretty common.
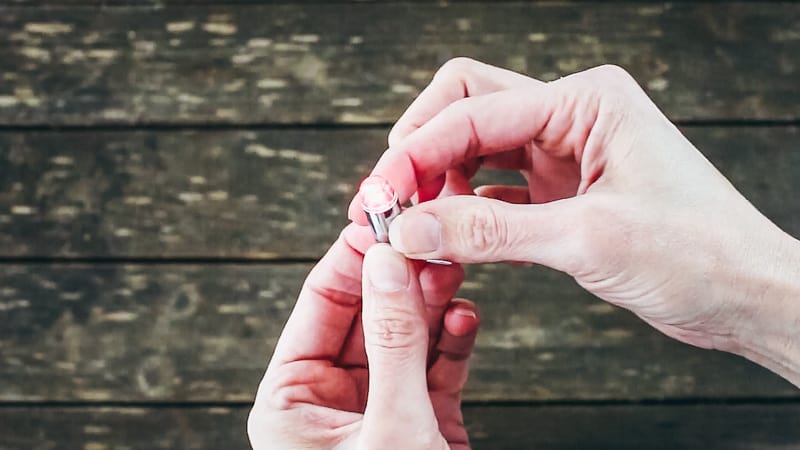
When you’re ready to add the lights, just screw them together tightly. Then you’ll want to cover the base (the silver part) with press-n-seal wrap. I’m using that instead of regular plastic wrap because the press-n-seal actually sticks itself to the light and doesn’t come off. It just makes a really good seal.
So, just cut off strips of the press-n-seal and then cover the base of each light and don’t forget to cover the bottom too.
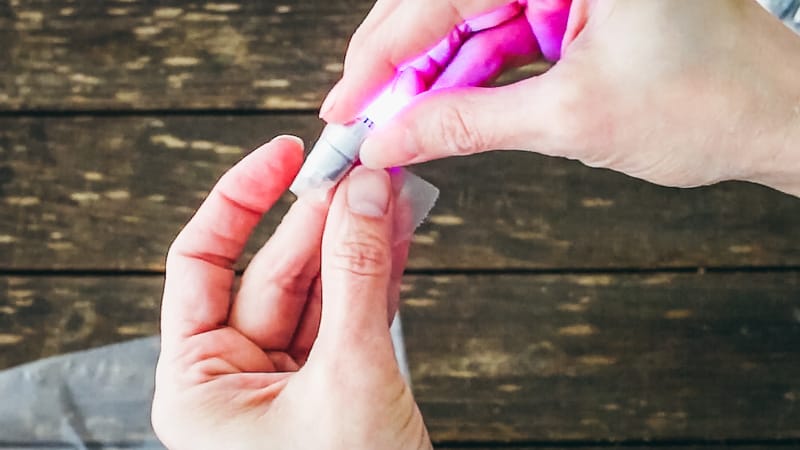
Now you’ll just pushed them into the holes you made with your wooden dowel. You want the actual bulb of the light to stick up a little bit, but make sure the silver part (the part that’s covered in press-n-seal wrap goes into the cake.
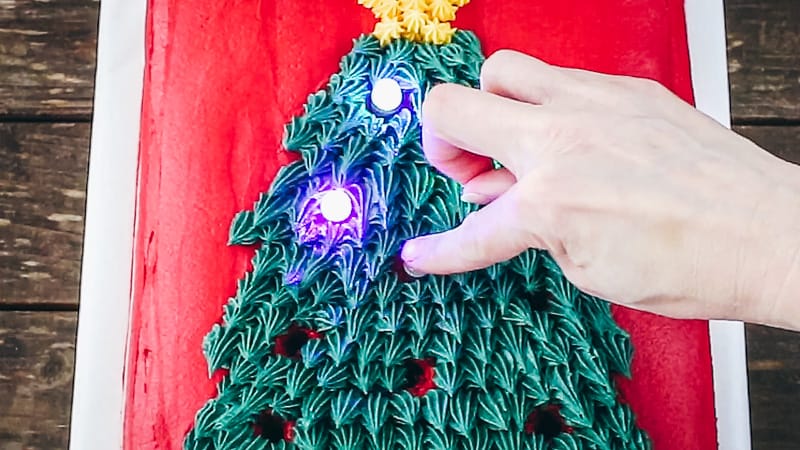
Now you can just pipe on a shell border around the bottom of the cake. If you need to know how to do this, you can see my tutorial on cake borders here.
Now just carefully add the cake to the box you prepared earlier.
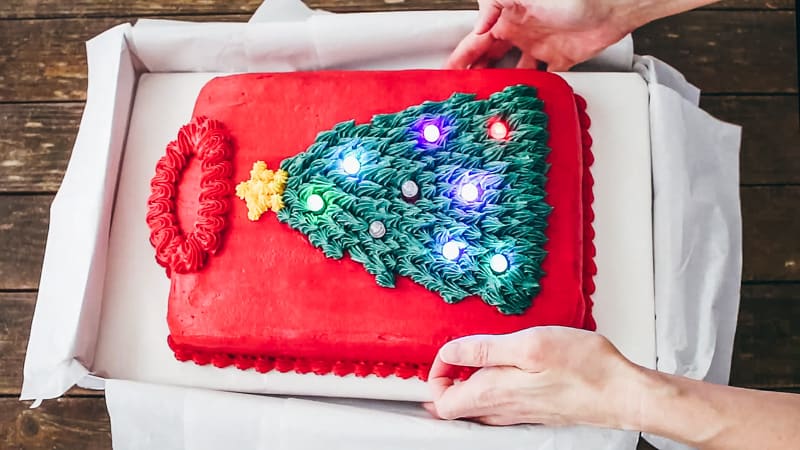
Next you’ll want to fluff or otherwise adjust the tissue paper.
Last take your #5 piping tip and pipe on some little snow dots all around. This will give it some extra flare.
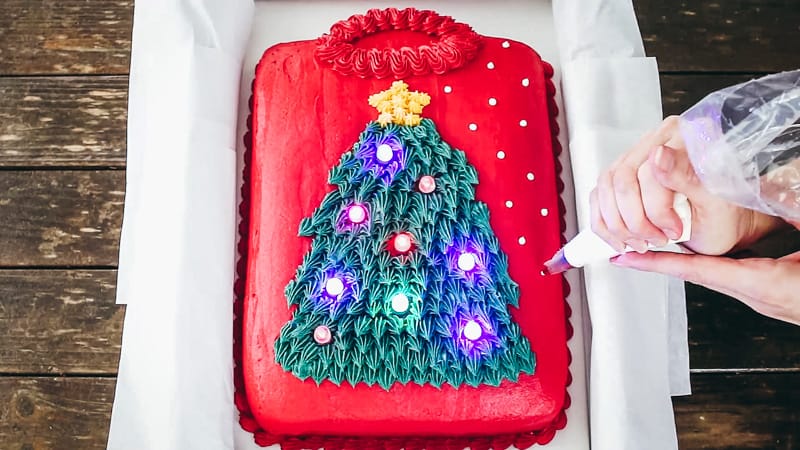
That’s it! Super cute and fun, right?! Oh and below is the video that actually shows all the steps.
VIDEO FOR MAKING AN UGLY SWEATER CAKE WITH LIGHTS:
I hope you have tons of fun with this. I think everyone will love this cake…kids and adults alike.
Don’t Forget to Pin it Below!

Joan - My Cookie Clinic
Amazing !!
Kara Jane
Thanks Joan!