You can never have enough caking tools right? I’m constantly adding things to my supply hoard, but there’s only so much room one has in their house for cake supplies. Although, maybe a second house just for caking would be nice…is that crazy? Yeah, that’s kinda crazy, but one can dream.
This is the place that I’ve gathered together some of my favorite cake decorating tools. These are tools I use and recommend.
There are also other helpful caking items including courses. I hope you find these recommendations truly useful.
As an Amazon Associate, I earn from qualifying purchases.
Courses & Learning:
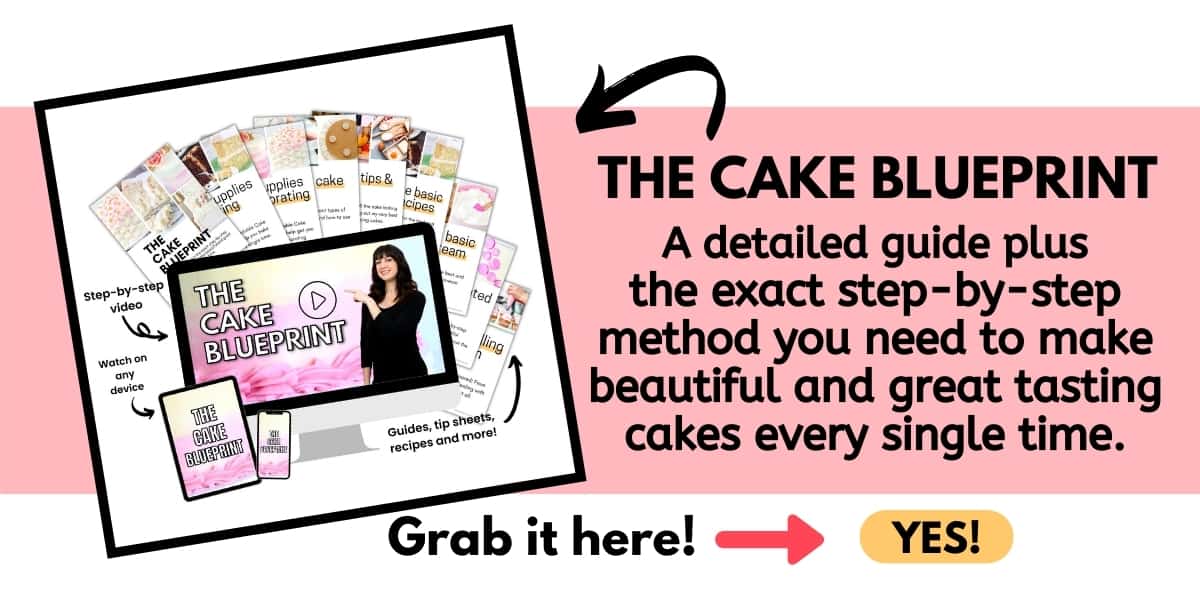
The Cake Blueprint is a detailed guide plus a step-by-step method that will show you exactly what you need to make beautiful and great-tasting cakes every single time.
No more icing blowouts, ridgelines, cakes that come out with weird textures and other cake fails!
INCLUDES:
Step-by-step Video:
A method to help you decorate layer cakes and keep those cakes from getting icing blowouts and icing ridgelines.
Guides, Tips & Printables for:
-Best Supplies for Baking Cakes
-Best Supplies for Decorating Cakes
-Cake Board Options & Tips
-Baking Tips & Myths
-Favorite Cake Recipes
-Favorite Buttercream Recipes
-The Decorated Layer Cake Method in Detail
-Steps for Planning Cake Projects
-Tips for Selling Cakes from Home
Baking Equipment:
Magic Line Pans:

Magic Line pans really help to bake your cake evenly, plus they aren’t super expensive. The link above is for the 8″ pan, but it’s really great to get a couple in several different sizes. I recommend if you’re just starting out, to get three in sizes 6″, 8″ and 10″.
Cooling Racks:

These are the cooling racks I have. There are many different types. I like these because they are stackable. If you have a large cake though, you’ll have to slide two of them together.
Kitchen Aid Mixer:

This is my most used item in my kitchen and it’s my baby. I have this exact model, which is the classic model. There are other models to choose from as well. This baby makes life so much easier.
Beater Attachment:

I love the beater attachment. I use it for practically everything. I barely use the whisk attachment…just mainly if I have to make a meringue of some sort.
The beater attachment is great though because it keeps buttercream from getting to much air incorporated into it and it gives you less chance of over-beating your cake batter. There are also beater attachments without the scraper.
An Extra Mixer Bowl:

It’s always good to have an extra mixing bowl if you’ve got a KitchenAid Mixer. Once you bake your cake, you can go ahead and prepare the buttercream without having to wash the mixing bowl you just used for the cake batter. (I hate washing dishes and put everything in the dishwasher. Sometimes I just don’t want to wait for dishwasher to do its thing. That’s where the extra bowl comes in.)
This one is great because it comes with a cover. I try to use this one when I make my buttercream because I can just add the lid and it keeps it fresh.
Pasta Roller Attachment:
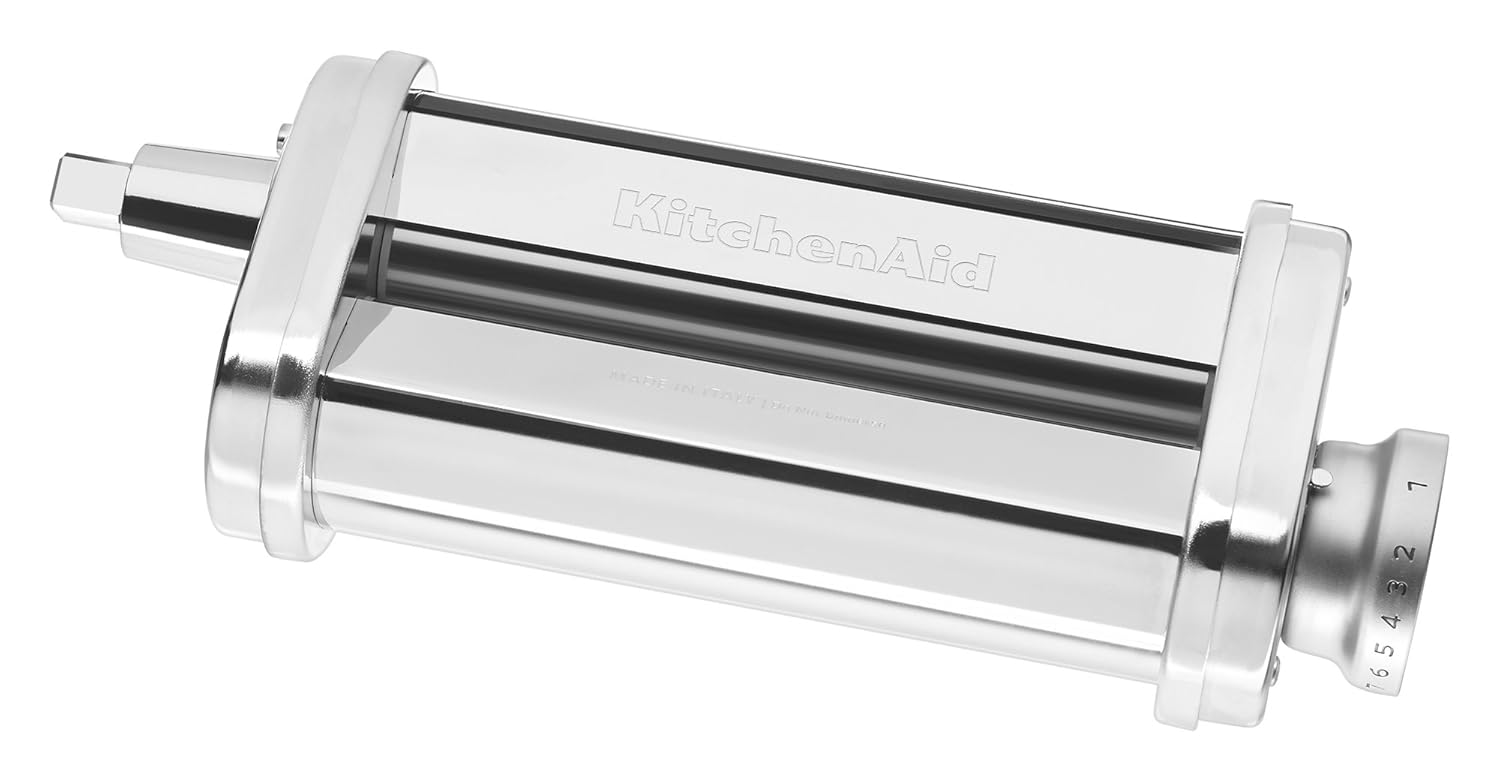
This is one of my favorite tools that I own. It has paid for itself a hundred times over. If you work at all with fondant, this is one thing that will make your life so much easier. To see how I use it, check out my post: 3 Ways to Use a Pasta Roller for Cake Decorating
Cake Decorating Supplies:
Cake Leveler:

This is a good leveler to get you started. It’s inexpensive and works. It’s for cakes up to 10″, so if you have a large cake, you’ll have to use a knife to level those.
There are more expensive options for cake levelers, but I actually like using this one. I’ve used others that have a serrated blade but for me, this one that uses a wire, does a better job at cutting the cakes evenly.
Wilton Cake Turntable:

This is a good and inexpensive turn table to use when you’re just starting out. I still have mine and I still use it.
Metal Turn Table:

Winco Turn Table or Ateco Turn Table
This is another option for a turn table. Metal turn tables are just a bit sturdier and they will spin more smoothly. I’ve used both of these brands and they are both well made and work very well.
There are other brands, but I’m more familiar with these. See my post about How to Ganache a Cake to see how I use my turntable to get a smooth surface on my cakes.
Small Icing Spatula:

Large Icing Spatula:

Straight Icing Spatulas:
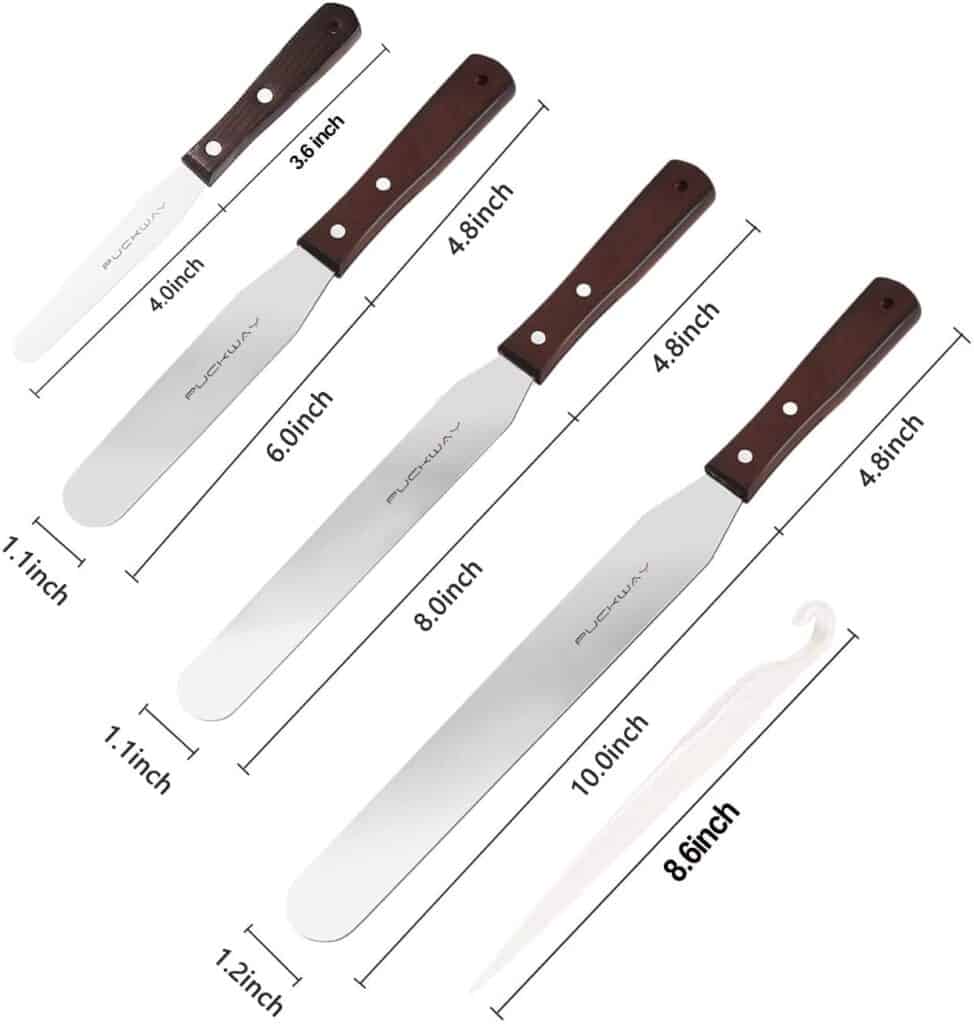
I’m increasingly loving these straight icing spatulas. I used to only use the offset ones (like the ones I’ve linked above), but I’ve recently started using these straight ones more and more.
Favorite Icing Tips:

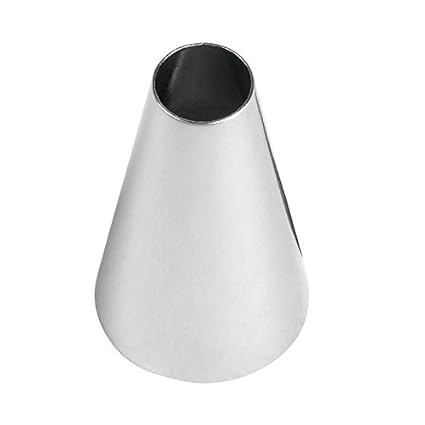


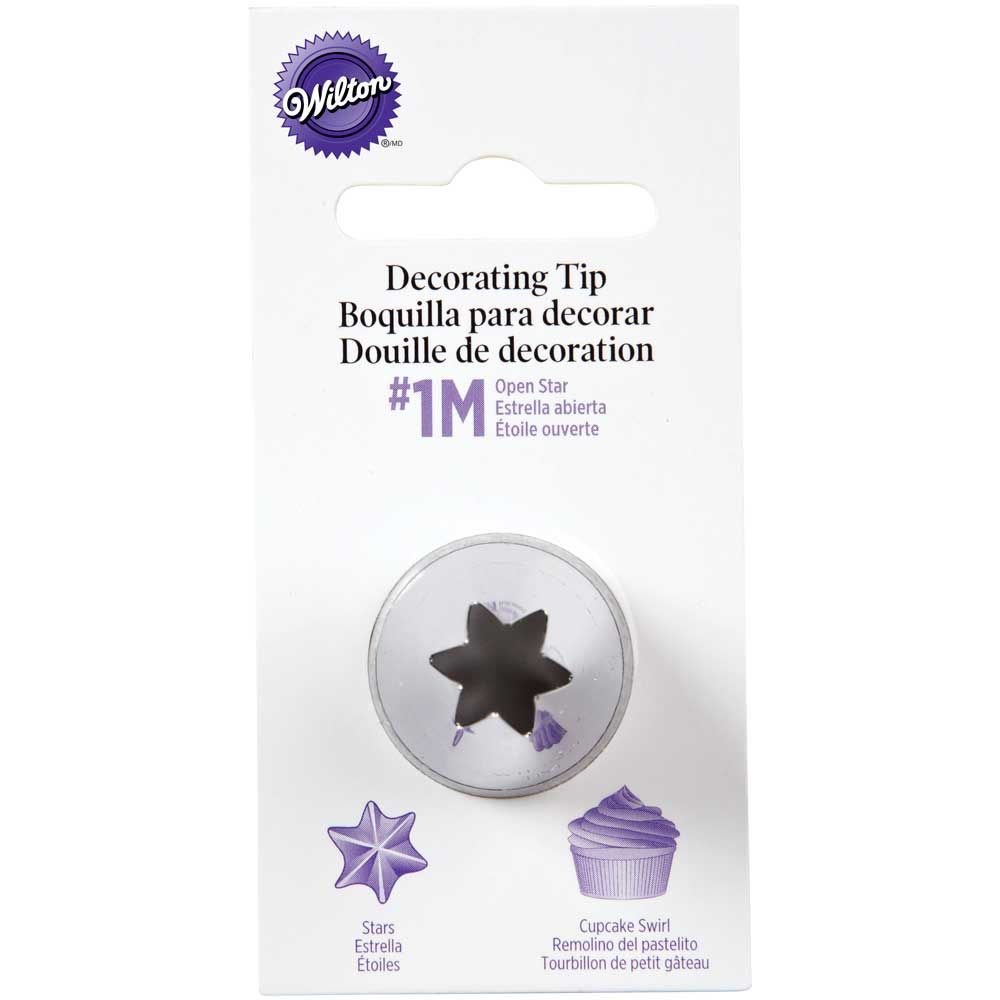


Flower Nail:

You can get different sizes of flower nails. Most of the time I just use the standard size, but there are larger flower nails for making larger flowers.
Icing Coupler Sets:

These are awesome because you can add these to your icing bags and change the tips without having to fill a different icing bag. They make things so much more convenient. They won’t work on the very large icing tips like the 1M and 2D, but they work with most other standard tips.
Icing Bags:

Wilton Icing Bags or Ateco Icing Bags
I really love the disposable bags because I’m kind of lazy and well washing out an icing bag is just not something I’m willing to spend my time on. I normally just get the 12 inch bags.
Don’t try to get the cheap bags though. They will explode on you. (Just trust me on that one.)
Buttercream Smoothers:
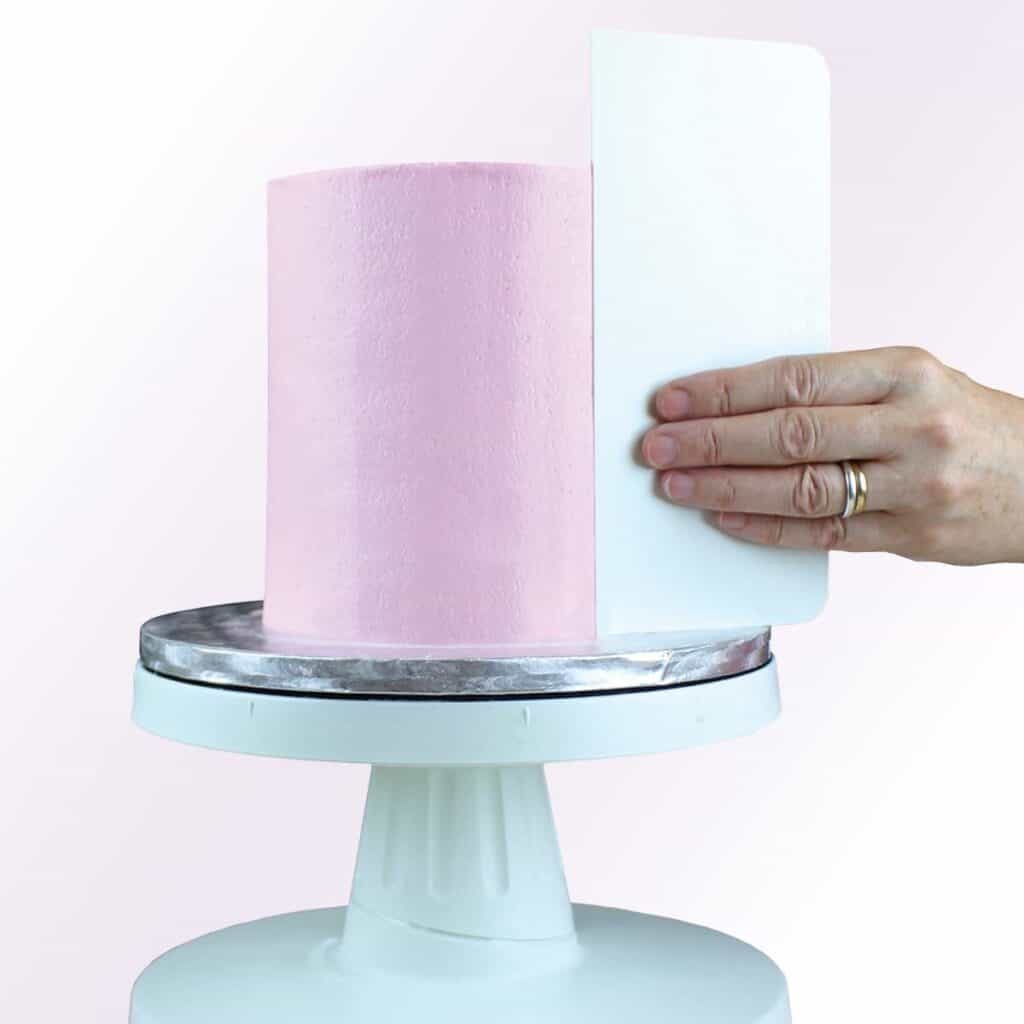
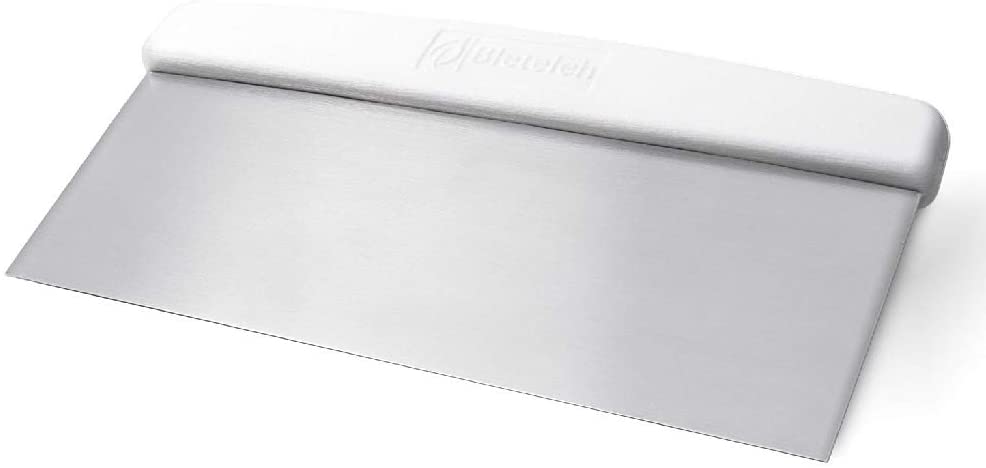
There are a lot of choices for smoothers. There are plastic and metal smoothers and I use both for different applications.
Here are links to some of my tutorials that show the smoothers in action:
Chocolate Heart Cake Ball Cake
Gel Food Coloring:


For cake decorating, you don’t want to use regular liquid food coloring you get on the baking aisle. It will just water down your buttercream. There are some that come in little jars, like above and there are some that are a soft gel consistency…those are usually the Americolor gels. I use them both.
Small Level:

It sounds weird, but this is really an important part of cake decorating. I use it to make sure the top of my cake is level and also the sides. It’s saved my life many times 😉
Wilton Candy Melts:
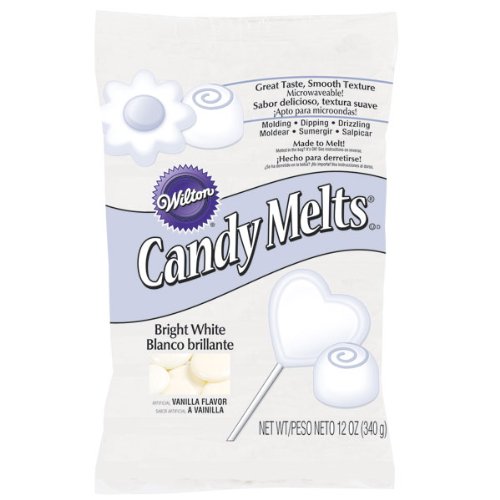
These can be used for all sorts of things, but what I mostly use them for is to stick the cake board onto the cake base. It’s much more sturdy to use the candy melts instead of just using buttercream, especially if you’re in a hot climate, since buttercream can get warm and you don’t want your cake sliding around on the base board.
Cake Boards and Packaging:
Cake Boxes:

Cardboard Cake Rounds:

You can use these for directly under the cake or attach several together for the cake base. See this post for cake board and base ideas.
Foam Core Cake Boards:

I love to use the ½ inch foam boards as cake bases and ¼ inch bases between stacked cake tiers if the cakes are heavy or are fondant covered.
They are super sturdy.
Press n Seal Wrap:

If you’ve read these posts: Tips for Freezing Cakes & Cupcakes, How to Keep Cupcakes from Drying Out, and How to Keep Premade Fondant Decorations Soft, you’ll know that I am obsessed with Press n Seal Wrap. I should really buy some stock in this company.
Fondant Supplies:
Large Fondant Roller:

You’ll need a large fondant roller for rolling out fondant that you’ll drape over your cakes. There are a lot of different options, but this is the one that I have and it works great for me.
Small Fondant Roller:

This is the mini version of the large rolling pin above. It’s much easier to handle when you’re rolling out decorative items like ruffles, gumpaste petals, leaves and cupcake toppers.
Flower Cutter Set:

Pallet Knife:
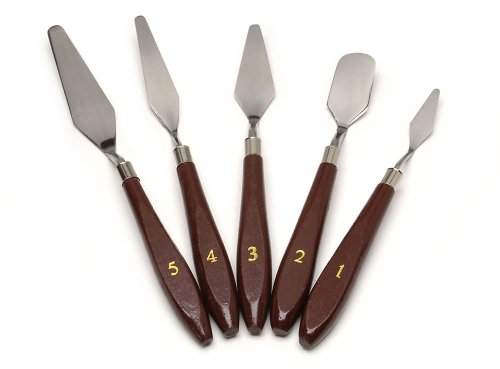
Dresden Tool:

Ball Tool Set:

Fondant/Gumpaste Shaping Foam:
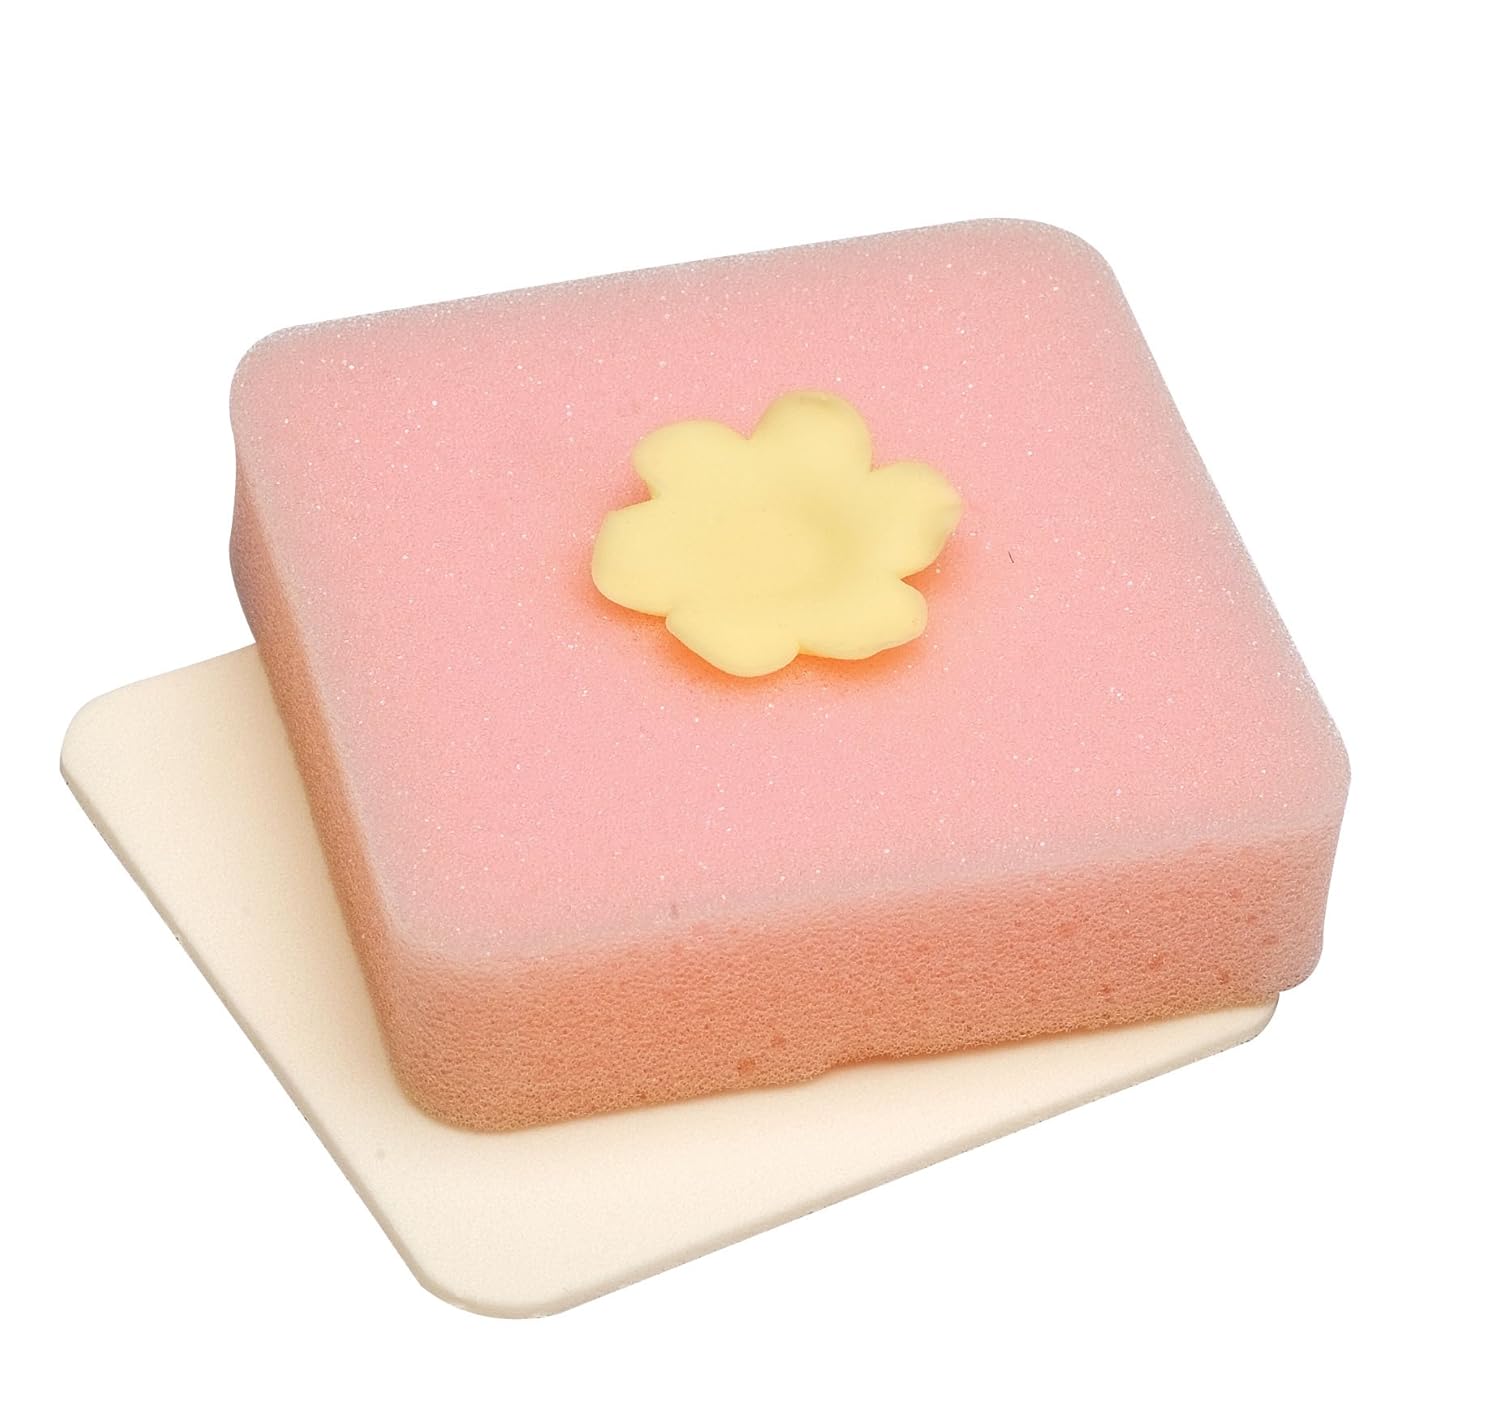
Firm Gumpaste/Fondant Forming Pad:
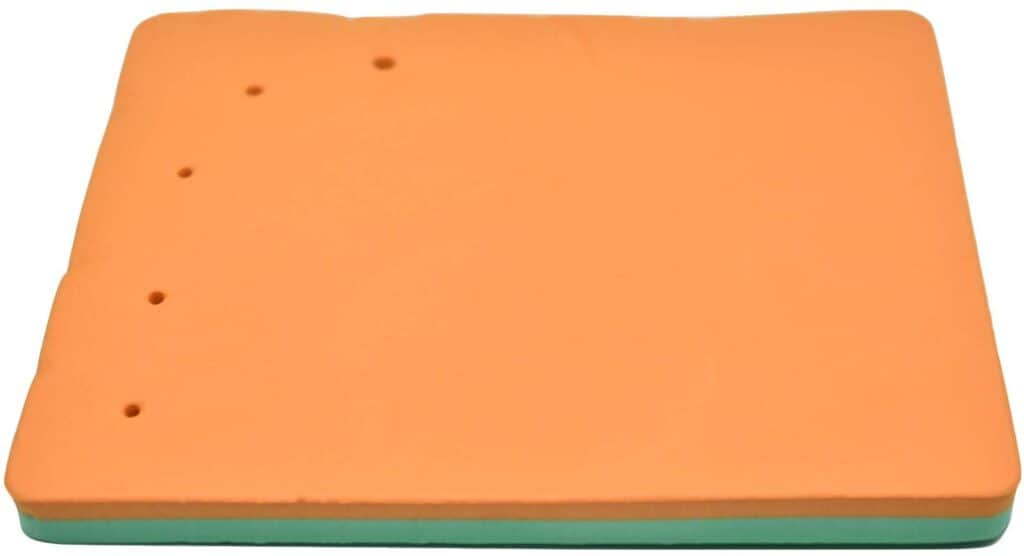
Firm Gumpaste/Fondant Forming Pad
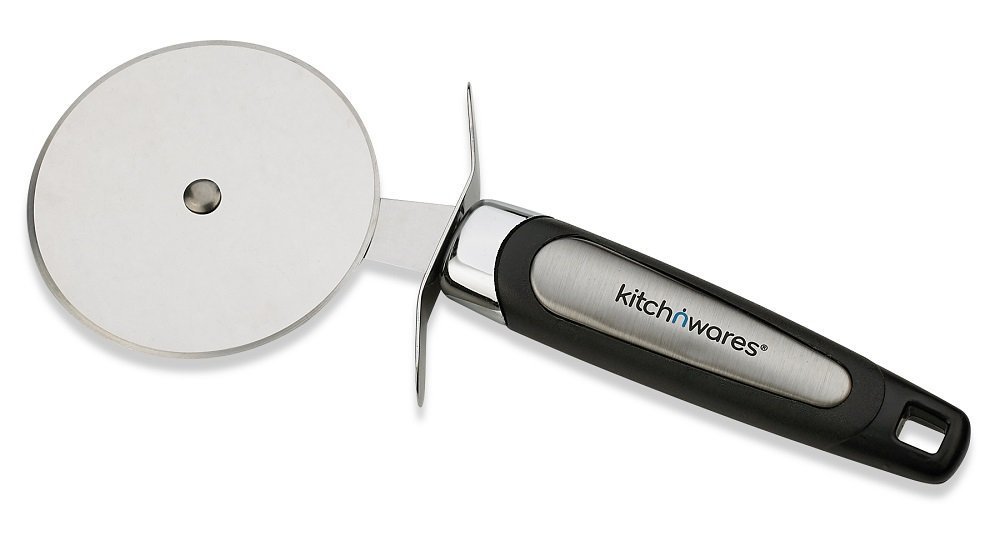
Mini Pizza Cutter:
I really hope this was useful for you and if you happen to use an awesome cake decorating tool that I may have missed, just let me know. I’m always interested in new tools!
*This page is continually updated with my most loved and used cake decorating tools.
FREE: 7 Quick & Easy Tips to Make Your Cakes Look Professional

Ready to start making cakes that look amazing?
Grab this FREE guide with quick and easy tips to make your cakes actually look like a professional made them, so you can start showing them off!
See our privacy policy here.

