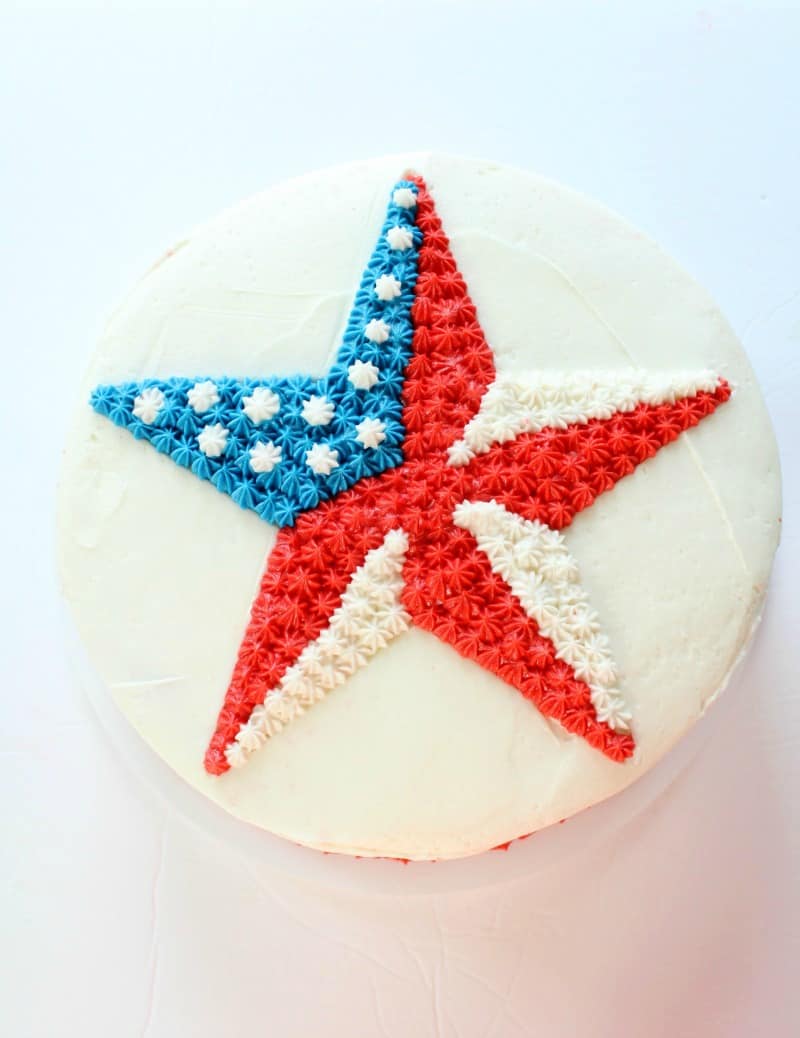
Sometimes you just want something you can easily put together and this easy patriotic buttercream star cake fits the bill. It’s essentially just piping stars in a star pattern. The cool thing? I’ve even provided a template for you!
This post contains affiliate links, which means I will receive a referral commission, at no additional cost to you, if you make a purchase using these links. As an Amazon Associate, I earn from qualifying purchases.
These links also use cookies, which tracks and allows me to get credit for the referral. You can see my policies linked in the website footer.
With the 4th of July coming up, I wanted to do something quick and easy. Usually it’s the time of year where everyone is enjoying being outside with family and friends and most people don’t want to spend hours in the kitchen. So for this one, I’ve made it easy for ya.
I had a little malfunction with my camera this past week and lost all the videos I took of this project. Yep, it almost made my cry it was so frustrating.
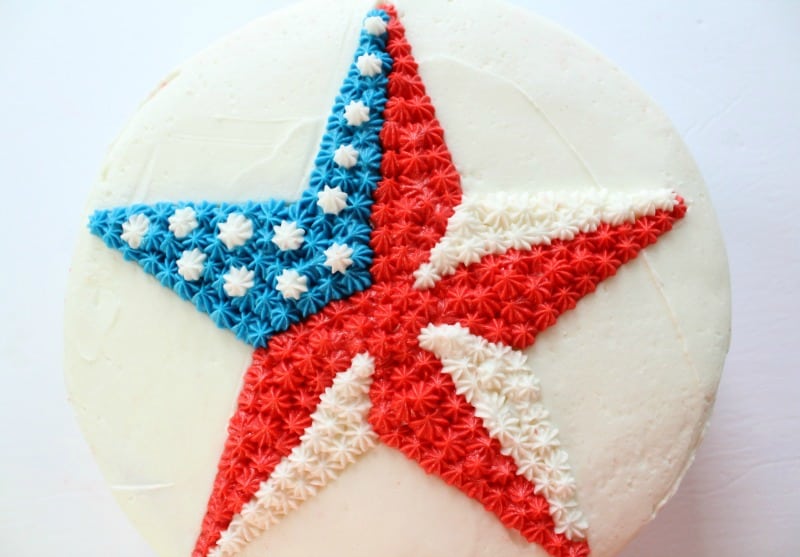
I did manage to recover the finished product pictures though and thankfully, this cake is an easy one, so I’m still able to tell you how to put it together.
Ok, let’s get started…
Supplies needed for the easy patriotic buttercream star cake:
- An 8″ round white cake with at least two layers (try my moist white cake) You can also just use a white cake mix.
- Buttercream (vanilla bean buttercream recipe) If you want a super white buttercream, try this recipe.
- Red gel food coloring
- Royal blue gel food coloring
- Star tips (you can use the Wilton star tip 21 or a smaller star tip like the Wilton 18)
- Large Icing Spatula
- Cake Turn Table
Making the easy patriotic buttercream star cake:
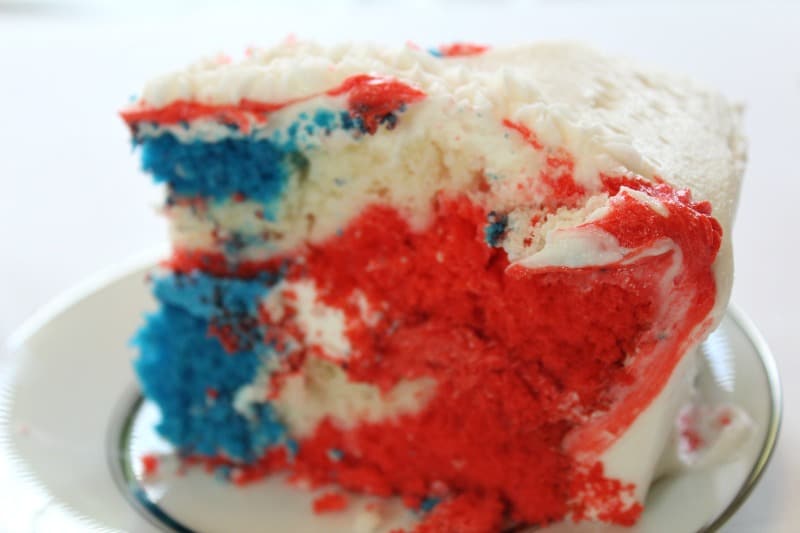
This cake was an 8″ round cake using two layers of cake. I actually tinted my cake batter red, white and blue.
Basically I just colored the batter in three parts, red, blue and then I left the third white.
I added half the red batter to the pan and spread it out. I then added half the blue without spreading it out, then the white in the middle of that. I repeated that again. I didn’t marble it though because I didn’t want the white mixing in too much with the red to make pink.
It’ll look like this once it’s cut.
Just bake your cake according to the recipe instructions and set aside to cool.
Once cool, just stack and fill your cake and cover it in the white buttercream.
Mix up more buttercream in red and blue and you’ll be ready to pipe your star pattern.
If you have trouble getting your buttercream dark colors, you’ll want to check out my post on how to do that here: Coloring Buttercream Dark Colors
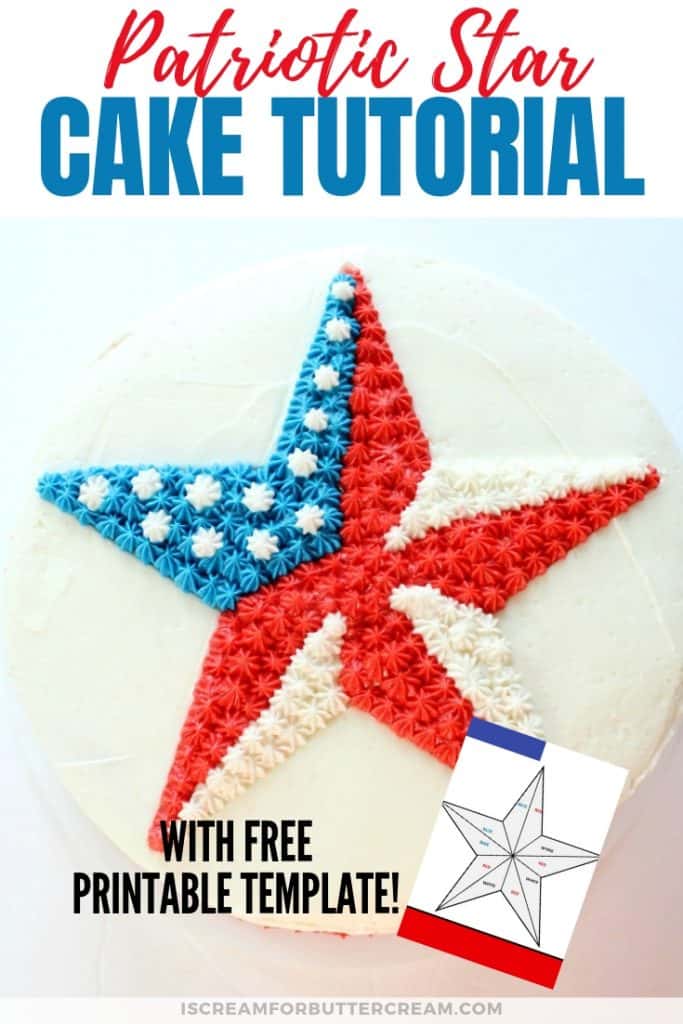
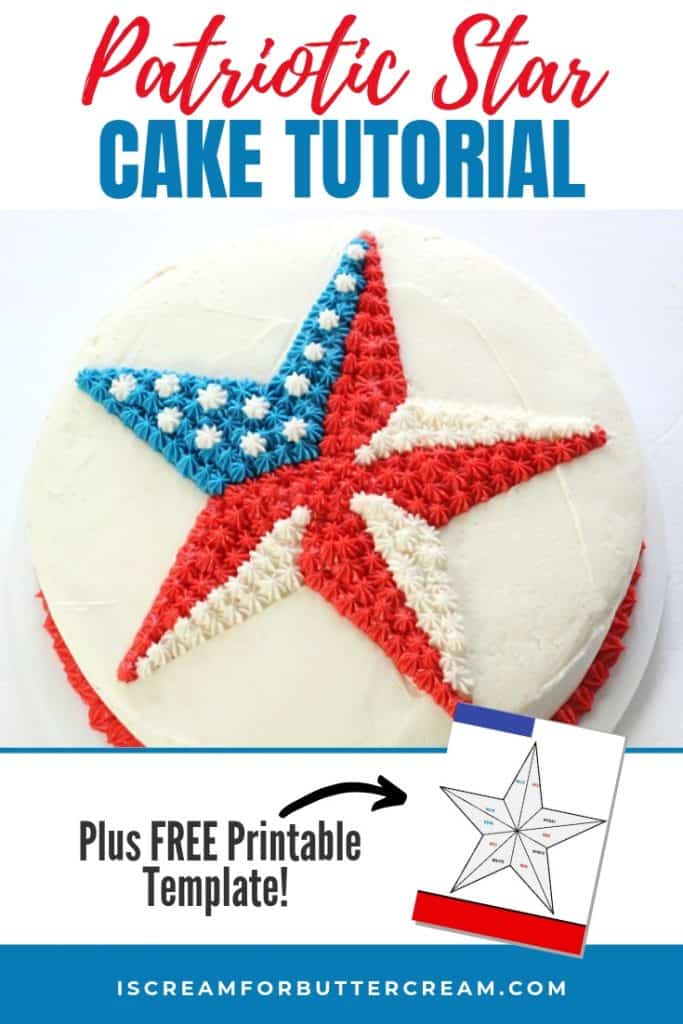
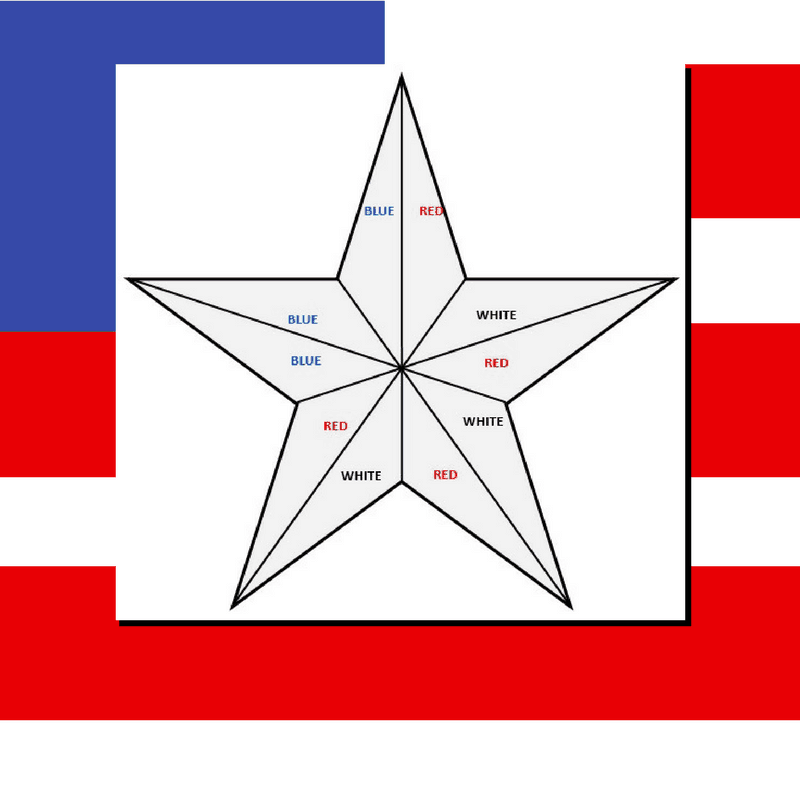
For the star on top, I actually made a template for you. It’s perfect for an 8″ cake, but you can always scale it down or up to fit your needs.
What you’ll need to do is print it out (it’s on two sheets of paper), then cut the star out and piece it together with some tape, so it’ll be big enough for the top of your cake.
Just click on the graphic below to download the template.
Once you’ve taped it together, just lay it on top of your cake, take a toothpick and trace around it. Pull off the template and set it aside, so you can refer to it as a guide for the colors you’re about to pipe.
If the template pulls off a little buttercream when you take it off the cake, no biggie, you’re about to pipe more on when you pipe the star pattern.
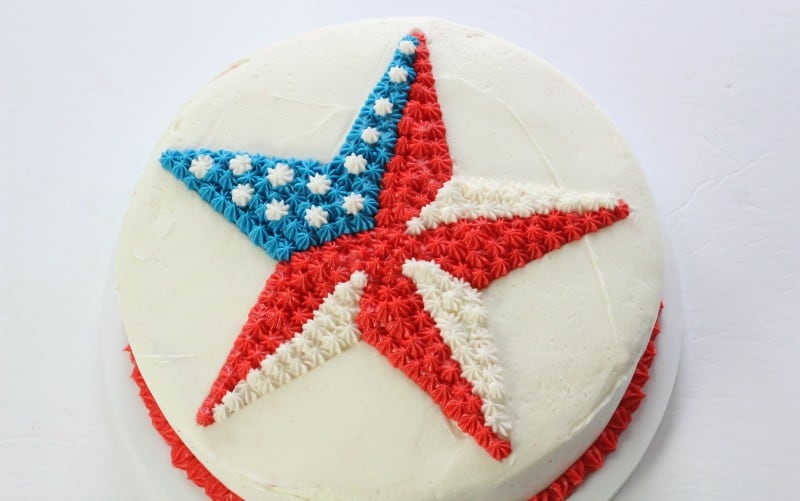
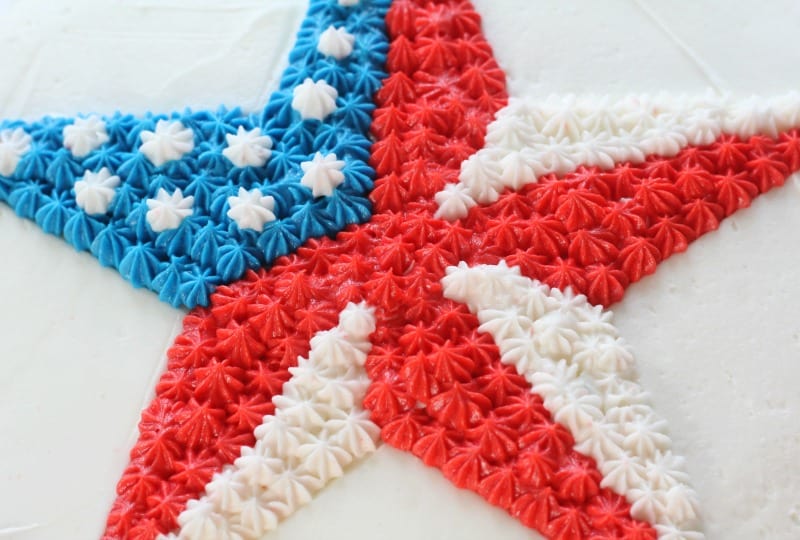
Now just add the red, white and blue buttercream to piping bags and use the template to guide you on where to pipe the colors. Just pipe small stars. Super easy, right?
For the blue part, once you’ve got that piped, just go over with some white stars.
Finish off the cake by piping some stars around the base of your cake for a border. I just used the red buttercream for that.
That’s it! See? Super easy, not over-complicated, but it still has that wow factor. Now that you haven’t spent your entire day in the kitchen, you can go out and enjoy your time with your family and friends.

I hope you have fun with this one and I hope you have a wonderful Happy Independence Day!
Other posts you might like:
Don’t Forget to Pin it for Later!

Leave a Reply