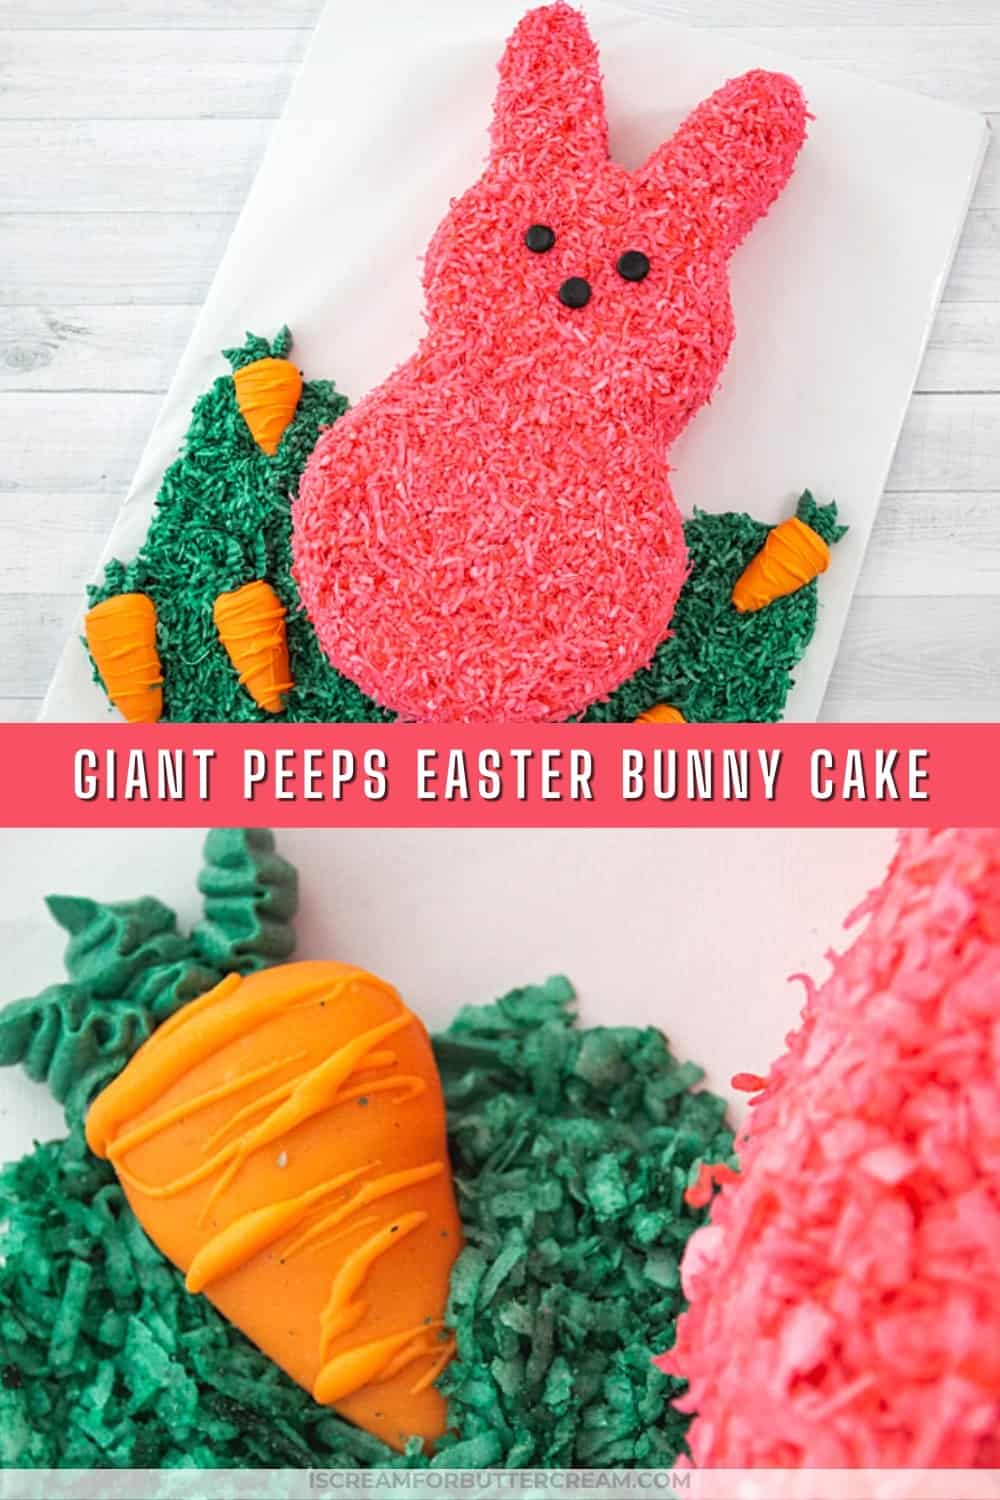
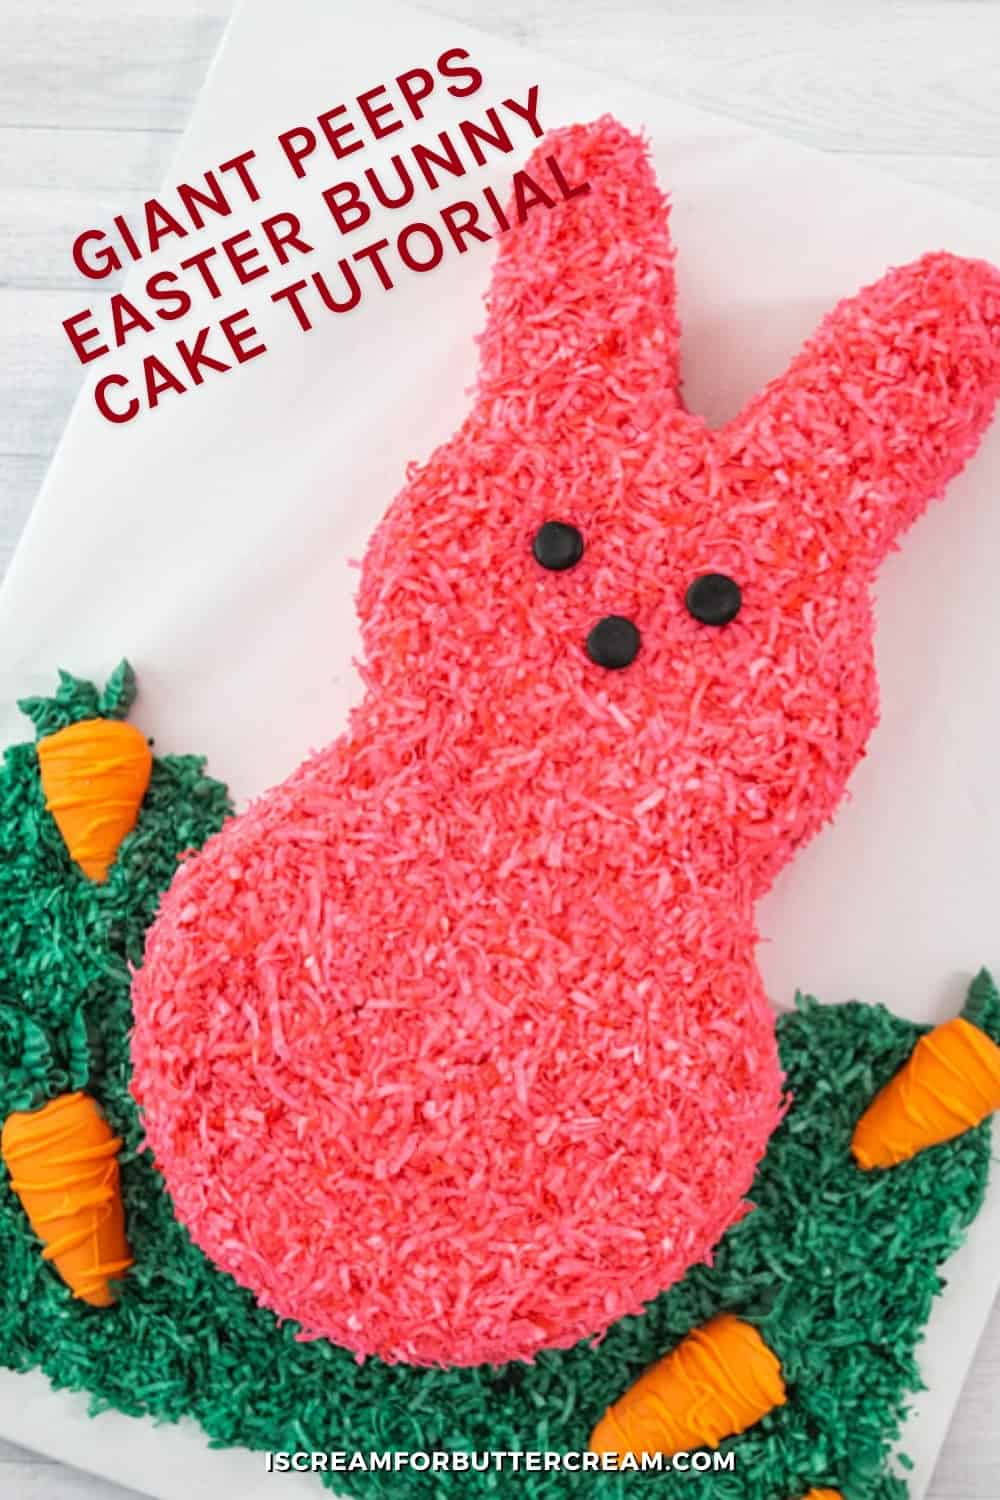
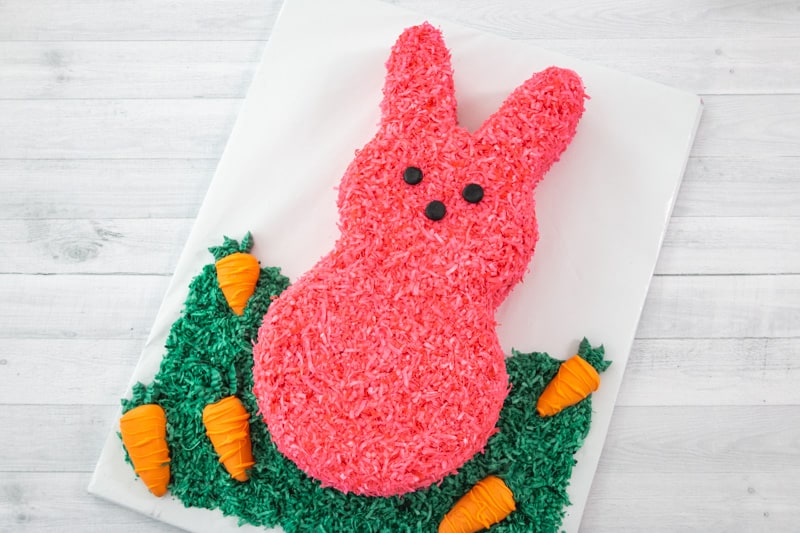
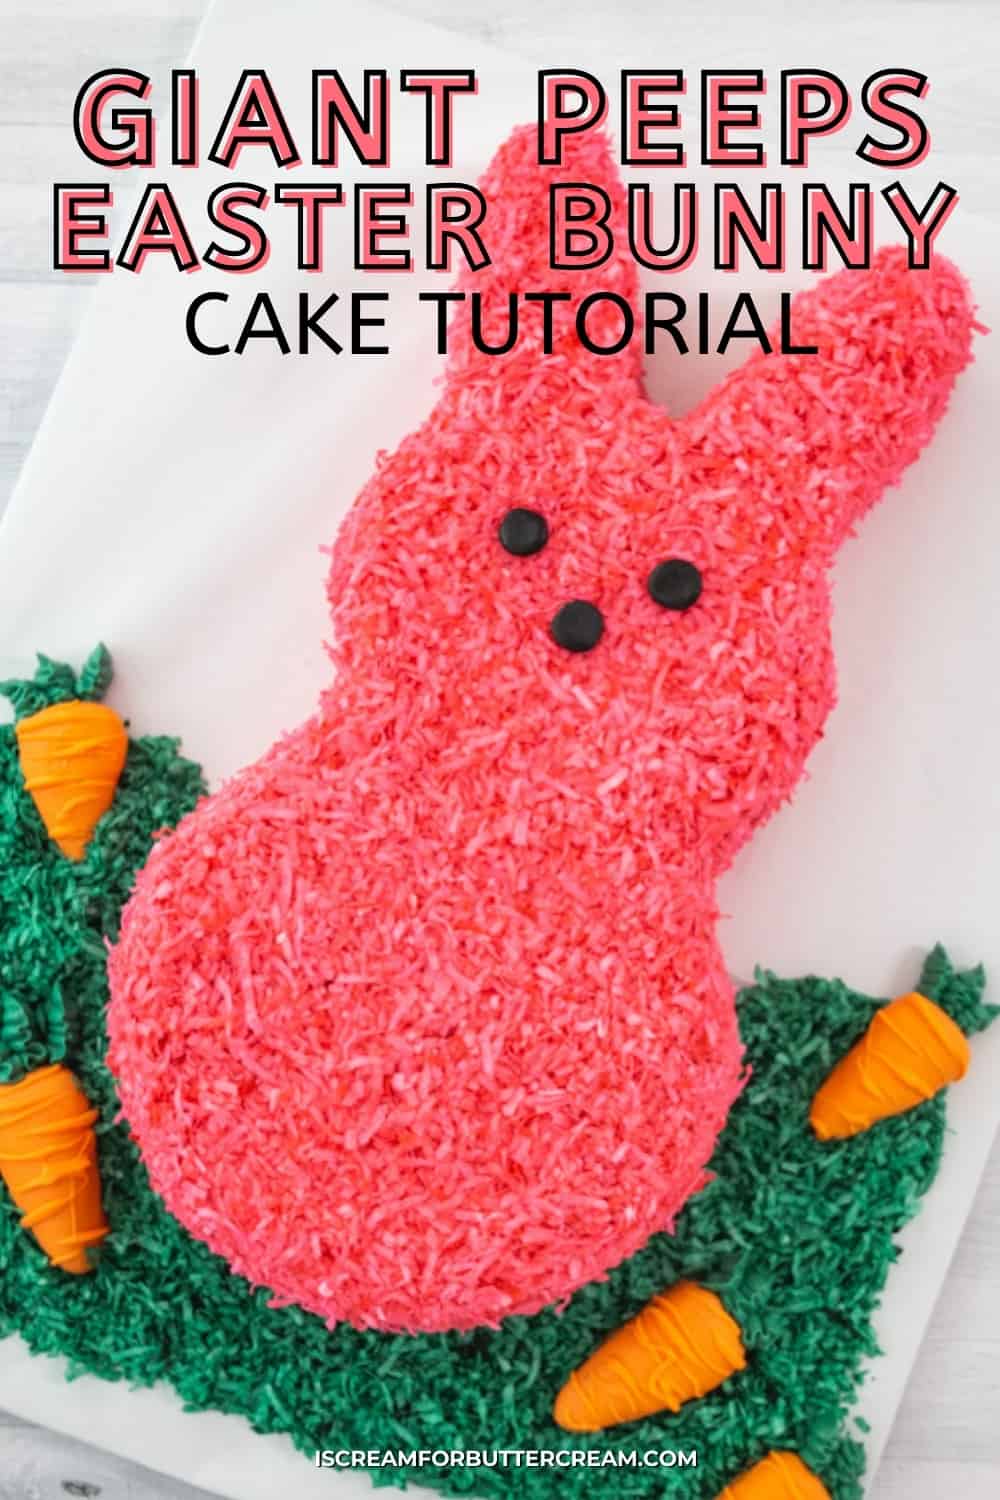
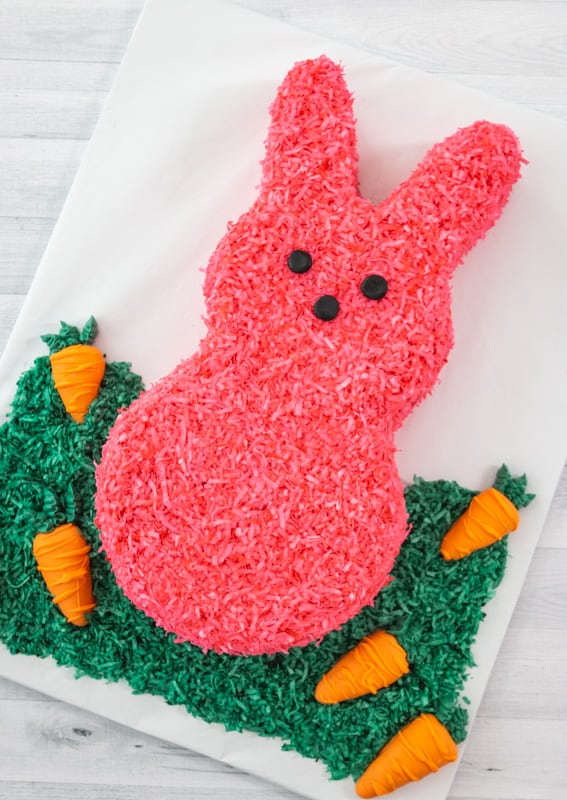
This giant peeps Easter cake is so cute and looks just like a bunny peep!
It’s an easy tutorial with step-by-step instructions and a video, plus a printable template you can print out and use to help you cut your cake in the proper shape, so there’s no guessing.
And don’t even worry about the cake scraps from cutting up your cake into the bunny shape. You’ll use the scraps to make into cute cake pop carrots!
Jump to:
I had so much fun making this (and eating it)! You can use any cake flavor you want.
I love the combination of chocolate cake and coconut, which is what I used.
The fun part is that you can change the colors up and perhaps even do a purple or blue bunny!
Just remember that you’ll be using the cake cut-offs to make carrot cake pops out of, so don’t worry about wasting any cake.
Also, this cake uses coconut to coat the buttercream. I do know there are people who don’t like shredded coconut. An alternative might be to use sprinkles or some type of colored sugar.
Alright, let’s get into the tutorial.
Psst…this post will show screenshots of each individual steps, but don’t forget there is a video close to the end of this post that shows how everything is done.
As an Amazon Associate, I earn from qualifying purchases.
Supplies needed:
- Foam board and white fancy foil or wrapping paper (to make the cake base)
- 13×9 inch deep cake pan
- Cake leveler (or knife for slicing the cake in half)
- Hot pink gel food coloring (for the buttercream and coconut on the bunny) Gel coloring works best here as it’s concentrated.
- Green gel food coloring for the (buttercream grass and coconut)
- Shredded coconut (one bag should be enough)
- Black fondant (optional or you can use black buttercream for the eyes and nose)
- Orange candy melts (for the cake pop carrots)
- 103 petal tip
- piping bags
- Knife for cutting the cake
- Buttercream spatulas
- Template for the bunny
Steps to make this cake:
Prepare the cake base:
You’ll want to make yourself a cake base. I just used foam board I got from my local dollar store and taped two together to give it strength.
I then just covered it with white fancy foil (see link in the supply list above), but you could also use white wrapping paper.
To get the right size, just measure around your cake pan. I used a 13×9 inch cake pan and you want the cake base to be several inches wider than that.
Bake the cake and prepare the buttercream:
Go ahead and bake your cake, so that it’s nice and cool by the time you go to decorate it.
The template is designed for a 13×9 inch cake and I used a deep metal pan for mine, not a shallow glass pan.

Once the cake is baked, make sure to chill it. I normally don’t chill my cakes before decorating, but you’ll need to cut this one up a bit and chilling it will help in this case.
You’ll also want to go ahead and prepare the buttercream. Tint buttercream hot pink for the bunny and a small amount of green for the grass.
You can also tint a small amount black for the eyes and mouth, if you don’t have or don’t want to use fondant for that.
Prepare the coconut:
To color your coconut, you can do it a couple of different ways.
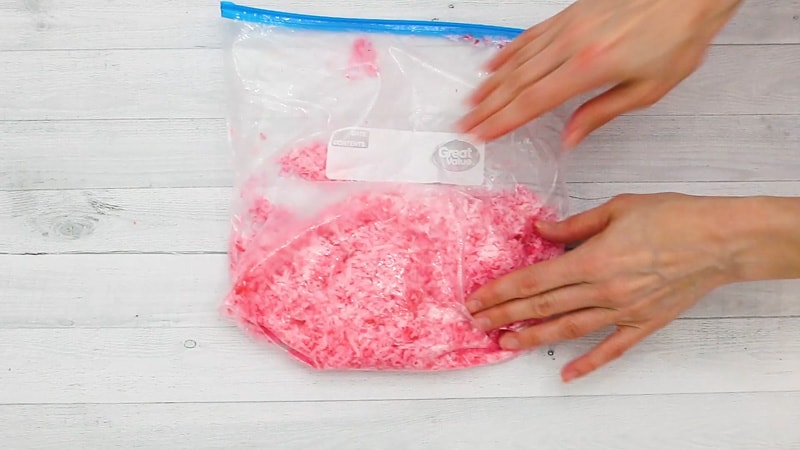
First, you can add a few drops of the gel food coloring to coconut in a ziplock bag.
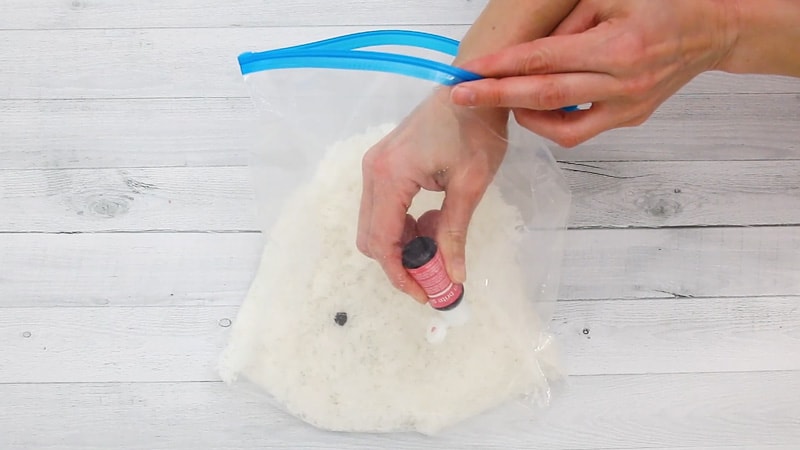
Once added, you can zip up the bag and then smash it around to coat all your coconut.
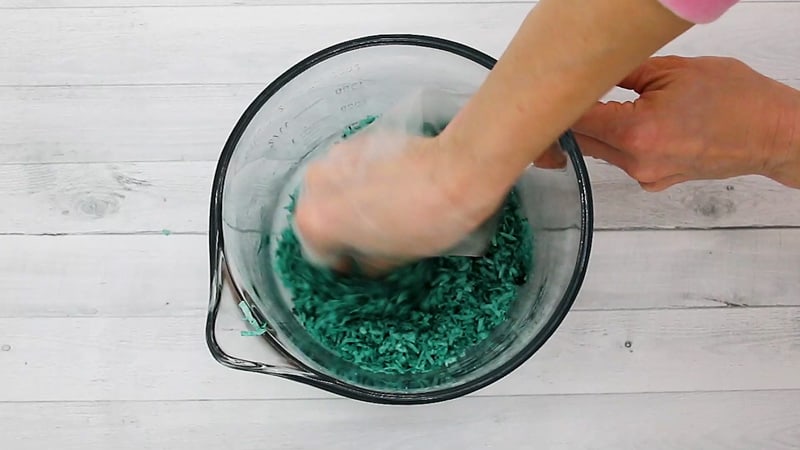
The next way to color coconut is to just add it to a bowl, add the gel food coloring and then mix it with gloved hands.
This is much easier and worked much better, but you definitely need gloves for this.
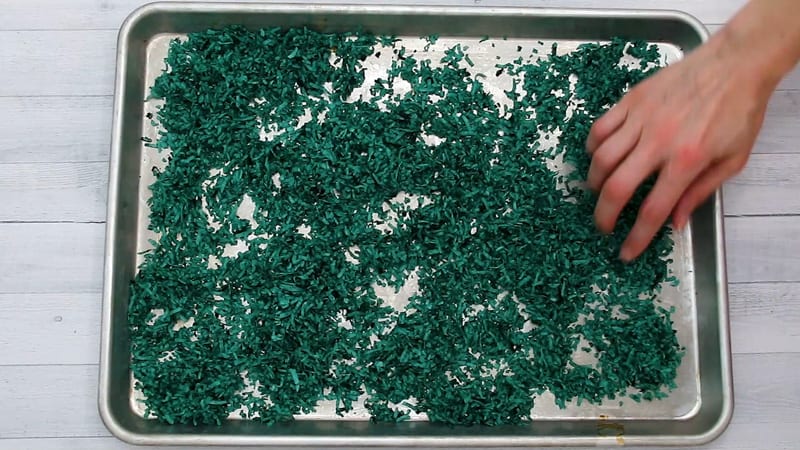
Once all the coconut is tinted, you can spread it out on a pan of some sort to dry up a bit. (It doesn’t need to totally dry out, just lay it out until you’re ready to use it once you get your cake prepared.)
Cut out the cake shape:
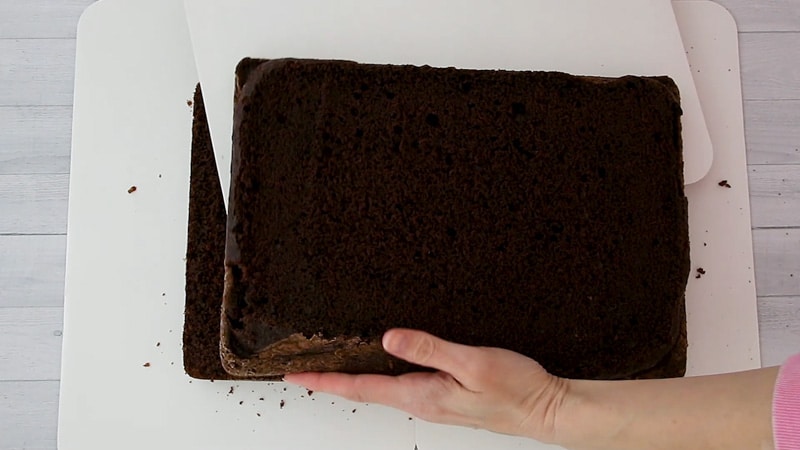
First slice your cake into two layers. I like to use my handy Wilton cake slicer (link in the supply list above).
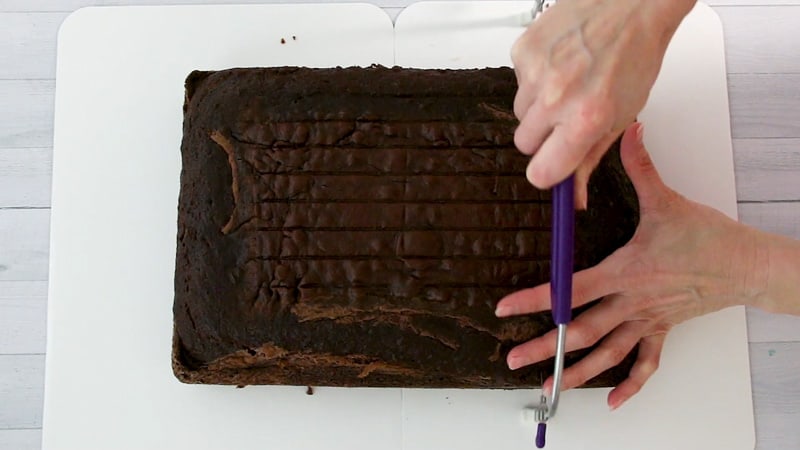
Make sure to save the top for making the carrot cake pops later.

Now remove the top layer so that you can add the filling.
It’s much easier to lift off the top layer of cake if you use a rectangle cake board and slide that layer onto it the board.
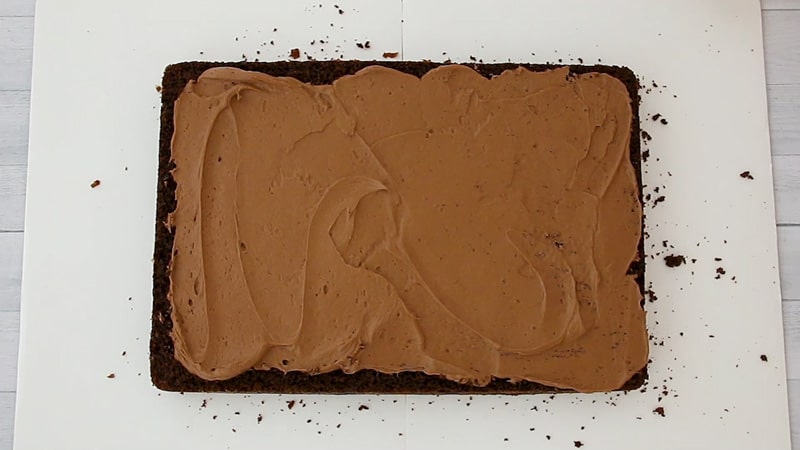
Set the top cake layer to the side and cover the bottom layer with filling. I used chocolate buttercream.
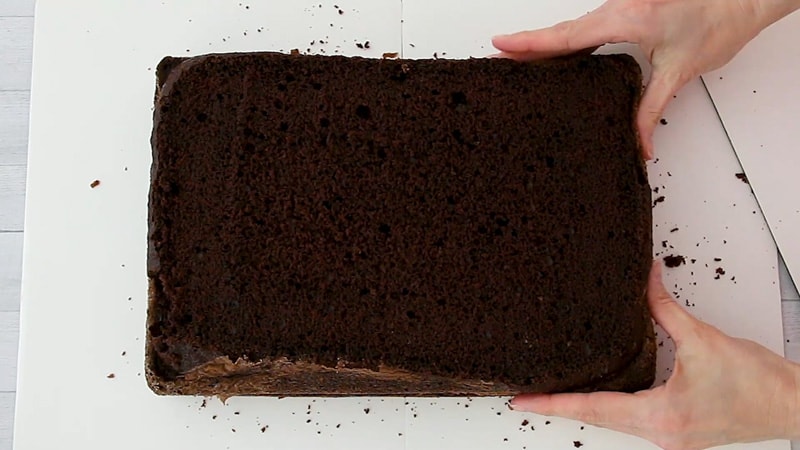
Add the top layer of cake back onto the bottom layer. Use your cake board to slide it onto the bottom layer.
Take your bunny template…You can download it from the supply list above. It’s best to print it on cardstock. It will come in two pieces.
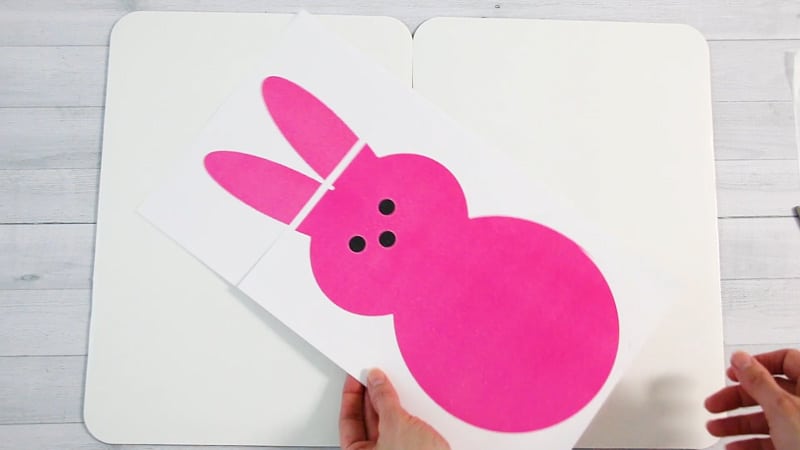
Cut out the shapes.
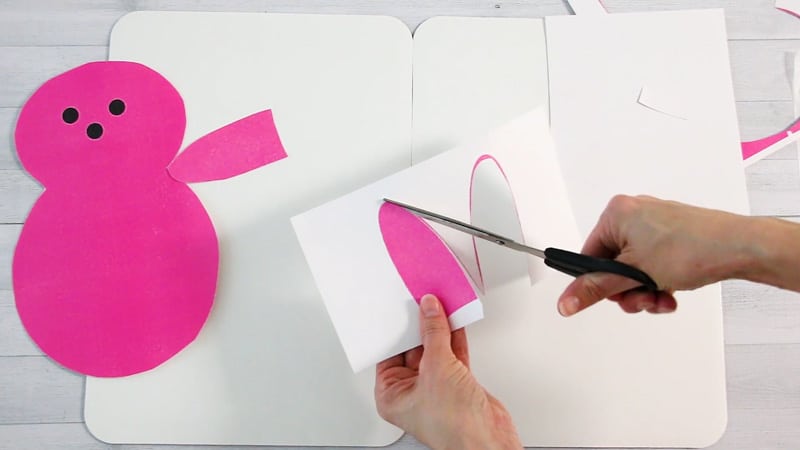
Set the bunny shapes onto the cake and cut them out. It’s best if the cake is cold so it won’t crumble so badly.
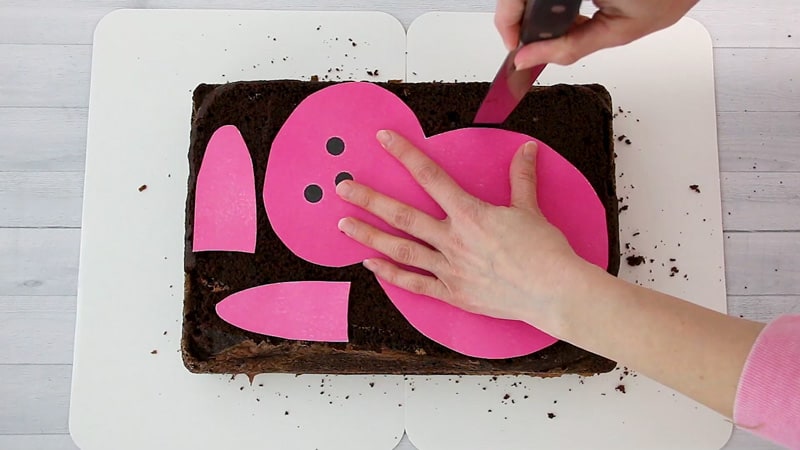
Make sure to save the cake scraps as you’ll use some of them later when you make the cake pop carrots. (I don’t like using the very edges though.)
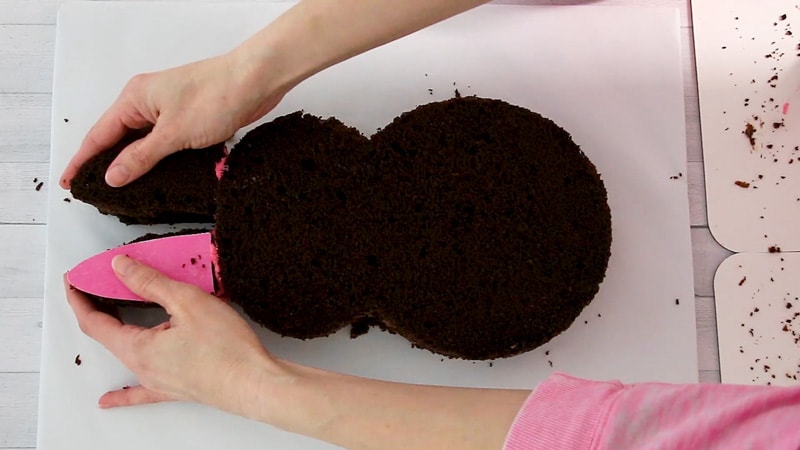
Attach the bunny body to your prepared cake base. Make sure to leave some room at the bottom of the cake base for the ‘grass’ you’ll add there later.
By the way, I used a little bit of melted candy melts to attach the cake to the cake base.
Now just attach the bunny ears to the bigger part of the cake using a bit of buttercream.
Set in the fridge to chill a bit so it’s not so crumbly when you go to add the first coat of buttercream.
Make the cake pop carrots:
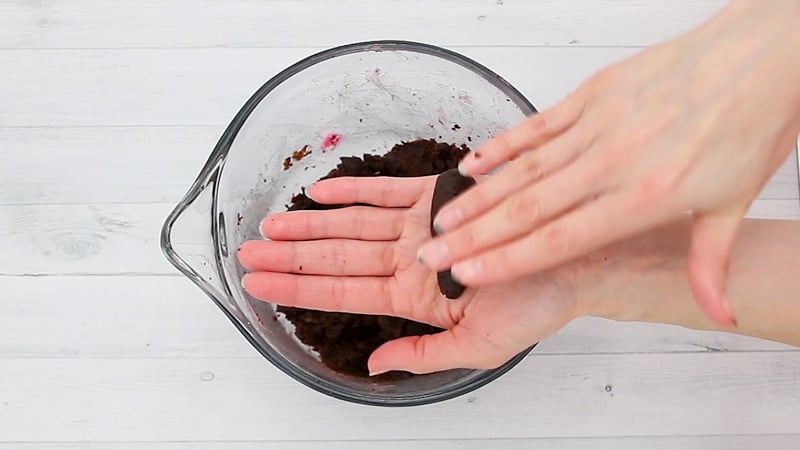
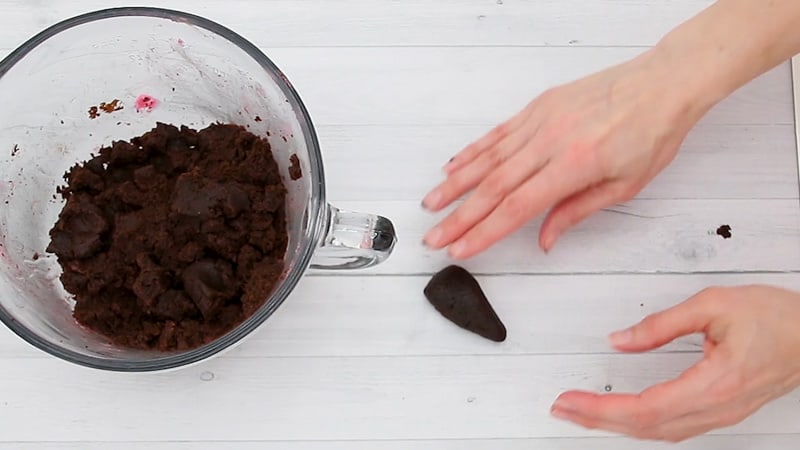
Take the cake scraps you saved and add a bit of buttercream to them and mix it all up to make a cake pop mixture.

Now take small amounts and roll them first into a ball and then into a cone shape to resemble a carrot.
Flatten the top of the cake pop carrot on the table.

Place the carrot on its side and then smash it down just a bit to flatten it out only slightly.
Melt the orange candy melts. If it seems a bit thick, you can add in a teaspoon or so of shortening to thin it down a bit.
Coat the carrots in the candy melts. I like to use plastic forks with the middle prongs broken off to do this.
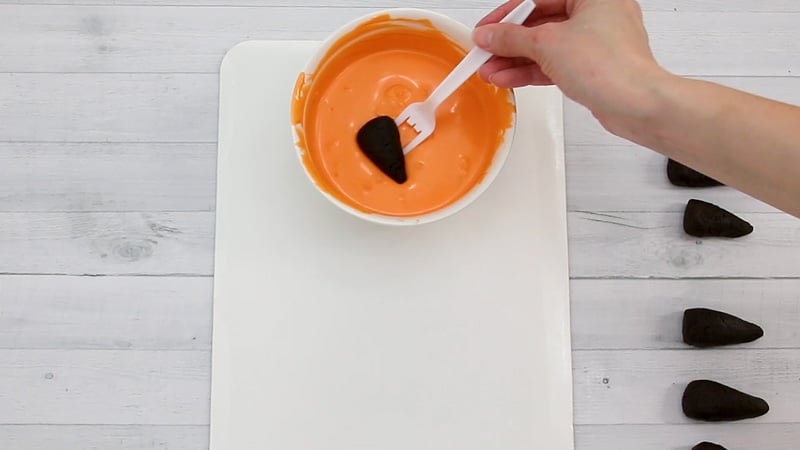
Set them on some wax paper or a cake board. Pop them into the fridge to chill.
Once chilled, you’ll want to dip them again to get good coverage.
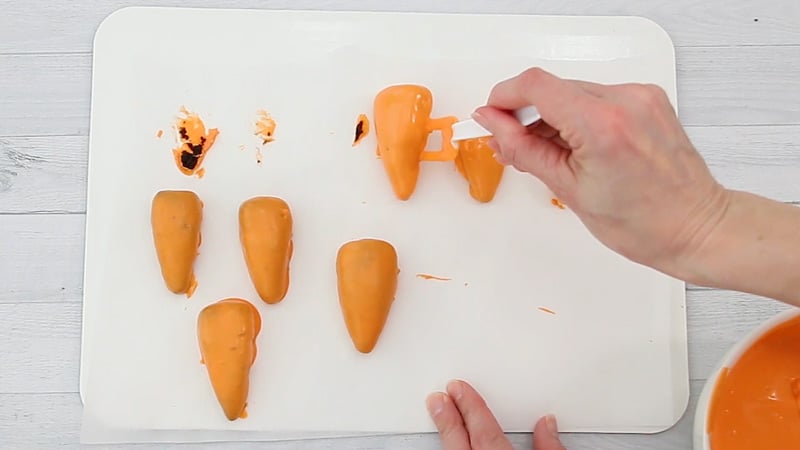
Set them back in the fridge to firm up.
Once they’ve firmed up, drizzle on a bit of the the melted candy melts to form ridges that carrots have.
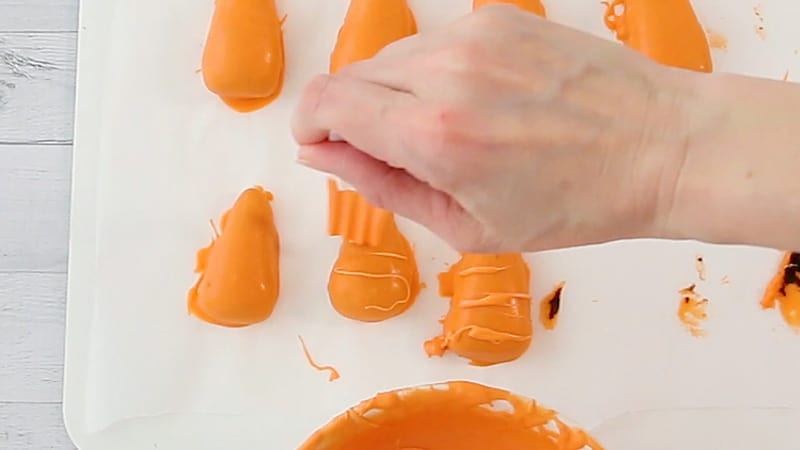
Set these to the side for now.
Decorating and finishing off the cake:
Take the chilled cake and cover it with a thin crumb coat layer of the pink buttercream.
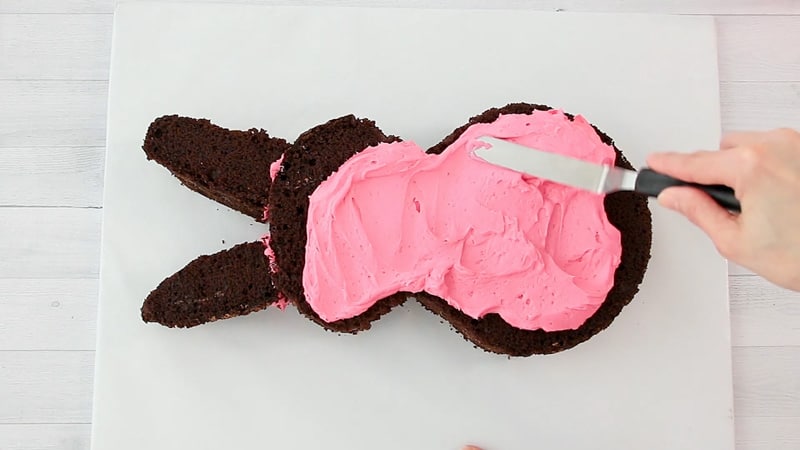
Chill the cake and then coat it again with a good helping of pink buttercream.
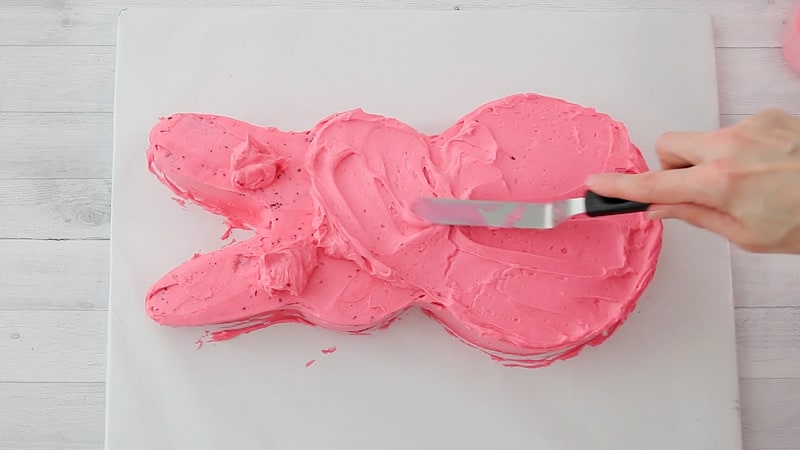
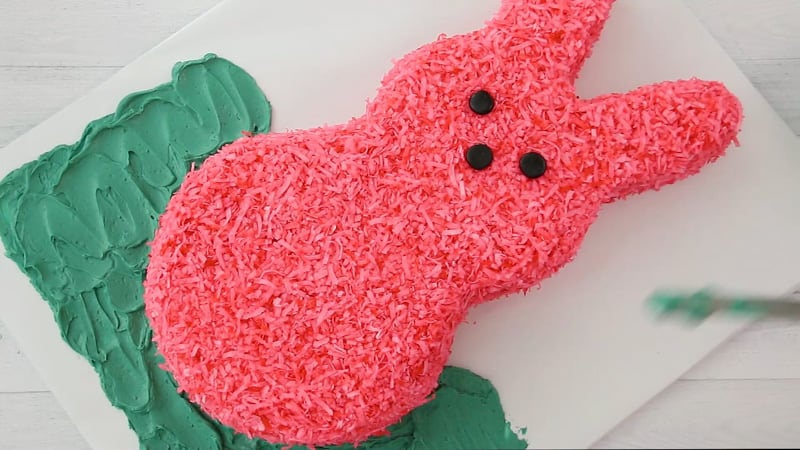
Smooth the buttercream. Then add the pink coconut, starting with the sides. Push the coconut into the buttercream a bit to get it to stick.
This is best done without the cake being chilled at this point.
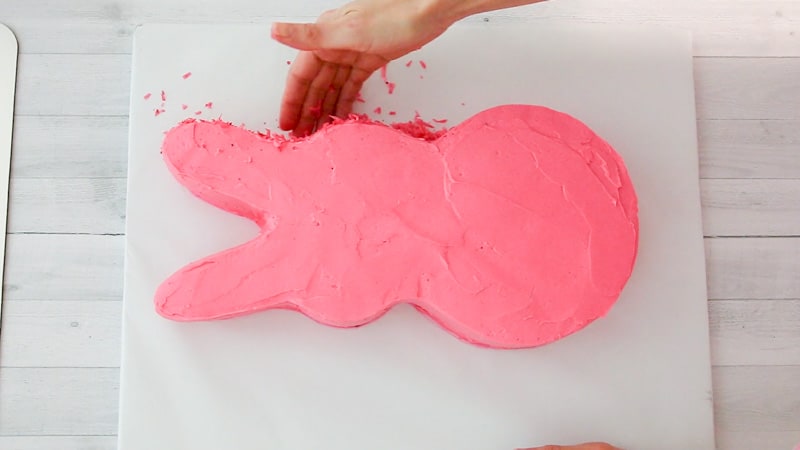
Once all the sides are covered in coconut, then add it to the top of the cake.
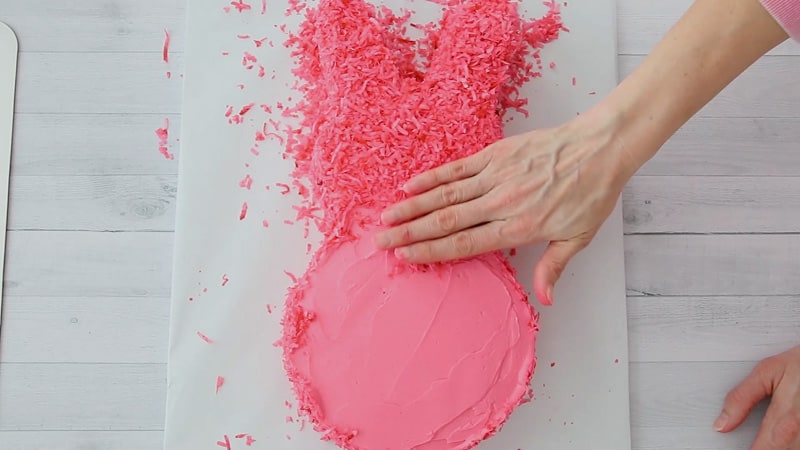
Once the cake is covered, clean off the excess coconut and set it to the side.
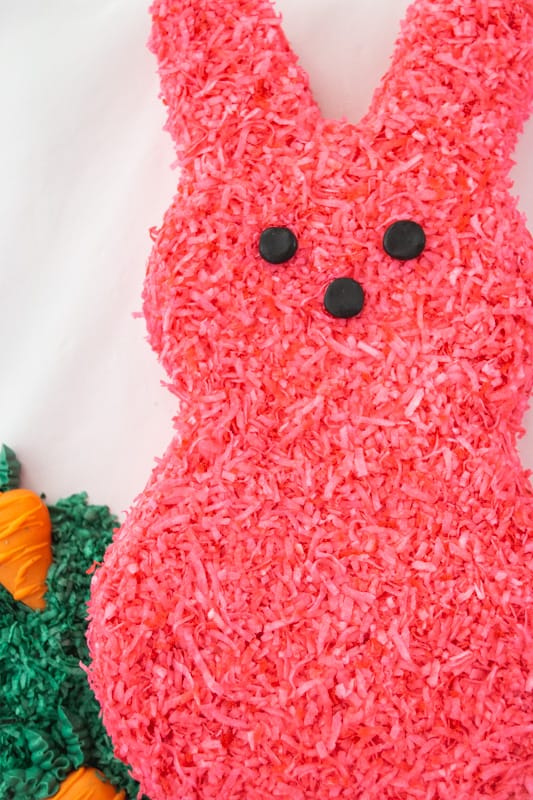
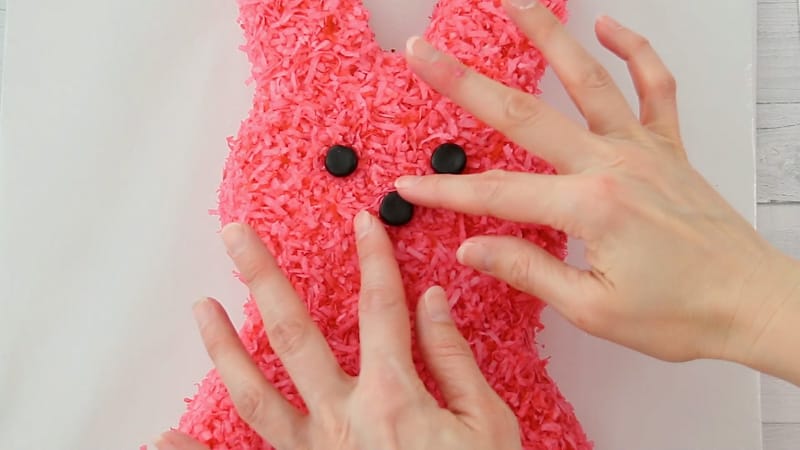
Now work on the eyes and mouth. I used fondant, but you could just use black buttercream and pipe them on if you want.
To use the fondant, just roll it out and then cut out circles for the eyes and mouth with the back end of a piping tip.
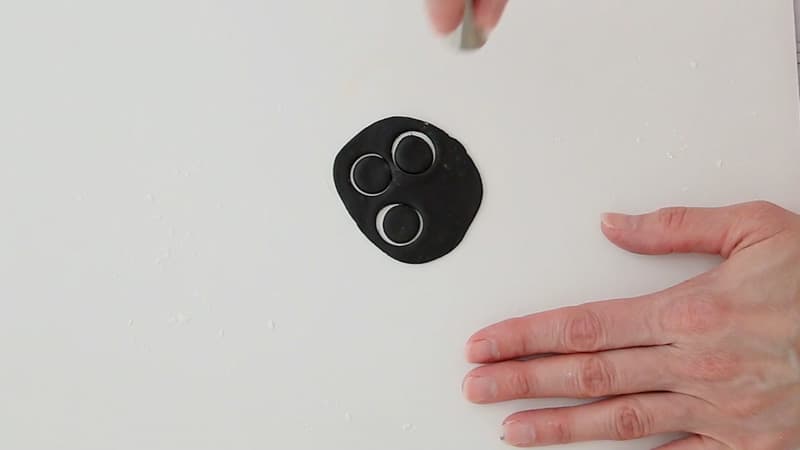
Add to the cake with a bit of buttercream on the backs.
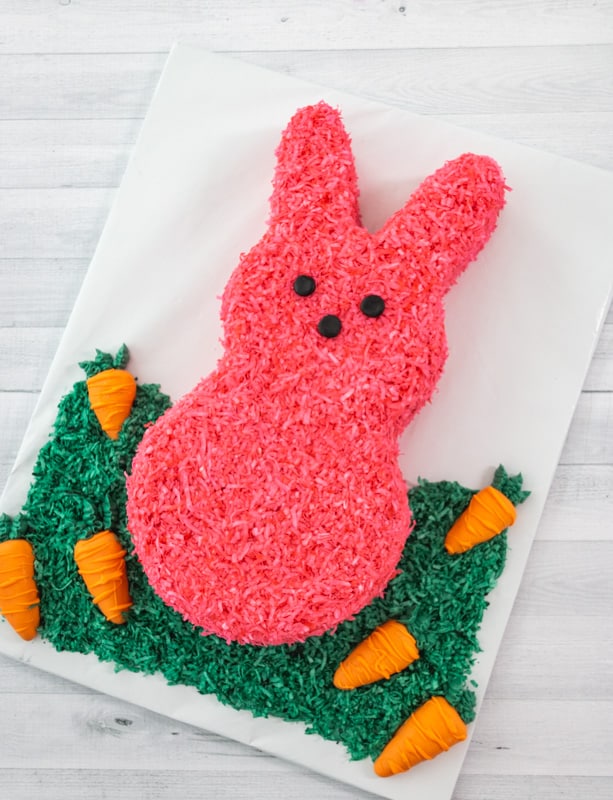
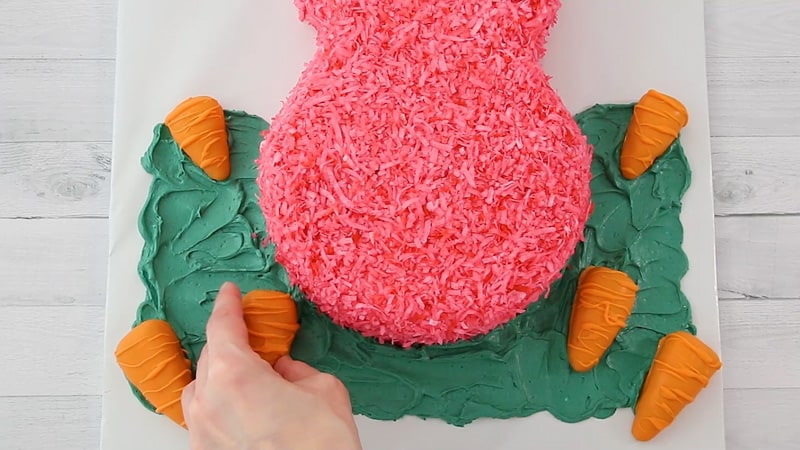
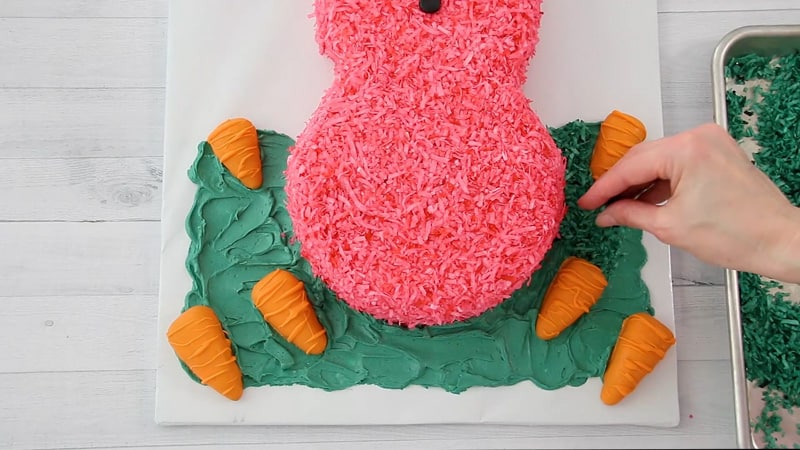
Now take the green buttercream and spread it around the bottom of the cake base using an icing spatula or a spoon.
Now add the carrots randomly onto the green buttercream. You can use more carrots than I did.
Also, you can save any carrots you made that won’t fit on the cake boards and serve them along side the cake.
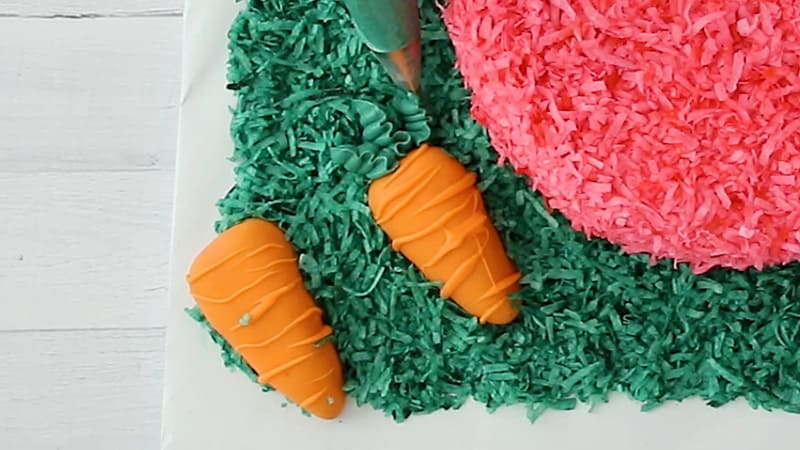
Now add the green coconut onto the green buttercream and sort of push it into the buttercream a bit.
Once all the green coconut is added, pipe on the little green tops to the carrots.
You can use a petal tip to do this (link in the supply list above), but make sure the skinny side faces up. The video will show how this was done.
Video for making this cake:
So, what do you think? Are you ready to make one for yourself? What color will you make?
Don’t forget to pin it below!