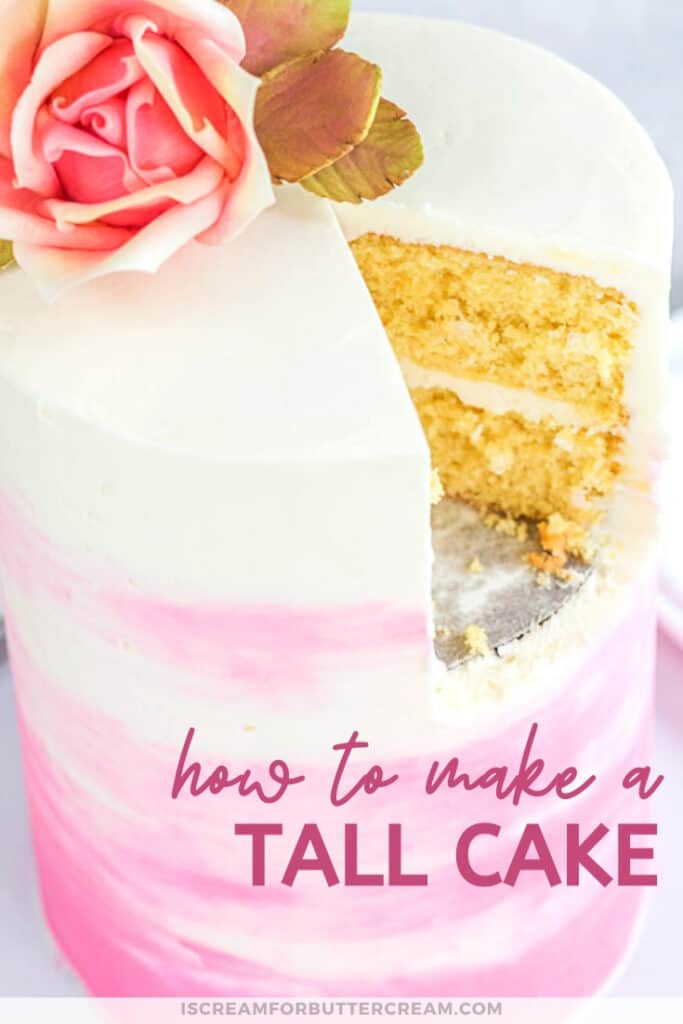
I LOVE a nice tall cake. It just looks elegant and stately. Can a cake look stately? Anyway, I’m a big fan of the tall cake, but there are a few tricks and tips to know about before you make one. You could have a disaster on your hands if not done correctly, so I thought I’d put together my tips and tricks on how to make a tall cake (or as some call it, a double barrel cake).
There are a multitude of ways to make a tall cake, but the number one thing to remember is that you need to have a support system in place.
In this post, I wanted to give you plenty of details. I’ve got some screenshots of how I put this cake together, but you can also watch the video toward the end of this post to see it actually being made.
Oh and if you want to get ALL my tips on how to stack tiered cake (with different sized tiers), then you’ll want to see this post here.
As an Amazon Associate, I earn from qualifying purchases.
Supplies Needed to Make a Tall Cake:
- Cake Layers (Anywhere from 4 to 6 layers – we’ll talk about this in a bit.) I used 6″ round cake layers – Here’s my favorite cake recipe: Favorite Vanilla Bean Cake Recipe
- Cake Leveler
- Cake Base (A few inches larger than your cake layers – I like foam boards)
- Cake Rounds (The same size as your cake layers)
- White candy melts (For attaching the cake boards)
- Cake Turn Table
- Buttercream (You can grab my buttercream recipe here: Vanilla Bean Buttercream Recipe)
- Icing Spatulas
- Mini Level
- Wax Paper
- Icing Smoother (You’ll need a tall one) Here are a few options: Tall Plastic Icing Smoother, Tall Metal Icing Smoother
- Dowels for stacking the cake layers. I love using Poly Dowels. For the link to the official poly dowels, click here: Poly-Dowels Here are some other options for plastic ‘cuttable’ dowels.
- Center wooden dowel (The dowel that goes all the way through the cake and into the cake base. This is really just a tall wooden dowel that you can probably get at any craft store.)
- Pencil sharpener (for sharpening the center dowel)
- Edible marker (for marking the dowels) The Americolor brand seems to last a long time for me.
- Knife (for trimming the cake)
- Hot water (for smoothing the buttercream if you use the metal smoother)
- Optional: Gumpaste Rose – Here is my tutorial on that: How to Make a Large Gumpaste Rose
Options for Making a Tall Cake:
Ok, the most important thing about making a tall cake is that you MUST have support in your cake. By ‘support’, I mean doweling inside.

Any cake that will be taller than three layers, needs to have support if you’ll be adding more cake layers on top. Sometimes you can get away with four layers, but honestly, I don’t test it.
The reason is that the cake gets too heavy. It could just collapse on itself, the weight of the cake could cause buttercream ridges, or you could have cake layers that slide on you.
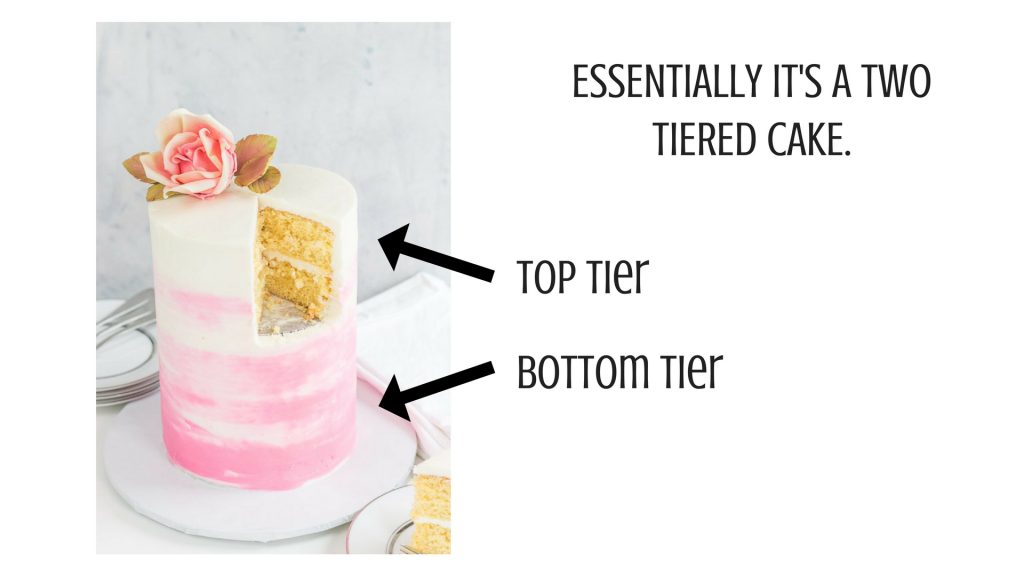
A tall cake is really just a two tiered cake. The top and bottom tiers just happen to be the same size. So if someone is paying you to make a tall cake, make sure to charge accordingly. It’s not really ‘one’ cake, it’s basically two in one.
Ok, let’s talk about options for making tall cakes:
First Option for Making a Tall Cake:
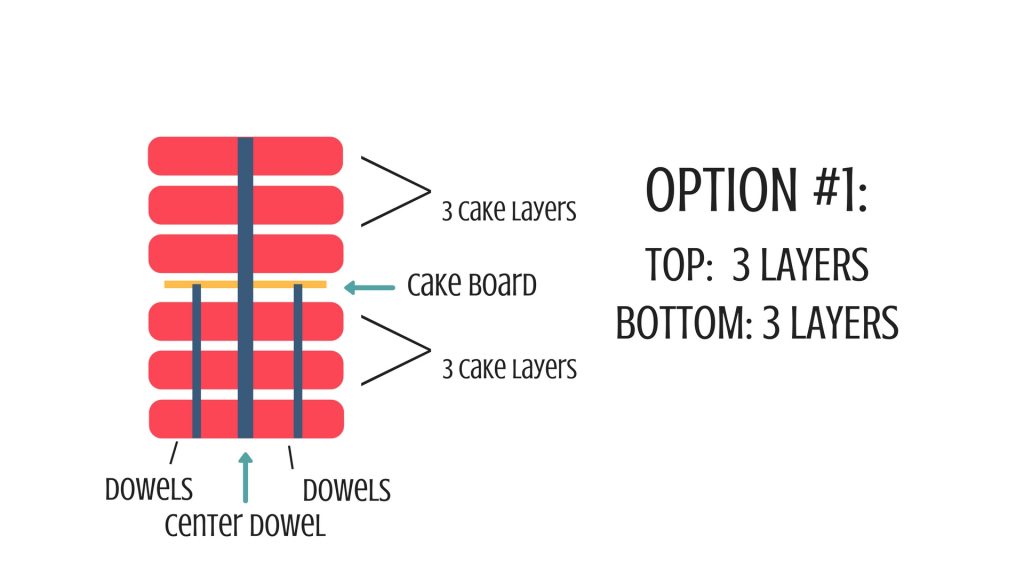
The first option is to use three layers of cake for the bottom tier and three layers for the top tier. Between the tiers, you’ll need a slightly smaller cake board and dowels for support in the bottom tier.
Second Option for Making a Tall Cake:
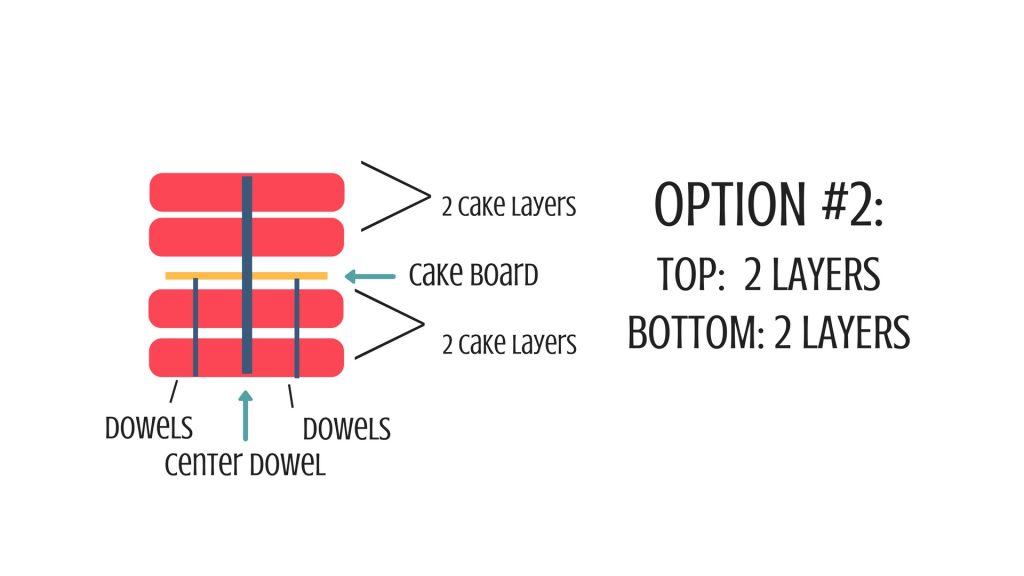
The second option is to use two layers of cake for the bottom tier and two layers for the top tier. You’ll add the slightly smaller cake board in between the cake tiers and the dowels in the bottom tier. This option will give you a shorter cake than the first option.
Third Option for Making a Tall Cake:
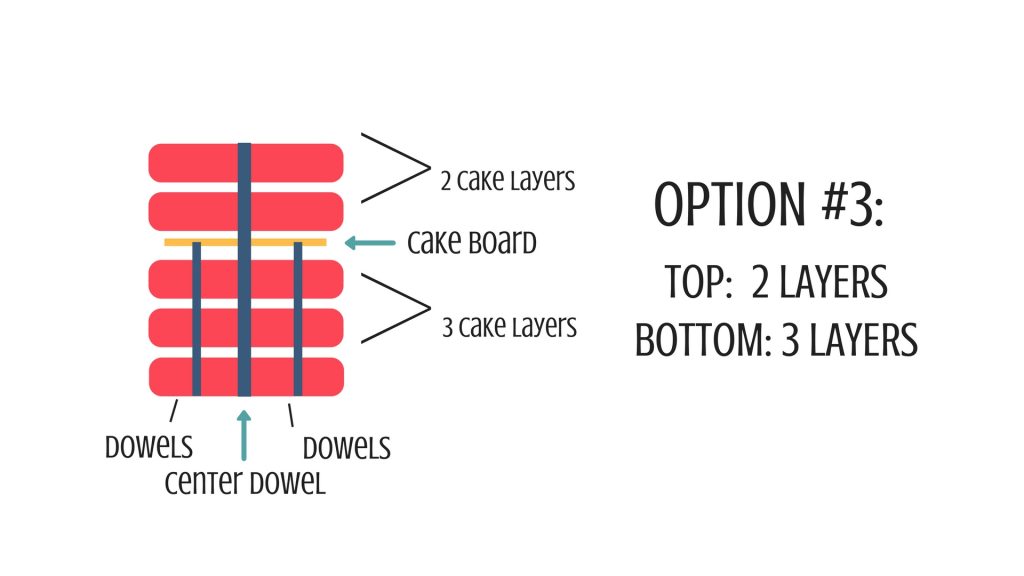
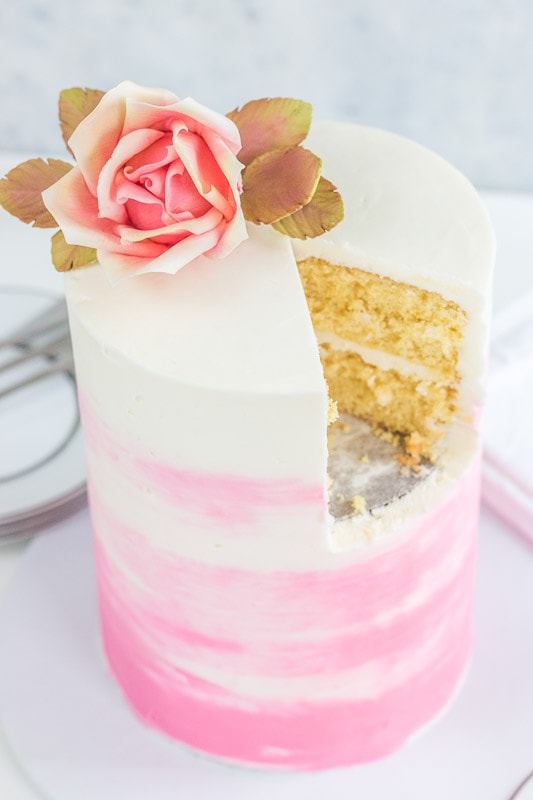
This is the option that I chose. I used three cake layers on the bottom tier and two on the top tier with a cake board in the center and dowels in the bottom tier. I went with this option because four layers of cake didn’t seem tall enough for me, but six layers of cake was looking way too tall for a 6″ round cake.
Ok, so now you’ve got some options to think about. Let’s get to actually building the cake.
Making the Tall Cake:
Don’t forget, if you’d rather watch the video rather than read all the steps, just scroll on down close to the bottom of the post to catch the video.
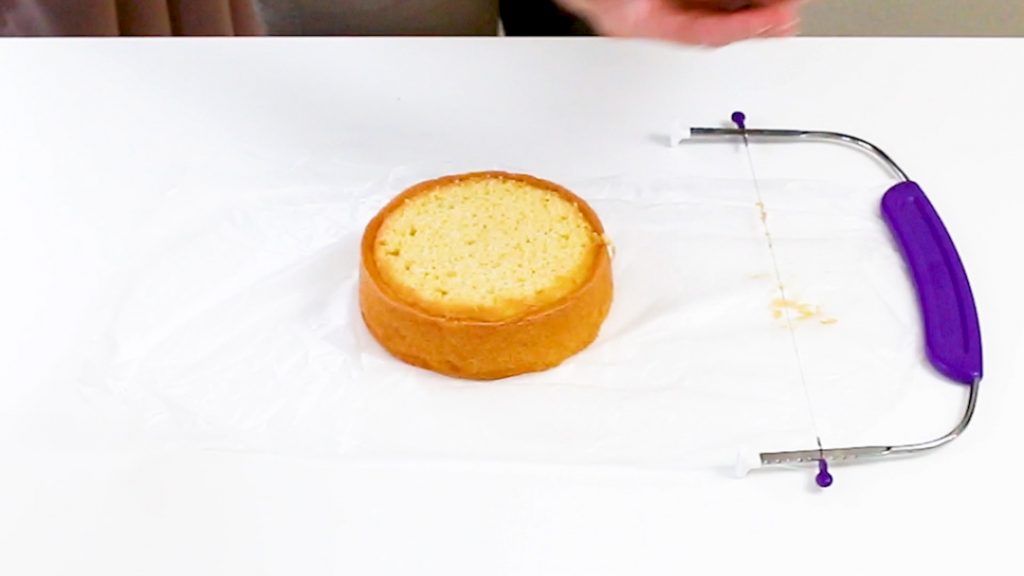
First you want to make sure you’ve leveled your cake layers. You definitely want them to be as level as possible, to prevent any accidents or them moving around on you later.
Take your large foam core cake base and cover it with fanci foil, or whatever your favorite method of covering a cake board is. If you want to see more options and all my cake board tips, you can see those here: Tips for Cake Boards
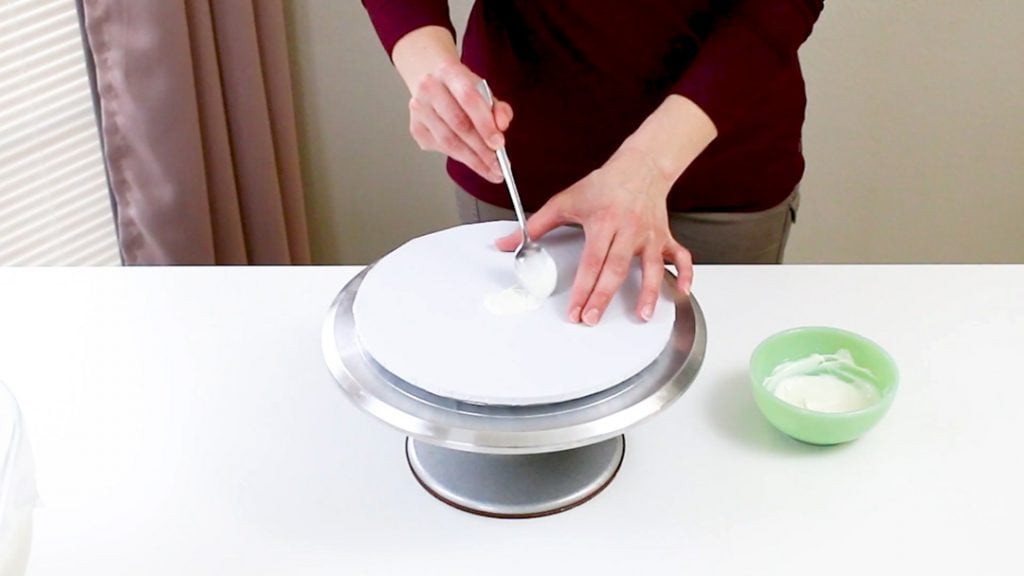
Now, set your cake base on your turn table and add some melted white candy melts to the middle. This will help you attach the bottom cake board, so it doesn’t move around.
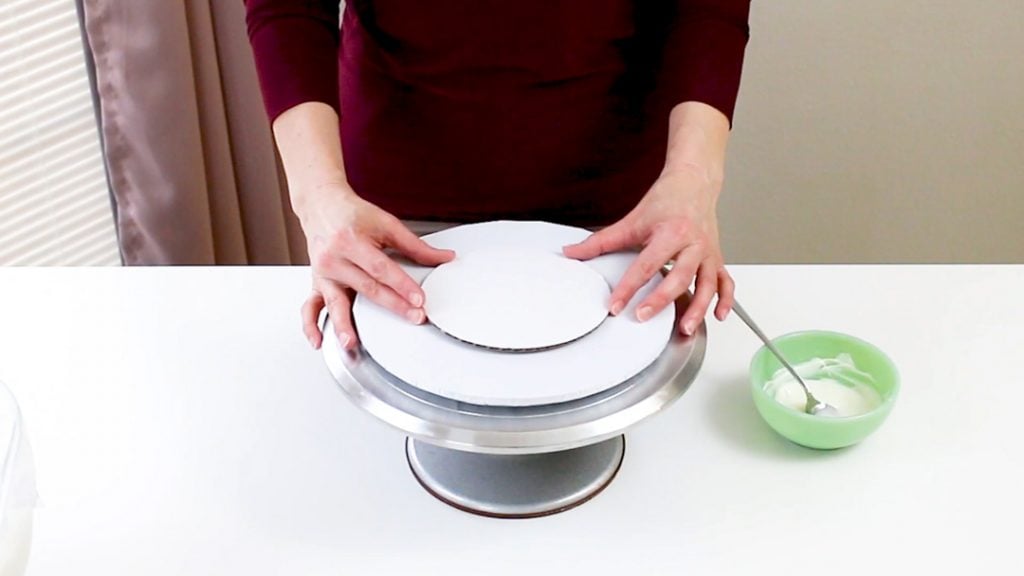
Now you want to add a cake board to the cake base. You need to make sure the cake board is the same size as your cake layers. I used 6 inch cake layers and a 6 inch cake board here. Make sure to let it set up a bit, so it’s good and sturdy. You can even pop it in the fridge for a few minutes if you want.
I like to go ahead and add just a bit of the melted candy melts to that board so the bottom layer of cake is stuck well onto the board. Some people like to use buttercream for this, but that just hasn’t worked well for me.
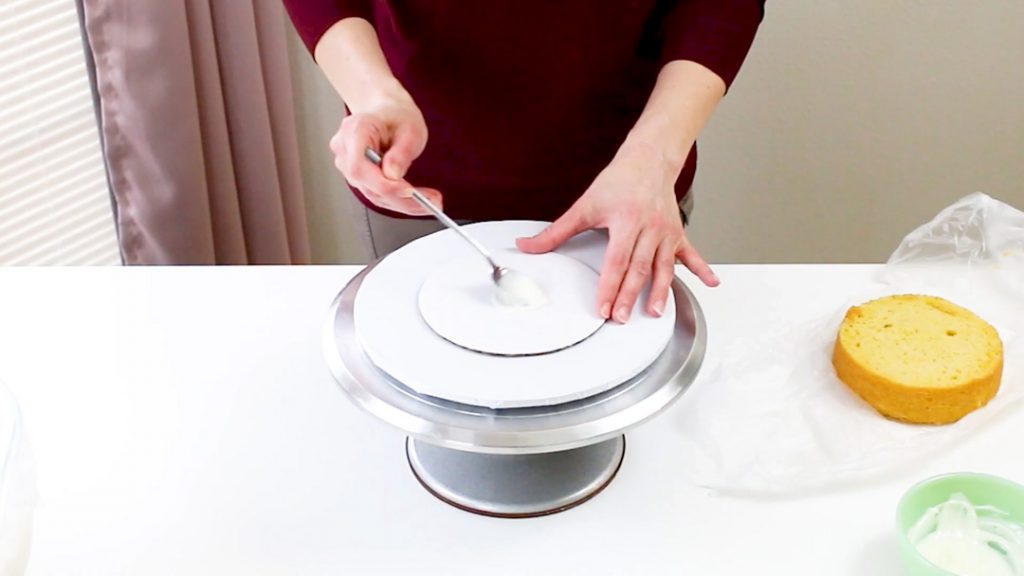
Then go ahead and add the first cake layer.
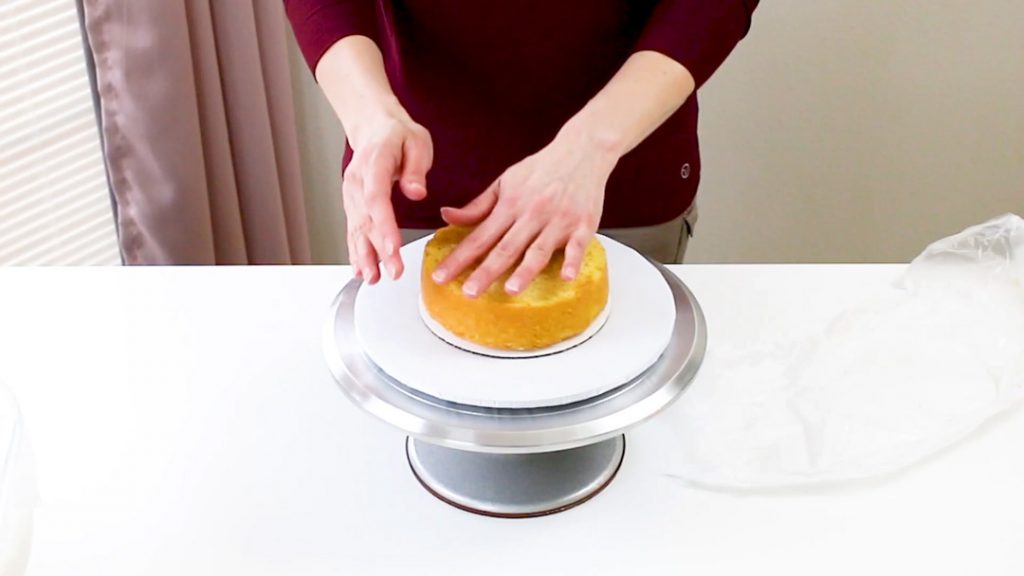
Add buttercream and your other cake layers until you get the bottom tier as tall as you need it. (Remember, don’t go higher than three tiers.)
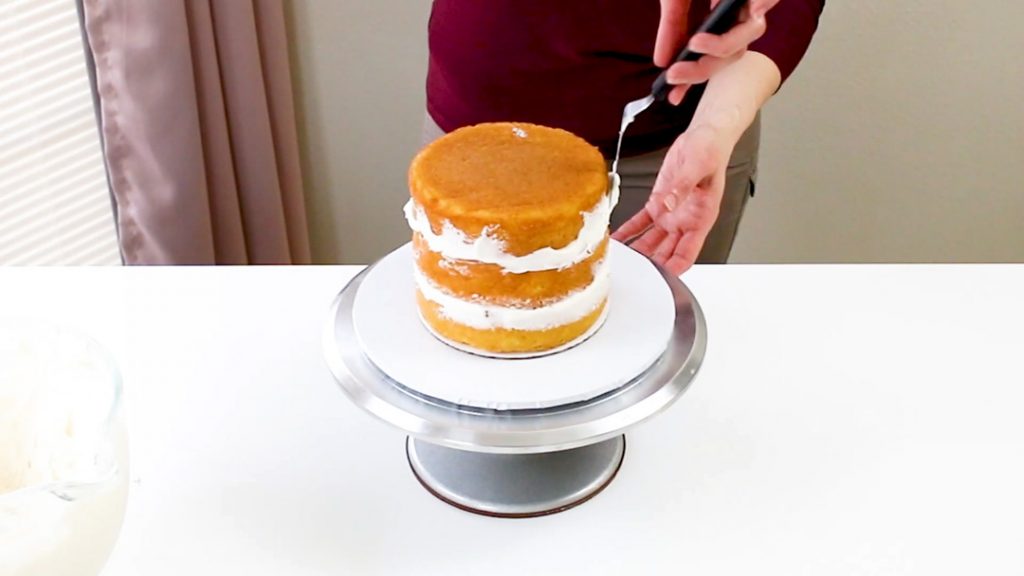
Pop another cake board on top and use your level to make sure the bottom tier is mostly level. If it’s not, just push down on the board a bit to level it out.
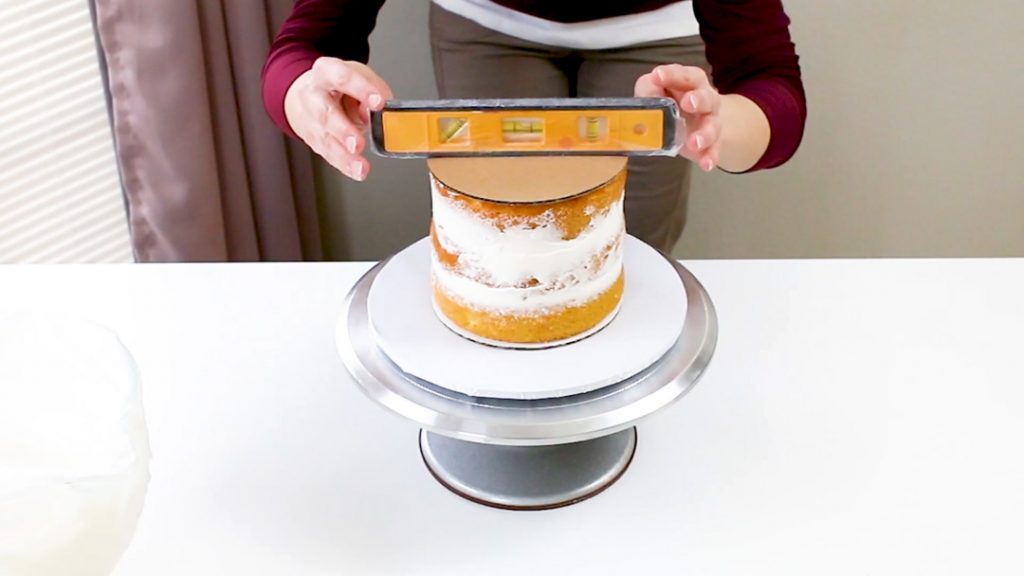
Once it’s mostly level, take that cake board off the top and add some buttercream.
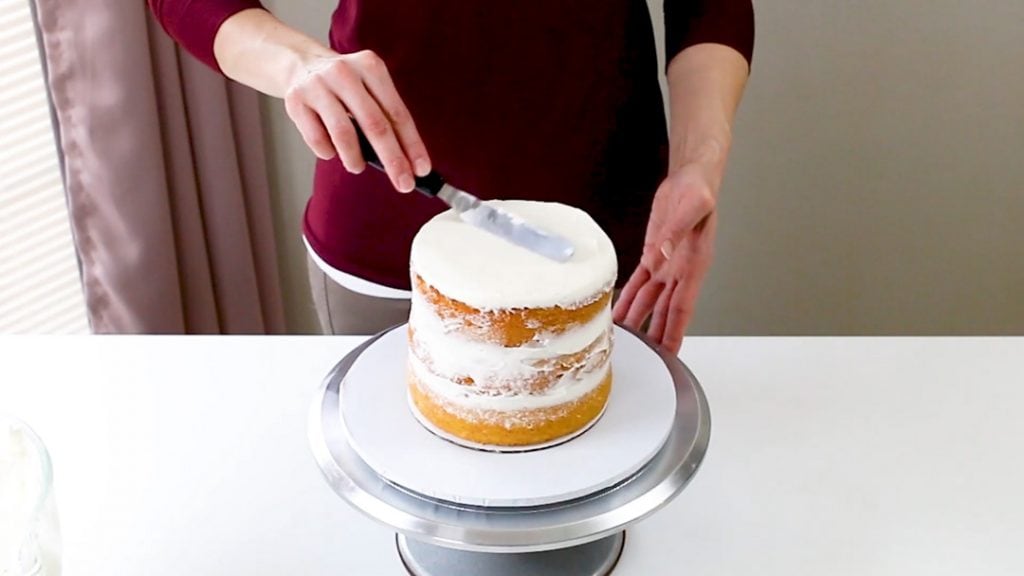
Now take one of the plastic dowels, insert it into the cake tier and then mark the top with an edible marker. If you’d like to use wooden dowels, feel free to do that. You could also use bubble tea straws as well. Just make sure they are heavy plastic and not the flimsy straws. Regular straws will not do the trick.
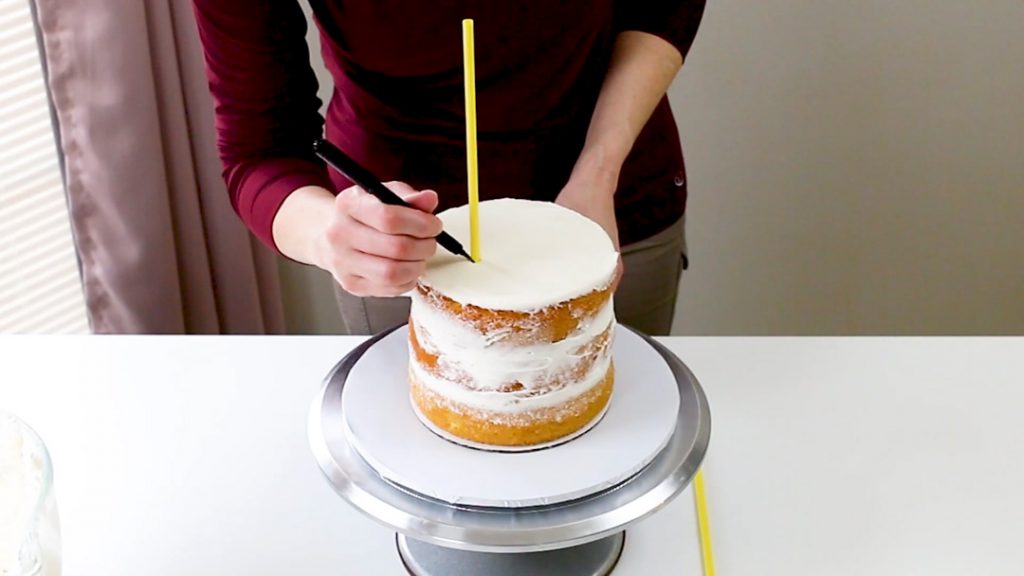
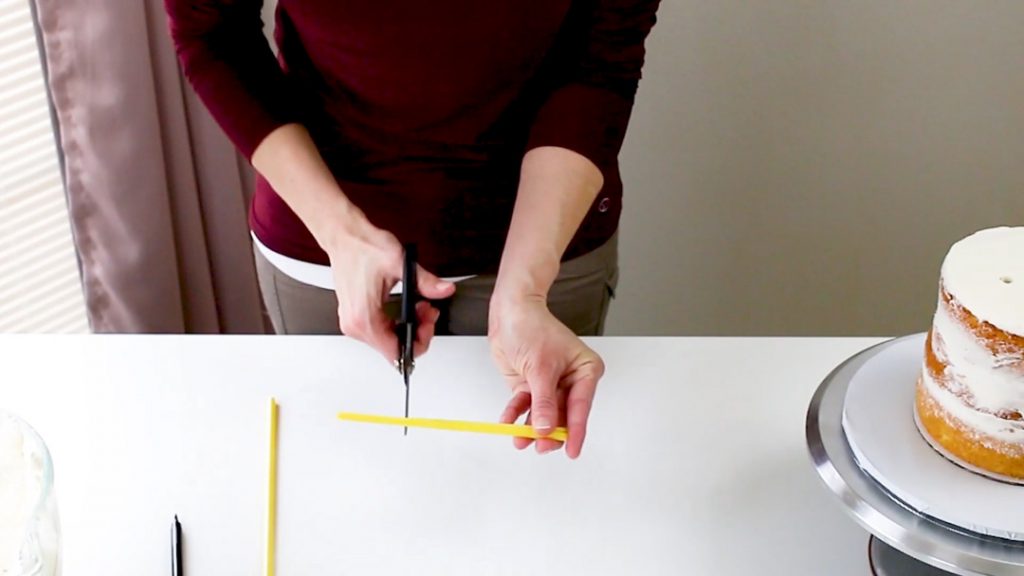
Once you’ve marked the dowel, twist it while pulling it out of the cake. You’ll need to cut your other dowels the same height. I cut all my dowels the same height and then insert them because I find this gives me a more level cake, rather than just cutting the dowels while they’re inside the bottom cake tier.
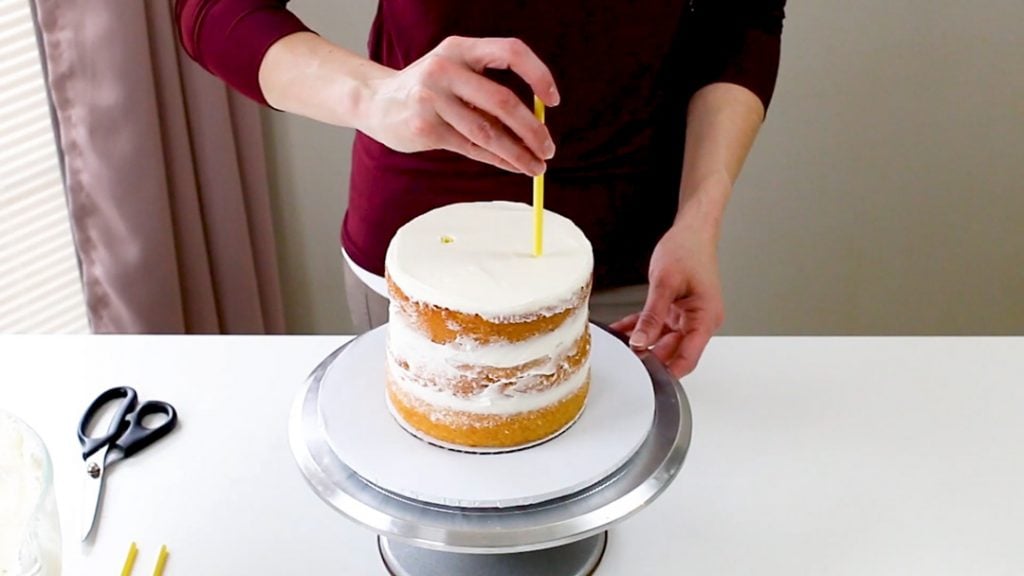
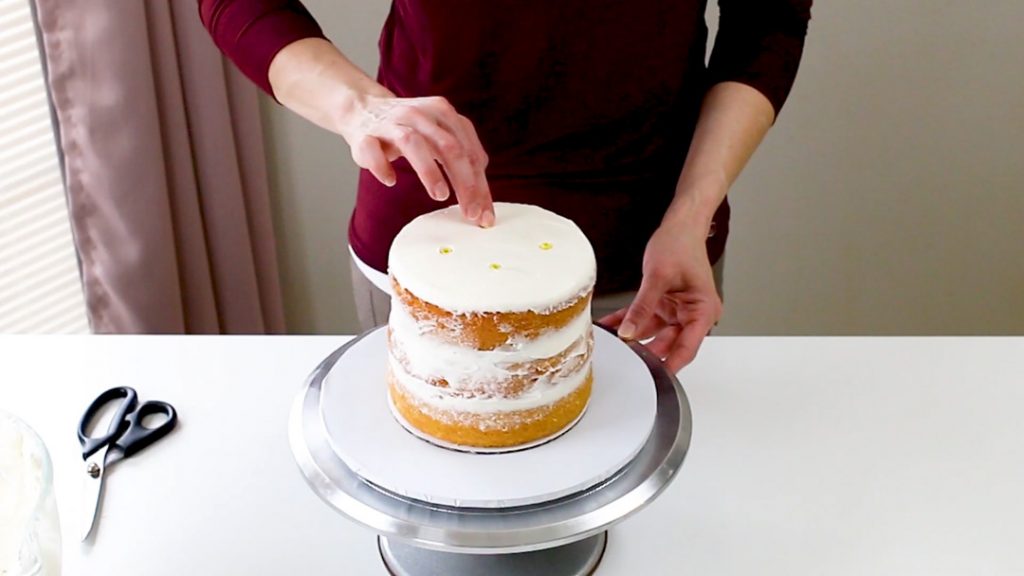
I used 4 dowels for the 6 inch round cake.
Now insert the dowels into the bottom tier. Leave the very middle space empty though because you’ll need to add in a center dowel later.
Now you’ll need to grab a cake board the same size as your cake layers, however you’ll need to trim it down a bit…maybe about a half inch trimmed off around it.
You need this board to be a bit smaller, so it doesn’t stick out when you ice the entire thing.
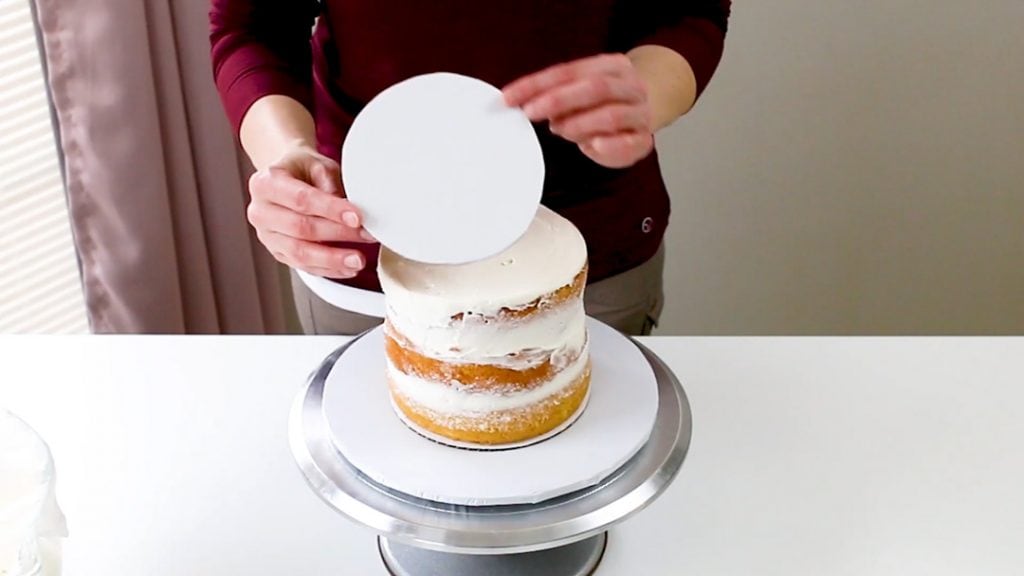
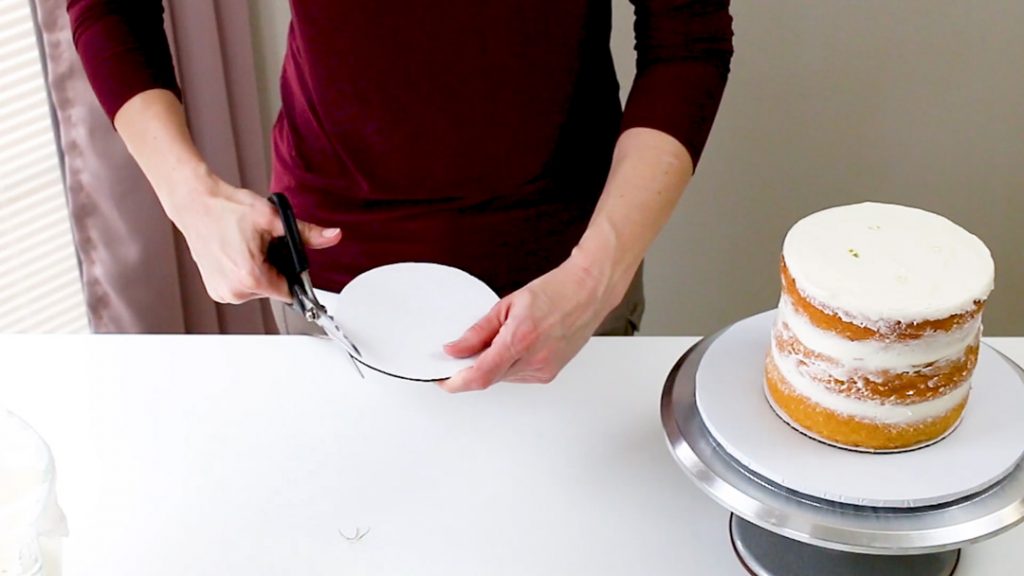
Now just pop your trimmed cake board on top of your bottom tier.
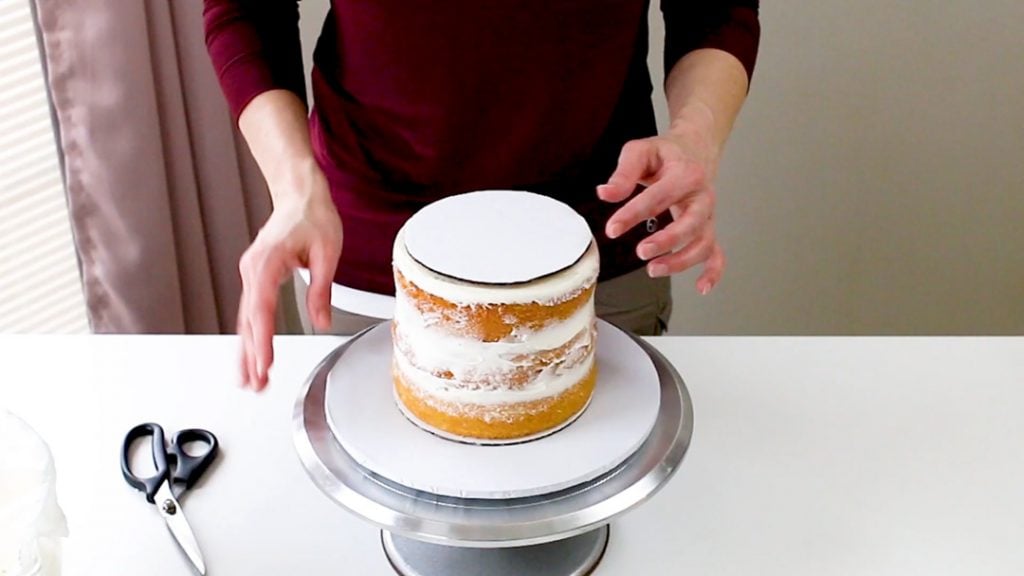
Now use your mini level to check it. Make adjustments if it’s off.
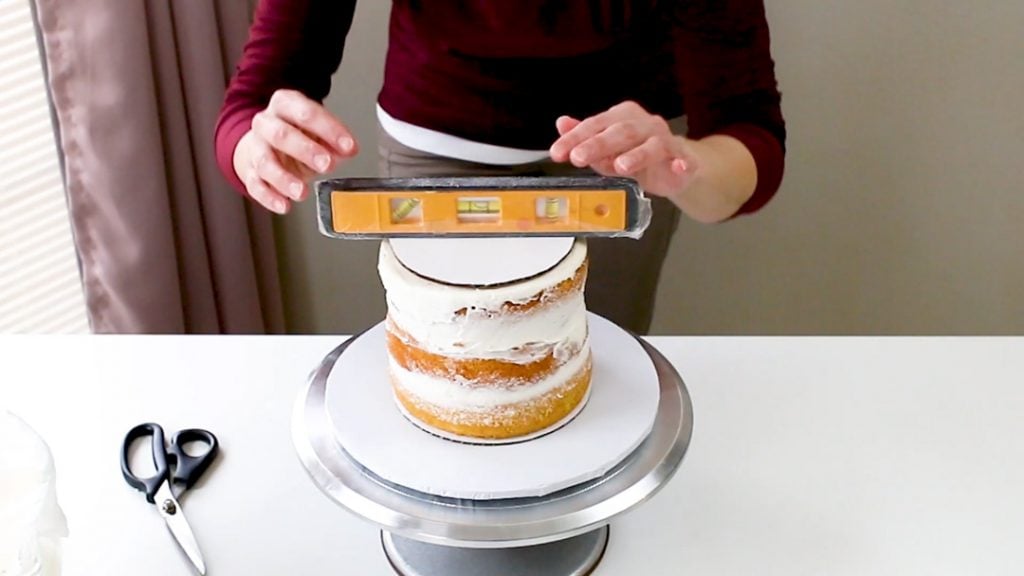
Add a bit of melted white candy melts so the next layer of cake sticks to the board. Some people like to use buttercream for this, but I like using the candy melts because it seems sturdier.
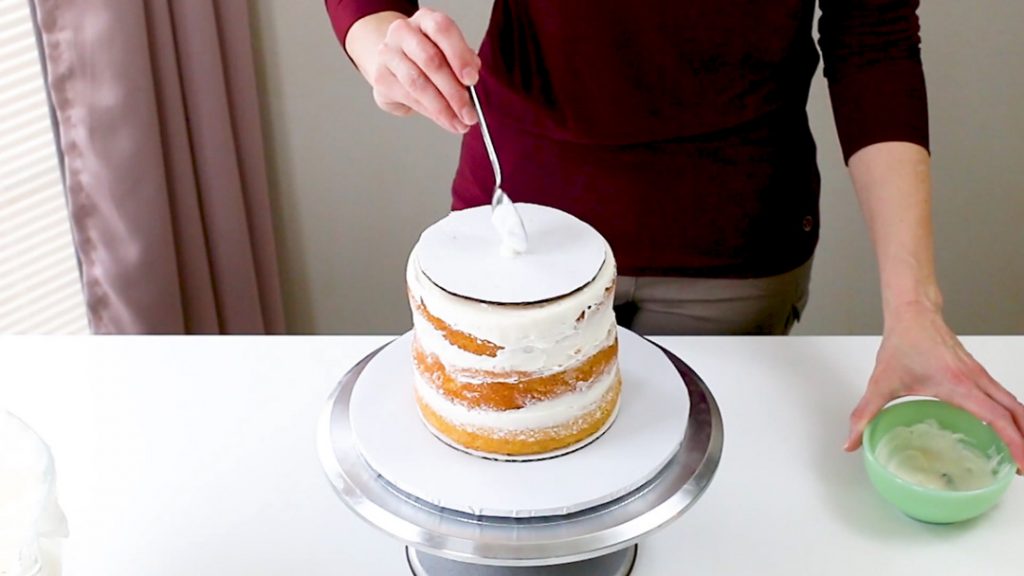
Now just add on your cake layers to the height you want. (Remember, don’t go over three.) I added only two layers for this top tier, since the cake was getting super tall.
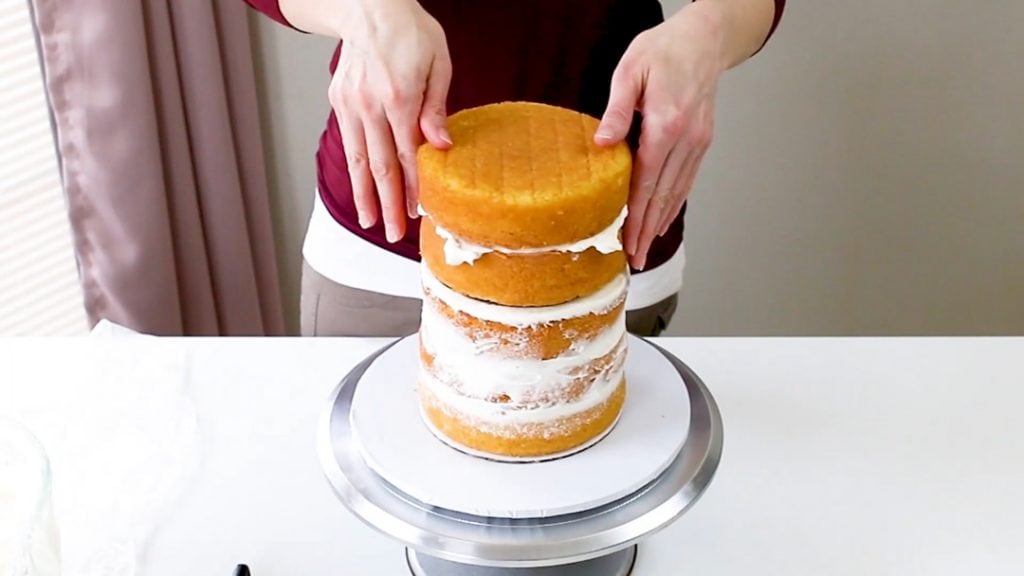
Now, make sure the cake is level and adjust if necessary.
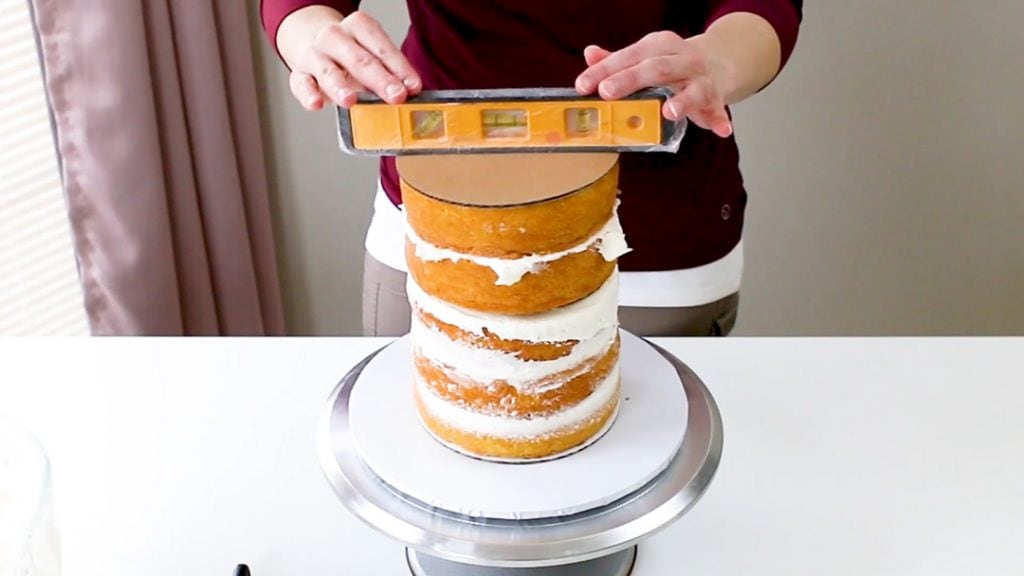
Now you need to measure the height of your cake so you can cut your center dowel. You want to include the height of your foam core cake base because the dowel needs to go all the way through that as well (not just through the cake).
Yes, I know I’m very scientific using my hand to measure. 😉
It’s also okay if the center dowel is slightly shorter…you just don’t want it taller than the cake.
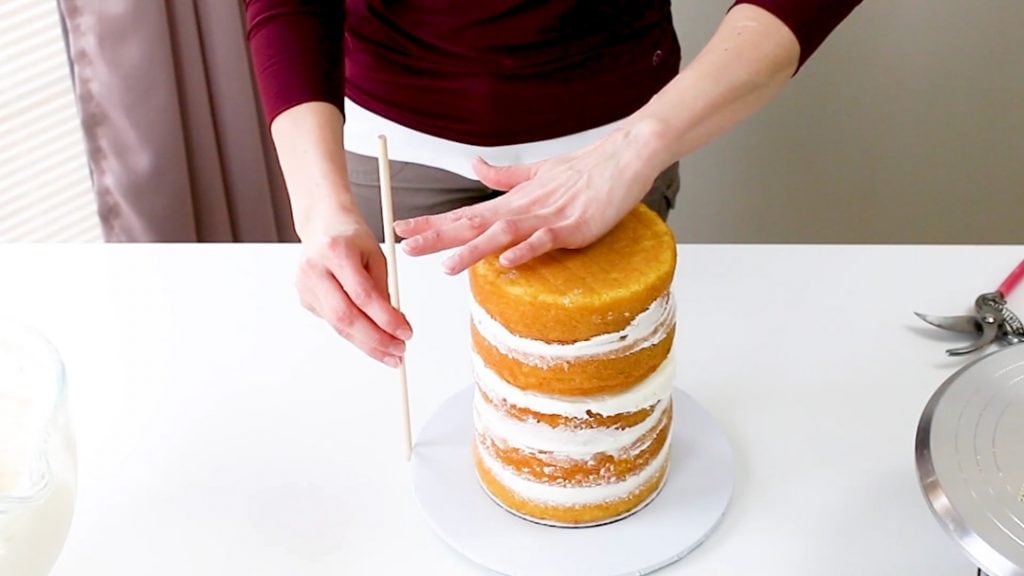
Now cut your dowel and then sharpen one end of it. Then just wash it off.
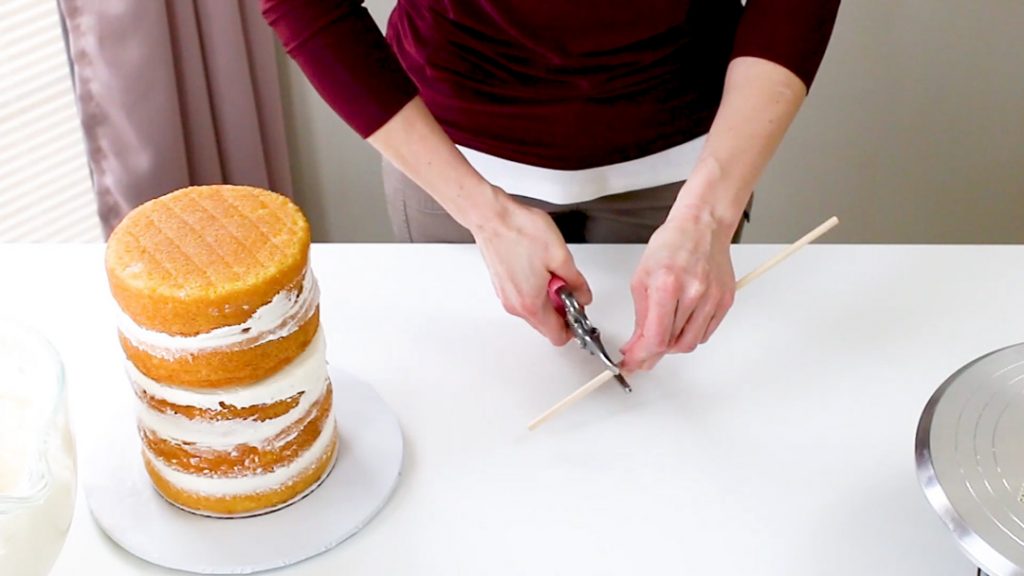
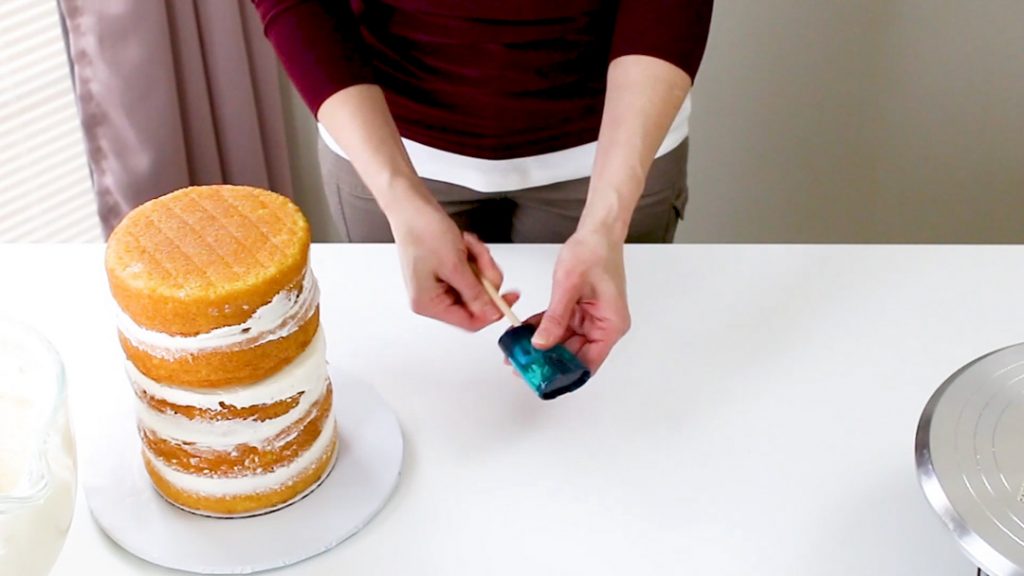
Now just push it (or hammer it) through the whole cake (even the board in the middle) and down into the cake base. Go all the way down into the bottom of the cake base.
Use the cut off dowel piece to help hammer it all the way through.
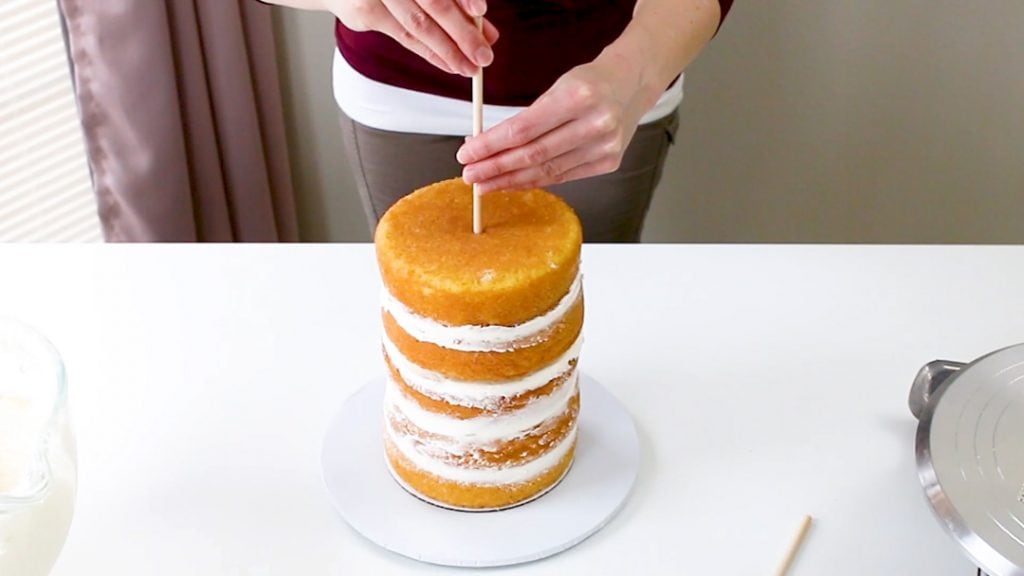
Yes I’m using a meat mallet…I couldn’t find my hammer. Hey, it works, right?
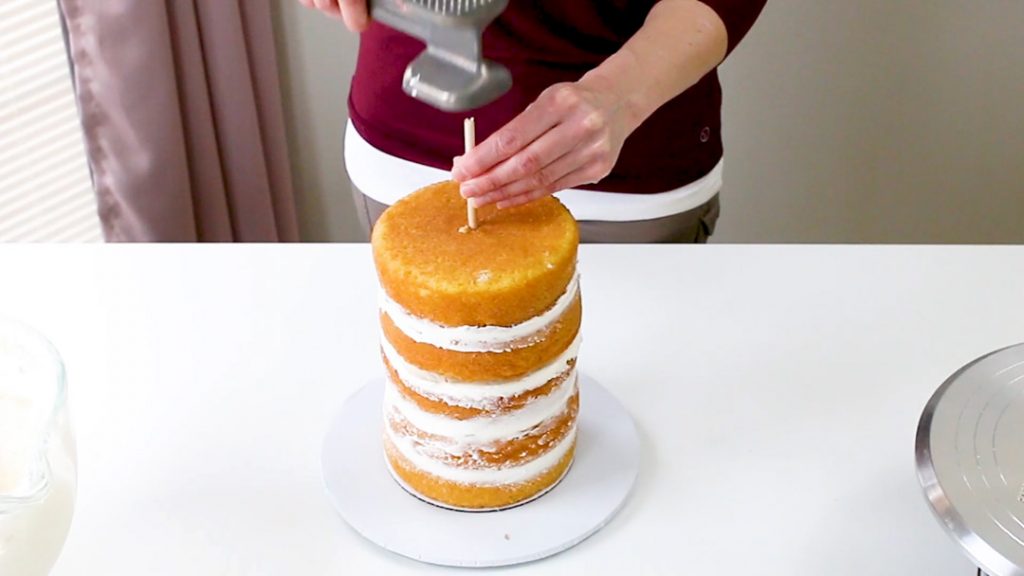
Alright, now I like to chill the cake, just for a bit, so it’ll be sturdy when I trim it. So, just pop the cake in the fridge for maybe 15 – 20 minutes or so.
After it’s chilled a bit, you’ll want to add a cake board to the top of your cake, just to check and see how much you’ll need to trim. You don’t want any cake peaking out when you go to smooth the buttercream later.
Just use the bottom and top of the cake board plus your buttercream smoother to check which parts of the cake will need to be trimmed. This may make more sense when you get to the video.
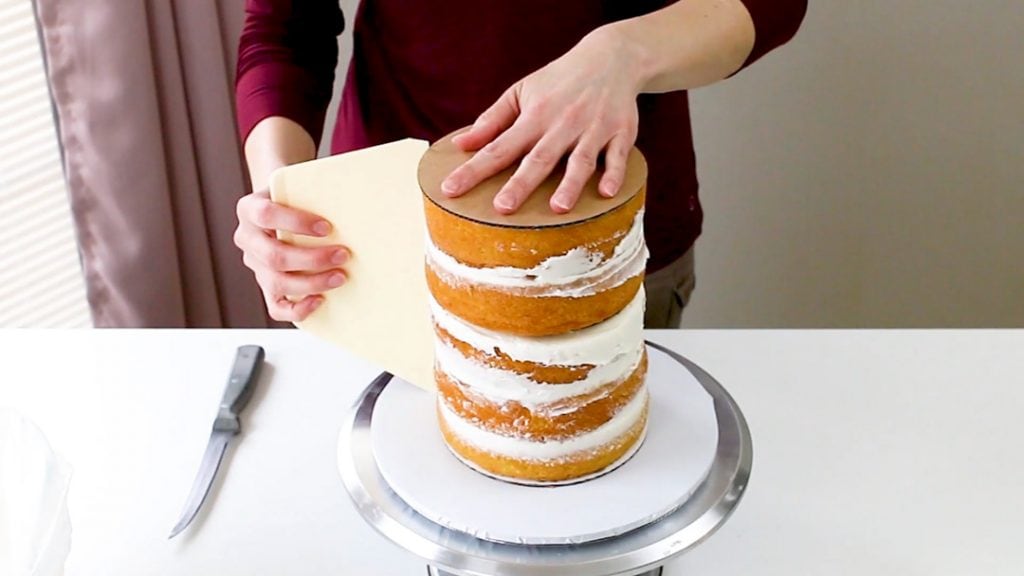
Now just trim around the cake. You’ll be using the top and bottom cake board as a guide when smoothing your buttercream, so any cake that is sticking out past those or any where near there, will need to be trimmed off.
You may not have to trim as much as I did…I tend to trim a lot off because I like a lot of buttercream and I just don’t want to take any chances that any of the cake will show through. Technically, you could probably use a larger cake board, but since I was making 6″ round cakes, 7″ cake boards are hard to find in my area. But trimming works too.
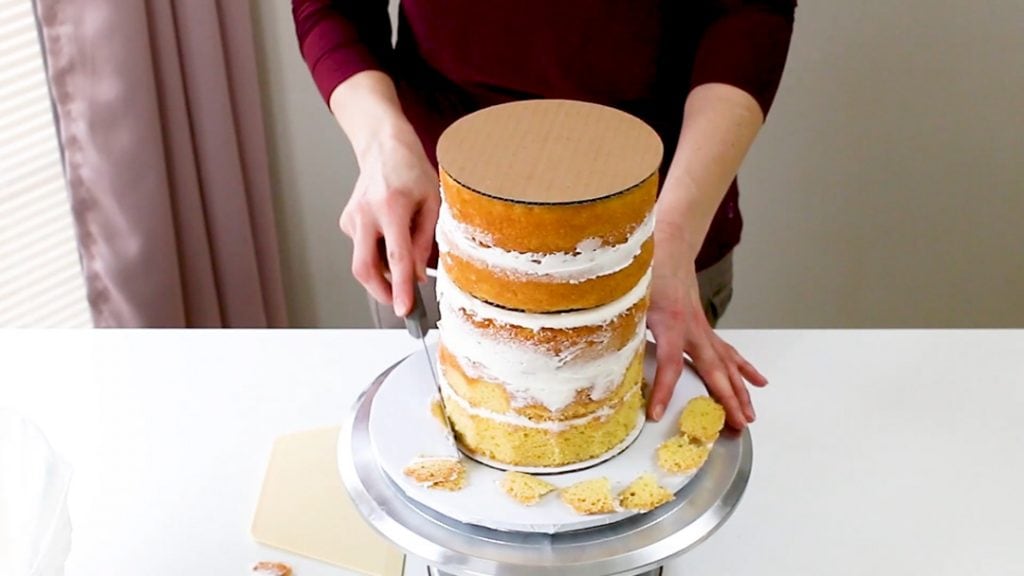
Once it’s trimmed up, add buttercream to the top and level it out.
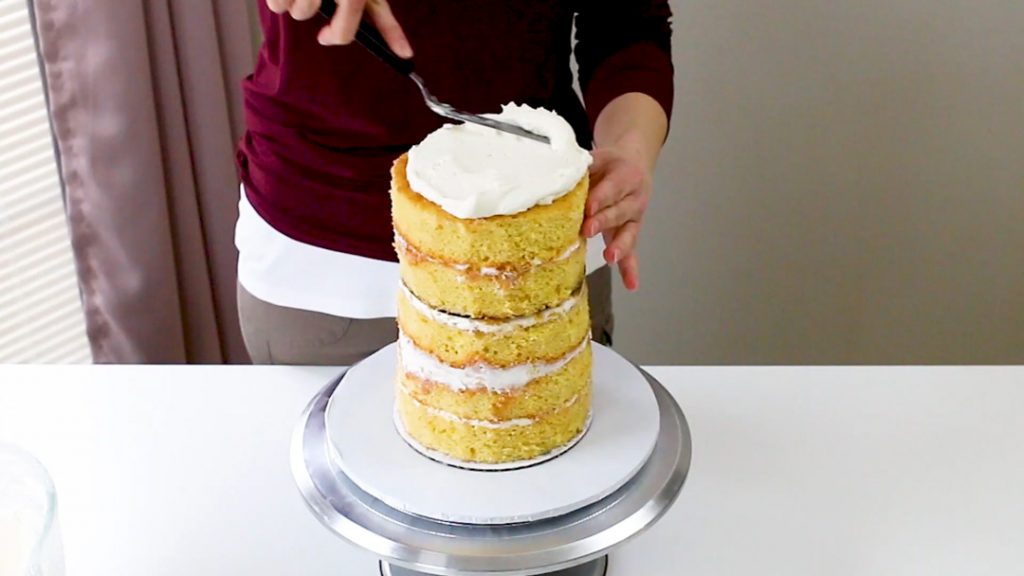
Now you’ll want to take another cake board (the same size of the cake layers you baked and the same size as your bottom cake board) and add some wax paper to it.
I just trace around the cake board onto the wax paper and cut out the circle. Stick the circle of wax paper onto the cake board with a bit of buttercream. (This top piece is going to be your icing guide.) This will make it easy to get a sharp icing edge.
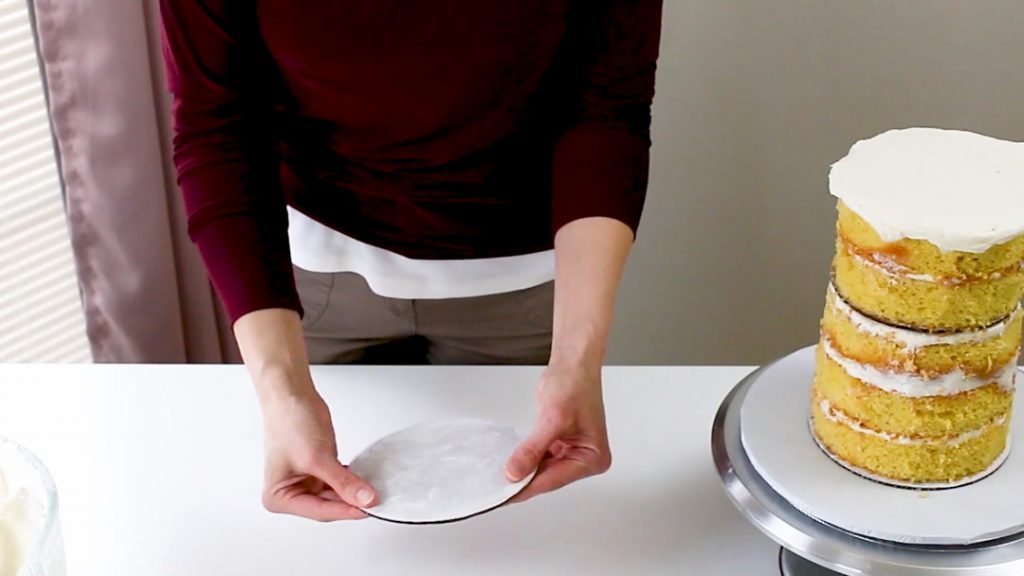
Pop it onto the top of the cake.
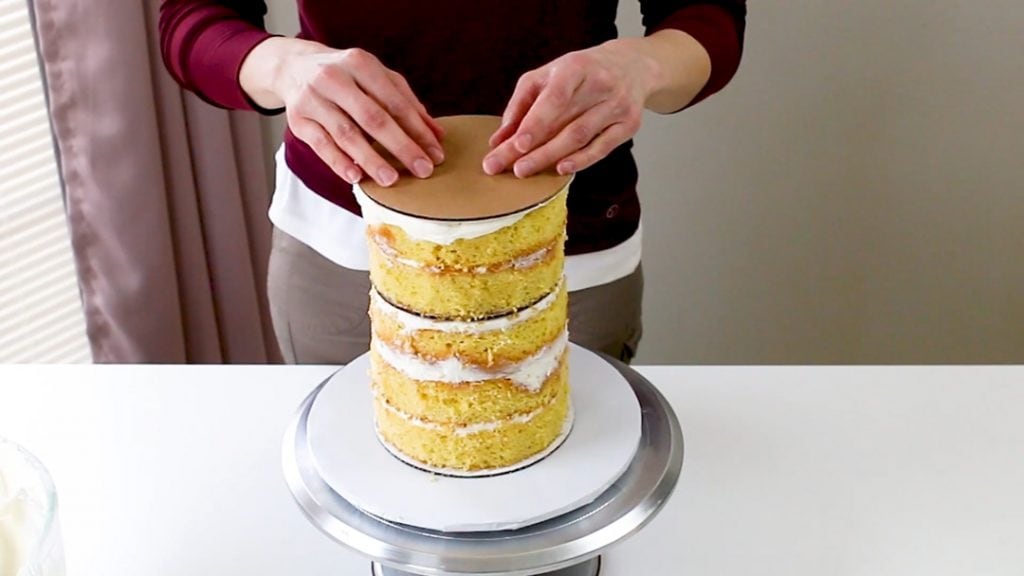
Use your mini level to level the top and you’ll also want the make sure the sides are level as well.
At this point, you can re-chill your cake for another 10-15 minutes or so to firm it up. (Don’t leave it in the fridge too terribly long because it’ll dry it out.)
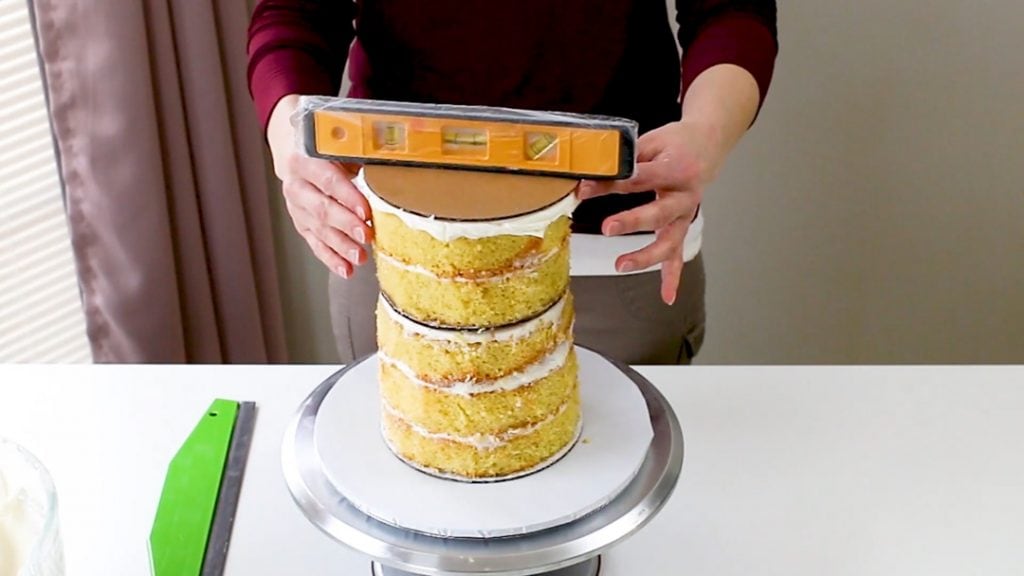
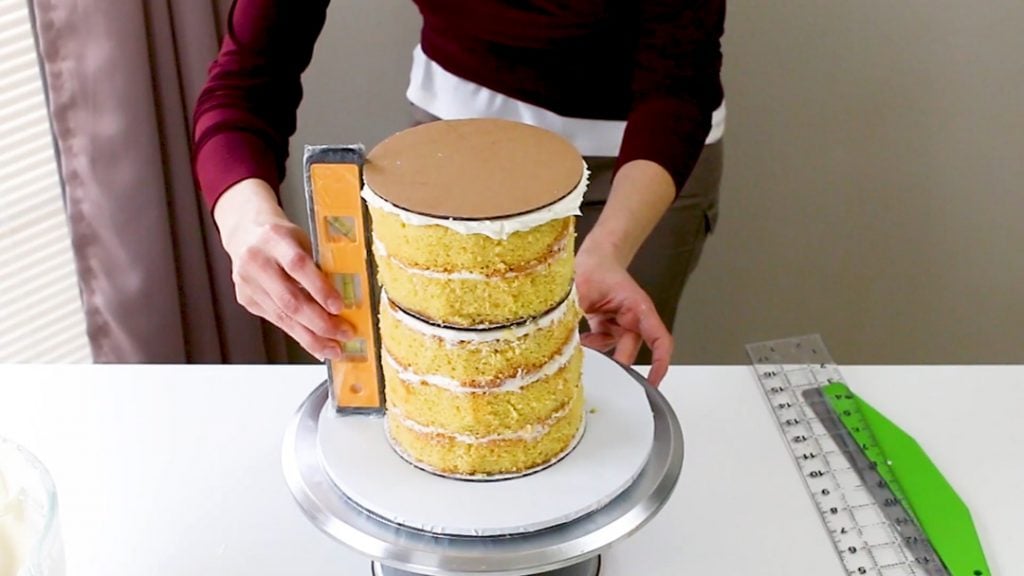
Alright, once it’s chilled just a bit, it’s time to add your buttercream. Just start by adding it all with a large icing spatula.
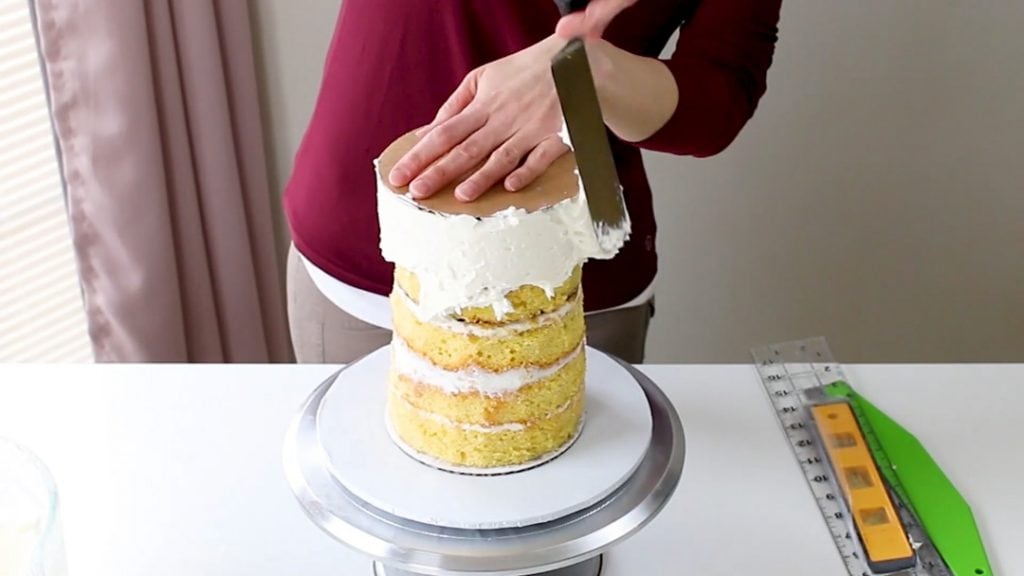
One it’s all added, start smoothing it with your buttercream smoother.
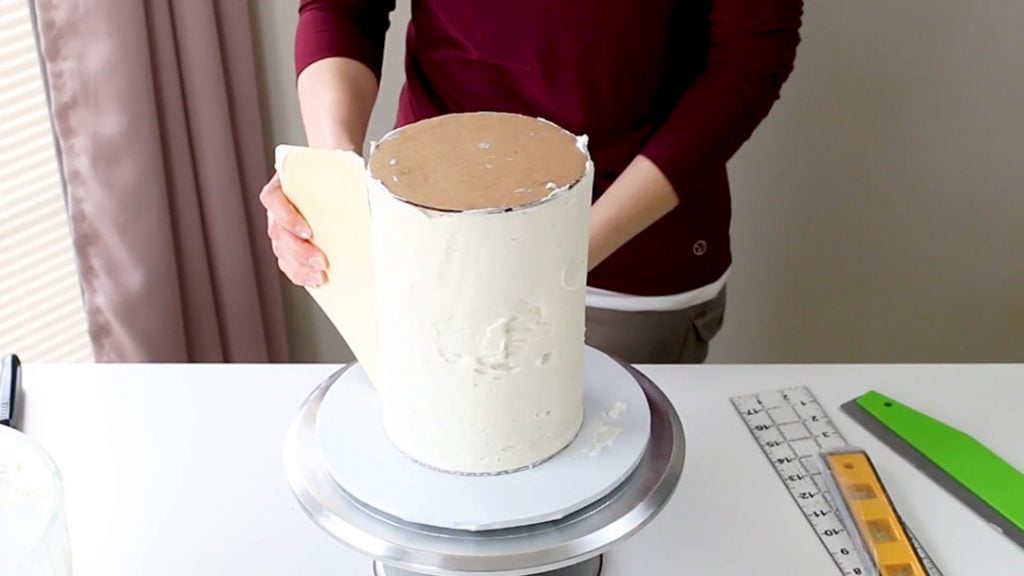
Add more buttercream to any holes you see and then smooth again. You may need to do this process a couple times.
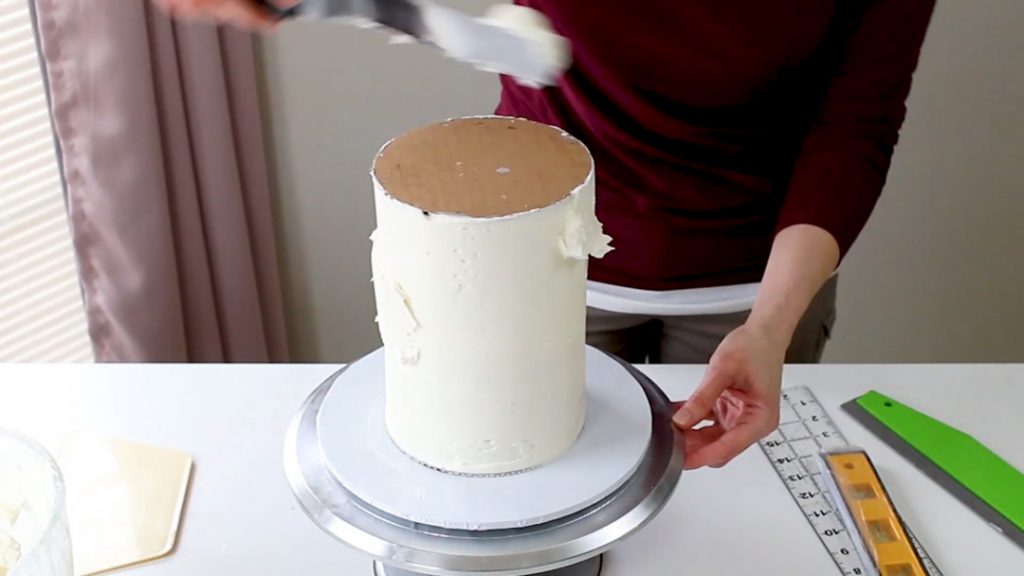
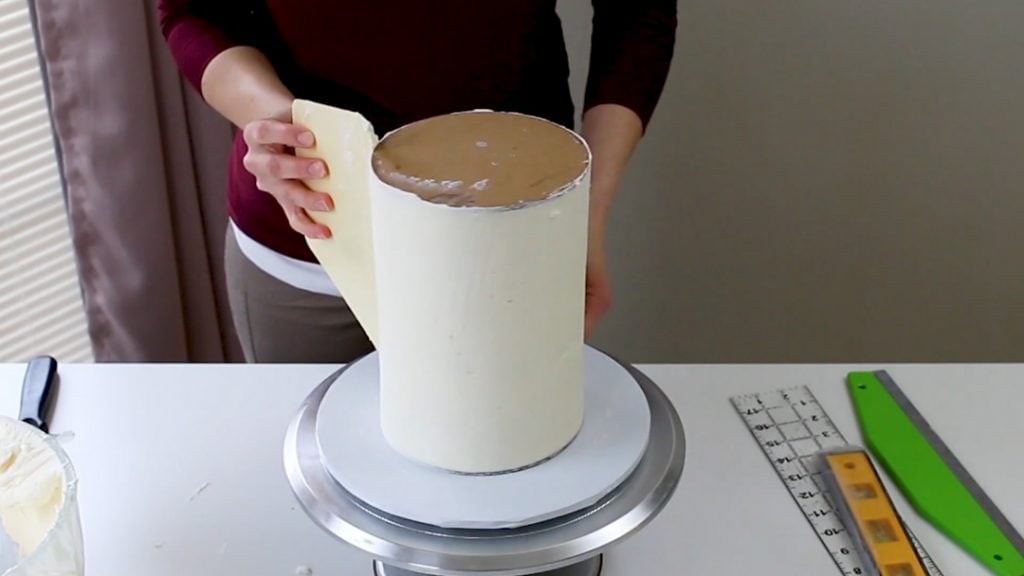
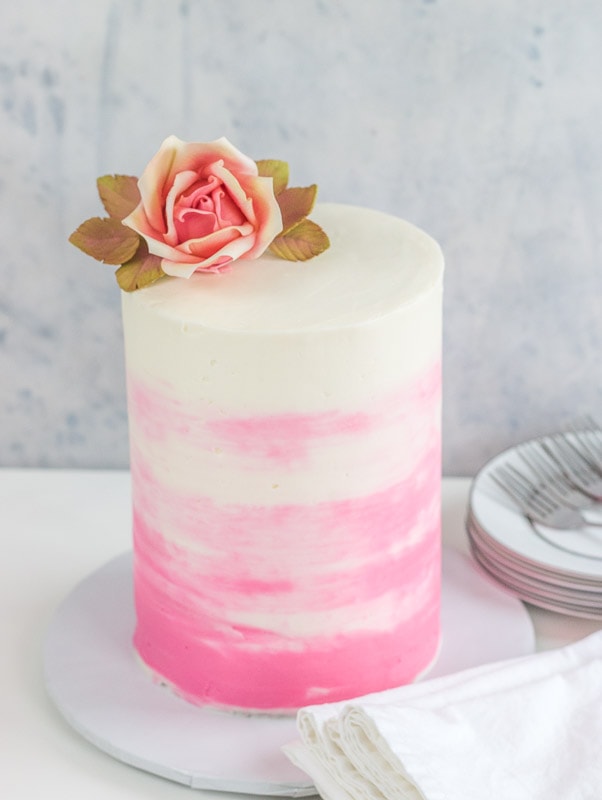
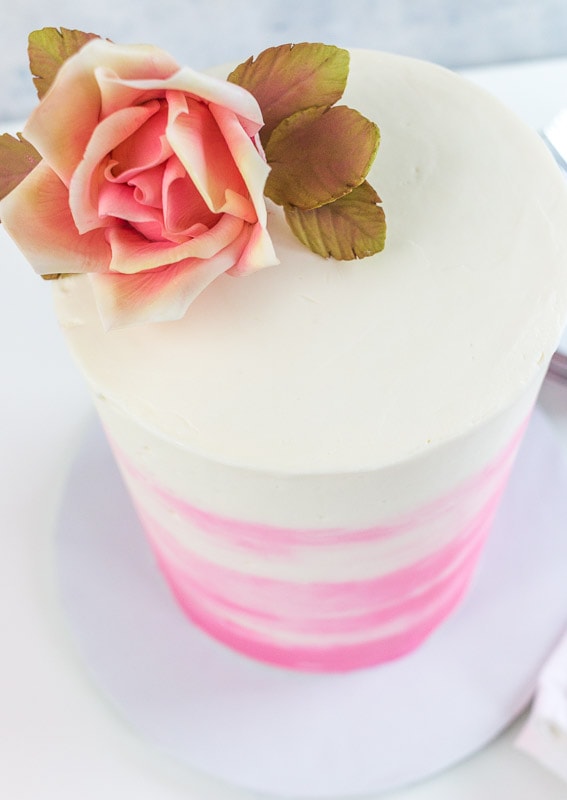
To get the watercolor look, add more white buttercream on the top and pink on the bottom.
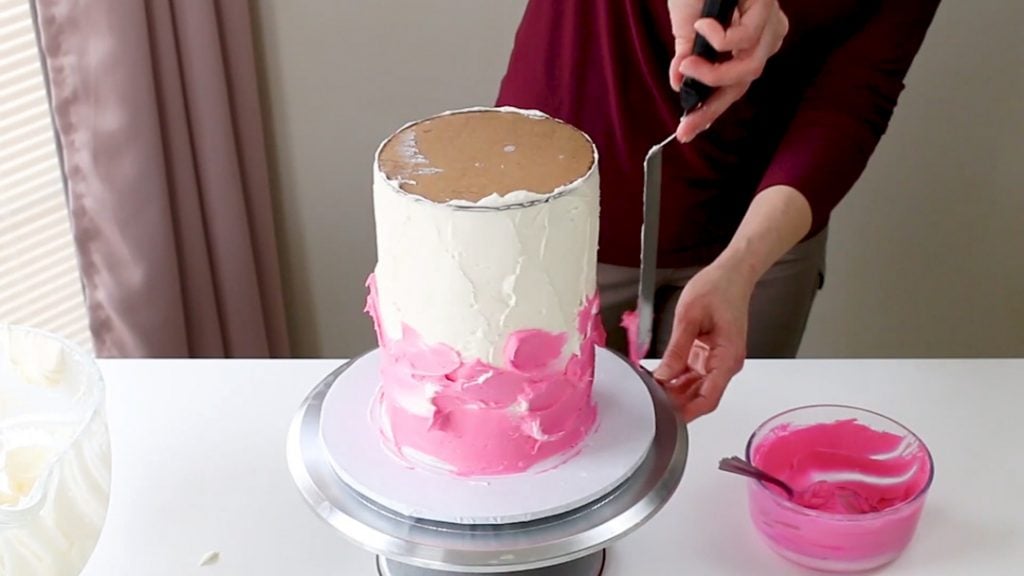
Now use your buttercream smoother to smooth around it.
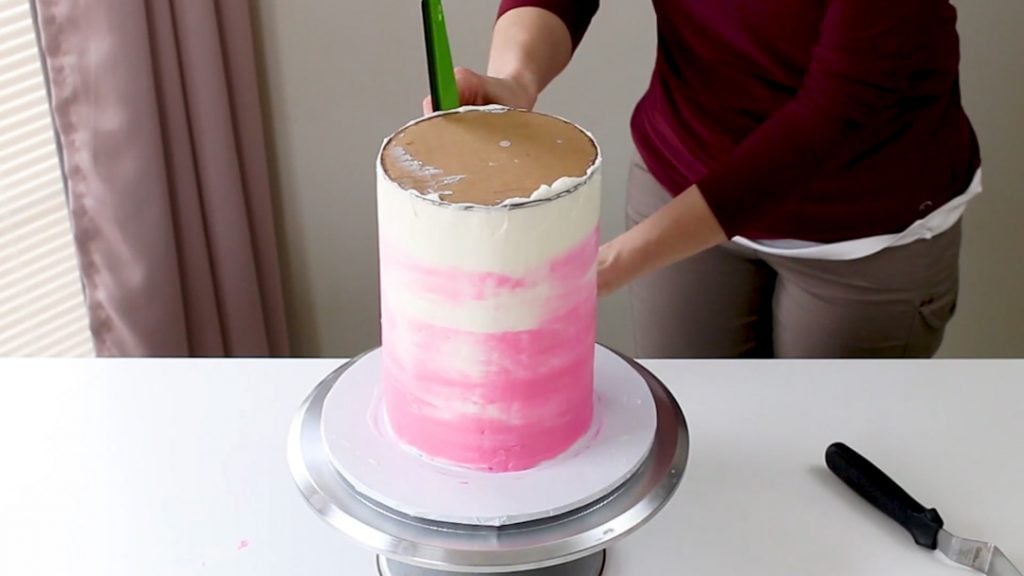
Once you get it as smooth as you’d like. Pop it in the fridge for about 10 -15 minutes so the buttercream firms up a bit.
Now take your smaller icing spatula, dunk it in very hot water, dry it off and insert it around the bottom of the cardboard round on top of the cake. You’ll need to do this a little at a time, heating your spatula with the water and drying it off. You want to slowly loosen that top cake board.
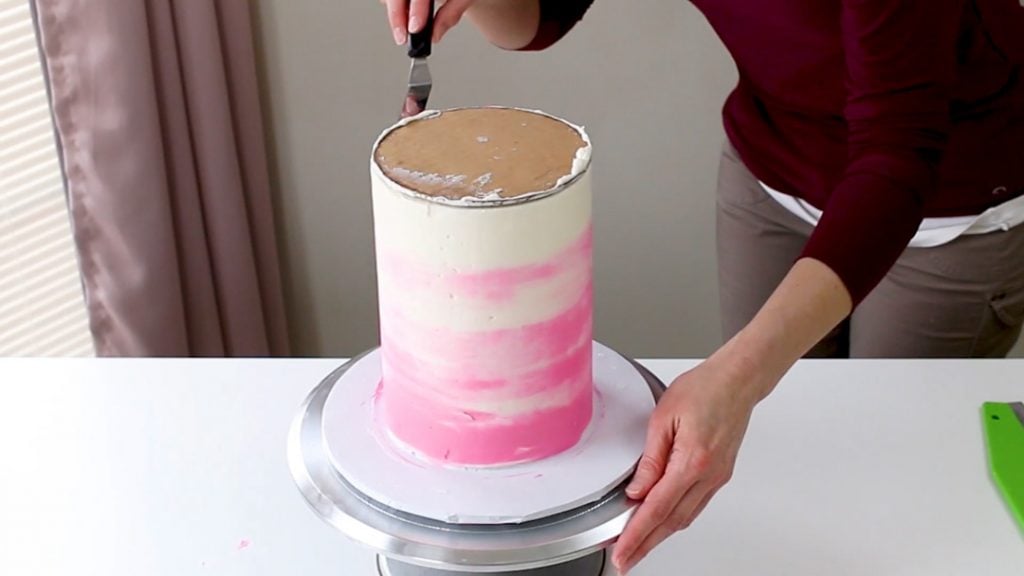
Once it’s loose enough, just pop it off and make sure you get the wax paper off as well.
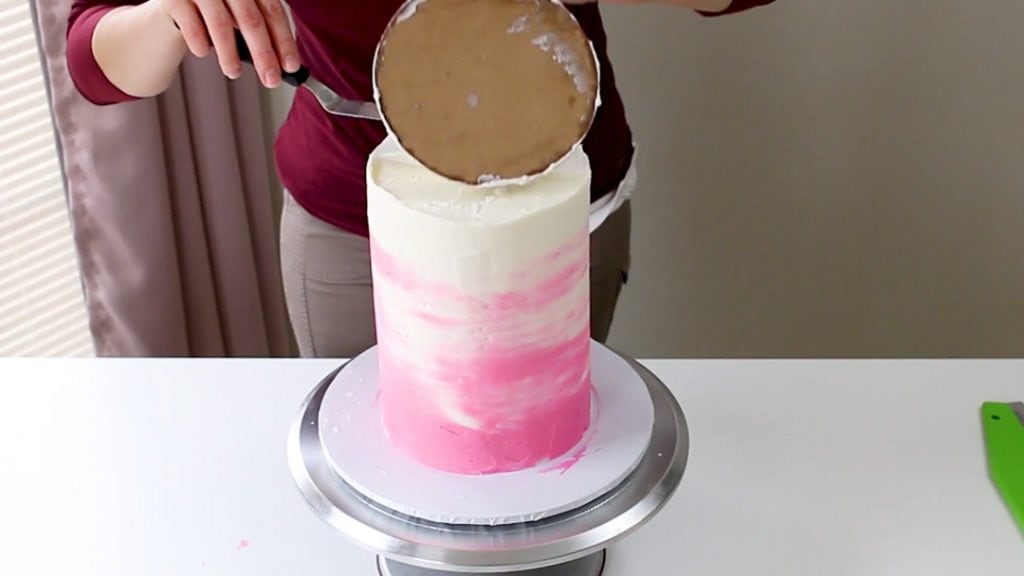
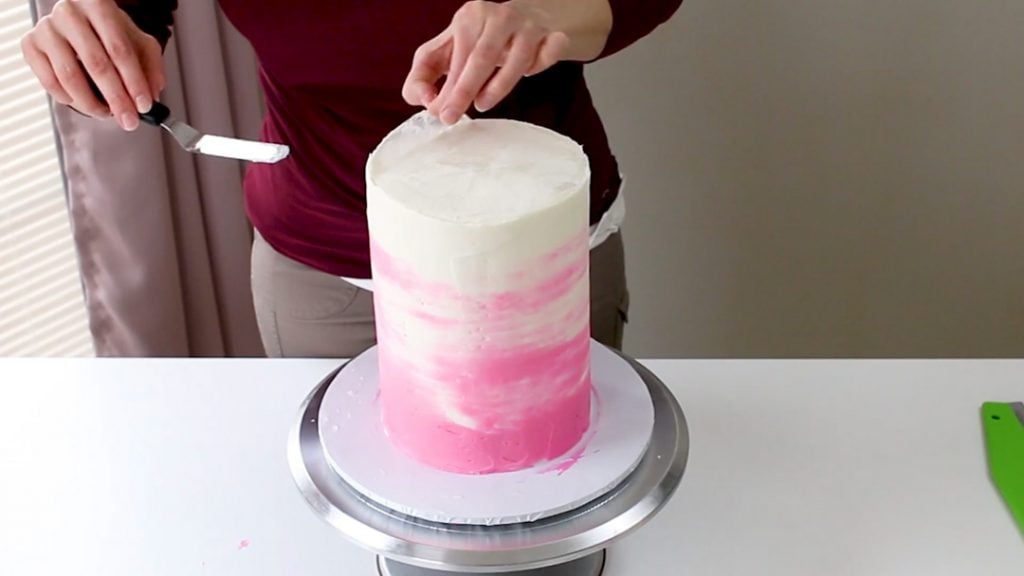
Now you’ll need to smooth the top. You can do this one of two ways. If you’ve used a buttercream that has shortening in it (a crusting buttercream) you can use the Viva paper towel method. Just set the paper towel down over the top and just smooth the top out with your hand very lightly.
If your buttercream is made from butter, you can use the hot spatula method. Just dip your icing spatula in really hot water, dry it off and then use it to smooth over the top of your cake.
With either method, just make sure not to go out to the edge of the cake, or this could mess up your sharp edge.
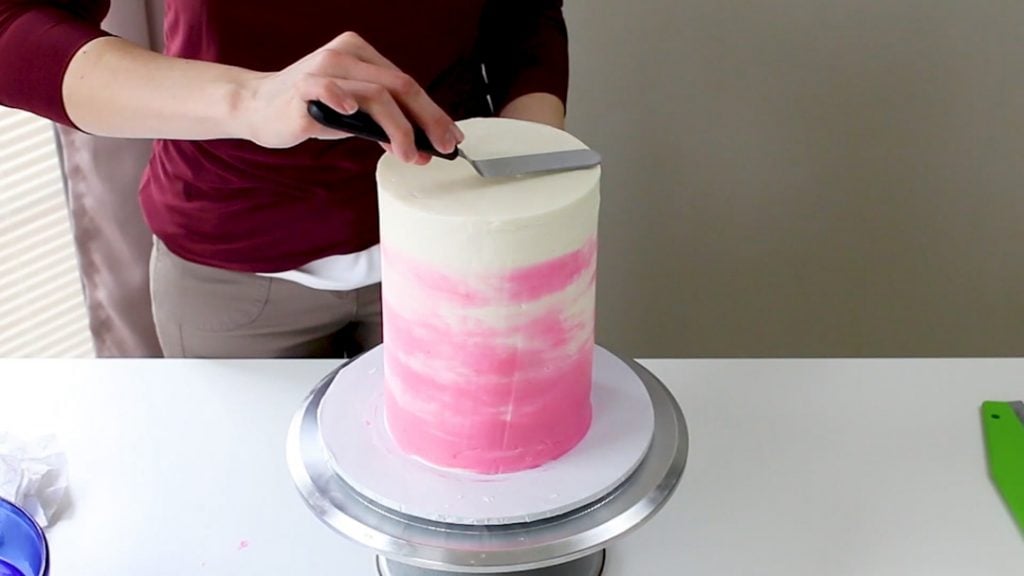
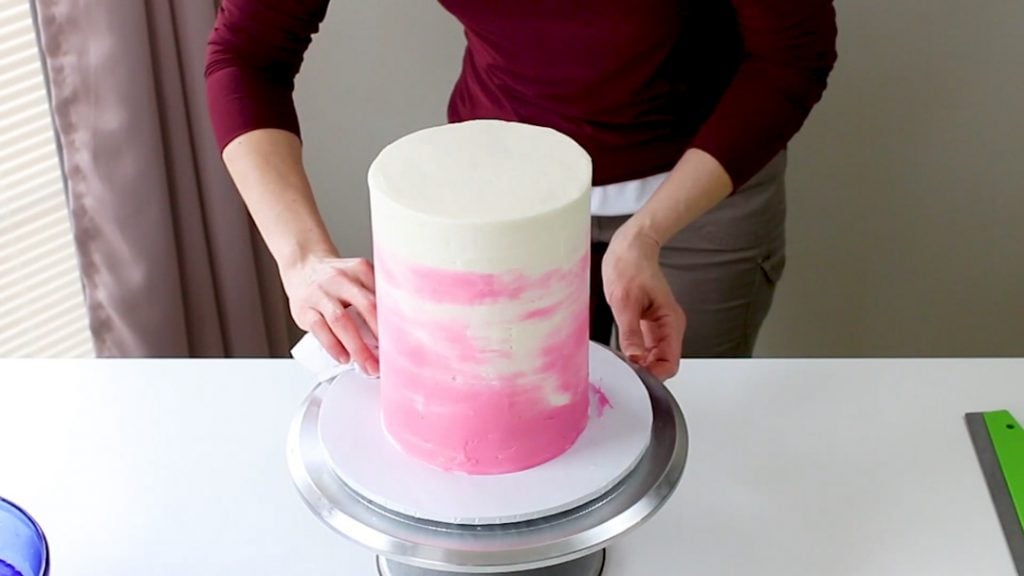
Now just make sure to clean off your cake base.
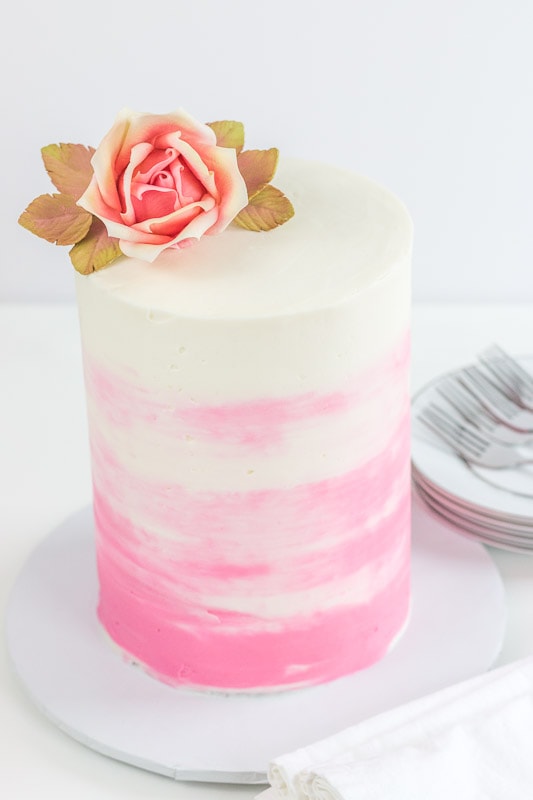
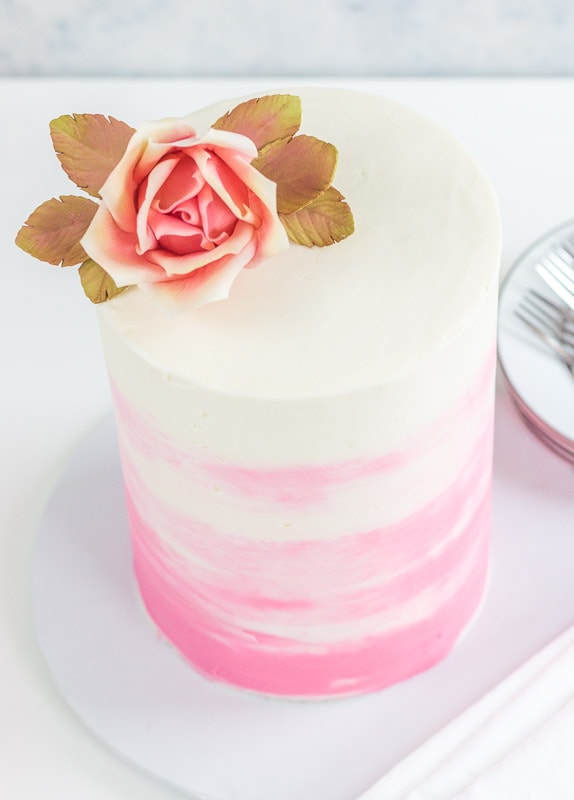
Now you can add the cake topper of your choice, or you can even add some pretty gumpaste flowers. I decided just to add one of my large gumpaste roses. You can catch that tutorial here: How to Make a Large Gumpaste Rose
To cut this cake, you’ll cut it like it’s two tiers. Just dig into the top tier first, then take the cake board off and cut and serve the bottom tier.
Alright…there you have it! Now you’ve made a impressive tall cake!
Video for Making a Tall Cake:
Ok, just let me know if you’ve got any questions. You can always leave me a comment below.
Don’t forget to pin it below!


Karen
Did you put anything under the cardboard that is between the layers?
Kara Jane
Karen, No it’s just the cardboard cake round…under that is just the buttercream that’s on top of that bottom tier and the dowels inserted into the bottom tier as well.
Rita
Beautiful cake! How many servings would this cake get you? (party servings – not wedding).
Kara Jane
Thanks! This one was basically 2, 6 inch cakes stacked on top of each other, so probably around 10-20 servings…8-10 for the top 6″ cake and 8-10 for the bottom 6″ cake. You could probably cut the pieces a little smaller, but honestly people seem to cut large slices, so I try to be conservative when estimating the servings. If you needed more servings, you could go for 8″ round cakes and just do two layers for the top, then two layers for the bottom. You might get about 30-35 servings total for the 8″.
Jessica
How tall are the 6” cake layers? I’m having trouble finding a chocolate cake recipe for 6” layers, they all seem to be for 8” layers. Thanks!
Kara Jane
My 6″ cake layers are generally about 1 1/2 to 1 3/4 inches thick. You can use just about any cake recipe that’s written for 2, 8″ round cakes and just use 3, 6″ cake pans to bake it in instead. They’ll probably bake faster than 8″ cakes, so you’ll just need to keep an eye on them.
Huda Manazir
Hi,
How much icing did you use?
Im guessing about 5 cups?
Kara Jane
Hi there, I don’t really count the cups, but I probably made about 2-3 of my vanilla buttercream recipes. I always tend to make a little more than I actually need, so it was probably close to about three recipes. I normally just freeze any buttercream I don’t use.
Louise
When cutting the bottom layer, do you just try to avoid the dowel and pull it out upon serving?
Kara Jane
Yes you can just try to avoid it when cutting, or you could try pulling it out by twisting it while you pull up. At that point, the top half of the cake would have already been cut and served, so it would be easier to grab the dowel and pull it out. But either way would work.
Liz
Such a great article, thank you. You’ve said not to go higher than 3 layers which I understand. However I’ve been asked to make a tall cake with lots of thinner layers throughout, I anticipate maybe 8 or 10. But the cake will also be larger at 10 inches. Do you have any tips for how I can make it stable without having to add more cakeboard layers throughout? Thanks!
Kara Jane
Hi Liz, if you’re going to go with thinner layers (like if you’re torting regular layers), you could probably do about 4-5 of the thinner ones, then add a board, then the next 4-5 layers. That would probably work. I would be real careful not to add too much filling though, because that’ll mess with the stability of the cake. I hope this helps!
Laura
Thank you so much for this tutorial! I just made my first tall layer cake with the help of your video, text and your recipes and it’s been a hit at my cousin’s engagement party! I chilled the cake over night in the fridge and it was rock solid this morning so I could transport it in the car (though I had to hold the cake board tightly – so no driving for me 😉 ). Everyone said it was delicious!
Thanks again from Berlin, Germany!
Kara Jane
Hi Laura, that’s great news…yay! I’m so glad the tutorial and recipes were helpful. 🙂 And transporting cakes is nerve wracking, right? Chilling it definitely helps though. Glad everything came out great!
Gina K
I have been asked to do a barrel type cake to serve about 65-70 teens for a sweet 16 party. Adults will be serving the cake but I say teens because we know a teens appetite. I’ve baked 3 8X3” white cakes; do I need 4 to get that many servings? Should I abort and do 10” rounds rather than 8”? Thank you!
Kara Jane
Hi Gina, an 8″ 2-layer cake would serve about 20 people (that’s around the amount the Wilton serving chart says). If you do a tall cake and do 2 layers for the bottom tier and 2 for the top, then that would be around 40 servings total. Although if the cake layers are actually 3 inches high each, then you could perhaps torte them, then you’d get six cake layers out of the three you’d already baked,…so that would be three layers for the bottom tier and three layers for the top tier. That might extend the servings a bit, but probably not enough to meet 70 people…maybe around 50 or so. If you did 10″ cakes, that would be a mega double barrel cake (using two layers as the bottom tier and two layers as the top tier), but I’m not sure that would have the look you’re going after. It won’t really look like a tall, slender cake. It’ll just look like a big cake. I hope that all made sense. So either you could do a 10″ double barrel cake (two layers on the bottom, two on the top) and that would get you close to the servings (but maybe not look like a tall, slender cake), or you could perhaps do two, 8″ double barrel cakes…you might have a bit extra doing two cakes, but you said they’re teens and I definitely know how teens eat. lol
Gina Kleinsmith
That helped me a lot – I was about to freeze the 8” & go with a 12” barrell cake and that won’t have the look as you stated. I’ll go back to my 8” and I might add some cupcakes or a smaller cake on the side. Thank you so much!!!
Kara Jane
Yes that sounds good. You can use the second cake or the cupcakes to get up to the amount of servings you need. Good idea!
Dee
Just wondering how far ahead I can make this cake ?
Kara Jane
Hi Dee, You could always bake the cake layers ahead of time and freeze them if you need to. My rule of thumb is that you want to serve it within two to three days of making it. I just published a post called ‘How Far in Advance Can I Bake a Cake’ and it might be helpful. Here’s the link: https://iscreamforbuttercream.com/how-far-in-advance-can-i-bake-a-cake/
Maddie
If I am going to do the two layer top/two layer bottom for an 8″ cake, are the dowels an absolute necessity? Or will i be able to just use the round in the middle to separate when serving and be ok?
Kara Jane
Generally, if I’m going to put a board in there, I’ll add the dowels. I don’t generally add a board without the dowels below. The dowels will support the board. Now, if the layers are on the thin side, then you won’t have to use a board or any dowels. If they are full size (about 2″ thick) layers, then I like to be safe and use a board and dowels. Using a board without dowels won’t really do much as far as support goes, so it’s really either add in the board and dowels, or if you think the layers are thin enough, then you might not need any support. Basically it all depends on how tall your cake is and how heavy it is. Some are lighter and it may be just fine, but some cake layers are heavier and you’ll need that extra support. If you don’t like messing with dowels, you can just use some heavier straws if the cake isn’t super heavy. That might be easier to deal with. I hope this helps!
Christina
Hi
I love this post! I am so confused I want to make 5 layers, 3 at bottom and 2 at the top, I’ve got three 6inch pans x 3inch tall. Can I just double the cake recipe and fill 3 pans up then torte them to make 5 layers or do I bake 3 pans then bake another 2 separately ? How did you bake yours? just seems so time consuming.
Kara Jane
Hi there! Glad you liked the post! You’re correct that the cake I made in the post was five layers…three on the bottom and two on top. It was 6″ in diameter. I used 6 inch round pans that were 2 inches deep, so the pans I used were more shallow than the 3″ deep pans. What you might do (and what might save you some time) is to bake your cakes in the three 6″ round, 3″ deep pans, then cut each layer in half. You’d get six layers that way. Once you start putting the cake together, you can decide whether you need that last layer for added height. I hope that made sense. I also think doubling the recipe for 3, 6″ pans might be too much batter. You can probably get away with just make a recipe and a half and that might be enough. Hope this helps!
erin
the link for the poly dowels does not work.. what is the diameter for these ones?
Kara Jane
Hi Erin, thanks for letting me know. I can’t seem to find them on Amazon…I’m only seeing the larger poly dowels, but I did find them on Global Sugar Art at this link: https://www.globalsugarart.com/poly-dowels-12-x-1-4-inches-buttercream-by-gsa.html That is where I usually order mine from and I love working with them. They are the 1/4 inch poly-dowels.
Marina
I am making an 20cm diameter layer cake, around 15 cm tall, with layers around 5-6cm thickness. To make it easier to cut, I was thinking of adding a board half way through, so that the cake basically becomes 2 and you can cut twice the slices you need with ease. Would you recommend adding dowels? If so, will the 2 cake parts be likely to not stick together because they are not actually touching? My cake boards covered in silver foil on one side and just exposed cardboard on the other, so I worry that they could get wet/ soggy from the buttercream, does that ever happen?
Thank you and apologies for the long questions 🙂
Kara Jane
Hi Marina, no worries about the questions. First, if I’m going to divide up the cake to essentially make it a two tiered cake, then I always dowel it to give it some stability. I did some conversions to see how many inches tall it would be and 15 cm equals almost 6 inches tall. I hope I figured that correctly. That’s not a really tall cake, so you wouldn’t have to divide it into two tiers, but you could if you really want to.
If you’re adding a board between the tiers, I’d still use dowels though even though the cake isn’t going to be super tall. The reason is that you’re adding in a cake board and that might add just enough weight with the cake layers on top to press down a bit on the bottom cake layers. You would probably only need a couple dowels though.
As far as the cake board goes in the middle…I buy the food safe cake boards that are coated. I either use the Wilton cardboard cake rounds or the food safe foamcore boards. I don’t cover those boards at all because they’re made specifically for cake. If you cover them with foil, then you could get pieces of foil in your cake slices when you go to slice the cake. It’s possible the cardboard cake round could get a little soggy, but I’ve never really had an issue with that. If you’re worried about it, you could always use the 1/4″ thick round foamcore boards. I get mine from Global Sugar Art. They’re not as inexpensive to use as the cardboard rounds, but they don’t get soggy at all.
I hope this helped!
Melinda Gooden
So if your cake was a 6 inch round cake how tall did it end up being?
I was thinking about making a 6-inch round that was about 8 in tall. Would that look odd? Or should it be 10 in tall? They’re just going to use it as a cutting cake.
Kara Jane
I can’t remember exactly, but I think this one was about 10 inches tall, maybe a little less. I wouldn’t go any taller than that for 6″ round cakes. It would just be too tall and unstable. The larger in diameter your cakes are though, the taller you can make the cake. So if you made an 8″ or 10″ round cake, then you could make it taller. You’ll also have to gauge how thick your cake layers are. Mine are around 1 1/2 – 1 3/4 inches tall. That will determine how many layers your cake will need. An 8″ tall cake that’s 6″ round wouldn’t look odd at all. You don’t have to make it any taller if you don’t need to. You could just use two layers for the bottom and two layers for the top if you wanted.
Now, a cut piece of an 8″ tall cake won’t fit on a dessert plate though. It’ll just be too big, so if that’s what you’re using it for, then you might think about adding in the dowels to the bottom two cake layers, then adding that middle board like the tutorial. Then you’d essentially have a two tiered cake, but the tiers would just be the same size and it would look like one cake (like mine in the tutorial)…it just wouldn’t be as tall, but that would look totally fine. There would be two cake layers on the top tier and two on the bottom tier. Just make sure that whatever size cake you decide to make, that it will provide the amount of servings they need. I generally use the Wilton serving chart to figure that out.