
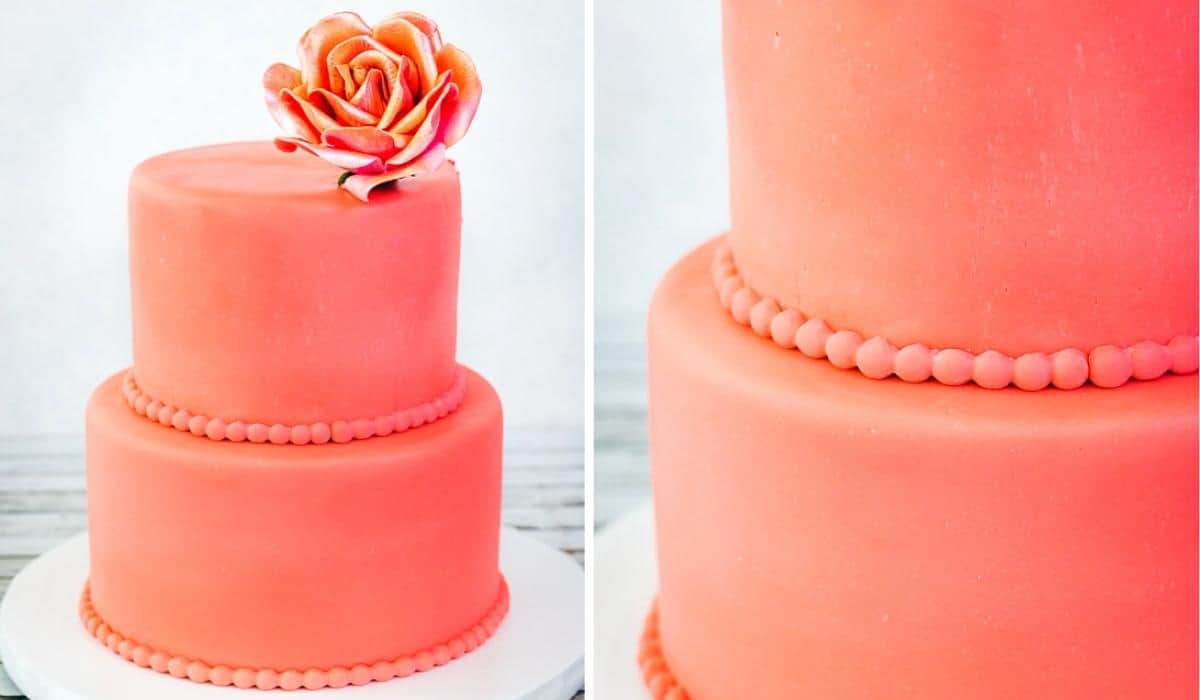
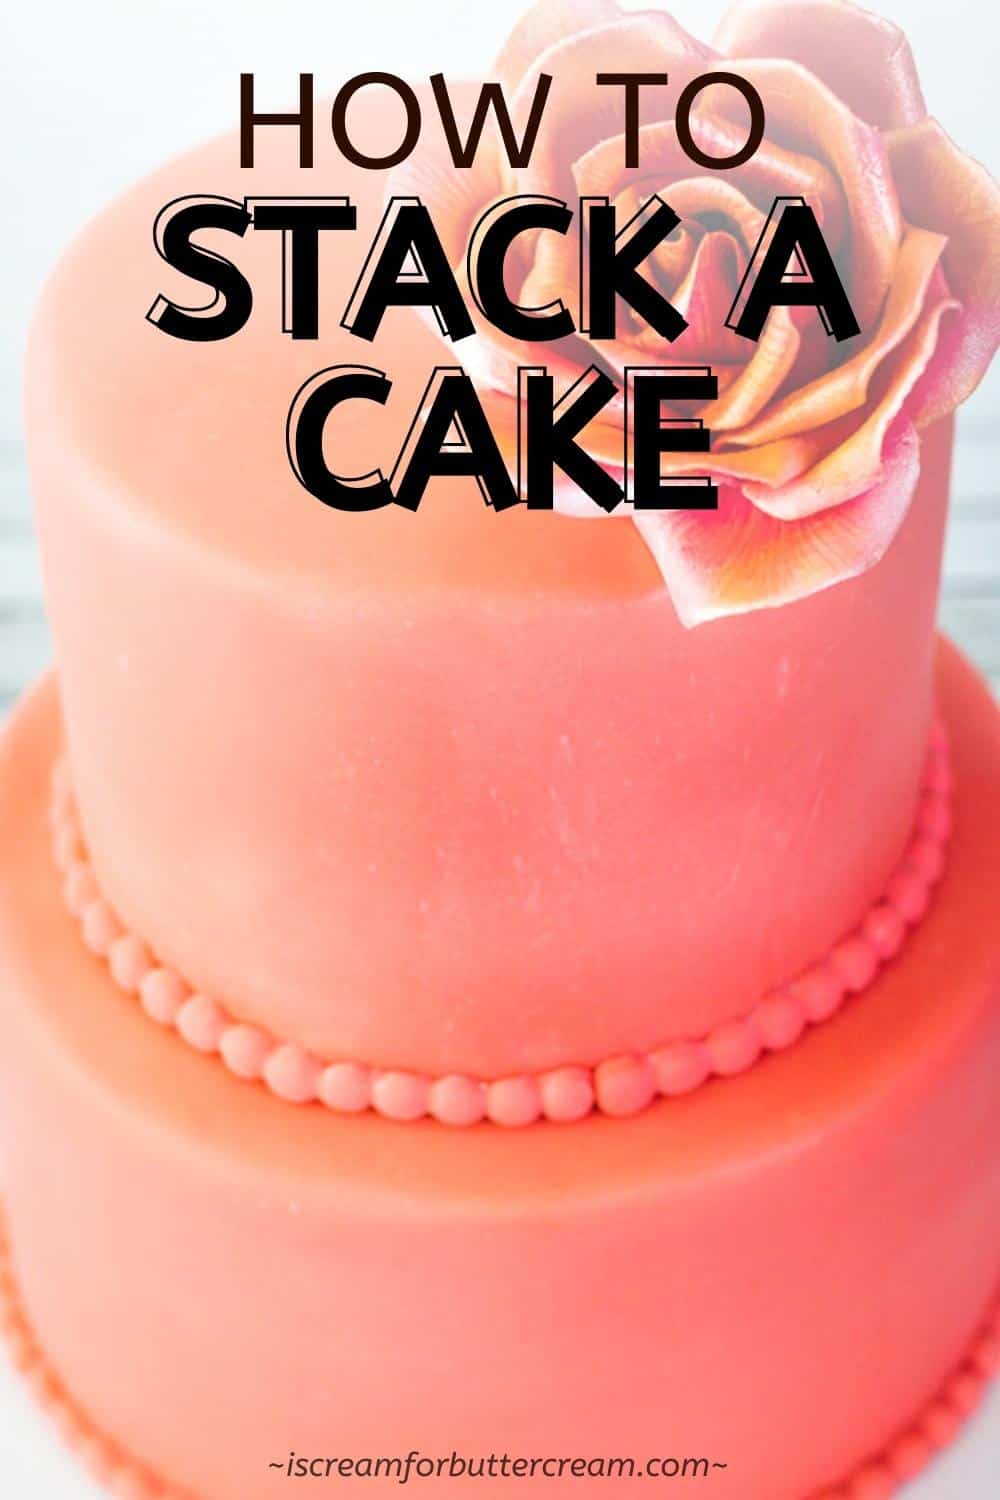
Step-by-step tutorial on how to stack a cake with dowels and how to make a beautiful tiered cake even as a beginner.
From what kind of dowels to use to the type of cake boards to use and even how to level cakes, this cake decorating tutorial is packed with tips on stacking cake tiers.
Pretty much everyone who ‘does cakes’ has their own favorite method for stacking cakes. Today I want to share with you, this method on how to make a stacked cake. Hopefully, my method will be a good foundational tutorial that you can make your own.
In this post, I’ll go through everything from beginning to end for how to make stacked cakes, so you’ll know how to stack virtually any cake. Yes, in this tutorial we are stacking round cakes, but it’s virtually the same process with square cakes or other cakes.
With these basics, you’ll be able to stack a two-tiered cake, a three-tiered cake and on up…the method is the same.
Once you get the basics of doweling a cake and some other tricks and tips, you’ll be stacking cakes like a pro.
This method is a combination of a lot of methods I’ve seen other people use and have read about and personally I just feel more confident doing things this way. Feel free to adjust this method to make it work for you.
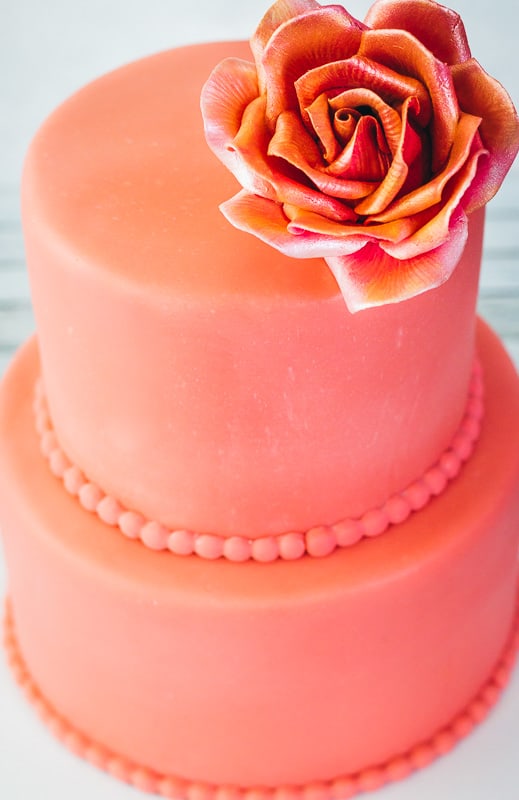
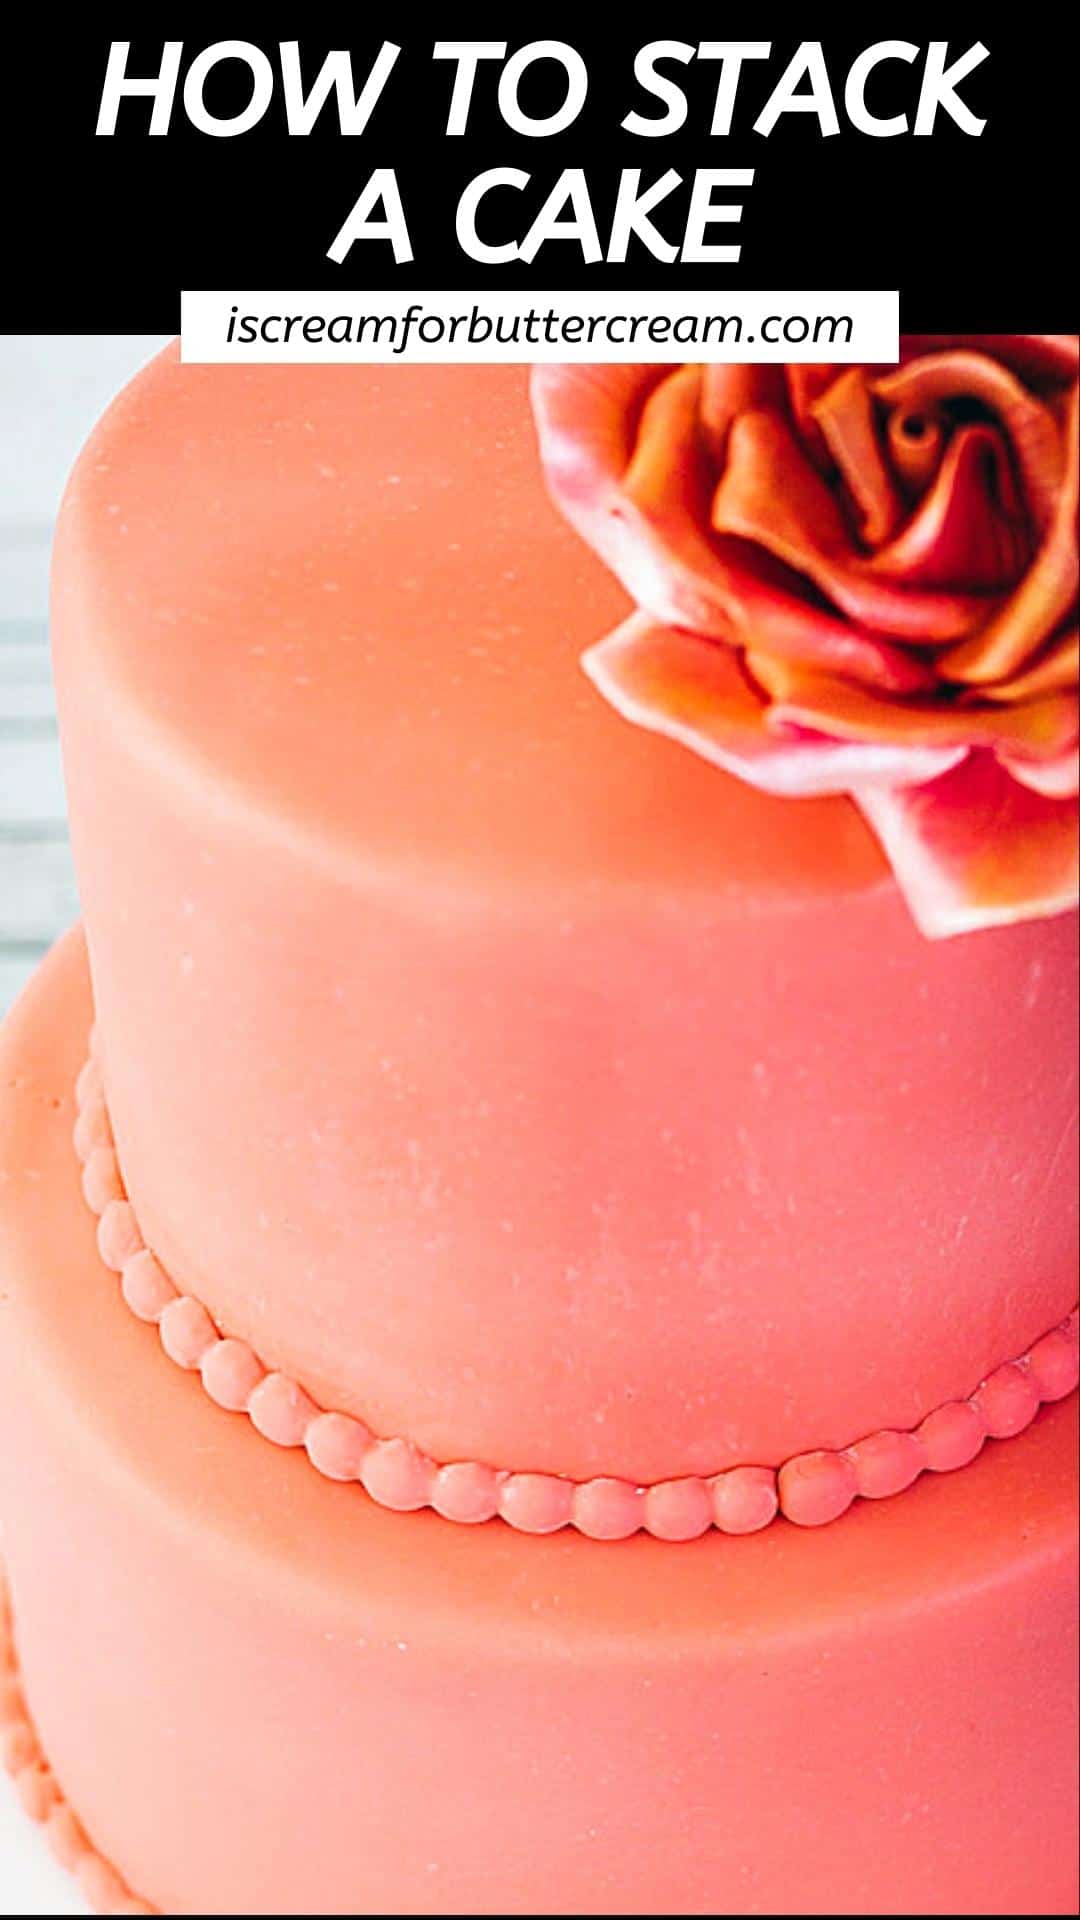
By the way, if you want to learn how to make a large gumpaste rose like the one on this cake, I have a tutorial and video for that as well. You can find that here: How to Make a Large Gumpaste Rose
Let’s get started.
Jump to:
Important notes before we get started:
First note:
For this tutorial, I’m working with a fondant cake. It was just easier for me to use a fondant cake while taking a video of it. I didn’t have to worry about the cake getting too warm, or me taking too long to stack it.
Just know that these tips are the same tips I use to stack buttercream cakes. The only difference is you have to be a little more careful with buttercream cakes and it’s best to chill them before stacking if you can.
Second note:
I’m showing you the method that I like to use. I’m NOT saying that this is the only method and that you HAVE to do it this way. All of us are different and we all work differently, so feel free to try out my method and others to see what works best for you.
Supplies needed for stacking cakes:
As an Amazon Associate, I earn from qualifying purchases.
- Baked and prepared cake layers made into tiers. (I like to use three layers of cake for each tier and I used an 8″ cake tier for the bottom and a 6″ cake tier for the top.) Remember that tiers are made of layers, so you’ll have multiple cake layers with filling between them that make up a tier. (For more information and details on that, you’ll want to check out this post: Anatomy of a Decorated Cake
- Cake Base (I like to use foam core board because it’s much sturdier than regular cake drums.)
- Foam core cake boards – these go directly under each tier (I like to use foam core for these as well, but if the cake tier isn’t heavy, then you could use cardboard cake rounds)
- Dowels (I like to use both small and large plastic dowels that can be cut with scissors) There are more options that I’ll explain below, but you could also use bubble tea straws for cakes that aren’t heavy.)
- Cake leveler (or large knife)
- Cake turn table
- Icing spatula
- Icing smoother or an extra tall icing smoother
- Candy melts
- Edible marker
- Scissors or wire cutters (these are for cutting the straws or dowels)
- Small level
Let’s go through these in a little more detail below, so you know what your options are.
Cake bases:
The cake base is the largest cake board that the entire cake will sit on. It’s not the cake boards that go under each tier, but the actual ‘base’ board.
If you need help with the difference between cake boards, bases, cake layers and tiers, I have a really helpful post that will explain all that. You can find that here: Anatomy of a Decorated Cake
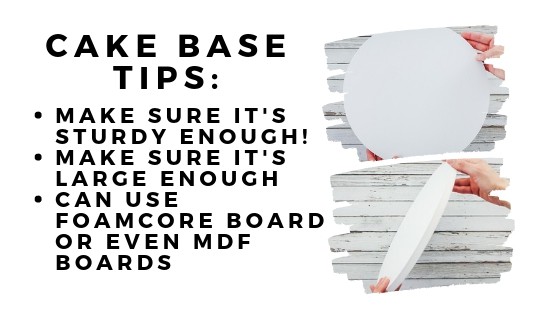
Essentially the cake base needs to be at least two inches larger than the largest cake tier that will be sitting on it. I usually have mine even larger than that.
Here is the most important part about the cake base: You want to use a cake base that is sturdy enough to actually hold your cake!
You can glue together several cardboard cake rounds (but I do not suggest using this method for a stacked cake…it just won’t be enough support for a heavy cake to sit on without out it buckling.)
Personally, I prefer to use ½″ foam core cake boards.
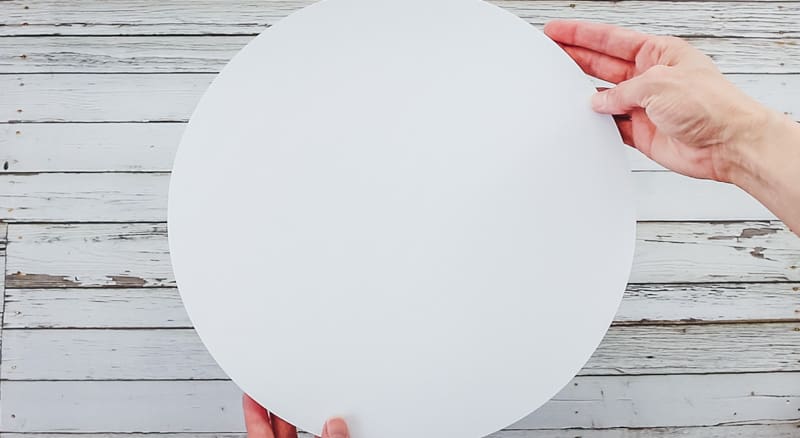
These usually come in different thicknesses and I like to use the ½ inch thick foam core boards for the bases.
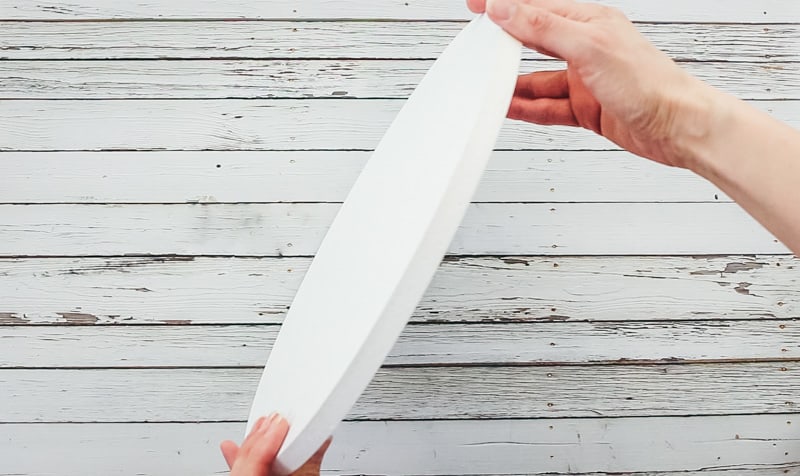
It’s surprisingly sturdy and I’ve used it for really heavy multi-tiered fondant cakes.
Now, if you’ve got a super heavy cake, you may want to think about using MDF board (which is like a wood composite board.)
Just make real sure that whatever you use, it’s sturdy enough. If it isn’t sturdy enough, it can actually cause your cake to collapse. Do not use those premade cake drums or the thin cake bases you can find at hobby stores. They aren’t strong enough.
Now, you can also cover your cake bases in Wilton fanci foil, fondant, scrapbook paper, wrapping paper etc. I have a whole post on tips for cake boards that you might want to check out. I’ll also have a video there on how to cover a cake board in practically anything and still make it grease proof.
Cake boards:
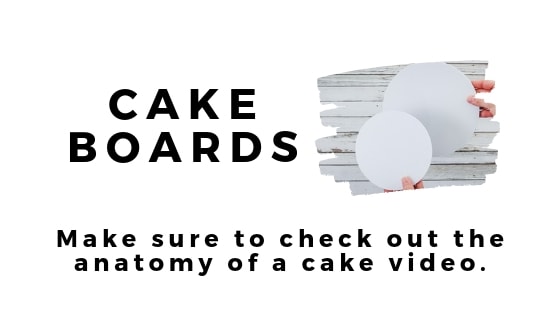
A cake board will go under each cake tier (not layer). (Remember that tiers are made up of cake layers.) The cake board that goes under each tier will be the same size as the cake tier that’s on top of it.
You can use cardboard cake rounds, but I really like to use the thinner (¼″) foam core cake boards, especially for heavier fondant-covered cakes.
Dowels:
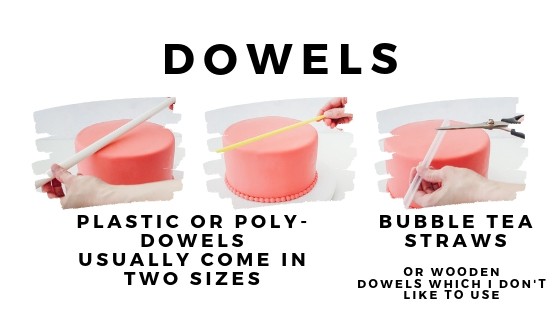
There are many different types of dowels that you could use to stack cakes. I prefer to use plastic dowels, sometimes known as poly dowels. (Not the heavy plastic columns you find in hobby stores though.) Make sure to check out links to those in the supplies section above.
There are two different sizes. There are small ones like those below…

And larger thicker ones as well.
These are really heavy duty and I like that they’re hollow inside and that they don’t displace any cake when you insert them. You do have to use some heavier cutters to cut the large ones, but I find that garden cutters (obvious ones that are used just for caking) will work fine.

You could also use wooden dowels. I don’t like to use them because I feel like they shift easier than other dowels and they’re a real pain to cut.
Another option is bubble tea straws. These are wider, heavier straws than your normal bendy straws you can buy at the grocery store. These can be cut with regular scissors. I have links for these in the supply list above.
These bubble straws are fine to use if your cake isn’t going to be massively heavy or massively tall. (Do NOT ever use regular straws though…they are not sturdy enough for ANY stacked cake.)
There are other systems like plastic cake stacking systems the Wilton stacking system. Some people swear by these and say they make the cake very stable. I have never gotten into using these, but I’d suggest trying out a few options and see what you like best.
Again, I’m just showing what I like to use and how I normally stack cakes, but that doesn’t mean there aren’t other options that work just as well.
Cake leveler or knife:
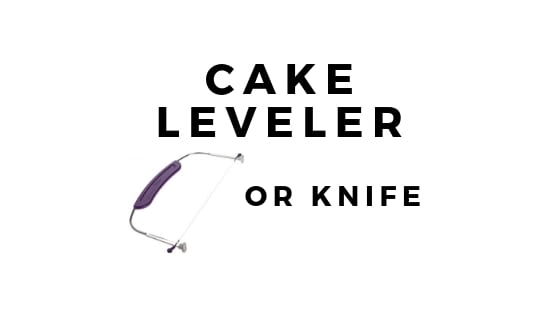
You’ll need to get each cake layer level before you ever stack your cakes. This is really important. If you have any type of dome on your cakes, you’ll need to use a knife or a cake leveler to slice it off and make each layer perfectly flat.
Turn Table:
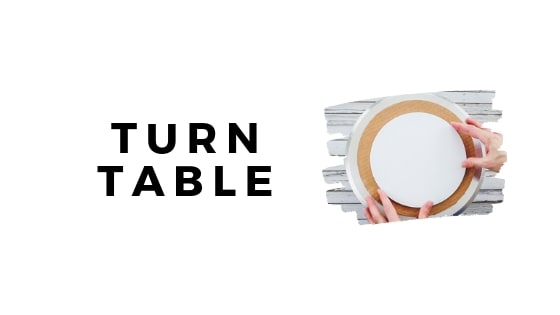
This particular supply isn’t specifically for stacking cakes, but it will help you as you are filling your cakes and adding the icing. It’s hard to get smooth buttercream without one.
If you want to see all the supplies you’ll need to start decorating cakes, take a look at this post here: Supplies You Need to Start Decorating Cakes
Icing spatulas & smoothers:
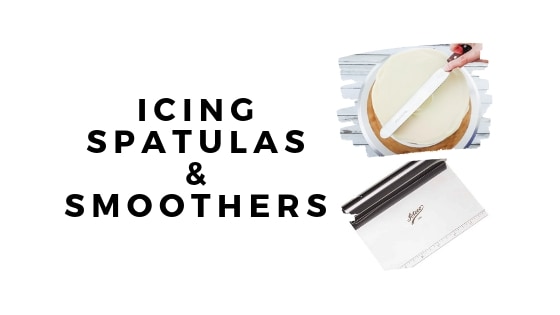
Again, these aren’t specifically for stacking cakes, but they will allow you to get a smooth finish on your cakes when you add your filling and your icing.
Candy melts, hot glue and edible markers:
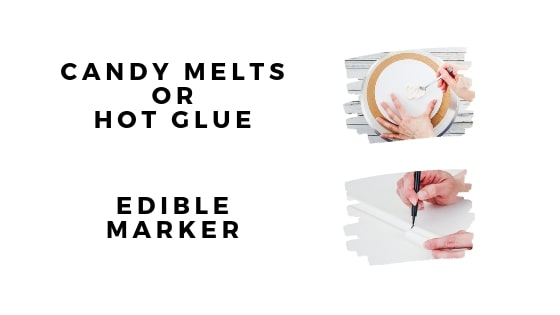
These might seem a little out of the ordinary, but I promise there is a method behind using them.
I like to use candy melts (or you could also use hot glue) to stick your cake board (from the bottom tier) to your cake base. This helps keep that bottom tier from shifting around on the cake base.
For the edible marker, I use those to mark where I cut my dowels. You can find a link to the edible markers I like to use in the supply list at the beginning of this post. (They aren’t expensive and mine have lasted a very long time.)
Now, many people will just pop in their dowels, pull them up a bit and cut them, but I use a different method to insure that each dowel is the same height, which I’ll show in a bit.
Scissors, large cutters & a small level:
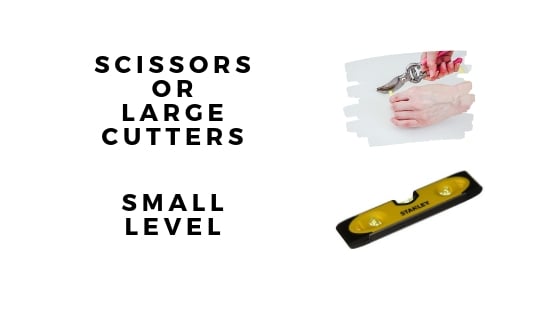
The scissors are used if you’ll be using the bubble tea straws. The larger cutters are used if you’ll be using the large poly dowels.
The small level is a must. I use it while I’m stacking and filling the cake layers, before I coat the cake in buttercream after I cover the cake and even after I’ve added my dowels. (I show how I do that below and in the video.)
Basically, you need to constantly check to make sure everything is as level as it can be all throughout the entire process.
Stacking & filling the cake layers:
Ok, to start ‘building’ our cake, we have to stack and fill the cake layers. I like to use three layers of cake and two layers of filling for every tier.
You can, of course, torte the cake layers (that just means splitting them), but I normally don’t do that with stacked cakes, because I like having more stability.
Just use a turn table and add a larger ‘working board’ down on top of it just to catch any crumbs or buttercream and to help move things around. It’s basically just a catch-all board.
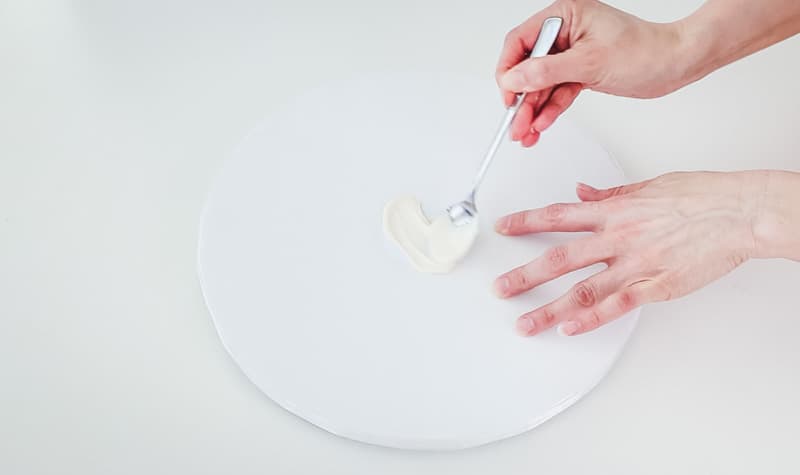
Next, set a cake board (that the bottom cake tier will be sitting on) onto the working board and add just a small amount of melted candy melts to it. Now, this cake board you set down needs to be the same size as the cake you’ll sit on top of it.
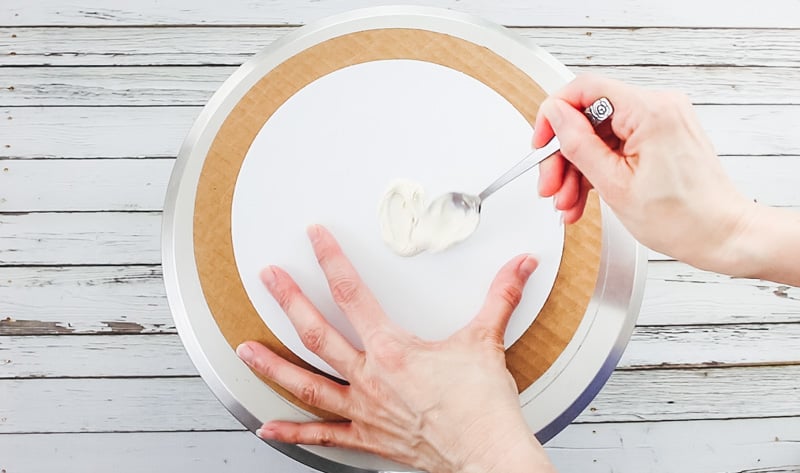
The melted candy melts is so the bottom cake layer will stick to the board and not slide around while you ice that cake tier. You could also use buttercream, but buttercream doesn’t work as well to keep things from sliding around.
Now add the three layers of cake and two layers of filling. Don’t go crazy adding a ton of filling though. If you do, the weight of the cake will squish it out and it’ll make a ridge around your cake, or cause a buttercream blowout.
Next just do a thin crumb coat around the entire cake.
Now, this next part is a little out of the norm, but it’s what I always do and has saved me tons of cake decorating heartache.
Wrap it loosely with plastic wrap and set the cake aside to let it ‘settle’. That just means setting it to the side either overnight or at least for several hours to let the layers calm down and let it squish out any extra buttercream.
You want everything settling now…before you go stacking the cake tiers. If it settles afterward, you get problems with sagging fondant, or buttercream blowouts or ridges.
Now, I don’t chill my cakes during this process because chilling them hardens up the cake and the icing and won’t really allow it to settle. You do want to chill it though if you have a perishable filling.
I won’t go into too much more detail on my method here, but if you’d like to know more details about that, you can check out my post: Should I Refrigerate My Cake Before Decorating?
Alright, so go ahead and fill your other cake tier, crumb coat it, and set both your cake tiers aside to settle overnight or for a couple of hours. (I used an 8″ cake tier for the bottom and a 6″ cake tier for the top.)
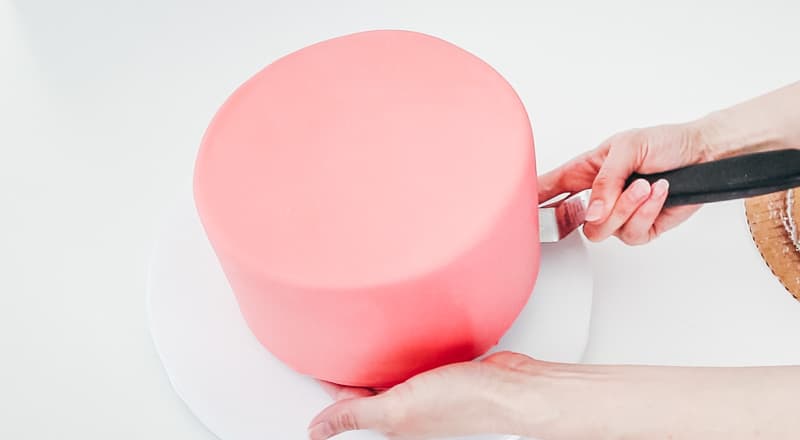
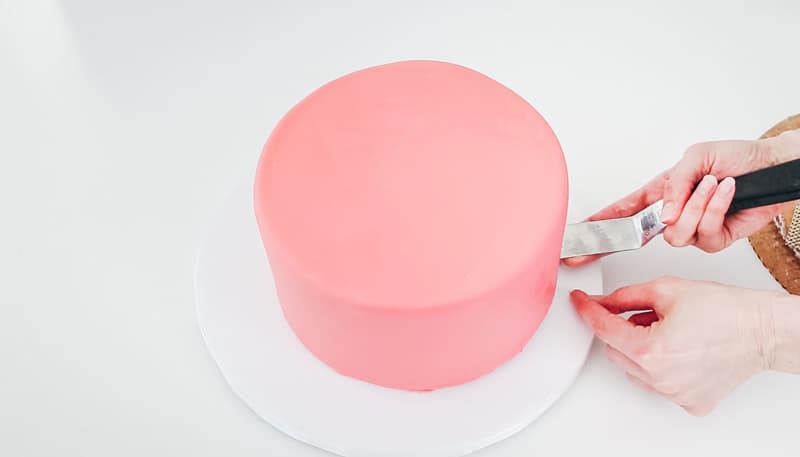
Now, once everything’s settled, you can then cover it in whatever you choose. You could go with buttercream, buttercream with fondant, ganache, ganache and fondant, swiss meringue buttercream…the choices are varied.
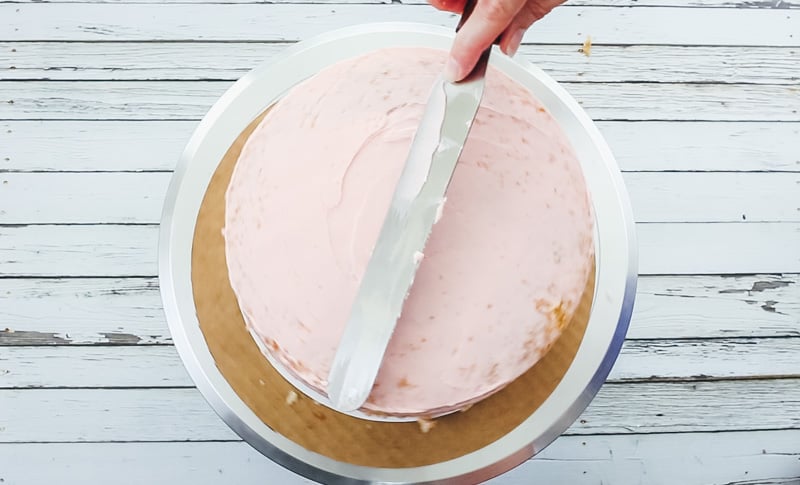
I covered my cake with white chocolate ganache…
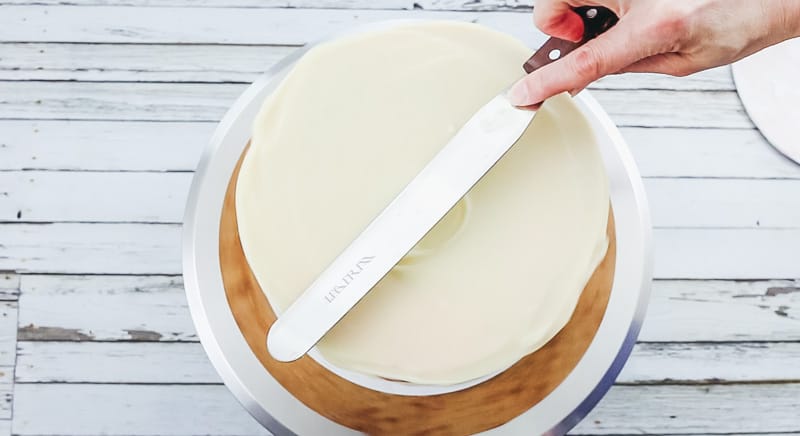
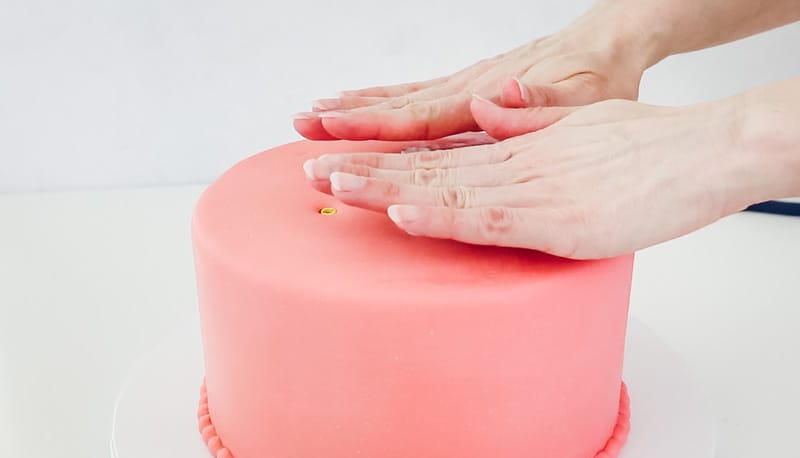
I wanted for the ganache to firm up and then covered it in fondant.
Stacking the cake tiers:
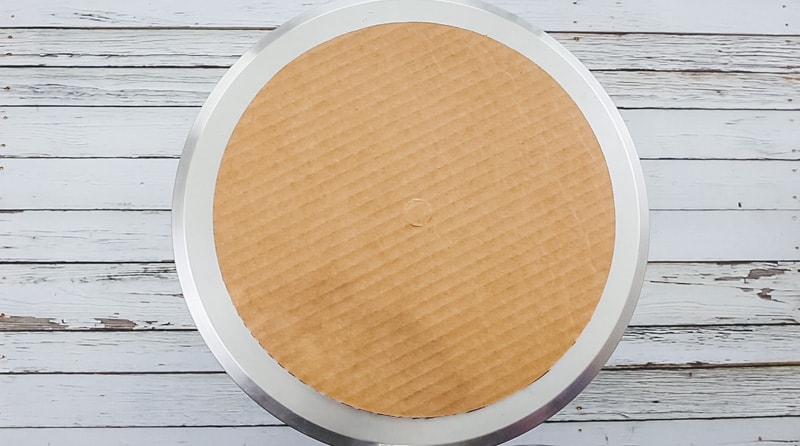
One thing I like to do to the cake base is something that may seem a little weird at first, but when you think about it, it kind of makes sense.
Once the cake board is covered with fanci foil, or whatever I’ve covered it with, I like to take an exacto knife and cut out a circle in the middle…Not of the cake base, but just out of the wrapping that’s over it.
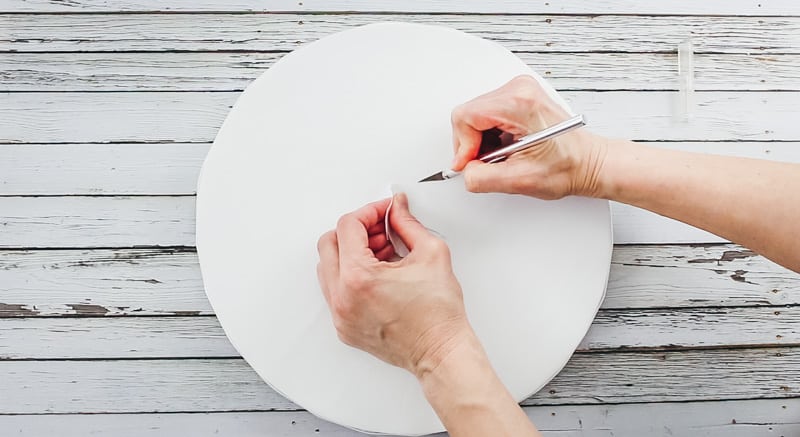
Then I tape around the area I cut.
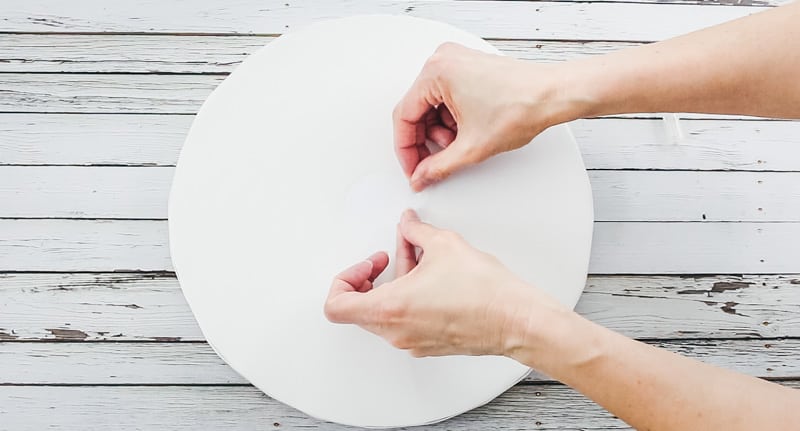
The reason I do this is that I want that bottom board on the bottom cake tier to be stuck to the actual cake base, not the wrapping that’s over the cake base. I heard this once on a Craftsy class and it made total sense to me, so I’ve just done it ever since.
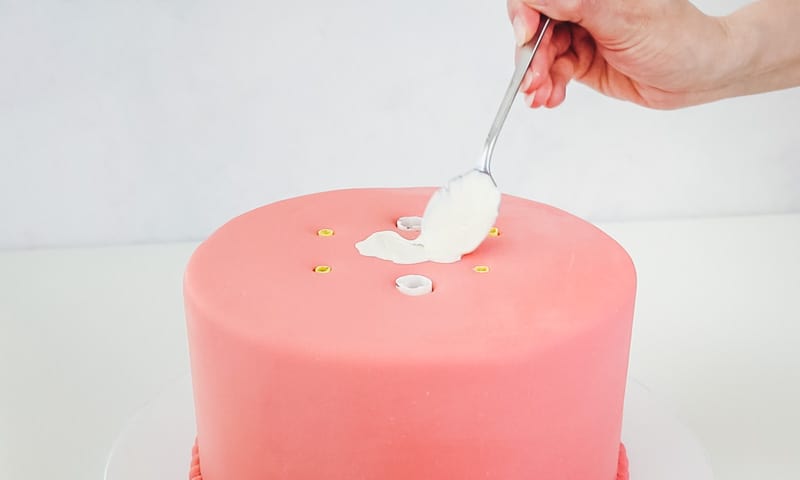
Alright, now just add some melted candy melts to the middle of the cake base. You can use hot glue as well, but I like to use melted candy melts because it gives me a little more time to move things around.
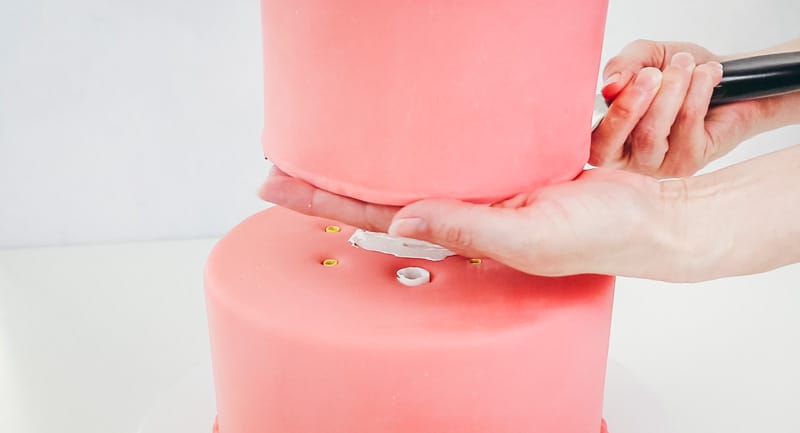
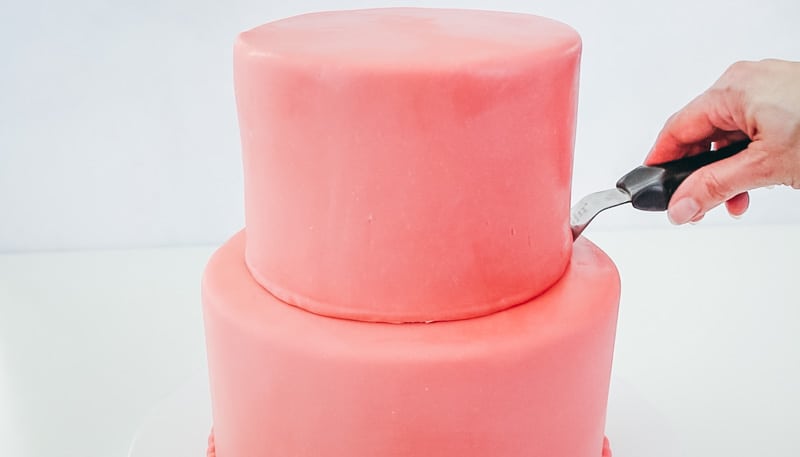
Now slide the icing spatula under the bottom tier and pick it up. (Now if it’s a buttercream cake, you’ll need to chill it beforehand to make it firm and easier to stack.)
Just lift up the bottom tier…use one hand under it if it’s a buttercream cake, or one on the back of it if it’s a fondant cake. Don’t place the entire weight of the cake on your icing spatula.
Lift it up and then set it onto the cake base. Don’t pull the spatula out yet.
Once you’ve got the bottom tier onto the cake base, use the spatula to move it around to get it centered, then slide out the spatula.
So, for this tutorial specifically, I’m just going to show you how I stack cakes using plastic (or poly) dowels. You could use the bubble tea straws as well, but if it’s for fondant cakes, I like to use the poly dowels, because they’re very sturdy.
I’m also going to use both sizes of the poly dowels, which is what I like to do for larger cakes. This tiered cake is only an 8″ and 6″ sized cake, so the amount of dowels I’m using is a bit overkill, but I wanted to show you how I like to use both sizes of dowels.
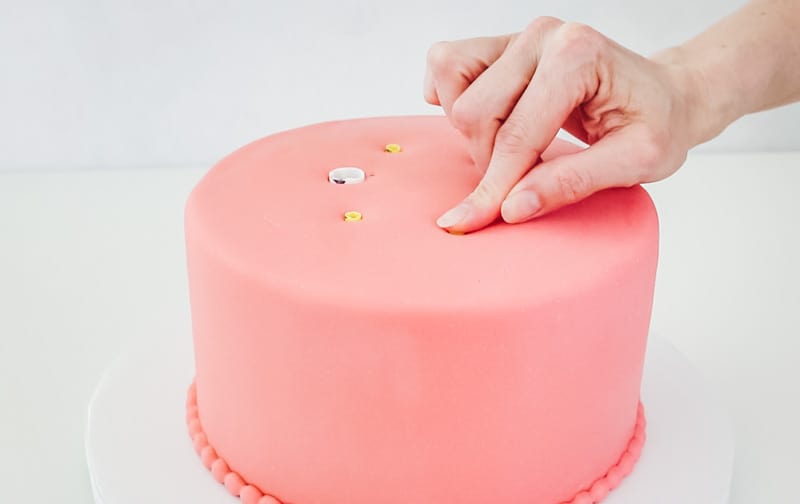
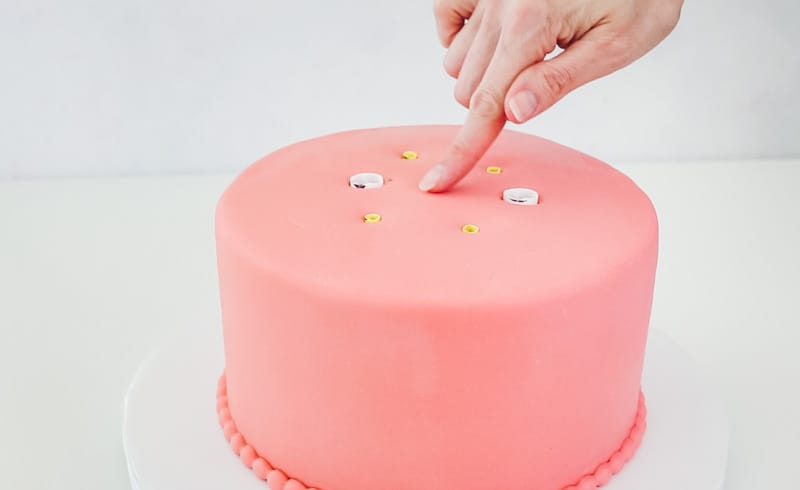
First take a cake board, the same size as the tier that will go on top of the cake tier you’re working on, and set it on top of your bottom tier. Use a toothpick to trace around it lightly to give yourself a guide for adding in the dowels.

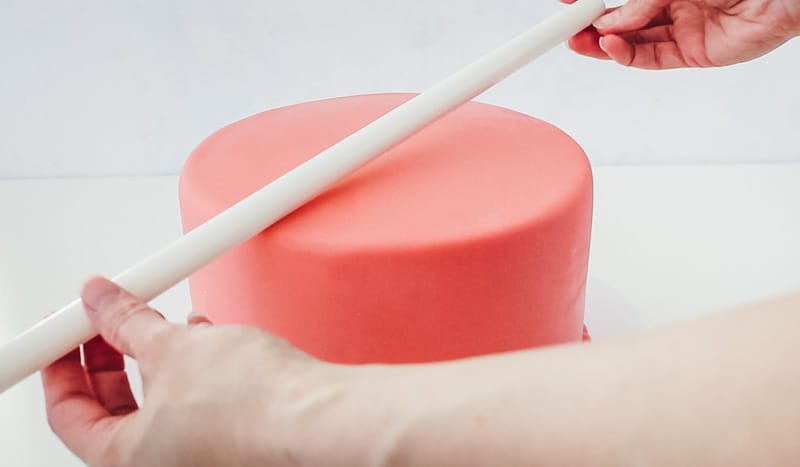
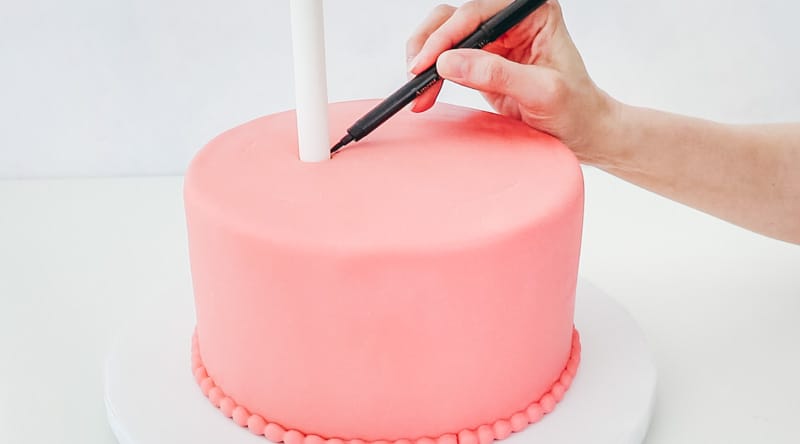
Now add in the first dowel and push it all the way down.
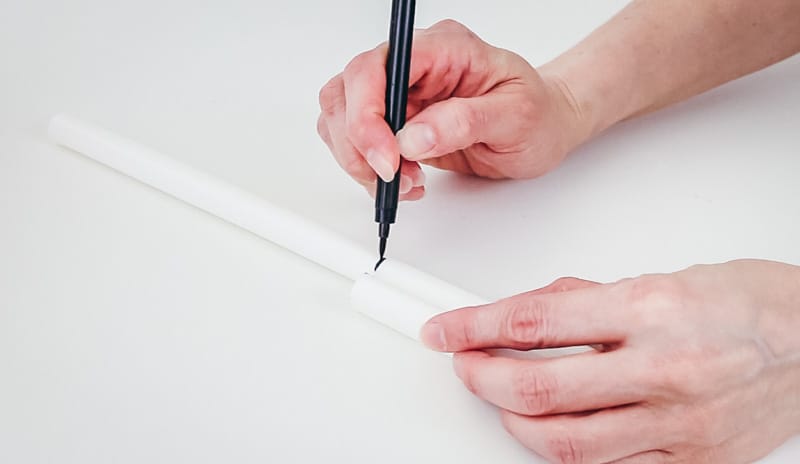
Take the edible marker and mark the dowel where it meets the top of the cake.
Now, twist the dowel while pulling up on it and pull it completely out of the cake while twisting. Yes, pull it all the way out. We’re not going to cut it while it’s in the cake. We want to use it as a template to cut the other dowels.
Why? Because this way all of the dowels will be the same height. So even if the cake isn’t perfectly level, the dowels will be and that’s what you want.
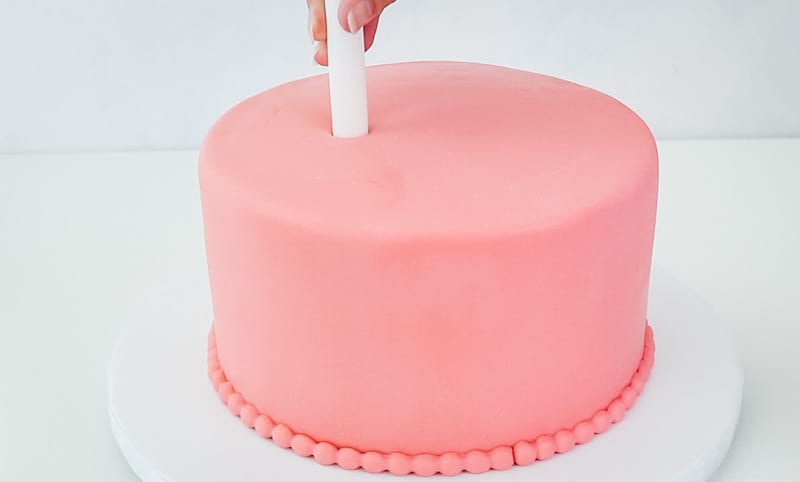
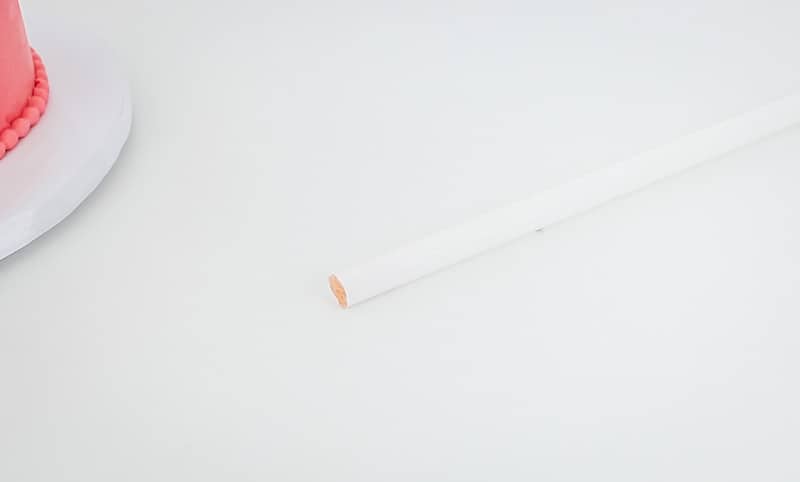
When you pull the dowel out, there will be a bit of cake inside it. Just leave that there.
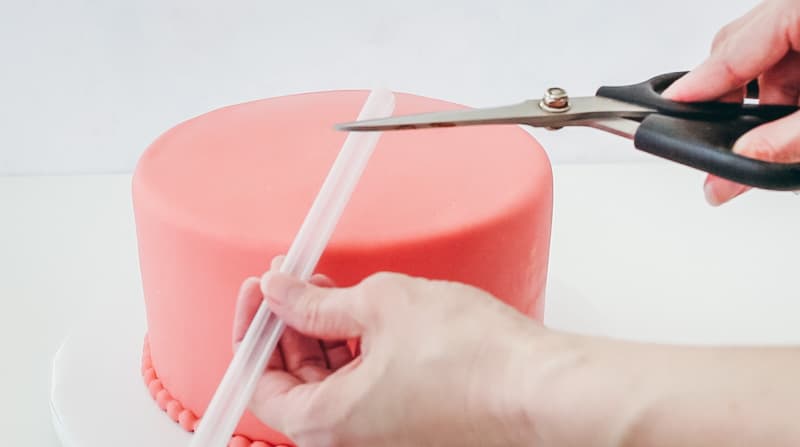
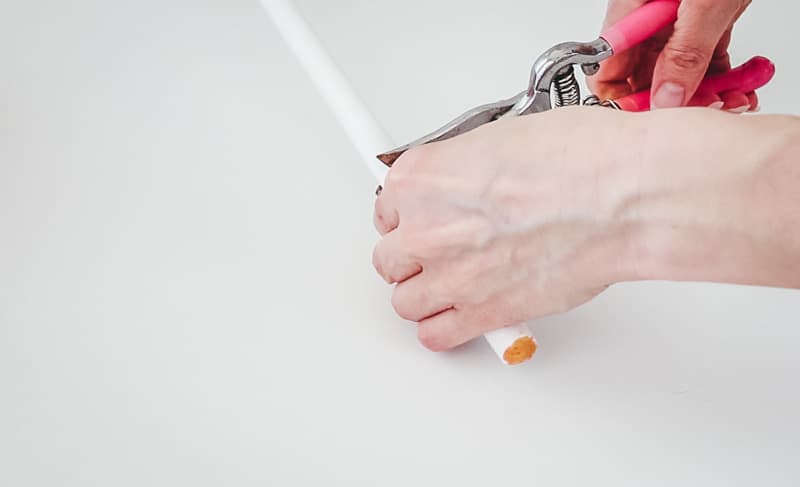
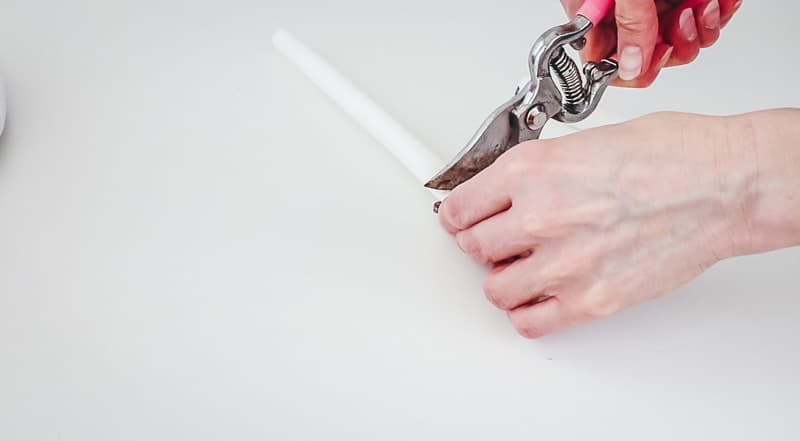
Once the dowel is out of the cake, just use the clippers to cut it straight across at the line you marked.
Now take that dowel and set it right beside another dowel and make a mark with the edible marker where you’ll need to cut.
Now just cut that dowel as well.
Next use the original dowel you first cut and set that beside the smaller dowel and mark it.

Do this for a couple of the small dowels and cut them.

Yes, I know my clippers are old and used. I need to get a new pair.
Also, I’m using way more dowels than necessary to hold up a 6″ cake, but again, I wanted to show you how to use both sizes, so you’ll know how to do it when you have to stack larger, heavier tiers.
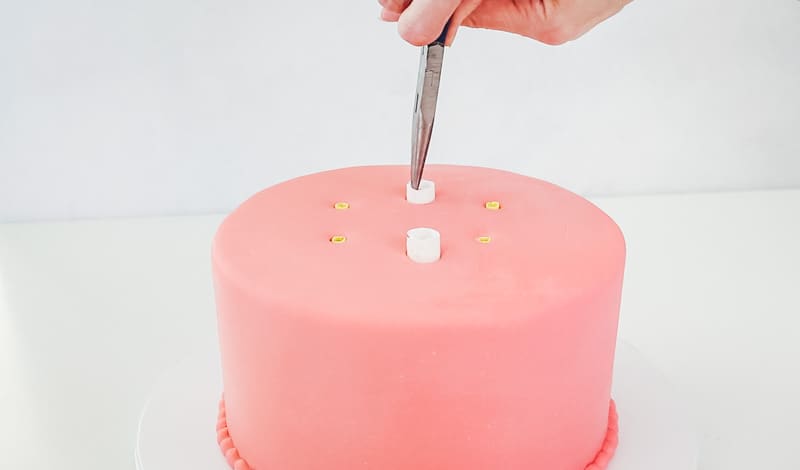
Now take that first dowel that you had originally added to the cake and push it back into the cake in the same spot.
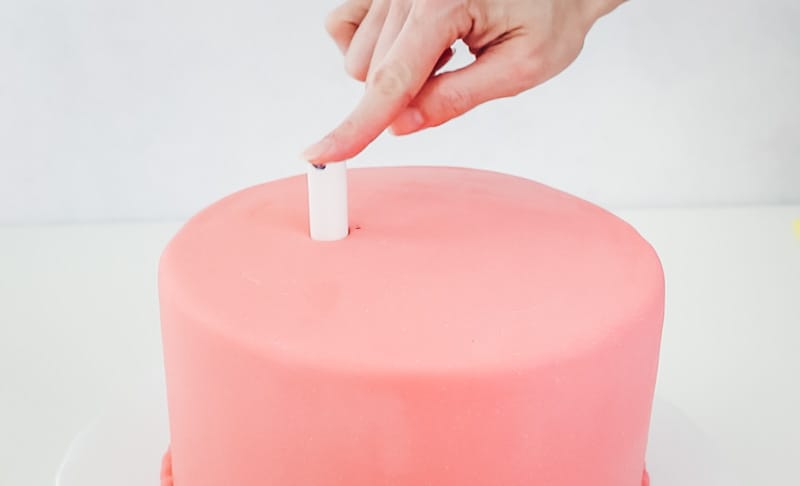
Push it all the way down. Next, add in another of the large dowels on the other side. Pay attention to the line you drew with the toothpick earlier so you don’t go outside of that line when inserting your dowels.
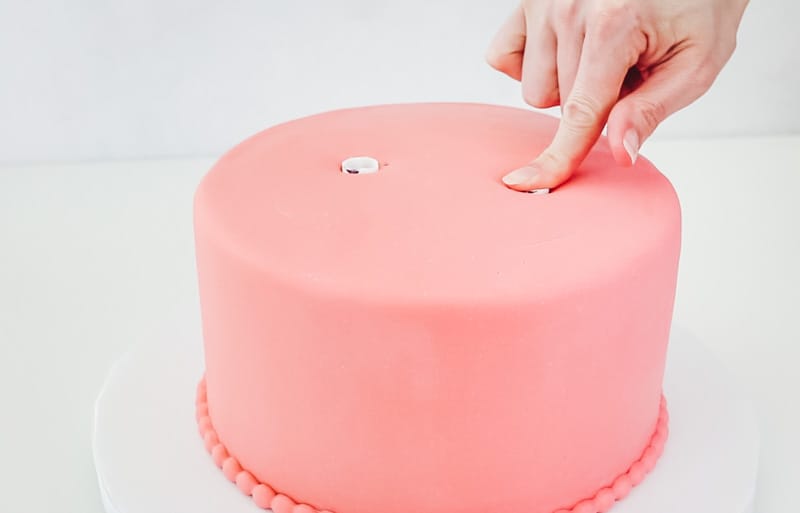
Now add in the smaller dowels.
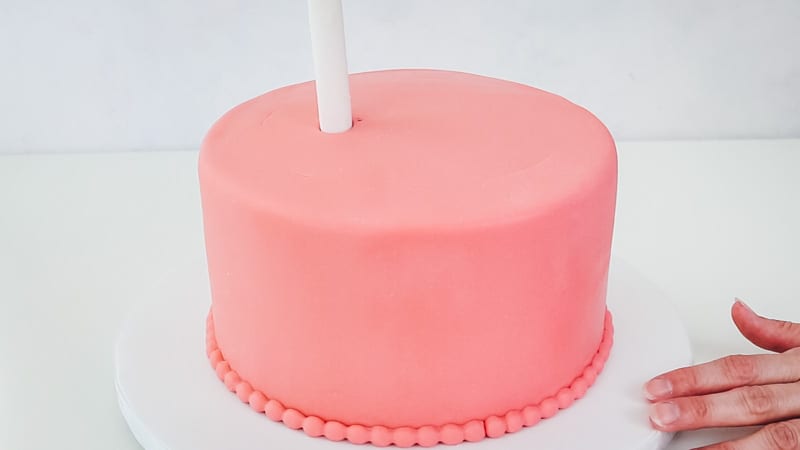
If you’ll be adding in a center dowel that will run throughout the entire cake (all tiers), then leave that middle space without a dowel, so when you hammer your center dowel through the whole cake, it won’t get stuck on another dowel that you placed in the middle.
If you won’t be using a center dowel, then you can go ahead and add a dowel there now.
I usually go ahead and put a dowel in the middle because the only time I really use a long center dowel is if one of the tiers is really tall.
If you want to know how to make a tall cake, you can see that tutorial here: How to Make a Tall Cake
Ok, once all the dowels are in, here is the moment of truth. Take a cake board and set it on top and then use the level to see if it’s level. You might as well do that now and face the truth before you add the other tier on top.
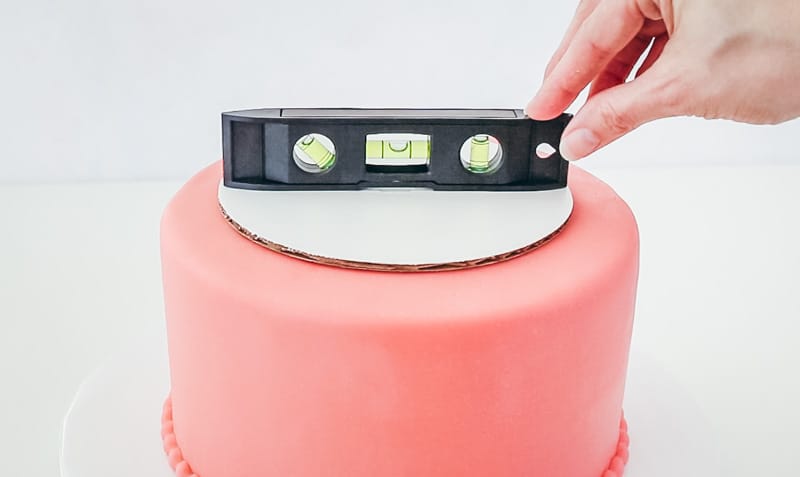
If it’s not level, then you’ll have to adjust the height of the dowels. One might have been cut taller than the others. If one is too short though, don’t cut the others shorter, just cut a new, longer dowel for that spot.
If you cut the dowels too short, there will be too much pressure on that cake tier from the tier on top of it and it’ll squish the cake and cause all kinds of problems and ugliness.
Ok, once you’ve checked that it’s level, now it’s time to add the next tier.
One thing I forgot to mention in the video that is really important is that if you have more than two tiers, go ahead and add the dowels to all the tiers (not the top one of course) before you stack them.
Don’t stack a tier, then add dowels to that one, and then stack the next one. Add the dowels into each tier while each it’s sitting directly on the table and not already stacked. I hope that makes sense.
Now, I like to stack my cakes with the dowels pushed all the way into the cake, but I wanted to show you an alternate way that some people like to use.
They lift the dowels up a bit and then they can just set the cake onto the dowels and the weight of the cake pushes down the dowels the rest of the way.
Sometimes that makes it easier because you can get your hands under the cake and you might be less likely to mess up your buttercream.
I don’t use that method because sometimes if your cake is chilled, then the weight of that top cake, may not be enough to push those dowels all the way down inside that chilled cake. But try it out and see if you like that method. For now, I’ll show you what I do.
Moving on…Next, you’ll need to add a bit of melted candy melts to the top. I do this for fondant cakes because it helps the top tier stick to the bottom tier. If you’re using buttercream, you can just pipe a bit of buttercream instead.
Now slide the icing spatula under the next tier and lift it up. Remember if it’s a buttercream cake, make sure it’s chilled because that will help you a ton.
If it’s a buttercream cake, you’ll have to hold one hand under it as you move it to stack it.
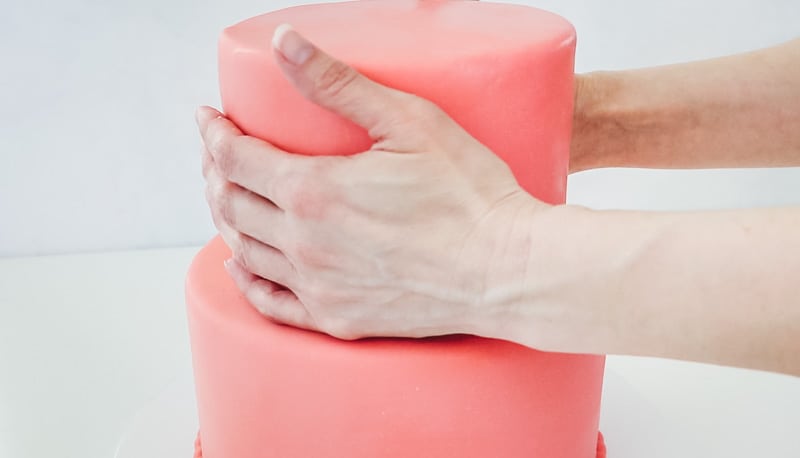
If it’s a fondant cake, you can just place your hand on the other side of the cake to guide it into place.
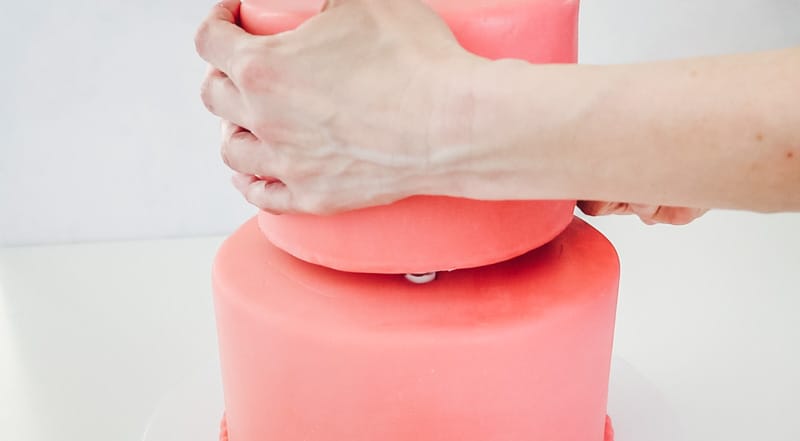
Now use the icing spatula to move it around and get it centered.
If it’s a fondant cake, you can just adjust the cake tier with your hands, depending on the design of course.
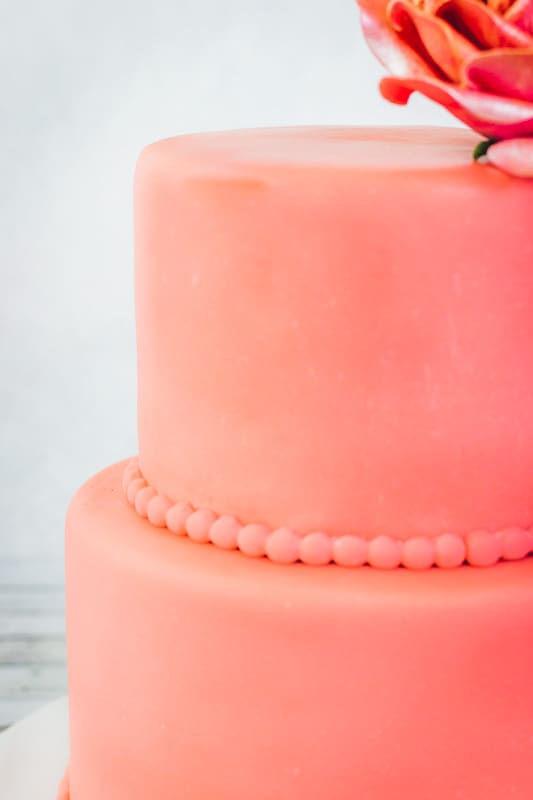
Now that you’ve got your cake stacked, you can add a border to each tier if you want.
Tips:
- Use a sturdy cake base. Make sure that the cake base is sturdy enough for your cake. That is super important. When in doubt…get a sturdier base.
- If it’s a buttercream cake, chill it before stacking it. Now, I don’t chill my cakes while decorating them, but I will chill a buttercream cake for about twenty minutes or so before I stack it because that really helps.
- Make sure your cakes are level BEFORE you stack them. Once you add the dowels, check to make sure it’s level again.
- Practice several different methods and see which one you like the best!
FAQs:
Cake tiers are made up of cake layers. Personally, I like to use three cake layers for each tier. I find that cake tiers look a little more professional when they’re a bit taller.
Not generally. Remember that cake layers are just single layers of cake. When you stack layers with filling in between them, that makes a cake tier.
In general, cake layers don’t need boards between them because they’re just single cake layers. Cake tiers, which are made up of multiple cake layers do need cake boards under them.
For more information, plus handy graphics about this, visit this post here: Anatomy of a Decorated Cake
Yes, always make sure there is a cake board between each tier. Remember that tiers are made up of cake layers and need boards under them.
If you have the right support, you can use many different types of cakes. You do want a sturdy cake, but it does not need to be a specific recipe. Many cake recipes that are not super light textures or chiffon-type cakes can be used for stacking cakes.
The main reason why the cake recipe isn’t super vital is that you won’t depend on the sturdiness of the cake to hold things up. You depend on the cake support structure you add (the doweling).
Here are a couple of recipes to get you started:
Vanilla Bean Cake
Chocolate Butter Cake
You generally want to frost the cake tiers before you stack them. There are some decorators who will frost after they’ve stacked. Personally, I’ve found this to be cumbersome, but it’s worth experimenting with to find what you prefer.
You’ll stack those the same as the two-tiered cake we talked about. It’s all the same process. Just make sure to add the dowels to each tier (except the one that will be on the top) before you lift and stack it.
First, make sure the cake tier has a cake board under it. If you haven’t read through this post, go ahead and do that as it will explain how and where to add cake boards
A cake board has to be under the tier or it will fall apart on you.
Second, sometimes it’s helpful to chill the cake tier before you have to lift it up. Chilling it can help firm it up a bit and hold it together while you move it.
Third, use a large metal hamburger flipper or a long icing spatula to help you lift the tier. Don’t let all the pressure be on the spatula, but let it help you. You can place another hand under the cake if it’s buttercream, or on the back of the cake if it’s fondant. (Make sure to check out the video to see more tips about this.)
You need to have some sort of support structure when stacking cakes, otherwise, the cake will eventually cave in on itself or fall over.
You can use all types of things to accomplish this. I prefer the plastic dowels that can be cut, or there are also wooden dowels and even bubble tea straws. I would only use the bubble tea straws if the tier that will sit on top of it isn’t too heavy.
You don’t want to use regular straws to stack any type of cake though as they’re just not strong enough.
Make sure to watch the video below where I talk about the different options.
Video on how to stack a cake (step-by-step):
I really hope this was helpful for you and if you have any questions, or I forgot to cover something, please let me know and I’ll be happy to help!
Other posts you might like:
- Do I Have to Crumb Coat a Cake?
- How to Store a Cake
- How to Start Selling Cakes from Home
- Tips for Covering a Cake in Fondant
Don’t forget to pin it below!
Vicki Rushing
How do you stabilize a tiered cake. I made my son’s wedding cake and separated the layers with store bought plastic dowels and plates. It was only stable for three layers. Had to place the fourth layer to the side. What should I have done to use all four layers on the plates and risers. Vicki Rushing
Kara Jane
Hi Vicki, I don’t use plates and risers, so I may not be much help with those. I don’t like using them because to get tall tiers, you have to buy the tall columns and then cut them down and they’re a pain to cut down. And as you found out, the shorter columns just aren’t tall enough sometimes. I find the plastic polydowels do a very good job and they are hard plastic as well, but easier to cut and you can cut them any size you want. You don’t have to use plates to separate tiers. You can just use the cake board that’s right under that layer. I like to use the 1/4″ foam core board for that because they’re really sturdy. I hope this helps at least a little!
Mariana
How am I going to store a three or four tiered wedding cake in my fridge that I plan on decorating with fondant and roses and more? Am I going to have to pull an all nighter and take the layers to assemble immediately to the venue? I just don’t know how it’s possible. Please help me plan.
Kara
Hi Mariana, I have the same issue. I don’t have a special fridge or anything to store my cakes. In general, I don’t store my cakes in the fridge unless they have perishable frosting or filling. Sometimes I will chill them for a bit right before adding fondant or traveling with them, but chilled cakes are hard cakes, so I try to avoid it as much as I can. Of course, if the inside of the house is very hot, there isn’t much choice and if you use a whipped frosting or something perishable in it.
If you need to keep them chilled, just keep them chilled as separate tiers or you can just stack the bottom two or the top two and the rest can stay as single tiers and just stack them when you get to the venue. That’s what I do. Usually when I make a 3-tier cake, I will just stack the bottom two tiers and leave the top separate, then stack it when I get to the venue. I hope this helps, but if you have more questions, please reach out and I’m happy to help.
Debbie
I am doing a 2 tiered wedding cake (10″ and 7″ I think?) for my daughter, sponge with buttercream semi naked finish. Can I transport it ready assembled please? (Each tier will be 3 layers) If so, any suggestions to help me? Thank you for the amazing tips too!
Kara
Hi Debbie, if you have enough room in your vehicle, it should be fine to transport a two-tiered cake. All my tiered cakes are three layers each tier and I’ve transported lots of two-tiered cakes. It should be just fine as long as you use proper supports in the cake. I’d probably chill it a bit in the fridge before transporting it so that it firms it up a bit. You also want to set it on a flat spot in the vehicle though, not on a seat. If you have an SUV, the back will be fine. I only have a car, but I’ve transported cakes in my trunk and that worked as well. You’ll probably have to make your own box to cover the cake though since it’s hard and expensive to find tiered cake boxes. I do have more tips about travelling with tiered cakes. You can find that post here: https://iscreamforbuttercream.com/transport-cake/