
Have Questions or Need More Details?
Don't forget to check out the Tips & FAQ section in the post!

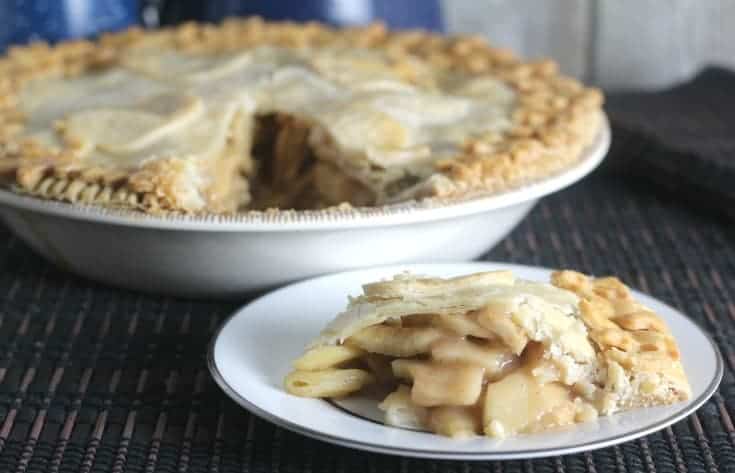
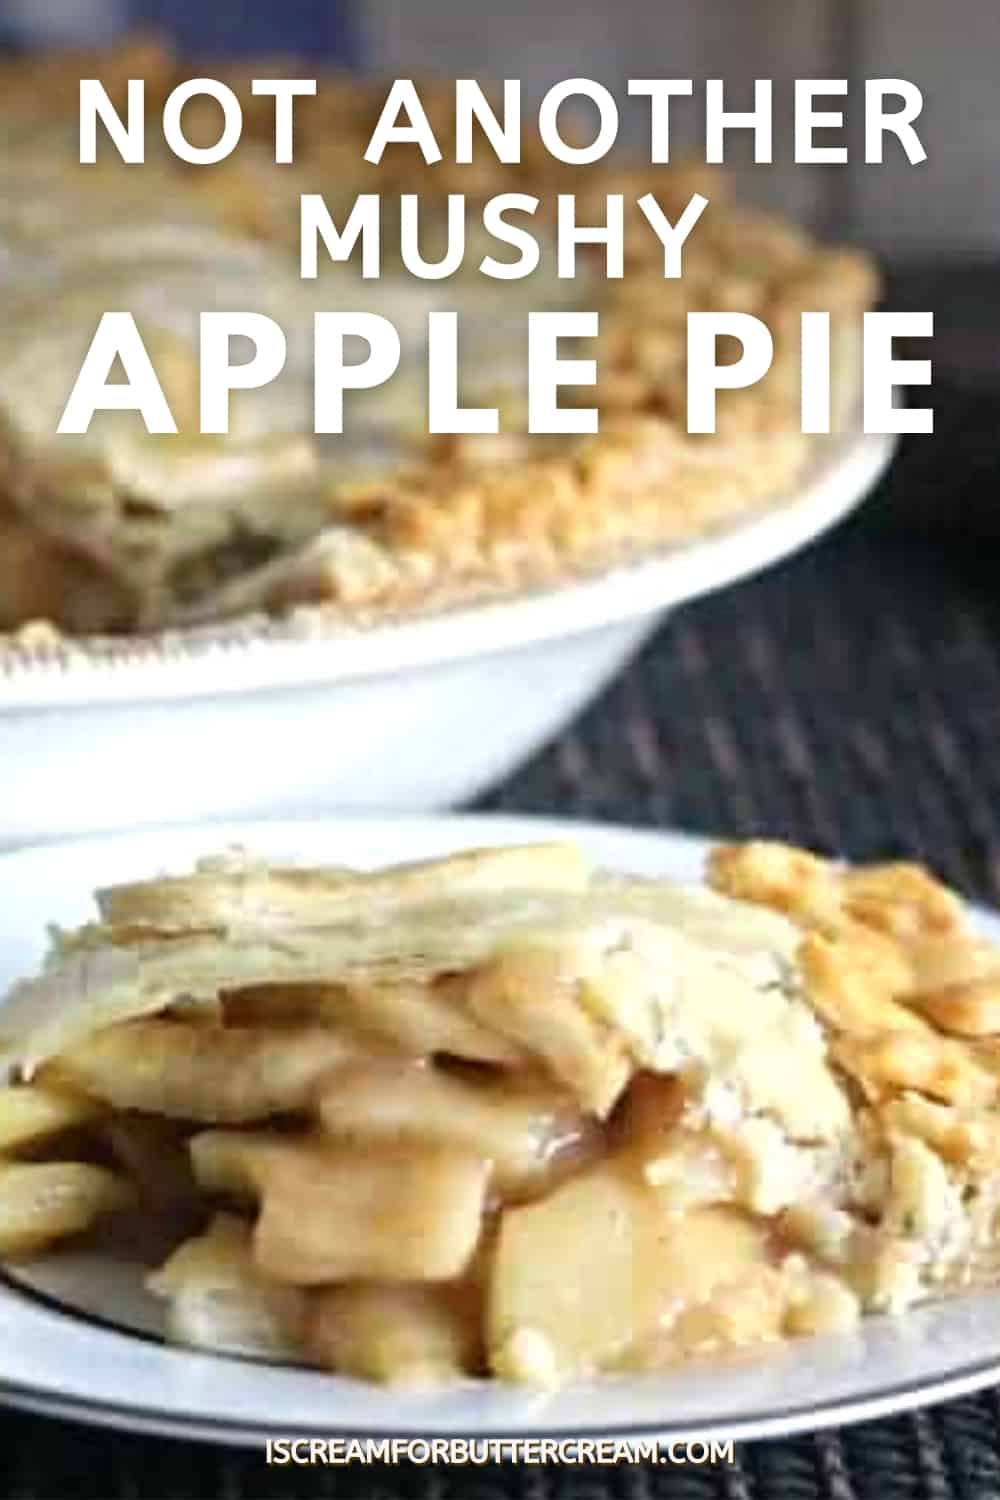
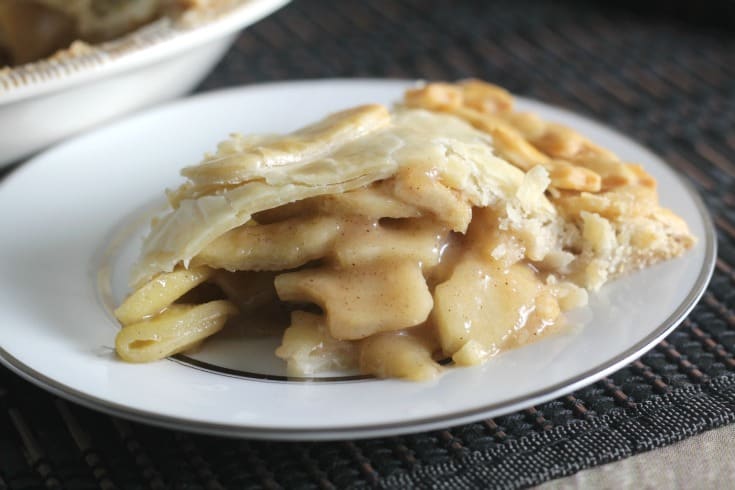
This is definitely not a mushy apple pie. If you want a crisp apple pie, then you’ve got to try this one. It’s the perfect fall dessert. Bring this one to a holiday event and you’ll be a hero.
This apple pie recipe uses a combination of two types of apples, one for their tart crispiness and one for their sweetness. The apples are sauteed with sugar and spices before baking in a crust, which surprisingly prevents them from turning mushy when baked.
What you get is a sweet apple pie with bits of tart and slightly crisp apples with no more mushy bits. It’s one of the best, traditional apple pies I’ve eaten.
This post was updated on 10/19/21
Hey there! Before you scroll, there’s lot’s of important stuff in the post!…including the FAQ section, which may answer any questions you might have about this recipe. Enjoy!
I’m not a huge fan of the mushy, mealy apple pies. Everyone has their own preferences, but for me, I prefer my pies to have a little crispness to them.
I decided I needed to do some research on apples and different methods for pie baking, so I could make an apple pie that came out with crisp apples…not mushy apples.
Without getting too scientific on you, I decided to go with something a little different than the normal Granny Smith apples.
Basically, I found this Deep Dish Apple Pie recipe from Emeril Lagasse. I ended up changing it quite a bit. For one, I don’t like the idea of adding cheese to an apple pie, and two, I found that sauteing the apples a bit longer made a big difference.
Hey there! Before you scroll, there’s lot’s of important stuff in the post!…including the FAQ section, which may answer any questions you might have about this recipe. Enjoy!
Jump to:
My first thought was that pre-cooking the apples a bit, might actually make the apples even mushier, but in fact, it has the opposite effect. It’s something super scientific, but I won’t bore you with those specifics.
Ingredient Notes:
Let’s talk a little about just some of the ingredients in this pie. (The entire ingredient list will be down in the recipe card below.)
Braeburn apples & Golden Delicious apples: After doing a little research on apples (yeah I’m a nerd), I decided to go with Braeburn apples for their crispness and Golden Delicious for their sweet flavor.
I used two pounds of Braeburn apples and two pounds of Golden Delicious. I just weighed them before I sliced them. You don’t have to get too specific. I also did not add any lemon juice. You don’t need it because the Braeburn apples will have some tartness to them.
Granulated sugar and Brown sugar: You’ll use both types int his recipe. For the brown sugar, I used light brown, but either light or dark will work.
Pie crust: I did not go into how to make pie crust in this recipe, because that is not my specialty. I generally use pre-made pie crusts, because I just really don’t like making them. If you love making pie crusts though, then certainly go ahead and do that. I’ve heard good things about this piecrust recipe.
Method Notes:
Let’s go through some tips on the method I used. (The detailed instructions are in the recipe card below.)
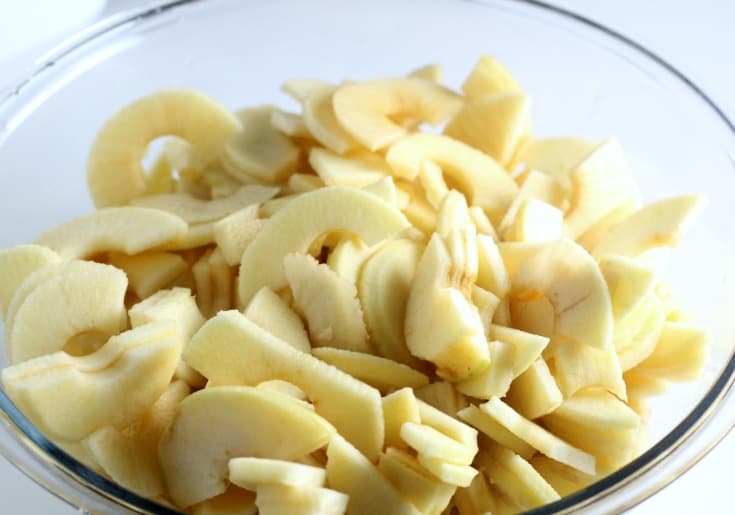
Slice up the apples. I sliced mine a little thin as you can see below and they still ended up being crispy and didn’t come out mushy.
After slicing the apples, you’ll melt half a stick (¼ of a cup) of butter in a large skillet.
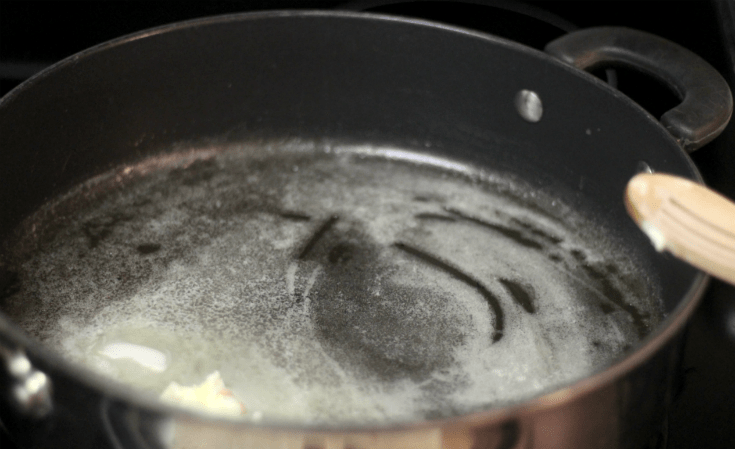
You’ll add the apples to the melted butter and saute them for about three minutes.
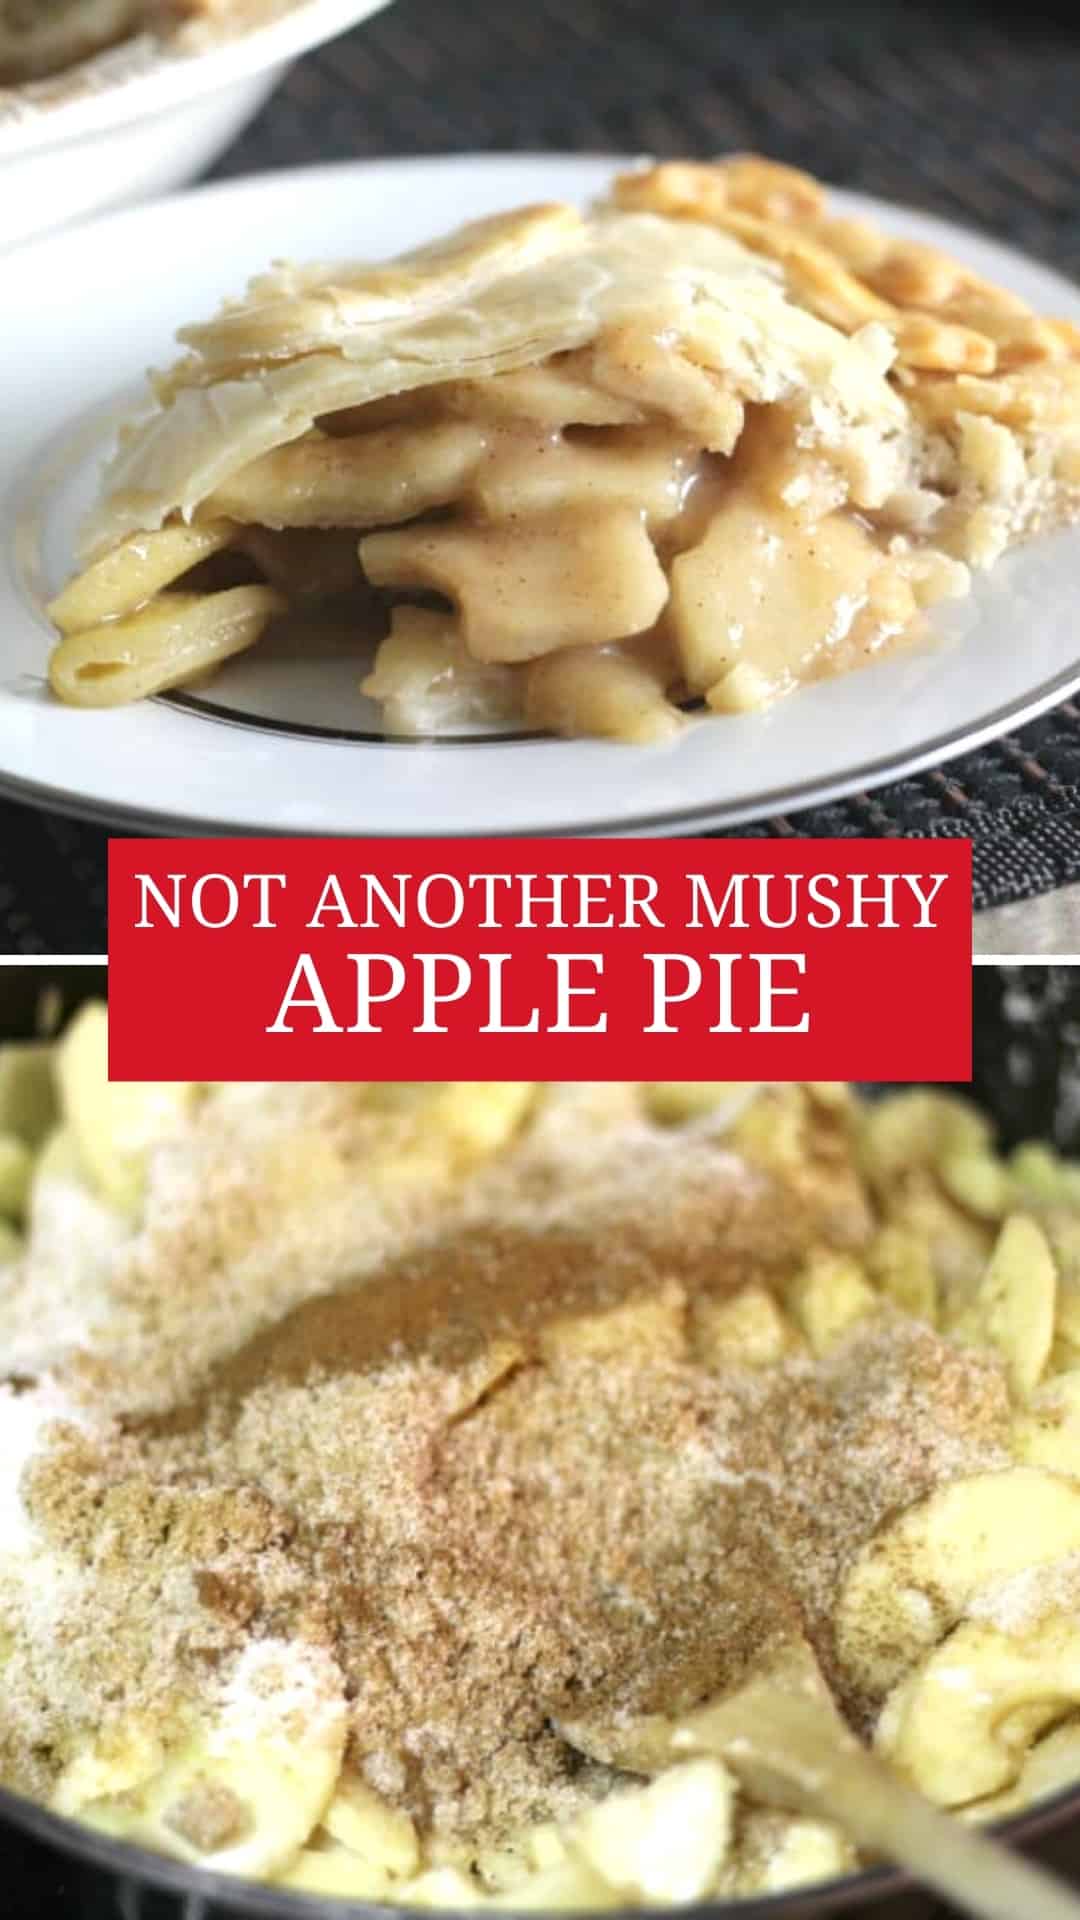
Next you’ll add the flour, sugar and spices.
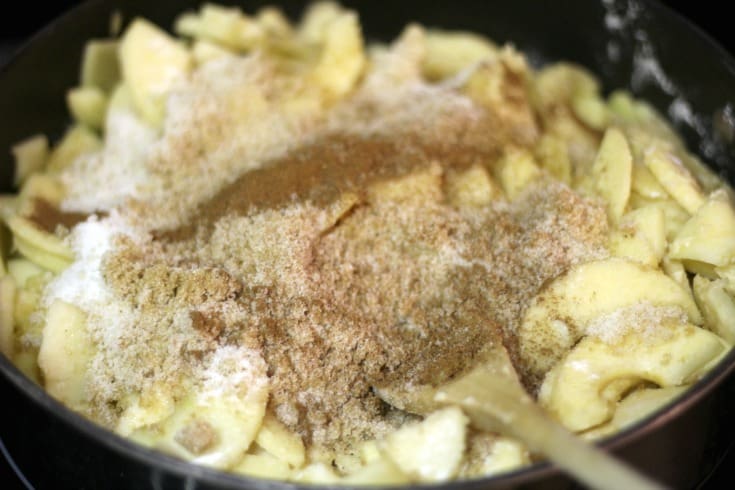
Saute the apple mixture for five more minutes.

After you’ve sauteed your apples, they need to cool down. You can either set them in the fridge for a couple of hours, or you can leave them there overnight and finish the pie the next day.
That’s what’s so awesome about this recipe…you don’t have to spend hours out of your day.
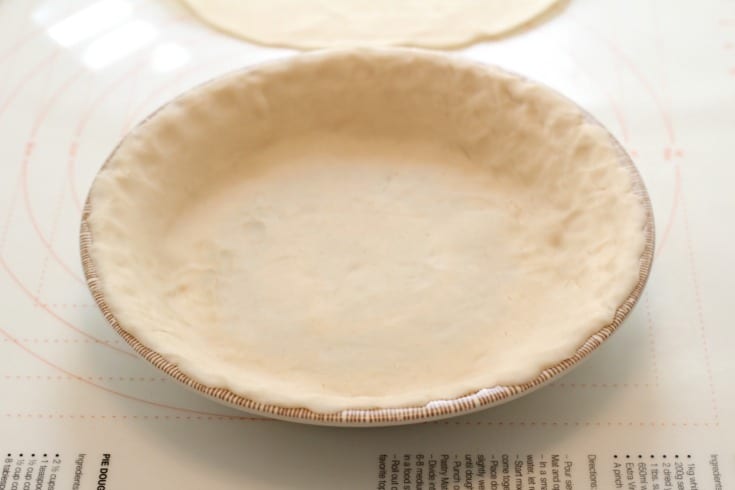
Once the apples have cooled, fill a deep-dish pie plate with your pie crust.
I personally hate making my own pie crust, so I use Pillsbury. The way I see it, there are things I enjoy doing and that I like taking the time to do, but making pie crust is not one of those things.
Do what you feel good about, whether that’s using a pre-made pie crust or making your own.
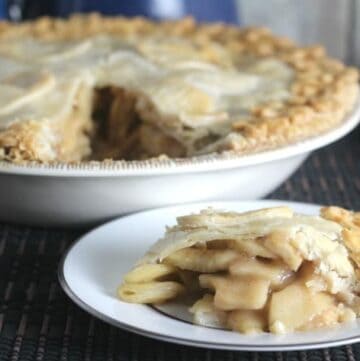
Next, fill your pie plate with the cooled sauteed apples.
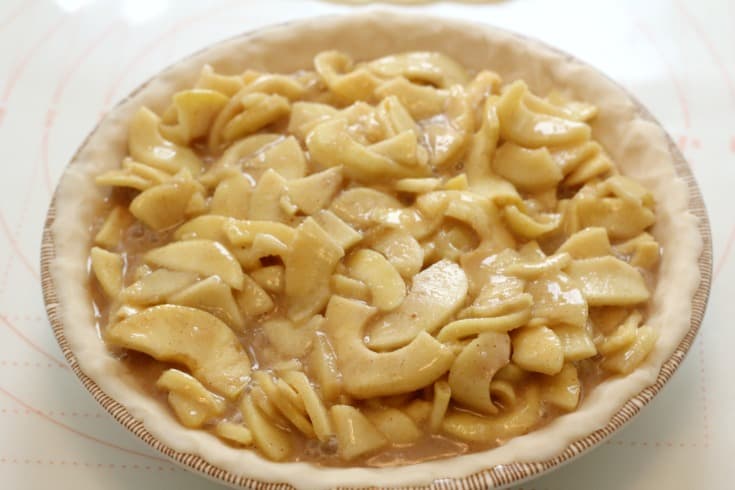
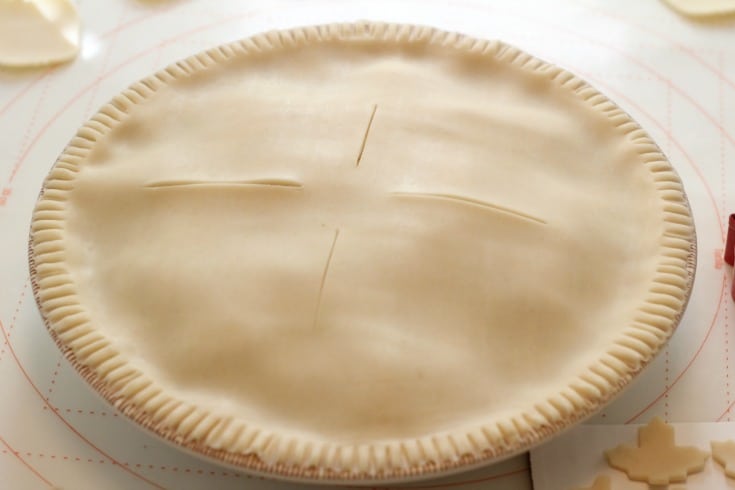
You can then just cover the pie with more pie crust, crimp the edges, make some slashes in the top, and bake.
Remember you can get all the details in the recipe card below.
Decorating the pie:
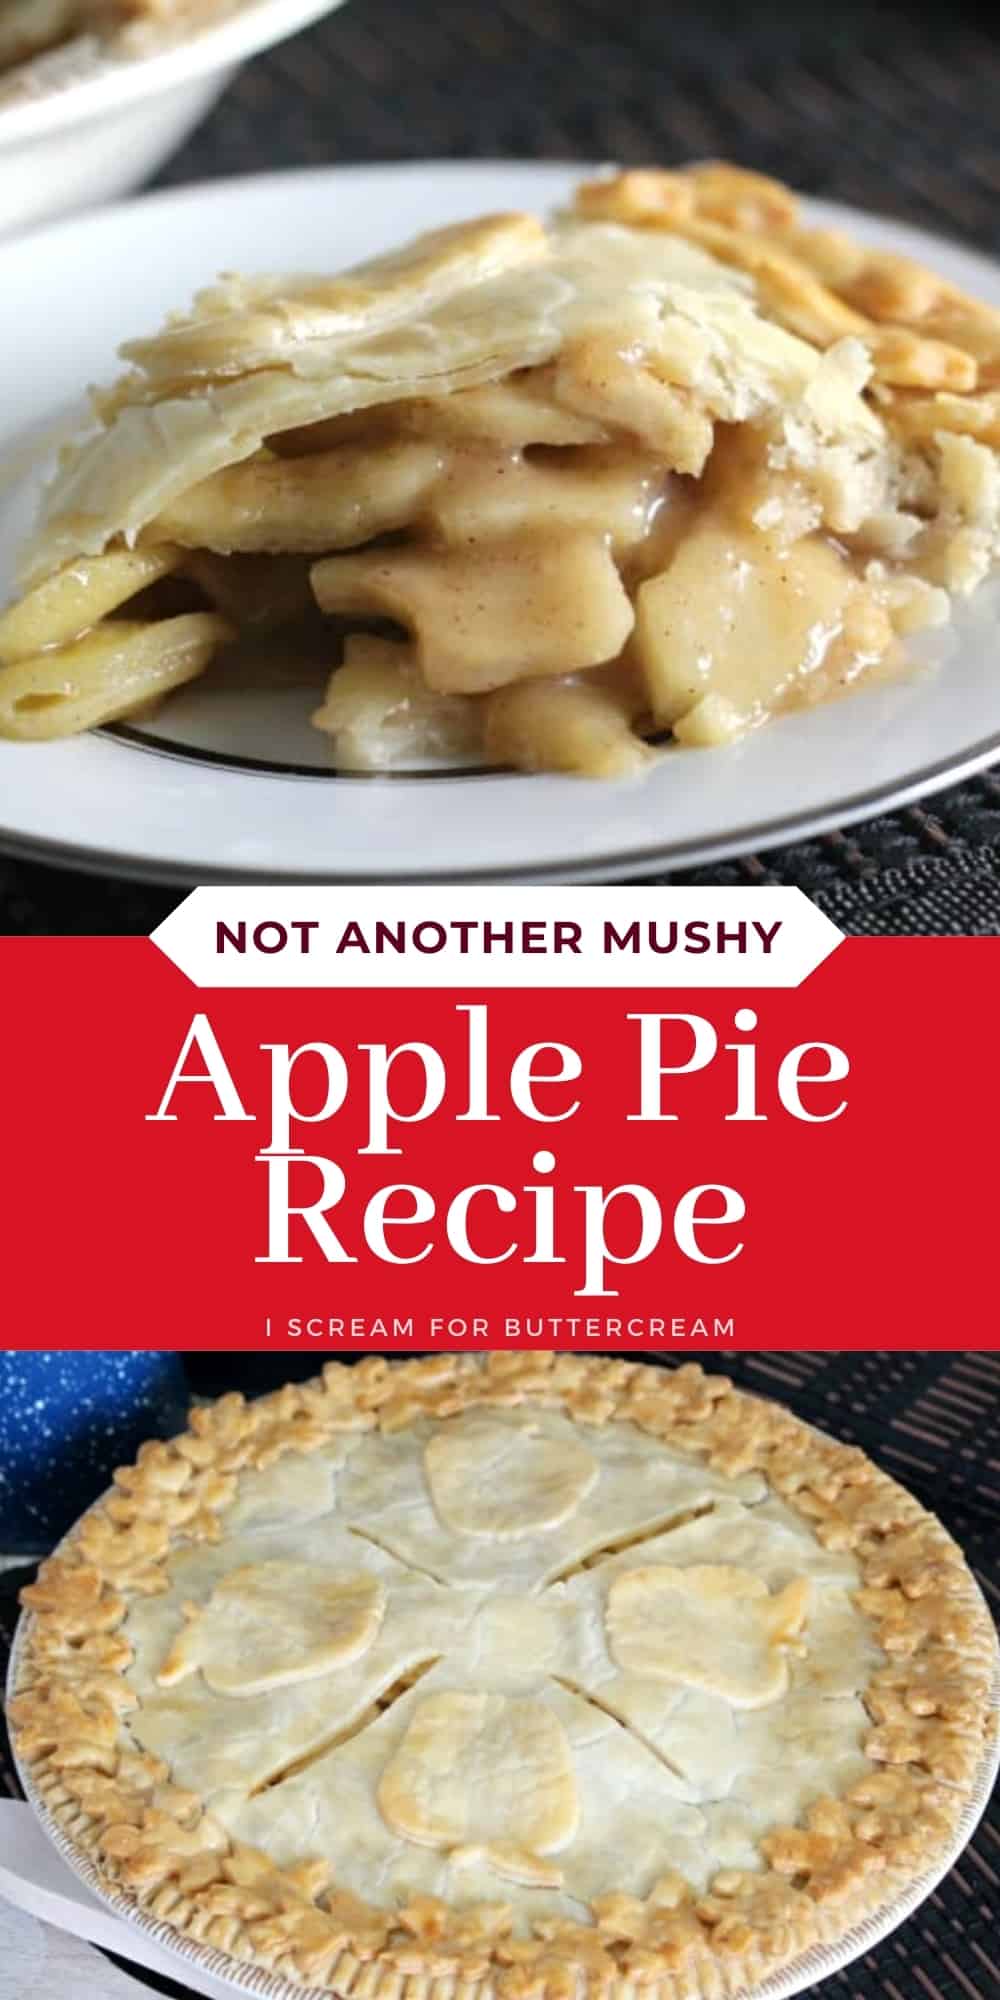
Here’s where I got a little fancy. You absolutely don’t have to do this. You can just add the top pie crust and bake, but if you want to add a fun twist, you definitely can.
So, if you’re going to embellish it this way, then you’ll need an extra pie crust. So if you made the crust homemade, then you’ll need to make extra, or you can just use another package of pre-made pie crust.
I had some apple and small leaf cookie cutters and used them to cut out shapes I could add to my top crust. You can use any shapes you want. Here’s an option: Mini fall cutters
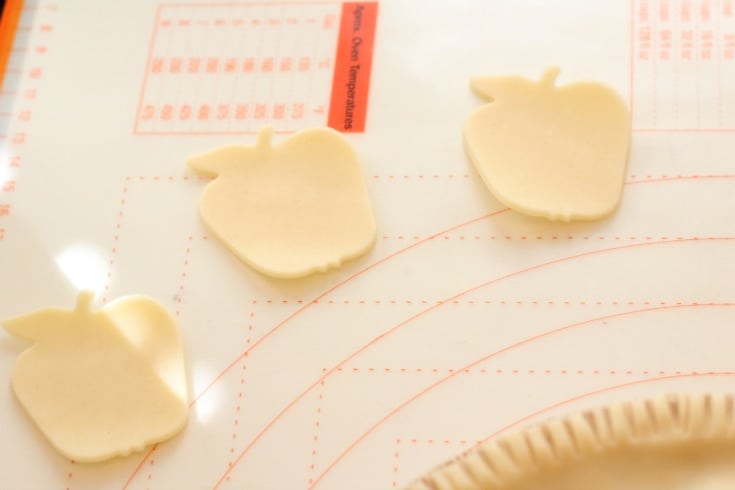
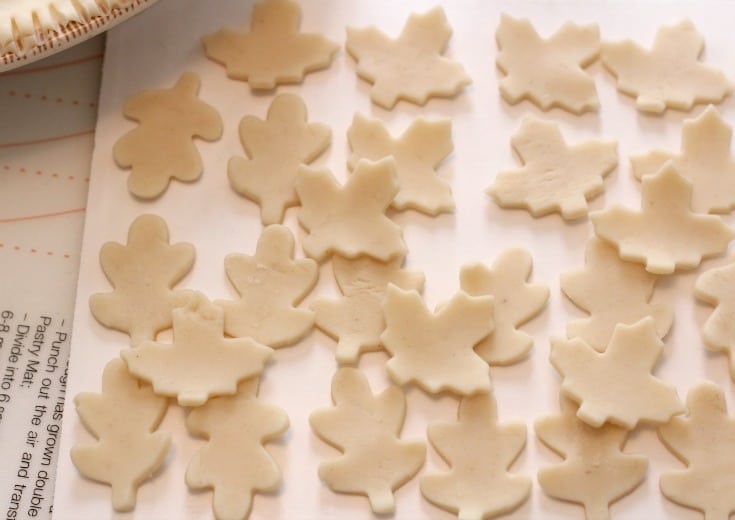
Before adding these cut-outs, you’ll want to add your top crust. Don’t forget to add a couple of slits on the top of it and crimp the edges.
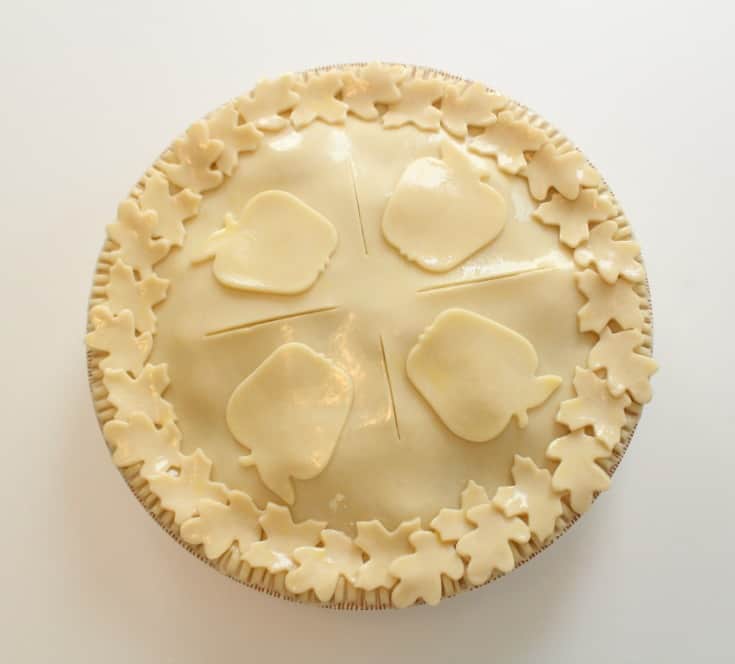
Brush a little egg wash (beaten egg with a little water) over the top and attach your cut-out pieces. Brush those with egg wash as well.
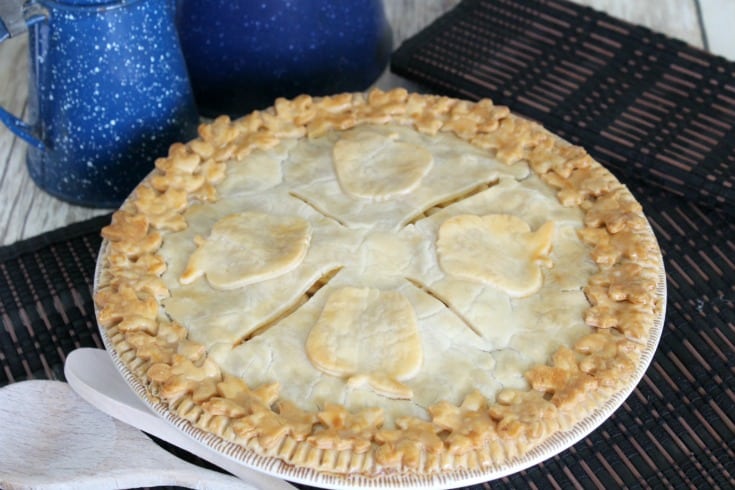
Once baked, everything will brown up nicely.
What you get is a sweet, yet slightly tart apple pie with no mushy bits of apple in it. The apples still have a crispness to them that I find refreshing and a little out of the norm for your average apple pie. It’s SO good.
You can top it with whipped cream, or my personal favorite, vanilla ice cream.
Tips & FAQs:
I used Braeburn apples & Golden Delicious apples. Braeburn apples are crisp and Golden Delicious are sweet.
You’ll use about two pounds of each and slice them a little thin. (You can see a pic above in the post.)
Well that’s the magic of this recipe. Cooking the apples a bit before baking the pie is what allows the apples to stay crisp and not get mushy like other apple pies.
So if that’s the type of pie you’re going for, try it out and see how you like it.
Once baked and before it’s cut, this pie can be kept covered at room temperature for about a day. After it’s cut, cover the pie well and it will keep in the fridge for about 3-4 days.
Sure you can!
It’s best to use a deep dish pie pan for this recipe.
Ok, now to the detailed recipe!
Note About Recipe Measurements: I write recipes using volume (cups) measurements because here in the U.S., this is what people are more familiar with and I don’t want anyone to feel intimidated when baking. For metric/weight measurements, click the ‘metric’ button under the ingredients in the recipe card below. The weights are converted by a program, not me, and it’s just a best guess. I can’t guarantee that weighing the ingredients will produce the exact same results, since I test recipes using volume measurements.
Recipe
Not Another Mushy Apple Pie
Ingredients
- 2 lbs peeled and sliced Braeburn apples
- 2 lbs peeled and sliced Golden Delicious apples
- 4 tablespoon butter
- ½ cup brown sugar
- ½ cup granulated sugar
- 4 tablespoon flour
- ¼ teaspoon nutmeg
- ¾ teaspoon cinnamon
- ½ teaspoon salt
- Refrigerated or homemade pie crust
- egg wash
Instructions
- Peel and slice the apples.
- Melt butter in a large skillet.
- Add apples and saute them for about three minutes.
- Add the sugars, flour, spices and salt and saute with the apples another five minutes. If the juices are still quite runny, you can saute for another minute or so.
- Let the mixture cool completely. You can leave in the refrigerator over night.
- Preheat the oven to 350 degrees and prepare your pie crust. Set the bottom crust into your pie plate.
- Add the apples into the crust.
- Cover with a top crust. Cut slits in the top and crimp the edges. Bonus points if you add some cute pie crust cut-outs to the top.
- Brush on an egg wash and bake at 350 degrees for about an hour and 15 minutes.
- Let the pie cool completely before cutting.
Video
Notes
Nutrition
How to Share
I’d love for you to share this recipe link or tag it, but please do not share screenshots or copy/paste the recipe to social media as the content and photographs are copyright protected and we (bloggers) work really hard on our content. Sharing the link, tagging us on socials and pinning it is super appreciated though!
Other posts you might like:
Don’t Forget to Pin it for Later!
Sandra Cathey
I like the idea of sautéing the apples rather than setting aside in bowl with sugar mixture blended into the apples.
I am a crust person. I love tanned, crispy or crunchy and flaky crust. I don’t like gummy bottom crust. I edge the bottom crust a bit over the edge, prick with fork and stick in a 425 dog oven until its begins to shrink and/or shows slight browning.
How do you keep your bottom crust crisp and crunchy?
Kara Jane
Pre-browning the bottom crust is a great tip! In full disclosure here…I’m not an expert at pie baking. I’m much more of a cake person, but my husband’s favorite thing is apple pie, so since I kinda like him, I figured I’d try to come up with the best apple pie recipe I could make. 😉 I didn’t find the crust on this one to be too soggy. I have to admit though, I don’t actually mind a soggy crust, as long as it’s not to the point of falling apart. My biggest pet peeve is mushy or mealy apples, which just grosses me out. What I love most about this pie is the apples are cooked just enough, but are still crisp plus each kind of apple has a different level of crispness to them. Sauteing them first is the secret. Sounds kind of counter-intuitive, but it works 😉 Thanks for the pie crust tip!
Sandra Cathey
Combining our tips should produce the ULTIMATE apple pie!
Do you have access to the recipe on the side of the Hersheys Cocoa Tin, long ago was tin, for the recipe of Buttermilk Chocolate layer cake? My mother used to make it with dark buttercream frosting. It was to die for— I need this recipe so that I can make and pass to my daughter.
Kara Jane
Oh yes, I agree, it WOULD be the ultimate apple pie! 😉
I don’t have that recipe, but I just did a quick search and this may be it. Here’s a link to what I found. Hope it helps: https://www.hersheys.com/kitchens/en_us/recipes/heritage-chocolate-cake.html
Monica L Forrestier
How would this recipe work with mini pie crusts?
Kara
Hmmm…I haven’t really tried it in mini pie crusts. I think it would work just fine, although they might bake for less time though. You might just need to keep an eye on it.
Renee
Hi! Thanks so much for posting these tips! How thick do you slice your apples? I’m contemplating getting one of those kitchen gadgets that peels, cores and slices apples all at once, but I keep taking myself out of it cause it only makes the super thin slices, and I feel like the thinner the apple slice the mushier the pie, but maybe if they are that thin and then I try your sautéing tip, that will take care of the mushiness. Your thoughts, please.
Kara Jane
Hi there, I did actually use a peeler/slicer for my apple slices. The one I have was fairly inexpensive and it still did a good job. I set it to slice as well as core and peel, but you still have to do a little bit of cutting afterwards…only because it sort of slices them in a spiral. My slices were pretty thin but they stayed really crisp even after an hour and 15 minutes of baking. The apple slicer sure makes life easier though. ?
Mollie
Absolutely fabulous!! Thank you for the solution I have been looking for. No more mushy apple pies, crisps, or cobblers coming from my kitchen. My apple tree has apples that are especially starchy (turn to applesauce when baked) and this trick worked so perfect. I made the best apple cobbler using this method. The apple slices really held their structure despite the long baking time. Now all my apples will be put to good use. Thank you so much!
Kara Jane
Mollie, I’m so happy to hear this! Thanks so much for the wonderful comment and I’m so glad it worked for you! I have to admit when I first heard of this trick, I wasn’t sure it would work because it sounds so counter-intuitive, but it totally works. Glad it worked for you too. 🙂
Heather
Is it possible to freeze the sautéed apples to use later?
Kara Jane
Hmmm I haven’t tried that. It might work okay…just make sure if you try it to put them in a freezer bag or vacuum seal them. You want to keep them from getting freezer burned.
John
First baking a pie and this turned out great! The apples were nice and crisp and the recipe was super easy to follow. The hardest part was the prep/slicing the apples by hand.
Kara Jane
Hi John, so glad you liked it and that it turned out well! I agree with you on the prep part…it’s so much work! 🙂
Valerie Sattler
I have been using a family recipe for years to bake an apple pie for my husband who, like yours, loves apple pie. His biggest complaint was the structural loss of the apples after baking. Since I also kinda like my husband LOL I went on a mission to improve my apple pies. I found your recipe in 2019 and have used it every Thanksgiving since, it’s truly a game changer! He loves it and I get so many compliments from other guests. Never going back!!!
Kara Jane
Hey Valerie! Thanks for the wonderful review 🙂 I was just thinking about this pie…my husband’s birthday is coming up and I need to bake it for him. So glad you all love it too!
Stephanie
This is the best Apple pie filling I have come across. I’ve made so many recipes and this one is the one I’m sticking to from now on. Great taste, love the fact that it’s actually stable once cooked and the crust doesn’t get soggy.
I’ll actually write this one on a card for my recipe book.
Kara
Oh yay, Stephanie! I’m so glad you love this one. I just can’t stand soggy pies and it was just shocking to me that cooking the filling first, worked so well. Glad you love it too. 🙂